
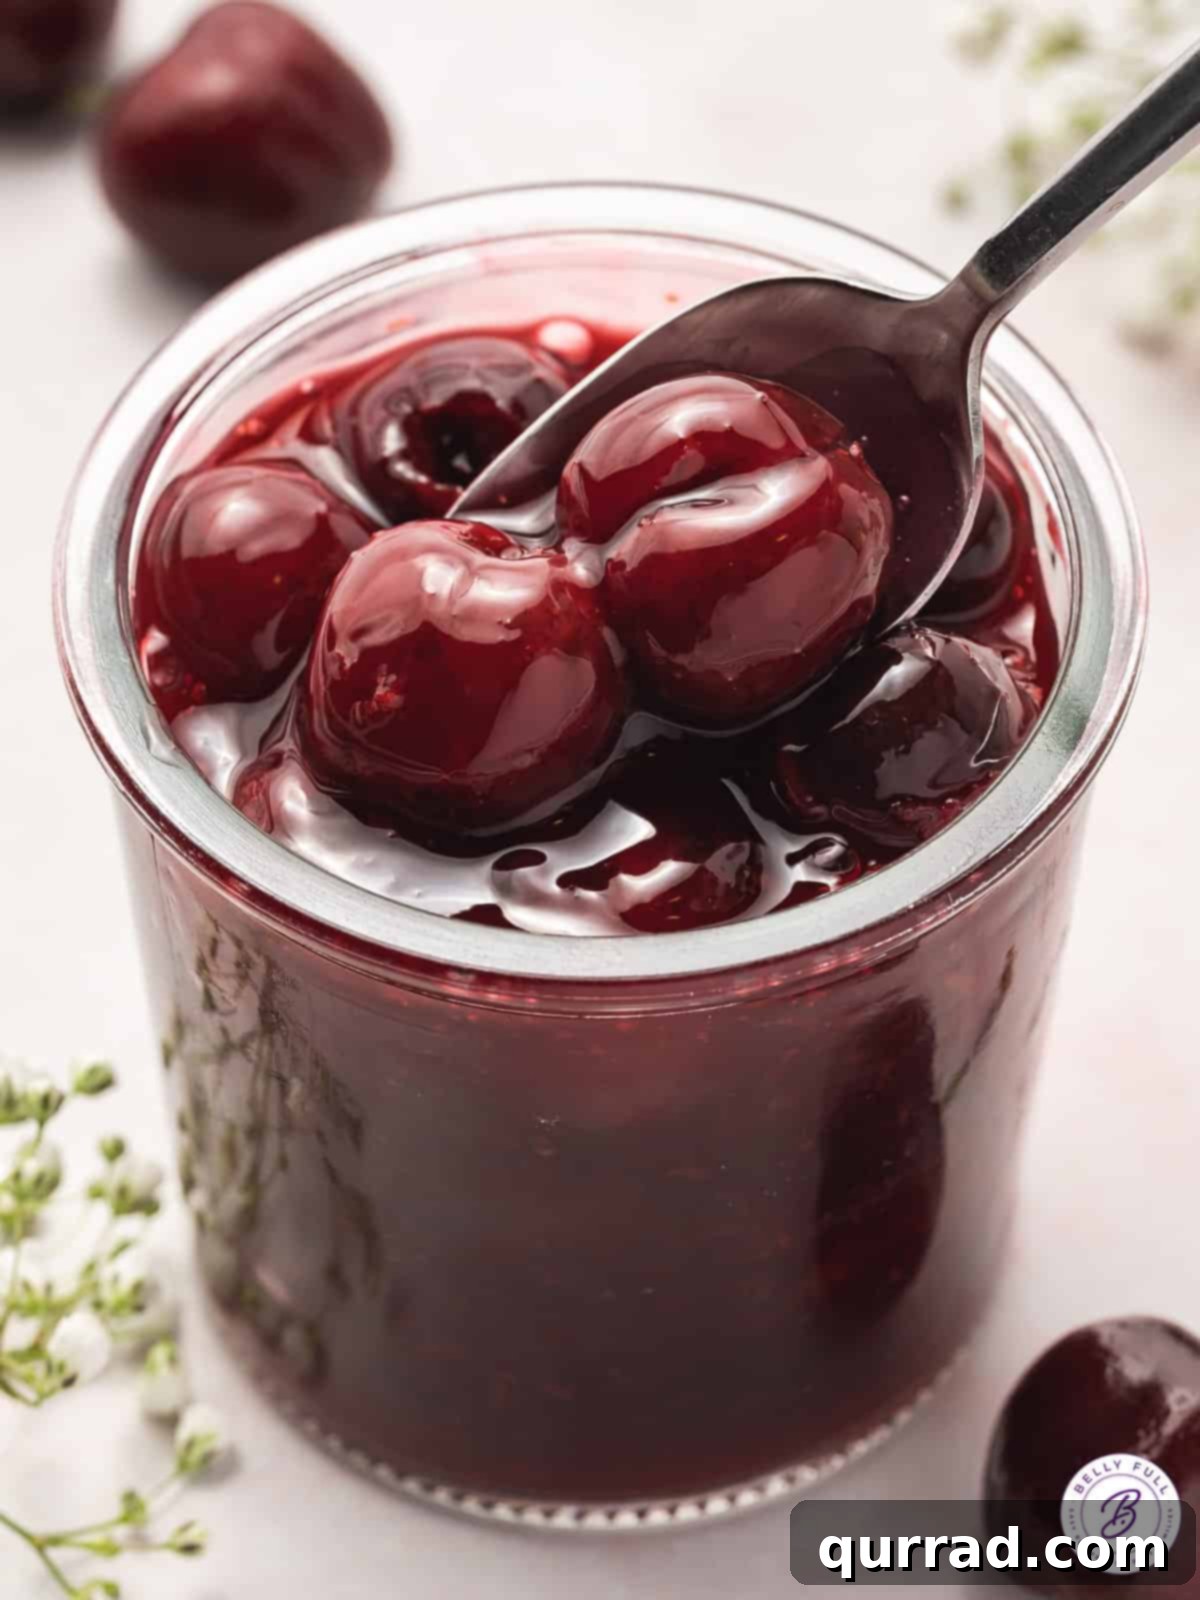
Unlock the secret to irresistible desserts with our remarkably simple Homemade Cherry Pie Filling. Forget the canned versions laden with artificial flavors and preservatives; this recipe, requiring just five common ingredients, delivers a vibrant, luscious, and naturally sweet-tart cherry experience that will have you abandoning store-bought options forever. Whether you’re a seasoned baker or just starting out, this quick and easy cherry topping is a game-changer, elevating not only classic pies but also a myriad of other delightful treats.
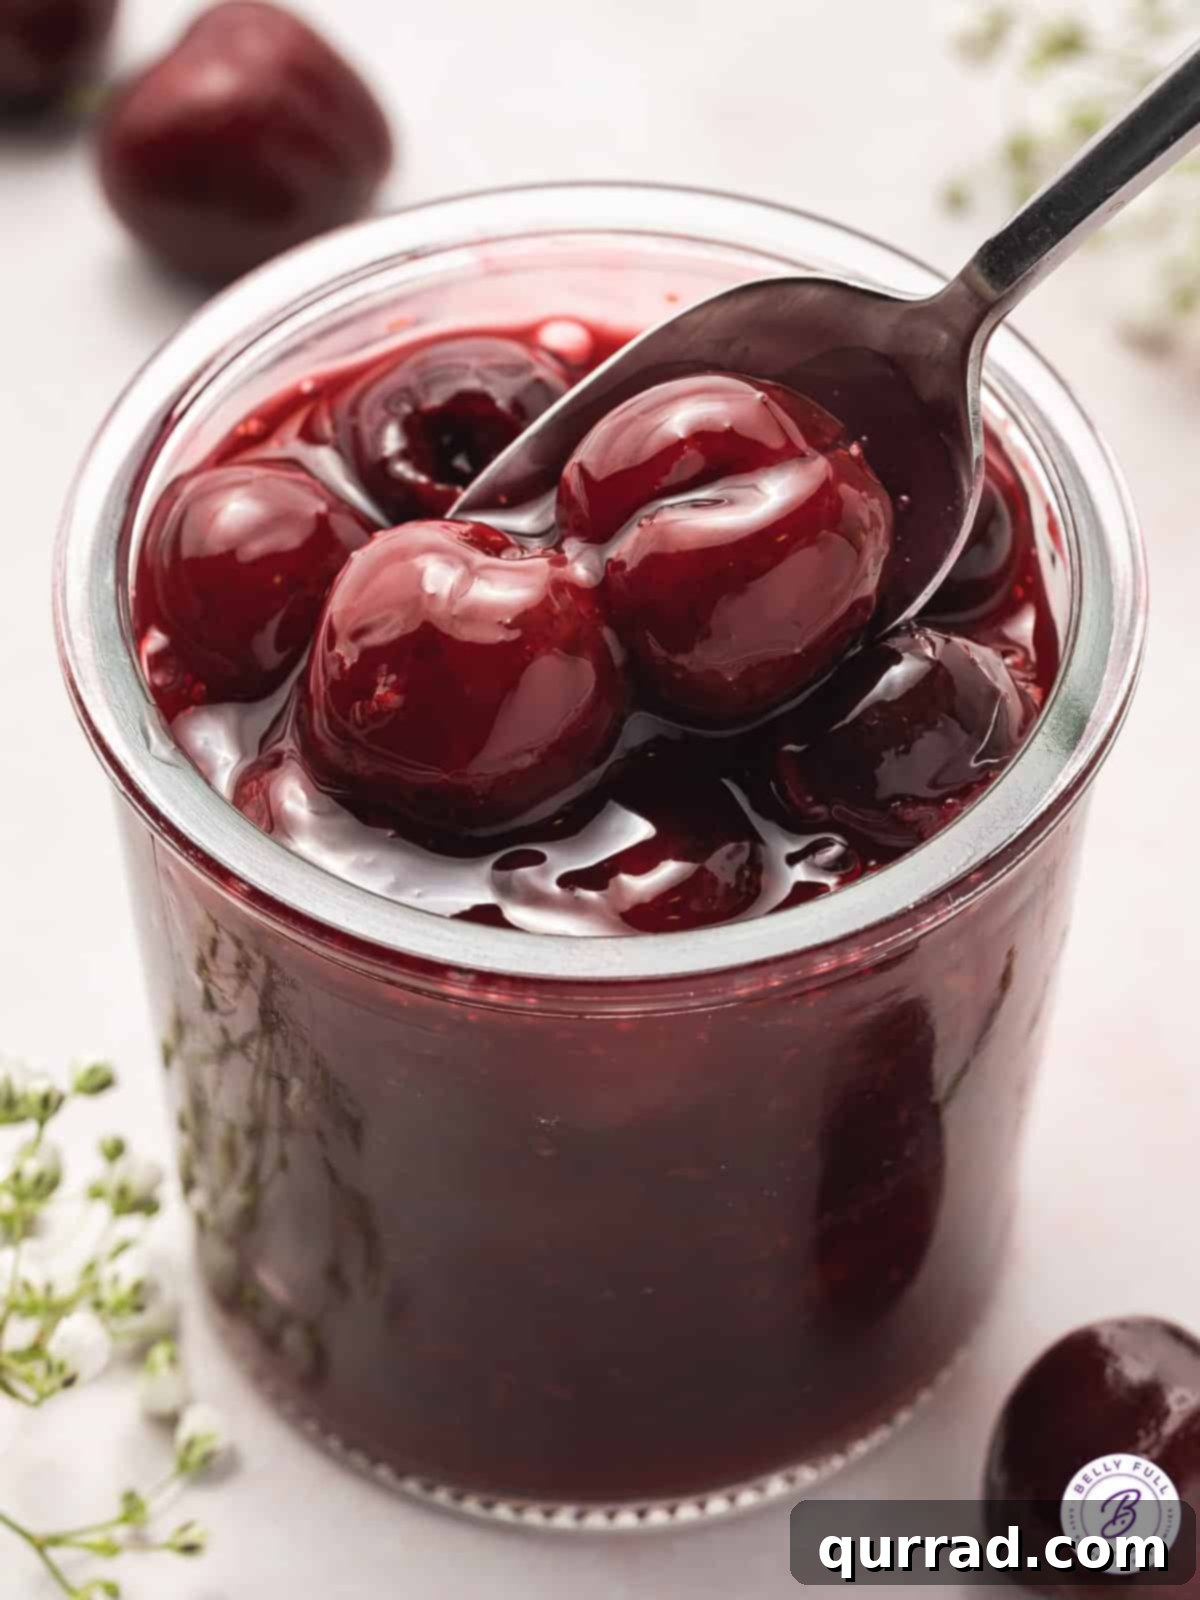
Effortless Homemade Cherry Pie Filling: A Baker’s Dream
If the thought of making a cherry pie from scratch has always seemed daunting, prepare to have your mind changed. This incredible homemade cherry pie filling recipe demystifies the process, making it incredibly accessible and rewarding. It’s designed for speed and simplicity, relying on a handful of pantry staples to create a filling that boasts superior flavor and texture compared to anything you’ll find on a grocery store shelf.
The magic happens on your stovetop: fresh cherries are gently cooked, their juices released and mingling with sugar and lemon. A simple cornstarch slurry is then introduced to create that perfect, glossy thickness. Once cooled, this vibrant cherry topping is ready to be folded into your favorite pie crust, layered into parfaits, or spooned over ice cream. Its versatility is truly unmatched, offering a burst of exquisite sweet and tart cherry flavor to any dessert it graces.
And for those who aren’t traditional pie aficionados, this magnificent cherry creation is far from limited! Imagine it glistening atop a creamy cheesecake, enhancing an indulgent ice cream sundae, or enriching breakfast staples like pancakes and waffles. It’s an essential recipe for anyone who appreciates the deep, complex flavors of fresh cherries transformed into a versatile, delightful accompaniment.
If you’re also a fan of classic fruit fillings, don’t miss our equally delightful homemade apple pie filling recipe, perfect for cozy autumnal bakes.
Why You’ll Fall in Love with This Cherry Pie Filling
There are countless reasons to make the switch to homemade, but here are the standout benefits that make this recipe a consistent favorite:
- Minimal Ingredients, Maximum Flavor: You only need 5 core ingredients: fresh cherries, granulated sugar, lemon, cornstarch, and almond extract. This simplicity ensures a clean, authentic cherry taste that shines through. It’s a testament to how humble ingredients can create something truly extraordinary.
- Perfect for Planning Ahead: Life is busy, and baking should be enjoyable, not a rush. This cherry pie filling can be prepared up to 5 days in advance and stored in the refrigerator, making it ideal for holiday baking, meal prep, or simply having a delicious topping on hand for spontaneous dessert cravings.
- Unbelievably Versatile: While it’s labeled “pie filling,” its utility extends far beyond. Use it as a luxurious topping for cheesecake, a flavorful swirl in yogurt or ice cream, a vibrant addition to breakfast pastries, or even as a filling for tarts and turnovers. Your culinary creativity is the only limit!
- No Artificial Additives: Say goodbye to high-fructose corn syrup, artificial colors, and unpronounceable ingredients often found in canned fillings. With this recipe, you control every single component, ensuring a pure, wholesome, and delicious product.
- Cost-Effective & Fresh: Making your own filling is often more economical than buying pre-made, especially when cherries are in season. Plus, the unparalleled freshness you achieve at home simply cannot be replicated by commercial alternatives.
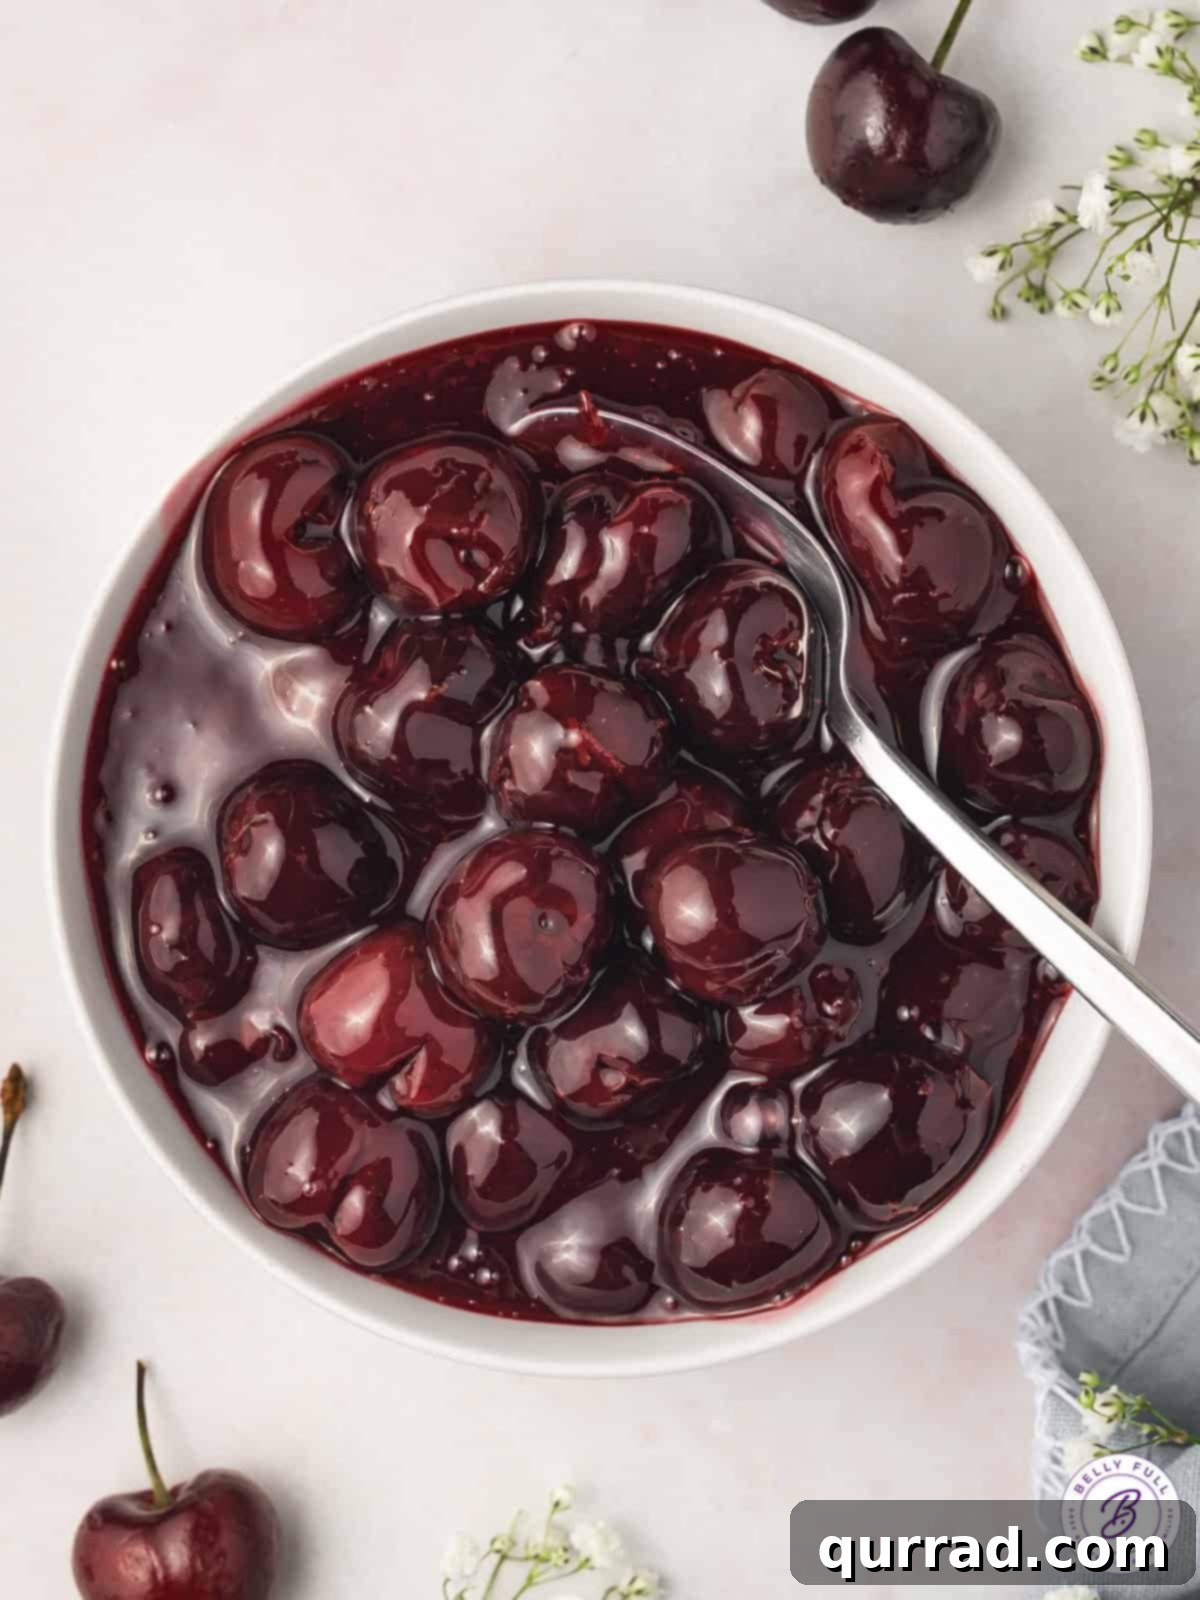
Essential Ingredients for Your Cherry Filling
Gathering your ingredients is the first step to creating this delightful homemade treat. You’ll be amazed at how such simple components yield such spectacular results:
- Cherries: The star of the show! We recommend fresh sweet dark cherries for their rich flavor and beautiful color. However, you can certainly use other varieties. See our detailed notes below for guidance on different cherry types.
- Granulated Sugar: Essential for balancing the natural tartness of the cherries and enhancing their sweetness. The amount can be adjusted based on the sweetness of your cherries and your personal preference.
- Lemon: Both fresh lemon juice and vibrant lemon zest are crucial. The juice brightens the cherry flavor and provides a lovely acidic counterpoint, while the zest adds an aromatic layer that elevates the overall taste profile.
- Cornstarch: This acts as our thickening agent, giving the filling its perfect, spoonable consistency. It creates a beautiful, glossy finish without altering the flavor.
- Water: Used in conjunction with cornstarch to create a smooth slurry, ensuring even thickening without lumps.
- Almond Extract: A secret weapon for cherry desserts! Almond extract beautifully complements and intensifies the natural cherry flavor. If you prefer a milder cherry taste or are not a fan of almond, vanilla extract is an excellent alternative.
Choosing the Right Cherries: Fresh, Frozen, or Tart?
The quality of your cherries directly impacts the final flavor of your filling. While fresh is often preferred, other options work beautifully:
- Fresh Sweet Cherries: Such as Bing, Rainier, or Chelan. These are ideal for a naturally sweet filling with a hint of tartness. Remember to pit them before cooking – a cherry pitter makes this task quick and easy!
- Fresh Tart/Sour Cherries: Varieties like Montmorency are fantastic for a more intense cherry flavor. If using tart cherries, we highly recommend increasing the granulated sugar to ¾ cup to achieve a balanced sweet-tart profile. You might even go up to 1 cup, depending on your preference.
- Frozen Cherries: Absolutely! Frozen pitted cherries are a convenient option, especially when fresh ones are out of season. There’s no need to thaw them beforehand; simply add them directly to the pot. Be aware that frozen cherries release more liquid, so you might need to slightly decrease the amount of water in your cornstarch slurry (e.g., by 1-2 tablespoons) or increase the simmering time by an additional 2-3 minutes to reach the desired thickness.
How to Craft Your Perfect Homemade Cherry Pie Filling
Making your own pie filling is much simpler than you might imagine. Follow these straightforward steps to achieve a perfectly thick, glossy, and flavorful cherry filling:
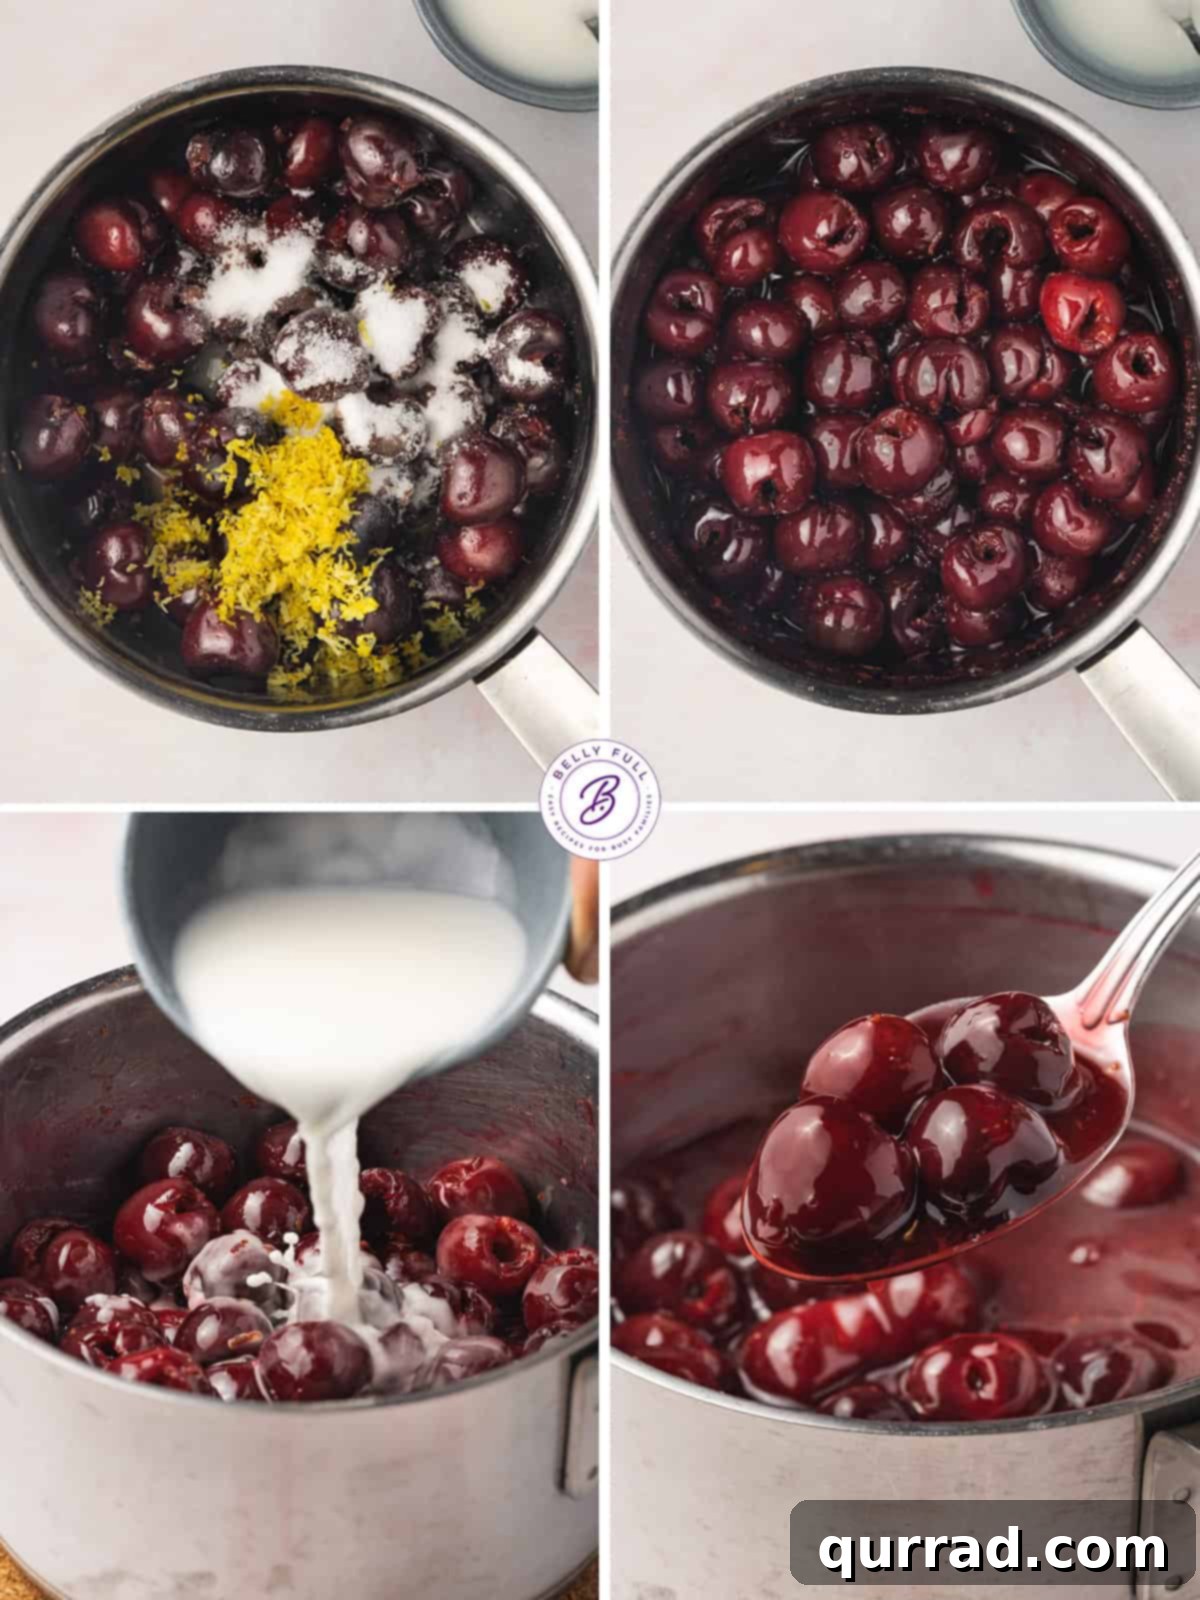
- Combine and Cook the Cherries: In a generously sized pot or Dutch oven, combine your pitted cherries (fresh or frozen), granulated sugar, fresh lemon juice, and aromatic lemon zest. Place the pot over medium-high heat. Bring the mixture to a vigorous boil, stirring occasionally to dissolve the sugar. Once boiling, reduce the heat to medium-low and allow it to simmer gently for approximately 8 minutes. During this time, the cherries will begin to soften, and their juices will meld with the sugar to create a beautiful, syrupy base. Stir frequently to prevent sticking and ensure even cooking.
- Prepare the Cornstarch Slurry and Thicken: While the cherries are simmering, prepare your thickening agent. In a small bowl, whisk together the cornstarch and water until a smooth, lump-free slurry forms. This step is crucial for an even consistency. Slowly pour the cornstarch slurry into the simmering cherry mixture in the pot, stirring continuously. Continue to simmer for another 2 to 3 minutes, or until the filling visibly thickens, becoming glossy and clear. The mixture should coat the back of a spoon.
- Taste and Adjust: Carefully taste a small spoonful of the hot filling (be cautious!). This is your opportunity to adjust the flavor profile. If you prefer it sweeter, add a tablespoon or two more sugar. If it needs more brightness, a squeeze of additional lemon juice will do the trick. Remember, it’s easier to add than to remove!
- Infuse with Extract: Remove the pot from the heat. Stir in the almond extract (or vanilla extract, if using). Stir gently to incorporate without mashing the delicate cherries. The residual heat will help the extract’s flavor bloom beautifully.
- Cool Completely: Allow the cherry filling to cool completely at room temperature before using it in your baking or transferring it to a storage container. As it cools, it will continue to thicken to its perfect, luscious consistency. For best results, chill it thoroughly before filling a pie.
Expert Tips and Creative Variations for Your Cherry Filling
Elevate your homemade cherry pie filling with these handy tips and exciting variations:
- Vanilla Extract Swap: If the strong flavor of almond extract isn’t to your liking, or you want the pure cherry notes to dominate, simply substitute it with an equal amount of pure vanilla extract.
- Warm Spiced Notes: For a cozy, autumnal twist, consider adding ½ teaspoon of ground cinnamon or a pinch of nutmeg along with the cherries and sugar. These warm spices beautifully complement the fruit.
- Alternate Thickeners: While cornstarch is a reliable choice, you can also use other thickeners. Tapioca starch (often called instant tapioca for pie fillings) can be used, typically in a 1:1 ratio with cornstarch, and provides a slightly clearer finish. For a more jam-like consistency, you could experiment with a small amount of pectin, but that’s a more advanced technique.
- Scaling the Recipe: Need less? Easily halve the ingredients for a smaller batch perfect for a cheesecake topping or a few individual parfaits. Need more? Double the recipe for multiple pies or to stock your freezer!
- Preventing a Soupy Filling: Ensure your cornstarch slurry is completely smooth before adding to the pot. Also, allow the filling to simmer long enough after adding the slurry until it’s thick and glossy. If it still seems thin after cooling, a quick reheat with a little more cornstarch slurry (mixed with cold water first!) can fix it.
- Enhancing Color: For a deeper, richer red hue, you can add a tiny drop of red food coloring, though usually, the natural color of dark sweet cherries is stunning on its own.
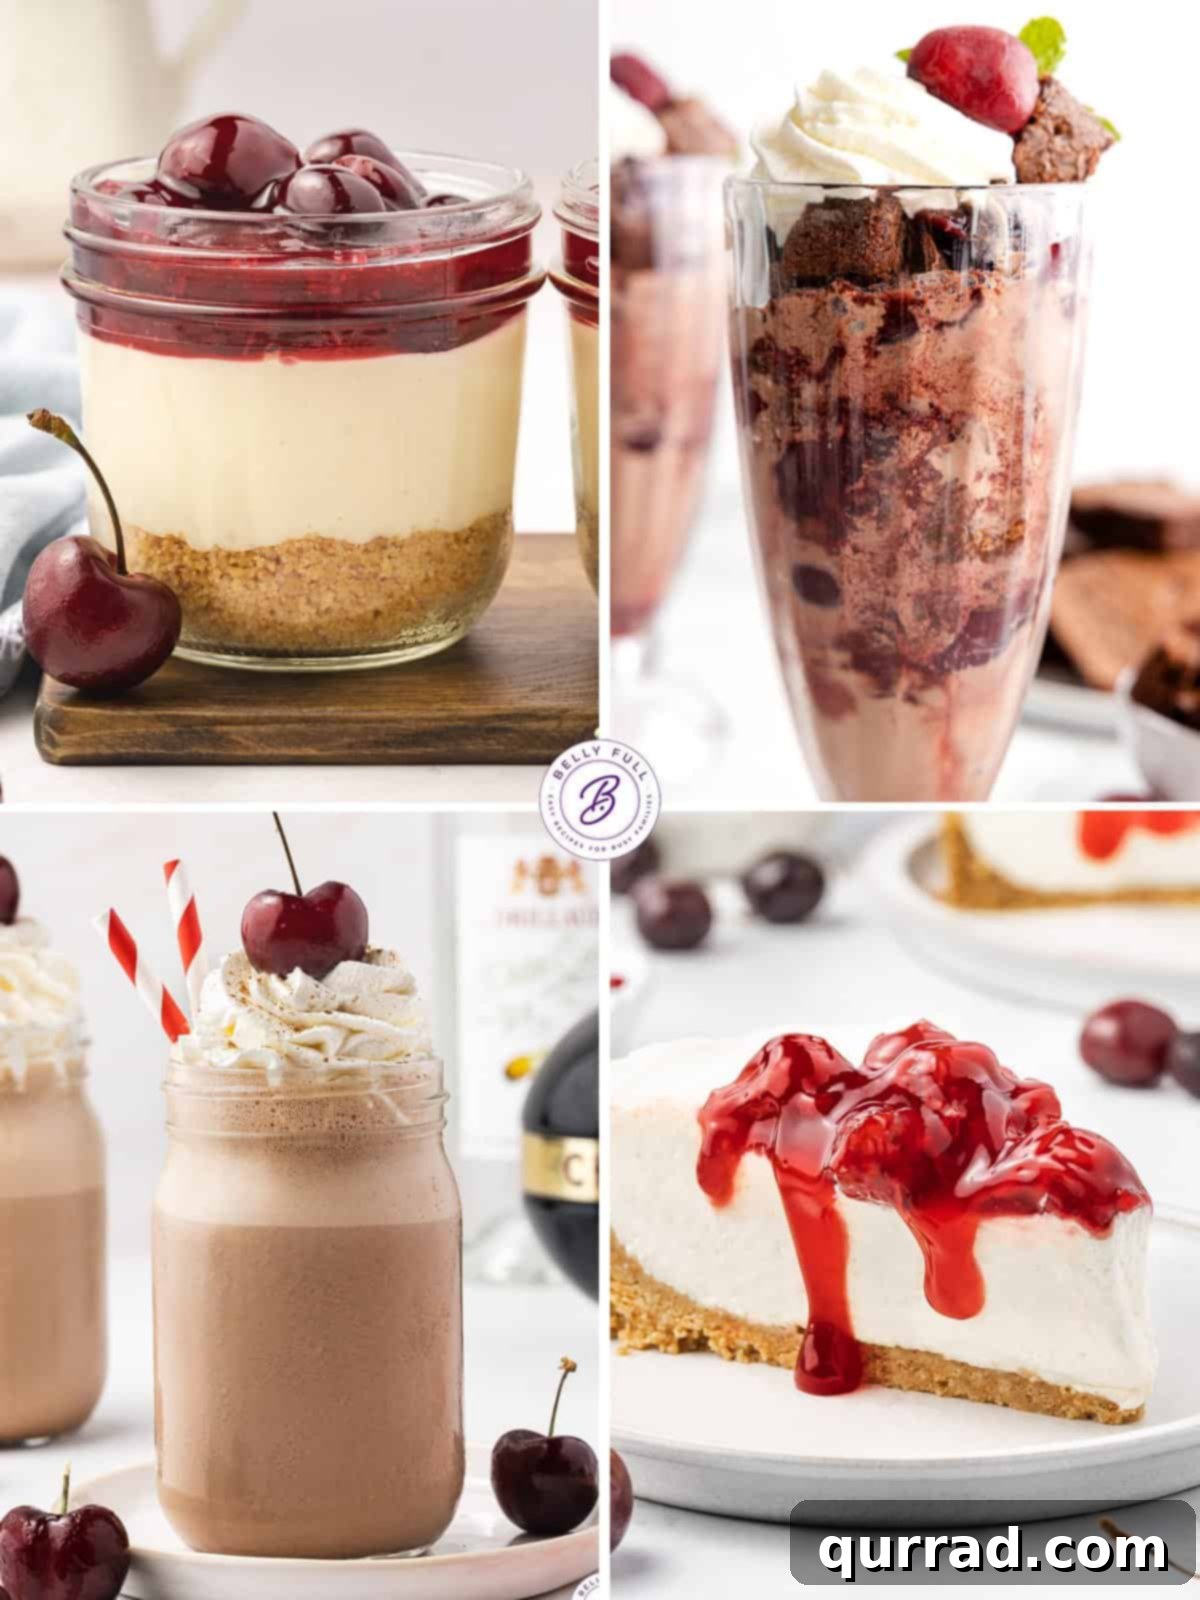
Endless Ways to Enjoy Your Homemade Cherry Pie Filling
The beauty of this homemade cherry topping lies in its incredible versatility. Beyond the classic pie, it can transform ordinary dishes into extraordinary desserts and even breakfast treats:
- Classic Pie Perfection: The most obvious, yet always satisfying. Fill a flaky pie crust for a truly traditional cherry pie.
- Cheesecake Dream: Spoon generously over a plain or vanilla no-bake cheesecake for an elegant, vibrant finish.
- Ice Cream Sundae Extravaganza: A dollop over vanilla bean ice cream creates an instant Black Forest Sundae or a simple, refreshing dessert.
- Breakfast Boost: Drizzle over warm pancakes, waffles, crepes, or French toast for a delightful start to your day.
- Yogurt Parfait Layers: Create beautiful and delicious yogurt parfaits with layers of granola, Greek yogurt, and this vibrant cherry filling.
- Cake & Cupcake Filler: Use it as a delectable filling for vanilla or chocolate cakes and cupcakes. It pairs wonderfully with chocolate for a Black Forest theme.
- Pudding & Trifle Layers: Layer with vanilla pudding, whipped cream, and cake cubes for a quick and impressive trifle.
- Mini Tarts & Turnovers: Perfect for individual dessert portions, baked in mini tart shells or enclosed in puff pastry for cherry turnovers.
- Oatmeal Topping: Stir into your morning oatmeal for a flavorful and nutritious upgrade.
- Boozy Black Forest Milkshake: For adults, blend it into a rich vanilla milkshake with a splash of cherry liqueur or brandy, inspired by this Boozy Black Forest Milkshake.
- Cherry Cheesecake in a Jar: Create adorable and portable desserts by layering graham cracker crumbs, cream cheese mixture, and cherry filling in small jars, like our Cherry Cheesecake in a Jar.
- Cherry Dump Cake: A super easy dessert where the filling is “dumped” with cake mix and butter for a simple bake, such as our Cherry Dump Cake.
Proper Storage for Longevity
Ensuring your homemade cherry pie filling stays fresh and delicious is key:
- Refrigerator Storage: Once completely cooled, transfer the cherry filling to an airtight container. It will keep beautifully in the refrigerator for up to 5 days. This makes it a fantastic make-ahead component for any gathering or weeknight treat.
- Freezer Storage: For longer preservation, this filling freezes exceptionally well. Portion it into freezer-safe containers or heavy-duty freezer bags (removing as much air as possible). It can be stored in the freezer for up to 3 months. To use, simply thaw overnight in the refrigerator. Note that freezing and thawing might slightly alter the texture, making it a bit softer, but the flavor will remain excellent. It will naturally thicken further once chilled.
- Reheating: If you desire a warm filling for certain applications, gently reheat it. You can do this in the microwave in short bursts, stirring occasionally, or on the stovetop over low heat until warmed through and glossy again. If it seems too thick after reheating, a teaspoon of hot water or lemon juice can help loosen it.
Recipe: Homemade Cherry Pie Filling
Yields: 8 servings (approx. 4 cups – enough for one 9-inch pie)
Prep time: 15 minutes
Cook time: 10 minutes
Total time: 25 minutes
Ingredients
- 6 cups fresh sweet dark cherries, pitted (about 3 pounds)
- 1/2 cup granulated sugar (adjust to 3/4 – 1 cup for tart cherries)
- 1 tablespoon fresh lemon juice
- 2 teaspoons lemon zest
- 1/4 cup cornstarch
- 1/2 cup cold water
- 1/2 teaspoon almond or vanilla extract
Instructions
- In a large pot or Dutch oven over medium-high heat, combine the pitted cherries, granulated sugar, fresh lemon juice, and lemon zest. Bring the mixture to a rolling boil, stirring gently to ensure the sugar dissolves.
- Once boiling, reduce the heat to medium-low and simmer for about 8 minutes. Stir frequently during this time until the cherries soften slightly and release their juices, creating a syrupy base.
- While the cherries simmer, prepare the cornstarch slurry: In a small bowl, whisk together the 1/4 cup cornstarch and 1/2 cup cold water until completely smooth and lump-free.
- Slowly pour the cornstarch slurry into the simmering cherry mixture in the pot, stirring constantly. Continue to cook and stir for another 2 to 3 minutes. The filling will visibly thicken and become beautifully glossy and clear.
- Carefully taste the hot filling. Adjust the sweetness by adding more sugar if desired, or enhance the brightness with an extra squeeze of lemon juice.
- Remove the pot from the heat. Stir in the almond extract (or vanilla extract). Stir gently to distribute the flavor without mashing the cherries.
- Allow the cherry filling to cool completely at room temperature. As it cools, it will continue to thicken to the perfect consistency. If not using immediately, transfer to a clean glass jar or airtight container and store as directed below.
Notes
- Cherry Type: For tart cherries, increase sugar to 3/4 – 1 cup. For frozen cherries, use directly from frozen but you may need to reduce the water in the slurry by 1-2 tablespoons or cook slightly longer.
- Flavor Variations: Substitute almond extract with vanilla extract for a milder cherry flavor. Add 1/2 teaspoon of ground cinnamon for a warm, spiced filling.
- Thickening Alternatives: While cornstarch is recommended, tapioca starch can be used as an alternative thickener.
- Scaling: This recipe makes enough filling for one standard 9-inch pie. You can easily halve or double the ingredients to suit your needs.
Nutrition
(Nutritional information is an estimate based on standard ingredients and may vary.)
- Calories: 130kcal
- Carbohydrates: 33g
- Protein: 1g
- Fat: 0.3g
- Saturated Fat: 0.04g
- Polyunsaturated Fat: 0.1g
- Monounsaturated Fat: 0.1g
- Sodium: 1mg
- Potassium: 233mg
- Fiber: 2g
- Sugar: 26g
- Vitamin A: 67IU
- Vitamin C: 9mg
- Calcium: 15mg
- Iron: 0.4mg
We truly hope you enjoy making and savoring this delightful Homemade Cherry Pie Filling. It’s a recipe that promises to bring joy and flavor to your kitchen with minimal effort and maximum reward. Happy baking!