
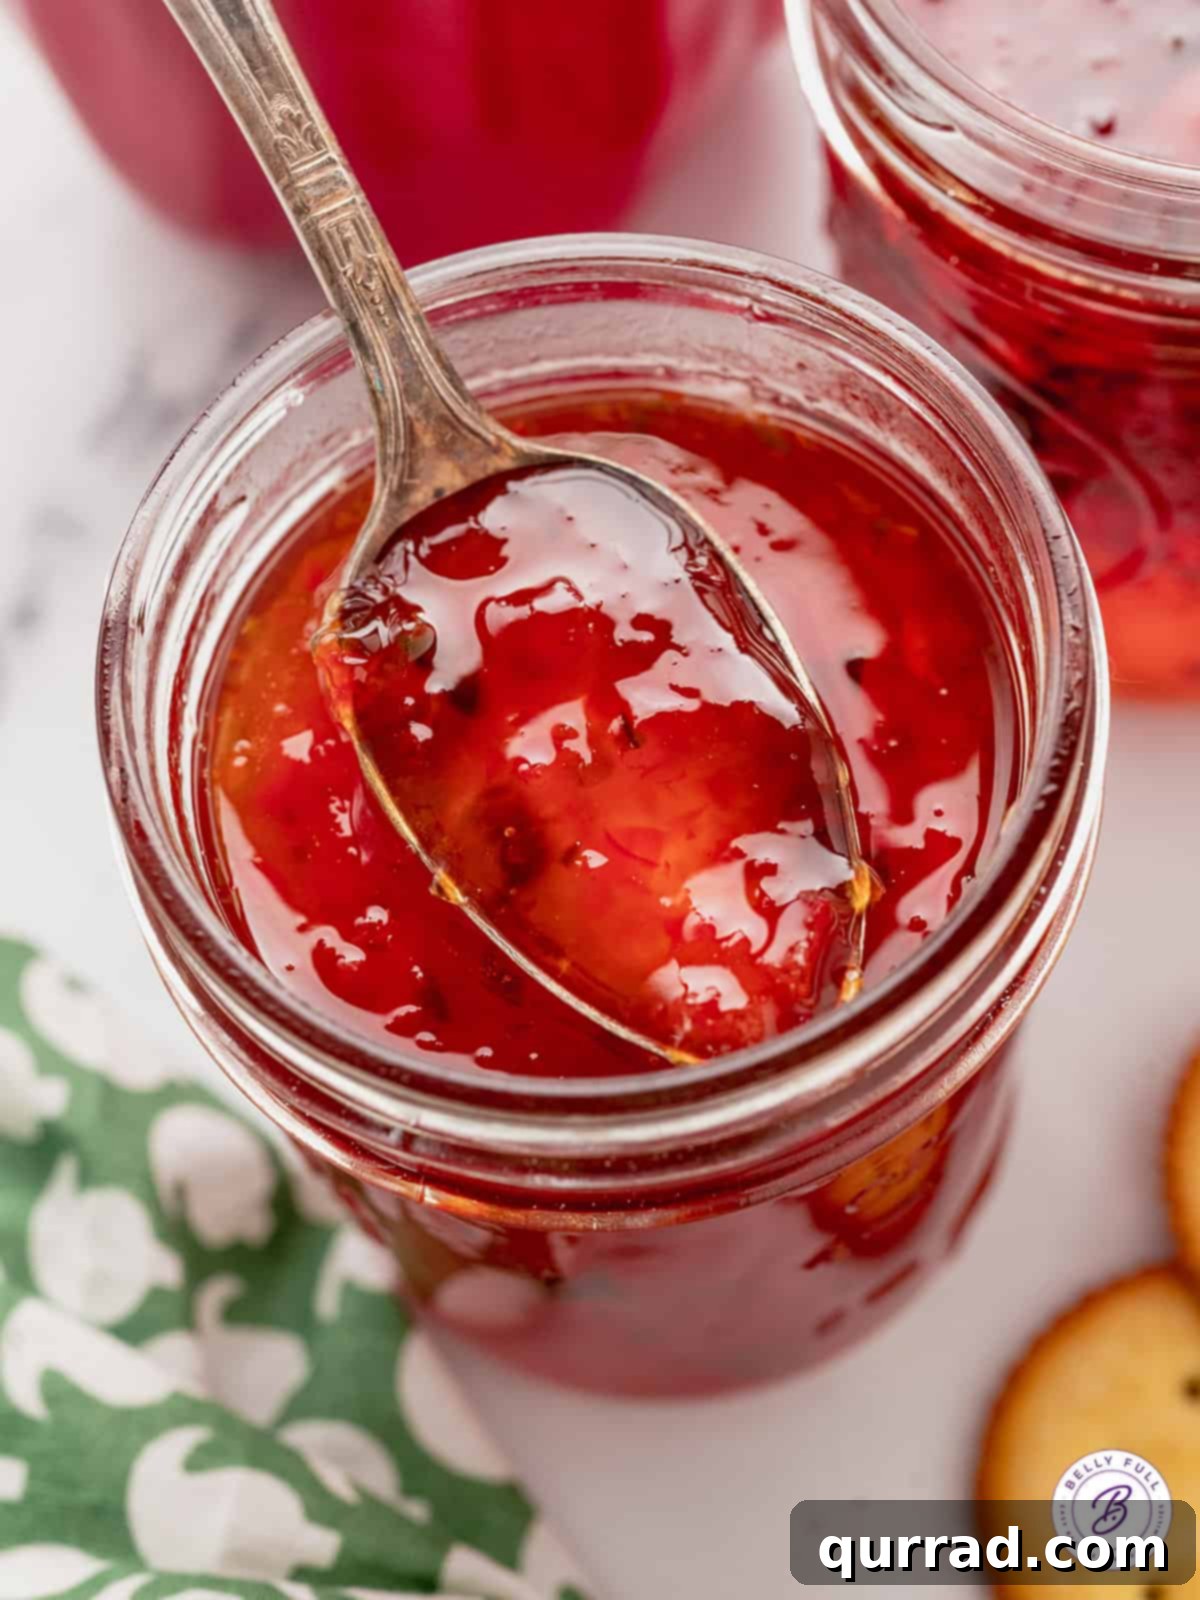
Craving a condiment that’s both sweet and savory, with a delightful hint of heat? Look no further than homemade Red Pepper Jelly! This vibrant, versatile preserve is a true kitchen essential, transforming simple ingredients into a complex flavor profile that tantalizes the taste buds. Perfectly balanced with sweet, tart, and a gentle spicy kick, this red pepper jelly recipe is incredibly easy to make with just five core ingredients. Whether spread over cream cheese with crackers, used as a gourmet glaze for meats and vegetables, or as a vibrant addition to your breakfast toast, it promises to elevate any meal.
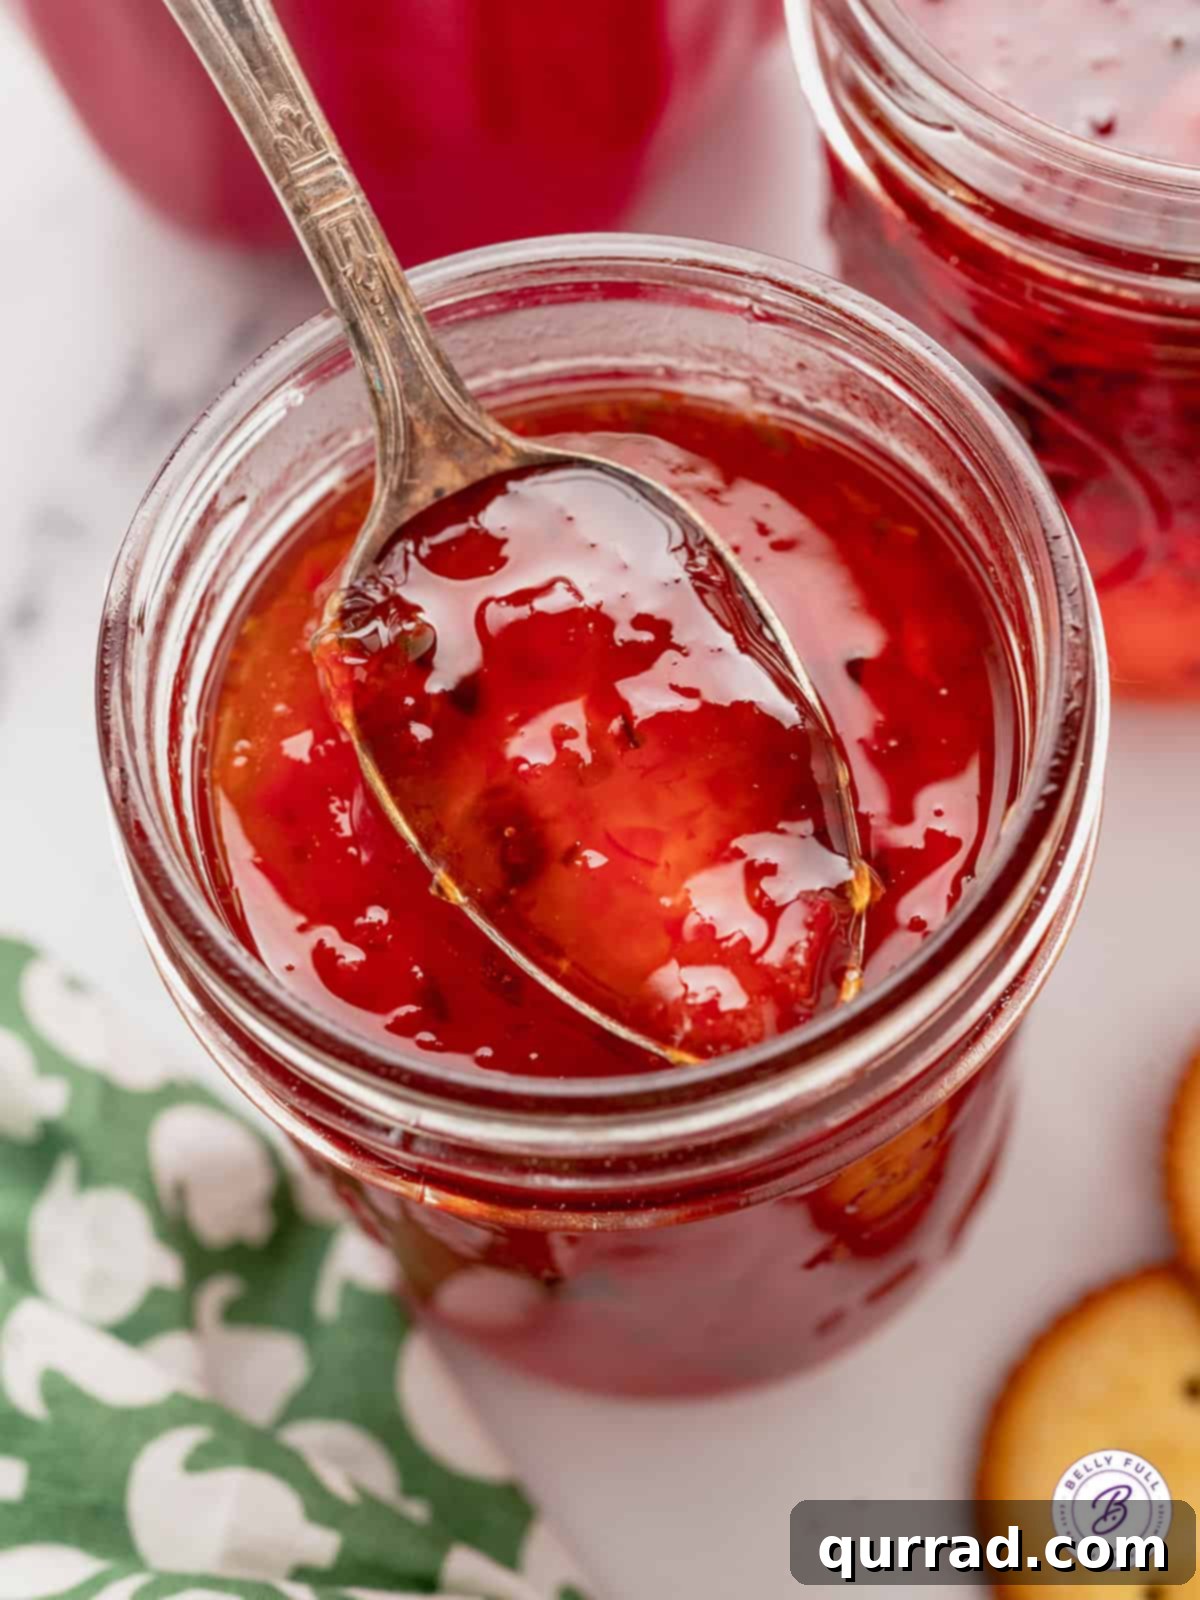
Sweet & Spicy Red Pepper Jelly: Your Ultimate Homemade Guide
There’s something incredibly satisfying about creating delicious staples from scratch, and this easy red pepper jelly recipe is no exception. It’s one of my absolute favorite ways to utilize a bounty of red bell peppers, transforming them into a glistening, jewel-toned jam that’s as pleasing to the eye as it is to the palate. With just a handful of ingredients, you can craft a condiment that’s bursting with fresh pepper flavor, complemented by a perfect harmony of sweetness, tanginess, and a subtle warmth from jalapenos. This homemade pepper jelly isn’t just a treat; it’s a staple that can revolutionize your culinary repertoire.
What is Red Pepper Jelly? A Culinary Delight Explained
Red pepper jelly is a unique type of fruit preserve that masterfully blends the sweetness of red bell peppers with the gentle heat of chili peppers, typically jalapenos. Unlike a traditional fruit jam, pepper jelly offers a savory dimension that makes it incredibly versatile. It boasts a beautiful, translucent red hue and a smooth, spreadable texture that’s slightly looser than some fruit jellies, offering an elegant sheen. The flavor profile is complex: initially sweet, followed by a pleasant tartness from vinegar, and concluding with a warm, subtle spice that lingers just long enough to invite another bite. This delicate balance of flavors makes it a gourmet addition to countless dishes.
The appeal of red pepper jelly lies in its surprising adaptability. While it’s famously served as an appetizer with cream cheese and crackers, its uses extend far beyond the cheese board. It can be a sophisticated accompaniment to roasted meats, a vibrant glaze for grilled chicken or pork, or even a secret ingredient in savory sauces. Knowing how to make red pepper jelly at home ensures you always have a fresh, flavorful batch on hand, free from artificial additives and tailored to your preferred spice level.
Why Choose Homemade Red Pepper Jelly? The Benefits of DIY
Opting for homemade red pepper jelly over store-bought varieties offers a multitude of advantages that enhance both flavor and experience. Here are a few compelling reasons why this recipe deserves a spot in your kitchen:
- Unmatched Freshness & Flavor Control: When you make pepper jelly at home, you control the quality and freshness of every ingredient. This means brighter, more authentic pepper flavors and the ability to adjust the sweetness, tartness, and spice level to your exact preference. Want it milder? Reduce the jalapenos. Craving more heat? Add an extra one or switch to hotter peppers.
- No Artificial Additives or Preservatives: Many commercial jellies contain artificial colors, flavors, or preservatives. Your homemade version uses only natural ingredients, giving you peace of mind about what you and your family are consuming.
- Cost-Effective & Economical: Bell peppers and jalapenos can often be purchased in bulk or grown in your garden, making homemade jelly a more economical option than buying specialty jams. It’s an excellent way to use up excess produce, preventing food waste.
- Perfect for Gifting: Homemade red pepper jelly makes a thoughtful and impressive gift. Jarred beautifully, it’s a wonderful present for holidays, hostess gifts, or just a token of appreciation for friends and family. It speaks volumes about the care and effort you put into it.
- Culinary Versatility: Having a jar of this jelly in your pantry opens up a world of culinary possibilities. It’s a secret weapon that can elevate simple dishes to gourmet status, proving its worth far beyond a holiday appetizer.
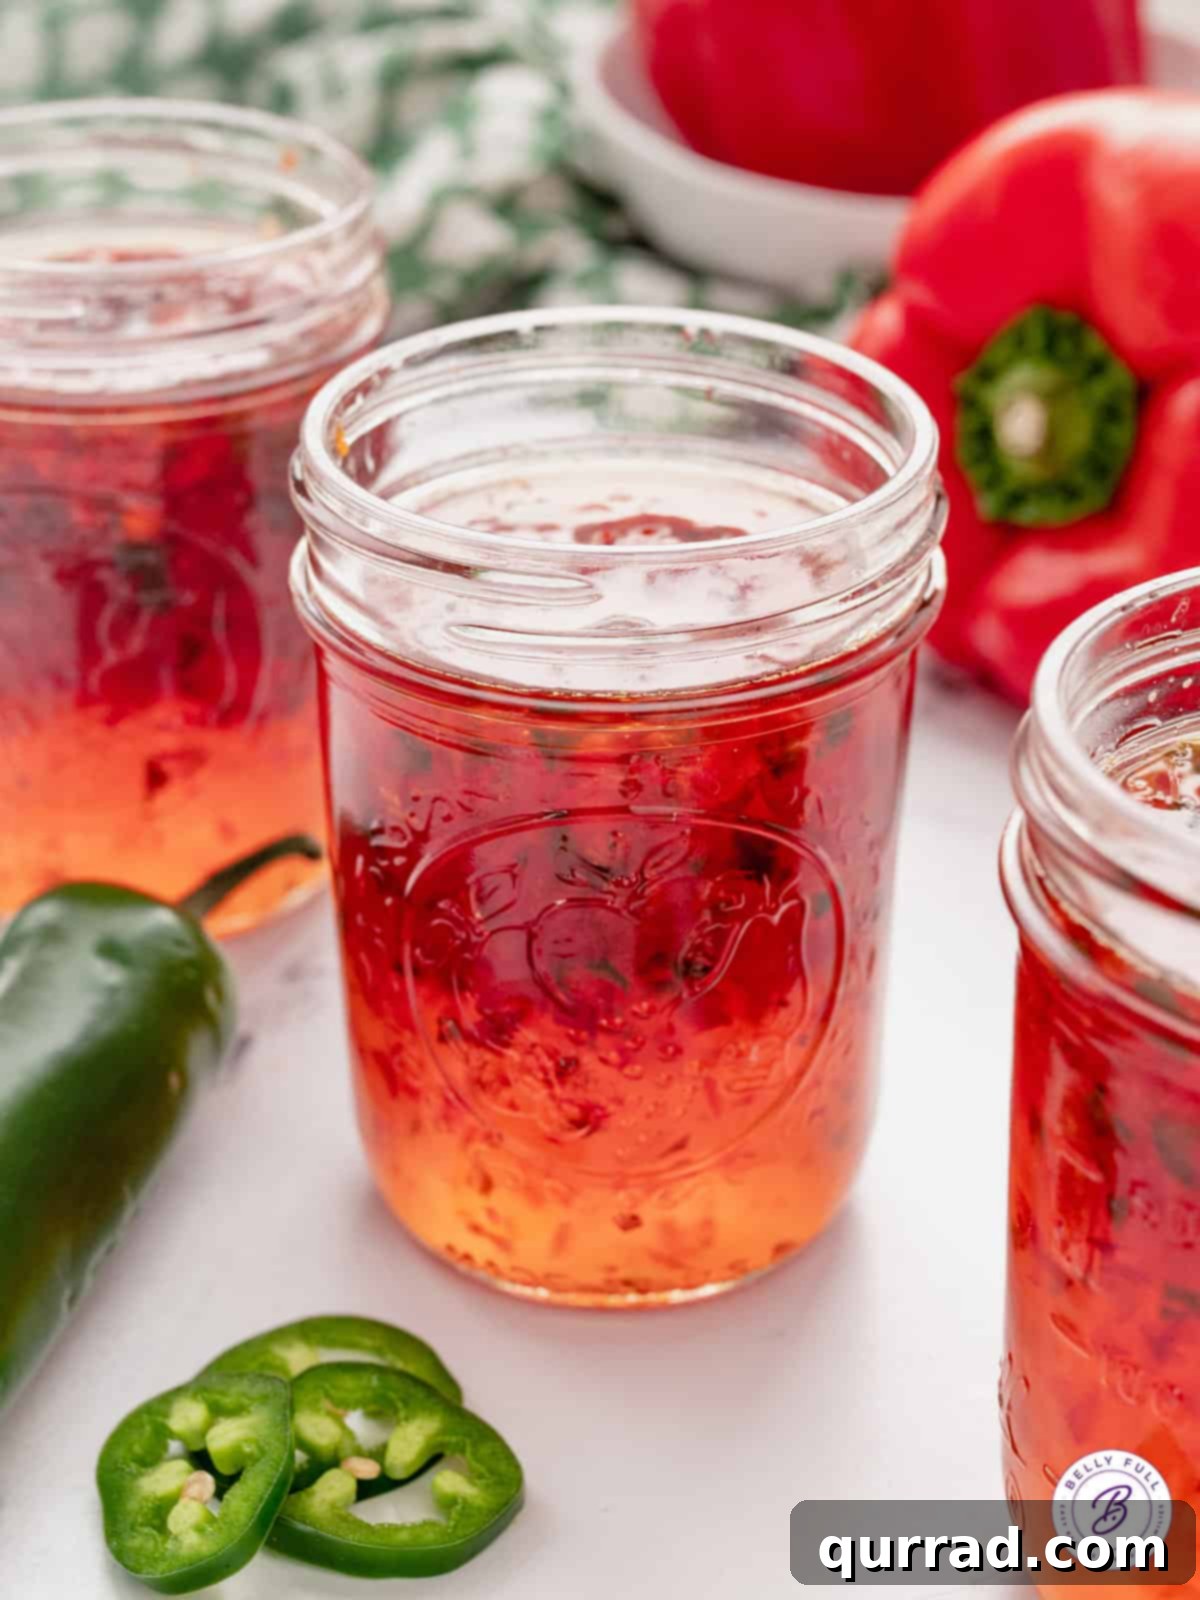
Essential Ingredients for Red Pepper Jelly
One of the beauties of this red pepper jelly recipe is its simplicity, requiring just five key ingredients that come together to create a truly spectacular spread. Each component plays a vital role in achieving the desired flavor and texture:
- Red Bell Peppers: The Sweet Base: These vibrant peppers form the bulk of the jelly, contributing a sweet, fruity flavor and a gorgeous red color. They are mild and provide the perfect canvas for the other flavors to shine.
- Jalapeno Peppers: The Perfect Kick: Just a few jalapenos introduce a subtle, warm spice that contrasts beautifully with the sweetness of the bell peppers. For those who prefer a milder jelly, you can remove the seeds and membranes, where most of the capsaicin (heat) resides. For more heat, leave them in!
- Granulated Sugar: More Than Just Sweetness: While sugar is essential for sweetness, in jelly making, it’s also crucial for setting the jelly properly. It interacts with the pectin to create the desired gel consistency and acts as a natural preservative. Don’t be alarmed by the quantity; it’s necessary for the structure and preservation of the jelly.
- Apple Cider Vinegar: For Tang and Setting: Vinegar provides the essential tartness that balances the sweetness of the sugar and peppers. More importantly, it supplies the acidity necessary for pectin to activate and form a gel. Apple cider vinegar is preferred for its milder, fruity notes, but white vinegar can also be used.
- Liquid Pectin: The Setting Agent: Pectin is a natural gelling agent found in fruits. For pepper jelly, especially when using bell peppers which are low in natural pectin, liquid pectin is vital to ensure the jelly sets properly to that perfect, spreadable consistency.
Can I Customize the Peppers? Exploring Variations
Absolutely! The beauty of homemade pepper jelly is the freedom to experiment with different types of peppers to achieve your desired flavor and heat level. While this recipe uses red bell peppers and jalapenos for a classic sweet-spicy profile, feel free to get creative:
- Milder Options: For a less spicy jelly, you can increase the ratio of bell peppers to jalapenos, or even omit the jalapenos entirely for a purely sweet red bell pepper jam. You could also use milder chili peppers like poblanos or anaheims for a very gentle warmth.
- Increased Heat: If you love a fiery kick, consider replacing some or all of the jalapenos with hotter peppers like serranos, habaneros, or even Scotch bonnets. Remember to handle hot peppers with gloves to avoid skin irritation.
- Color Variations: Experiment with orange or yellow bell peppers for a different color profile. You could even use a mix of colors for a rainbow pepper jelly. Just ensure the overall quantity of chopped peppers remains consistent with the recipe.
- Pure Jalapeno Jam: For true spice lovers, making a pure jalapeno jam is a fantastic option. Just substitute the red bell peppers with additional jalapenos, ensuring you still hit the total chopped pepper measurement.
The MOST important thing to remember when experimenting with peppers is to maintain the total quantity of chopped peppers to 2 & 3/4 cups. This ensures the correct balance with the other ingredients, especially the pectin, for proper setting.
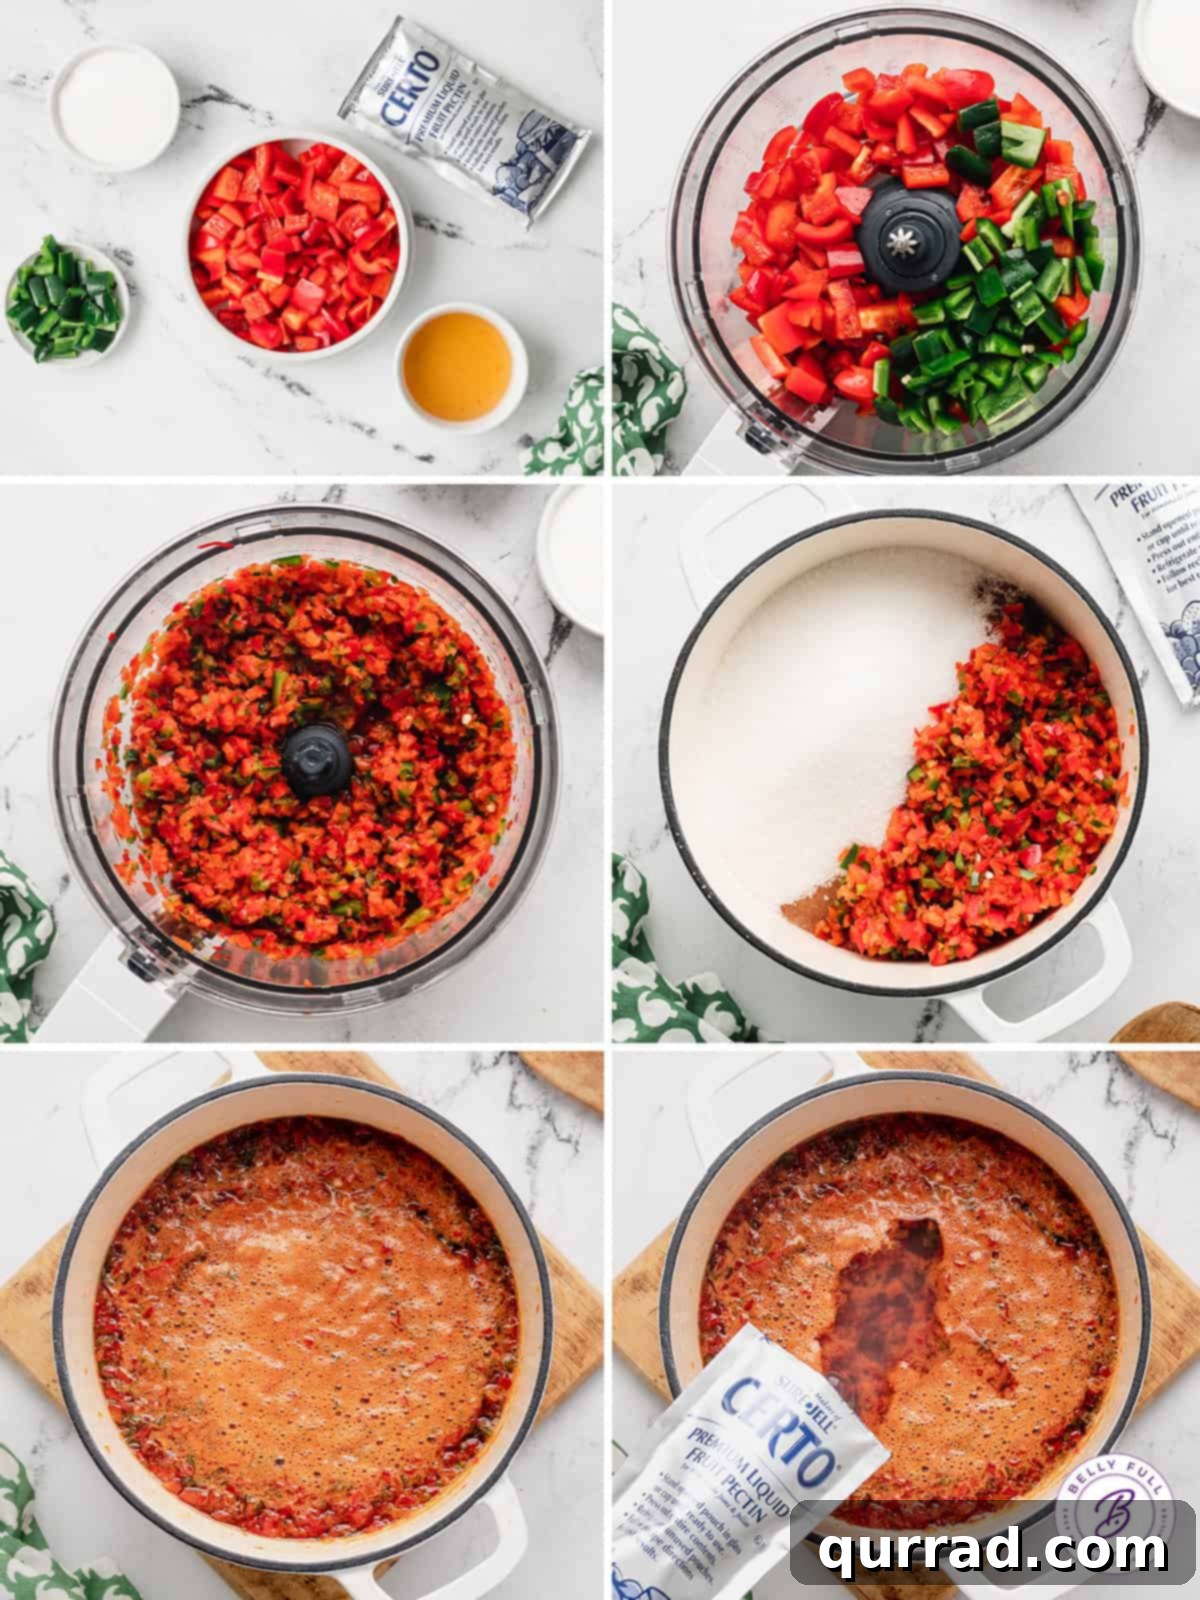
How to Make Red Pepper Jelly: Step-by-Step Guide
Even if you’re new to making homemade jams or jellies, you’ll find this red pepper jelly recipe surprisingly straightforward. The process is quick and rewarding, yielding a beautiful and delicious product. Follow these steps for success:
- Prepare the Peppers: Begin by washing your red bell peppers and jalapenos thoroughly. Remove the stems, core, and all seeds from the bell peppers. For jalapenos, you can remove seeds and membranes for milder heat or leave some in for extra spice. Roughly chop the peppers into 1-inch pieces. Transfer them to a food processor and pulse until they are very finely chopped, but be careful not to over-process them into a puree. You want small, consistent pieces. Measure exactly 2 & 3/4 cups of this finely chopped pepper mixture.
- Boil the Pepper Mixture: In a large, heavy-bottomed pot or Dutch oven, combine the measured chopped peppers, granulated sugar, and apple cider vinegar. Place the pot over medium-high heat and stir continuously as the mixture comes to a boil. Bring it to a “full rolling boil,” which means a boil that cannot be stirred down. Once it reaches this point, continue boiling vigorously for precisely 1 minute, stirring constantly to prevent scorching.
- Add Pectin and Boil Again: Immediately after the 1-minute boil, quickly stir in the entire pouch of liquid pectin. Return the mixture to a full rolling boil and, using a timer, boil for exactly 1 minute. This precise timing is crucial for the pectin to activate and set the jelly. Once the minute is up, remove the pot from the heat. Carefully skim off any foam that has formed on the surface using a spoon or ladle, as this will result in a clearer, more attractive jelly.
- Jar and Cool: Ladle the hot pepper jelly into clean jars, leaving about 1/4 inch of headspace at the top. Wipe the rims clean to ensure a good seal. Place lids and screw bands loosely on the jars. Allow the jars to cool completely at room temperature. As they cool, you’ll hear the lids “pop” as they seal. Once cool, tighten the screw bands and store the jelly in the refrigerator for up to 2-3 weeks or in the freezer for up to 4 months. If you plan for longer storage, proceed with the canning instructions below.
Mastering the Art of Canning Red Pepper Jelly for Shelf-Stability
Canning is a fantastic way to preserve your homemade red pepper jelly, allowing you to enjoy its vibrant flavors year-round without refrigeration. This process creates an airtight seal that makes the jelly shelf-stable for up to a year. While it adds a few extra steps, the method is straightforward and ensures food safety. Always prioritize cleanliness and follow these instructions carefully:
- Sterilize Jars & Lids: Before you even start making the jelly, prepare your canning jars. Wash glass canning jars thoroughly with hot, soapy water, or run them through a dishwasher on a hot cycle. To sterilize, place the clean jars in a large pot with a canning rack at the bottom. Fill the pot with water, ensuring the jars are fully submerged by at least an inch. Bring the water to a rolling boil and boil the jars for 10 minutes. Keep them hot in the boiling water until you are ready to fill them. New canning lids also need to be prepared; place them in a separate saucepan with water (do not boil them, just bring to a simmer and keep warm as per manufacturer instructions) to soften the sealing compound. Screw bands can be washed and reused, but don’t need sterilization.
- Fill Jars Properly: Once your jelly is cooked, carefully remove one hot jar from the boiling water using canning tongs, pouring the water back into the pot. Place the hot jar on a clean cutting board or heat-resistant surface. Carefully ladle the hot pepper jelly into the jar, leaving exactly 1/4 inch of headspace (the space between the top of the jelly and the rim of the jar). This headspace is critical for creating a proper vacuum seal. Use a clean, damp cloth to wipe the rim and threads of the jar thoroughly, removing any jelly residue that could prevent a seal.
- Secure the Lids: Place a warm, sterilized lid onto the clean jar rim. Then, place a screw band over the lid and tighten it “finger-tight.” This means tightening it until you feel resistance, then giving it just a small extra turn with only two fingers. Avoid over-tightening, as this can prevent air from escaping during processing, leading to buckling lids or a failure to seal.
- Process in a Water Bath: Once all jars are filled and sealed finger-tight, carefully place them back into the hot water bath canner, ensuring they are sitting on the canning rack and not directly on the bottom of the pot. Make sure the water level covers the tops of the jars by at least 1-2 inches. Bring the water back to a full, rolling boil. Once boiling, process the jars for 10 minutes. If you are at a high altitude, you may need to adjust processing times according to your local guidelines. After 10 minutes, turn off the heat and let the jars sit in the hot water for another 5 minutes before carefully removing them.
- Cool and Check Seals: Transfer the processed jars to a clean towel on a countertop or cutting board, ensuring they are not touching each other. Let them cool undisturbed for 12-24 hours. As they cool, you should hear a “ping!” sound, indicating that the lids have sealed. After 24 hours, check the seals by pressing down on the center of each lid. If the lid does not flex, it is sealed. Remove the screw bands for long-term storage. Any jars that did not seal properly should be stored in the refrigerator and consumed within a few weeks, or re-processed using a new lid if done within 24 hours.
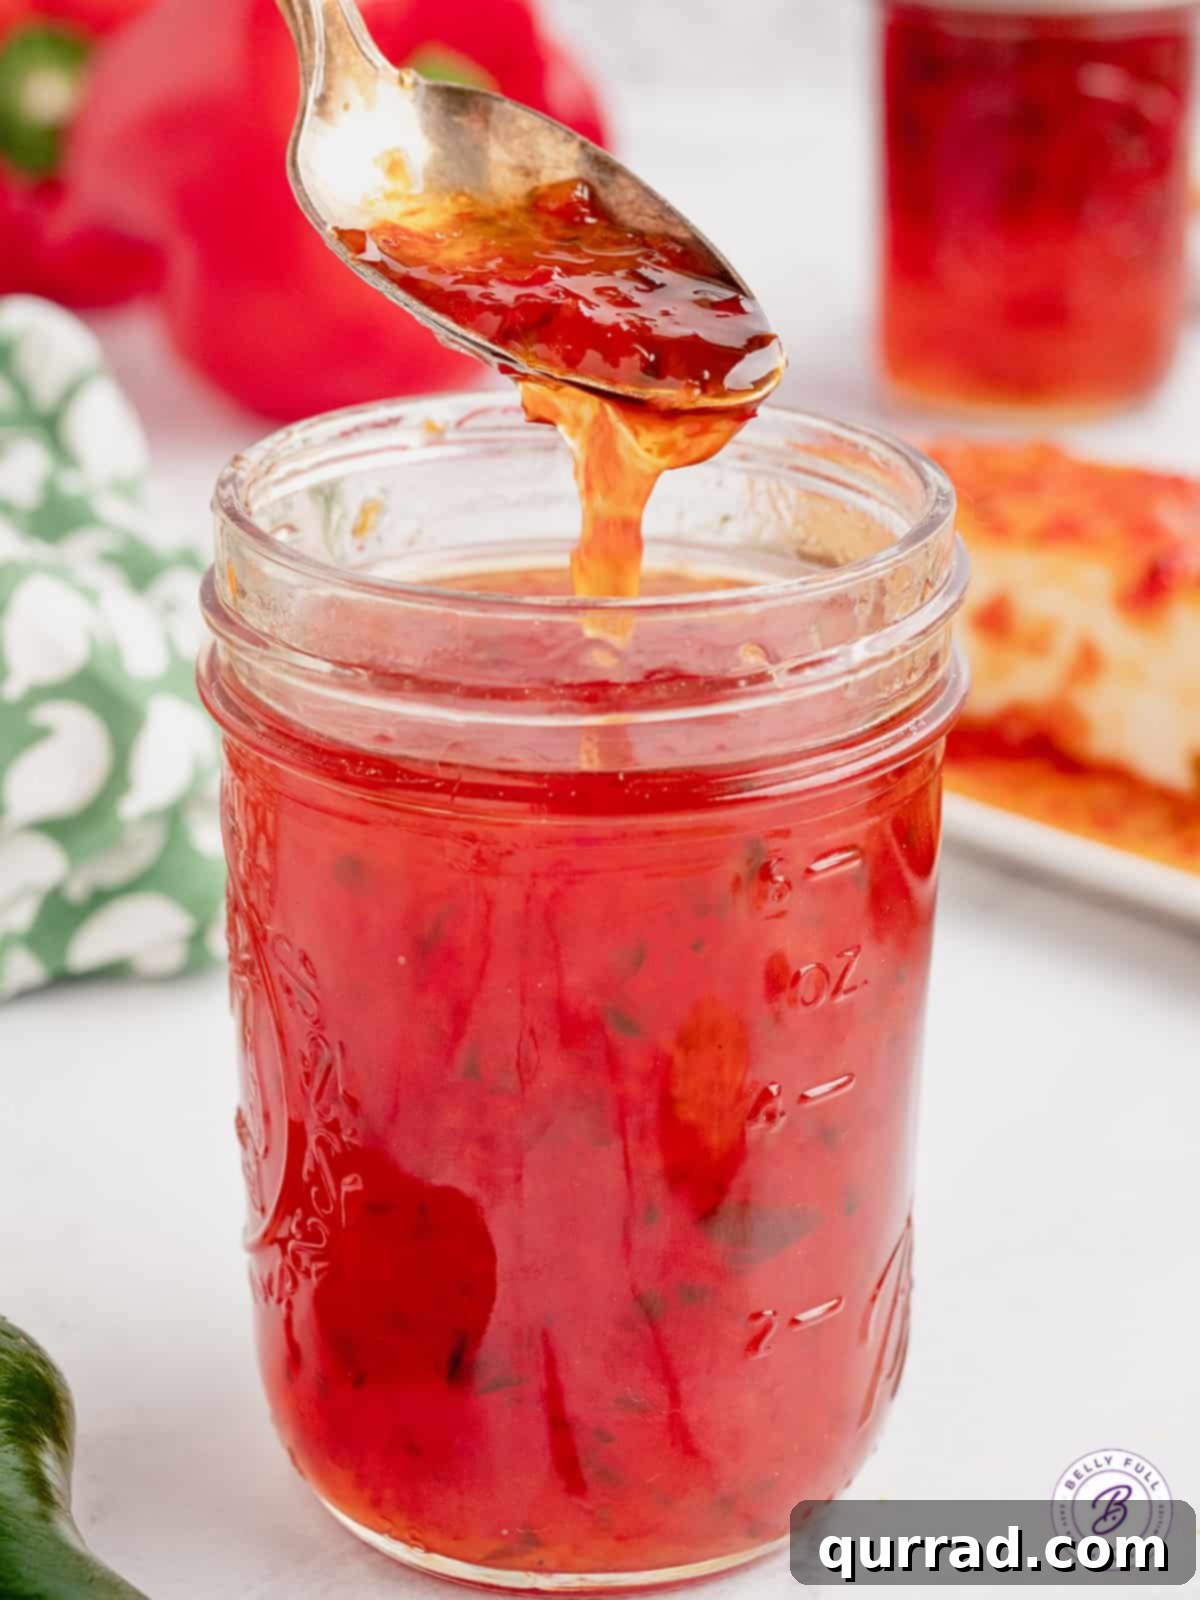
Red Pepper Jelly Troubleshooting: When Things Don’t Go as Planned
While this recipe is generally foolproof, sometimes a batch of jelly may not set exactly as expected. Don’t panic! Even experienced canners encounter this from time to time. Homemade pepper jelly naturally tends to be a bit looser than some store-bought varieties, but if it’s too runny, here’s what to do:
Why Didn’t My Jelly Set? Common Reasons:
- Incorrect Pectin Measurement: Not using the precise amount of pectin, or using an expired product, can prevent proper gelling.
- Improper Boiling Time: Boiling for too short or too long after adding pectin can affect its activation. Pectin requires specific conditions (temperature, acidity, sugar concentration, and time) to gel.
- Sugar Ratio Imbalance: Reducing the sugar amount can lead to a soft or unset jelly, as sugar is crucial for pectin’s gelling process and for preservation.
- Insufficient Acidity: The vinegar provides the acidity needed for pectin to work. Deviating from the vinegar measurement can cause issues.
How to Fix Unset Jelly:
If your jelly hasn’t set after 24 hours, don’t discard it! You can often re-process it:
- Re-boil with More Pectin: The instruction packet inside the box of liquid pectin often provides clear guidelines on how to re-set a batch of jelly. Generally, you will empty the unset jelly back into a large pot.
- Add More Ingredients: You’ll typically need to add a small amount of fresh liquid pectin, along with additional sugar and a small amount of lemon juice or vinegar to boost the acidity. Follow the pectin manufacturer’s instructions for the specific amounts.
- Boil and Test: Bring the mixture to a rolling boil again, stirring constantly, and boil for the recommended time (usually 1 minute) after adding the new pectin.
- Re-jar and Re-can: After re-boiling, ladle the jelly back into clean, sterilized jars. It is crucial to use **new lids** for any re-processed jars, as the sealing compound on used lids may not form a secure seal a second time. Screw bands can be washed and reused. Process the re-filled jars in a boiling water bath again according to the canning instructions provided above.
Even if the jelly doesn’t achieve a perfect “jelly” consistency after re-processing, it will still be delicious as a sauce or a looser spread. It will still be safe to consume as long as it has been properly canned.
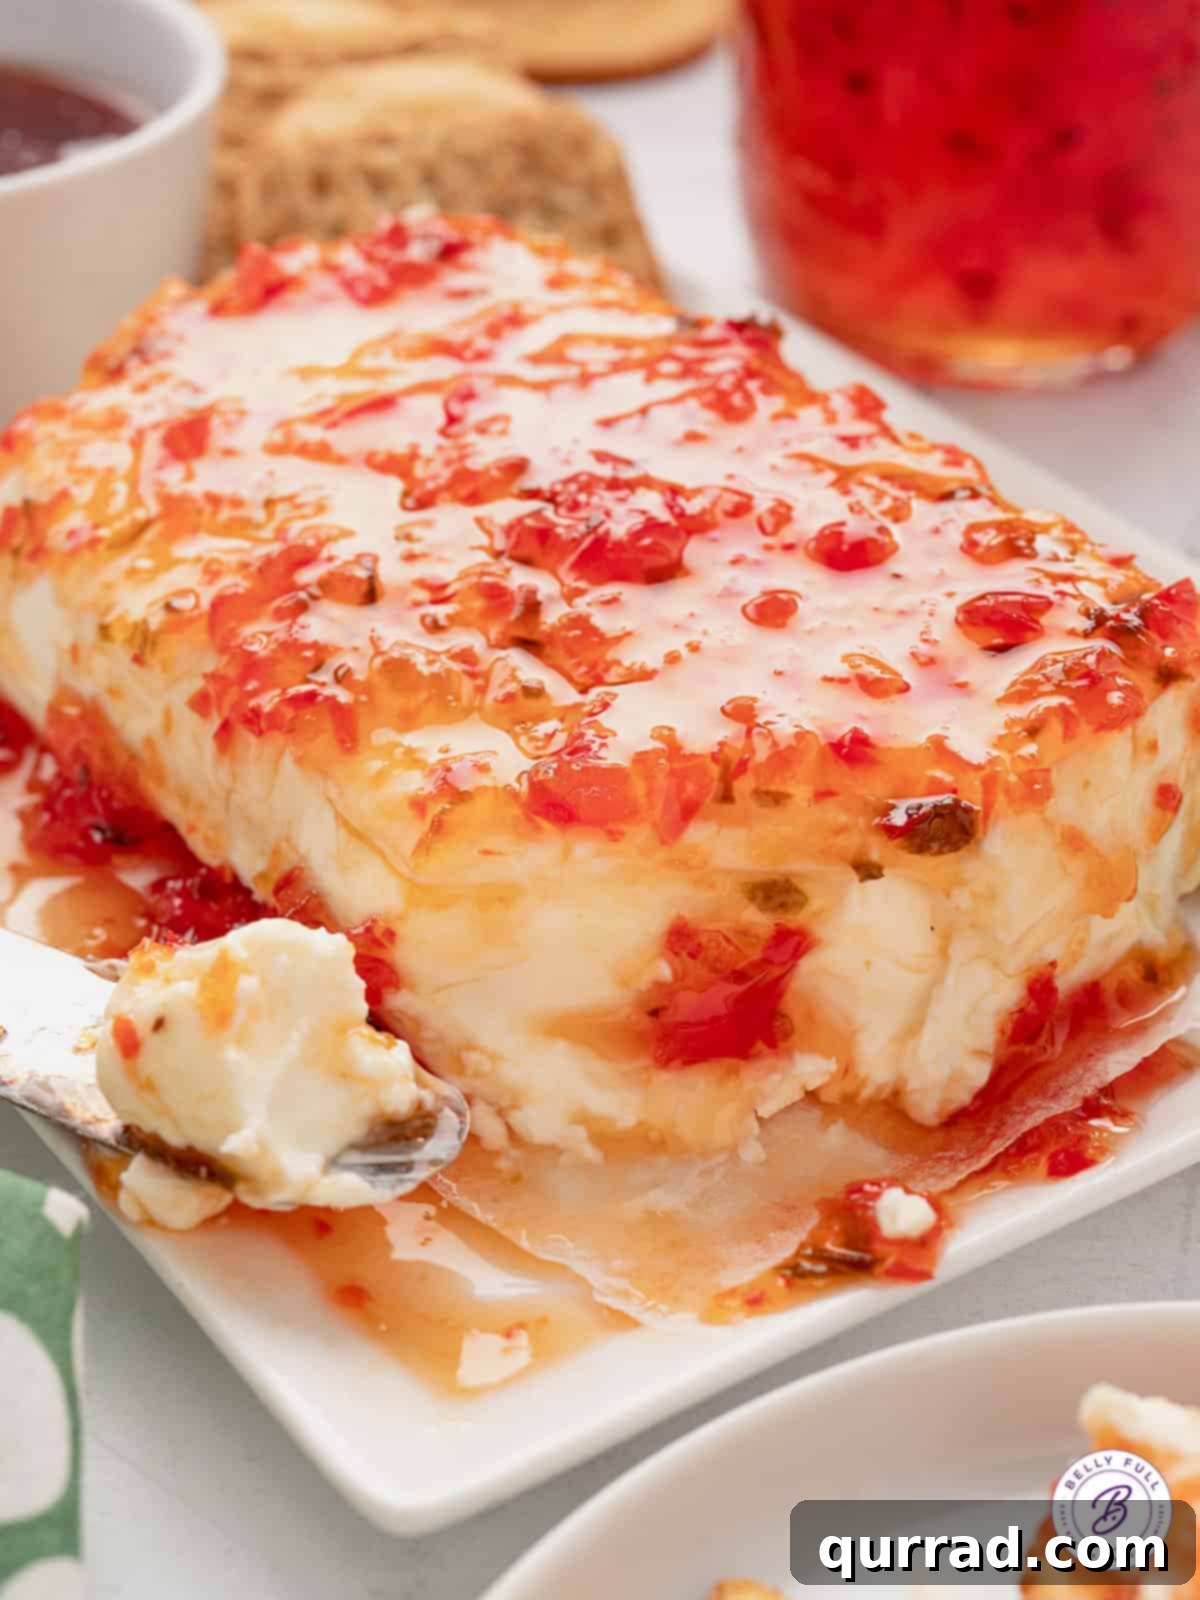
Creative Ways to Enjoy Your Red Pepper Jelly
The truly exciting aspect of red pepper jelly is its incredible versatility. Its unique sweet, tart, and spicy profile makes it a star ingredient that can elevate both sweet and savory dishes. Beyond the classic cream cheese and cracker pairing, here are numerous creative ways to savor your homemade preserve:
- Appetizers & Cheese Boards:
- Classic Cheese Spread: Serve over a block of cream cheese with an assortment of crackers – an undeniable crowd-pleaser.
- Gourmet Cheese Pairing: Fantastic with other cheeses like creamy brie (baked brie with pepper jelly is divine!), tangy goat cheese, crumbly feta, or sharp cheddar on a charcuterie board.
- Mini Tarts or Crostini: Spread on mini puff pastry shells or toasted baguette slices with a dollop of cheese.
- Cocktail Meatballs: Use it as a sweet and spicy glaze for cocktail meatballs or little smokies.
- Glazes & Marinades for Meats:
- Grilled & Roasted Meats: Brush it onto chicken wings, pork chops, salmon, or ribs during the last few minutes of cooking for a beautiful, flavorful glaze.
- Holiday Roasts: A delicious glaze for ham or turkey, adding a festive touch.
- Marinades: Incorporate it into a marinade for chicken or shrimp to add sweetness, spice, and tenderizing acidity.
- Condiment for Sandwiches & Burgers:
- Elevated Burgers: Spoon a generous amount onto beef, chicken, or veggie burgers for an unforgettable flavor boost.
- Paninis & Grilled Cheese: Add a layer to your favorite grilled cheese or panini for a sophisticated twist.
- Deli Sandwiches: Spread it on turkey, ham, or roast beef sandwiches instead of traditional mustard or mayonnaise.
- Dressings & Dips:
- Salad Dressing Base: Whisk with olive oil, a little more vinegar, and herbs for a unique vinaigrette.
- Dipping Sauce: Serve as a dipping sauce for spring rolls, chicken tenders, or even French fries.
- Breakfast & Brunch:
- Toast & Bagels: A delightful spread for toast, bagels, or English muffins.
- Waffles & Pancakes: Drizzle over waffles or pancakes for a sweet and spicy breakfast treat.
Storing Your Homemade Red Pepper Jelly
Proper storage is key to enjoying your homemade red pepper jelly safely and for as long as possible. The method depends on whether you’ve canned it for shelf-stability or not.
- Fridge or Freezer (Uncanned): Jars that have not been processed in a boiling water bath (i.e., not hermetically sealed for pantry storage) should be treated like any fresh preserve. Store them in the refrigerator for up to 2-3 weeks. For longer storage, you can transfer the jelly to freezer-safe containers and keep it in the freezer for up to 4 months. Thaw in the refrigerator before use.
- Pantry (Canned): If your red pepper jelly has been properly processed and sealed using the boiling water bath canning method (as detailed above), it can be stored in a cool, dry, dark pantry or cupboard for up to 1 year. Once a jar is opened, it must be refrigerated and consumed within 2-3 weeks.
Frequently Asked Questions (FAQ) About Red Pepper Jelly
Here are answers to some common questions about making and enjoying red pepper jelly:
- Q: Can I reduce the amount of sugar in the recipe?
A: It is strongly advised against significantly reducing the sugar. In jelly making, sugar plays a critical role not only in sweetness but also in preserving the jelly and, crucially, in aiding the pectin to set. Reducing sugar can lead to a jelly that doesn’t set properly or has a shorter shelf life. This recipe has not been tested with sugar substitutes. - Q: What if I don’t have liquid pectin? Can I use powdered pectin?
A: Liquid and powdered pectins are formulated differently and are generally not interchangeable without adjusting the recipe. This recipe specifically calls for liquid pectin. If you only have powdered pectin, you would need to find a recipe designed for powdered pectin to ensure proper setting. - Q: How spicy is this jelly?
A: The spice level in this recipe is designed to be mild to medium, providing a pleasant warmth rather than intense heat, primarily from the two jalapeno peppers. For a milder jelly, remove all seeds and membranes from the jalapenos. For more heat, you can leave some seeds in, or add an extra jalapeno. For significantly more heat, consider substituting one or both jalapenos with hotter peppers like serranos or habaneros (handle with care!). - Q: Why is skimming off the foam important?
A: Skimming off the foam after boiling helps to ensure a clear, attractive jelly. Foam can trap air bubbles and make the jelly cloudy, which doesn’t affect the taste but impacts the aesthetic appeal.
More Homemade Preserves to Explore
If you enjoyed making this red pepper jelly, you might love exploring other homemade jam and jelly recipes:
- Onion Jam
- Bacon Jam
- Raspberry Chia Seed Jam
- Peach Freezer Jam
Red Pepper Jelly Recipe Card
Red Pepper Jelly
This quick and easy Red Pepper Jelly recipe makes a beautifully balanced jam that’s sweet, tart, and a bit spicy. Enjoy over cream cheese with crackers or use it as a glaze for meat and veggies. Just 5 ingredients!
Prep Time: 20 mins
Cook Time: 2 mins
Total Time: 22 mins
Yields: 28 servings (approximately 7, 8-ounce jars – 1/4 cup per serving)
Ingredients
- 3 large red bell peppers, or 2 & 1/2 cups chopped
- 2 jalapeno peppers, or 1/4 cup chopped
- 6 & 1/2 cups granulated sugar
- 1 & 1/2 cups apple cider vinegar
- 1 pouch (3 ounce) liquid pectin
Instructions
- Remove seeds and stems from peppers and roughly chop into 1-inch pieces. Place peppers in a food processor and pulse until peppers are all very finely chopped, but not yet pureed. Measure out 2 & 3/4 cups of this pepper mixture.
- Place 2 & 3/4 cup chopped peppers, the sugar, and vinegar into a medium Dutch oven or heavy-bottom pot. Bring mixture to a full rolling boil, where it can’t be stirred down, and boil for 1 minute, stirring constantly.
- Quickly stir in the pectin pouch and return to a full rolling boil for exactly 1 minute (use a timer to ensure it boils for the full minute). Remove the pot from the heat and skim off and discard any foam that has formed on the surface.
- Ladle into clean jars and cool to room temperature, then seal the jars with their lids. You can use it right away or store it for later. (Proper storage and canning instructions for shelf-stability are included in the article above.)
Notes
The amount of sugar. It does seem like a lot of sugar, but it is necessary in order to set the jelly properly and for preservation. Also, keep in mind this recipe makes 7, 8-ounce jars, so the sugar is distributed across many servings. This recipe has not been tested with sugar substitutes.
Using different types of peppers. Any mix of peppers can be used in this pepper jelly, such as poblanos, anaheims, or orange bell peppers. You could even make it a pure jalapeno jam by using primarily jalapeno peppers. Habaneros are a good replacement for the jalapeno if you want some extra spice. The MOST important thing is that you measure your chopped peppers to 2 & 3/4 cups and keep the quantities the same to ensure proper setting.
Nutrition (per serving)
Please note that nutritional information is an automatic calculation and can vary based on the exact products you use and any changes you make to the recipe. If these numbers are very important to you, I would recommend calculating them yourself using a trusted nutrition calculator.
- Calories: 185kcal
- Carbohydrates: 47g
- Protein: 0.1g
- Fat: 0.2g
- Saturated Fat: 0.01g
- Polyunsaturated Fat: 0.02g
- Monounsaturated Fat: 0.001g
- Sodium: 2mg
- Potassium: 40mg
- Fiber: 0.4g
- Sugar: 47g
- Vitamin A: 410IU
- Vitamin C: 18mg
- Calcium: 2mg
- Iron: 0.1mg
Did you make this? Leave a rating below!