
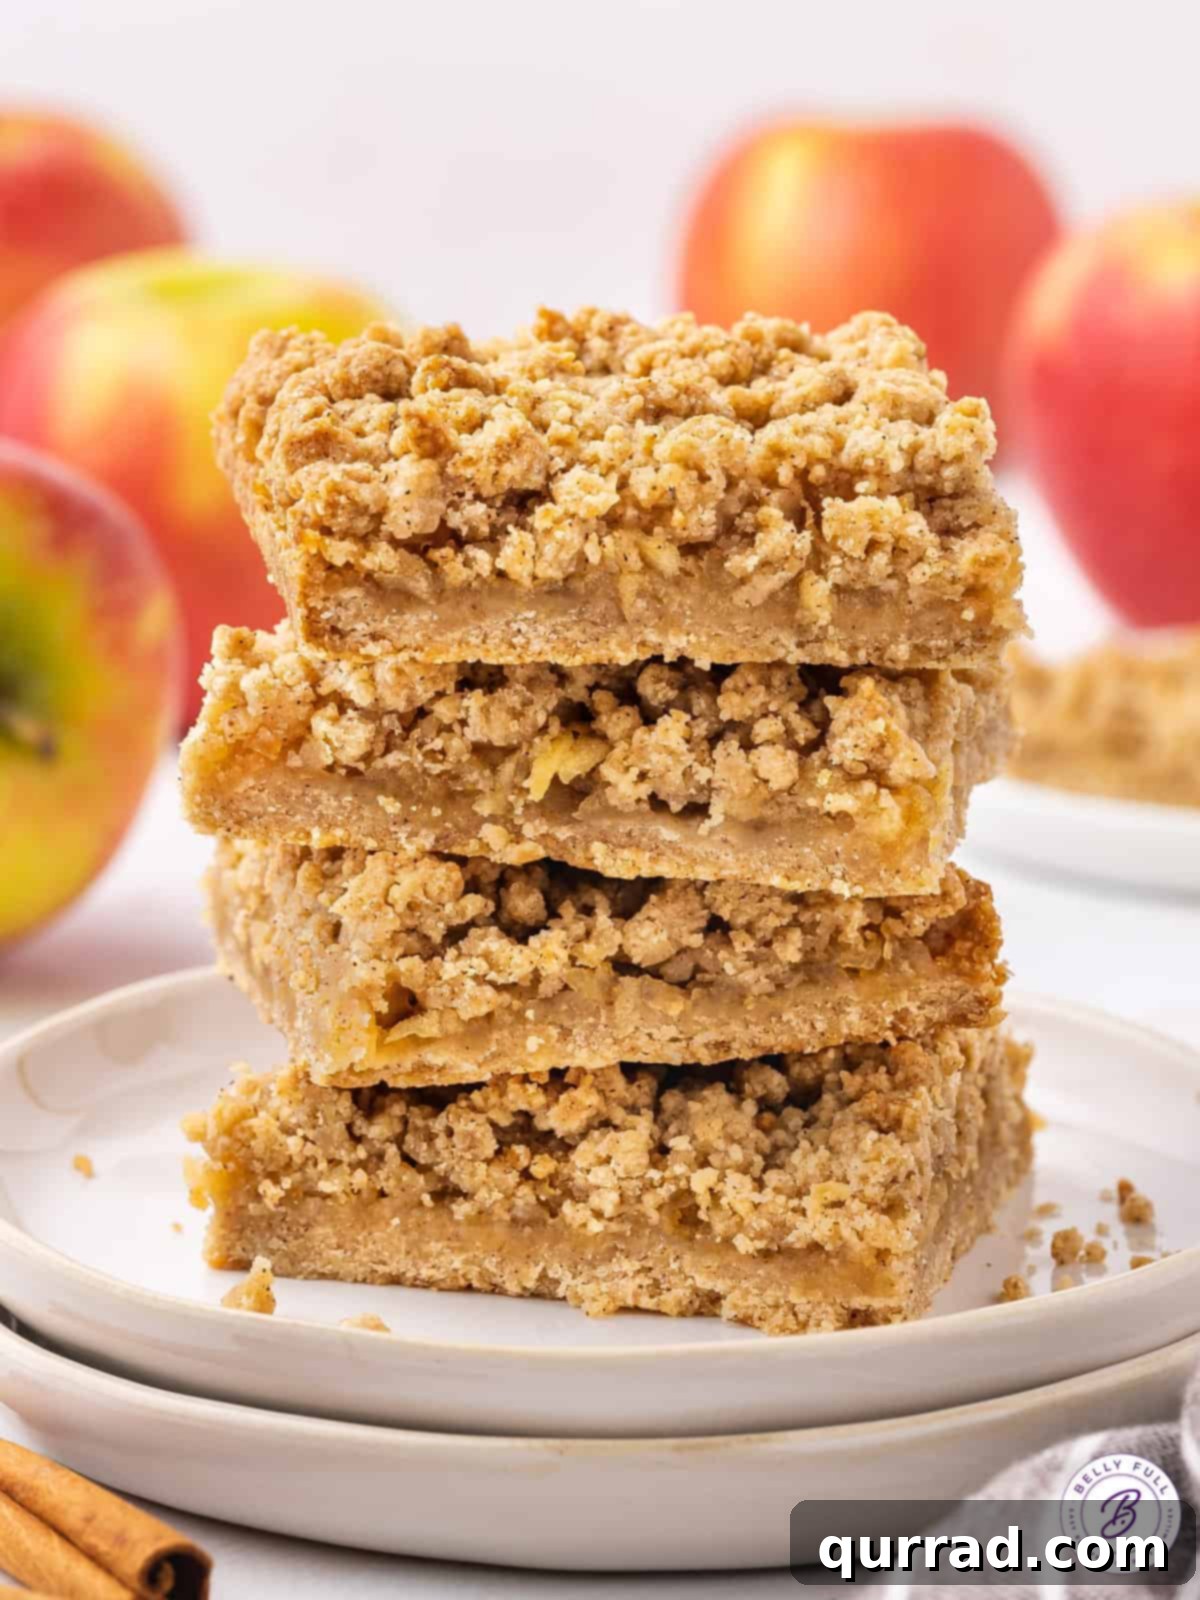
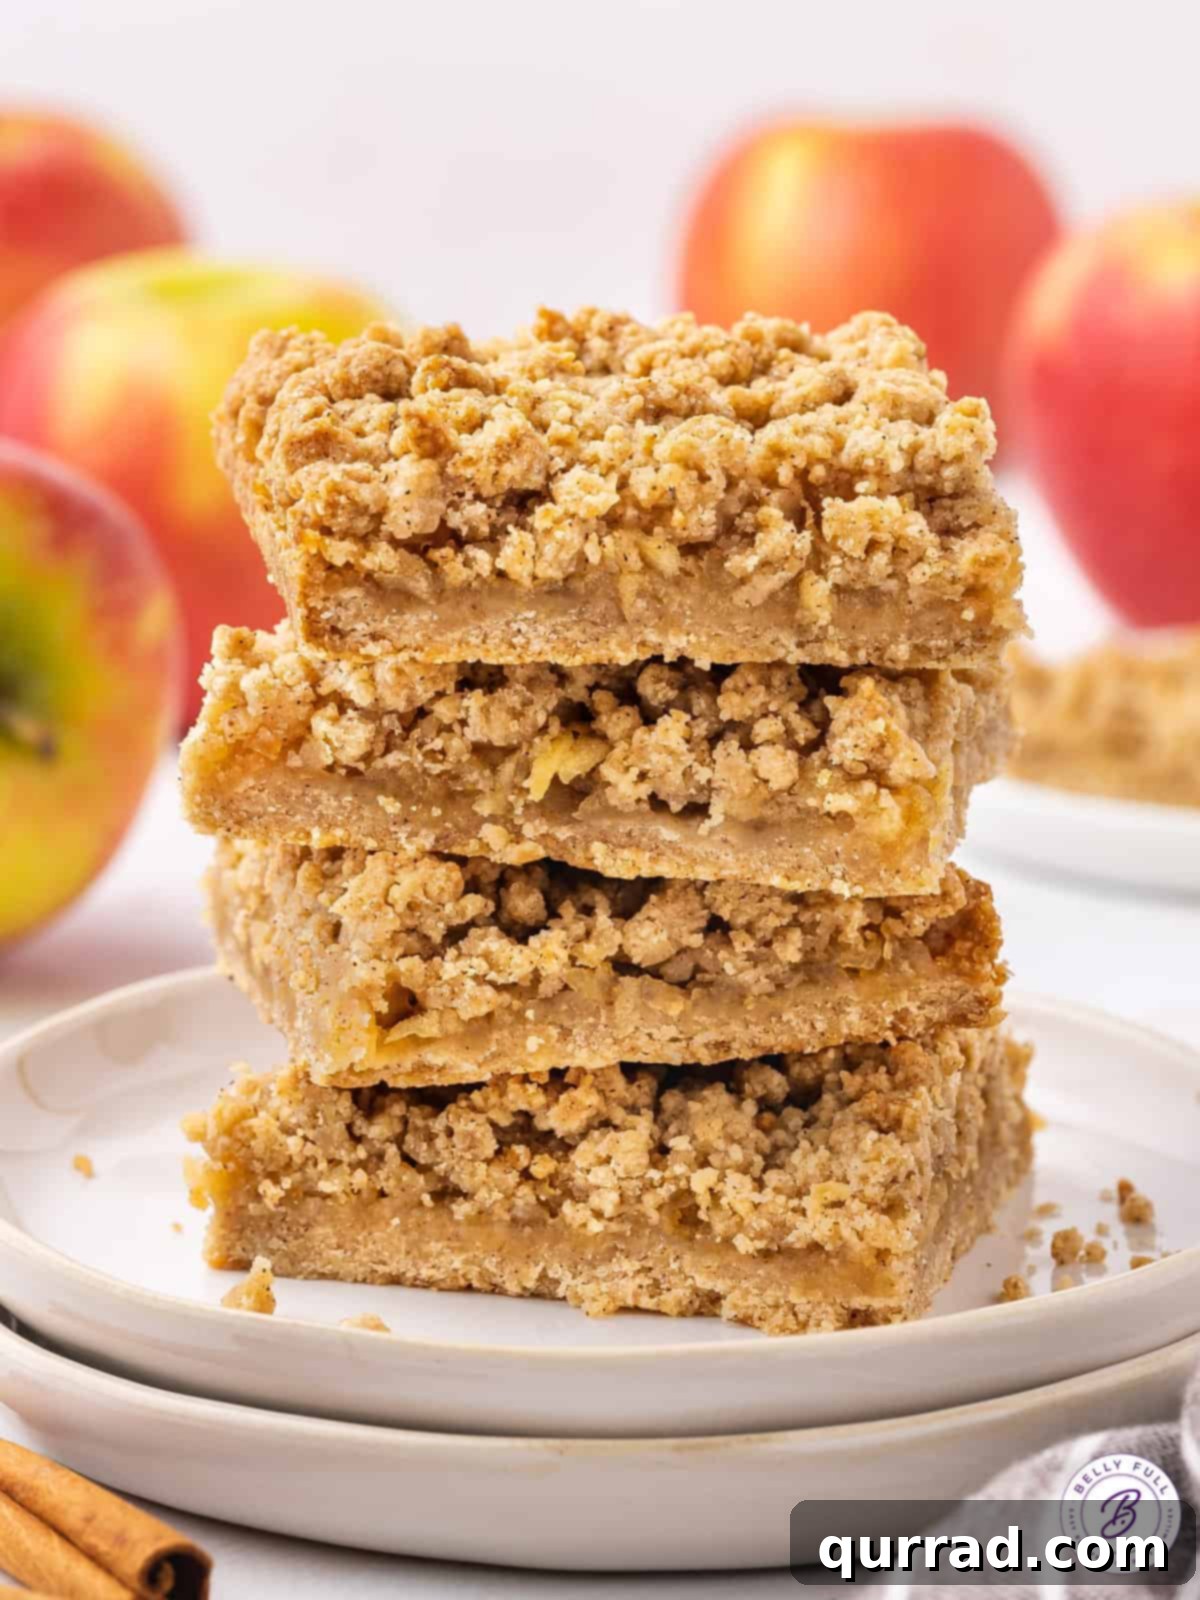
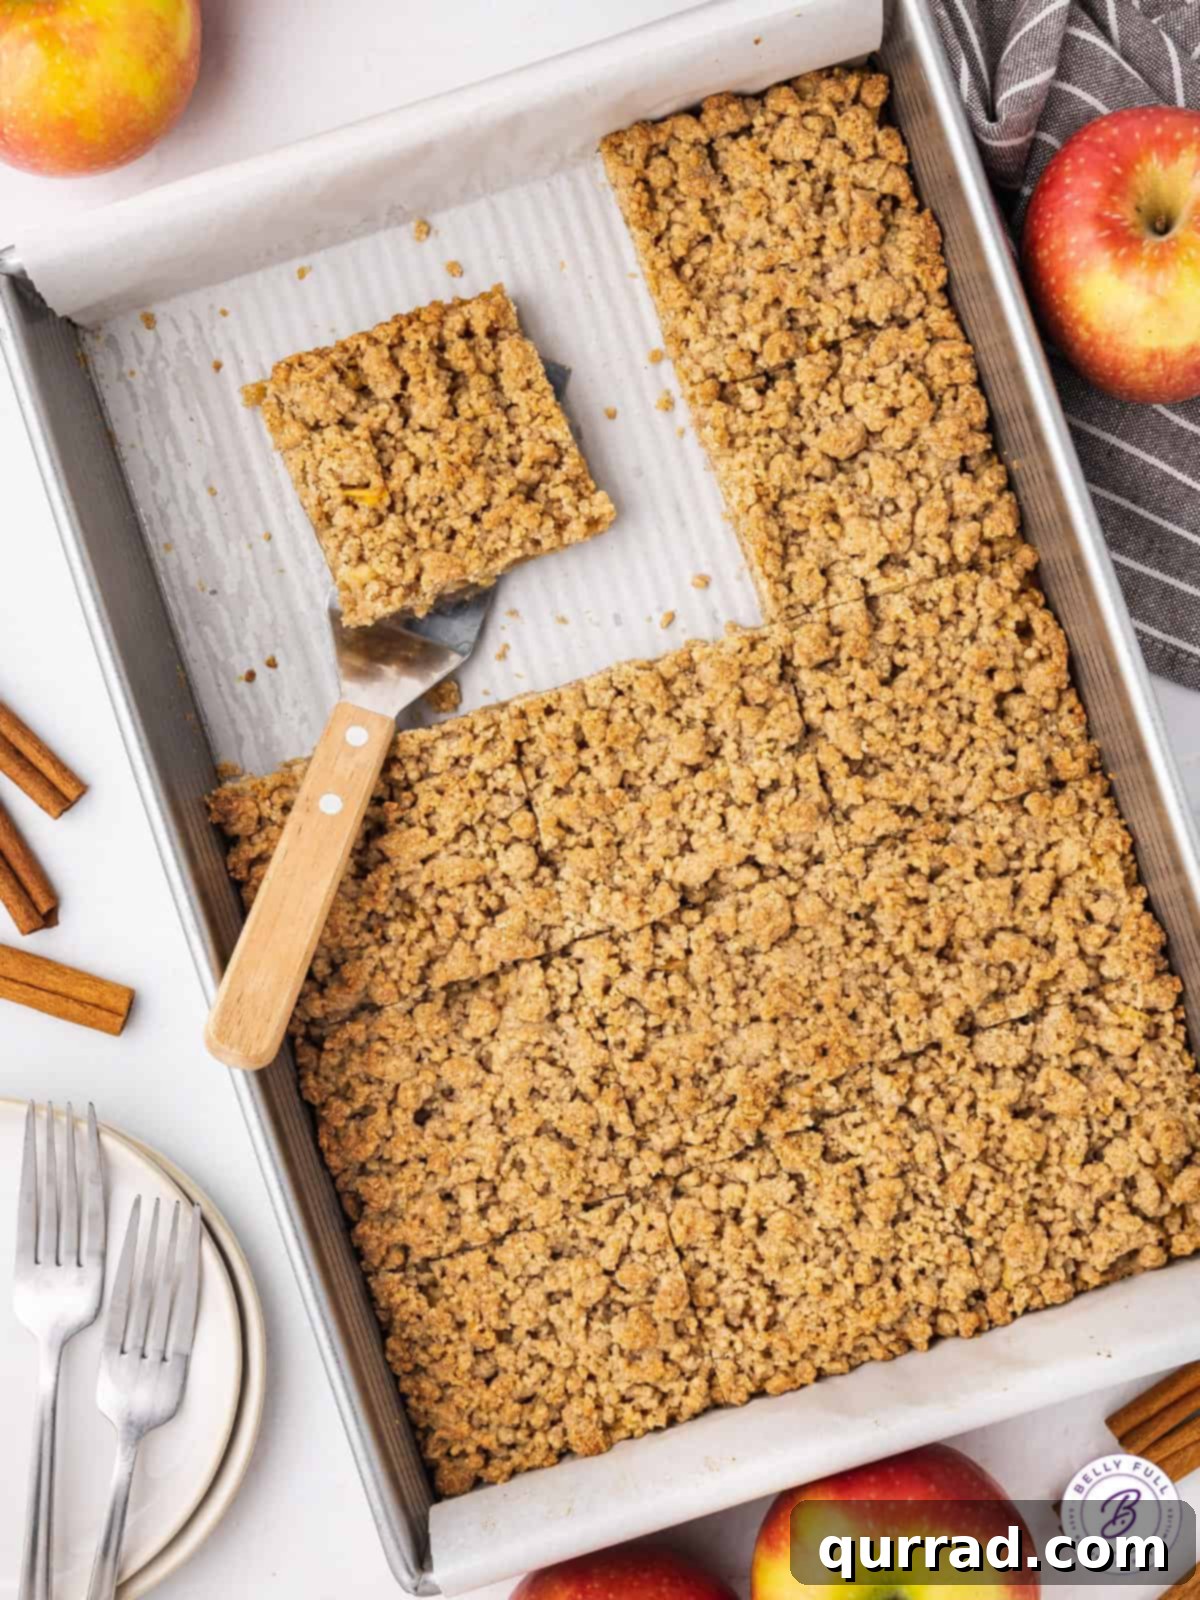
Welcome to the ultimate guide for creating the most delicious and effortlessly charming dessert: Apple Pie Bars! Imagine all the comforting flavors of a classic apple pie, but transformed into a convenient, handheld square. These irresistible dessert bars feature a rich, buttery crumble forming both the crisp bottom crust and the golden, crumbly topping, sandwiching a generous layer of tender, cinnamon-spiced shredded apples. They are truly the perfect no-fuss treat for any occasion, especially ideal for fall gatherings, holiday celebrations, or simply enjoying the bounty of apple season.
5 STAR REVIEW
“I made these today and they were delicious!! I even took some to my husband’s work while still a little warm and he said they got rave reviews! Definitely a keeper! Thanks for sharing.” – Jen
Easy Apple Pie Bars: A Recipe for Fall’s Favorite Treat
Fall holds a particularly special place in my heart, largely due to my October wedding in a picturesque apple orchard. Every year, as the leaves begin to turn and the air grows crisp, my husband and I embark on our annual pilgrimage back to that very orchard. It’s not to renew our vows, though the sentiment remains; it’s a cherished tradition to immerse ourselves in the season’s finest offerings. We fill our baskets with fresh apple cider, warm apple donuts, classic apple pies, and an abundance of crisp apples – enough to last us through countless batches of my favorite fall recipes. From simmering homemade applesauce to crafting a batch of fluffy baked apple fritters, and of course, these irresistible Apple Pie Bars, our kitchen becomes a hub of autumnal delight.
When it comes to baking, I often gravitate towards Pink Lady and Honeycrisp apples for their perfect balance of sweetness and tartness, and their ability to hold up beautifully during baking. However, the beauty of this recipe is its versatility; virtually any apple variety you have on hand will yield a delicious result. The core of these Apple Pie Bars lies in taking my absolute favorite pie crumble topping and ingeniously using it to create both a sturdy, flavorful base and a golden, crunchy top. Sandwiched in between are layers of fresh, shredded apples, generously seasoned with cinnamon, transforming humble ingredients into an extraordinary dessert.
These Easy Apple Pie Bars are more than just a recipe; they are an embodiment of the fall season. They’re perfect for Thanksgiving dessert tables, casual autumn potlucks, or simply to celebrate the peak of apple season. Beyond their delectable taste, they possess another magical quality: baking them fills your home with the most intoxicating aroma of cinnamon and baked apples, a scent that instantly conjures feelings of warmth, comfort, and hearthside happiness. It’s an experience that truly defines the essence of autumn baking.
★
★
★
★
Apple Pie Bars
15
30
45
15 bars
Pin
Step-by-step photos can be seen below the recipe card for visual guidance.
Ingredients
- 3 cups all-purpose flour, spooned and leveled
- ¾ cup packed brown sugar
- ¾ cup granulated sugar, divided
- 2 tsp cinnamon, or use apple pie spice
- ¼ tsp salt
- 1 large egg
- 1 cup cold unsalted butter, cut into small pieces
- 2 tsp cornstarch
- 4 medium apples, cored and grated, no need to peel
Instructions
-
Preheat your oven to 375°F (190°C). Prepare a 9×13 inch baking dish by lining it with parchment paper, allowing a slight overhang on the two longer sides. This overhang will serve as a convenient “sling” for lifting the cooled bars out of the pan. If parchment paper isn’t available, you can lightly coat the pan with nonstick cooking spray.
-
In a spacious medium bowl, combine the dry ingredients for your crumble: 3 cups of all-purpose flour, ¾ cup of packed brown sugar, ¼ cup of the granulated sugar (reserving the rest for the apple filling), 2 teaspoons of ground cinnamon (or your preferred apple pie spice blend), and ¼ teaspoon of salt. Once thoroughly mixed, add the large egg and 1 cup of cold unsalted butter, cut into small, even pieces. Using a pastry blender or your fingertips, work the butter and egg into the dry mixture until pea-sized clumps form and almost no loose flour remains. This step is crucial for achieving that signature crumbly texture. Press exactly half of this mixture evenly into the bottom of your prepared baking pan, forming a firm crust.
-
In a separate bowl, prepare your flavorful apple filling. Stir together the remaining ½ cup granulated sugar and 2 teaspoons of cornstarch. Next, take your grated apples. It’s important to gently squeeze out any excess liquid from the grated apples using your hands to prevent a soggy filling. Once squeezed, mix the apples into the sugar and cornstarch mixture until they are thoroughly coated and combined. Evenly sprinkle this apple mixture over the pressed crust in your baking pan. Finally, take the remaining half of your crumble dough and generously sprinkle it over the top of the apple layer, creating a beautiful, textured topping.
-
Place the baking dish into your preheated oven. Bake for approximately 25-30 minutes, or until the top crumble layer achieves a beautiful, golden-brown hue and the apples are tender. Keep an eye on it to prevent over-browning.
-
Once baked, remove the pan from the oven and allow the Apple Pie Bars to cool completely on a wire rack. This step is vital for the bars to set properly and make for clean, easy cutting into individual squares. Patience is key here for the best results! Then, slice and savor every delicious bite.
Video Tutorial
For a visual guide on making these delicious Apple Pie Bars, watch our step-by-step video tutorial!

(Note: The original video player functionality requires JavaScript. This is a static placeholder.)
Nutrition Information (per bar)
Nutritional information given is an automatic calculation and can vary based on the exact products you use and any changes you make to the recipe. If these numbers are very important to you, I would recommend calculating them yourself.
Did you make this? Leave a rating below!
How to Make Apple Pie Bars: Step-by-Step Visual Guide
Creating these delightful Apple Pie Bars is surprisingly simple, and these step-by-step photos will guide you through each stage, ensuring a perfect batch every time. From preparing your baking dish to mastering the crumble layers and assembling the apple filling, you’ll find it easy to recreate this fall favorite in your own kitchen.
Step 1: Get the Oven Going and Prepare a Baking Dish
Begin by preheating your oven to 375°F (190°C). Then, line a 9×13 inch baking dish with parchment paper, leaving a slight overhang on the two longer sides. This parchment “sling” will make it incredibly easy to lift the cooled bars out of the pan for neat slicing. If parchment paper isn’t on hand, a light coating of nonstick cooking spray will also work.
Step 2: Craft the Perfect Crumble Layers
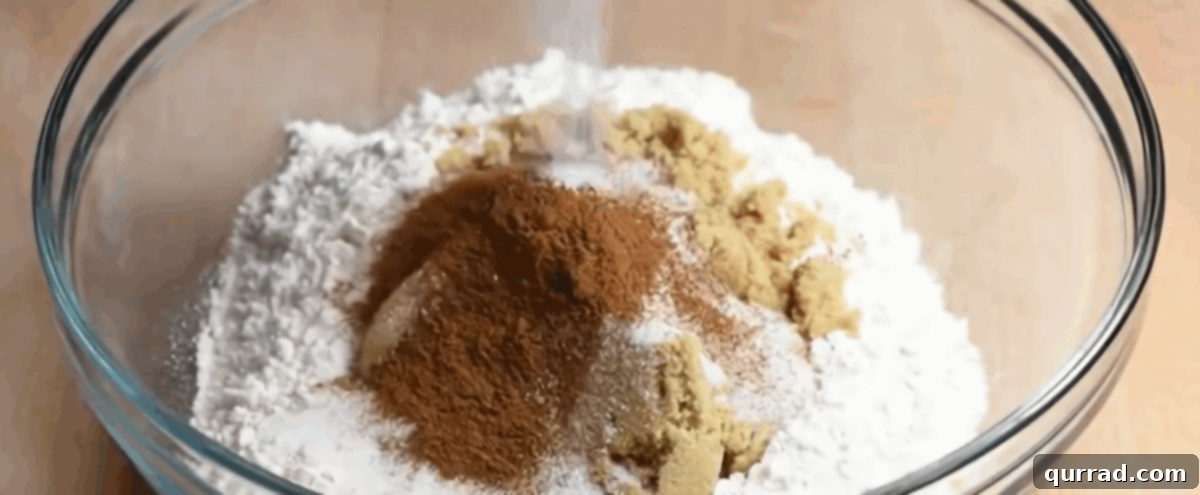
In a large mixing bowl, combine 3 cups of all-purpose flour, ¾ cup of packed brown sugar, ¼ cup of the granulated sugar, 2 teaspoons of cinnamon, and ¼ teaspoon of salt. Whisk these dry ingredients together thoroughly. Next, add the large egg and 1 cup of cold unsalted butter, which you’ve cut into small pieces. Using a pastry blender or your clean hands, work the butter and egg into the dry mixture. Continue until the mixture resembles coarse crumbs with pea-sized clumps and very little loose flour remains. This is your delicious crumble dough! Press half of this mixture evenly and firmly into the bottom of your prepared baking pan to form the base crust for your apple pie bars.
Step 3: Prepare and Layer the Apple Filling
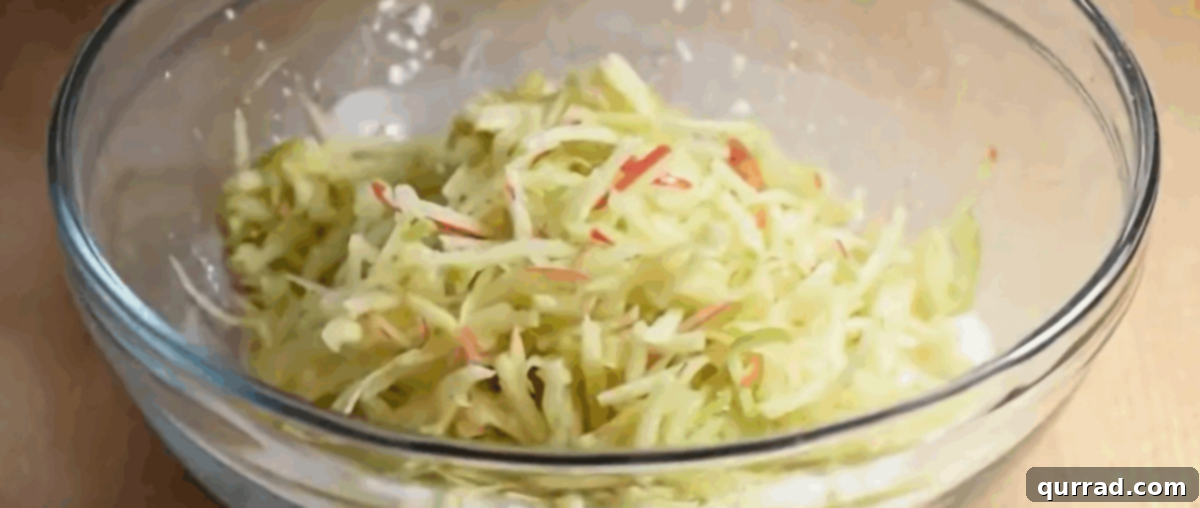
In a separate bowl, stir together the remaining ½ cup of granulated sugar and 2 teaspoons of cornstarch. This cornstarch will help thicken the apple juices, preventing a watery filling. Next, take your grated apples. It’s a crucial step to use your hands to firmly squeeze out any excess liquid from the grated apples. This prevents the bars from becoming soggy. Once the apples are drained, mix them thoroughly into the sugar and cornstarch mixture until every strand is coated. Carefully and evenly sprinkle this delightful apple mixture over the pressed crumble crust in your baking pan.
Step 4: Finish the Top Layer and Bake to Golden Perfection
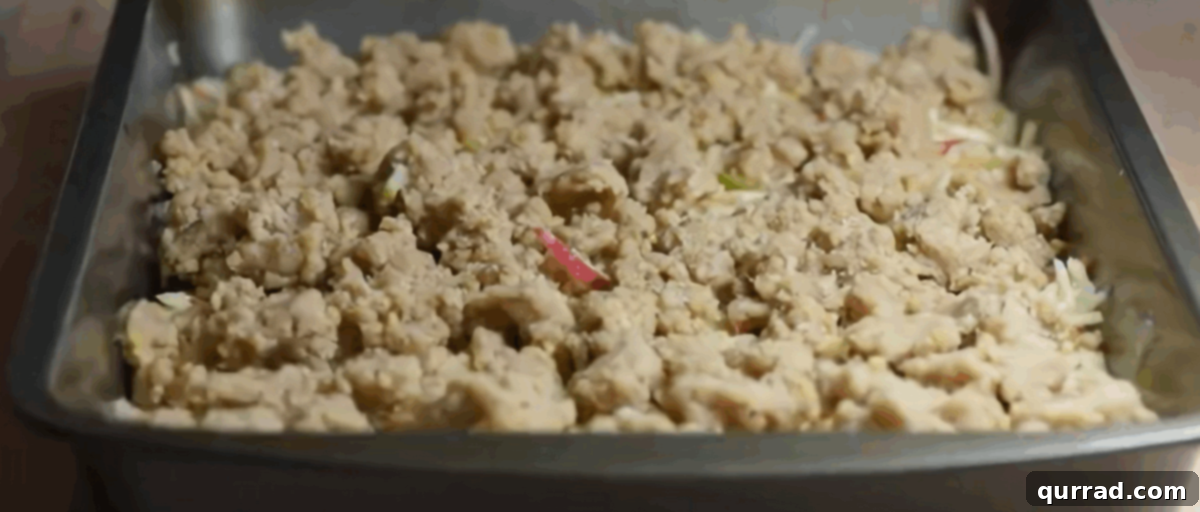
Now, take the remaining half of your delicious crumble dough and generously crumble it over the top of the apple layer. Ensure an even distribution for a consistent texture. Place the pan in your preheated 375°F (190°C) oven and bake for approximately 25 to 30 minutes, or until the top crumble layer turns a beautiful golden brown and the apples underneath are tender and bubbling. The aroma filling your kitchen will be absolutely incredible!
Step 5: Cool Completely and Indulge
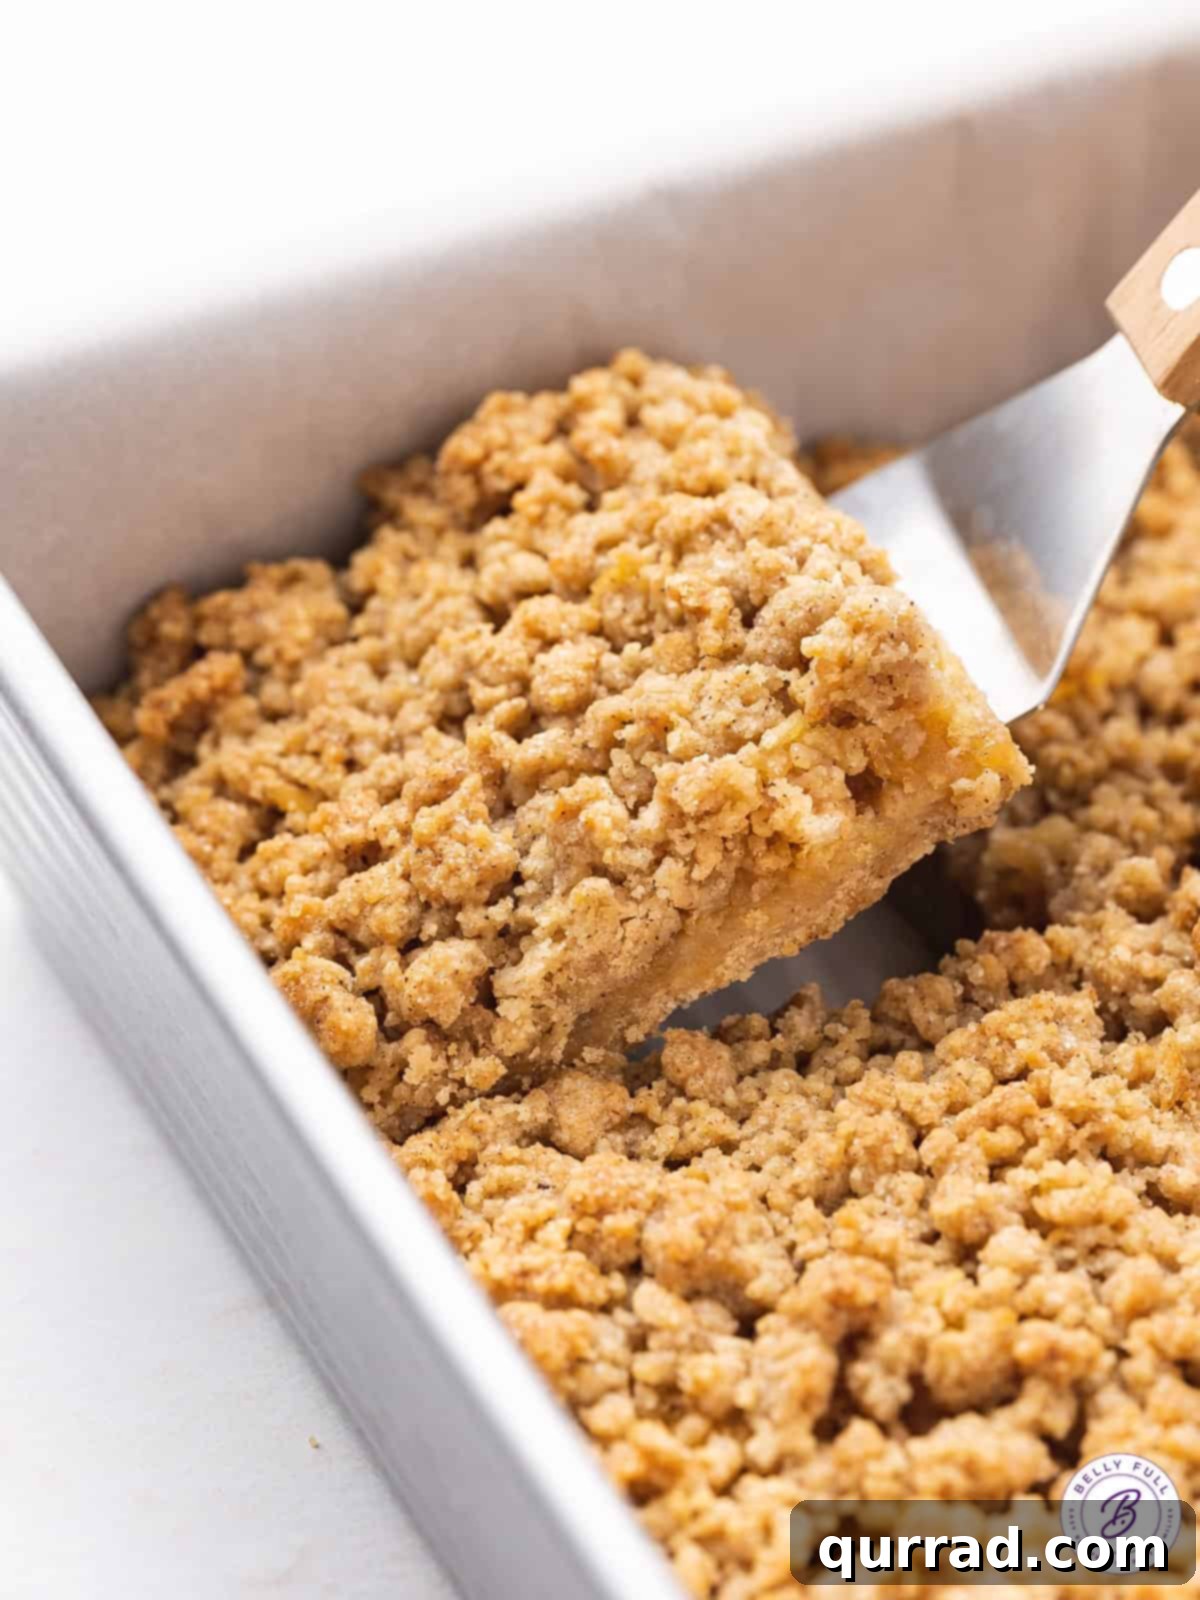
Once your apple pie bars are out of the oven, the hardest part is waiting! It’s essential to let them cool completely in the pan on a wire rack. This allows the filling to set and the crumble to firm up, making them much easier to cut into neat squares. Patience will be rewarded with perfectly structured, delectable bars. Once cool, simply lift them out using the parchment paper overhang, cut into your desired serving size, and enjoy every flavorful bite!
How to Store Apple Pie Bars for Lasting Freshness
One of the many advantages of these Apple Pie Bars is their excellent shelf life and adaptability to various storage methods, making them perfect for meal prep or enjoying over several days. Proper storage ensures they retain their delicious texture and flavor.
Countertop Storage: Once your apple bars have cooled completely to room temperature, you can store them in an airtight container on your kitchen counter. For optimal freshness and to prevent them from drying out, consider wrapping each individual bar snugly in plastic wrap before placing them in the container. They will maintain their quality and delightful texture on the counter for up to 2 days, making them a fantastic grab-and-go snack or dessert.
Refrigerator Storage: If you’re looking to extend their freshness a bit longer, leftovers can be stored in the refrigerator. Place them in an airtight container or wrap them individually in plastic wrap and then store them in the fridge for up to 5 days. When you’re ready to enjoy them again, I recommend allowing them to come closer to room temperature before serving, as this enhances their flavor and softens the crumble slightly. A quick zap in the microwave (10-15 seconds) can also warm them up beautifully.
Freezing for Long-Term Enjoyment: These Apple Pie Bars freeze exceptionally well, which is great news for preparing ahead or saving some for later cravings. To freeze, ensure the bars are completely cool. You can either freeze them as a whole slab (if the container fits) or, ideally, cut them into individual squares first. Place the squares on a baking sheet lined with parchment paper and freeze for about 1-2 hours until solid. This flash-freezing prevents them from sticking together. Once solid, transfer the frozen bars to a freezer-safe airtight container or heavy-duty freezer bags. They will keep beautifully for up to 2 months. To thaw, simply transfer them from the freezer to the refrigerator overnight. Bring them to room temperature before serving, or warm gently in the oven for a freshly baked feel.
Elevate Your Apple Pie Bars: Delightful Serving Suggestions
While these Apple Pie Bars are perfectly wonderful on their own – a truly great portable dessert that doesn’t strictly require a fork or plate – you can certainly elevate them into a more decadent experience. Think of them as individual slices of apple pie, ready to be dressed up!
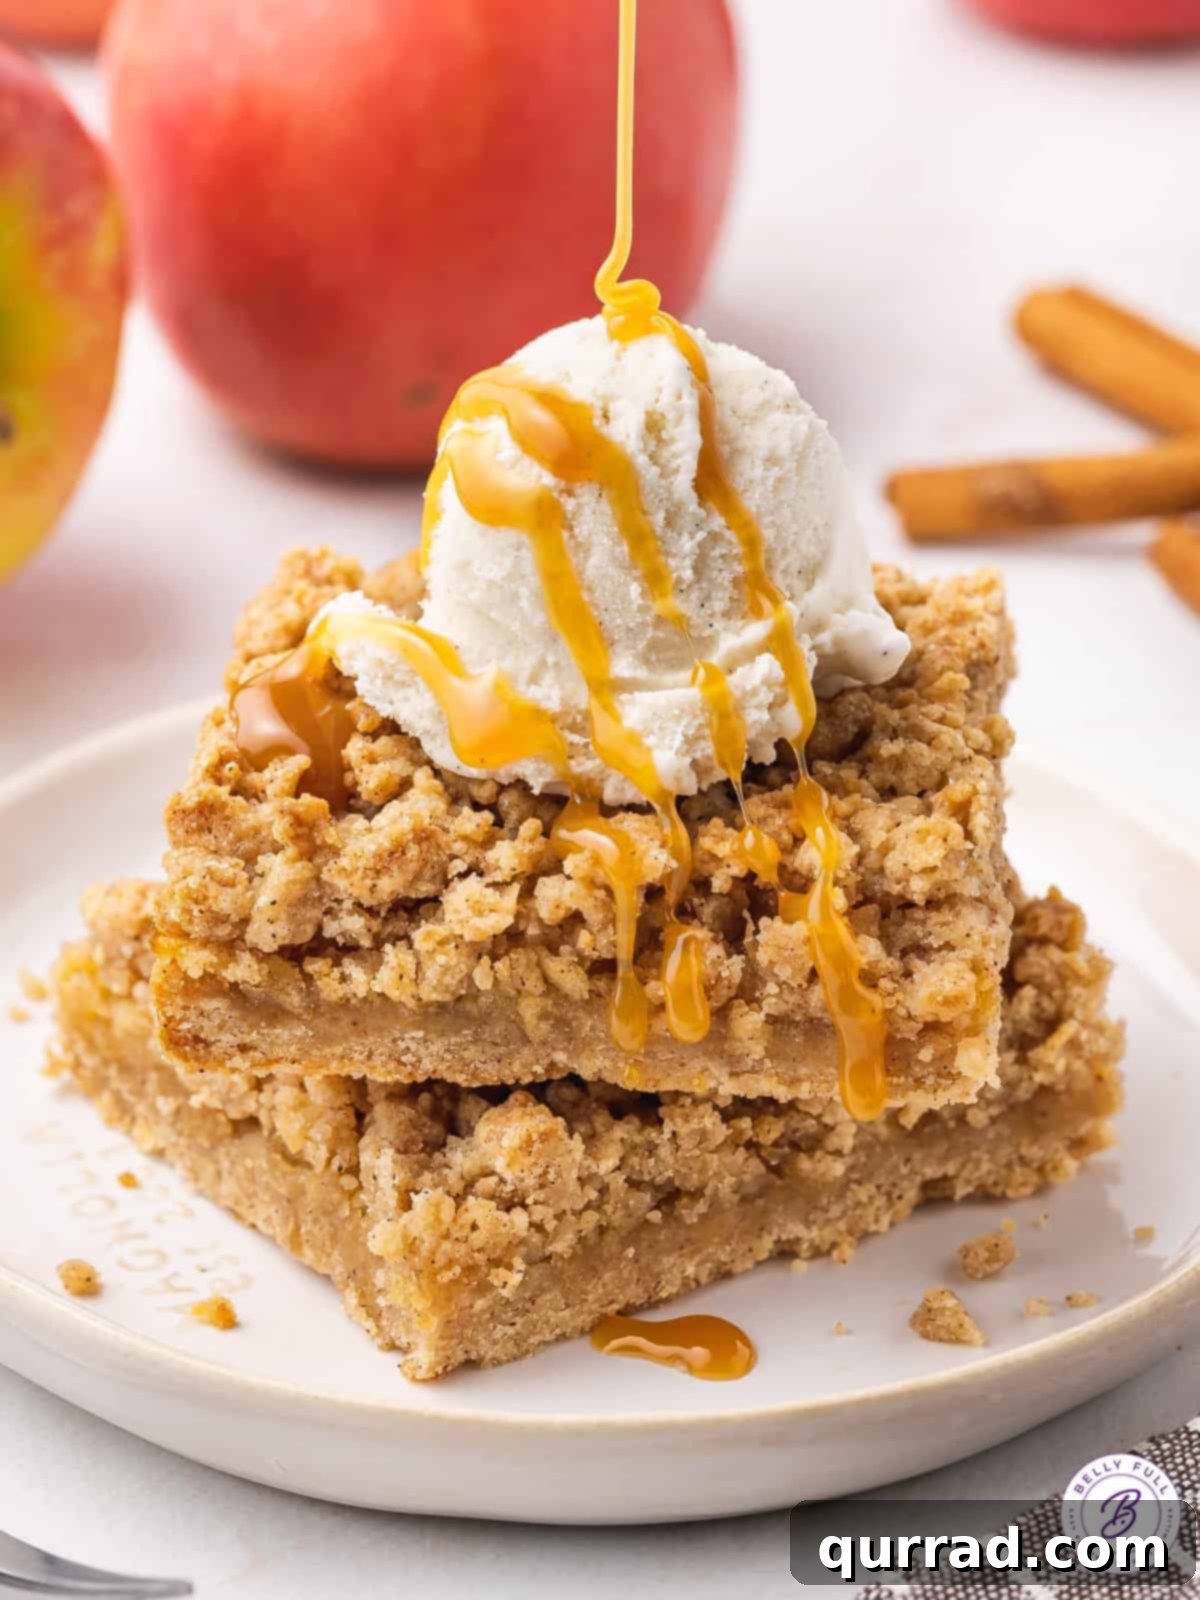
For a classic pairing, I absolutely love serving these warm apple bars with a generous scoop of creamy vanilla ice cream. The cold, melting ice cream against the warm, cinnamon-spiced apples is an unbeatable combination. If you’re feeling a bit adventurous, a scoop of rocky road ice cream offers a fun textural contrast with its nuts and marshmallows.
Another fantastic option is a dollop of freshly made whipped cream. Its lightness and subtle sweetness perfectly complement the rich flavors of the apple bars. For the ultimate indulgence, finish with a luxurious drizzle of homemade caramel sauce. The sweet, buttery caramel adds another layer of complexity that is simply divine.
You can also crumble a few extra pecans or walnuts over the top for added crunch, or sprinkle a tiny bit of flaky sea salt to bring out the sweetness of the caramel. These bars are also fantastic with a dusting of powdered sugar or a simple vanilla glaze for an extra touch of sweetness and visual appeal. Whether enjoyed simply with a cup of coffee or dressed to impress for a special occasion, these Apple Pie Bars are sure to be a crowd-pleaser.
Explore More Irresistible Apple Desserts
If you’ve fallen in love with these Apple Pie Bars, you’re in for a treat! The world of apple desserts is vast and wonderful, offering a delightful array of flavors and textures perfect for any time of year, but especially during the abundant fall season. From handheld delights to impressive cakes, there’s an apple creation for every craving and occasion. Here are some of my other cherished apple recipes that I highly recommend you try:
- Air Fryer Apple Hand Pies: Perfectly portable, flaky, and golden, these individual pies are a joy to make and eat.
- Caramel Apple Sheet Cake: A moist, tender cake studded with apples and drenched in a rich caramel glaze – ideal for feeding a crowd.
- Baked Apple Cider Donuts: Capture the essence of an apple orchard visit with these soft, spiced donuts, perfect with your morning coffee.
- Easy Apple Cake: A simple yet satisfying cake that lets the natural sweetness and texture of apples shine through.
- Easy Apple Dumplings: Individual baked apples wrapped in a tender pastry, swimming in a buttery cinnamon sauce.
Whether you’re hosting a holiday feast, looking for a comforting weeknight dessert, or simply celebrating the incredible versatility of apples, these recipes, along with our beloved Apple Pie Bars, will surely bring warmth and deliciousness to your table. Happy baking!