
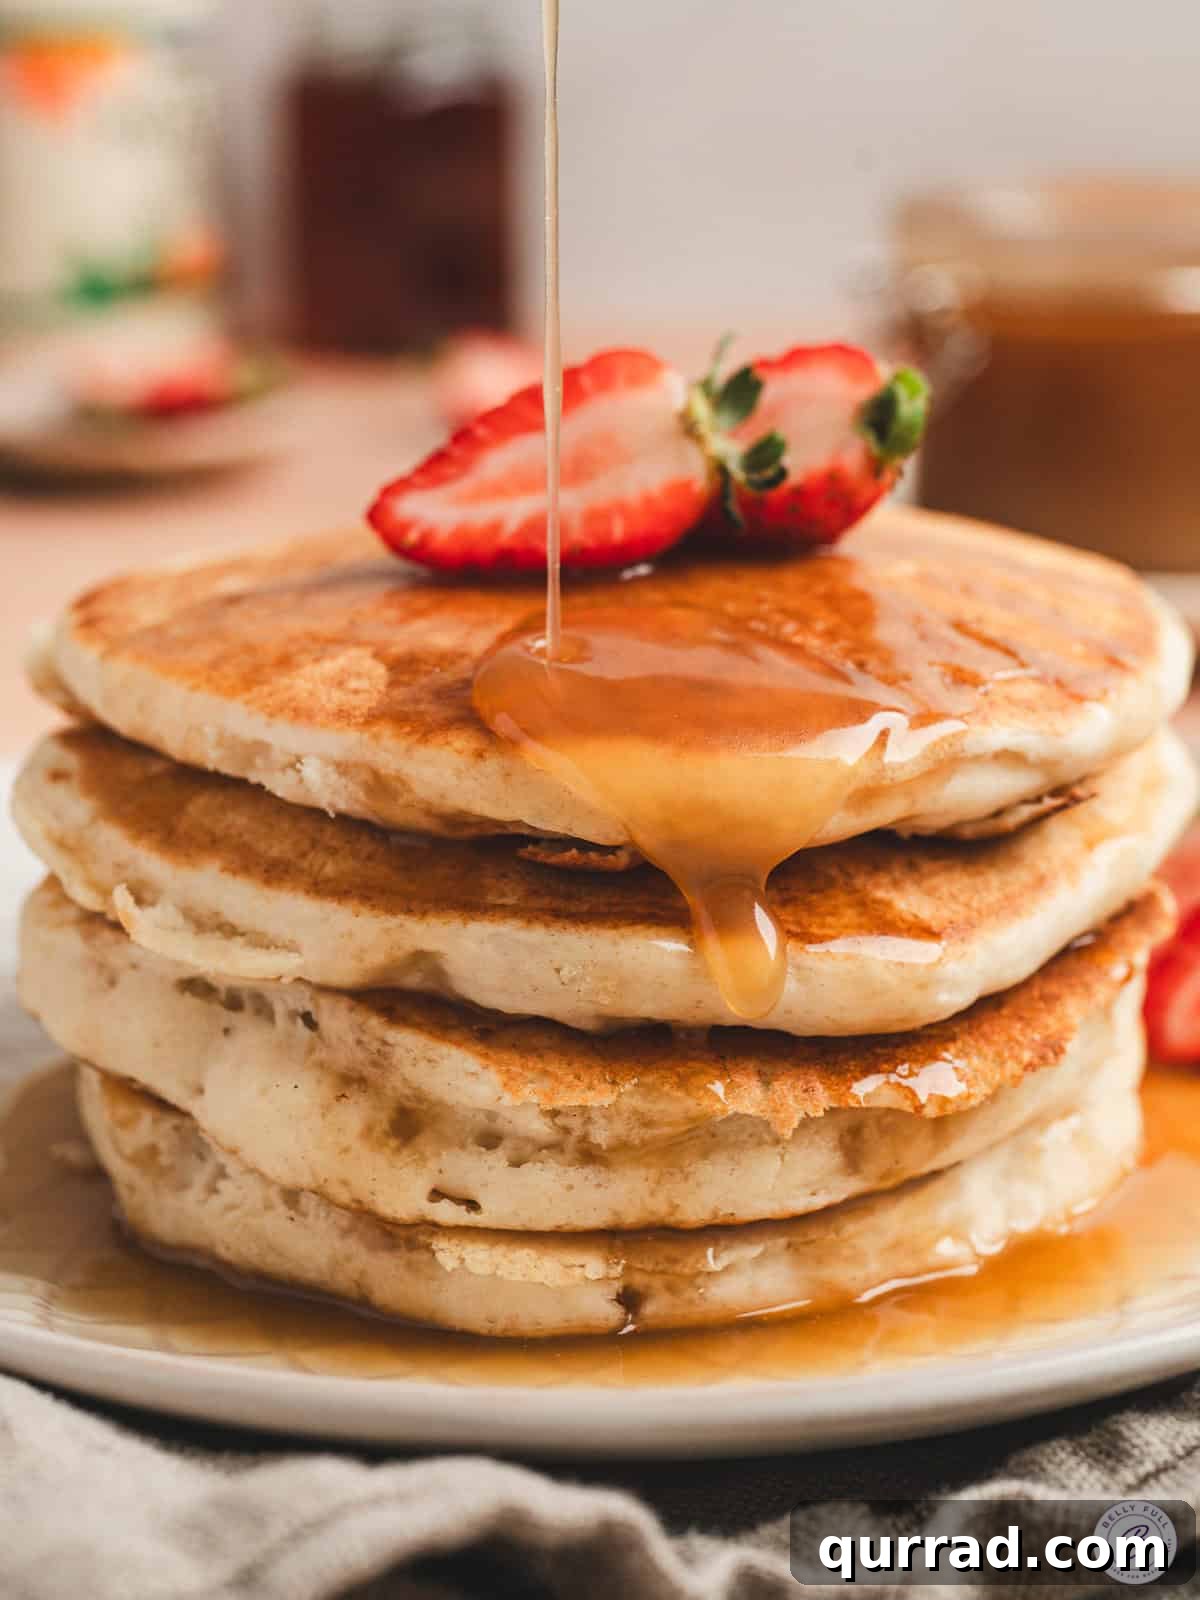
This maple butter syrup combines butter and syrup into a single, warm, velvety pour — perfect for pancakes, waffles, or French toast. I simmer real maple syrup with sliced unsalted butter and a splash of heavy cream, then finish it off with vanilla, a pinch of salt, and a small amount of baking soda. The baking soda reacts briefly with the maple’s natural acidity, creating a light foam before the syrup settles into a silky, spreadable texture. It’s made in one saucepan, takes about 15 minutes, and thickens slightly as it cools.
Buttery Homemade Pancake Syrup
If you like butter-flavored bottle syrups, this homemade version is an upgrade: it uses pure maple syrup and real butter for an authentic maple-butter flavor. The butter and maple syrup form a rich base, and a little heavy cream makes the texture smooth and luxurious. Off the heat, vanilla and salt brighten the maple notes, and a pinch of baking soda lightens the texture by reacting with the syrup’s acidity. The result is a rich but silky syrup that pours beautifully over breakfast favorites.
This syrup is excellent over pumpkin pancakes, banana oatmeal pancakes, muffins, biscuits, quick breads, or whatever you’d normally top with maple syrup. If you prefer a spreadable version, whipped maple butter offers the same flavors in a fluffy format.
Helpful Tips
- Choose a roomy saucepan: The baking soda reaction causes the mixture to foam and rise, so use a high-sided pan with plenty of space above the liquid to prevent overflow.
- Slice the butter: Cutting the butter into tablespoon slices helps it melt evenly and blend smoothly with the syrup and cream, reducing the chance of scorching.
- Control the heat: Bring the mixture to a low boil, then reduce to a gentle simmer. Avoid a vigorous boil, which can cause the dairy to separate or the syrup to over-reduce and scorch.
- Stir often: Scrape the bottom and corners of the pan frequently with a heat-safe spatula to keep the mixture uniform and to prevent sticking.
Maple Butter Syrup
Equipment
- Saucepan
Ingredients
- ½ cup unsalted butter, sliced
- ¾ cup real maple syrup
- ⅓ cup heavy whipping cream
- 1 tsp vanilla
- ¼ tsp baking soda
- pinch of salt
- Pancakes or waffles, for serving
Instructions
- Add the sliced butter, maple syrup, and heavy whipping cream to a large, high-sided saucepan. Stir and bring to a low boil over medium heat for about 1 minute — you’ll see small bubbles and the mixture will start to rise.
- Lower the heat to a gentle simmer and cook 5 to 10 minutes, stirring frequently and scraping the bottom, until the syrup has slightly thickened and coats a spatula. It will continue to thicken as it cools.
- Remove the pan from the heat and stir in the vanilla, baking soda, and a pinch of salt. The mixture will foam and lighten; keep stirring until the foam begins to subside and the syrup looks smooth.
- Let the syrup rest until the foam fully settles and it reaches a pourable, silky consistency. Pour warm over pancakes or waffles and enjoy.
Notes
Use unsalted butter when possible. Salted butter can vary in saltiness; using unsalted butter lets you control seasoning. If you only have salted butter, omit the additional pinch of salt and taste before adding more.
Don’t skip the baking soda. That small amount reacts with the maple’s acidity, producing tiny bubbles that lighten the syrup and make the final texture smoother. The brief foaming is normal and expected.
Nutrition
| Calories: 291 kcal
Nutrition information is an estimate and can vary depending on ingredient brands and any changes you make.
How to Make Maple Butter Syrup Step by Step
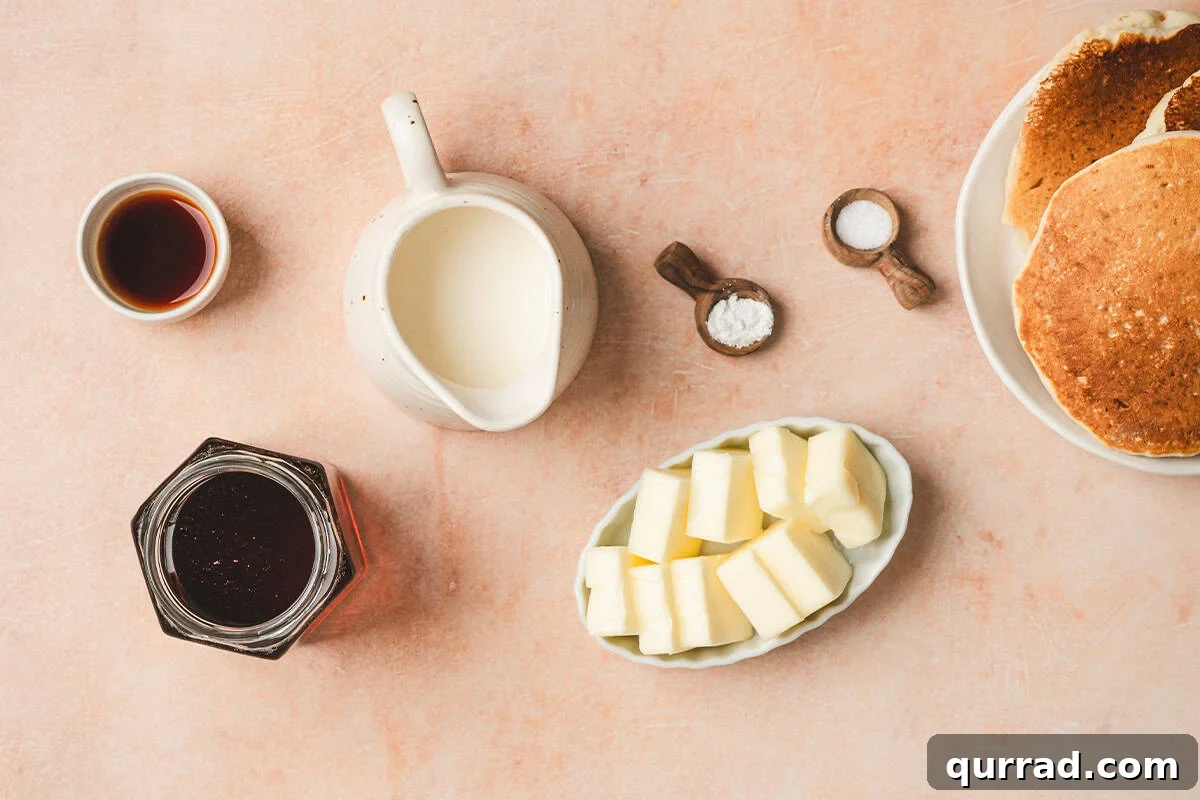
Gather the butter, maple syrup, heavy cream, vanilla, baking soda, and a pinch of salt before you start. Having everything ready makes the short cooking process easier to manage.
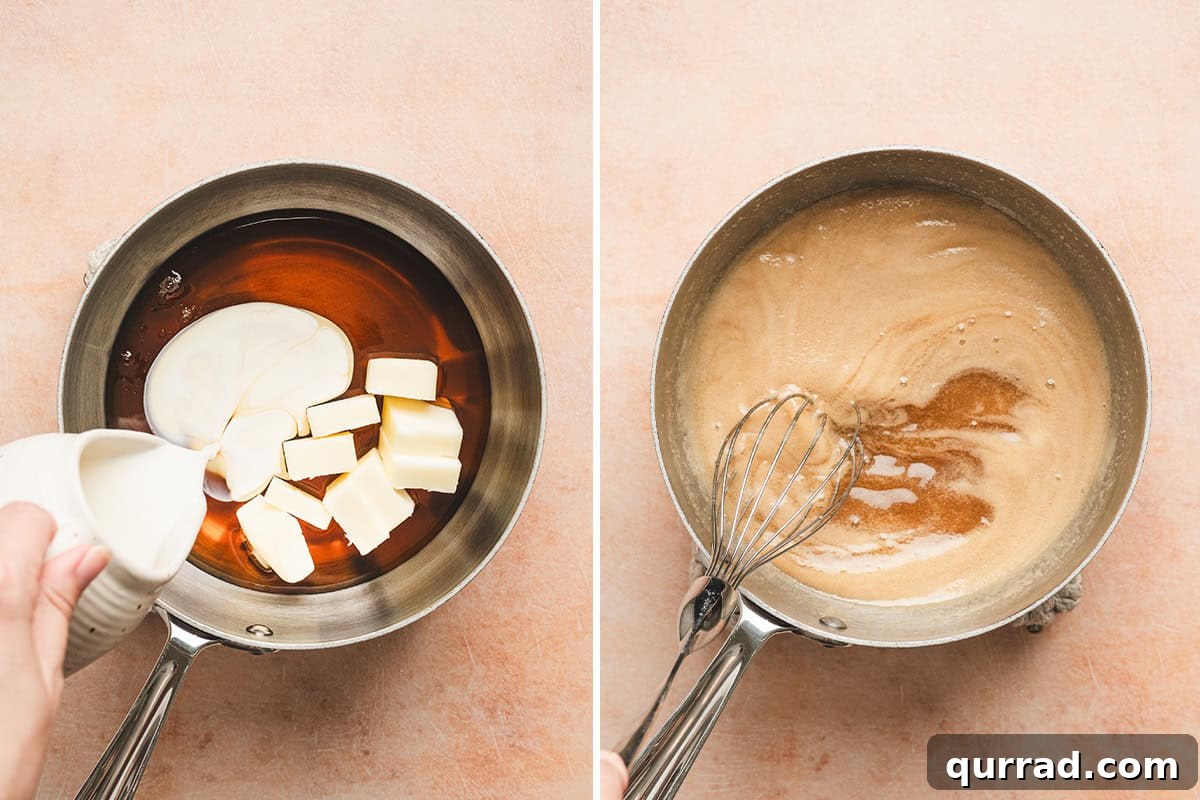
Make the maple-butter base: In a large, high-sided saucepan combine the sliced unsalted butter (½ cup), real maple syrup (¾ cup), and heavy whipping cream (⅓ cup). Bring to a low boil while stirring and scraping the bottom. Let it bubble gently for about a minute, then reduce to a simmer.
Continue to simmer 5–10 minutes, stirring frequently, until the mixture thickens slightly and lightly coats a spatula. Keep the heat moderate so the dairy doesn’t separate and the syrup doesn’t scorch. It will thicken more as it cools.
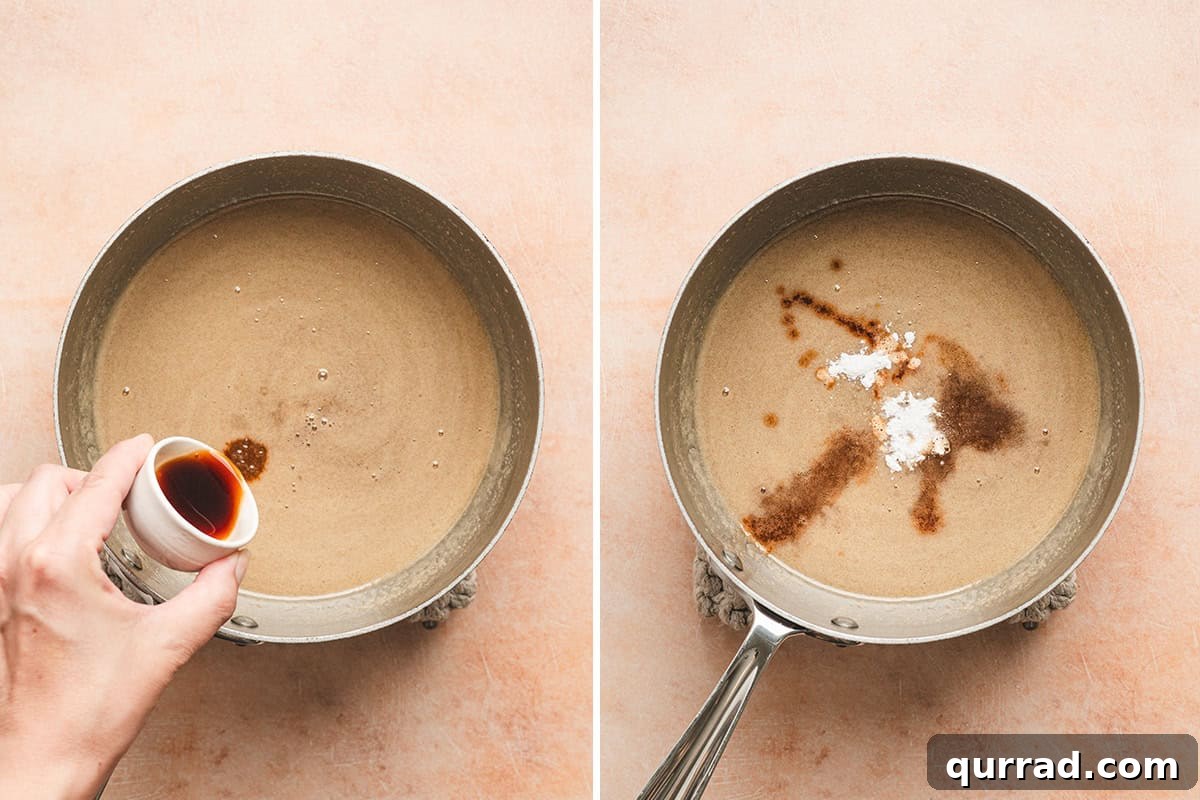
Add the finishing ingredients: Remove the pan from the heat and stir in 1 teaspoon vanilla, ¼ teaspoon baking soda, and a pinch of salt. The mixture will foam; this is normal. Stir until the foam begins to subside and the syrup looks smooth.
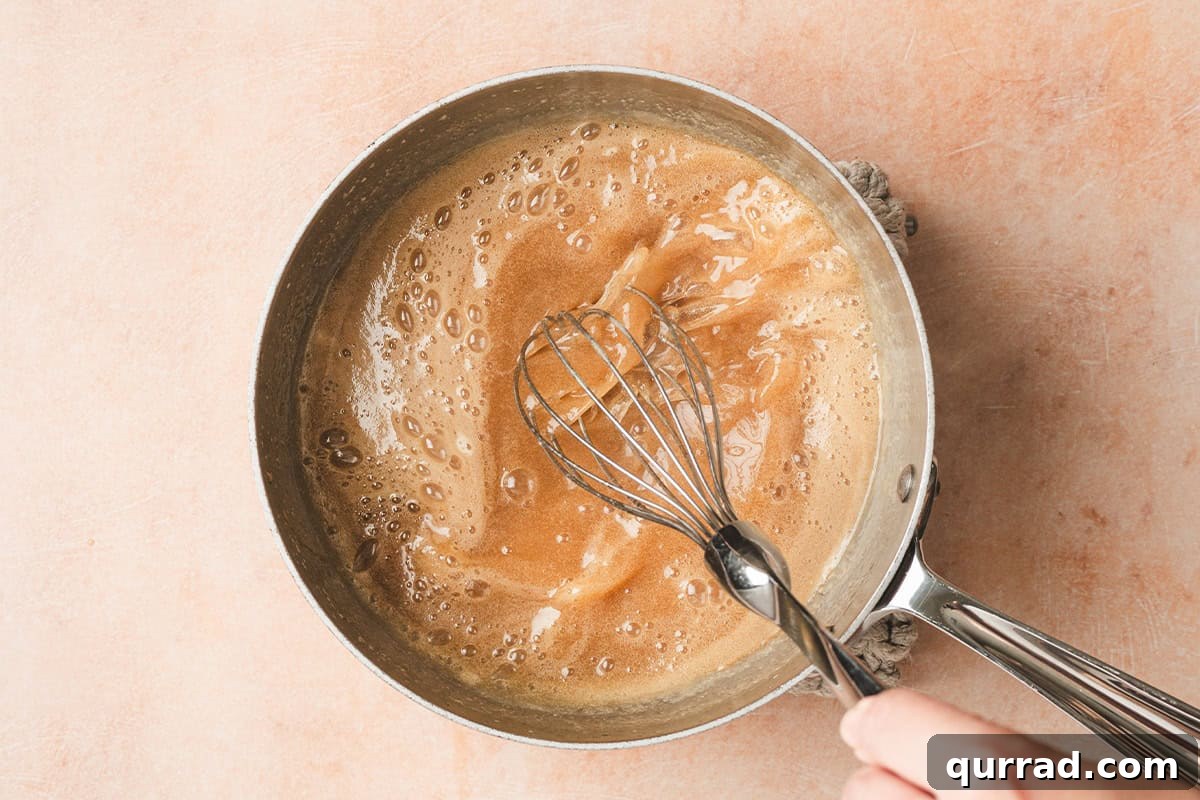
As the foam settles, the syrup will take on a lighter color and silkier texture. Let it rest until it reaches a pourable consistency.
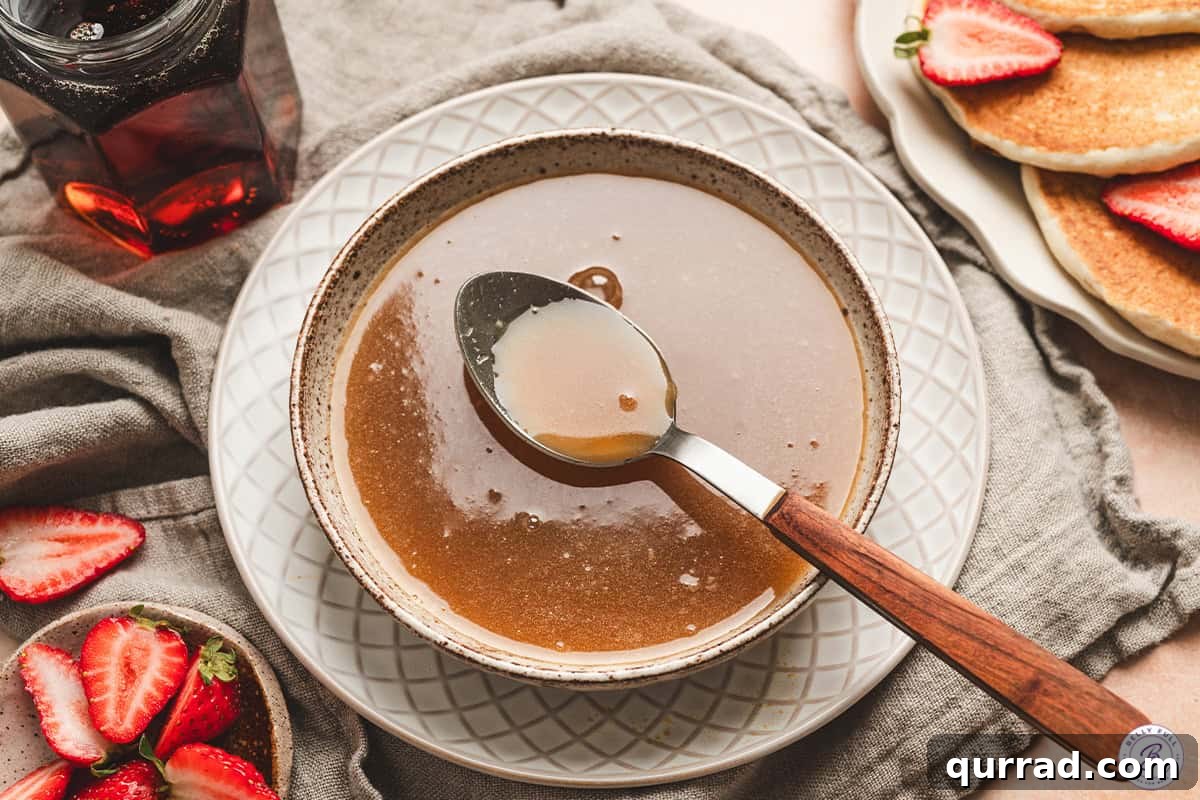
Rest and serve: Allow the syrup to sit until the foam subsides and it thickens slightly. Serve warm over pancakes or waffles for best results.
Serving Suggestions
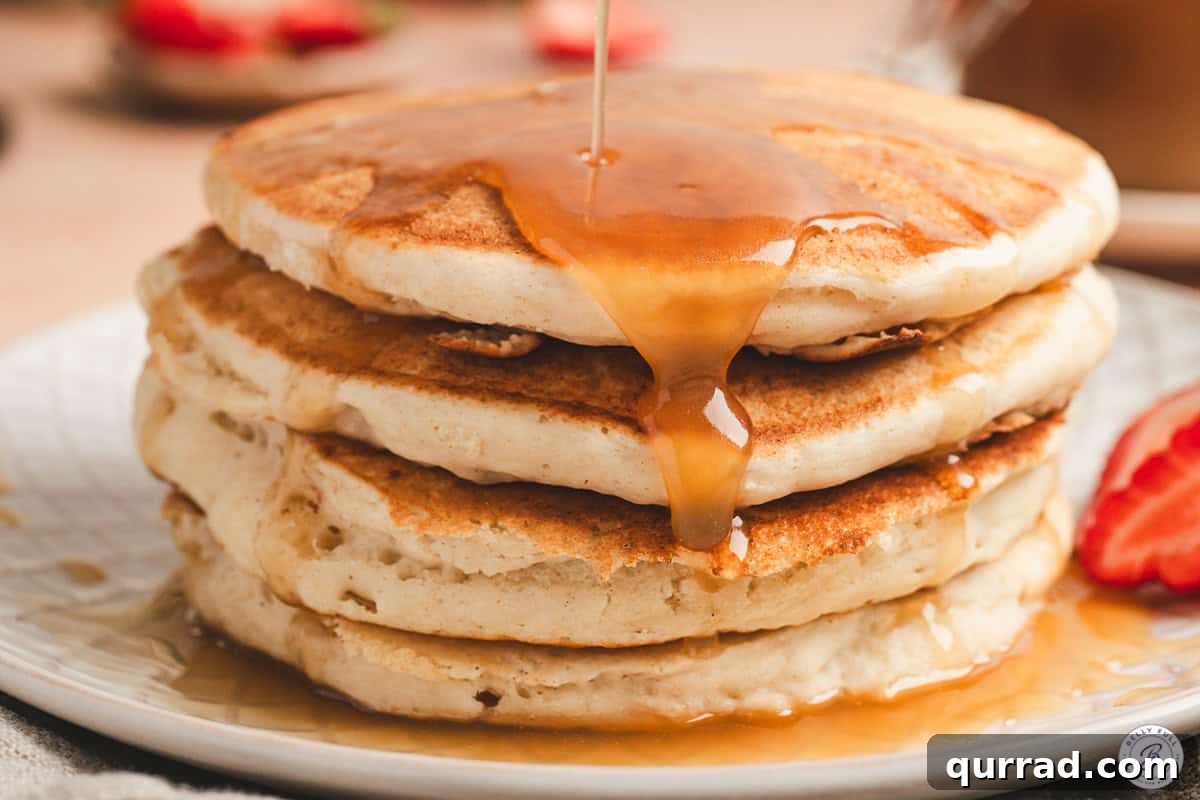
Serve the syrup warm for the smoothest texture. It’s lovely over pancakes, sheet pan pancakes, pancake casserole, or basic crepes. Use roughly ¼ cup per serving for pancakes, but adjust to taste. The recipe also pairs well with cinnamon waffles, French toast roll-ups, oatmeal, yogurt, or warm vanilla ice cream for a dessert treat.
Sheet Pan Pancakes
Pancake Casserole
Crepes
Cinnamon Waffles
Storing Leftovers
When cool, transfer the syrup to a clean, airtight glass jar and refrigerate. Because it contains heavy cream, use it within 3–4 days for best quality. The syrup may firm up or separate slightly when chilled; gentle reheating and stirring will restore a smooth texture.
Reheating
Warm only what you need over low heat in a small saucepan, stirring until smooth. Alternatively, microwave in 10–15 second bursts, stirring between intervals. Avoid boiling.
Freezing
Freezing is not recommended: the butter and cream can separate during thawing, resulting in a grainy or oily texture instead of smooth syrup.
More Easy Maple Syrup Recipes
- Glazed Maple Apple Cake — maple syrup flavors both the cake and the pecan glaze.
- French Toast Muffins — shortcut biscuits stuffed with butter, brown sugar, cinnamon, pecans, and maple syrup.
- Mixed-Nut Turtle Pie — maple-sweetened roasted nuts finished with a chocolate drizzle.
I hope you enjoy this simple and delicious recipe — if you try it, please leave a review. Happy cooking!