

Welcome to the delightful world of **No-Bake Biscoff Cheesecake Jars** – an utterly irresistible dessert that combines speed, simplicity, and sublime flavor. With no oven time required, these individual cheesecake jars offer a thick, creamy filling perfectly paired with a rich, buttery Biscoff cookie crust. Designed for effortless serving, they are the ideal sweet treat for any gathering, from casual get-togethers to elegant buffets, making every occasion a little more special and hassle-free.
If you’re a true Biscoff enthusiast, you won’t want to miss our equally delightful Biscoff Rice Krispie Treats! They’re another fantastic way to enjoy that unique, caramelized cookie flavor.
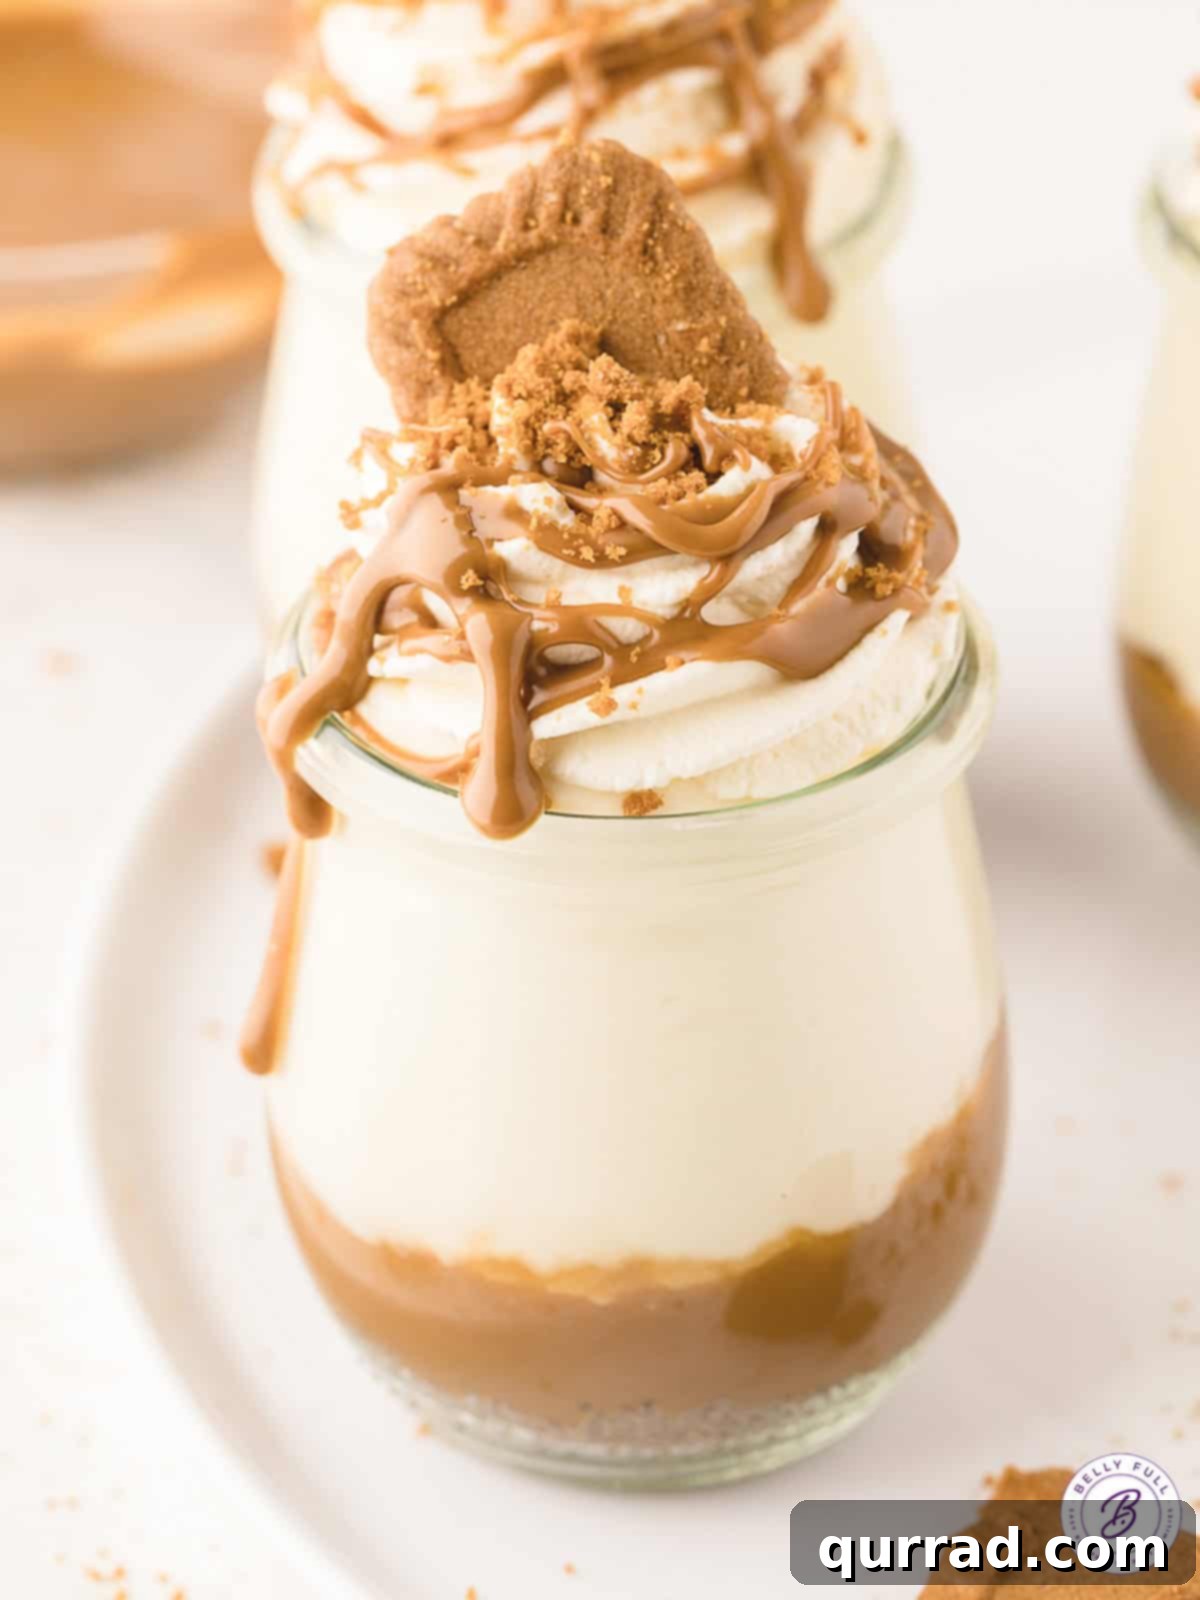
Indulge in Easy Biscoff Cheesecake Jars
Biscoff has a way of captivating taste buds, and for many, it becomes an absolute favorite – a culinary kryptonite in the best possible sense! These No-Bake Biscoff Cheesecake Jars are a testament to that adoration, featuring a sumptuously buttery Biscoff cookie crust, a luscious Biscoff spread layer, and a heavenly cream cheese filling. The result is a no-bake cheesecake experience that’s rich, exquisitely creamy, perfectly sweet, and simply beyond incredible.
Beyond their amazing taste, these dessert jars boast remarkable convenience. They require just about 20 minutes of hands-on preparation, making them a fantastic option for impromptu treats. Because they are served in individual jars, they beautifully bypass the traditional cheesecake’s need for lengthy setting times. However, for those who love to plan ahead, these jars are also super easy to make in advance and will firm up beautifully with refrigeration. This versatility means you can prepare them whenever suits your schedule, whether it’s an hour before serving or two full days beforehand.
Furthermore, these charming cheesecake jars are not just delicious; they are also visually stunning on any buffet table. Their individual portions make them a great portable dessert, perfect for picnics, potlucks, or simply enjoying on the go. They bring a touch of elegance and convenience to any dessert spread, ensuring everyone gets their own perfect serving of Biscoff bliss.
Why You’ll Love This Effortless No-Bake Cheesecake Recipe
Prepare to be excited about this Biscoff cheesecake recipe, as it offers a multitude of compelling reasons to add it to your dessert repertoire:
- No Chill Time Required: Unlike many traditional cheesecake recipes that demand hours, or even overnight, of refrigeration to properly set, these individual cheesecake jars are ready to enjoy almost immediately. Because they are served in their own containers, the structural integrity isn’t as critical as a whole cheesecake, allowing you to bypass the long wait for setting. This makes them an absolute lifesaver for last-minute dessert cravings or unexpected guests.
- Perfect for Making Ahead: While quick to serve, these jars are also wonderfully suited for advance preparation. You can assemble them up to 3 days beforehand and store them in the fridge. This makes them an ideal choice for entertaining, holiday gatherings, or meal prepping your weekly sweet treats, significantly reducing stress on the day of your event. Just add the final whipped cream swirl and extra Biscoff toppings right before serving for the freshest presentation.
- Abundant Biscoff Flavor: For true Biscoff lovers, this recipe delivers on all fronts. Every single layer of this dessert is infused with that distinct, caramelized, spiced cookie flavor. From the crunchy, buttery cookie crust made with crushed Biscoff cookies, to the creamy filling swirled with rich Biscoff cookie butter spread, and even the final drizzle and crumb topping – it’s an explosion of Biscoff goodness in every spoonful.
- Visually Appealing Individual Servings: These cheesecakes are not just delicious but also incredibly charming. Serving desserts in jars creates an elegant, rustic, and personalized presentation that guests adore. They’re mess-free, easy to handle, and look beautiful on any dessert table, making them perfect for parties and special occasions.
- Simple and Accessible Ingredients: The recipe calls for common pantry staples and readily available Biscoff products. You don’t need obscure ingredients or specialized equipment, making this a dessert that anyone can confidently tackle, regardless of their baking experience.
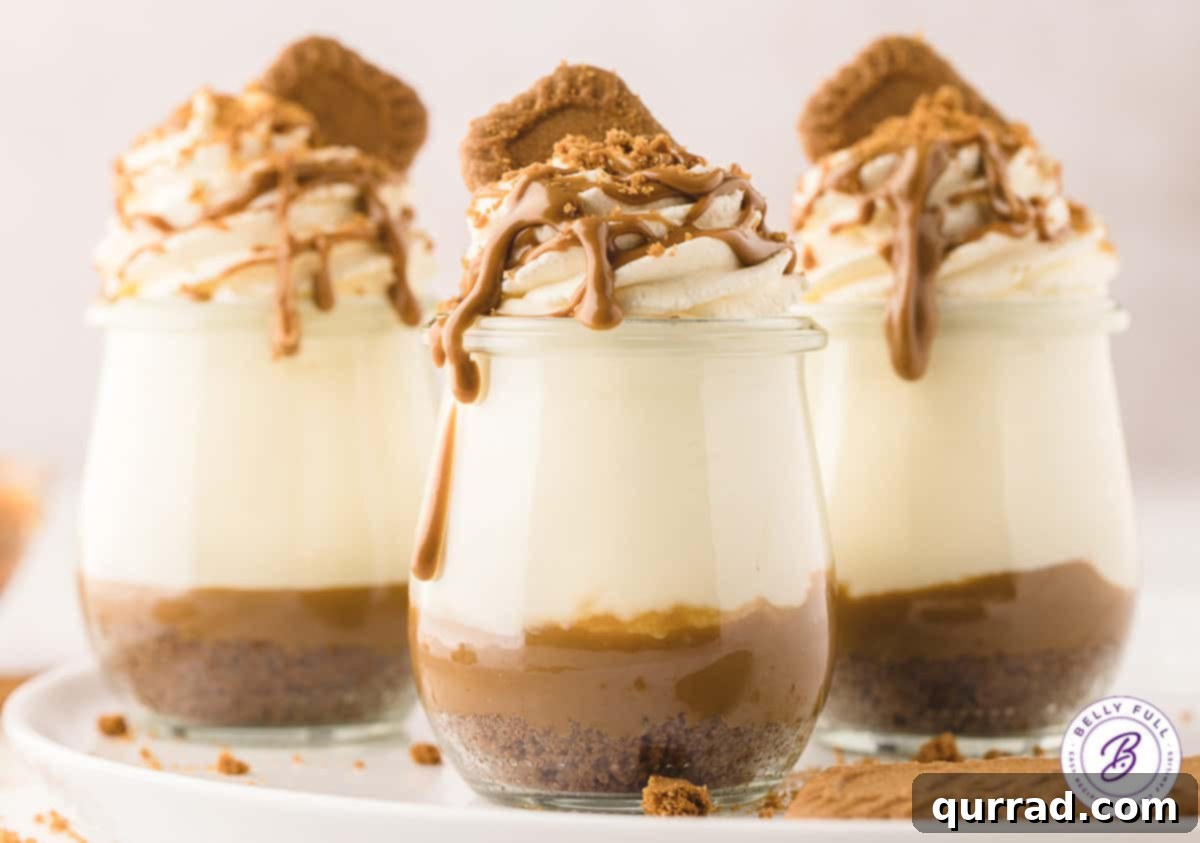
Essential Ingredients for Your Biscoff Jars
Crafting these delectable no-bake Biscoff cheesecake jars requires a concise list of just 7 key ingredients, carefully chosen for their flavor and texture contributions across the cookie base, creamy filling, and delightful topping. Each component plays a vital role in creating a balanced and utterly satisfying dessert. For precise quantities and detailed instructions, please refer to the printable recipe card provided further below.
- Biscoff Cookies: These iconic speculoos cookies form the crunchy, flavorful foundation of our cheesecake jars. Their unique caramelized and subtly spiced notes are essential for the distinctive Biscoff taste. You’ll use them both crushed for the base and as a decorative element for the topping, ensuring Biscoff flavor from top to bottom.
- Biscoff Cookie Butter Spread: The creamy, irresistible heart of the Biscoff experience! This smooth spread is generously incorporated into the cheesecake filling, infusing it with deep cookie butter richness. It’s also drizzled on top for an extra layer of flavor and a beautiful finish. A staple for any Biscoff lover, it binds the flavors together perfectly.
- Butter: Melted butter is combined with the crushed Biscoff cookies to create a cohesive, rich, and buttery crust. It acts as a binder, ensuring the cookie base holds its shape without becoming crumbly, providing a delightful textural contrast to the smooth filling.
- Cream Cheese: The star of any cheesecake, cream cheese provides the essential tang and creamy texture. We highly recommend using full-fat cream cheese blocks, softened to room temperature, as they yield the richest flavor and the most luxurious, thick consistency. However, since these cheesecakes are served in individual jars and do not rely on a firm set for slicing, reduced-fat cream cheese can also be successfully used without compromising the overall enjoyment.
- Powdered Sugar: Also known as confectioners’ sugar, this fine-grained sweetener is crucial for achieving a smooth, lump-free cheesecake filling. It dissolves easily into the cream cheese mixture, providing sweetness without any gritty texture, and helps to maintain the delicate consistency of the filling.
- Vanilla Extract: A touch of pure vanilla extract enhances all the other flavors, adding a warm, aromatic depth that balances the richness of the Biscoff and cream cheese. It’s a simple addition that makes a significant difference in the overall flavor profile.
- Heavy Cream: Whipped heavy cream is folded into the cream cheese mixture to create a light, airy, and incredibly fluffy cheesecake filling. It contributes to the luscious texture and also forms the beautiful, soft swirls for the topping, providing a wonderful contrast to the dense cookie base and filling. Ensure it’s very cold for optimal whipping results.
What Exactly is Biscoff?
Lotus Biscoff refers to a popular brand of crunchy, caramelized cookies, originating from Belgium. These delightful cookies are renowned for their distinctive, sweet, and slightly spiced flavor, often described as a unique blend of buttery brown sugar with subtle notes of cinnamon and ginger. Beyond the cookies themselves, Biscoff is also famously processed into a smooth, spreadable butter, which shares a similar texture to peanut butter but carries the signature caramelized cookie taste. This spread has become incredibly versatile in baking and is widely available in most grocery stores, typically found alongside nut butters and jams, making it accessible for all your Biscoff-infused culinary adventures.
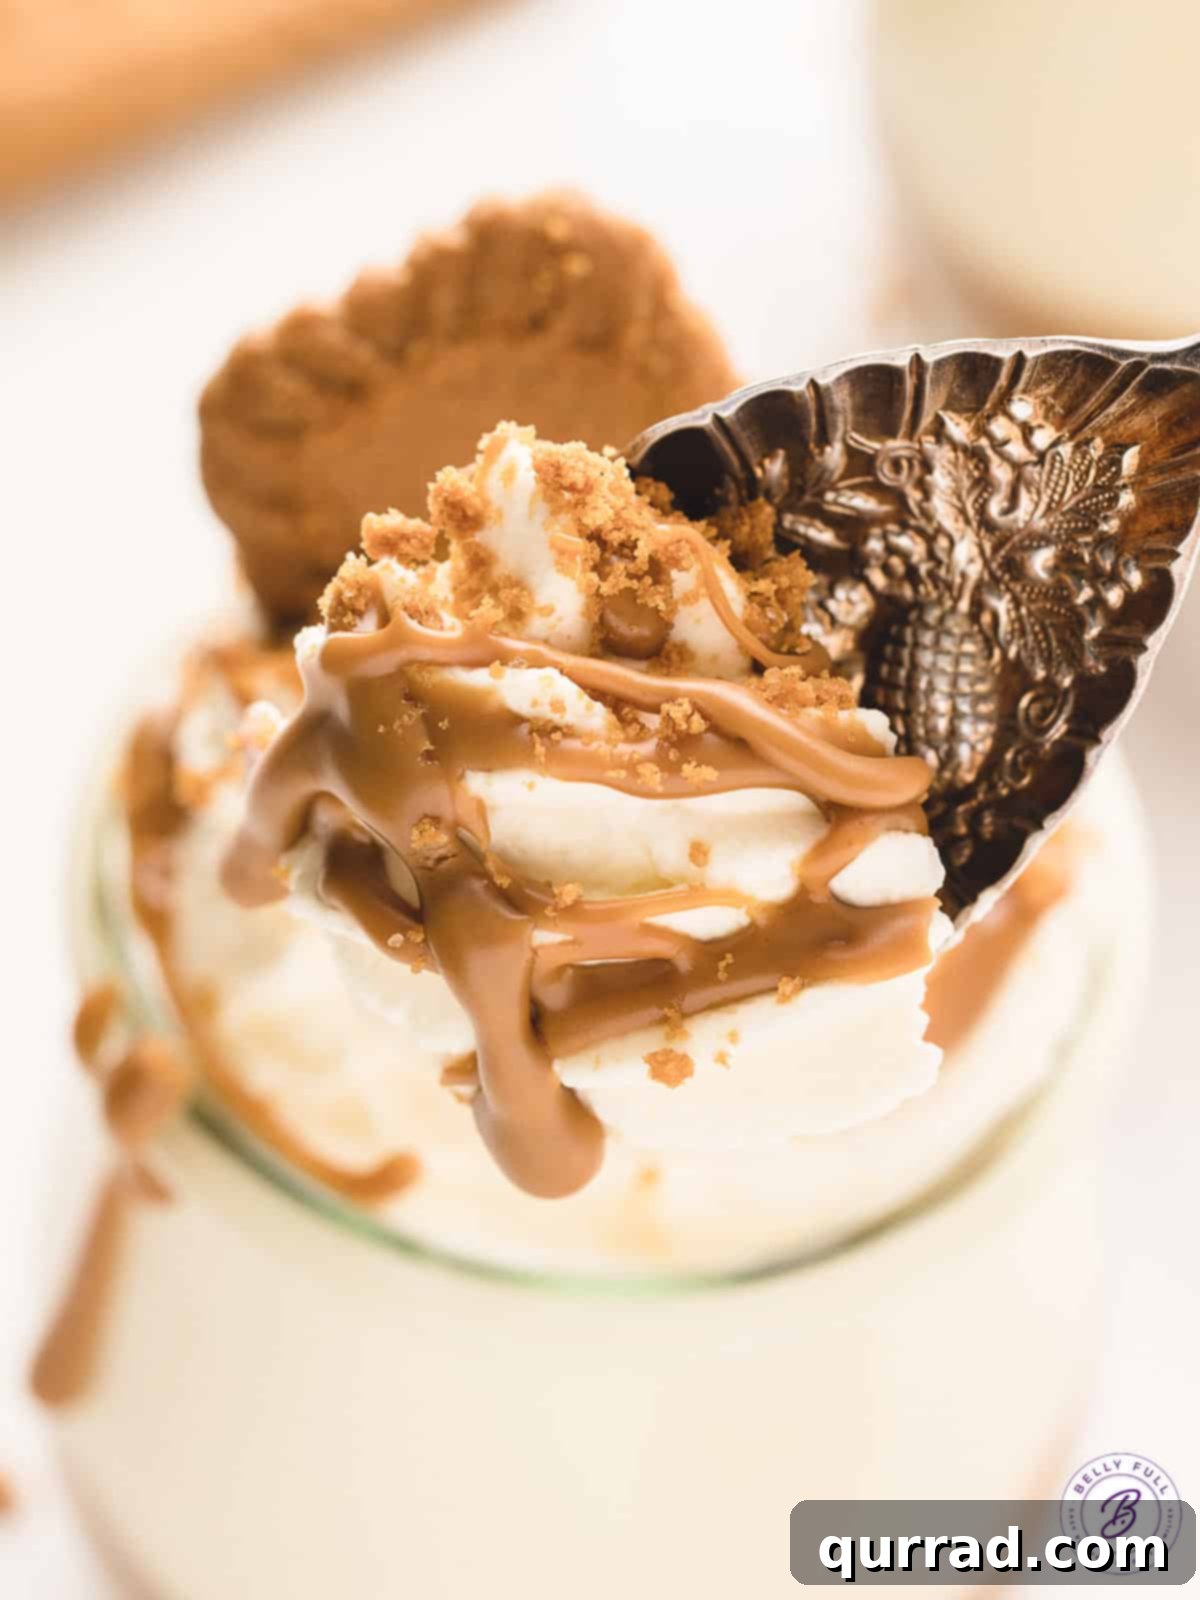
Crafting Your No-Bake Biscoff Cheesecake Jars
These no-bake cheesecake jars are designed for maximum convenience, providing a quick and easy dessert solution without the extended chill times often associated with traditional cheesecakes. Follow these straightforward steps to create your delicious Biscoff treats. For a comprehensive list of ingredients and precise measurements, please consult the printable recipe card below.
- Prepare the Biscoff Cookie Crust: Begin by transforming your Biscoff cookies into fine crumbs. This can be efficiently achieved using a food processor for quick results, or by placing the cookies in a sturdy Ziploc bag and crushing them with a rolling pin until uniformly fine. Once crumbed, add the melted butter and pulse or mix again until the crumbs are thoroughly moistened and resemble wet sand. Distribute two generous heaping tablespoons of this buttery cookie mixture into the bottom of each serving jar, pressing them down firmly with the back of a spoon or a small tamper to create an even, compact layer.
- Whip Up the Creamy Cheesecake Filling: In a large mixing bowl, combine the softened cream cheese, powdered sugar, and vanilla extract. Beat these ingredients together using an electric mixer on medium speed until the mixture is smooth, creamy, and well combined, ensuring no lumps remain. In a separate, clean bowl, pour the cold heavy cream and whisk it with an electric mixer on high speed until it forms stiff peaks – meaning it holds its shape firmly. Gently fold this freshly whipped cream into your cream cheese mixture using a spatula, being careful not to deflate the air, until just combined and light.
- Assemble the Luscious Cheesecake Jars: Take your prepared jars with their Biscoff crusts. Add two teaspoons of the slightly warmed Biscoff spread directly on top of the cookie layer in each jar. Next, carefully transfer your cheesecake filling into a piping bag (you can use a large Ziploc bag with a corner snipped off as a makeshift piping bag). Pipe the creamy cheesecake mixture evenly over the Biscoff spread in each jar, filling them almost to the top, leaving some space for the final toppings.
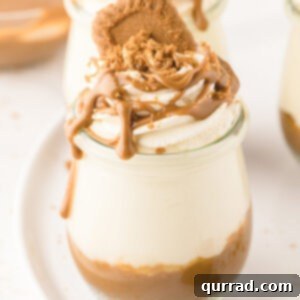
- Add the Irresistible Toppings: Return to your mixing bowl with any remaining heavy cream (or use a fresh cup if making a separate batch for topping) and beat it until it forms soft peaks, perfect for piping. Transfer this whipped cream to a piping bag fitted with your favorite decorative star tip (or just snip the corner off for a simple dollop). Pipe an elegant swirl of whipped cream on top of each cheesecake jar. For the ultimate Biscoff finish, gently drizzle additional warmed Biscoff spread over the whipped cream, sprinkle a touch of crushed Biscoff cookie crumbs, and place a whole Biscoff cookie artfully on top of each jar. Serve immediately and savor every delicious bite!
Expert Recipe Tips & Creative Variations
Achieving perfection with these Biscoff cheesecake jars is simple with a few helpful tips. Additionally, don’t hesitate to experiment with these variations and substitutions to tailor the dessert to your taste and available ingredients.
- Embrace Flexibility with Cream Cheese Choices: While we enthusiastically recommend using full-fat blocks of cream cheese for the richest flavor and most decadent texture, it’s good to know you have options. Since these cheesecakes are charmingly contained within their individual jars and don’t rely on needing a super firm set for slicing, you can confidently substitute with low-fat cream cheese without encountering any significant structural issues. The result will still be wonderfully creamy and delicious, just with a slightly lighter profile.
- Simplify with Cool Whip: For an even quicker and easier preparation, the heavy cream in this recipe can be conveniently replaced with thawed Cool Whip topping. This is a fantastic shortcut that saves time on whipping cream. For the cheesecake filling, you will need two 8-ounce tubs of thawed Cool Whip. For the lighter topping, one additional 8-ounce tub of thawed Cool Whip will suffice, making the process incredibly straightforward.
- Optimizing Biscoff Spread Application: To ensure your Biscoff spread layers and drizzles are smooth and easy to work with, we highly recommend warming the Biscoff spread for a few seconds in the microwave (around 15-30 seconds, stirring halfway). This slight warming will make it more fluid and effortless to spoon into the jars and create beautiful, even drizzles over the finished whipped cream topping, enhancing both taste and presentation.
- Explore Flavorful Cookie Substitutions: Once you’ve mastered this base recipe, the possibilities for customization are endless! The Biscoff cookies in the crust can be easily replaced with other favorite cookie varieties to create entirely new flavor profiles. Consider using classic Oreo cookies for a cookies and cream twist, vanilla Nilla Wafer cookies for a softer, buttery base, or even crisp shortbread cookies for a rich, traditional foundation. Each substitution offers a unique spin on the beloved no-bake cheesecake jar concept.
- Master the Piping Bag: For neat and professional-looking layers, using a piping bag for the cheesecake filling is highly recommended. If you don’t have a dedicated piping bag, a large, sturdy Ziploc bag with one corner snipped off will work just as well. This technique ensures an even distribution of the filling and prevents mixing with the Biscoff spread layer beneath.
- Chill for Enhanced Firmness (Optional): While these jars don’t *require* chill time, refrigerating them for at least an hour before serving will help the layers firm up slightly and allow the flavors to meld beautifully. If you prefer a very firm cheesecake consistency, an extra hour or two in the fridge will work wonders.
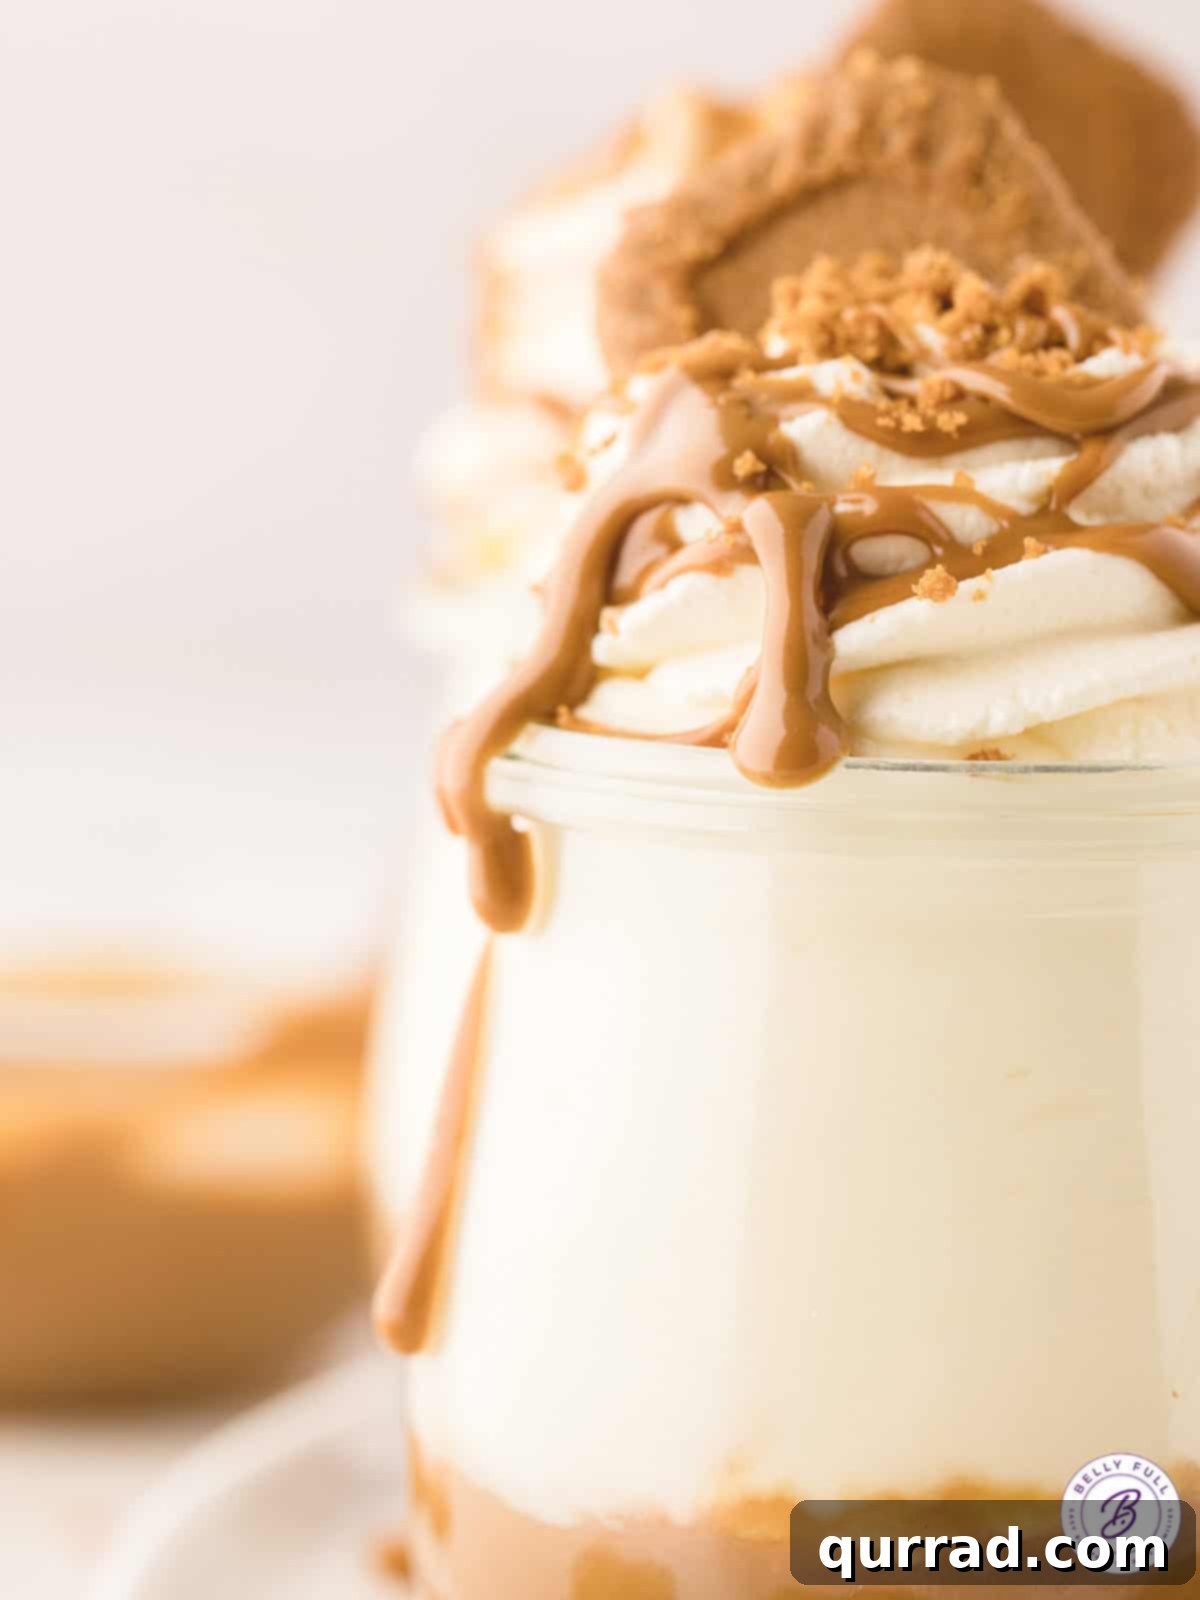
Thoughtful Serving Suggestions
These individual Biscoff cheesecake jars are incredibly versatile and perfectly suited for a wide array of occasions. While they are a fantastic treat any time, we especially love to serve them at gatherings featuring a buffet of desserts. Their perfectly portioned size makes them ideal for individual servings, allowing guests to easily grab and enjoy a delightful sweet treat without the fuss of cutting or plating. They also make excellent party favors or thoughtful hostess gifts, beautifully presented in their charming jars.
It’s important to remember that, due to their substantial dairy content, these delicious jars should be kept refrigerated until just before serving. While they can tolerate room temperature for a brief period, prolonged exposure, especially in warm environments or direct sunlight on a buffet, is not recommended. For optimal freshness, safety, and creamy texture, ensure they are thoroughly chilled right up until the moment your guests are ready to indulge.
Optimal Storage for Freshness
One of the many benefits of these no-bake cheesecake jars is their excellent shelf life when properly stored. When sealed with their lids, they will maintain their delicious freshness and creamy texture for up to 3 days in the refrigerator. This makes them an ideal dessert for preparing well in advance, giving you more time to enjoy your event without last-minute culinary stress. For the best presentation, we recommend waiting until just before you’re ready to serve to add the delicate whipped cream topping, as whipped cream can sometimes lose a bit of its firm, piped shape when refrigerated for extended periods. This simple tip ensures your jars always look as fantastic as they taste.
More Delightful Dessert Jars to Explore:
If you loved the convenience and charm of these Biscoff Cheesecake Jars, you’ll surely enjoy these other fantastic dessert-in-a-jar recipes from our collection:
- Strawberry Shortcake Parfaits: Layers of fresh strawberries, fluffy cake, and whipped cream.
- Key Lime Cheesecake Parfaits: Tangy and refreshing, a zesty treat in a jar.
- Cookies and Cream Cheesecake Parfaits: A classic combination of chocolate cookies and creamy goodness.
- White Chocolate Raspberry Parfaits: Elegant layers of sweet white chocolate and tart raspberries.
We truly hope you adore this incredibly delicious and easy Biscoff cheesecake jar recipe! Don’t forget to show us some love by giving it a review below. And for more fantastic recipes and culinary inspiration, be sure to follow Belly Full on TikTok, Facebook,Instagram,Pinterest, and YouTube! Happy cooking!
Biscoff Cheesecake Jars
Pin
Ingredients
FOR THE COOKIE BASE
- 16 Biscoff cookies, finely crushed into crumbs.
- 1/4 cup unsalted butter, fully melted, for binding the cookie crust.
FOR THE FILLING
- 16 ounces full-fat cream cheese, softened to room temperature (this is typically two 8-ounce blocks).
- 3/4 cup powdered sugar, sifted to prevent lumps.
- 1 & 1/2 teaspoons pure vanilla extract, for enhanced flavor.
- 2 cups cold heavy cream, for whipping into stiff peaks.
- 1/2 cup Biscoff cookie butter spread, warmed just slightly for easier mixing.
FOR TOPPING
- 1 cup cold heavy cream, for creating light and airy whipped cream swirls.
- 6 teaspoons Biscoff spread, warmed slightly for easy drizzling.
- 7 Biscoff cookies, six for individual decoration, and one crushed for sprinkling.
Instructions
-
To prepare the cookie base: Begin by taking your Biscoff cookies and blitzing them in a food processor until they are transformed into fine, uniform crumbs. If you don’t have a food processor, an alternative method is to place the cookies in a sturdy Ziploc bag and use a rolling pin to crush them thoroughly. Once you have your crumbs, add the melted butter to them and blitz or mix again until the butter is fully incorporated and the crumbs are moistened, resembling wet sand.
-
Next, measure out two generous heaping tablespoons of the Biscoff crumbs and carefully add them to the bottom of each individual serving jar. Use the back of a spoon or a small tamper to firmly pack down the crumbs, ensuring they form an even, compact layer at the base of each jar. Once packed, set these jars aside while you prepare the filling.
-
To create the cheesecake filling: In a large mixing bowl, combine the softened full-fat cream cheese, the powdered sugar, and the vanilla extract. Beat these ingredients briefly with an electric mixer on medium speed until the cream cheese and powdered sugar are thoroughly combined, smooth, and free of any lumps. It’s important not to overmix at this stage. Once smooth, set this cream cheese mixture aside.
-
In a separate, clean mixing bowl, add the cold heavy cream. Using an electric mixer, whisk the heavy cream on high speed until it forms stiff peaks. This means the cream should hold its shape firmly when the whisk is lifted. (There’s no need to wash the bowl or whisk after this step, as you will be using them again for the topping.) Carefully add this freshly whipped cream to the reserved cream cheese mixture. Using a spatula, gently fold the whipped cream into the cream cheese mixture until just combined, being careful not to deflate the air from the cream.
-
Now, take your jars with the cookie crumb layers. Add two teaspoons of the slightly warmed Biscoff spread into each jar, carefully spooning it directly over the packed cookie crumb layer. The warmed spread will be easier to manage and create a smoother layer.
-
Transfer the prepared cheesecake mixture into a piping bag. If you don’t have a piping bag, a large, sturdy Ziploc bag with one corner snipped off will work perfectly. Snip the end of the piping bag with scissors, creating an opening large enough to pipe the filling. Then, pipe the creamy cheesecake mixture into the jars, carefully layering it on top of both the cookie base and the Biscoff spread until each jar is almost full.
-
For the irresistible topping: Add the remaining cup of heavy cream to the mixing bowl (the one you used for whipping cream earlier) and beat it again until it forms stiff peaks, perfect for piping. Transfer this whipped cream to a clean piping bag, ideally fitted with a star tip for a decorative effect. Pipe an elegant swirl of cream on top of each cheesecake jar. To complete the masterpiece, generously drizzle additional warmed Biscoff spread over the whipped cream, sprinkle a touch of the crushed Biscoff crumbs, and artfully place one whole Biscoff cookie on top of each jar. Your delightful No-Bake Biscoff Cheesecake Jars are now ready to be served and enjoyed!
Notes
You can use low-fat cream cheese. While we recommend using full-fat blocks of cream cheese for the richest flavor and most luxurious texture, it’s worth noting that you do have flexibility. Since this is a no-bake cheesecake served in individual jars and doesn’t rely on a rigid set for slicing, you can successfully substitute with low-fat cream cheese without any significant issues in texture or overall enjoyment. The dessert will still be delightfully creamy.
Consider using Cool Whip instead of heavy cream. For an even quicker and more convenient preparation, the heavy cream specified in this recipe can be replaced with thawed Cool Whip topping. If you opt for this substitution, you will need two 8-ounce tubs of thawed Cool Whip for the cheesecake filling, and one additional 8-ounce tub for the topping, simplifying the whipping process significantly.
Get creative with other flavors. Once you’ve mastered the basic technique for these dessert jars, it’s incredibly easy and fun to experiment with various flavor combinations. The Biscoff cookies in the crust can be replaced with other popular cookie varieties such as classic Oreo cookies, vanilla-flavored Nilla Wafer cookies, or rich shortbread cookies, allowing you to create a personalized twist on this delightful treat.
Nutrition
The nutritional information provided is an automatic calculation and should be considered an estimate. It can vary significantly based on the exact brands and products you choose, as well as any modifications you make to the recipe. If precise nutritional values are crucial for your dietary needs, we highly recommend calculating them independently using your specific ingredients.