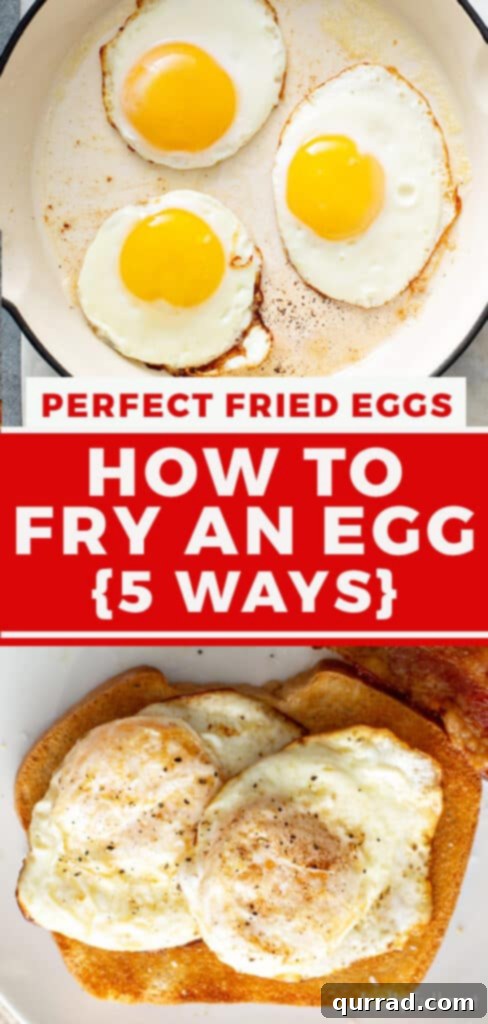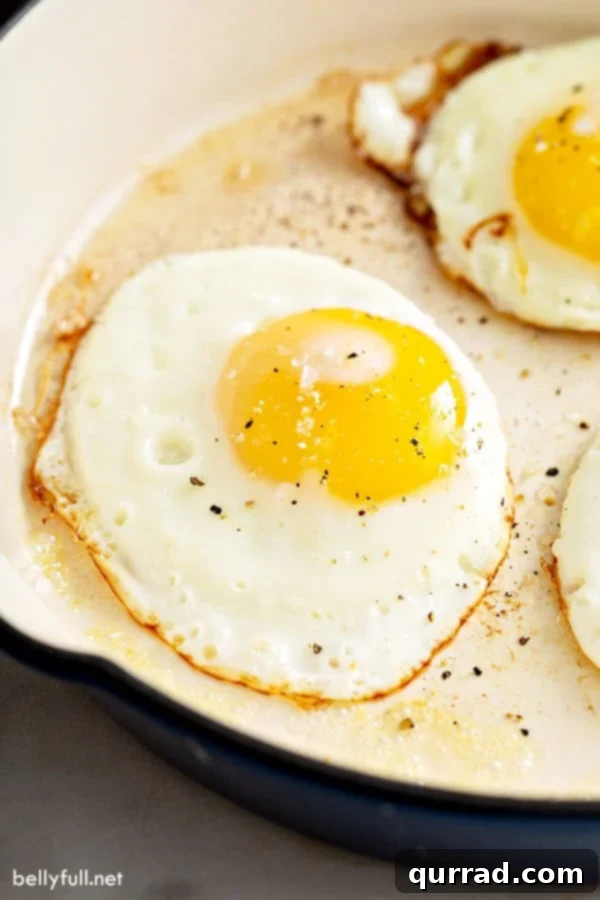
Unlock the secrets to crafting the perfect fried egg every single time! Whether you crave the classic sunny side up with its irresistibly crispy, golden edges and a beautifully runny yolk, or prefer a comforting over easy, over medium, or over hard egg, this comprehensive guide will equip you with all the knowledge and techniques you need. Say goodbye to rubbery whites or broken yolks and hello to fried egg perfection, ready to elevate any meal from breakfast to dinner.
Why Master the Art of the Fried Egg?
In countless kitchens worldwide, scrambled eggs and fried eggs are undisputed breakfast champions. Their appeal lies in their incredible versatility, ease of preparation, and remarkable nutritional value. Eggs are a powerhouse of protein, vitamins, and minerals, making them a fantastic and affordable option for any meal. They are quick, cheap, and undeniably delicious, offering endless possibilities for culinary creativity. From a simple solo breakfast to a star ingredient atop avocado toast, a grain bowl, or even a burger, a perfectly fried egg can transform an ordinary dish into something extraordinary. This guide focuses on helping you achieve that “wow” factor, ensuring every fried egg you make is a delightful experience.
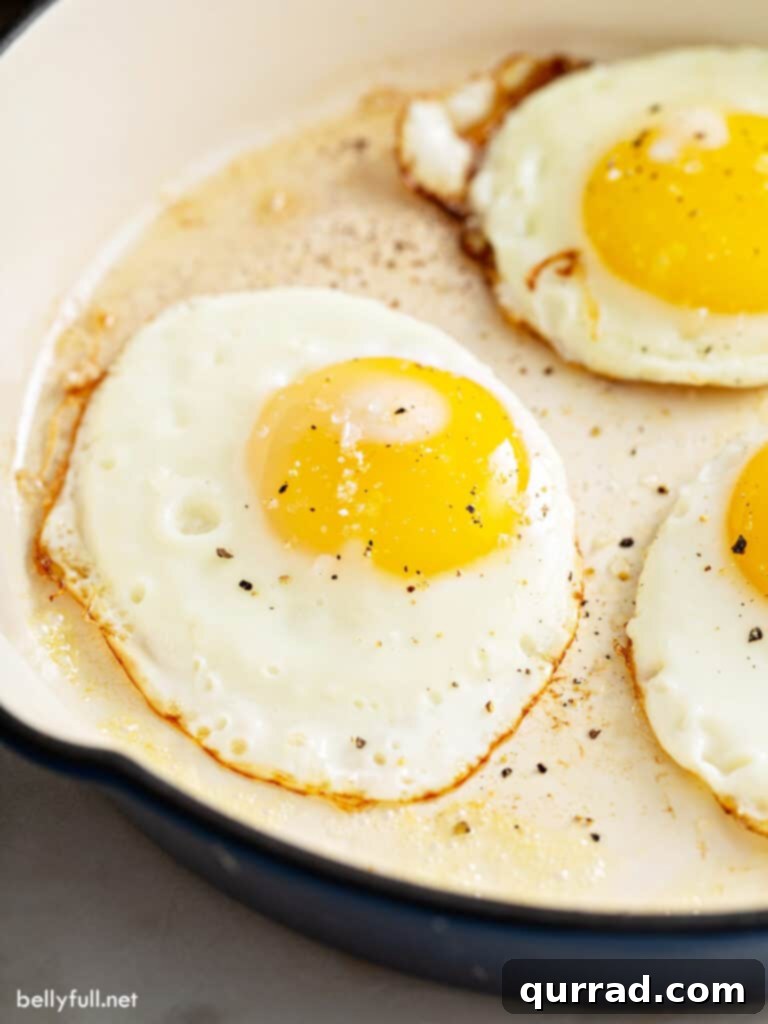
Today, we’re diving deep into multiple methods for frying an egg, highlighting the nuances that lead to different, yet equally delicious, results. My personal favorite yields a delicate, tender white with intricate, lacy, crispy edges, all surrounding a vibrant, glistening runny yolk just begging to be dipped into with a piece of crusty bread. The beauty of frying an egg isn’t in complex ingredients or elaborate steps; it’s in understanding the fundamentals and executing them with precision. With just a few basic kitchen tools—a good pan, a reliable spatula, a small bowl, some butter or oil, and a couple of minutes—you can achieve fried egg mastery.
Crafting the Ultimate Fried Egg: Key Considerations
- The Freshest Eggs are Your Best Friend: When it comes to frying, freshness is paramount. Unlike hard-boiled eggs, where slightly older eggs can be easier to peel, a fried egg thrives on freshness. A truly fresh egg boasts a beautifully round, firm yolk and a tight, compact egg white that stays neatly contained, preventing it from spreading thinly across the pan. This results in a visually appealing and perfectly cooked egg.
- Butter or Oil: The Choice is Yours: The fat you choose significantly impacts the flavor and texture of your fried egg. Both butter and olive oil are excellent options, each offering distinct characteristics. Olive oil is often favored for its healthier profile and subtle fruity notes, while butter lends an unparalleled richness and golden crispiness to the edges of the egg. You’ll need approximately 1/2 tablespoon of your chosen fat – just enough to generously coat the bottom of your pan and ensure the egg doesn’t stick.
A Note on Basting: Many recipes suggest basting the egg white with hot oil, but I’ve found this step largely unnecessary for achieving a perfectly cooked fried egg. Moreover, it can lead to excessive splattering and a messier cooking experience. While it’s an option if you prefer a fully cooked top, our preferred methods focus on achieving delicious results with minimal fuss. - Cracking Eggs Like a Pro: While tempting to crack an egg directly into a hot pan, doing so can increase splatters and lead to an unevenly shaped egg. For superior control and a more aesthetically pleasing result, crack each egg into a small bowl or ramekin first. This allows you to gently pour the egg into the skillet at a low angle, minimizing splashes of hot fat and helping the egg maintain a tighter, more symmetrical shape as it cooks.
- Choosing the Right Pan: The pan you use plays a crucial role in the outcome of your fried egg. For cooking 1-2 eggs, an 8-inch pan is ideal, providing ample space without overcrowding. If you’re frying 3-4 eggs, a 10 or 12-inch pan will be more suitable. Here’s a look at popular pan types:
Cast Iron Skillet: A favorite among many chefs, cast iron excels at retaining and distributing heat evenly. This superior heat retention helps create those coveted super crispy, lacy edges on the egg whites, adding a wonderful textural contrast.
Nonstick Pan: For ease of use and effortless removal, a quality nonstick pan is hard to beat. Eggs glide easily from the surface directly onto your plate, making cleanup a breeze. This is a great choice for beginners or anyone prioritizing convenience.
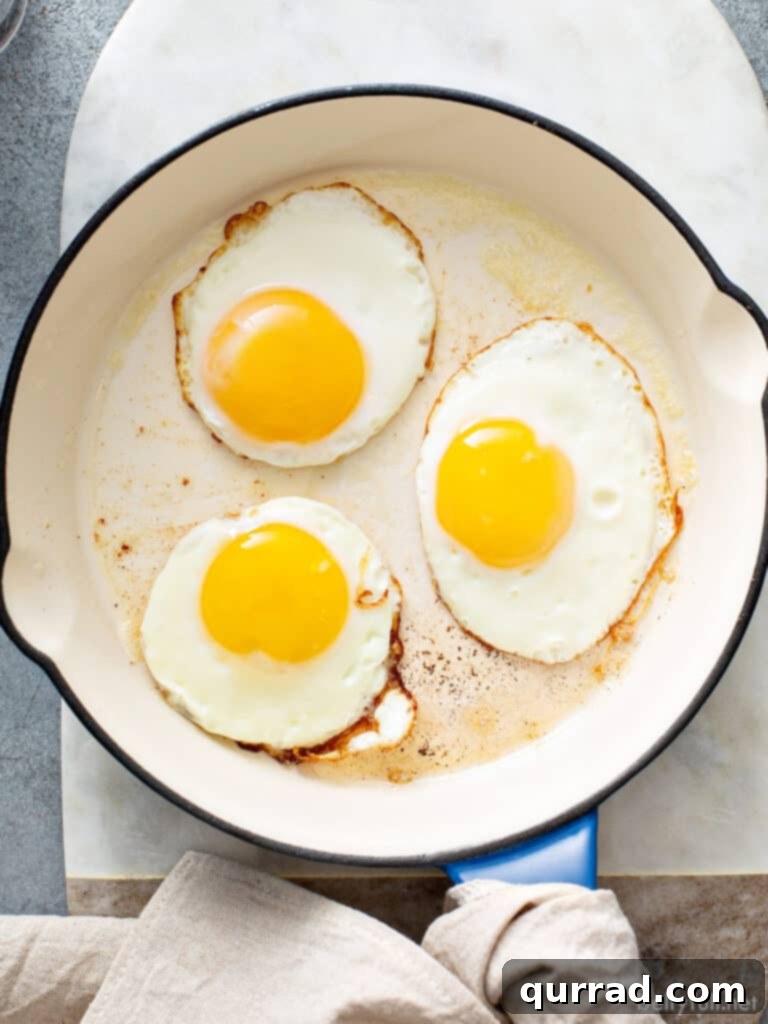
Enameled Cast Iron: This type of pan offers the best of both worlds, combining the excellent heat retention properties of cast iron with the nonstick qualities of an enameled surface. You get consistent cooking and easy release, without the intensive seasoning maintenance required for traditional cast iron. - Mastering Heat Control: The Ultimate Key: Proper heat management is perhaps the most critical factor in frying a perfect egg. Start by warming your pan over medium-high heat. You’ll know it’s hot enough when a drop of water sizzles rapidly and evaporates on contact. Immediately reduce the heat to medium before adding your butter or oil. This initial burst of high heat creates a non-stick surface, preventing the egg from adhering to the pan. Lowering the heat afterward is essential: it ensures the egg yolk cooks gently and remains perfectly runny (or reaches your desired consistency) while the egg white sets and becomes opaque without browning too quickly or becoming rubbery. This delicate balance of heat prevents the yolk from cooking too fast, preserving its luscious texture.
How Long to Cook Fried Eggs for Optimal Results
The exact cooking time for a fried egg can vary slightly depending on your stove’s burner temperature and the specific type of pan you’re using, as different materials conduct heat uniquely. However, as a general guideline, you can expect a perfectly runny yolk with fully opaque whites in approximately 2 to 2 1/2 minutes for a sunny side up egg. For those who prefer a firmer yolk, such as for over-easy or over-medium eggs, additional cooking time and a quick flip will be necessary (detailed instructions below).
Mastering Each Fried Egg Technique
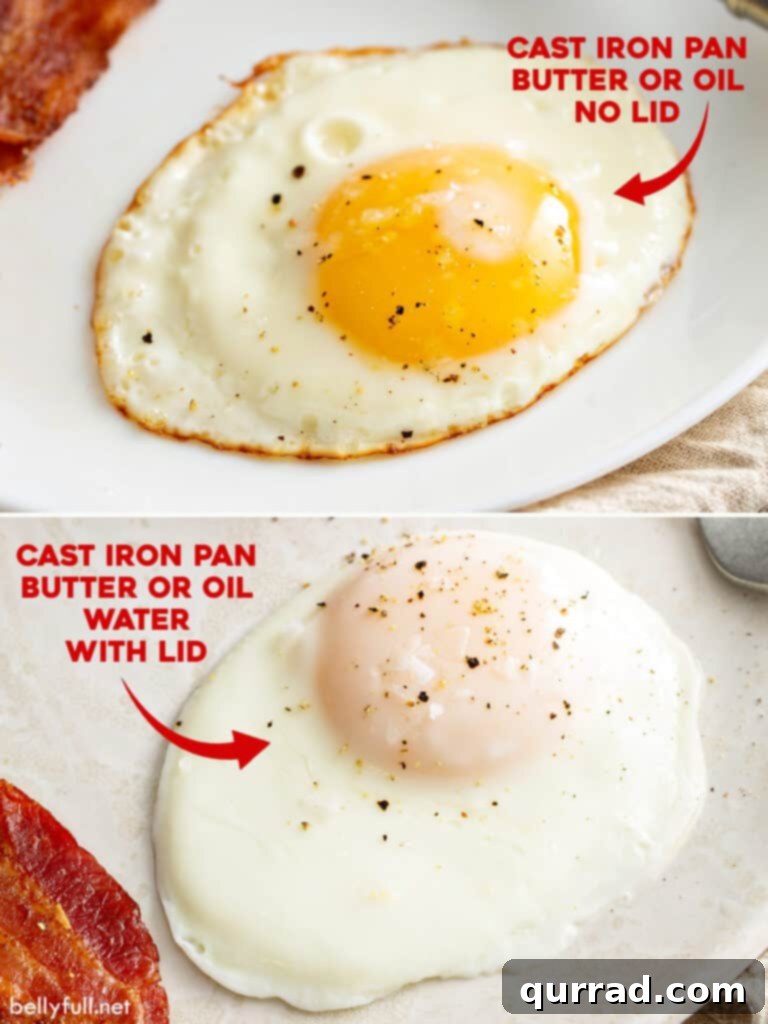
Technique #1: Sunny Side Up with Crispy Edges (No Lid, Cast Iron Skillet)
This method is renowned for producing a gorgeous, vividly yellow, runny yolk complemented by delicate, crispy, lacy egg white edges. It’s ideal for those who love the contrast of textures and flavors.
- Prepare Your Egg: Crack one fresh egg into a small ramekin or bowl. This prevents shell fragments from entering the pan and allows for a more controlled pour. Place it conveniently near your stove.
- Heat the Pan: Place an 8-inch cast iron skillet over medium-high heat. Wait until it’s sufficiently hot, indicated by a rapid sizzle and quick evaporation when a drop of water is flicked onto the surface.
- Add Fat and Reduce Heat: Once hot, immediately reduce the heat to medium. Add 1/2 tablespoon of butter (or oil) to the pan, swirling it gently to ensure the entire bottom surface is coated. This helps prevent sticking and promotes even browning.
- Pour the Egg: Carefully pour the egg from the ramekin into the center of the pan. Pouring from a low height minimizes splatters and helps the egg maintain a neat shape.
- Cook to Perfection: Allow the egg to cook undisturbed for approximately 2 to 2 1/2 minutes. During this time, the edges of the egg white will become beautifully crisp and golden, and the white itself will turn opaque. Crucially, the yolk should remain perfectly runny and warm.
- Serve Immediately: Gently transfer the cooked egg onto a plate using a thin spatula. For enhanced flavor, sprinkle with flaky sea salt and a few turns of freshly ground black pepper, if desired.
Technique #2: Sunny Side Up with a Steamed Yolk (With Lid & Water, Cast Iron Skillet)
This technique is perfect for those who prefer their sunny yolks veiled with a thin, opaque layer of cooked egg white, without sacrificing the runny center. The steam helps cook the top of the egg white evenly.
- Prepare Your Egg: Crack one fresh egg into a small ramekin or bowl and position it close to your stove.
- Heat the Pan: Warm an 8-inch cast iron skillet over medium-high heat. Test the heat by flicking a drop of water onto the pan; it should sizzle and evaporate quickly.
- Add Fat and Reduce Heat: Lower the heat to medium and add 1/2 tablespoon of butter (or oil), swirling it to coat the pan’s surface thoroughly.
- Pour the Egg: Gently pour the egg from the ramekin into the center of the preheated pan, taking care to avoid splatters.
- Steam the Egg: Immediately after adding the egg, drizzle about 1 tablespoon of water around the outer perimeter of the egg, not directly on it. Promptly cover the skillet with a lid. The trapped steam will cook the top of the egg.
- Cook and Check: Cook for exactly 2 minutes. The egg white should become entirely opaque, with a delicate, thin layer of cooked white forming over the yolk, while the yolk itself retains its luscious, runny consistency.
- Serve and Season: Carefully remove the lid and transfer the perfectly steamed egg to a plate. Season with flaky sea salt and freshly ground black pepper to taste.
How to Make Over Easy, Over Medium, and Over Hard Fried Eggs
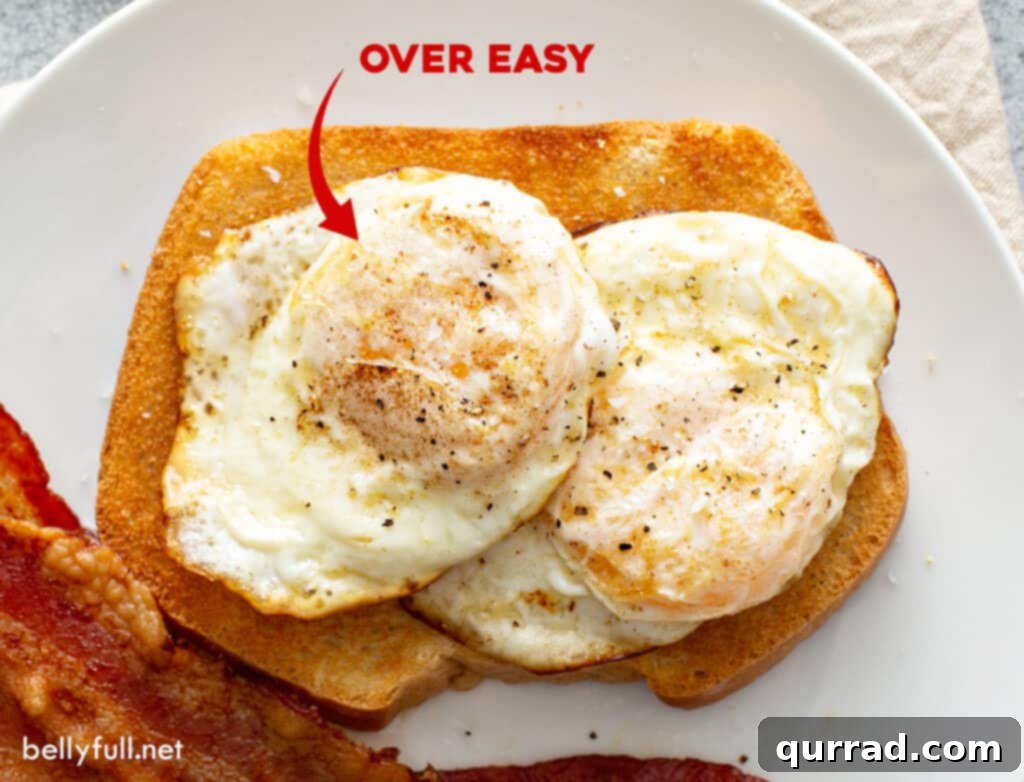
For those who prefer a fully cooked egg white and a yolk ranging from liquid gold to firm, these flipped techniques are ideal. This method ensures no shiny, uncooked egg white remains on top.
- Initial Cook: Begin by following either Technique #1 (crispy edges) or Technique #2 (steamed yolk) as described above, cooking the egg until it reaches the sunny side up stage with opaque whites but before the yolk fully sets.
- The Flip: Once the egg white is mostly set around the runny yolk, carefully slide a thin, heat-resistant spatula underneath the egg. With a confident, swift motion, flip the egg over in the pan. Avoid hesitation, as this can cause the yolk to break.
- Cook to Desired Doneness:
- Over Easy: Cook for an additional 10-30 seconds after flipping. This will warm the top of the yolk and fully set the remaining white, leaving the yolk wonderfully runny.
- Over Medium: Continue cooking for 30-60 seconds after flipping. The yolk will be partially set, offering a rich, jammy consistency, while the white is fully cooked.
- Over Hard: Fry for 1-2 minutes after flipping, or until the yolk is completely firm and fully cooked through. You can gently press on the yolk with your spatula to check its firmness.
- Serve: Carefully remove the egg from the pan and serve immediately. Season with salt and pepper as desired.
Troubleshooting Common Fried Egg Challenges
Even with the best intentions, frying an egg can sometimes present challenges. Here are solutions to common issues:
- Egg Sticking to the Pan: This usually indicates the pan wasn’t hot enough before adding the fat, or not enough fat was used. Ensure your pan is properly preheated to medium-high (water sizzles) before lowering to medium and adding a sufficient amount (1/2 tablespoon) of butter or oil. Using a good quality nonstick pan or a well-seasoned cast iron skillet also helps immensely.
- Burned Whites, Raw Yolk: This is a sign of heat that is too high throughout the cooking process. While an initial medium-high heat is good for preventing sticking, immediately reduce it to medium once the fat is in and before adding the egg. This allows the whites to cook through gently without burning, while the yolk can reach its desired runniness without overcooking.
- Excessive Splattering: Splattering can occur if the pan is too hot when the egg is added, or if the egg is dropped from too great a height. Cracking the egg into a bowl first and gently pouring it into the pan at a low angle significantly reduces splatters. Ensure the heat is adjusted to medium after the initial pan preheating.
- Broken Yolk: A broken yolk often happens due to old eggs (which have weaker membranes), or rough handling while cracking or flipping. Always use the freshest eggs possible for frying, and crack them gently into a bowl. When flipping, use a thin, flexible spatula and execute a swift, confident motion to minimize the risk of breakage.
Creative Serving Suggestions for Fried Eggs
A fried egg isn’t just for breakfast! Its versatility allows it to shine in a multitude of dishes. Here are some inspiring ways to enjoy your perfectly fried eggs:
- Classic Breakfast Plate: Serve alongside crispy bacon, sausages, toasted bread, and roasted potatoes.
- Avocado Toast: Elevate your avocado toast with a perfectly runny fried egg on top, a sprinkle of chili flakes, and a squeeze of lime.
- Grain Bowls: Add a fried egg to warm quinoa, rice, or farro bowls with sautéed greens, roasted vegetables, and a drizzle of sriracha or soy sauce for a wholesome lunch or dinner.
- Burgers & Sandwiches: Place a fried egg on top of your favorite burger, breakfast sandwich, or even a grilled cheese for an extra layer of richness and flavor.
- Noodle Dishes: A fried egg is a fantastic addition to ramen, stir-fries, or simple noodle bowls, offering a creamy element to spicy or savory broths.
- Salads: Transform a simple salad into a satisfying meal by topping it with a warm, fried egg, letting the runny yolk create a natural dressing.
- Soups: Drop a fried egg into a bowl of hot soup (like tomato or lentil) for added protein and a comforting texture.
Discover More Egg-cellent Recipes!
Eggs are endlessly adaptable and delicious in countless forms. If you’ve mastered the fried egg, why not explore other ways to enjoy this incredible ingredient?
- Life Changing Scrambled Eggs
- Perfect Hard Boiled Eggs
- How to Make an Omelette
- Poached Eggs
Recipe: How to Fry an Egg – Perfect Fried Eggs
Master the art of frying an egg with these detailed steps, ensuring perfect results whether you prefer sunny side up with crispy edges, steamed opaque yolks, or flipped over-easy to over-hard eggs.
Prep Time: 2 mins | Cook Time: 2 mins | Total Time: 4 mins
Servings: 1
Equipment
- Cast Iron or Nonstick pan (see notes in article for detailed pan selection)
- Small ramekin or bowl
- Thin spatula
Ingredients
- 1 large fresh egg
- 1/2 tablespoon butter (or oil, such as olive oil)
- Flaky sea salt, for serving (optional)
- Freshly ground black pepper, for serving (optional)
Instructions
Technique #1: Sunny Side Up (No Lid, Crispy Whites)
- Crack the egg into a small ramekin and place it near the stove.
- Warm an 8-inch cast iron skillet over medium-high heat until a drop of water sizzles rapidly on contact.
- Reduce heat to medium and add the butter, moving it around to coat the pan.
- Gently pour the egg into the center of the pan (watch out for splatters!).
- Let the egg cook until the edges are crisp and golden, and the egg white is opaque, but the yolk is still runny, about 2 to 2 1/2 minutes.
- Transfer the cooked egg to a plate. Sprinkle with flaky sea salt and a couple turns of freshly ground black pepper, if desired.
Technique #2: Sunny Side Up (With Lid, Steamed Yolk)
- Crack the egg into a small ramekin and place it near the stove.
- Warm an 8-inch cast iron skillet over medium-high heat until a drop of water sizzles rapidly on contact.
- Reduce heat to medium and add the butter, moving it around to coat the pan.
- Gently pour the egg into the center of the pan (watch out for splatters!).
- Immediately drizzle 1 tablespoon of water around the outer perimeter of the egg and cover with a lid.
- Cook for 2 minutes until the egg white is opaque and a thin layer of cooked egg white forms over the yolk, but the yolk itself is still runny.
- Transfer the cooked egg to a plate. Sprinkle with flaky sea salt and a couple turns of freshly ground black pepper, if desired.
Technique #3-5: Over-Easy, Over-Medium, and Over-Hard Fried Eggs
Perfect for those who prefer no shiny egg white and varied yolk doneness.
- Follow either Technique #1 or #2 until the egg is cooked sunny side up.
- Once the egg is cooked sunny side up, carefully slide a thin spatula underneath the yolk and swiftly flip the egg over in the pan.
- For Over-Easy: Cook for an additional 10-30 seconds.
- For Over-Medium: Cook for an additional 30-60 seconds.
- For Over-Hard: Cook for an additional 1-2 minutes.
- Transfer to a plate and season as desired.
Nutrition (Per Serving)
- Calories: 122kcal
- Carbohydrates: 1g
- Protein: 6g
- Fat: 10g
- Saturated Fat: 5g
- Trans Fat: 1g
- Cholesterol: 201mg
- Sodium: 121mg
- Potassium: 71mg
- Sugar: 1g
- Vitamin A: 445IU
- Calcium: 30mg
- Iron: 1mg
Nutritional information provided is an automatic calculation and can vary based on the exact products used and any modifications made to the recipe. If these numbers are critically important to you, it is recommended to calculate them independently.
I sincerely hope you enjoy this detailed guide and delicious, easy recipe for perfectly fried eggs. Please consider leaving a rating and review below! And don’t forget to follow Belly Full on Facebook, Instagram, Pinterest, and YouTube for more culinary inspiration!