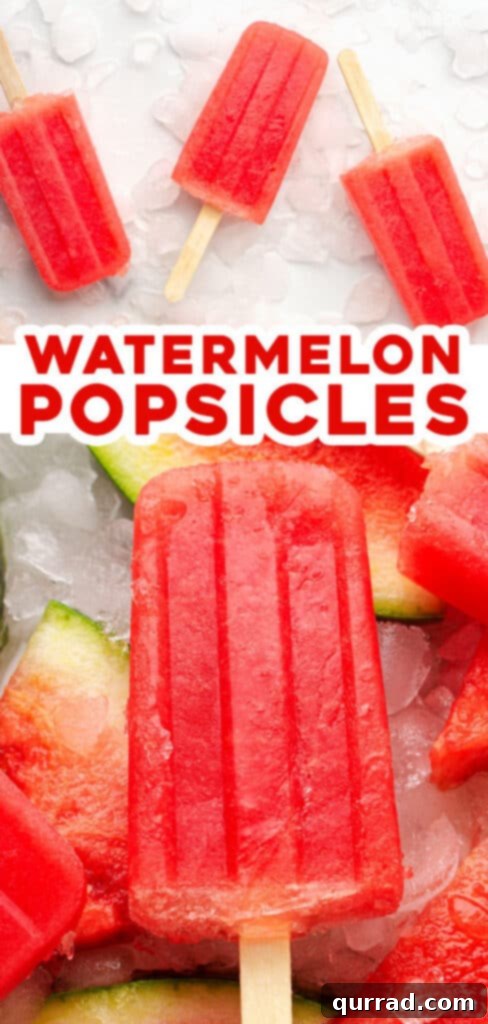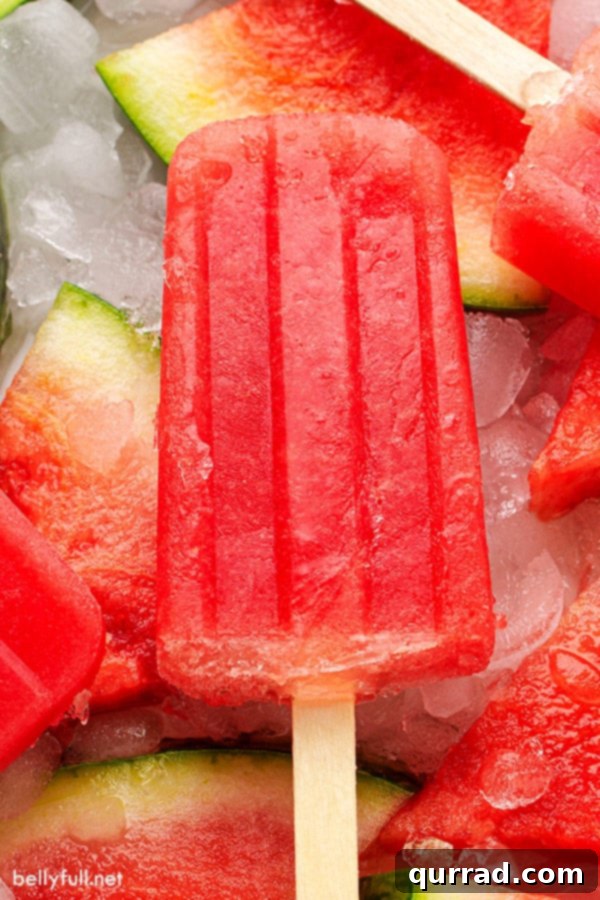
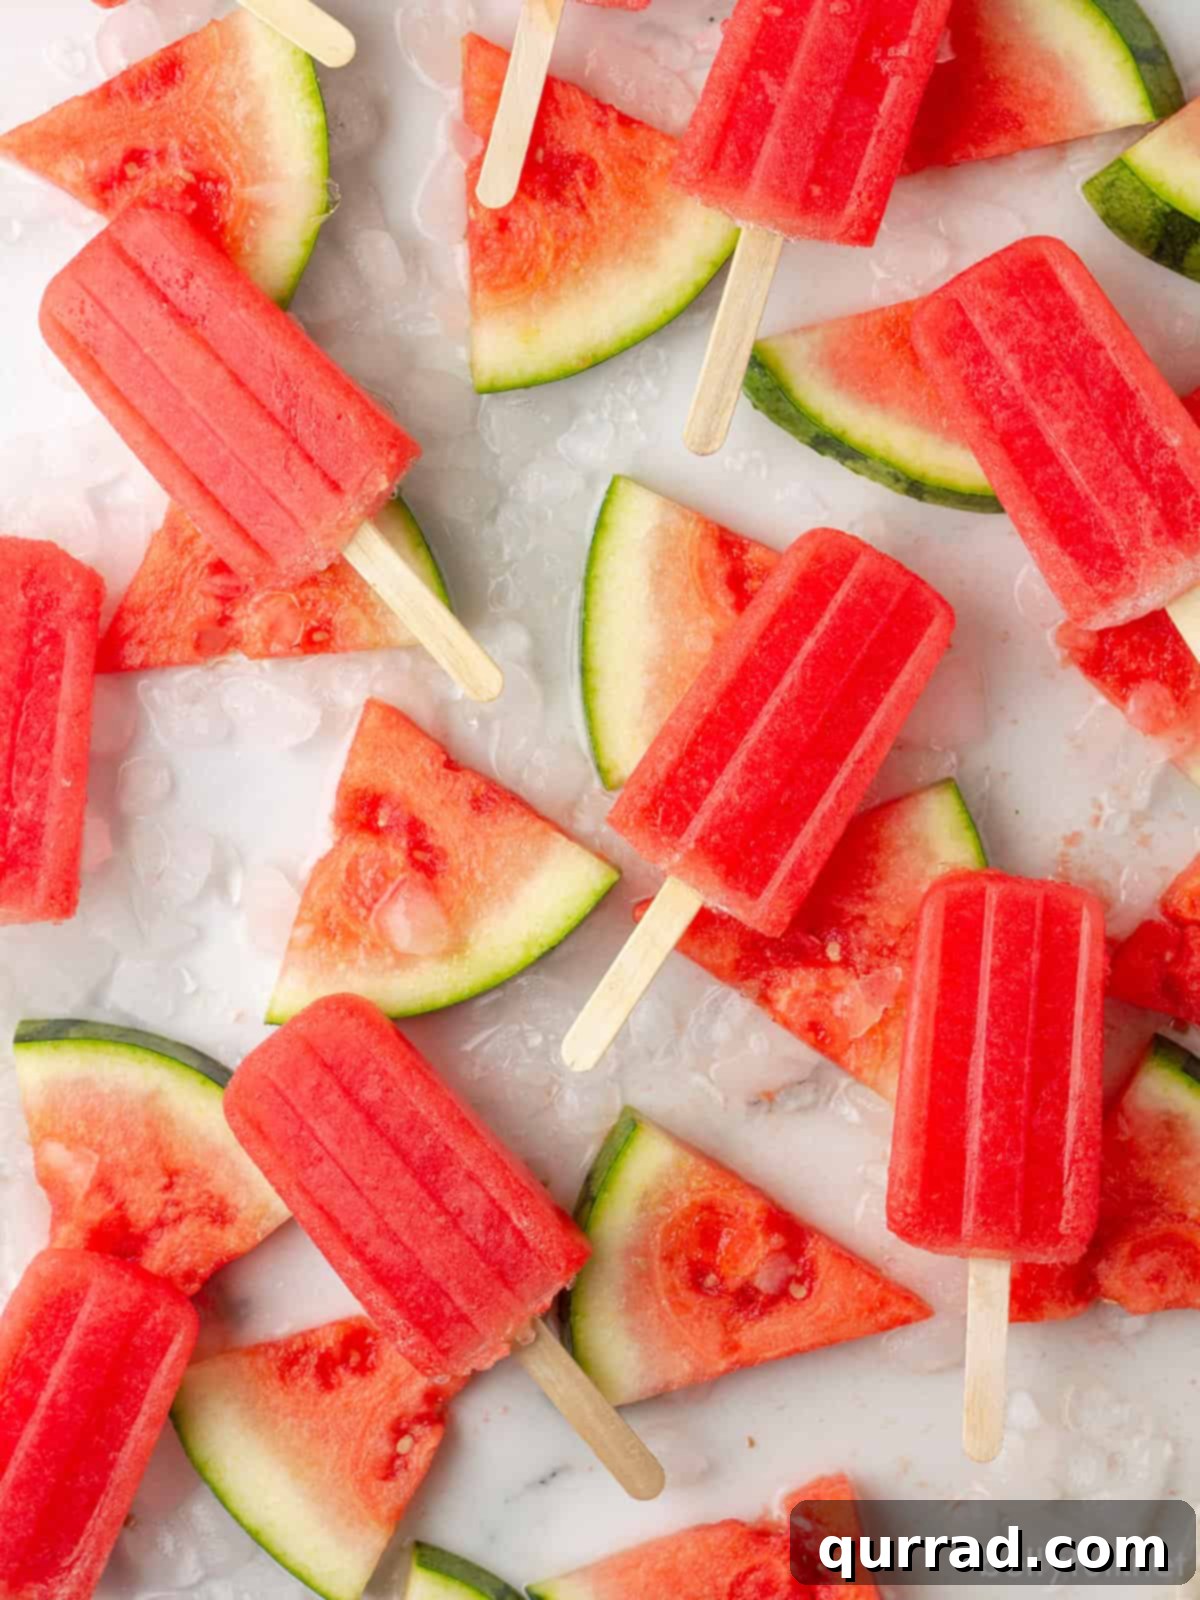
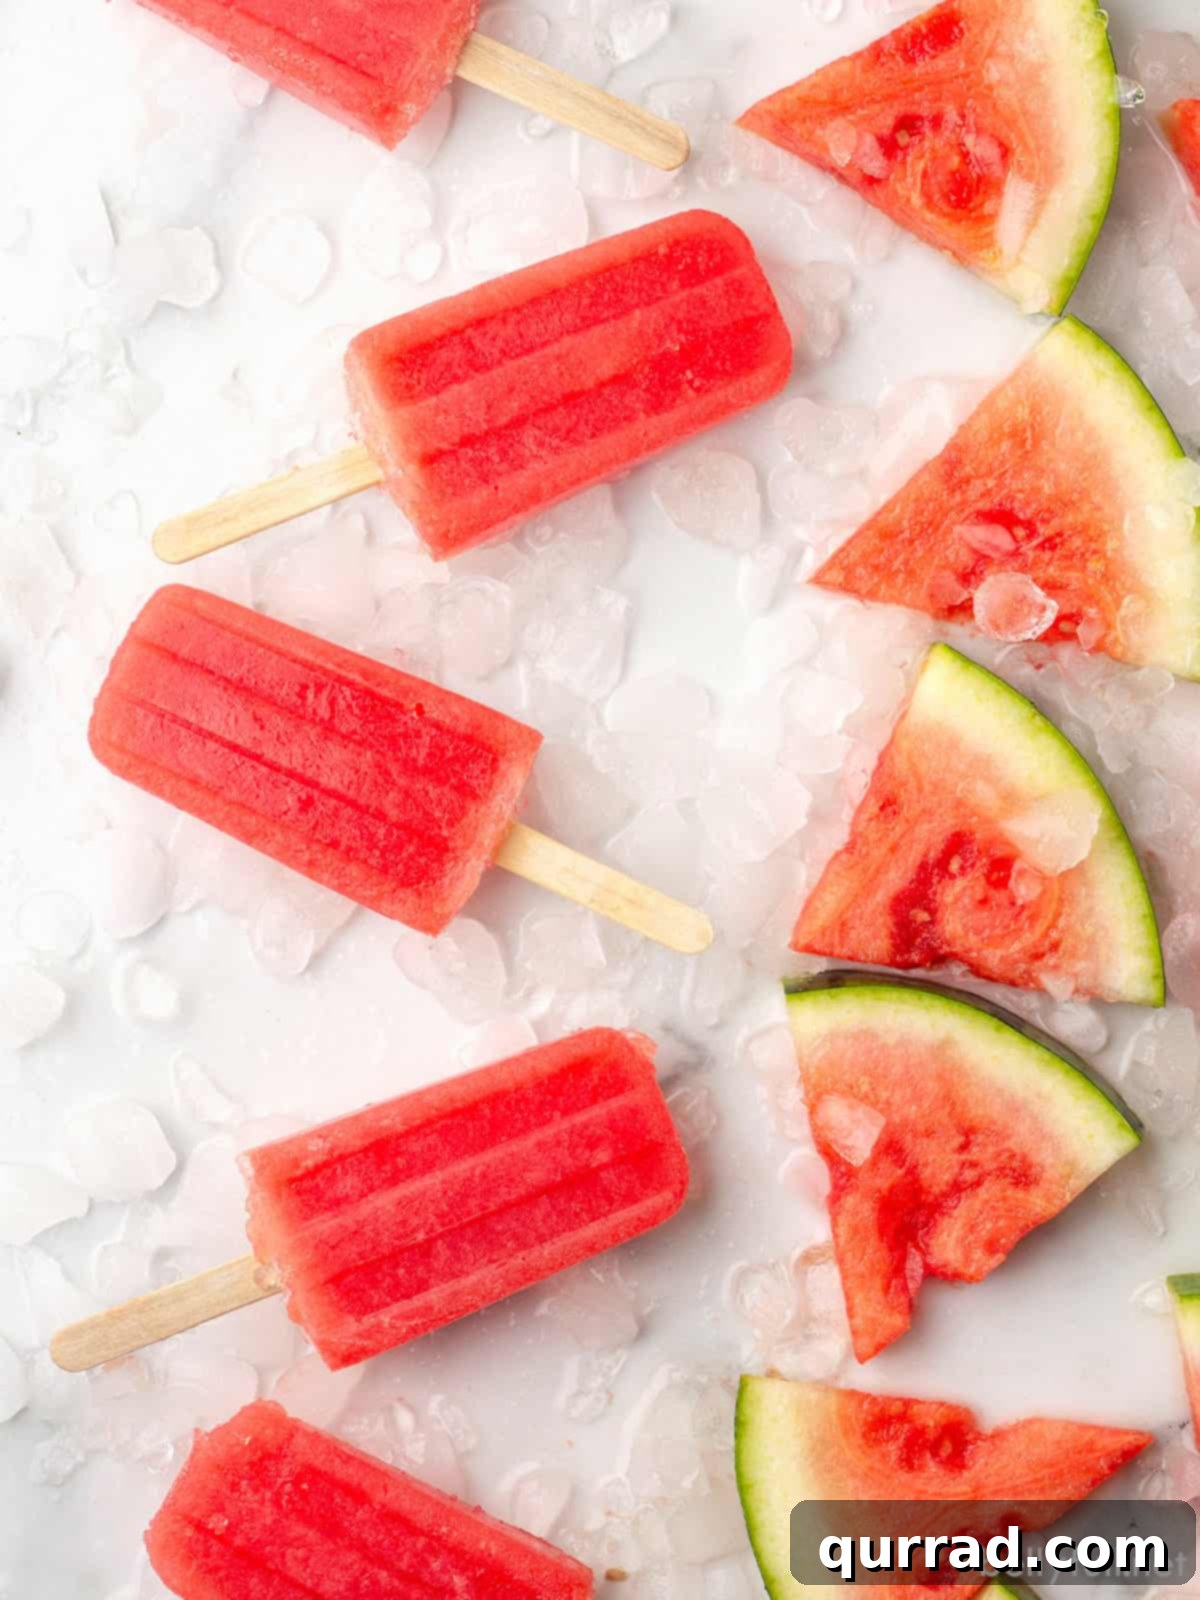
With just 3 simple ingredients, these Homemade Watermelon Popsicles are the perfect easy treat to help you cool down and stay refreshed on any hot summer day! They’re absolutely ideal for pool parties, backyard BBQs, or simply as a delightful snack that everyone – especially kids – will adore. Bursting with natural watermelon flavor, these frozen delights are a must-try for a truly unforgettable summer experience.
Craving more refreshing watermelon ideas? Be sure to explore this vibrant Watermelon Sangria for adult gatherings or this delightful Watermelon Salad for a light and fresh side dish that perfectly complements any meal.
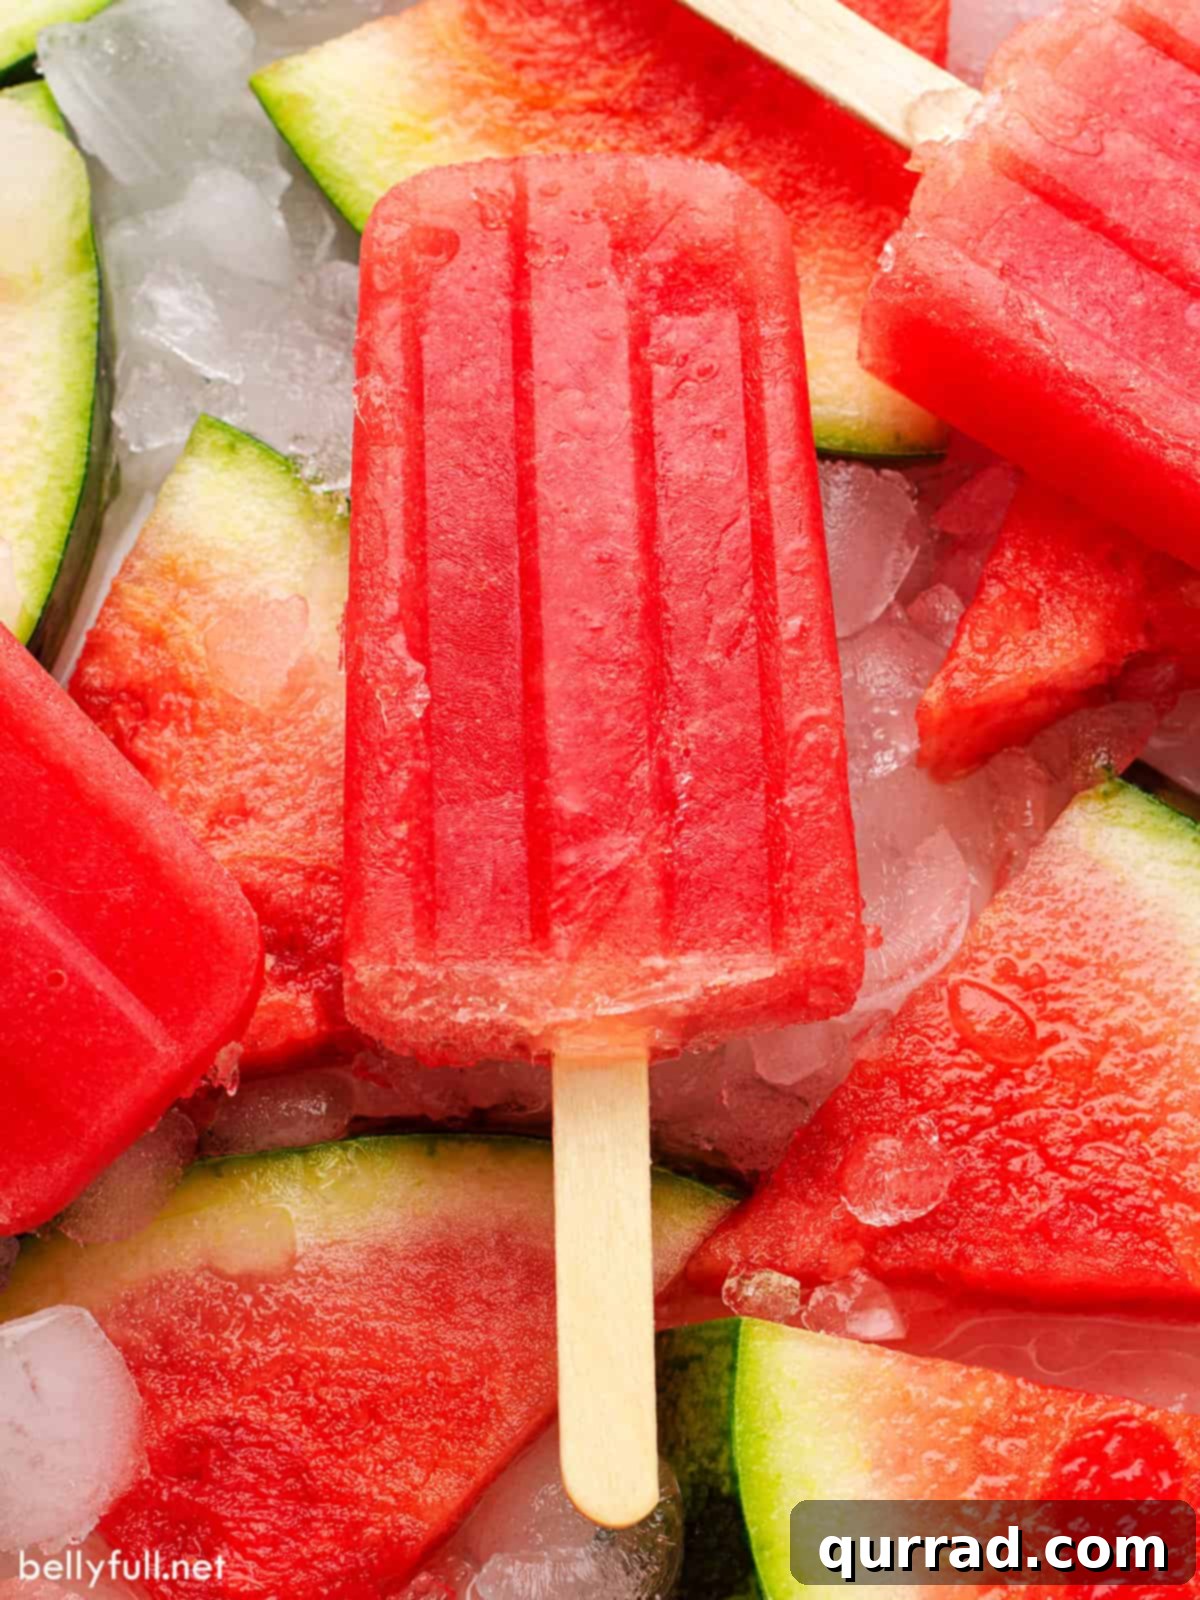
Easy Watermelon Popsicles: Your Go-To Summer Refreshment
Summer days are synonymous with lazy afternoons, poolside relaxation, and of course, irresistible frozen treats. While there’s a special place in my heart for all kinds of popsicles, nothing quite beats the vibrant, natural taste of fruit-based options when the temperatures soar. These Easy Watermelon Popsicles aren’t just any frozen dessert; they are truly the perfect antidote to summer heat, offering a light, invigorating, and utterly delicious experience that satisfies your sweet tooth without any guilt.
What makes these watermelon popsicles stand out? Beyond their incredibly refreshing quality, they are remarkably simple to make. Requiring only 3 core ingredients and a mere 5 minutes of active preparation time, they fit perfectly into even the busiest schedules. This means less time in the kitchen and more time enjoying the sunshine! Plus, their versatility is unmatched! Whether you’re making a batch for the kids, hosting a family gathering, or looking to add a spirited twist for an adults-only celebration, this recipe can be easily adjusted to suit every occasion. Imagine a refreshing, subtly sweet, and wonderfully juicy treat that cools you down without leaving you feeling heavy or overly sugared. That’s precisely what these homemade watermelon popsicles deliver, making them a staple for healthy and delicious summer enjoyment.
Why You’ll Adore These Homemade Watermelon Popsicles
These aren’t just any popsicles; they’re a symphony of simplicity, refreshment, and pure summer joy. Here are compelling reasons why these watermelon popsicles will become your new favorite:
- Effortlessly Simple: With a minimal ingredient list and straightforward steps, even novice cooks can master these delicious frozen treats. No complicated techniques or obscure ingredients required!
- Incredibly Refreshing: Watermelon’s naturally high water content makes these popsicles the ultimate thirst-quencher. They provide instant relief from the heat, making them ideal for sweltering afternoons.
- Naturally Delicious & Vibrant: Harnessing the sweet, juicy flavor of fresh watermelon, these popsicles offer a pure and authentic taste. The vibrant red color is also visually appealing and signals a wholesome treat.
- Kid-Friendly & Approved: A healthy and delightful alternative to store-bought, sugary treats, these popsicles are a fantastic way to get kids to enjoy fruit. They’re sure to be a hit with even the pickiest eaters.
- Adult-Friendly Variations: Easily transform them into spirited boozy popsicles with a splash of your favorite liquor, perfect for grown-up pool parties or evening relaxation. Customization is key!
- Perfect for Any Occasion: From casual backyard lounging to vibrant pool parties, summer picnics, or even as a light dessert after dinner, these popsicles fit seamlessly into any summer scenario.
- Customizable Sweetness: Watermelon sweetness can vary, but this recipe allows you to taste and adjust the sugar or honey to your exact preference, ensuring perfectly balanced flavor every time.
- Healthier Dessert Option: Packed with the goodness of watermelon, these popsicles are a much healthier choice compared to many other sugary desserts, offering vitamins and hydration.
Essential Ingredients for Your Watermelon Popsicles
Crafting these wonderfully simple homemade popsicles requires just three core ingredients. Each plays a crucial role in delivering that irresistible summer flavor and refreshing texture. Here’s a closer look at what you’ll need to gather to begin your popsicle-making adventure:
- Seedless Watermelon: This is unequivocally the star of our show! For optimal blending and a smooth popsicle texture, I highly recommend cutting your watermelon into roughly 1-inch chunks. When selecting your watermelon at the grocery store or farmer’s market, look for one that feels noticeably heavy for its size—this indicates a high water content. The rind should be dull, not shiny, and ideally, you’ll find a creamy yellow spot (not white!) on its underside, which signifies where it ripened on the vine. While seedless varieties are preferred to avoid any unwanted textures in your final product, don’t despair if you only have a seeded one; you can simply strain the blended mixture through a fine-mesh sieve to remove the seeds. Watermelon is packed with vitamins A and C, and antioxidants, making these popsicles not just tasty, but also good for you!
- Lemon-Lime Soda (or alternative): This ingredient serves a dual purpose: it adds a subtle fizz that gives the popsicles a unique, lighter mouthfeel, and it contributes a touch of extra sweetness that perfectly complements the natural taste of the watermelon. The carbonation can also aid in achieving a slightly less dense, almost airy texture in the frozen treat. For a fantastic kid-friendly version, or if you prefer to avoid soda, you can effortlessly substitute white grape juice. White grape juice maintains a similar sweetness profile and blends harmoniously with watermelon. For an exciting adult-only indulgence, consider replacing the soda with a spirit like vodka or rum, which we’ll explore further in our variations section.
- Sugar or Honey: The natural sweetness of watermelons can vary quite significantly from one melon to another, influenced by ripeness and variety. A small amount of added sugar or honey ensures that your popsicles achieve the perfect, consistently balanced level of sweetness every time you make them. It’s always a good practice to start with a smaller amount than suggested, then taste the blended mixture and adjust it to your personal preference. Honey, beyond its sweetness, imparts a lovely, delicate floral note that pairs beautifully with watermelon. Granulated sugar, on the other hand, provides a clean, neutral sweetness. For those exploring other options, feel free to experiment with natural sweeteners like maple syrup, agave nectar, or a dash of stevia, adjusting quantities to taste.
Step-by-Step Guide: How to Make Watermelon Popsicles
Making these delightful homemade watermelon popsicles is incredibly straightforward, requiring minimal effort for maximum enjoyment. You can have your mixture ready to freeze in as little as 5 minutes, making it an ideal last-minute summer project!
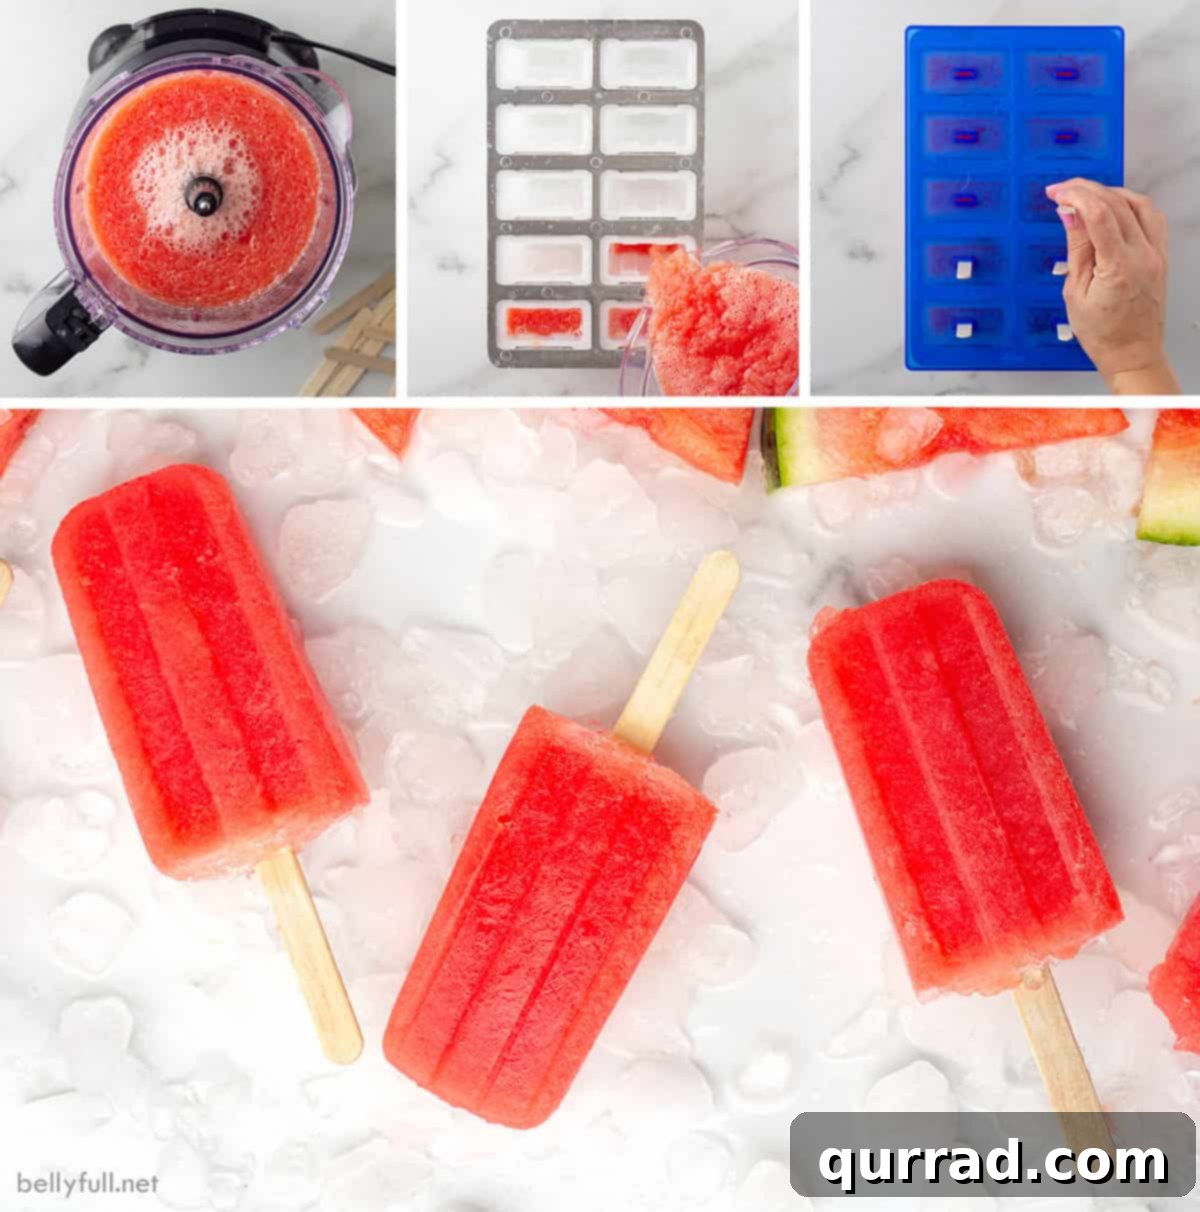
- Prepare and Blend the Ingredients: Begin by carefully placing all your prepared seedless watermelon chunks into a high-speed blender. Next, add your chosen liquid – whether it’s lemon-lime soda for a bubbly touch, white grape juice for a kid-friendly version, or your chosen alcohol mix for an adult treat. Finally, add your initial amount of sugar or honey. Secure the blender lid and blend on high until the mixture is completely smooth and free of any lumps, stringy bits, or large watermelon pieces. This usually takes about 1 minute. Pause the blender, taste the mixture, and if you desire a sweeter popsicle, add a little more sugar or honey, then blend again briefly to ensure it’s thoroughly combined.
- Fill the Popsicle Molds: Once your watermelon mixture is perfectly blended and seasoned to your liking, carefully pour it evenly into your popsicle molds. It’s important not to overfill the molds, as liquids tend to expand slightly when they freeze. Leaving a small amount of headspace (about 1/4 inch from the top) in each mold will prevent any messy overflows in your freezer. After filling, securely place the lids or covers onto your molds.
- Initial Freezing Period: Gently transfer the filled popsicle molds to the freezer. Allow them to chill and firm up for approximately 1 hour. This initial freezing period is crucial as it helps the mixture thicken enough to hold the popsicle sticks upright. If you insert the sticks too early, they might lean or fall over, resulting in uneven popsicles.
- Insert Popsicle Sticks and Final Freeze: After the initial hour of freezing, carefully remove the molds from the freezer. The mixture should be semi-solid. Now, insert the popsicle sticks into the center of the semi-frozen mixture in each mold. Ensure they are straight and centered. Return the molds to the freezer for an additional 3 to 4 hours, or until the popsicles are completely solid and rock-hard. The total freezing time can vary depending on the efficiency of your freezer and the specific size and material of your molds. For best results, allow them to freeze overnight if possible.
- Enjoy Your Refreshing Treat! Once your homemade watermelon popsicles are fully frozen, they are ready to be devoured! To easily remove them from the molds without any breakage, you might need to briefly dip the bottom half of the mold in warm (not hot!) water for approximately 10 to 15 seconds. This gentle warmth will help loosen the popsicle from the edges of the mold, allowing for easy, damage-free removal. Pull gently on the stick, and your perfect summer treat will slide right out. If you’re not serving them all immediately, it’s best to wrap each individual popsicle tightly in plastic wrap to prevent freezer burn and store them in a freezer-safe plastic bag or airtight container for later enjoyment.
Expert Tips for Perfect Homemade Watermelon Popsicles
Whether you’re a seasoned pro in the kitchen or embarking on your first homemade popsicle adventure, these essential tips will help ensure your watermelon popsicles turn out perfectly every single time, from flavor to texture and presentation:
- Adjust Sweetness Gradually and Taste Test: Watermelon’s natural sugar content is notoriously variable, influenced by its ripeness, variety, and growing conditions. Therefore, it’s always the wisest approach to start with less sugar or honey than the recipe initially calls for. After blending all your ingredients, take a small taste of the mixture. If you prefer it sweeter, add more sweetener a tablespoon at a time, blending thoroughly after each addition until you achieve your desired level of sweetness. Remember, flavors can become slightly muted or less intense when frozen, so aim for a liquid mixture that tastes just a tad sweeter than your ideal final popsicle.
- Choosing the Right Popsicle Molds: The type of mold you use can significantly impact your popsicle-making experience and the ease of removal. Popsicle molds come in a variety of materials (silicone, plastic, stainless steel), shapes, and sizes. Some feature built-in reusable sticks, while others require separate wooden popsicle sticks. Silicone molds are often praised for their flexibility, making popsicles incredibly easy to remove. Plastic molds are typically more budget-friendly and widely available. Stainless steel molds are durable and chemical-free, though they might be a bigger investment. Read reviews to find a durable, easy-to-clean mold that best suits your needs. Keep in mind that the recipe’s yield (number of popsicles) can vary based on the capacity of your specific molds.
- No Popsicle Molds? No Problem!: Don’t let the absence of specialized popsicle molds deter you from enjoying these refreshing treats! You can easily make delicious popsicles using common items you likely already have at home. Small paper cups (like Dixie cups or even small disposable plastic cups) work wonderfully. Simply pour the watermelon mixture into the cups, place them on a flat baking sheet or tray for stability in the freezer, and follow the same freezing instructions, inserting the sticks after about an hour when the mixture is semi-frozen. Once completely frozen, you can simply peel away the paper cup to enjoy your homemade popsicle. Another fantastic option for mini popsicles, perfect for toddlers or a quick bite, is using ice cube trays. Just remember that the sticks might be a bit flimsy in smaller cubes.
- Ensure a Perfectly Smooth Consistency: For the best and most enjoyable texture, it is paramount that your watermelon mixture is completely smooth after blending. Any fibrous pieces, unblended chunks, or seeds (if you didn’t use seedless watermelon and didn’t strain) can detract from the pleasant mouthfeel of the final popsicle. If your blender isn’t particularly powerful, or if you prefer an absolutely silky-smooth result, you might consider straining the blended mixture through a fine-mesh sieve before pouring it into the molds. However, with a good quality seedless watermelon and a decent blender, this step is often unnecessary.
- Preventing Overfilling for Optimal Results: Always leave a small amount of space (about 1/4 inch) at the top of your popsicle molds. This is because liquids expand slightly as they freeze. Overfilling can lead to messy overflows in your freezer, which is inconvenient, and can also make it difficult to properly secure the lids on your molds, potentially exposing the popsicles to freezer burn.
- Warm Water for Easy Release: As mentioned in the instructions, if you encounter any resistance when trying to remove a frozen popsicle from its mold, resist the urge to pull aggressively. Instead, briefly dip the bottom half of the mold in warm (not hot) water for about 10-15 seconds. This gentle warmth will slightly melt the outer layer of the popsicle, causing it to detach from the mold walls and allowing for a smooth, damage-free extraction.
Exciting Watermelon Popsicle Variations for Every Palate
This basic 3-ingredient recipe provides a fantastic foundation for a refreshing summer treat, but it’s also incredibly versatile! Get creative and customize your Watermelon Popsicles with these delightful variations, catering to different tastes and occasions:
- Kid-Friendly & Soda-Free Popsicles: For a completely wholesome and naturally sweet treat without any added soda or artificial ingredients, simply replace the lemon-lime soda with an equal amount of white grape juice. This substitution maintains a similar sweetness profile while keeping it entirely fruit-based. You can also experiment with other pure fruit juices like apple juice, pineapple juice, or even a splash of coconut water for a tropical twist and reduced sugar content.
- Boozy Watermelon Popsicles (Adults Only!): Elevate your summer party with a spirited, grown-up version! For a classic boozy popsicle, replace the lemon-lime soda with 3/4 cup chilled regular vodka. For an enhanced watermelon flavor, opt for watermelon-flavored vodka. To ensure some liquid volume and a slight effervescence, add 1/4 cup of club soda to the mixture. Be aware that alcohol lowers the freezing point, so these boozy popsicles may take a bit longer to freeze completely and might have a slightly softer, slushier texture compared to their non-alcoholic counterparts.
- Refreshing Watermelon Mojito Popsicles: Bring the beloved classic cocktail to your freezer in popsicle form! For a vibrant mojito-flavored popsicle, substitute the lemon-lime soda with 1/2 cup white rum and 1/4 cup club soda. Then, stir in 3 tablespoons of freshly squeezed lime juice for that essential citrus tang, and 1/4 teaspoon of high-quality mint extract. For an extra layer of authentic freshness, you can muddle a few fresh mint leaves into the watermelon mixture before blending, and then strain them out if you prefer a smoother popsicle texture.
- Berry Blast Watermelon Popsicles: Introduce another layer of fruity goodness by blending in 1/2 cup of fresh or frozen berries with your watermelon. Strawberries, raspberries, or blueberries all pair exceptionally well with watermelon. The berries will add extra nutrients, flavor complexity, and a beautiful deeper color. Adjust sweetness as needed, as berries can vary in tartness.
- Citrus Zest Watermelon Popsicles: For a brighter, more aromatic popsicle, consider adding 1 to 2 teaspoons of finely grated fresh lime or lemon zest to the blender along with the other ingredients. The zest contains essential oils that will infuse your popsicles with a refreshing, vibrant citrus aroma and flavor without adding extra liquid.
- Herbal Infused Watermelon Popsicles: For a sophisticated and subtly flavored treat, blend in a few fresh herb sprigs. Fresh mint (as in the mojito variation), basil, or even a hint of rosemary can add an unexpected and delightful complexity to the watermelon base. Remember to strain the mixture after blending if you prefer to remove the herb pieces.
- Layered Watermelon Popsicles: Create a visually stunning and multi-flavored treat by making layered popsicles! Prepare two or more different fruit mixtures (e.g., plain watermelon, a vibrant kiwi puree, a creamy coconut milk layer, or a blended berry mix). Pour one layer into the molds and freeze until semi-solid (about 45-60 minutes), then carefully add the next layer and repeat the freezing process. This technique results in beautiful, striped popsicles that are as pleasing to the eye as they are to the palate.
Storage & Make-Ahead Tips for Your Watermelon Popsicles
These homemade watermelon popsicles are so delicious and perfectly refreshing, you’ll undoubtedly want to have a steady supply on hand throughout the warm summer months! Proper storage is key to ensuring they stay fresh, frosty, and free from freezer burn for an extended period.
You can comfortably keep your freshly made popsicles in their molds for a few days, which is incredibly convenient if you plan to enjoy them regularly as part of your daily summer routine. However, for longer-term storage or to free up your molds for another delightful batch, it’s highly recommended to remove them once they are completely frozen and firm. After successfully removing each popsicle from its mold, individually wrap each one tightly in plastic wrap. This step is absolutely crucial for preventing freezer burn, which can degrade the texture and flavor, and for maintaining their fresh, vibrant taste. Once wrapped, transfer the popsicles to reusable plastic freezer bags or an airtight plastic container.
If you’re stacking multiple popsicles in a container, it’s a good practice to place a small sheet of parchment paper or wax paper between each layer. This simple trick prevents them from sticking together, making it easier to grab one whenever a craving strikes. Stored correctly, these delightful watermelon popsicles will remain fresh and delicious in the freezer for up to a few weeks, allowing you to enjoy summer’s bounty long after the season peaks. Always remember to check for any signs of freezer burn (like ice crystals or dull flavor) before serving if they’ve been stored for an extended period.
Troubleshooting Removal: If you ever encounter difficulty removing a popsicle from its mold, don’t resort to forcing it, as this can break the stick or damage the popsicle. Instead, simply dip the bottom half of the mold in warm (but not hot) water for approximately 10 to 15 seconds. This gentle warmth will slightly melt the outer layer of the popsicle, causing it to loosen from the edges of the mold and allowing for easy, damage-free removal with a gentle pull on the stick.
More Refreshing Homemade Popsicle Recipes to Explore
If you’ve enjoyed making and savoring these delightful watermelon popsicles and are now inspired to explore more frozen delights, we’ve got you covered! Check out some of our other favorite homemade popsicle recipes that are perfect for keeping cool and satisfying any sweet craving:
- Decadent Chocolate Raspberry Popsicles
- Nostalgic Root Beer Float Popsicles
- Creamy Blackberry Cheesecake Popsicles
- Sweet Strawberry Jam Yogurt Popsicles
We hope you love this delicious and incredibly simple watermelon popsicle recipe! Please consider leaving a review and rating below – your feedback is always appreciated and helps other home cooks discover wonderful treats! Don’t forget to follow Belly Full onFacebook,Instagram,Pinterest, and YouTube for more delicious recipes, culinary inspiration, and daily kitchen tips!
★
★
★
★
Watermelon Popsicles
Pin
Ingredients
- 5 cups seedless watermelon, cut into 1-inch chunks
- 1 cup lemon-lime soda
- 2 tablespoons sugar or honey
Instructions
-
Place the watermelon chunks into your blender. Blend on high until smooth, about 1 minute. (Taste the mixture and add more sugar or honey if you want it sweeter.)
-
Pour the watermelon juice mixture evenly into your popsicle molds; place the lid on.
-
Transfer to the freezer for 1 hour.
-
Insert the popsicle sticks into the molds and place them back in the freezer for another 3 to 4 hours until they are completely set.
-
Remove the popsicles from the molds and enjoy. (If not serving right away, wrap each popsicle with plastic wrap and store in a freezer safe plastic bag.)
-
NOTE: See notes in full article how to make these if you don’t own popsicle molds.
-
FLAVOR VARIATIONS:
No Soda. To keep it kid-friendly without the soda, replace the lemon-lime soda with white grape juice.
Boozy popsicles. For boozy popsicles, replace the lemon-lime soda with 3/4 cup chilled regular vodka or watermelon vodka and 1/4 cup club soda.
Mojito popsicles. For a Mojito flavored popsicle, replace the lemon-lime soda with 1/2 cup white rum and 1/4 cup club soda. Add 3 tablespoons fresh lime juice and 1/4 teaspoon mint extract.
Nutrition
Carbohydrates: 13g |
Protein: 1g |
Fat: 1g |
Saturated Fat: 1g |
Polyunsaturated Fat: 1g |
Monounsaturated Fat: 1g |
Sodium: 4mg |
Potassium: 107mg |
Fiber: 1g |
Sugar: 12g |
Vitamin A: 541IU |
Vitamin C: 8mg |
Calcium: 7mg |
Iron: 1mg
Nutritional information provided is an estimated automatic calculation and can vary based on the exact products you use and any modifications made to the recipe. If precise nutritional values are crucial for your dietary needs, we recommend calculating them independently.
Don’t Miss Another Recipe!
Want to save this recipe for later and get new delicious recipes delivered weekly to your inbox? Sign up for our newsletter here!