
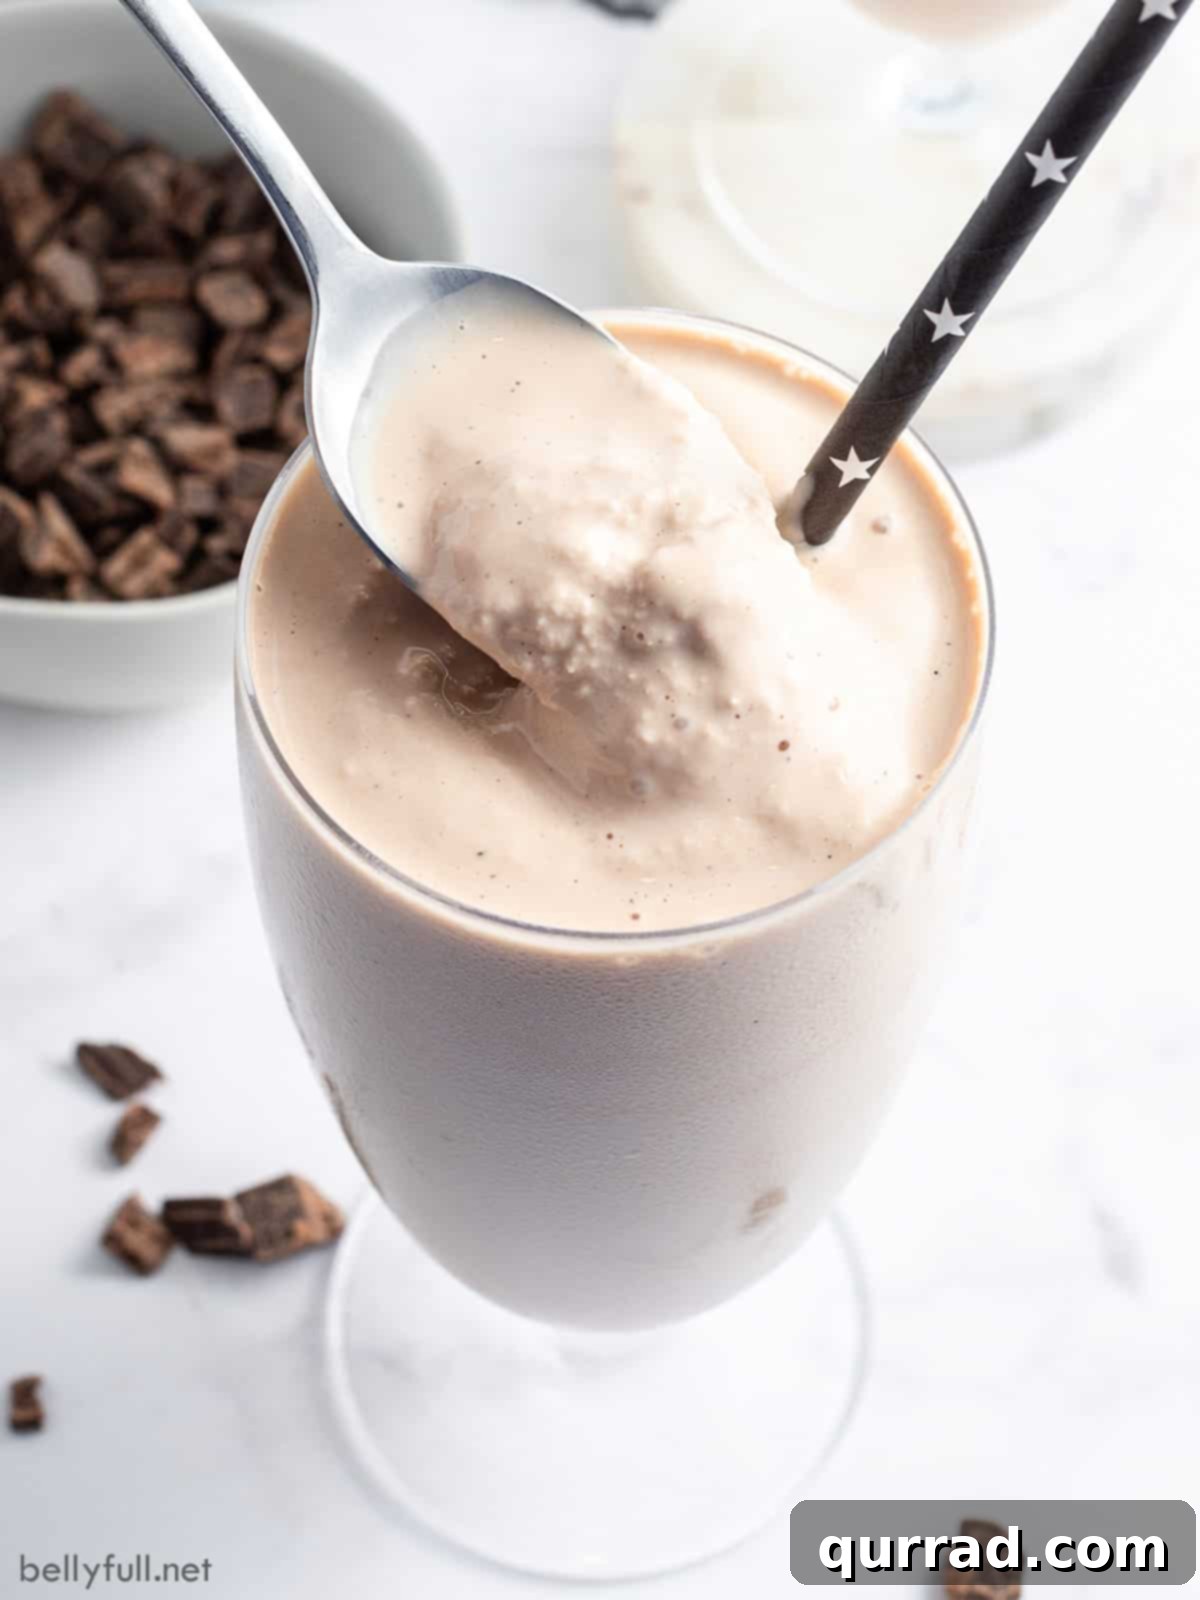
Craving that iconic, thick, and ultra-chocolatey treat from Wendy’s? Imagine being able to whip up a perfectly smooth, rich, and creamy Frosty right in your own kitchen, any time the craving strikes. Good news: with this incredible Copycat Wendy’s Frosty Recipe, that dream becomes a delicious reality! Best of all, you only need four simple ingredients, and there’s absolutely no ice cream machine required to achieve that signature, spoon-thick consistency.
For those who love to recreate their restaurant favorites at home, this Frosty recipe is a game-changer. It’s not just a dessert; it’s a nostalgic experience, bringing the joy of Wendy’s directly to you without ever leaving your house. Forget the drive-thru lines and enjoy the ultimate indulgence designed for ease and maximum flavor, perfect for any occasion from a casual snack to a delightful after-dinner treat.

Why Make Your Own Copycat Wendy’s Chocolate Frosty?
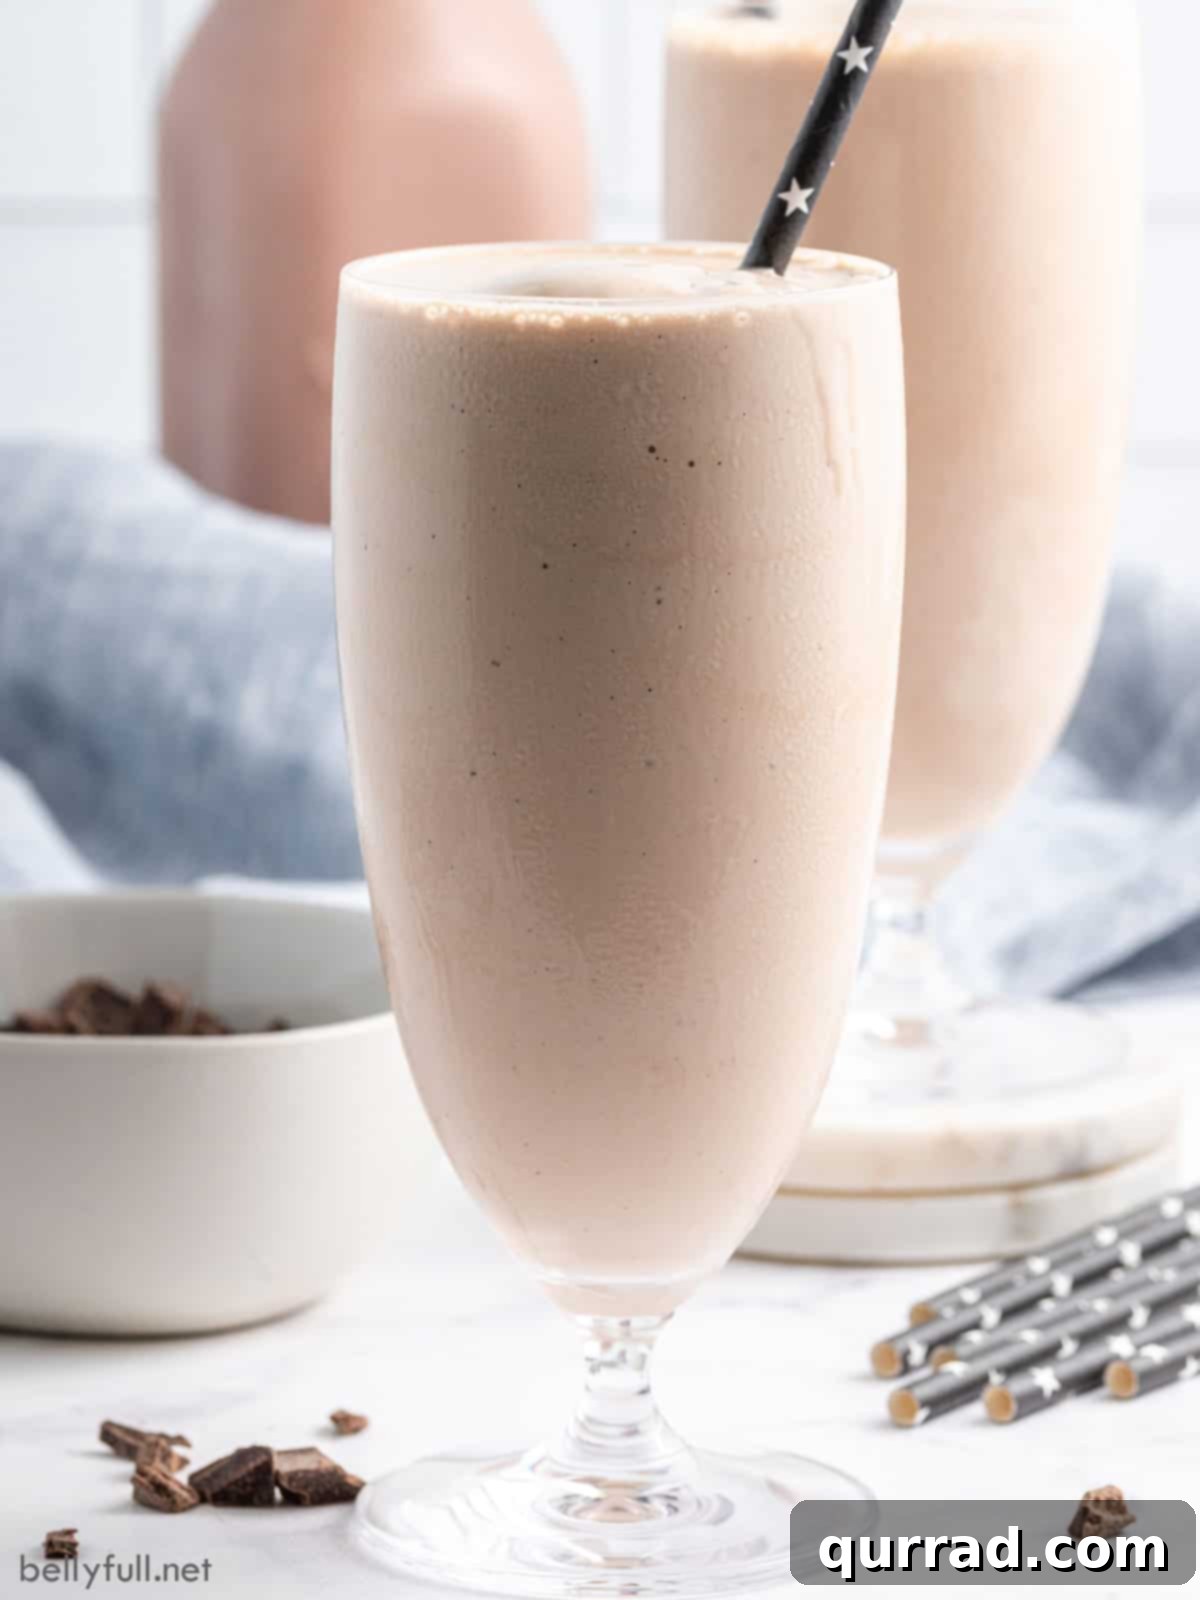
The Wendy’s Frosty holds a special place in the hearts of fast-food aficionados. It’s distinctly different from a traditional milkshake, boasting a unique, almost soft-serve-like texture that’s thick enough for a spoon but still perfectly enjoyable with a wide straw. Many of us have fond memories of dipping crispy Wendy’s fries into its frosty goodness or simply enjoying it as the perfect end to a satisfying meal. But why go through the effort of making it at home when you can just drive to Wendy’s? The answer lies in several compelling advantages:
- Unmatched Convenience: Craving a Frosty at midnight? No need to get dressed or leave the house. Satisfy your sweet tooth instantly, day or night, with ingredients you likely already have on hand.
- Budget-Friendly Indulgence: Making your own means significant savings. This recipe allows you to create a large batch for the whole family for a fraction of the cost of buying individual servings at the restaurant. It’s an economical way to enjoy a premium treat.
- Complete Control Over Ingredients: When you DIY, you’re in charge. Choose your favorite brands of chocolate milk, adjust the sweetness to your precise liking, or even experiment with different types of chocolate flavorings. You know exactly what goes into your dessert.
- Dietary Considerations (with caution): While this recipe aims for an authentic copycat, having control over the ingredients opens the door to potential future modifications for dietary needs (e.g., trying a dairy-free chocolate milk or sugar alternatives, though these would slightly alter the classic taste and texture).
- The Sheer Joy of DIY: There’s a special satisfaction in creating a beloved treat from scratch. It’s a fun, engaging kitchen project for cooks of all ages and a fantastic way to impress friends and family.
- Freshness Guaranteed: Enjoy your Frosty at its absolute freshest, customized to your ideal thickness and temperature.
The Secret Behind That Perfect Signature Frosty Texture
What truly sets a Wendy’s Frosty apart from a standard milkshake or ice cream is its signature “not-quite-a-milkshake, not-quite-ice-cream” consistency. It’s a marvel of texture – thick, yet incredibly smooth, without the chewiness of traditional ice cream or the thinness of a typical blended shake. Our copycat recipe expertly mimics this unique mouthfeel by utilizing a clever combination of ingredients that, when blended and partially frozen with a specific technique, prevent the formation of large ice crystals. This ensures a consistently velvety smooth finish that feels just like the real deal, allowing for both spooning and sipping with ease. The secret lies in a balance of richness and airiness, achieved without any specialized equipment.
Only 4 Simple Ingredients Needed for Your Homemade Frosty
You won’t believe how easily this delectable treat comes together with such a minimal ingredient list. Each component plays a vital role in achieving that authentic Wendy’s Frosty experience. The beauty of this recipe is its simplicity, relying on common pantry and freezer staples. (Full measurements and detailed instructions can be found in the comprehensive recipe card below.)
- Sweetened Condensed Milk: This is the undeniable secret weapon for ultimate creaminess and sweetness. It provides a luxurious, rich texture without the need for an ice cream maker, preventing the mixture from freezing too solid and contributing significantly to that iconic smoothness. Its high sugar content also acts as an anti-freeze, keeping the Frosty scoopable.
- Cool Whip (Unthawed): Crucial for adding lightness, volume, and that distinctive airy texture. Using it directly from the freezer, unthawed, helps maintain its structure and contributes directly to the soft-serve-like consistency. Do not substitute with homemade whipped cream or other dairy-based toppings, as they contain more water and less fat and stabilizers, and will not yield the same creamy, stable result.
- Chocolate Milk (Chilled, 1% Recommended): This forms the essential foundation of our chocolate flavor and provides the necessary liquid component. Using 1% chocolate milk ensures the right fat content for a balanced richness without being overly heavy. You can easily make your own by adding your favorite chocolate syrup or unsweetened cocoa powder (like Nesquik or Hershey’s syrup) to regular chilled 1% or 2% milk if you don’t have pre-made chocolate milk on hand.
- Vanilla Extract: A touch of pure vanilla extract is absolutely essential. It doesn’t just add its own delicate flavor; it acts as a powerful enhancer, deepening and rounding out the chocolate notes. This subtle addition helps to bring a complexity that makes the homemade Frosty taste more authentic and remarkably close to the original.
How to Make Your Homemade Wendy’s Frosty Copycat: Step-by-Step Guide
Creating this copycat Frosty is incredibly straightforward, making it an ideal recipe for beginners and experienced home cooks alike. The process involves just two main steps: blending the ingredients and then carefully freezing the mixture. The real magic, and the key to that signature texture, happens during the freezing phase, where a little attention ensures perfection.
- Combine & Blend Ingredients: Begin by gathering all four ingredients: the chilled sweetened condensed milk, the unthawed Cool Whip, the cold 1% chocolate milk, and the vanilla extract. Carefully add all of these into a high-speed blender. Pulse the mixture just until it is completely smooth and no lumps from the Cool Whip or condensed milk remain. It’s important to avoid over-blending, as this can introduce too much air or warm the mixture. You simply want to combine everything until it’s perfectly creamy and uniform.
- Prepare for Freezing: Once your mixture is smooth, pour it into a freezer-safe container. A wide, shallow container tends to work best, as it allows for faster and more even freezing, which is beneficial for the texture. Ensure the container has a tight-fitting lid to prevent any ice crystals from forming on the surface as it freezes.
- Initiate Freezing Process: Place the covered container directly into your freezer. The initial freezing period will be approximately 3 to 4 hours, but this can vary depending on your freezer’s temperature and the size/shape of your container.
- Stir for Signature Texture (Crucial Step): This step is absolutely critical for achieving the characteristic Wendy’s Frosty texture. Every 45 minutes during the freezing process (for the entire 3-4 hour duration), remove the container from the freezer and give the mixture a very thorough stir with a spoon or spatula. This action breaks up any forming ice crystals, ensuring the Frosty remains smooth and creamy rather than becoming icy. This regular stirring helps create that delightful, thick, and almost soft-serve consistency that makes a Frosty so unique. If you prefer an even thicker Frosty, you can simply extend the freezing time slightly, continuing to stir regularly until it reaches your desired firmness.
- Serve & Indulge: Once your homemade Frosty reaches the desired spoonable thickness and creamy texture, scoop it generously into glasses and serve immediately. While it’s absolutely perfect on its own, you can certainly garnish it with a maraschino cherry, a dollop of whipped cream, a drizzle of chocolate syrup, or a sprinkle of chocolate shavings if you wish to elevate the presentation.
Can I Make These in Individual Servings?
Absolutely! This recipe is wonderfully versatile and can easily be prepared in individual portions, perfect for quick, single-serve cravings or for portion control. To do this, first, follow the initial blending steps as described above to combine all ingredients until smooth. Once blended, instead of pouring the entire batch into one large freezer container, distribute the mixture evenly into several small, individual freezer-safe containers or mason jars. Fill each one about halfway to three-quarters full to allow for a slight expansion during freezing. For individual portions, the freezing time will naturally be shorter than for a large batch. Remove each jar from the freezer every 20-30 minutes for approximately 1 to 2 hours, giving it a good shake or a quick stir with a spoon, until it reaches that ideal, soft, and creamy Frosty consistency. Enjoy with a spoon directly from the jar – it’s the ultimate personal treat!
Using an Ice Cream Machine for an Even Faster Frosty
While this recipe is ingeniously designed to be ice cream machine-free, if you happen to own an ice cream maker, you can certainly utilize it to expedite the process and potentially yield an even smoother, more consistently churned result. The continuous churning action of an ice cream maker is ideal for preventing ice crystal formation, closely mimicking the industrial process used to create authentic soft-serve treats like the Frosty.
- Prepare the Blended Mixture: Begin by blending all four ingredients in your high-speed blender until perfectly smooth, just as you would for the no-machine method. Ensure there are no lumps and the mixture is well combined.
- Churn According to Instructions: Pour the smooth mixture into the chilled bowl of your prepared ice cream maker. Begin churning according to your manufacturer’s specific instructions. Keep a close eye on the mixture; the churning time will vary significantly by machine model and capacity, but typically takes around 30-40 minutes to achieve the desired thick, soft-serve consistency. The goal is a texture that’s thick enough to hold its shape when scooped but still creamy and smooth.
- Serve Promptly: Once churned to perfection, spoon your homemade Frosty into glasses and serve without delay for the freshest and most authentic experience. If you happen to desire an even firmer consistency, you can transfer the churned Frosty to a freezer-safe container and chill it in the freezer for an additional 30-60 minutes, though this is often not necessary.
Expert Tips for Your Best Homemade Frosty Yet
To ensure every batch of your copycat Wendy’s Frosty is nothing short of perfection, keep these insider tips and tricks in mind. These small adjustments can make a big difference in achieving that authentic, crave-worthy result:
- Blend in Batches for Consistency: This recipe yields a generous amount of Frosty mixture, approximately 16 cups, which is enough for about 8 standard servings. Most home blenders have a capacity of around 8-10 cups. To prevent overflow and ensure every portion is perfectly smooth and uniformly blended, it’s highly recommended to divide the ingredients and blend them in two separate batches.
- Optimize Freezing with Multiple Containers: If you’re preparing a full batch and not opting for individual servings, consider dividing the blended mixture into two or three smaller freezer-safe containers instead of one very large one. Smaller containers allow the mixture to freeze more quickly and evenly, which is beneficial for maintaining a consistent texture. Remember not to fill any container to the absolute brim, as the mixture will expand slightly as it freezes.
- The Homemade Chocolate Milk Advantage: Don’t have store-bought chocolate milk on hand? No problem at all! You can easily create your own. Simply combine regular chilled milk (1% or 2% fat content works best) with your preferred chocolate syrup (like Hershey’s) or chocolate powder (such as Nesquik). Adjust the amount of chocolate to your personal taste for a lighter or darker flavor profile.
- Don’t Skip the Stirring Step: The regular stirring during the freezing process is absolutely crucial – it’s the non-machine churning equivalent! This step mimics the churning action of an ice cream machine, actively breaking up any large ice crystals that try to form. This guarantees that smooth, creamy, melt-in-your-mouth texture that makes a Frosty so unique. If you forget to stir, you risk ending up with a more icy, less creamy, and less authentic dessert.
- Temperature is Key: Ensure all your liquid ingredients, especially the chocolate milk, are very well chilled before blending. Colder ingredients blend into a colder mixture, which helps jumpstart the freezing process once it hits the freezer and contributes significantly to a better final texture.
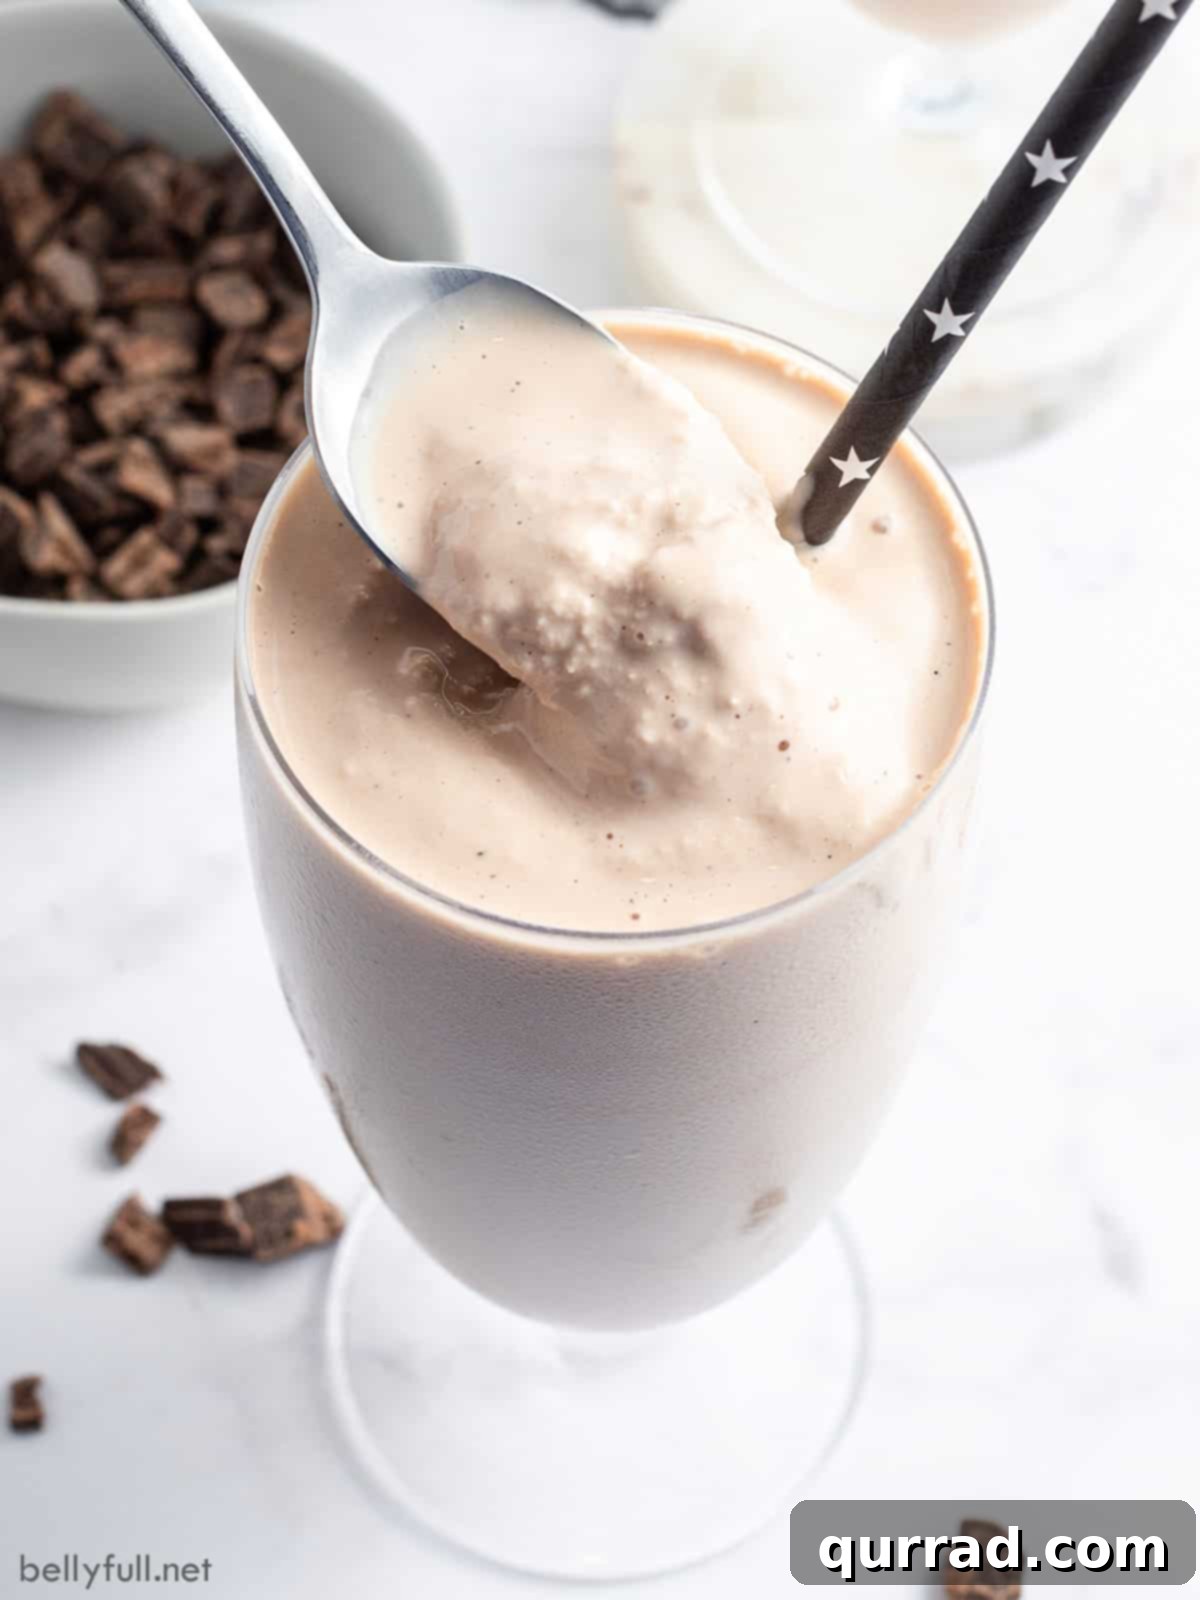
- Achieve the Perfect Serving Consistency: The ideal Frosty consistency is designed to be somewhere between a thick milkshake and a soft-serve ice cream. If your Frosty becomes too firm after prolonged freezing, don’t despair! Simply let it sit at room temperature for 10-15 minutes, or give it a quick pulse in the blender for a few seconds, to effortlessly regain its signature spoonable texture.
Proper Storage & Make-Ahead Options for Your Copycat Frosty
One of the best practical aspects of this homemade Frosty recipe is its impressive flexibility for both storage and advanced preparation. This means you can easily plan ahead or save leftovers for future cravings:
- Unfrozen “Batter” Storage: You can perfectly prepare the blended mixture (the “batter”) in advance, before the freezing process even begins. Store it in a sealed, airtight container in the refrigerator for up to 5 days. This is an excellent option for meal prepping your desserts or ensuring you have a quick treat ready to freeze on demand whenever a craving strikes.
- Frozen Batch Storage: If you’ve made a large batch and frozen it to perfection, any leftovers can be stored in a sealed, freezer-safe container for up to 3 weeks. When you’re ready to enjoy it again, it’s common for it to be quite firm. Simply allow it to thaw for 15-30 minutes at room temperature, or give it a quick pulse in the blender for a few seconds, to refresh it and achieve the desired soft, scoopable consistency. Avoid microwaving, as this can alter the texture.
Frequently Asked Questions About Homemade Wendy’s Frostys
Here are answers to some common questions you might have when making your own beloved Wendy’s Frosty at home, ensuring you have all the information for a perfect treat every time:
- Can I use a different type of milk?
- For the closest copycat, 1% chocolate milk is highly recommended as it provides the optimal fat content and flavor base. Higher fat milks (like whole milk) might make the Frosty too rich and potentially heavier, while lower fat options (like skim milk) could result in a thinner, icier consistency. If you’re making your own chocolate milk, 1% or 2% regular milk combined with syrup or powder works very well.
- Is it possible to make a vanilla Frosty using this recipe?
- Absolutely! To create a delicious vanilla copycat, simply substitute the chocolate milk with an equal amount of regular 1% or 2% milk. To enhance the vanilla flavor, you might want to add an extra teaspoon of vanilla extract. For additional sweetness if desired, consider incorporating a spoonful or two of powdered sugar, adjusting to your taste preferences until you achieve the perfect vanilla balance.
- What if I don’t have Cool Whip? Are there substitutes?
- Cool Whip is a very specific ingredient that is key to the unique texture of this particular recipe, primarily because of its stabilizers and its frozen-then-unthawed consistency. While you *could* attempt to substitute with freshly whipped heavy cream, be aware that the final texture will likely be different – it may be less stable, prone to separating, and potentially icier without the churning action of an ice cream machine. For the most authentic and reliable copycat experience, Cool Whip is strongly recommended.
- My Frosty froze too solid. What went wrong?
- If your Frosty turned out too hard, this typically happens if it was frozen for an extended period without sufficient stirring, or perhaps if your freezer is set to a very low temperature. The frequent stirring prevents the formation of large, hard ice crystals. If it does freeze too hard, simply let it sit at room temperature for 15-30 minutes until it softens to a spoonable consistency, or gently pulse it in your blender for a few seconds to restore its creamy texture.
- Can I add toppings or mix-ins to my homemade Frosty?
- Of course! While a classic Frosty is delightful on its own, feel free to personalize your homemade creation with various toppings or mix-ins. Popular choices include a dollop of whipped cream, a generous drizzle of chocolate syrup, colorful sprinkles, mini chocolate chips, or even crushed candy bars. For a truly iconic Wendy’s experience, don’t forget to try dipping some salty french fries into its sweet, creamy goodness!
More Copycat Recipes to Satisfy Your Cravings:
If you loved making this Wendy’s Frosty at home, you’re in for a treat! Discover even more delightful recipes that bring your favorite restaurant and theme park flavors straight into your kitchen. Expand your culinary repertoire and enjoy recreating these popular dishes and drinks:
- Orange Julius – Recreate the frothy, refreshing citrus drink that’s a nostalgic favorite for many.
- DoubleTree Cookies – Indulge in those famously warm, giant chocolate chip cookies that greet you at check-in.
- Frosted Lemonade (Chick-fil-A copycat) – A tangy, sweet, and incredibly refreshing frozen lemonade treat, perfect for a hot day.
- Banana Spring Rolls (PF Changs copycat) – Crispy, sweet, and irresistible dessert spring rolls filled with ripe bananas.
- Dole Whip (Disney copycat) – Transport yourself straight to Disneyland or Disney World with this creamy pineapple soft-serve.
- Churros (Disney Copycat) – Master the art of making crispy, golden, cinnamon-sugar goodness, perfect for dipping in chocolate sauce.
- Coleslaw (KFC copycat) – The creamy, tangy, and slightly sweet side dish that everyone loves to pair with fried chicken.
I hope you absolutely adore this simple yet incredibly satisfying Copycat Wendy’s Frosty recipe. It’s truly amazing what just four ingredients and a little patience can achieve! Don’t forget to experiment with it, share your delicious creations with loved ones, and most importantly, savor every spoonful of this homemade delight. Happy chilling!
Recipe Card: Homemade Wendy’s Frosty
This section provides a concise overview of the recipe for easy reference. For detailed instructions, expert tips, and a deeper dive into the ingredients, please refer to the full article above.
Wendy’s Frosty Copycat
With just 4 ingredients, you can make this delicious Copycat Wendy’s Frosty at home! It’s rich, thick, and wonderfully chocolatey, all without needing an ice cream machine. Perfect for satisfying those fast-food cravings with a homemade touch.
Prep Time: 5 minutes
Chill Time: 3-4 hours (approximate, with active stirring)
Total Time: 3 hours 5 minutes (active prep + minimum chill time)
Yields: 8 servings (approximately 2 cups per serving)
Ingredients
- 1 (14 ounce) can sweetened condensed milk, chilled
- 1 (8 ounce) container Cool Whip, unthawed
- 1/2 gallon (8 cups) 1% chocolate milk, very well chilled
- 1 tablespoon pure vanilla extract
Instructions
- Combine the chilled sweetened condensed milk, unthawed Cool Whip, very cold 1% chocolate milk, and vanilla extract into a high-speed blender.
- Pulse just until the mixture is completely smooth and uniform, ensuring no lumps remain. Be careful not to over-blend.
- Pour the smooth blended mixture into a freezer-safe container. Ensure the container has a tight-fitting lid.
- Place in the freezer for approximately 3 to 4 hours. Crucially, remove the container from the freezer and stir the mixture thoroughly every 45 minutes. This prevents ice crystal formation and is key to achieving the perfect creamy, thick Frosty texture.
- Once the desired spoonable consistency is reached, scoop the homemade Frosty into glasses and serve immediately.
Notes & Tips
- Batch Blending: If your blender’s capacity is less than 8-10 cups, blend the ingredients in two separate batches to ensure a smooth, consistent mixture.
- Freezing Containers: For more even freezing, consider dividing the mixture into 2 or 3 smaller freezer-safe containers. Remember to leave some space at the top as the mixture will expand slightly.
- Ice Cream Machine Method: If using an ice cream maker, blend all ingredients first, then churn the mixture according to your manufacturer’s instructions for 30-40 minutes until it reaches a thick, soft-serve consistency.
- Homemade Chocolate Milk: You can easily make your own chocolate milk by combining regular 1% or 2% chilled milk with your favorite chocolate syrup or powder.
- Storage: The unfrozen mixture can be stored in the refrigerator for up to 5 days. Frozen leftovers can be stored for up to 3 weeks; allow to soften slightly at room temperature or blend briefly before serving again.
Nutrition Information (per serving, estimated)
- Calories:
- 358 kcal
- Carbohydrates:
- 58g
- Protein:
- 13g
- Fat:
- 8g
- Saturated Fat:
- 5g
- Polyunsaturated Fat:
- 1g
- Monounsaturated Fat:
- 2g
- Cholesterol:
- 33mg
- Sodium:
- 237mg
- Potassium:
- 624mg
- Fiber:
- 1g
- Sugar:
- 55g
- Vitamin A:
- 646 IU
- Vitamin C:
- 2mg
- Calcium:
- 477mg
- Iron:
- 1mg
Disclaimer: Nutritional information provided is an automatic estimate and can vary based on the exact brands and products you use, as well as any specific changes or substitutions you make to the recipe. If these numbers are critically important to your dietary needs, we recommend calculating them yourself using your specific ingredients.