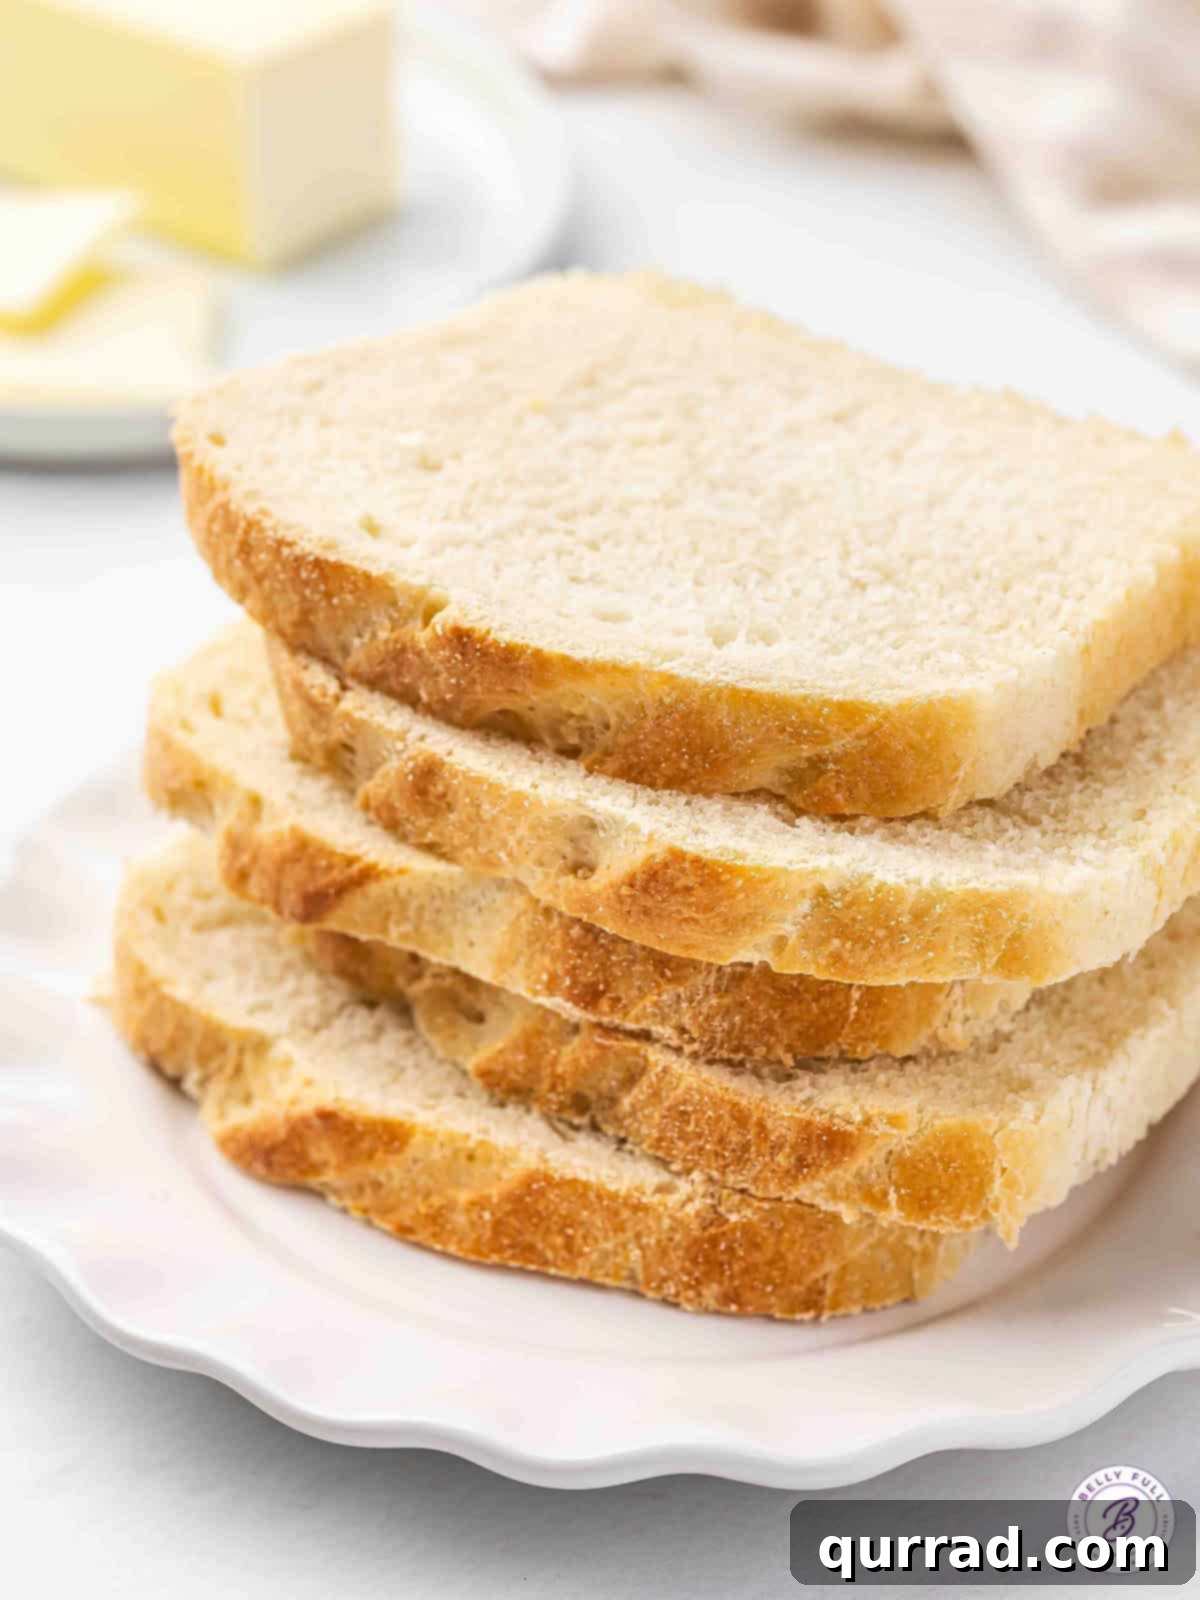
Effortlessly Delicious: The World’s Easiest 5-Ingredient Homemade Sandwich Bread
Imagine the comforting aroma of freshly baked bread filling your home, without the intimidation or lengthy commitment usually associated with traditional baking. Our recipe for the World’s Easiest Sandwich Bread transforms this delightful vision into reality in just over an hour, from start to finish! This remarkably straightforward recipe is perfect for everyone, from absolute novice bakers to seasoned culinary enthusiasts. It calls for only 5 basic pantry ingredients and uniquely doesn’t even require a stand mixer – a brief session of hand-kneading is all it takes. Prepare to be consistently amazed by the soft, tender loaves that emerge from your oven, destined to elevate every sandwich and delight your family.
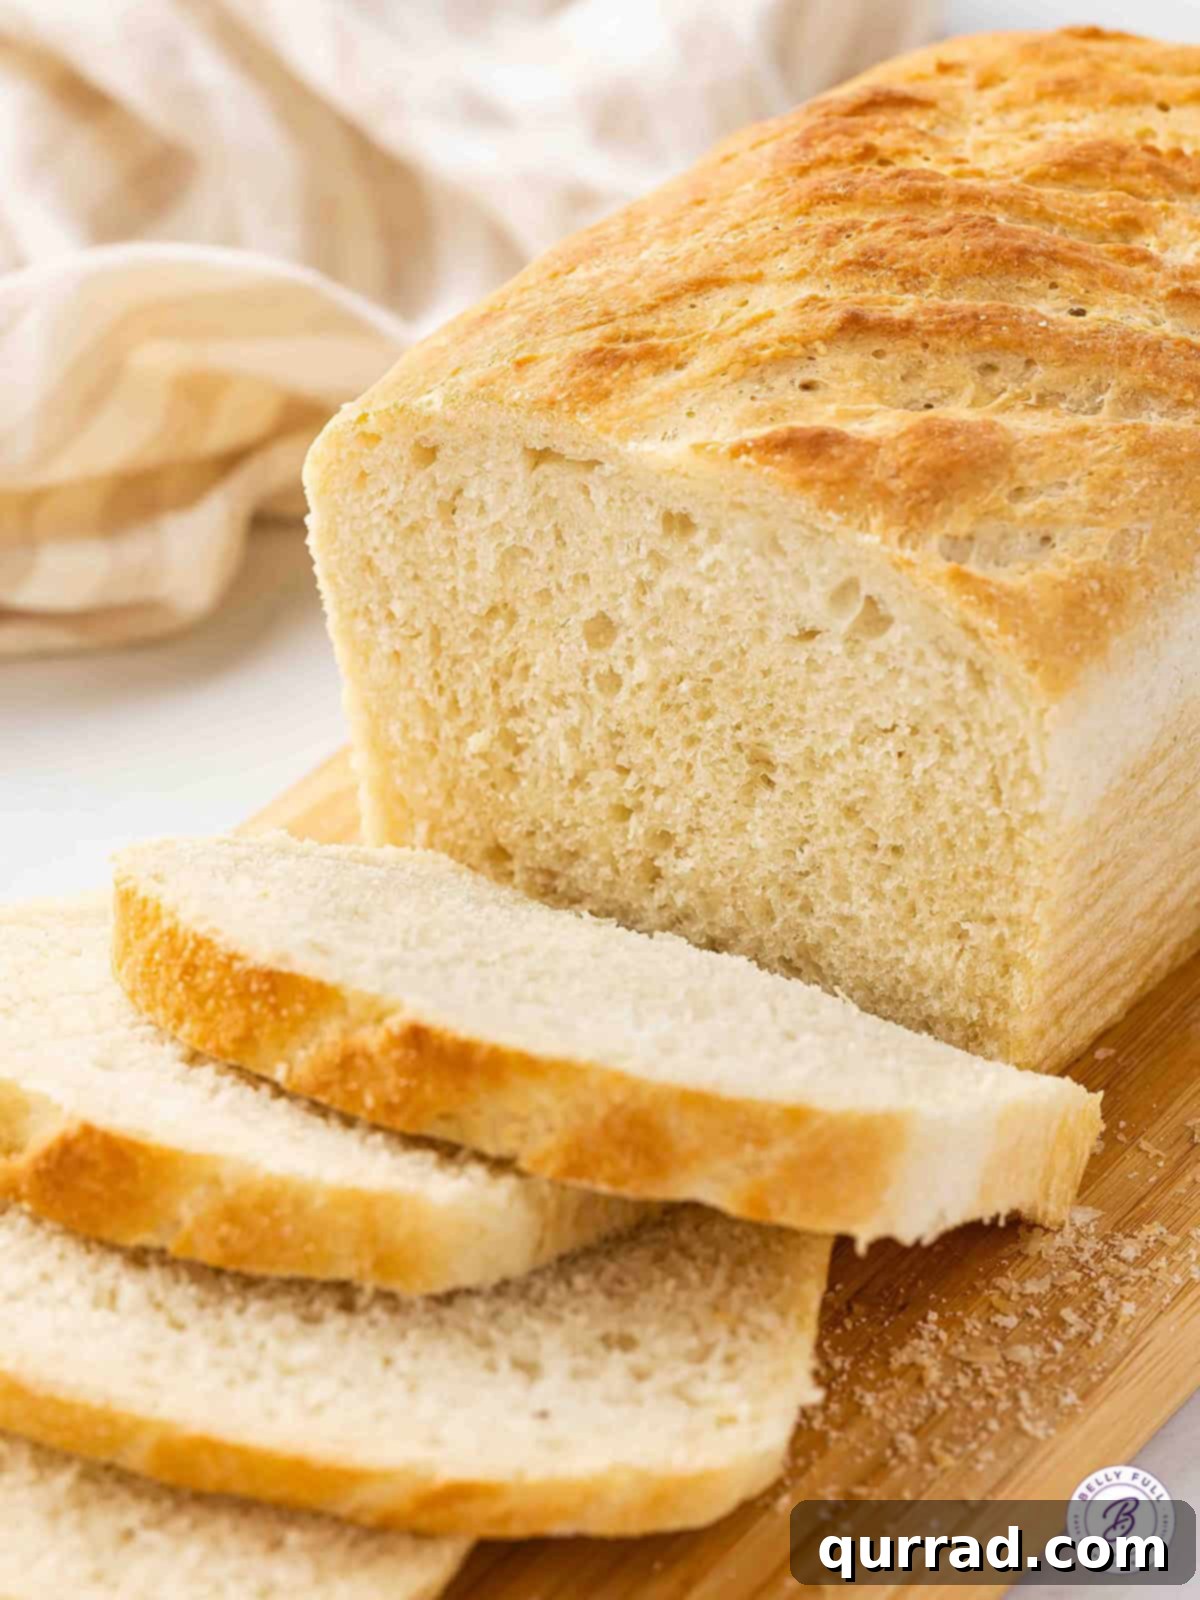
If you’ve ever felt daunted by the prospect of baking bread from scratch, or perhaps harbored a fear of working with yeast, this homemade sandwich bread recipe is truly a game-changer. I’ve personally relied on it countless times, and its consistent success rate is nothing short of impressive. It shares the fundamental simplicity and core ingredients with my popular quick and easy pizza dough, but the baking process is distinct, leading to perfectly risen and delicious results every time. I cannot overstate how wonderfully easy and gratifying this recipe is – and remember, its use isn’t strictly limited to making sandwiches. A warm slice, generously spread with a slab of creamy butter, is an exquisite pleasure on its own!
Why Embrace Homemade Sandwich Bread?
In today’s fast-paced world, where pre-packaged convenience often reigns supreme, dedicating time to bake your own bread might seem like an unnecessary chore. However, the advantages of homemade sandwich bread are profound and easily justify the minimal effort this particular recipe demands. Foremost among these is ingredient control: you know exactly what goes into your bread, sidestepping the unpronounceable additives, preservatives, and excessive sugars frequently found in commercial loaves. This translates directly to a healthier, cleaner eating experience for you and your loved ones.
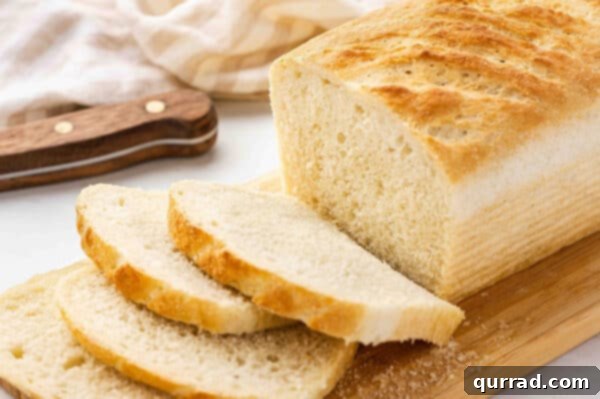
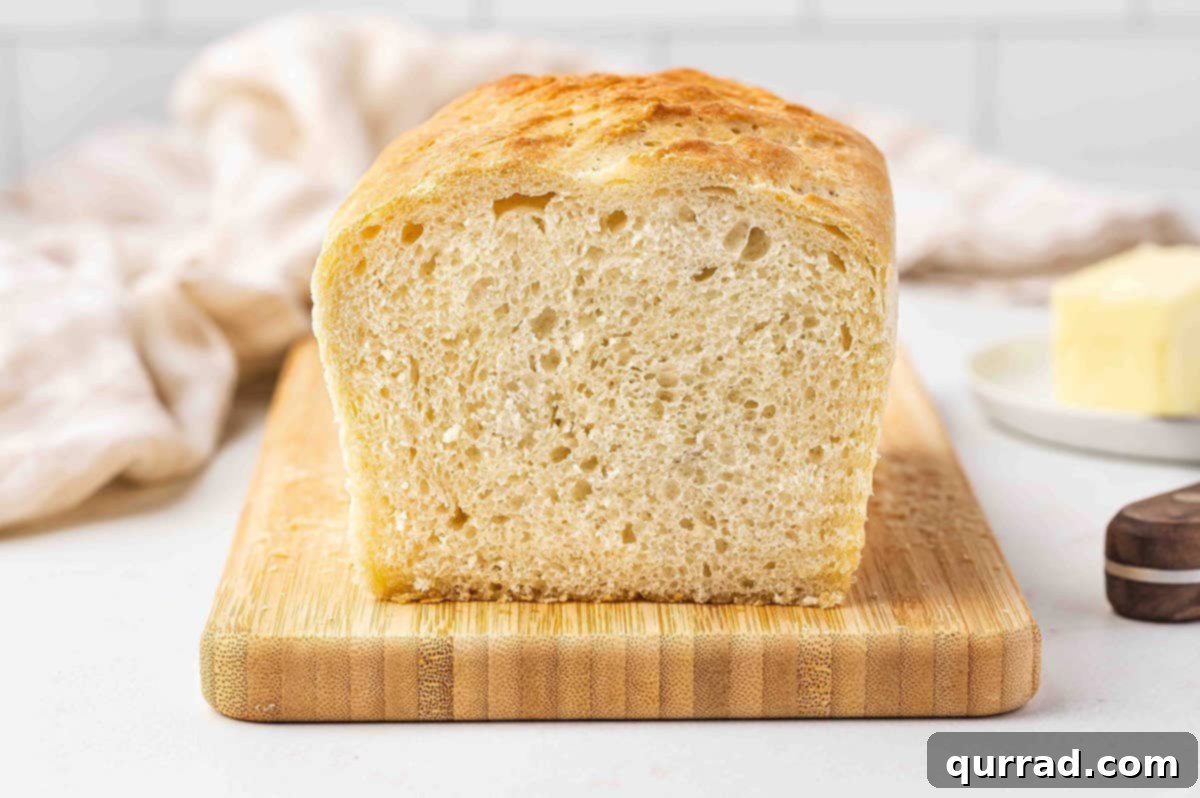
Beyond the health benefits, there’s an unparalleled level of flavor and texture that only freshly baked bread can offer. Your homemade loaf will boast a depth of taste and a nuanced aroma that mass-produced bread simply cannot replicate. The crust achieves a delicate crispness, while the interior remains wonderfully soft, airy, and resilient. The mere scent of it baking is enough to invigorate the senses! From an economic standpoint, baking your own bread is remarkably cost-effective over time, significantly reducing your grocery expenses. Moreover, there’s an immense sense of personal satisfaction and pride in creating something so wholesome and delicious from basic ingredients. It’s a simple, yet profound, pleasure that transforms everyday meals into cherished moments.
Unlocking the “World’s Easiest” Secret to Bread Baking
What truly elevates this recipe to the status of “world’s easiest” isn’t merely its concise ingredient list; it’s the ingenious and streamlined methodology that strips away the common complexities often associated with bread making. We bypass the traditional long proofing times, intricate kneading techniques, and the need for specialized equipment. Here’s a closer look at how this recipe simplifies the entire baking journey:
- Minimal, Accessible Ingredients: Requiring just all-purpose flour, instant dry yeast, granulated sugar, coarse salt, warm water, and olive oil, you likely already have all these staples in your pantry. There’s no need for exotic flours or hard-to-find components, making it incredibly accessible for anyone wanting to bake.
- Hand-Kneading Friendly: While a stand mixer can certainly be employed if you prefer, this recipe is specifically formulated to be easily mixed and kneaded by hand. A few minutes of gentle, rhythmic kneading on a lightly floured surface is all that’s necessary to develop the gluten structure needed for a beautifully textured, soft loaf. This makes it ideal for those without fancy kitchen gadgets.
- Remarkably Rapid Rise Time: Unlike many bread recipes that demand hours of patient waiting for the dough to rise, this recipe achieves a fantastic and sufficient rise in a mere 30 minutes. This significantly slashes the overall time commitment, making homemade bread a realistic option even on busy weekdays. We also provide handy tips to further expedite this process if your kitchen runs on the cooler side.
- The Revolutionary Cold Oven Start: This unconventional, yet incredibly effective, technique is a true game-changer. By placing the unbaked dough into a cold oven alongside a pan of hot water on the rack below, you create an ideal, steamy environment that encourages maximum “oven spring.” This results in a taller, fluffier loaf with an exquisite, perfectly crisp crust. It brilliantly eliminates the need for precise preheating or meticulous timing of when to introduce the dough to the heat.
These thoughtful simplifications work in harmony to create a truly foolproof method, empowering even the most hesitant baker to achieve impressive, bakery-quality bread right in their own kitchen, without any stress or fuss.
WHAT OUR READERS ARE SAYING
Gabriella says, “Such delicious and easy bread! My husband gave me a high-five after I made this one. Thanks for giving this new baker some confidence!!! This is a new staple!”
Katie M says, “So easy and yummy! I just started getting into making my own bread, this one is simple, quick, and tasty!”
Madison says, “I was not confident in my ability to make this bread because of all of my failed attempts with other sandwich bread recipes…but it was SO EASY! I was awestruck with its simplicity and so pleased with the result. Flavor and texture is wonderful. My husband went back 3 or 4 times just to get a plain slice!! 10/10.”
Tips for Baking the Perfect Loaf Every Time
- Always Use Fresh Yeast: This is, without a doubt, the single most critical factor for successful bread. Active, vibrant yeast is the driving force behind your dough’s rise. Before starting, always double-check the expiration date on your instant dry yeast package or jar. If it’s expired or you have any doubts about its potency, it’s always best to purchase a fresh batch. Using dormant or old yeast will inevitably lead to dense, heavy, and flat bread that won’t rise properly.
- Optimize Your Dough’s Rise Time: While this recipe is celebrated for its incredibly quick 30-minute rise, environmental conditions in your kitchen can influence its speed. If your kitchen is particularly cool, you can significantly accelerate the rising process. Try placing the covered dough bowl on a heating pad set to its lowest setting, or in a slightly warmed (but then turned off) oven. A consistently warm environment ensures the yeast remains highly active and thrives, leading to a quicker and more robust rise.
- Embrace the Cold Oven Method: Do not be tempted to skip or alter this step – it’s fundamental to this recipe’s success! Introducing the shaped loaves into a cold oven, combined with a pan of hot water positioned on the rack below, creates an ideal steamy environment. The gradual heating of the oven allows the yeast to work longer before the crust sets, leading to superior “oven spring” (the final burst of rising), a taller loaf, and an incredibly appealing, crispy exterior with a soft, moist interior.
- Stand Mixer Option (If Preferred): Although manual kneading is entirely sufficient and a key component of this recipe’s “easiest” claim, if you own a stand mixer equipped with a dough hook and prefer its convenience, feel free to use it! It will save you a few minutes of hands-on kneading time while still achieving excellent results.
- Prevent Over-Browning of the Crust: During the latter stages of baking, keep a watchful eye on your loaves. If you notice the tops are browning too rapidly or becoming excessively dark, simply create a loose “tent” over them with a piece of aluminum foil. This protective layer will shield the crust from direct heat, preventing burning while allowing the interior of the bread to continue baking thoroughly.
- Experiment with Flavor Variations: Feel empowered to personalize your bread! You can easily knead in a teaspoon or two of your favorite dried herbs, such as aromatic rosemary, savory oregano, or a hint of earthy thyme, for an herbaceous twist. Garlic powder is another fantastic addition for a savory loaf. For a truly indulgent option, consider incorporating a small amount of grated hard cheese like Parmesan into the dough.
- Gluten-Free Flour Compatibility: It is crucial to understand that this specific recipe is not designed to be easily converted to a gluten-free version. The unique properties of gluten are essential for the elasticity and structure of this yeast-leavened bread. Attempting to substitute with traditional gluten-free flour blends often results in a very dense, hard, and unappealing loaf. If you require gluten-free bread, it is highly recommended to seek out recipes that are specifically formulated and balanced for gluten-free baking.
- Mastering Accurate Flour Measurement: For the most consistent and best results, avoid scooping flour directly from the bag with your measuring cup, as this can compact the flour and lead to using too much. Instead, gently spoon your all-purpose flour into the measuring cup until it overflows slightly, then use the straight edge of a knife or a flat object to level off the excess. This “spoon and level” method ensures you use the correct amount, resulting in lighter, airier bread.
World’s Easiest Homemade Sandwich Bread
5
40
30
1 15
2 loaves (32 slices)
Print Recipe
Just over an hour from start to finish is all you need to make the World’s Easiest Homemade Sandwich Bread. Only 5 pantry ingredients needed and no electric mixer, this recipe is so easy and thrifty, resulting in soft, tender loaves of bread every time!
Ingredients
- 6 cups all-purpose flour, spooned and leveled
- 2 tablespoons instant dry yeast
- 2 tablespoons granulated sugar
- 1 tablespoon coarse salt
- 2 cups very warm water (about 120 degrees F)
- 1/4 cup extra-virgin olive oil, divided
- Melted butter, for the crust (optional)
Instructions
-
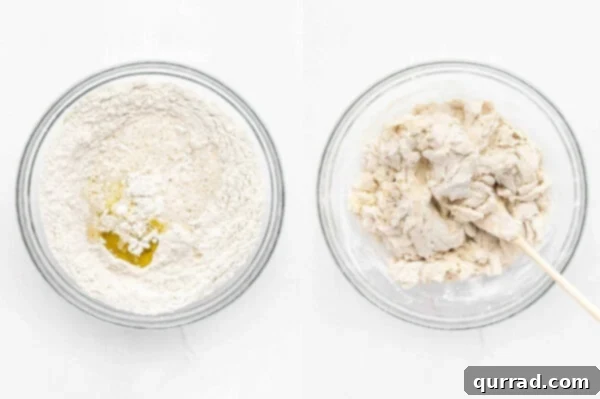
In a large mixing bowl, thoroughly whisk together the all-purpose flour, instant dry yeast, granulated sugar, and coarse salt. Ensure these dry ingredients are well combined to form the foundational blend for your delicious bread.

-
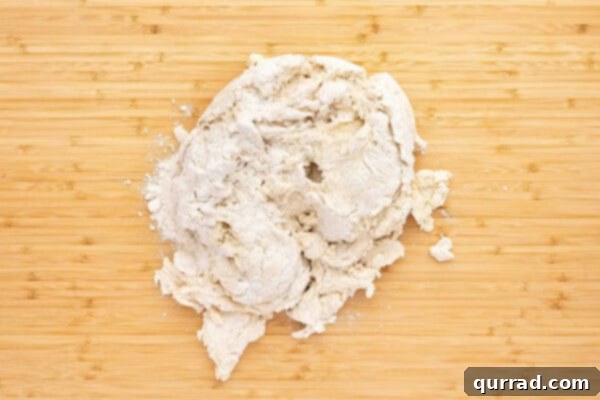
Pour in the very warm water (aim for around 120°F – it should feel warm to the touch but not too hot to harm the yeast, nor too cool to hinder its activation) and 2 tablespoons of the olive oil. Using a sturdy wooden spoon or spatula, mix these wet ingredients into the dry until a shaggy, cohesive dough forms. It won’t be perfectly smooth at this stage, but all the flour should be hydrated.
-
Turn the shaggy dough out onto a clean, lightly floured work surface. Knead the dough vigorously for approximately 4 minutes. During this brief kneading session, the dough will transform, becoming smooth and elastic, indicating that the gluten has developed sufficiently for a beautifully structured loaf.
-
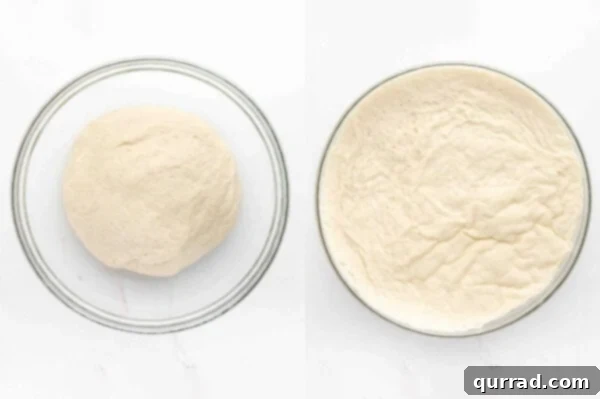
Once kneaded, form the dough into a smooth ball and return it to the mixing bowl. Cover the bowl with a clean tea towel or plastic wrap and allow it to rise in a warm, draft-free place for 30 minutes. This quick rise is typically ample for this specific recipe to achieve its desired volume and texture.
-
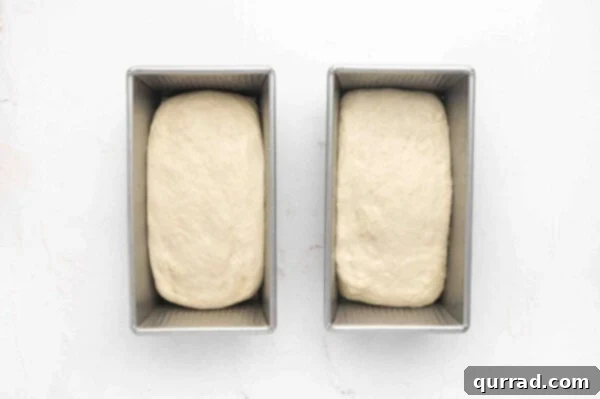
After the rising period, gently divide the dough in half. Shape each half into a uniform loaf and carefully place them into two standard-size 9×5 inch loaf pans that have been thoroughly greased. Ensure the pans are well-prepped to prevent any sticking after baking.
-
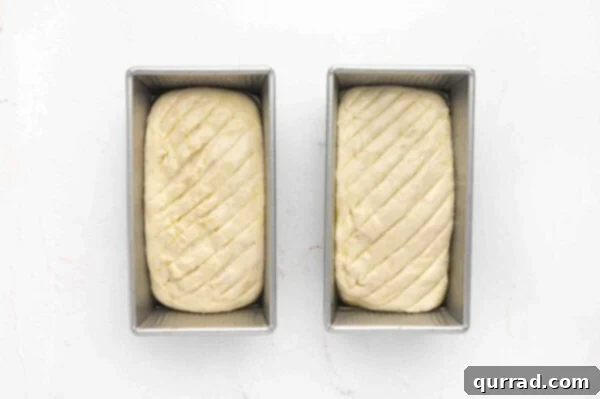
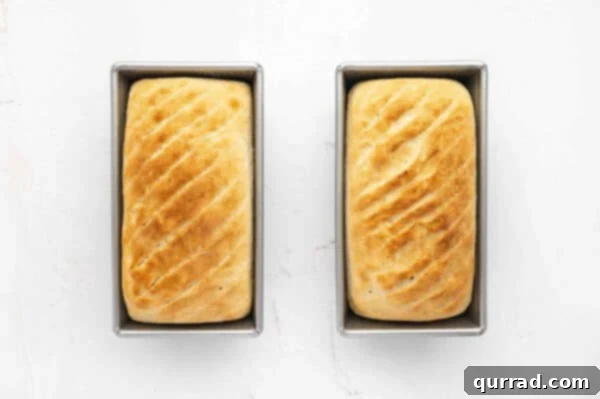
Drizzle each loaf with the remaining tablespoon of olive oil. Then, using a sharp knife, carefully make several shallow slashes (about 1/4-inch deep) across the tops of the loaves. These slashes aren’t just for aesthetics; they aid in even rising and contribute to a more beautiful, rustic crust.
-
This step is critical: Place your loaf pans on the middle rack of a completely COLD OVEN. Simultaneously, position a separate oven-safe pan filled with hot tap water on the rack directly below the bread. This creates a highly beneficial steamy environment crucial for achieving maximum oven spring and a wonderfully crispy crust.
-
Close the oven door securely, then set the oven temperature to 400 degrees F (200 degrees C). Immediately set a timer for 40 minutes. The bread will begin to bake as the oven gradually heats up, allowing the yeast to continue working effectively throughout the initial phase.
-
After the 40 minutes have elapsed, carefully remove the loaf pans from the oven. Immediately transfer the freshly baked bread out of the pans and onto a wire cooling rack to cool completely. For an extra touch of richness and a softer crust, feel free to baste the warm crust with melted butter, if desired.
-
Allow the bread to cool completely on the rack before attempting to slice it. This cooling period is essential for the internal structure to set, resulting in the best possible texture. Once cool, slice, serve, and savor your incredibly easy and delicious homemade sandwich bread!
Nutrition
Carbohydrates: 19g |
Protein: 3g |
Fat: 2g |
Saturated Fat: 1g |
Sodium: 219mg |
Potassium: 27mg |
Fiber: 1g |
Sugar: 1g |
Calcium: 4mg |
Iron: 1mg
Nutritional information provided is an automatic calculation and may vary based on the precise products you use and any modifications to the recipe. If these figures are critical for your dietary needs, we recommend calculating them independently.
Mastering Homemade Sandwich Bread Storage
There’s truly nothing quite like a loaf of bread fresh from the oven, still warm and fragrant. However, to preserve its delightful texture and flavor, proper storage is absolutely essential. Homemade bread, lacking the commercial preservatives found in store-bought varieties, can go stale quite rapidly if left exposed. Here are the most effective ways to store your delicious creation to maximize its freshness:
- The Classic Breadbox: If you’re fortunate enough to possess a breadbox – a timeless kitchen staple reminiscent of grandmothers’ homes – now is its perfect moment to shine! Breadboxes are remarkably effective because they provide an enclosed environment that allows the bread to ‘breathe’ without suffering from excessive exposure to air, which is the primary culprit behind staleness. They ingeniously strike a perfect balance, preventing the bread from drying out too quickly while simultaneously averting moisture build-up that could lead to mold.
- Airtight Plastic Wrap: Once your bread has cooled completely to room temperature (this step is absolutely critical to avoid condensation, which results in soggy bread and encourages mold growth), double-wrap each loaf tightly in clean plastic wrap. Ensure that there are no gaps or air pockets that could allow air to penetrate. Store the securely wrapped loaves in a cool, dry place within your pantry or a cupboard, away from direct sunlight or areas prone to humidity.
- Freezing for Long-Term Freshness: The freezer is an invaluable ally if you intend to enjoy your homemade bread over an extended period. After the loaves have cooled down entirely, the best practice is to slice them first! Pre-slicing is a true game-changer because individual slices thaw significantly faster at room temperature. Wrap the sliced loaf securely in plastic wrap, then place it inside a freezer-safe bag or an additional layer of aluminum foil to provide extra protection against freezer burn. When properly stored, homemade bread can be kept frozen for up to two months without any significant degradation in quality.
- Avoid the Refrigerator: While it might seem like a logical choice for preservation, storing bread in the refrigerator is actually one of the worst things you can do for its texture and freshness. The cool, dry environment inside a refrigerator dramatically accelerates the staling process, causing your bread to become dry, hard, and crumbly much faster than if it were left at room temperature. For optimal freshness, stick to pantry storage or the freezer.
- Thawing Frozen Bread: When you’re ready to enjoy a slice, simply retrieve it from the freezer. You can either allow it to thaw at room temperature for about 15-30 minutes, or for a quicker and crispier result, pop it directly into a toaster to defrost and toast simultaneously.
By diligently adhering to these straightforward storage guidelines, you can consistently ensure that every single slice of your delicious homemade sandwich bread retains its superb freshness and enjoyable texture, making it a treat to savor for days.
Serving Suggestions: Beyond the Basic Sandwich
While this wonderfully versatile bread truly excels as the perfect foundation for any sandwich, its soft texture and delightful flavor make it incredibly adaptable for a myriad of culinary uses. Here are some inspiring ideas to enjoy your freshly baked homemade loaf:
- The Ultimate Toast: Simply slice thick pieces and toast them to a golden perfection for breakfast, served with your favorite toppings like butter, homemade jam, creamy avocado, or a sprinkle of cinnamon sugar.
- Irresistible Garlic Bread: Slice the bread, spread generously with a mixture of melted butter, minced garlic, and fresh parsley, then bake until it’s fragrant and beautifully golden for an unforgettable side dish with pasta or soup.
- Homemade Croutons: Don’t let slightly older bread go to waste! Cut it into neat cubes, toss with a generous drizzle of olive oil, your choice of dried herbs (like Italian seasoning), salt, and pepper, then bake until golden and crispy. Perfect for enhancing salads and soups.
- Comforting Bread Pudding: This recipe is a fantastic way to utilize bread that’s a day or two old. Cube the bread and soak it in a rich, sweet custard base, then bake until set and golden for a comforting dessert.
- Perfect with Soups and Stews: A hearty slice of this tender bread is ideal for soaking up the rich broths, savory gravies, and flavorful juices of your favorite soups, stews, and chilis.
- Classic Bruschetta: Lightly toast slices of the bread, then rub them with a fresh garlic clove, drizzle with high-quality olive oil, and top with a vibrant mixture of diced fresh tomatoes, basil, and a touch of balsamic glaze for an appetizer that’s bursting with flavor.
Frequently Asked Questions About Homemade Sandwich Bread
- Can I use whole wheat flour instead of all-purpose? This particular recipe is optimized for all-purpose flour to achieve its signature light and soft texture. While you can experiment with substituting up to 1/3 of the all-purpose flour with whole wheat flour for a slightly denser loaf with a nuttier flavor, a complete 100% whole wheat substitution would require significant adjustments to the liquid ratios and rise times to maintain a desirable texture.
- What if my dough isn’t rising properly? The most common culprits for a lack of rise are either old, inactive yeast or water that is either too hot (which kills the yeast) or too cold (which fails to activate it). Always ensure your instant dry yeast is fresh and within its expiration date, and confirm your water temperature is consistently around 120°F (49°C) using a thermometer. Providing a warm, draft-free environment for rising is also absolutely crucial for yeast activity.
- How do I know when the bread is fully baked? Your loaves should be beautifully golden brown across the top and down the sides. For a more precise check, gently tap the bottom of a loaf; it should sound hollow. The most accurate way to confirm doneness is to insert an instant-read thermometer into the center of the loaf, which should register an internal temperature between 200-210°F (93-99°C).
- Is it possible to double this recipe? Absolutely! This recipe scales up very well. If you wish to make more, you can easily double all the ingredient quantities. Just ensure you use a sufficiently large mixing bowl for the dough and prepare four standard-size loaf pans for baking.
- Can this recipe be adapted for a bread machine? This specific recipe has been carefully formulated and perfected for traditional oven baking, utilizing the cold oven start method. While some basic bread principles might transfer, a bread machine recipe requires different ingredient ratios and programming specific to the machine’s cycles. For bread machine baking, it’s best to seek out a recipe explicitly designed for that appliance.
Explore More Delicious Bread Recipes:
- Quick and Easy Pizza Dough
- Irish Soda Bread
- Challah Bread
- Crockpot Focaccia
- Naan
- Popovers
We genuinely hope you find immense pleasure in baking and savoring this incredibly delicious and straightforward sandwich bread recipe! We’d be absolutely delighted to hear about your experience – please consider leaving a review below to share your thoughts and successes. And for more delightful culinary inspiration and easy-to-follow recipes, don’t forget to connect with Belly Full on TikTok, Instagram, Facebook, Pinterest, and YouTube!