
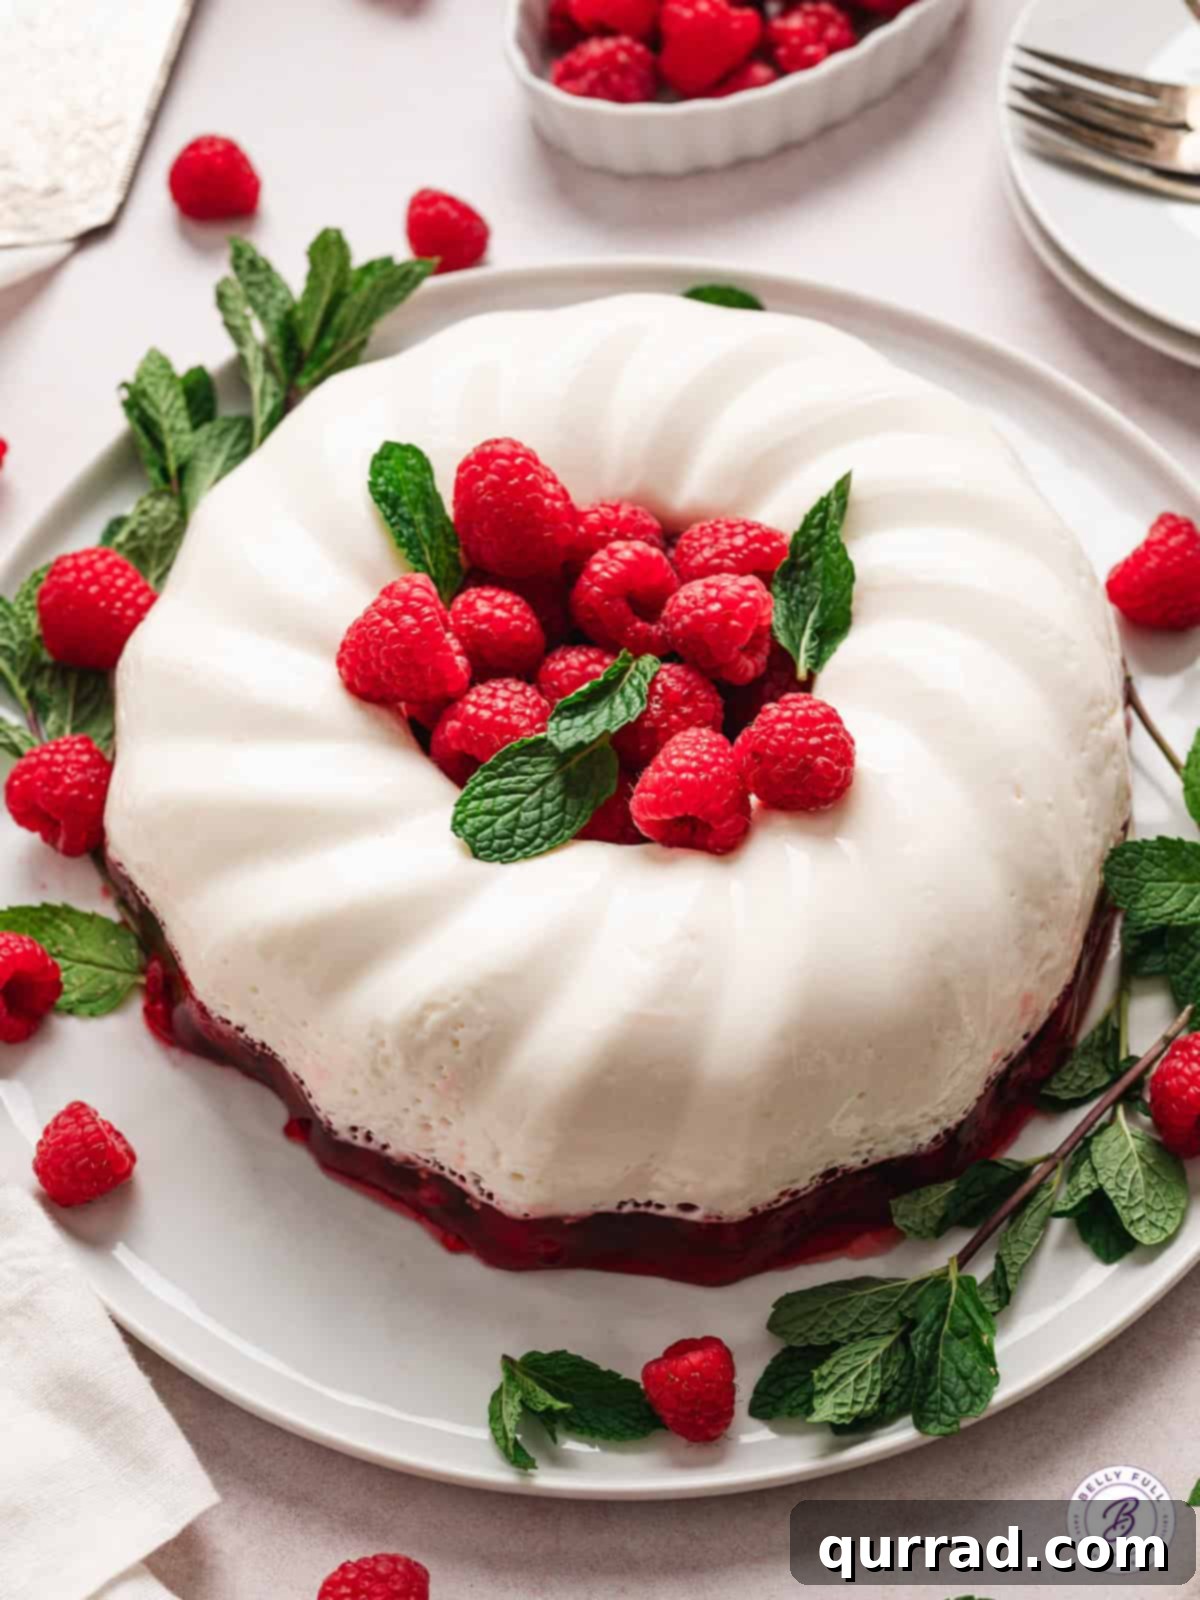
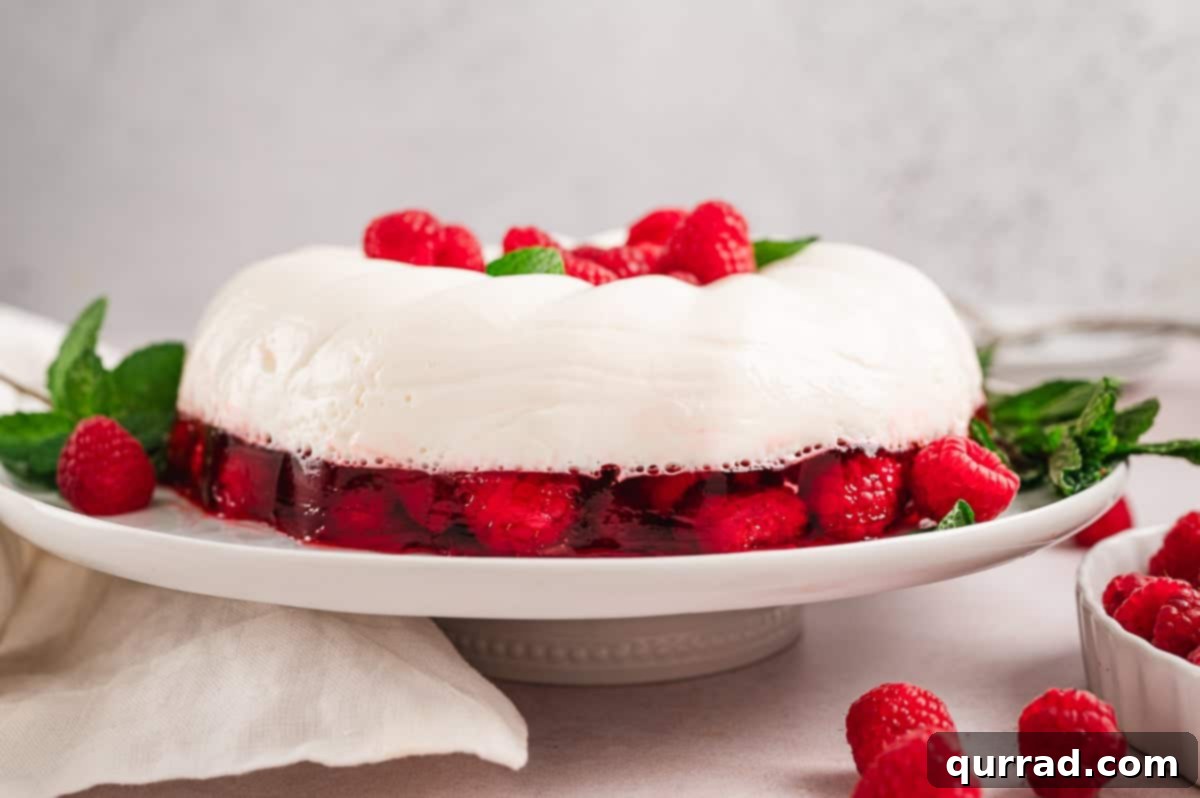
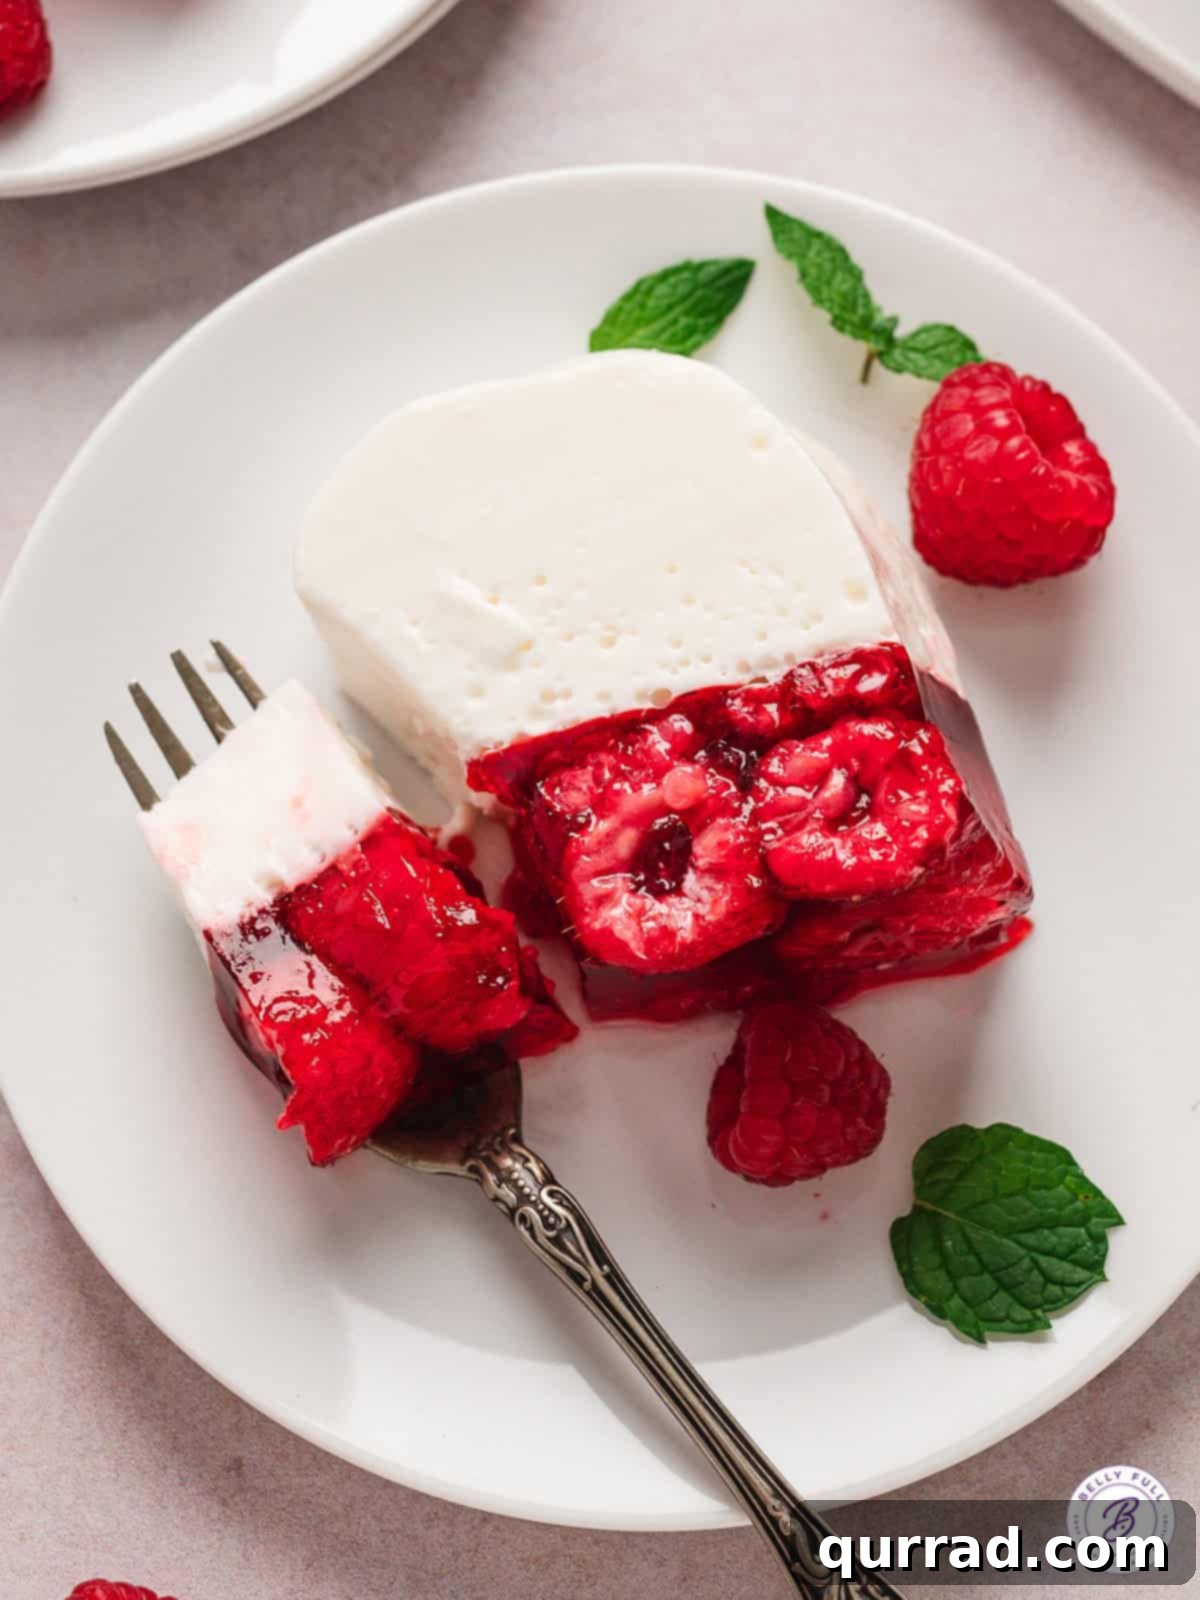
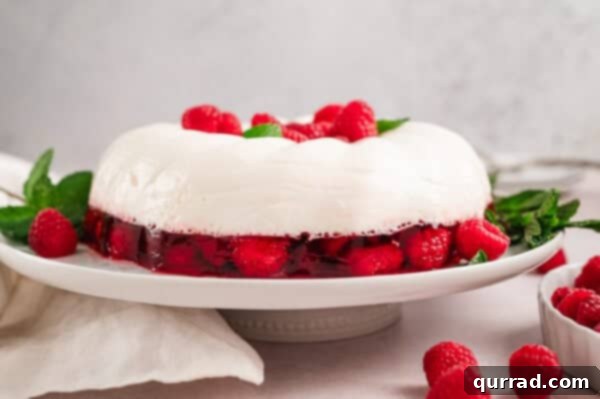
Step into a world of enchanting desserts with this delightful Snowy Raspberry Jello recipe! This elegant, easy-to-make dessert features a mesmerizing two-layered presentation that is perfect for any festive occasion, especially the holidays. Imagine a pristine, creamy white layer reminiscent of freshly fallen snow, beautifully contrasted by a vibrant red base packed with luscious raspberries. It’s not just a dessert; it’s a centerpiece that promises to impress with its stunning appearance and melt-in-your-mouth texture.
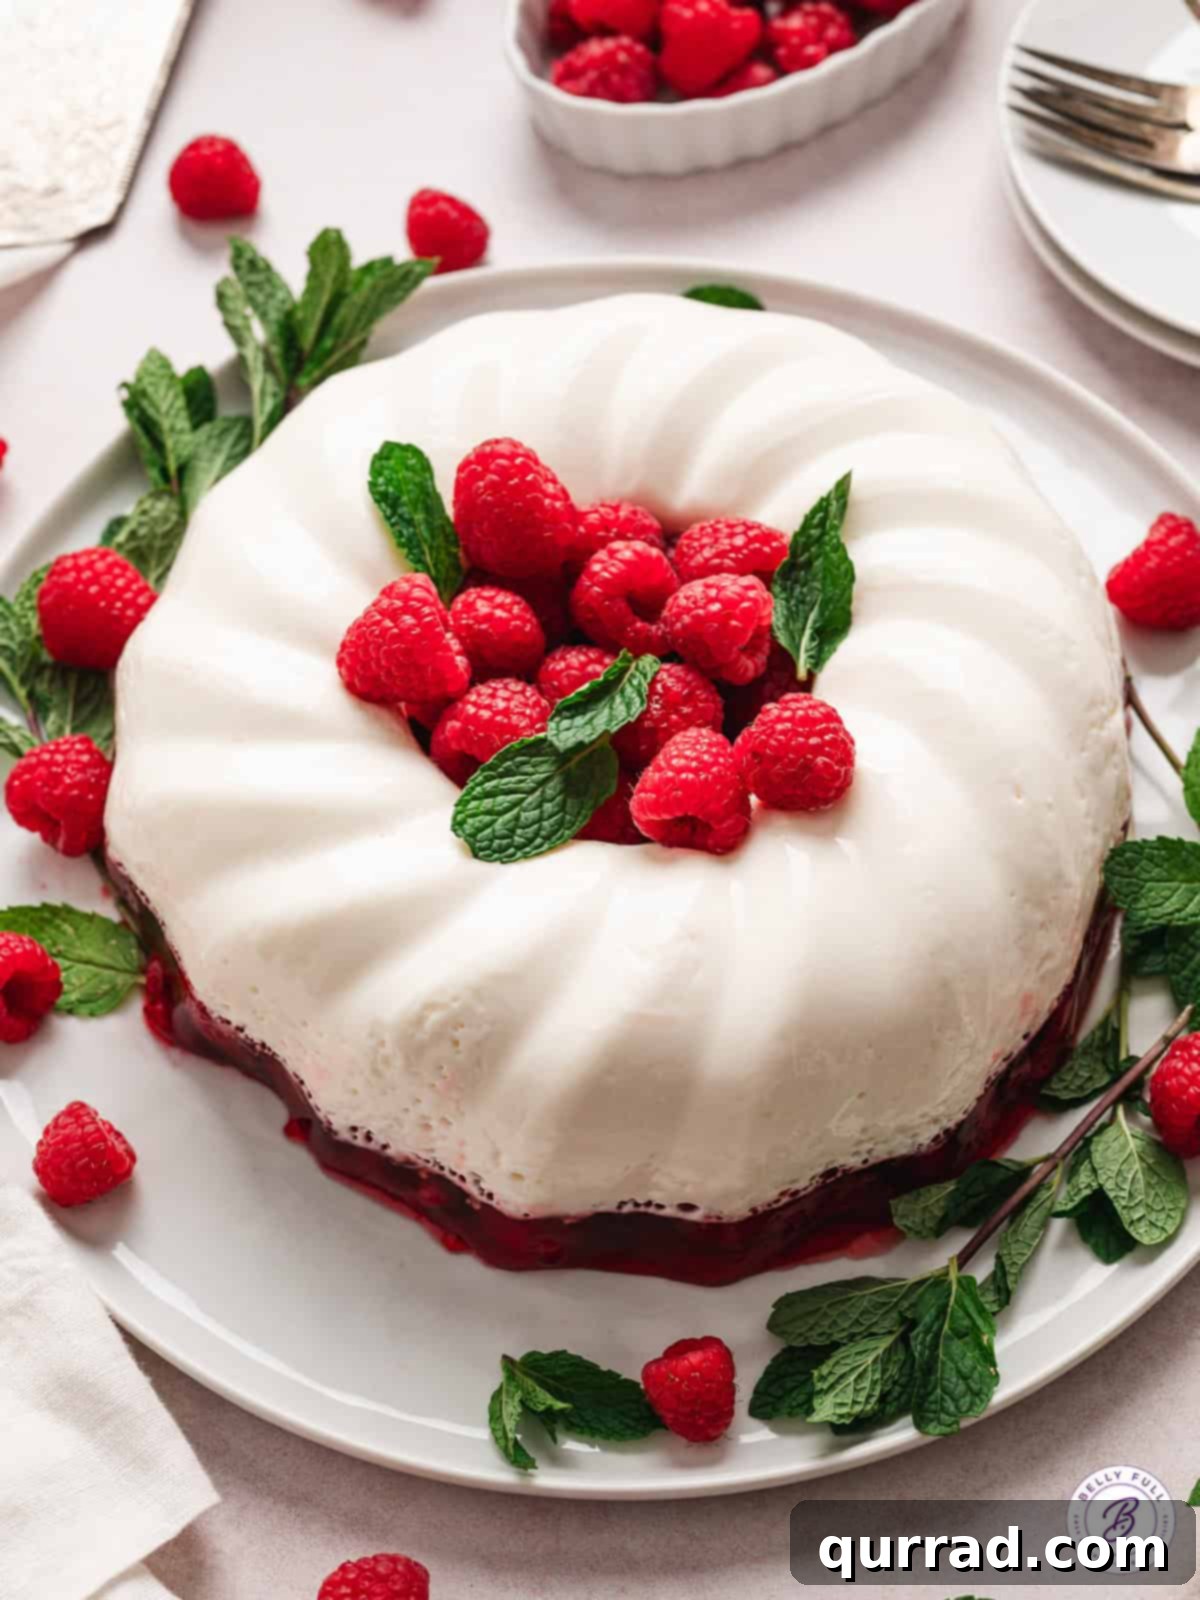
Jello, often considered a nostalgic treat, is making a grand comeback, and for good reason! It’s incredibly versatile, offering endless possibilities for creative desserts. From fun jello shots for adult gatherings to comforting no-bake jello pies and even unique jello cookies, this wobbly wonder has proven its adaptability. This Snowy Raspberry Jello mold proudly joins the ranks of festive favorites like Layered Christmas Jello and Broken Glass Jello, offering another fantastic option for your holiday dessert table.
The beauty of this recipe lies in its simplicity and striking visual appeal. The harmonious blend of red and white layers instantly evokes a winter wonderland, making it an ideal choice for Christmas celebrations. Beyond its stunning look, this dessert is a symphony of sweet and creamy flavors, surprisingly easy to assemble. The most challenging part, if any, is simply the anticipation of waiting for each layer to chill and set perfectly. But trust us, the wait is absolutely worth it for this show-stopping gelatin creation.
The Magic Behind Snowy Raspberry Jello: Ingredients Explained
Crafting this snowy raspberry gelatin mold is a delightful culinary adventure, combining classic jello with creamy elements for a truly unique experience. The ingredients are simple yet essential in creating the distinct textures and flavors that make this dessert so special. Here’s a closer look at what goes into each delicious layer:
- Unflavored Gelatin: This is the backbone of our “snowy” top layer. Unlike flavored jello, unflavored gelatin provides the perfect setting agent without imparting any taste, allowing the dairy and sugar to shine. It’s crucial for achieving that characteristic wobbly, yet firm, jello texture.
- Ice Cold Water: Essential for blooming the unflavored gelatin. Sprinkling gelatin over cold water allows it to hydrate evenly before being dissolved, preventing lumps and ensuring a smooth, consistent set.
- Half-n-Half: The secret to the creamy richness of the white layer. Half-n-half (a blend of equal parts whole milk and heavy cream) imparts a luxurious mouthfeel and contributes to the pristine white, “snowy” appearance. For an even richer result, heavy cream can be used, or a lighter milk for a less decadent option.
- Granulated Sugar: Provides the necessary sweetness, balancing the tang of the sour cream and enhancing the overall flavor profile of the creamy layer. Adjust to your personal preference for sweetness.
- Sour Cream: A brilliant addition that offers a subtle tangy counterpoint to the sweetness of the sugar and half-n-half. It also contributes to the smooth, velvety texture and bright white color of the top layer, making it truly resemble fresh snow. Full-fat sour cream is recommended for the best results.
- Vanilla Extract: A touch of vanilla enhances the creamy flavor, adding warmth and depth to the white layer. Always opt for pure vanilla extract for the best aroma and taste.
- Raspberry Jello: The star of the bottom layer, providing vibrant color and intense raspberry flavor. While any brand works, always double-check the box size (typically 3 ounces) as manufacturers can vary. Using a high-quality jello will ensure a robust flavor.
- Boiling Water: Necessary to completely dissolve the raspberry jello crystals, ensuring a smooth and perfectly set fruit layer.
- Frozen Raspberries (thawed but chilled): These add bursts of real fruit flavor and texture to the bottom layer. Thawing them ensures they integrate well, while chilling them prevents them from melting the jello mixture prematurely, which could affect the set. You can gently crush some for a more infused flavor or keep them whole for distinct pieces of fruit.
- Optional Garnishes (Fresh Raspberries & Mint Leaves): These are wonderful for adding a final touch of elegance and freshness. The bright red of fresh raspberries and the crisp green of mint leaves enhance the holiday aesthetic, making your dessert even more inviting.
Each ingredient plays a crucial role in creating this visually stunning and deliciously creamy dessert. The contrasting colors and textures make every bite an experience, truly living up to its “snowy” name.
Can I Customize My Jello Mold with Different Flavors?
Absolutely! While raspberry is a classic and delightful choice, this recipe is incredibly adaptable. You can easily experiment with other jello flavors to suit your taste or theme. Strawberry jello, paired with fresh or thawed chopped strawberries, would create a similar festive look and a familiar, beloved flavor. Cherry jello is another excellent option, offering a rich, deep red hue and a distinct tart-sweet profile. Imagine a vibrant lime green jello for a Grinch-themed holiday treat, or even a mix of blue and white layers for a winter ice effect. The possibilities are truly endless, allowing you to get creative and make this dessert uniquely yours!
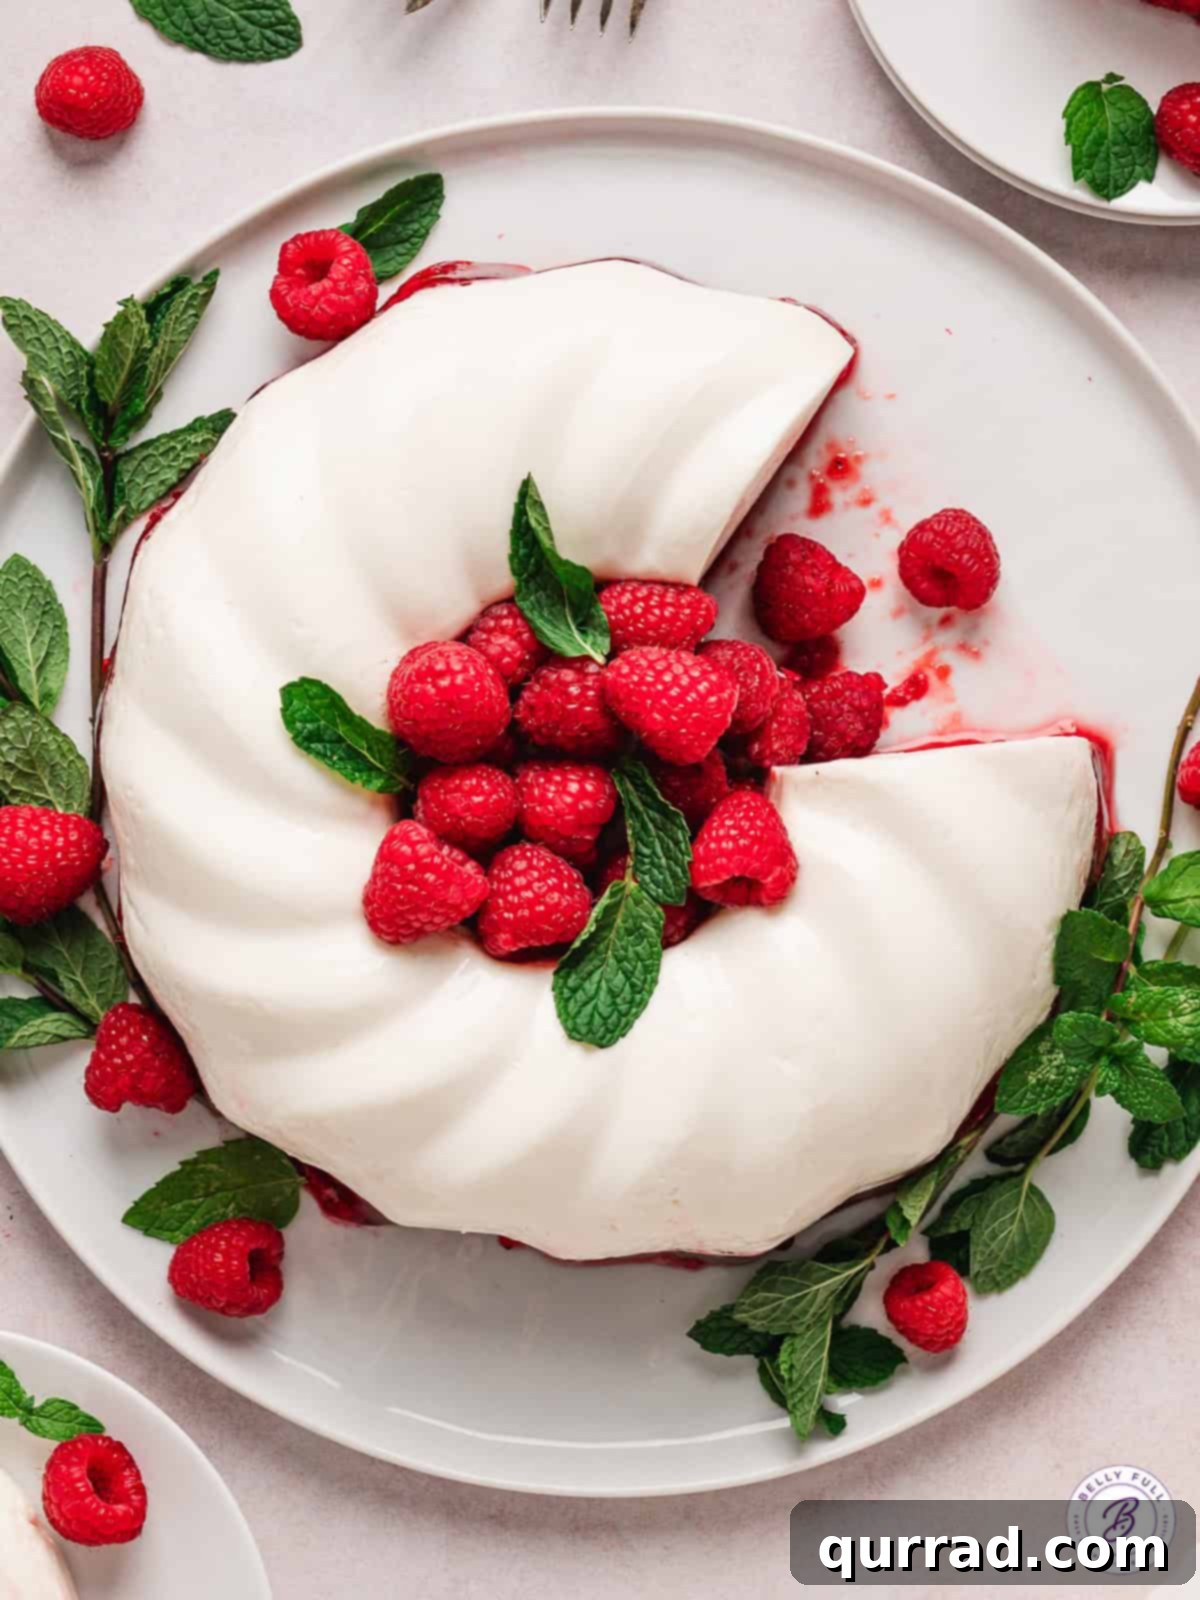
Mastering the Jello Mold: Essential Tips for Success
Creating a perfect two-layered jello mold is simpler than it seems, especially with a few key tips. Follow these guidelines to ensure your Snowy Raspberry Jello turns out beautifully firm, distinct, and ready to impress:
- Grease the Pan Thoroughly: This step is non-negotiable! Before pouring in your first layer, generously coat the inside of your jello mold with a nonstick baking spray. A thin, even layer is sufficient. This creates a barrier that prevents the gelatin from sticking to the mold, making the unmolding process infinitely easier and preventing any heartbreaking moments of a broken dessert.
- Avoid Boiling the Half-n-Half Mixture: When preparing the creamy white layer, the goal is to gently heat the half-n-half and sugar until it reaches a simmer, not a rolling boil. Stir constantly to prevent scorching and keep the heat at a medium setting. Boiling dairy can cause it to curdle, resulting in a grainy, unappetizing texture for your pristine “snow” layer.
- Ensure Gelatin is Completely Dissolved: Lumps in jello are a definite no-go! When whisking the bloomed gelatin into the warm half-n-half mixture, continue to stir until every granule of gelatin has fully dissolved. You can check this by lifting your whisk and observing if any undissolved particles remain. A completely dissolved gelatin ensures a smooth, uniform texture throughout your jello mold.
- Allow the First Layer to Firm Up Adequately: Patience is a virtue when making layered jello! Before you even think about adding the raspberry jello, the white creamy layer must be mostly set. It should be firm to the touch but still slightly tacky. If you pour the second layer too soon, it will mix with the unset first layer, ruining the beautiful distinct division. Generally, 30 to 60 minutes in the refrigerator is sufficient for the first layer, but this can vary based on your fridge’s temperature.
- Chill Thoroughly Before Slicing: For the best results and clean slices, it’s highly recommended to prepare your Snowy Raspberry Jello mold at least a night in advance. A minimum chilling time of 6 hours is crucial to allow both layers to set completely and bond. Overnight chilling is even better, guaranteeing a perfectly firm mold that holds its shape when unmolded and sliced.
- Prepare Your Fruit Correctly: For the raspberry layer, use frozen raspberries that have been thawed but are still very cold. Adding warm fruit can partially melt the jello, affecting its setting ability. Chilled fruit helps maintain the jello’s temperature and ensures a firm set.
By keeping these tips in mind, you’ll be well on your way to creating a dazzling and delicious Snowy Raspberry Jello that will be the talk of your holiday gathering!
How To Expertly Unmold Your Jello
Unmolding a jello dessert can feel like a delicate operation, but with the right technique, it’s surprisingly easy. Follow these steps for a clean release every time, revealing your beautiful creation intact:
- Prepare Your Warm Water Bath: Find a bowl that is larger than your jello mold. Fill it with warm (not boiling!) water. The water should be warm enough to slightly loosen the jello without melting it too much.
- Quick Dip for Release: This is the crucial step. Submerge the jello mold into the warm water for a very brief period – typically just 4-5 seconds. You can also quickly dip it three times. The key is to be swift! Leaving the mold in warm water for too long will cause the outer surface of your jello to melt, potentially turning your carefully crafted dessert into a wobbly soup.
- Gently Loosen the Edges: Once removed from the water, use a clean finger or a small, thin silicone spatula to gently press and pull the jello away from the edges of the mold. Work your way around the entire perimeter to create a slight gap, allowing air to enter and aid release.
- Invert onto a Serving Plate: Place your chosen serving plate directly on top of the jello mold. With a confident and swift motion, gently but firmly flip the mold and plate together.
- Shake and Release: With the mold inverted on the plate, place one hand on the base of the serving plate and the other on the base of the mold. Give a quick, sharp shake a couple of times. You should feel the jello release and drop onto the plate. If it doesn’t release immediately, you might need to repeat the warm water dip and loosening steps for a few more seconds.
With these steps, your stunning Snowy Raspberry Jello will slide out perfectly, ready to be admired and enjoyed!
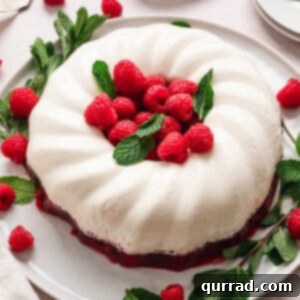
What if I Don’t Have a Jello Mold?
No jello mold? No problem! While a decorative mold adds an extra touch of elegance, you can absolutely make this delicious dessert without one. A greased 9×13 inch baking or casserole pan works perfectly as an alternative. Simply pour your layers into the greased pan, chill, and then slice and serve directly from the pan. It won’t have the same intricate shape, but it will be just as delicious and much simpler to serve, making it an excellent option for a casual family gathering or when you’re short on specialized equipment.
Proper Storage for Your Jello Creation
To keep your Snowy Raspberry Jello mold fresh and delicious, proper storage is key. This dessert can be stored in the refrigerator for up to 4 days. If keeping it on the serving platter, make sure to cover it tightly with plastic wrap to prevent it from absorbing fridge odors and drying out. Alternatively, for smaller portions or easier access, transfer individual slices into an airtight container. This ensures each piece retains its smooth texture and vibrant flavor for days after preparation.
Snowy Raspberry Jello
15 mins
6 hrs
6 hrs 15 mins
8 people
Equipment
-
6-cup jello mold (see note below if you don’t have a mold)
Ingredients
- 1 envelope (.25 ounce) unflavored gelatin
- 1/2 cup ice cold water
- 1 cup half-n-half (see note)
- 1/2 cup granulated sugar
- 8 ounces sour cream
- 1 teaspoon vanilla
- 1 box (3 ounce) raspberry jello
- 1 cup boiling water
- 10 ounces frozen raspberries, thawed but chilled
- Fresh raspberries and small mint leaves, for garnish, optional
Instructions
-
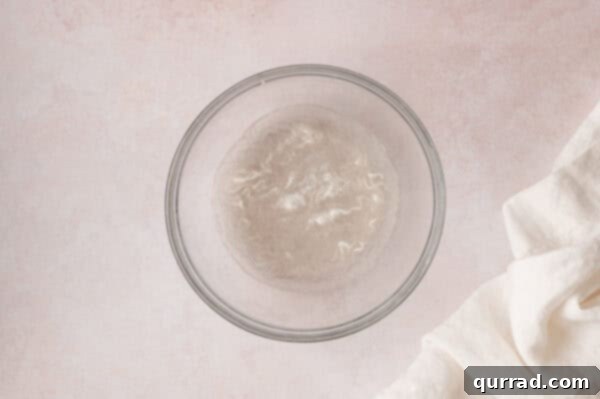
In a small bowl, sprinkle a .25 ounce envelope of unflavored gelatin over 1/2 cup ice cold water; let stand for 1 minute.

-
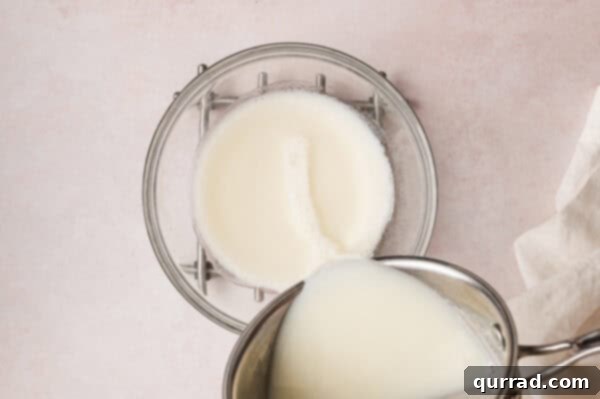
In a small pot over medium heat, combine 1 cup half-n-half and 1/2 cup granulated sugar. Cook while stirring until mixture comes to a simmer. Remove from the heat and slowly pour and stir into the gelatin until completely dissolved.
-
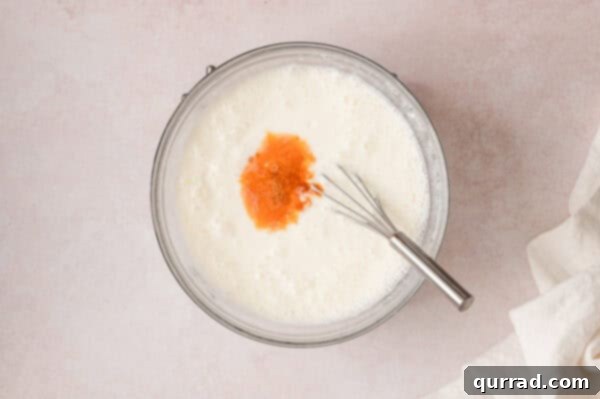
Add in 8 ounces sour cream and 1 teaspoon vanilla and whisk until combined and smooth.
-
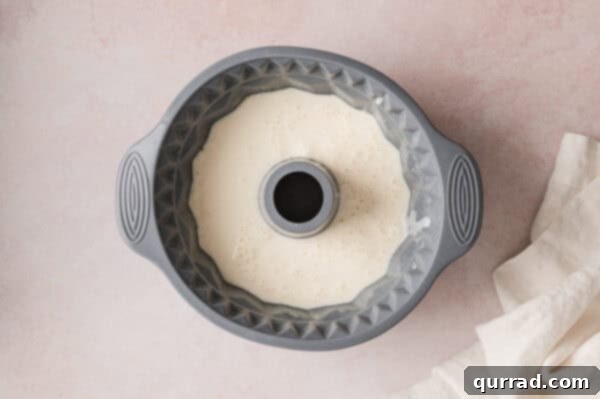
Pour mixture into a 6-cup mold that’s coated with nonstick spray. Carefully transfer to the refrigerator and chill until almost set, anywhere from 30 to 60 minutes.
-
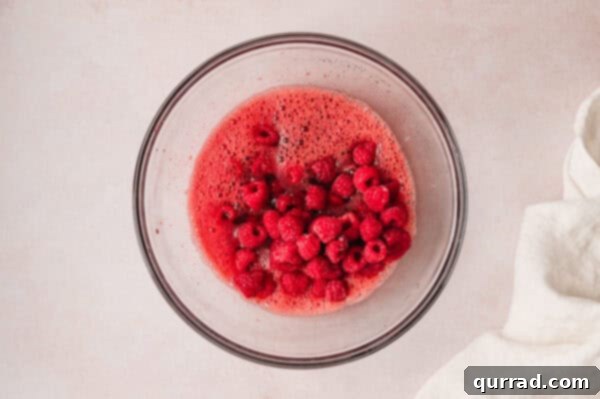
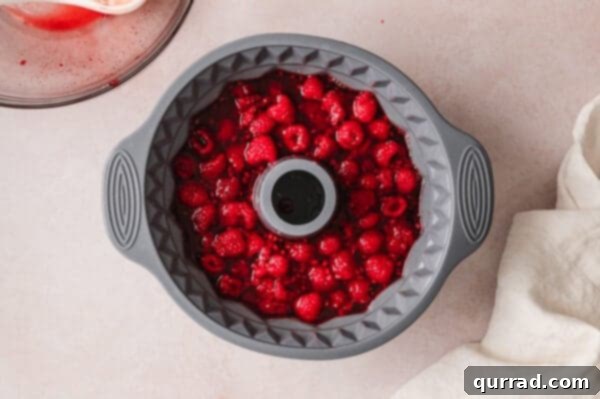
In a small mixing bowl, dissolve a small 3 ounce box raspberry gelatin in 1 cup boiling water. Stir in 10 ounces thawed (but chilled!) raspberries. Then carefully spoon over the sour cream layer, making sure the raspberries are well distributed.
-
Cover and chill in the refrigerator for at least 6 hours until completely firm.
-
Place a serving plate on top of the mold and gently flip it over. Place your hands over both the base of the plate and the base of the mold. Shake quickly and sharply a couple of times and the Jello should release. (See more helpful tips in the article on how to release the jello from your mold.)
-
Garnish with a few fresh raspberries and mint leaves, if desired. Slice and serve.
Notes
Nutrition
Carbohydrates: 29g |
Protein: 4g |
Fat: 9g |
Saturated Fat: 5g |
Polyunsaturated Fat: 1g |
Monounsaturated Fat: 2g |
Cholesterol: 27mg |
Sodium: 81mg |
Potassium: 131mg |
Fiber: 2g |
Sugar: 25g |
Vitamin A: 295IU |
Vitamin C: 10mg |
Calcium: 72mg |
Iron: 0.3mg
Nutritional information given is an automatic calculation and can vary based on the exact products you use and any changes you make to the recipe. If these numbers are very important to you, I would recommend calculating them yourself.
More Festive Jello Mold Recipes to Explore
If you’ve fallen in love with the charm and simplicity of jello molds, there’s a whole world of delightful gelatin desserts waiting for you to discover. Perfect for holidays, parties, or just a fun family treat, these recipes are guaranteed to bring a smile to everyone’s face:
- Layered Christmas Jello: A multi-colored, festive showstopper that’s incredibly fun to make and even more fun to eat, perfect for any holiday spread.
- Broken Glass Jello: A visually stunning dessert featuring colorful jello cubes suspended in a creamy white base, creating a beautiful stained-glass effect.
- Creamy Strawberry Jello Mold: A classic combination of fresh strawberries and creamy jello, offering a refreshing and light dessert for any occasion.
- Orange Creamsicle Jello: Indulge in the nostalgic flavors of an orange creamsicle in a wobbly, delightful jello mold format that’s both sweet and tangy.
We hope you thoroughly enjoy creating and sharing this wonderful Snowy Raspberry Jello. Its ease, beauty, and delicious taste make it an instant holiday classic. Be sure to explore our other fantastic jello creations and add a touch of wobbly magic to your next celebration! If you loved this recipe, please consider leaving a review. Happy cooking!