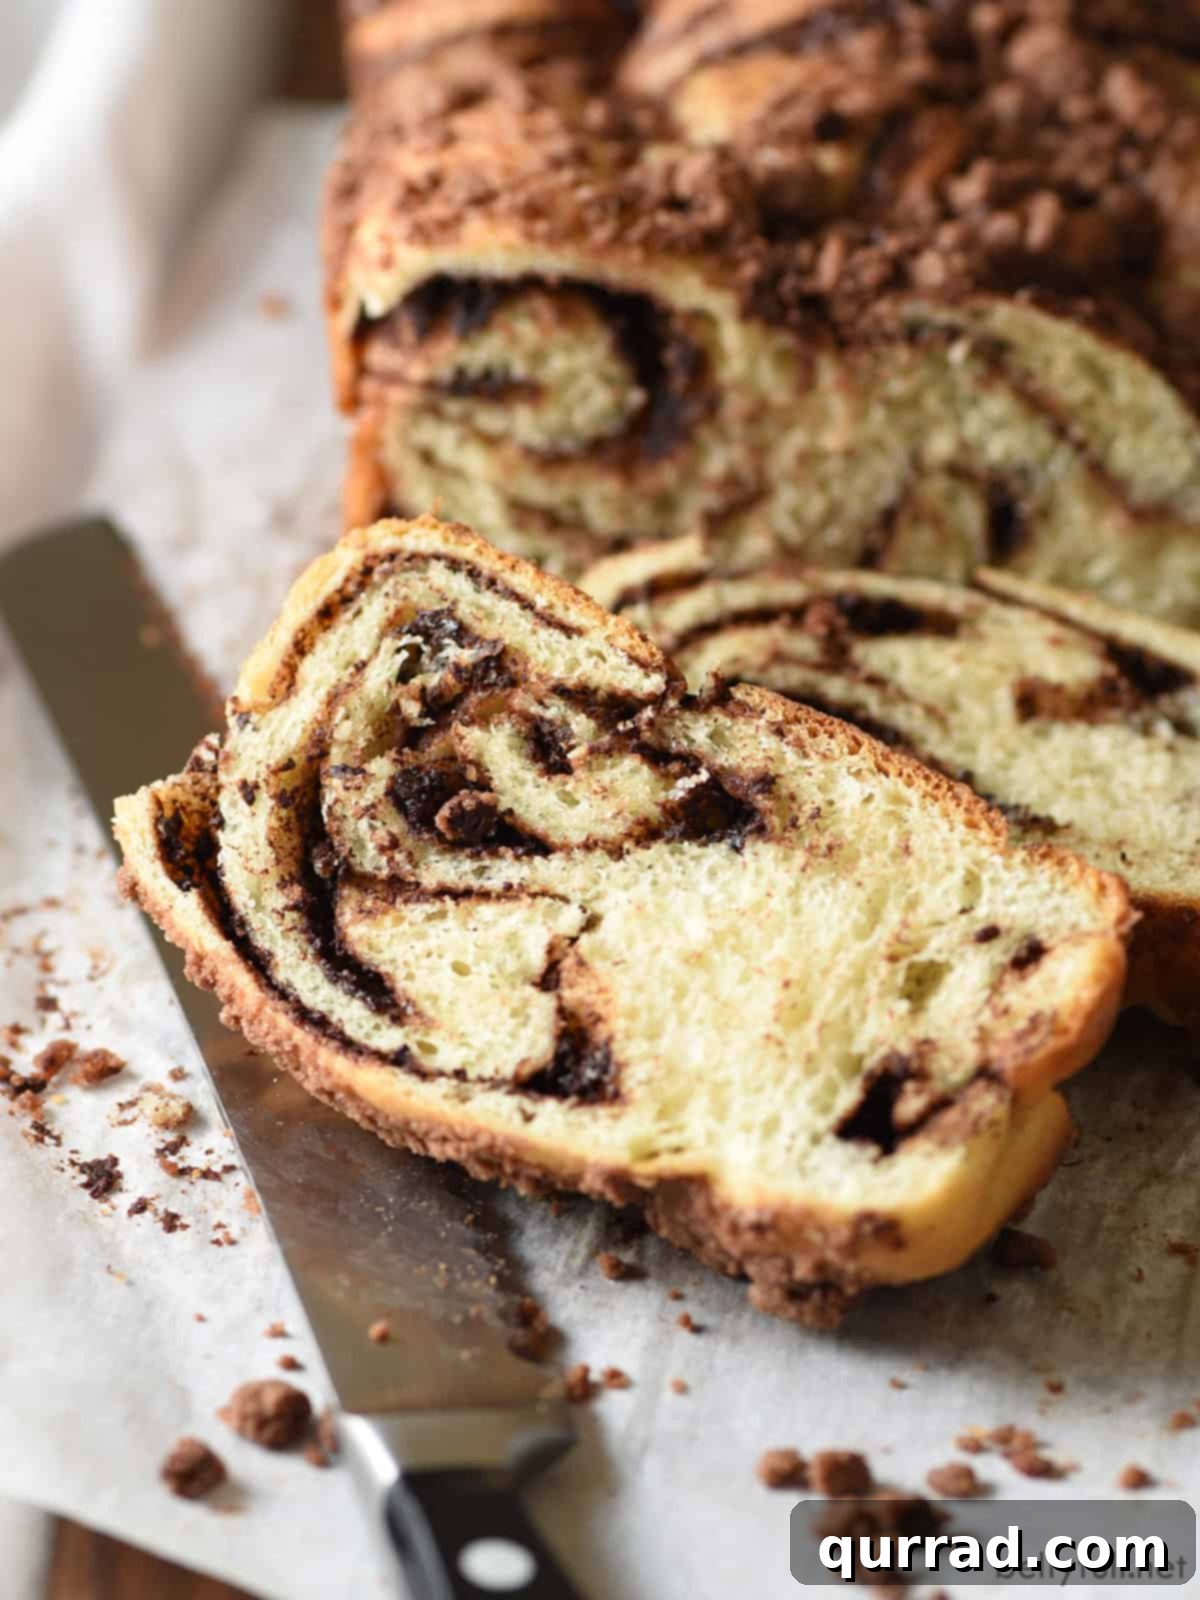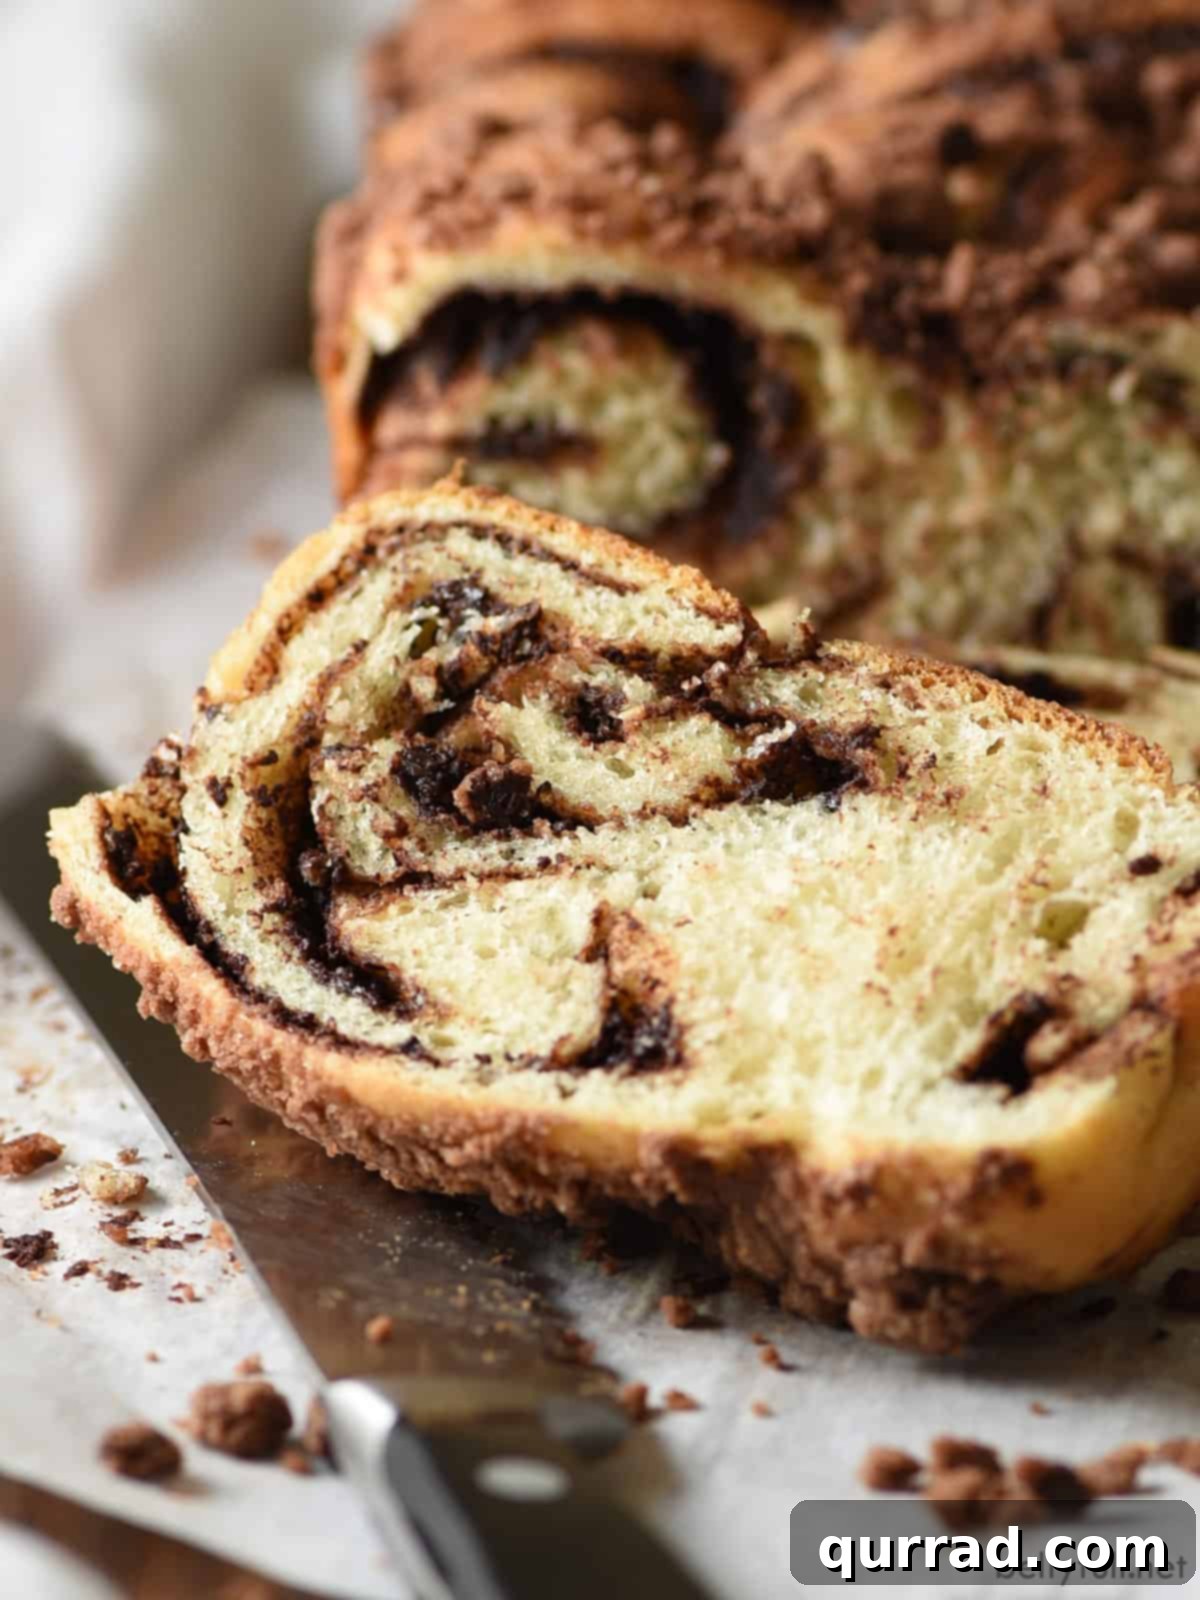
Prepare to be enchanted by a truly extraordinary creation that marries the comforting familiarity of traditional Challah with the decadent allure of a rich Babka: this exquisite Chocolate Challah Bread. Imagine a sweet, enriched yeast dough, meticulously crafted, then generously slathered with a luscious chocolate ganache, artfully twisted and folded, and finally crowned with a buttery streusel topping. Each loaf is then brushed with melted butter and baked to a golden-brown perfection in a loaf pan, emerging from the oven with an aroma that promises pure bliss. This isn’t just bread; it’s a celebration of flavor and texture, a perfect harmony of fluffy, moist crumb and layers of intense chocolate.
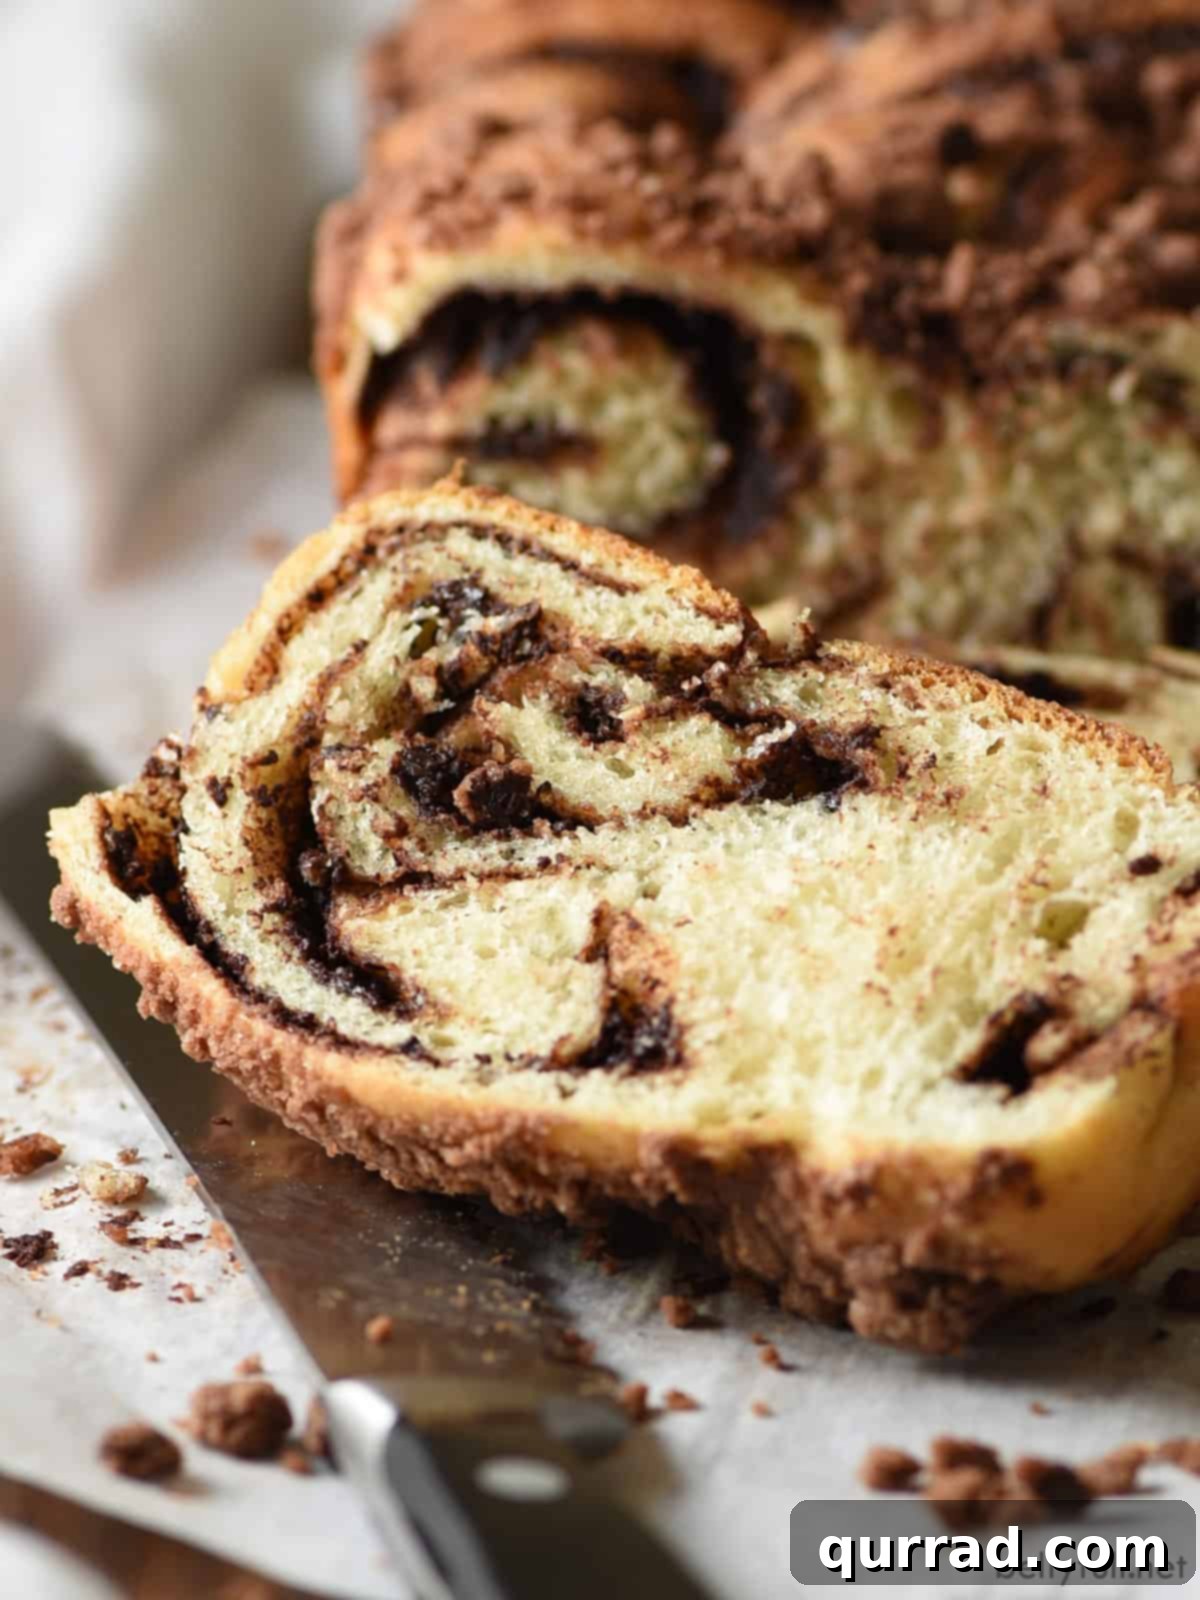
What could elevate the already beloved challah bread to new heights? The answer lies in the lavish embrace of chocolate. This recipe transforms the classic into a luxurious treat by infusing the tender dough with a silky chocolate ganache and adding a delightful cocoa-butter-crumb topping. It’s a culinary journey that takes the best elements of two iconic breads and blends them into one irresistible masterpiece.
A Divine Fusion: Challah Meets Babka
For those unfamiliar, Challah is a traditional Jewish braided bread, typically rich with eggs and often served on Shabbat and holidays. It’s known for its beautiful golden crust and soft, airy interior. Babka, on the other hand, is an Eastern European yeast-risen coffee cake, frequently found in Polish and Jewish bakeries. It’s famous for its swirled, chocolate (or cinnamon) filling and often bathed in a sticky syrup after baking. Our Chocolate Challah is a delicious and innovative cross between these two beloved breads.
Instead of the typical sesame or poppy seeds adorning classic challah, or the sticky syrup characteristic of babka, this bread boasts a wonderful streusel-like topping that adds a delightful crunch and extra dimension of flavor. The result is a bread that is not only visually stunning with its mesmerizing chocolate swirls but also offers an unparalleled taste experience. It’s a richer, sweeter, and more indulgent version of challah, borrowing the best characteristics from its babka cousin, making it absolutely wonderful for any occasion.
Essential Tips for Baking Success
Achieving the perfect Chocolate Challah requires attention to a few key details. Follow these helpful tips to ensure your bread turns out beautifully every time:
- Accurate Flour Measurement: Flour is the backbone of any bread recipe, and measuring it correctly is crucial. Always spoon your all-purpose flour into the measuring cup and then level it off with a straight edge, rather than scooping directly from the bag. Scooping can compact the flour, leading to too much flour and a dry, dense dough.
- Ensure Fresh Yeast: Active dry yeast is the magical ingredient that makes your bread rise. To confirm its freshness and activity, always proof it first. If your yeast mixture doesn’t foam or create a frothy layer within 5-10 minutes, it means the yeast is no longer active, and you’ll need to discard it and start with a fresh batch. This step prevents wasted time and ingredients.
- Optimal Water Temperature: Lukewarm water is essential for activating yeast. The ideal temperature range is between 105°F and 110°F (40°C-43°C). It should feel pleasantly warm to the touch, like a warm bath, but never hot. Water that’s too hot can kill the yeast, while water that’s too cold won’t activate it properly, both leading to a dough that won’t rise. Using a thermometer is highly recommended for accuracy.
- Kneading Technique: Proper kneading develops the gluten in the flour, which gives bread its structure and chewiness. Knead the dough for the recommended time (6-8 minutes), adding extra flour sparingly, a teaspoon at a time, only if the dough is excessively sticky. The goal is a smooth, elastic, and pliable dough that springs back when gently poked.
- Ideal Proofing Environment: Yeast dough loves warmth and hates drafts. Find a warm, draft-free spot in your kitchen for the dough to rise. In colder months, placing the bowl on a heating pad set to low, near a warm oven, or in an oven that has been briefly warmed and turned off (with the light on) can significantly aid the rising process.
- Don’t Overfill Loaf Pans: When transferring the braided dough to the loaf pans, ensure it fits snugly but isn’t overly compressed. This allows space for the final rise and prevents the bread from spilling over during baking.
- Internal Temperature for Doneness: While visual cues are helpful, using an instant-read thermometer is the most reliable way to check if your challah is fully baked. The center of the loaf should register around 190°F (88°C).
The Ultimate Chocolate Challah Bread Recipe
Prep Time: 30 mins
Cook Time: 30 mins
Rise Time: 2 hrs 30 mins
Total Time: 3 hrs 30 mins
Yields: 28 slices (2 loaves)
Ingredients
FOR THE DOUGH
- 1 cup lukewarm water (around 110°F)
- 2 tablespoons active dry yeast
- 1/4 cup + 1/2 tablespoon granulated sugar, divided
- 3 1/2 cups all-purpose flour, spooned and leveled (plus more if needed)
- 1/2 tablespoon kosher salt
- 2 large eggs, beaten
- 1/4 cup unsalted butter, melted
- Vegetable oil (for greasing the bowl)
FOR THE FILLING
- 3/4 cup semisweet chocolate chips
- 1/2 cup unsalted butter
- 2 teaspoons vanilla extract
- 1/2 cup powdered sugar
- 1/3 cup cocoa powder
FOR THE TOPPING
- 1/2 cup all-purpose flour
- 1 tablespoon cocoa powder
- 3 tablespoons granulated sugar
- 4 tablespoons unsalted butter, cut into cubes
- 1/4 cup mini chocolate chips
- 1/4 cup unsalted butter, melted (for basting)
Instructions
- In a small bowl, combine the lukewarm water, yeast, and 1/2 tablespoon of granulated sugar. Stir gently and let the mixture sit for about 5-10 minutes, until a frothy layer forms on top. This indicates the yeast is active. If no foam appears, your yeast is no longer good, and you should start again with fresh yeast.
- In a large mixing bowl, whisk together the 3 1/2 cups of all-purpose flour, the remaining 1/4 cup of granulated sugar, and the kosher salt. Create a well in the center of the dry ingredients. Pour the beaten eggs and melted butter into the well. Gradually incorporate the flour from the sides into the wet ingredients using a wooden spoon. Once partially combined, stir in the activated yeast mixture. Continue mixing until a shaggy, cohesive dough forms.
- Turn the dough out onto a lightly floured surface. Knead the dough vigorously for approximately 6-8 minutes until it becomes smooth, elastic, and no longer excessively sticky. If the dough is still too wet, add a teaspoon of flour at a time until it reaches the desired consistency and holds a ball shape.
- Lightly grease a large clean bowl with vegetable oil. Place the kneaded dough into the bowl, turning it once to coat lightly. Cover the bowl tightly with plastic wrap or a clean kitchen towel. Allow the dough to rise in a warm, draft-free place until it has doubled in size, which typically takes 60-90 minutes.
- While the dough is rising, prepare the chocolate filling. In a medium microwave-safe bowl, combine the semisweet chocolate chips, 1/2 cup unsalted butter, and vanilla extract. Microwave in 30-second intervals, stirring after each, until the chocolate and butter are fully melted and smooth. Whisk well, then stir in the powdered sugar and cocoa powder until thoroughly incorporated and a thick, spreadable chocolate paste forms. Set aside.
- Prepare two 9×5-inch loaf pans by lightly coating them with nonstick cooking spray. Line each pan with a strip of parchment paper, ensuring there is a couple of inches of overhang on the long sides. This overhang will serve as handles for easy removal of the baked loaves. Set the prepared pans aside.
- Once the dough has doubled in size, gently punch it down to release the air. Transfer the dough to a lightly floured surface and divide it in half using a bench scraper or sharp knife. Lightly dust the top of one dough half and a rolling pin with flour. Roll the dough out into a rectangle approximately 12×16 inches. Repeat with the second half of the dough.
- Using an offset spatula or the back of a spoon, evenly spread half of the prepared chocolate filling over one dough rectangle, extending all the way to the edges. Repeat with the second dough rectangle and the remaining filling.
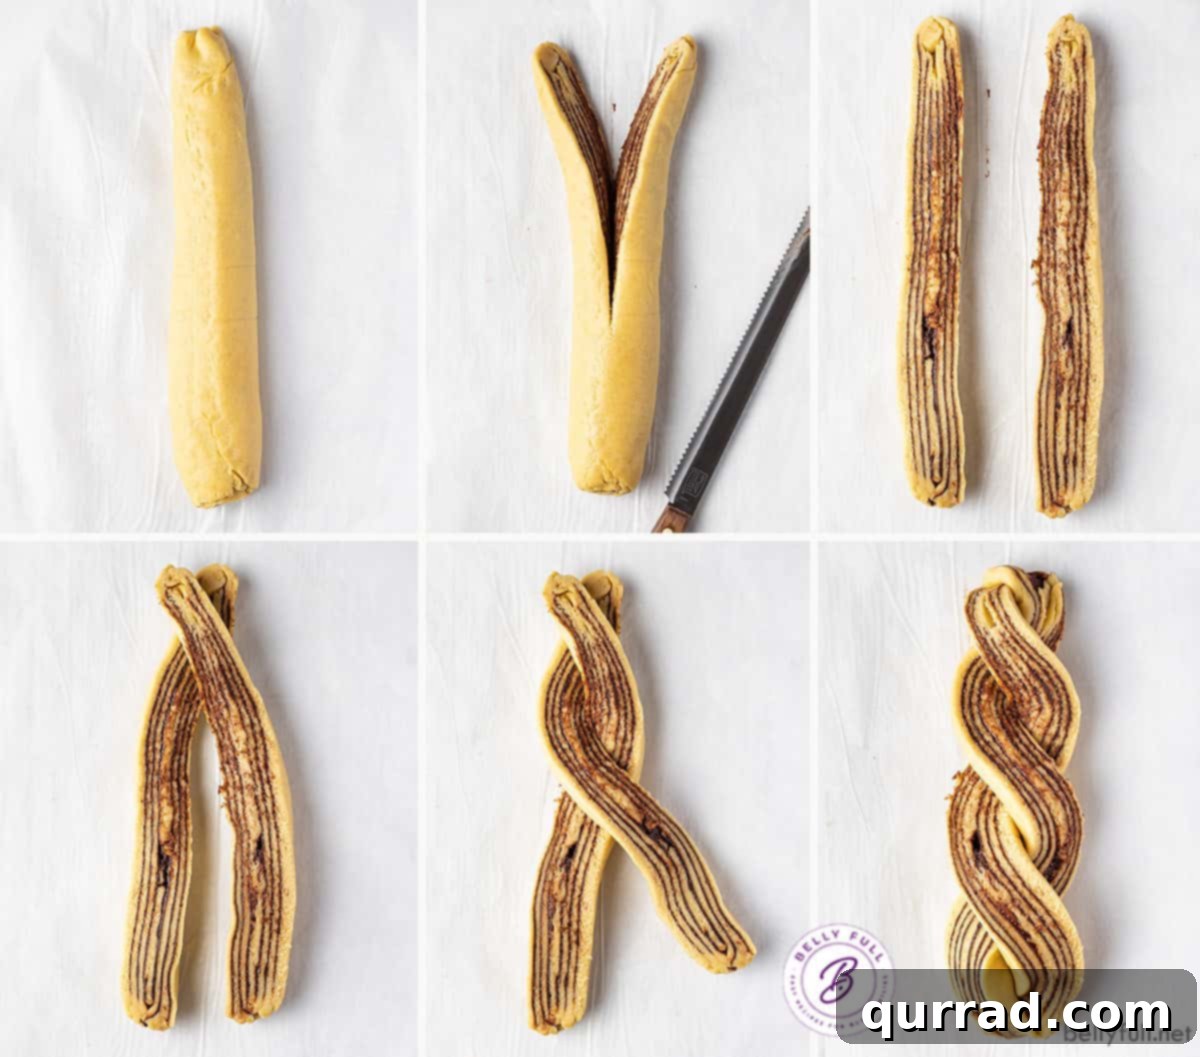
- Starting from one of the shorter sides closest to you, tightly roll each chocolate-covered dough rectangle into a log. Press gently along the seam to seal it securely. You will now have two long, chocolate-filled logs.
- Carefully cut each log in half lengthwise, exposing the beautiful chocolate layers. You will now have four strands of dough, each with its chocolate filling visible along the cut edges.
- Position two of the cut halves with their chocolate layers facing upwards. Gently twist these two halves together a few times, starting from the middle and carefully pinching the ends together to secure the braid. Repeat this process with the other two halves of dough, creating a second twisted loaf.
- Carefully transfer each braided loaf into the prepared loaf pans, gently tucking in the ends so they fit snugly. Cover both pans with a clean dish towel and allow them to undergo a second rise in a warm, draft-free place until they are visibly doubled in size and feel soft and pillowy to the touch, approximately 1 hour.
- While the bread is rising for the second time, prepare the streusel topping. In a medium bowl, whisk together 1/2 cup all-purpose flour, 1 tablespoon cocoa powder, and 3 tablespoons granulated sugar. Add the cubed butter and use your fingertips to work the butter into the dry ingredients until coarse, crumbly bits are formed. Stir in the mini chocolate chips.
- Preheat your oven to 350°F (175°C) with an oven rack positioned in the center.
- Just before baking, brush both risen challah loaves generously with the 1/4 cup of melted unsalted butter, ensuring the butter gets into all the crevices and along the sides. Evenly sprinkle the prepared streusel topping over both loaves.
- Bake the loaves for about 30-35 minutes, or until they are deep golden brown on top and a wooden skewer inserted into the center comes out clean. For ultimate accuracy, an instant-read thermometer inserted into the very middle of the loaf should register 190°F (88°C).
- Once baked, remove the loaves from the oven and let them cool in their pans for 10 minutes. Then, using the parchment paper overhang as handles, carefully lift the loaves out of the pans and transfer them to a wire rack to cool completely before slicing and serving. This cooling step is crucial for the bread’s texture to set properly.
Chef’s Notes for Perfection
Optimize Rise Time: For those baking during colder seasons or in cooler kitchens, you can significantly speed up the dough’s rising process. Placing the bowl of dough on a heating pad set to its lowest setting, or in a slightly warmed (but turned off) oven with just the pilot light or oven light on, creates a cozy environment for the yeast to thrive and encourages a faster, more robust rise.
Explore Traditional Challah: If chocolate isn’t what you’re craving, or if you simply wish to master the classic, remember that our traditional challah recipe offers the same wonderful dough without the chocolate twist. It’s perfect for a savory meal or to enjoy plain.
Nutrition Information (per slice)
Calories: 203kcal | Carbohydrates: 23g | Protein: 3g | Fat: 11g | Saturated Fat: 7g | Polyunsaturated Fat: 1g | Monounsaturated Fat: 3g | Trans Fat: 1g | Cholesterol: 36mg | Sodium: 134mg | Potassium: 75mg | Fiber: 1g | Sugar: 8g | Vitamin A: 278IU | Vitamin C: 1mg | Calcium: 14mg | Iron: 1mg
Please note: Nutritional information provided is an automatic calculation and may vary based on the specific brands and quantities of ingredients used, as well as any modifications made to the recipe. If precise nutritional values are critical for your dietary needs, we recommend calculating them independently using your exact ingredients.
Serving Suggestions for Your Decadent Loaf
This sweet, pillow-soft yeast bread is an absolute dream, especially when served slightly warm. It pairs perfectly with a freshly brewed cup of coffee or a comforting mug of tea, making it an ideal choice for breakfast or a leisurely brunch. Its rich flavor profile allows it to be thoroughly enjoyed on its own, but a thin swipe of butter or even a dusting of powdered sugar can enhance the experience even further. Since this recipe yields two magnificent loaves, you have options! Savor one loaf immediately, and consider transforming the second into something truly spectacular:
- Breakfast Bliss: Serve slices alongside fresh fruit, yogurt, or a sprinkle of toasted nuts for an elevated morning meal.
- Dessert Delight: A slice of Chocolate Challah makes a fantastic light dessert, perhaps with a scoop of vanilla bean ice cream or a drizzle of caramel sauce.
- Chocolate Challah French Toast: Take your breakfast game to the next level by using one of your loaves to make an unbelievably rich and indulgent chocolate challah french toast. The chocolate swirls become even more pronounced and delicious when soaked and griddled.
- Thoughtful Gift: This beautiful bread makes a wonderful homemade gift for friends, family, or neighbors. Wrap it lovingly and watch their faces light up!
Proper Storage for Lasting Freshness
To ensure your Chocolate Challah remains as delicious as the day it was baked, proper storage is key:
- Storing Leftovers: While this Chocolate Challah is undoubtedly at its peak flavor and texture within 24 hours of baking, you can store it at room temperature on the counter for up to 3 days. To maintain its freshness, prevent it from drying out, and keep it soft, wrap it tightly in plastic wrap, place it in a resealable freezer bag, or store it in another airtight container.
- Freezing for Later: This bread freezes beautifully, allowing you to enjoy its deliciousness much later. You can freeze an entire loaf or individual slices, depending on your needs. For best results and to prevent freezer burn, wrap the loaf or slices first in plastic wrap, then snugly in aluminum foil. Properly wrapped, it will keep well in the freezer for up to 2 months. When you’re ready to enjoy, simply thaw it on the counter at room temperature before serving. For a “freshly baked” feel, you can gently warm slices in a toaster or oven after thawing.
Explore More Jewish Culinary Delights
If you’ve enjoyed the comforting flavors of this Chocolate Challah, we invite you to explore more beloved recipes from Jewish cuisine. Each dish tells a story and brings unique flavors to your table:
- Cheese Blintz: Delicate crepes filled with a sweet cheese mixture, often served for Shavuot.
- Rugelach: Miniature rolled pastries filled with jam, nuts, or chocolate, perfect with coffee.
- Kugel: A comforting baked casserole, often made with noodles or potatoes, and can be sweet or savory.
- Matzo Ball Soup: The ultimate comforting chicken soup, featuring light and fluffy matzo balls.
- Classic Potato Latkes: Crispy fried potato pancakes, a staple for Hanukkah.
- Sufganiyot (Jelly Donuts): Sweet, deep-fried doughnuts filled with jam, a festive treat for Hanukkah.
- Beef Brisket: A slow-cooked, tender beef dish, often a centerpiece for holiday meals.
We sincerely hope you cherish this delicious and surprisingly easy recipe for Chocolate Challah. It’s a rewarding bake that brings warmth and joy to any home. We’d love to hear your thoughts, so please be sure to leave a review below once you’ve tried it! Don’t forget to connect with Belly Full on TikTok, Facebook, Instagram, Pinterest, and YouTube for more delightful recipes and culinary inspiration!