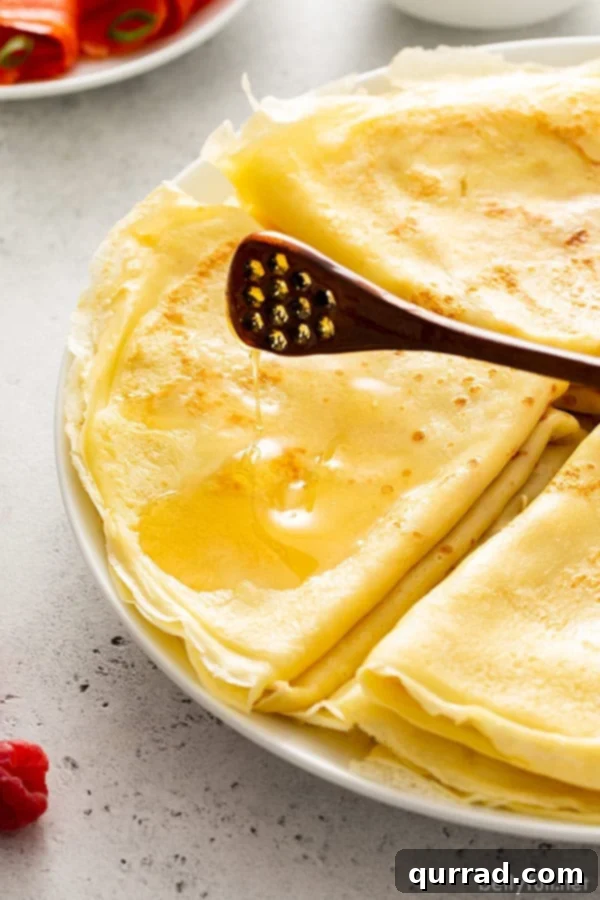
Welcome to the delightful world of Blini (pronounced BLEE-nee), often referred to as Russian crepes. These thin, delicate pancakes are a beloved staple in Eastern European cuisine, offering an exquisite versatility that allows them to be enjoyed with a vast array of toppings, both savory and sweet. Whether you’re planning an elaborate brunch, a comforting breakfast, or even a unique dinner, blini present a fantastic canvas for culinary creativity, promising a memorable experience for anyone who tries them.
Imagine hosting a vibrant brunch where guests can customize their own blini with an assortment of delicious fillings and garnishes. It’s akin to a taco bar, but with a refined, internationally inspired twist that’s sure to impress. The sheer flexibility of blini makes them an ideal choice for entertaining, fostering a fun, interactive dining experience that caters to all tastes.

Unveiling Blini: A Culinary Icon of Russia
At its heart, a blini is a large, thin, and notably delicate pancake, strikingly similar in texture and appearance to the French crepe. Originating from Russia and Ukraine, blini hold a profound cultural significance, standing as one of the most cherished and popular foods throughout Russia. Their importance is so immense that an entire week, known as Maslenitsa (meaning “Butter Week”), is dedicated to their celebration. This festive week, occurring just before Great Lent, is a time of feasting and merriment, where blini are consumed in vast quantities, symbolizing the sun and the end of winter.
Historically, blini were prepared with yeast, giving them a slightly thicker, spongier texture. However, modern recipes often omit yeast for a quicker preparation, resulting in the ultra-thin, almost lacy pancakes we recognize today. The tradition of serving blini at Maslenitsa underscores their role not just as food, but as a cultural emblem, deeply woven into the fabric of Russian heritage and celebrations.
Blini vs. Crepes: Spotting the Subtle Distinctions
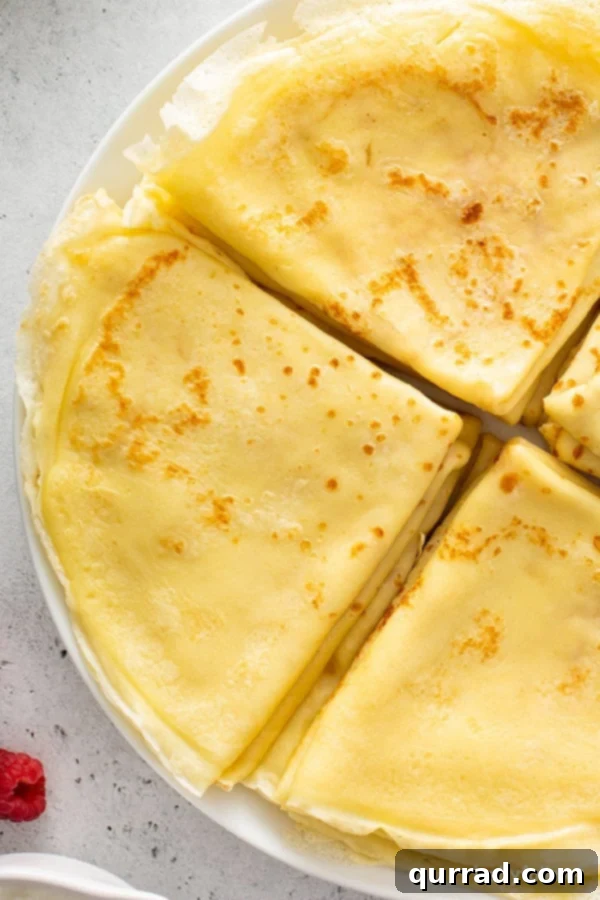
Many people often wonder about the differences between blini and crepes, and frankly, there isn’t a stark contrast. Both are celebrated as thin, versatile pancakes that gracefully transition between sweet and savory presentations, whether enjoyed plain, folded, or filled. They are perfect for any meal—breakfast, brunch, or dinner.
Traditionally, some culinary purists might argue that authentic blini are distinct for their use of buckwheat flour and kefir, which imparts a slightly more robust flavor and a tangier profile compared to the typically wheat flour-based French crepe. Buckwheat flour also gives blini a darker hue and a nuttier taste. However, regional variations abound, and it’s quite common to find blini made with all-purpose flour, much like crepes. Even my friend Elena, who is 100% Russian, prefers the simplicity and delicate texture of blini made with standard all-purpose flour, demonstrating that the line between these two beloved pancakes can often blur. While traditional ingredients undoubtedly offer a unique taste experience, the essence of blini—their thinness and versatility—remains consistent, regardless of minor ingredient adjustments.
Blini, Blinis, Blin, or Blinchiki? Decoding the Terminology
Navigating the various terms for these delightful pancakes can be a bit confusing, but rest assured, they are all generally correct depending on context and region. In Russian, “Blini” (Блины) is the plural form, referring to multiple pancakes. If you’re talking about just one single crepe, the correct term is “Blin” (Блин). This distinction is important in Russian grammar but often overlooked in English, where “Blinis” or simply “Blini” might be used to refer to any number.
“Blinchiki” (Блинчики) is another term you might encounter, particularly in different regions or contexts. This diminutive form often implies smaller, thinner blini, and usually refers to blini that are already filled with a sweet or savory stuffing, such as cottage cheese, meat, or jam, and then rolled or folded. In English-speaking culinary circles, “Blinis” has become a commonly accepted plural, though “Blini” is also widely understood and used for both singular and plural. No matter which term you choose, you’ll be referring to these wonderful, delicate pancakes.
Essential Ingredients for Perfect Blini
The beauty of blini lies in their simple yet effective ingredient list. Most traditional blini recipes call for a foundational mix of flour, milk, eggs, and a touch of oil. For a slightly sweeter profile that complements a wider range of toppings, I often add a small amount of granulated sugar to the batter. While some recipes include oil directly in the batter, I prefer to omit it, relying instead on butter in the pan for that rich, golden flavor and non-stick performance.
A common addition in many blini recipes is a pinch of baking soda. This ingredient is key to achieving that wonderfully lacy, delicate texture that is characteristic of good blini, making them light and airy. The consistency of the batter is crucial; it should be quite loose, almost like heavy cream, allowing it to pour easily and spread rapidly across the bottom of the pan to form those signature thin crepes. Ensuring your milk and eggs are at room temperature will also help create a smoother batter and prevent lumps, contributing to a more uniform and tender blini.
Endless Ideas for Blini Toppings
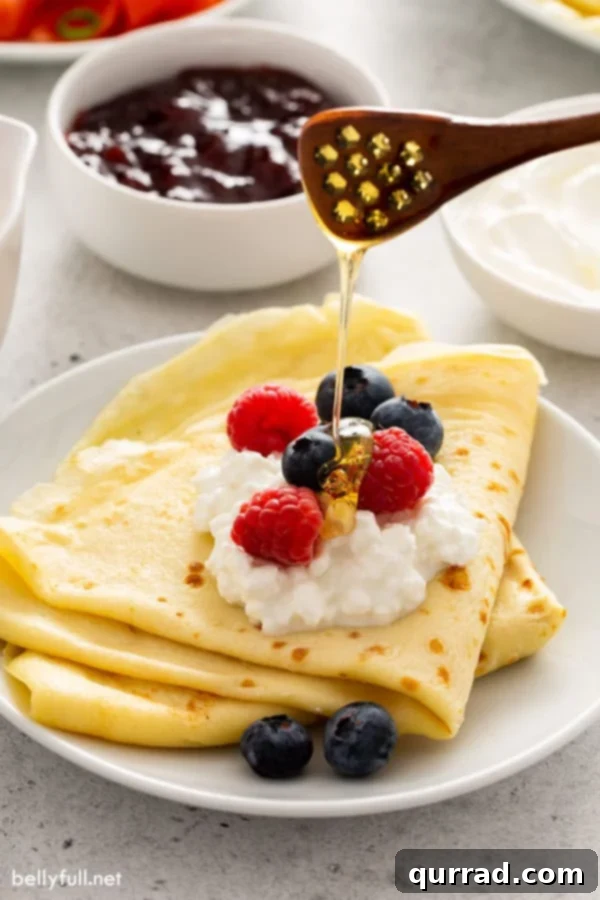
The possibilities for blini toppings are virtually limitless, making them a fantastic choice for any meal or mood. Traditionally, blini are often paired with elegant sweet accompaniments like fruit preserves, honey, or a dollop of smetana (Russian sour cream), which provides a delightful tangy contrast. For a truly luxurious experience, caviar is a classic and highly prized savory topping, often served with a touch of fresh dill.
However, the versatility extends far beyond these traditional options. Consider these delicious ideas to elevate your blini experience:
- For a classic sweet treat, enjoy blini with homemade whipped cream and an assortment of fresh berries like strawberries, blueberries, and raspberries.
- Spread a generous dollop of homemade raspberry jam or a bright, tangy lemon curd for a burst of fruity flavor.
- Enhance the simple elegance of blini with a thin layer of cinnamon honey butter, melting into a fragrant delight.
- Serve them alongside pan-fried honey bananas for a warm, caramelized topping that’s both comforting and decadent.
- For a creamy and subtly sweet filling, try them with homemade Ricotta cheese mixed with a drizzle of honey.
- On the savory side, classic Russian pairings include sautéed mushrooms, tender shredded chicken, rich liver pate, or hard-boiled eggs with a sprinkle of herbs.
- Smoked salmon, perhaps with a touch of cream cheese or dill, is a personal favorite and a wonderfully sophisticated savory option.
- Don’t underestimate the power of simple yet perfectly prepared fillings like the best scrambled eggs you can make, perhaps with a sprinkle of chives.
- For a heartier meal, ground meat fillings seasoned with herbs and spices can be rolled into blini.
- Vegetarian options abound: explore sautéed spinach and feta, roasted vegetables, or even a spicy bean filling.

Expert Tips for Crafting the Best Russian Crepes
Achieving perfectly delicate blini requires a few key techniques. Follow these expert tips for consistently delicious results:
- Ensure a Lump-Free Batter: The foundation of a perfect blini is an exceptionally smooth batter. Whether you use a blender for effortless mixing, a handheld mixer, or whisk vigorously by hand in a bowl, make sure the batter is completely smooth with no trace of lumps. Its consistency should resemble that of heavy cream, allowing it to spread thinly and evenly.
- Rest the Batter: Just like bread dough needs time to rise, allowing your blini batter to rest for at least 15 minutes (or even up to an hour in the refrigerator) before cooking is crucial. This resting period allows the gluten in the flour to relax and hydrate, resulting in more tender, pliable crepes that are less likely to tear. It also gives any air bubbles a chance to dissipate, leading to a smoother finish.
- Choose the Right Pan: A 10-inch non-stick pan is your best friend for blini making. Its size is ideal for producing uniformly sized crepes, and the non-stick surface prevents sticking, ensuring easy flipping and beautiful golden results. Consistent heating is also vital, so a good quality pan is worth the investment.
- Master Medium Heat: Cooking temperature is paramount. If the heat is too low, the blini will take too long to cook, resulting in dry or rubbery textures. Conversely, if the heat is too high, they can burn quickly before cooking through. Medium heat strikes the perfect balance, allowing the blini to cook evenly and develop a lovely golden hue without overcooking.
- Butter is Best for the Pan: While non-stick sprays or oils can work, using a small amount of unsalted butter for greasing the pan adds an incredible richness and depth of flavor to your blini. Melt about 1 teaspoon of butter before adding each blini (or every few, depending on how quickly they cook) for the best taste and a beautiful, slightly crispy edge.
- Consistent Portions with a Measuring Cup: For uniform blini in terms of size and thickness, use a 1/4 cup measuring cup to ladle the batter into the pan. This ensures that each blini cooks at the same rate and maintains a consistent appearance, which is particularly appealing when stacking or presenting them.
- The Art of Tilting and Swirling: Unlike thicker pancake batters that simply get spooned into the center, blini require an immediate and deliberate technique. As soon as you pour the batter into the hot pan, lift the pan from the heat and swiftly tilt and swirl it, allowing the thin batter to coat the entire bottom surface. This ensures the blini is uniformly thin and cooks evenly, rather than becoming thicker in the center. Don’t be intimidated by this step; a quick watch of a video tutorial can make it feel much more approachable!
Storing and Reheating Your Blini for Later Enjoyment
One of the many convenient aspects of blini is that they can be made ahead of time and stored, allowing you to enjoy them fresh whenever a craving strikes. This makes them excellent for meal prepping or preparing for a large gathering.
Once your blini are cooked, allow them to cool completely. Stacking them while warm can cause them to stick together. To prevent sticking during storage, place a small piece of parchment paper between each blini before stacking them. Then, transfer the stack to a resealable plastic bag or an airtight container.
- Refrigeration: Stored in the refrigerator, blini will remain fresh and delicious for up to 3 days.
- Freezing: For longer storage, blini freeze beautifully for up to 2 months. Ensure they are well-sealed to prevent freezer burn.
When you’re ready to enjoy your stored blini:
- Defrosting: If frozen, thaw the blini on a rack in the refrigerator overnight or at room temperature for a few hours. Thawing on a rack helps prevent condensation from making them soggy. Gently peel them apart once thawed.
- Reheating: The quickest way to reheat blini is in the microwave. Place individual blini on a plate and microwave for about 10-15 seconds each, or until warm and pliable. You can also gently warm them in a dry non-stick pan over low heat for a minute or two per side, or even in a preheated oven (covered with foil) at a low temperature for a few minutes.
Blini (Russian Crepes) Recipe
Ingredients
- 4 medium eggs
- 1 cup whole milk, room temperature
- 1/2 teaspoon salt
- 1/2 tablespoon granulated sugar
- 1 cup all-purpose flour
- 4 tablespoons unsalted butter, divided, for pan
Instructions
- In a medium bowl, whisk together the eggs and milk until well combined.
- Whisk in the salt, sugar, and flour until the batter is smooth and no lumps remain.
- Set the batter aside to rest for at least 15 minutes. This allows the gluten to relax, resulting in more tender blini. Whisk once more just before cooking.
- Warm up a nonstick 10-inch pan over medium heat.
- Melt about 1 teaspoon of butter in the pan. When it starts to foam, ladle in 1/4 cup of batter into the center of the pan.
- Immediately lift the pan from the burner and quickly swirl it so the batter coats the entire bottom of the pan in a thin, even layer.
- Replace the pan on the burner and cook the blini until the batter is just set and the underside is lightly golden, which typically takes about 1 minute.
- Using a spatula or your fingers, gently loosen the sides of the blini and carefully flip it in the pan. Cook for another 45 seconds on the second side.
- Transfer the cooked blini to a plate. Repeat the process, adding another teaspoon of butter as needed, until all the batter is used.
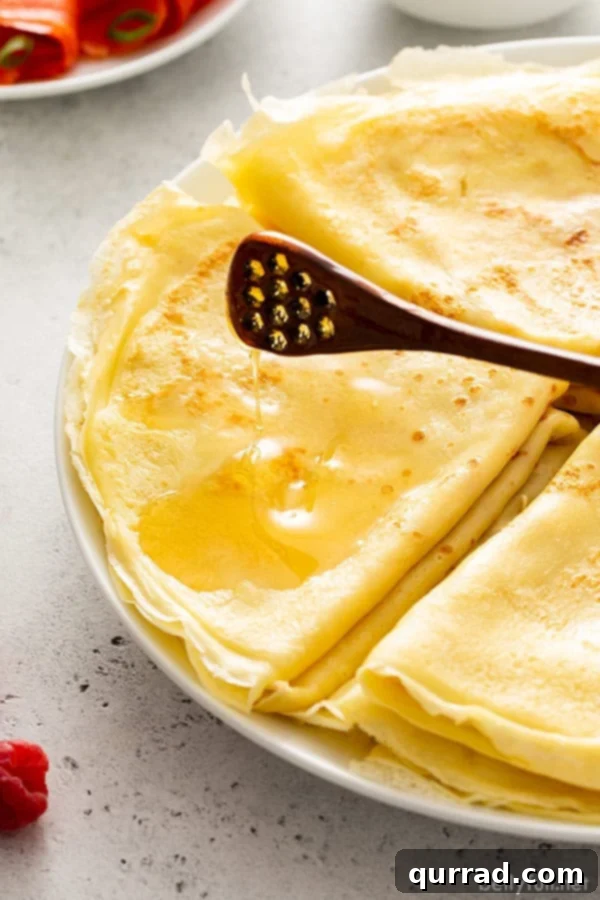
- Serve immediately, either rolled up or folded into quarters, with your favorite sweet or savory toppings.
Notes
For a variety of filling ideas and detailed cooking tips, please refer to the full article above. For visual guidance, consider watching a video tutorial on blini preparation.
To make ahead and store:
- Allow blini to cool completely. Stack them with pieces of parchment paper in between each to prevent sticking.
- Place the stacked blini in a resealable plastic bag or airtight container. They will keep in the refrigerator for up to 3 days, or in the freezer for up to 2 months.
- When defrosting, thaw them on a rack before gently peeling them apart.
- To reheat, microwave each blini for approximately 15 seconds, or gently warm in a pan.
Nutrition
Nutritional information provided is an automatic calculation and may vary based on the exact products used and any modifications made to the recipe. If precise nutritional values are crucial, independent calculation is recommended.
- Calories: 128 kcal
- Carbohydrates: 11g
- Protein: 4g
- Fat: 7g
- Saturated Fat: 4g
- Cholesterol: 80mg
- Sodium: 153mg
- Potassium: 70mg
- Fiber: 1g
- Sugar: 2g
- Vitamin A: 275 IU
- Calcium: 41mg
- Iron: 1mg
I sincerely hope you enjoy creating and savoring this delightful and easy Blini recipe. It’s a wonderful dish that brings a touch of Eastern European charm to any meal. Don’t forget to explore all the topping possibilities and make it your own!