

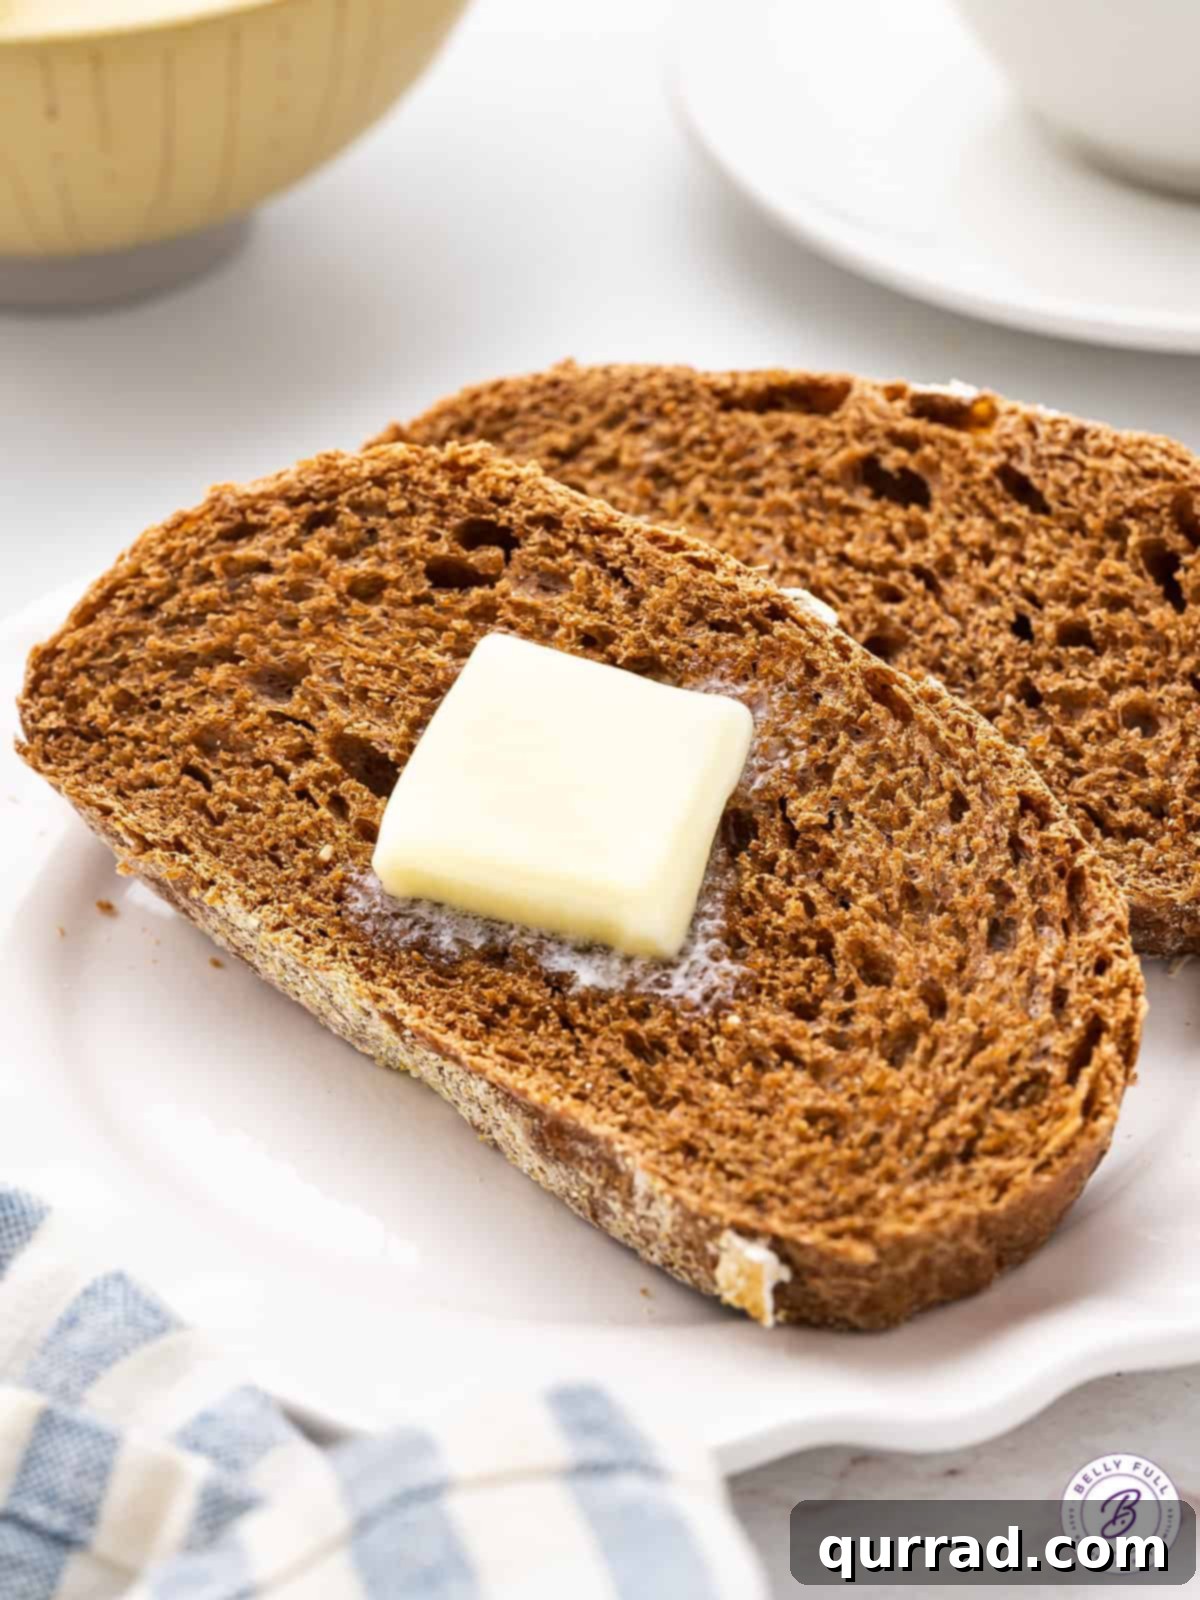
There’s a reason why the bread basket at The Cheesecake Factory is almost as famous as their desserts. That perfectly dark, slightly sweet, and unbelievably tender brown bread has captivated diners for years, often disappearing before the main course even arrives. If you’ve ever wished you could recreate that iconic experience in your own kitchen, your wish is about to come true. This comprehensive guide reveals the secrets to crafting the ultimate Copycat Cheesecake Factory Brown Bread, allowing you to enjoy its unique rich flavor, classic brown color, and delightful texture anytime you desire.
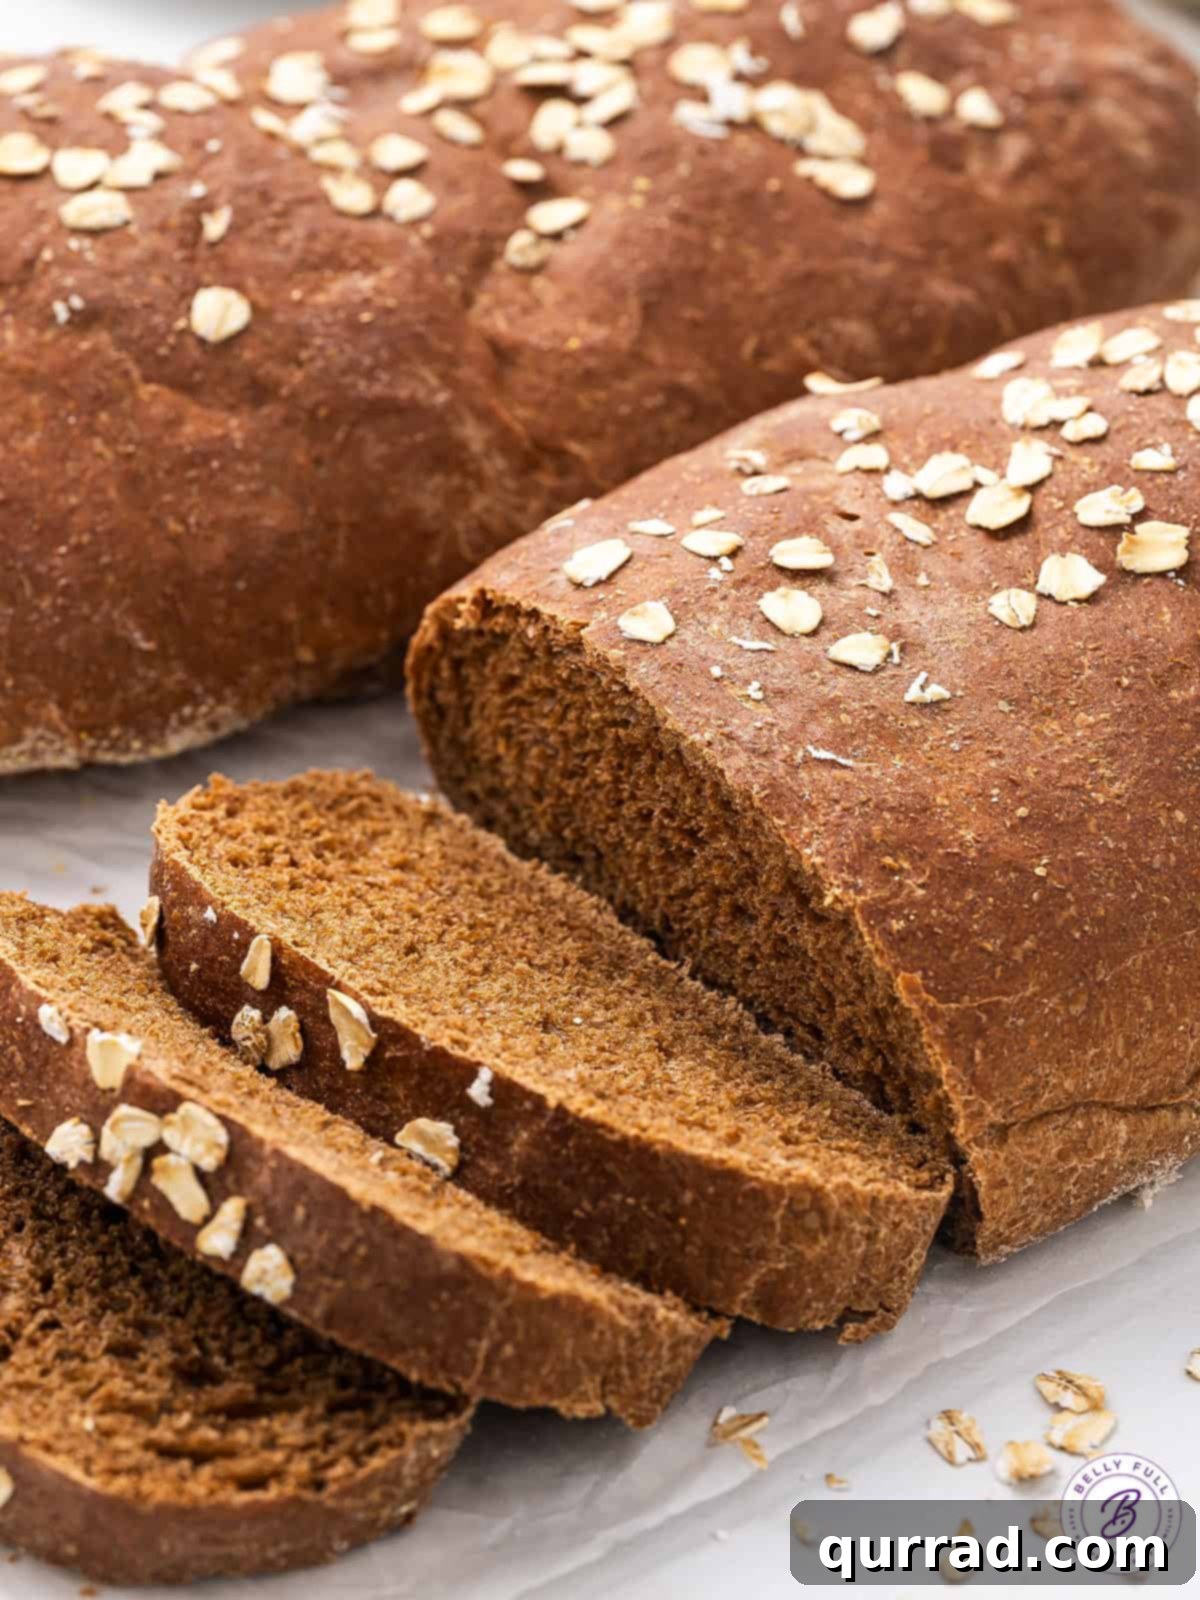
Homemade Copycat Cheesecake Factory Brown Bread: Your New Favorite Recipe
The thought of chocolate and coffee in a savory bread might initially conjure images of a decadent dessert. However, in the world of our beloved Cheesecake Factory brown bread, these unexpected ingredients play a crucial role in achieving its signature depth of flavor and rich, deep brown hue, without making it taste like a sweet treat. They contribute to an unmistakable richness and subtle complexity that distinguishes this bread from any other.
For countless diners, the warm, fragrant basket of brown bread served at the beginning of a meal at The Cheesecake Factory is more than just an appetizer; it’s an experience. The anticipation, the soft chewiness, and that delicate balance of sweetness and earthiness create a lasting impression. Now, you no longer need to visit the restaurant to satisfy that craving. With this meticulously developed copycat recipe, you can effortlessly replicate that exact bread, bringing the beloved restaurant experience right to your home with a few simple, enjoyable steps.
Whether you’re hosting a dinner party, looking for the perfect accompaniment to a family meal, or simply want to indulge in a comforting slice of homemade bread, this recipe is designed for success. It captures the essence of the original, promising to become a cherished addition to your recipe collection.
Why This Copycat Brown Bread Recipe Will Become a Kitchen Staple
Discover what makes this homemade Cheesecake Factory brown bread recipe an absolute must-try:
- Authentic Cheesecake Factory Copycat: This recipe isn’t just inspired by the original; it’s a dedicated replica. From the bread’s distinctive dark color and light, airy texture to its uniquely rich and subtly sweet flavor, every aspect has been carefully honed to mirror the iconic loaves served at The Cheesecake Factory. You’ll be amazed at how close it is to the real deal, perhaps even surpassing it with the added warmth and freshness of homemade goodness.
- Surprisingly Straightforward Process: Don’t let the idea of homemade yeast bread intimidate you. While this recipe does require patience for two essential rising periods, the actual hands-on preparation is incredibly simple and easy to follow. We’ve broken down each step to ensure a smooth, enjoyable baking experience, perfect for both novice and experienced bakers. The result is a truly rewarding creation that tastes far more complex than the effort it demands.
- Excellent for Freezing: This recipe yields two generous loaves of bread, which means double the deliciousness! While we have no doubt you’ll find it hard to resist devouring both fresh from the oven, they freeze beautifully. This makes it ideal for meal prepping, ensuring you always have a comforting loaf on hand for unexpected guests or simply to savor later. Just thaw, warm gently, and enjoy that fresh-baked taste all over again.
- Impressive for Guests: Imagine the delight on your guests’ faces when you present them with a basket of this familiar, much-loved brown bread. It’s a fantastic conversation starter and a testament to your culinary prowess, sure to earn you rave reviews.
- Perfect Pair for Any Meal: This versatile bread complements a wide array of dishes, from hearty soups and stews to elegant pasta dishes or even just a simple spread of butter. Its unique flavor profile enhances, rather than overwhelms, other culinary delights.
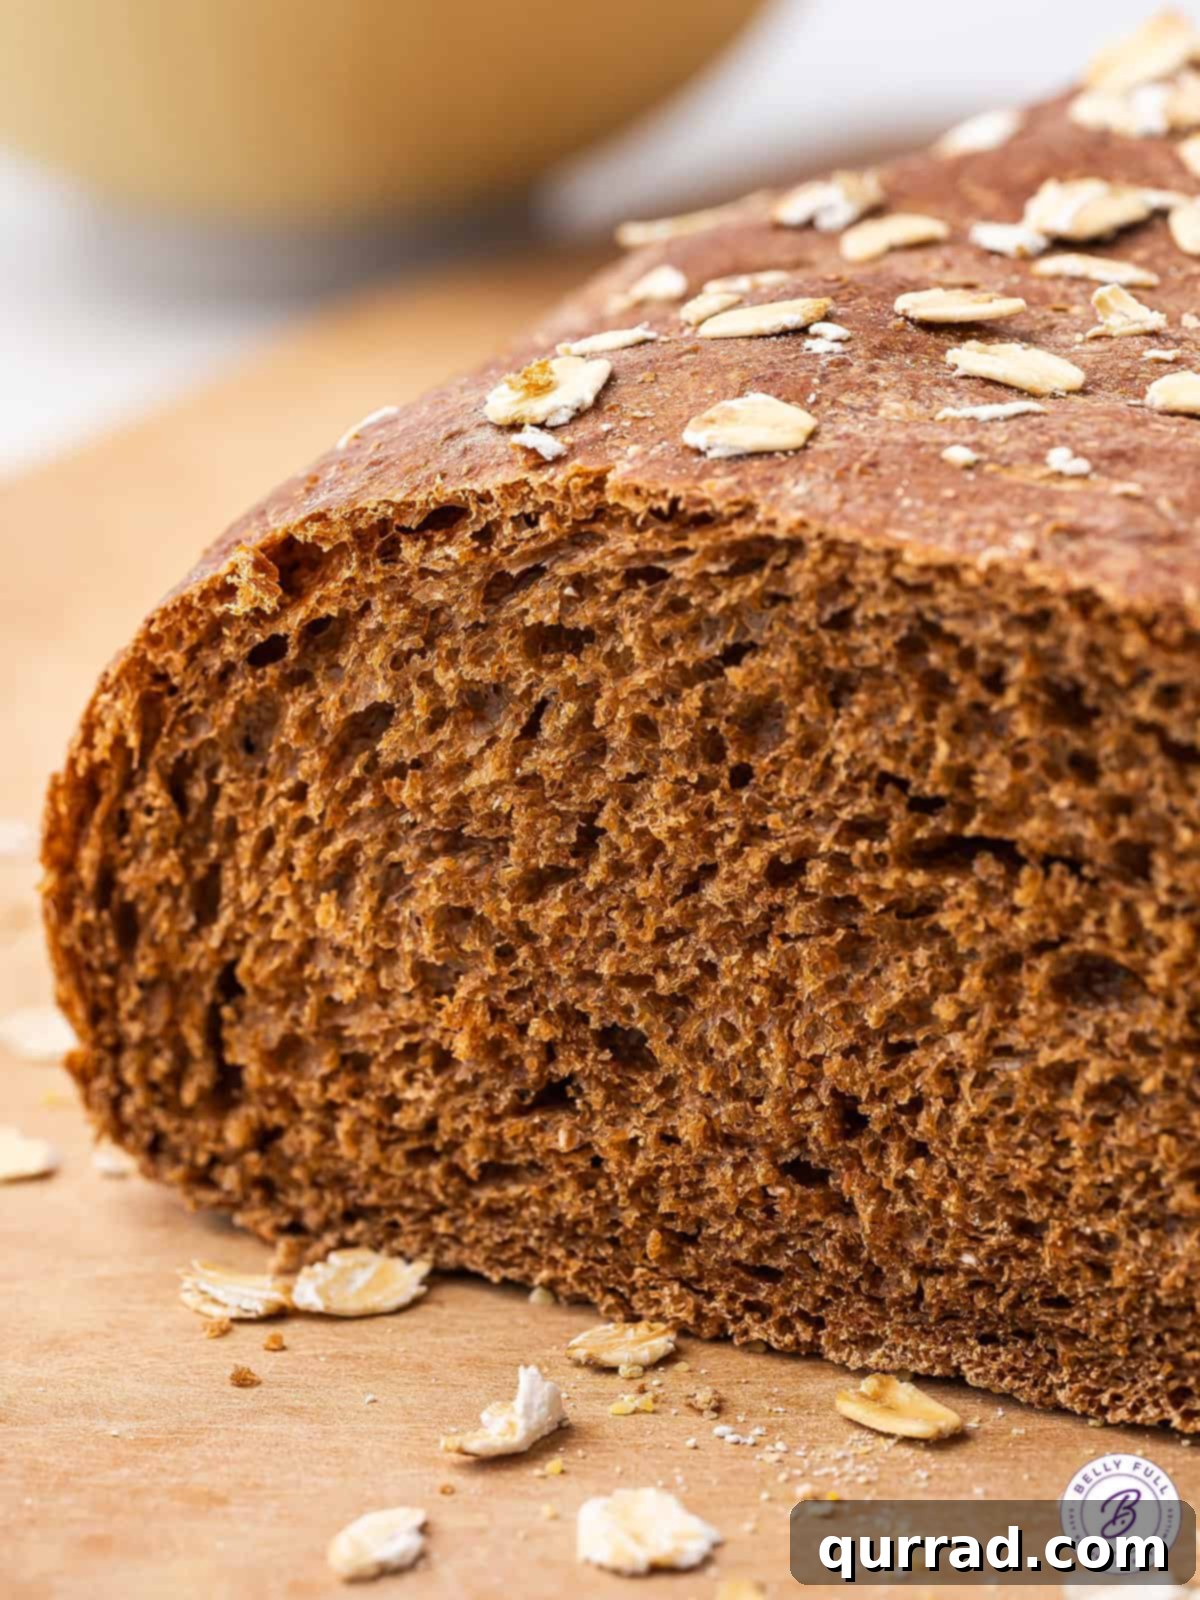
Essential Ingredients for Perfect Brown Bread
Crafting this iconic bread relies on a specific blend of ingredients, each playing a vital role in achieving its signature flavor, color, and texture. While some might seem unusual for bread, trust the process – they are key to its authentic taste. (For precise measurements, refer to the printable recipe card below.)
- Warm Water: Crucial for activating the yeast, the water temperature for your starter must be precisely between 105 – 110 degrees Fahrenheit. Water that’s too cold won’t activate the yeast, and water that’s too hot will kill it. A good thermometer is your best friend here, ensuring a robust rise for your bread.
- Active Dry Yeast: The leavening agent that gives our bread its wonderful lift and airy texture. Always check the expiration date on your yeast packet; old or expired yeast won’t foam or “bloom,” indicating it’s no longer active and won’t make your bread rise. Fresh yeast ensures a light and fluffy loaf.
- Molasses, Honey, and Brown Sugar: This trio of sweeteners is fundamental to the bread’s distinct, rich flavor and characteristic dark brown color. Molasses, in particular, contributes a deep, complex sweetness and the intense dark hue, while honey and brown sugar add subtle caramel notes and moisture.
- Instant Coffee Powder: This might be the most surprising ingredient, but rest assured, your bread will not taste like coffee! Its purpose is twofold: it deepens the brown color even further and, more importantly, enhances the overall richness and complexity of the bread’s flavor profile, without imparting a distinct coffee taste.
- Unsalted Butter: Melted butter adds a beautiful richness, tenderness, and moisture to the dough, contributing to that melt-in-your-mouth quality characteristic of the Cheesecake Factory’s bread. Using unsalted butter allows you to control the total salt content in the recipe.
- Whole Wheat Flour and All-Purpose Flour: A blend of flours is essential for achieving the perfect balance of texture. Whole wheat flour provides a rustic heartiness and nutritional value, while all-purpose flour contributes to the bread’s light and tender crumb. Accurate measurement is key here: always spoon your flour into the measuring cup and level it off with a straight edge, rather than scooping directly, to avoid a dense, heavy loaf.
- Unsweetened Cocoa Powder: Similar to coffee powder, cocoa powder primarily serves to enhance the bread’s deep brown color. It also adds a very subtle, earthy undertone that complements the other flavors without making the bread taste overtly chocolaty. It’s a secret ingredient for that dark, inviting appearance.
- Salt: A fundamental ingredient in all baking, salt isn’t just for seasoning; it balances and enhances all the other flavors, and also plays a role in regulating yeast activity and strengthening gluten structure.
- Cornmeal: Used for dusting the baking sheet, cornmeal serves multiple purposes. It prevents the dough from sticking, adds a lovely rustic touch to the bottom crust, and contributes a subtle texture contrast.
- Rolled Oats: Sprinkled on top of the loaves before baking, rolled oats add a delightful visual appeal and a pleasant, slightly chewy texture to the crust, mirroring the restaurant’s presentation.
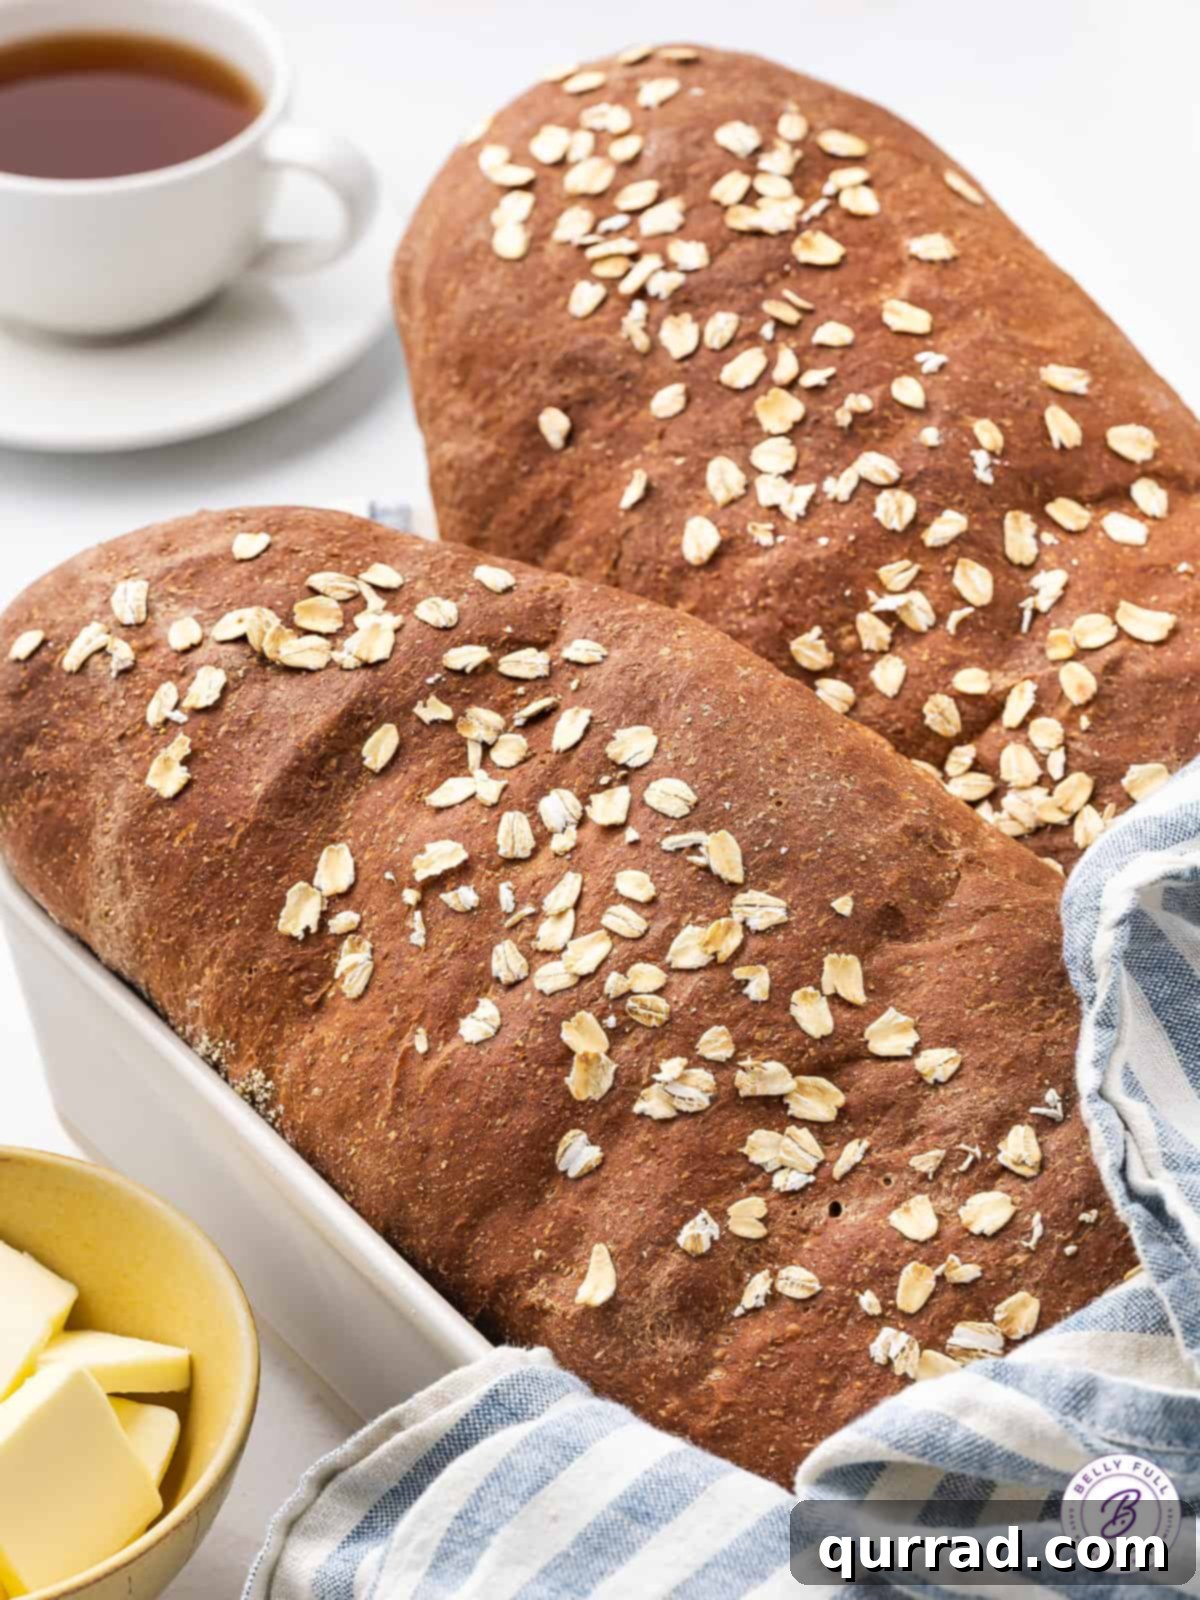
Step-by-Step Guide: How To Make Copycat Cheesecake Factory Brown Bread
While this recipe does involve two important rising periods, making this delicious brown bread is surprisingly straightforward and incredibly rewarding. Follow these detailed instructions to achieve perfect results every time. (For a quick overview and a video tutorial, please refer to the recipe card below.)
- Prepare the Yeast (The Starter): In the bowl of your stand mixer (or a large mixing bowl if kneading by hand), combine the precisely warm water (105-110°F), a tablespoon of brown sugar (taken from the total amount), and your active dry yeast. Gently stir to dissolve the yeast and sugar. Allow this mixture to sit undisturbed for 5-10 minutes. You’ll know the yeast is active and healthy when a foamy, creamy layer forms on the surface – this is called “blooming” and indicates your yeast is ready to work its magic.
- Assemble the Wet Ingredients: Once your yeast has bloomed, add the molasses, honey, the remaining brown sugar, instant coffee powder, and the melted unsalted butter to the yeast mixture in the stand mixer bowl. Stir gently with a spoon or spatula until these ingredients are well incorporated.
- Combine Dry Ingredients: In a separate, medium-sized bowl, whisk together the whole wheat flour, all-purpose flour, unsweetened cocoa powder, and salt. Whisking ensures an even distribution of all dry ingredients.
- Form the Dough: Gradually add the combined dry flour mixture to the wet yeast mixture in the stand mixer. Attach the dough hook to your stand mixer and begin kneading on low speed. Mix until all the flour is incorporated and the ingredients just come together to form a shaggy dough. Scrape down the sides of the bowl as needed.
- Knead the Dough for Development: Increase the mixer speed to medium. Continue to knead the dough for 6-8 minutes. During this time, the dough will transform from shaggy to smooth, elastic, and slightly tacky but not sticky. To test for proper kneading, perform the “windowpane test”: pinch a small piece of dough and gently stretch it. If it stretches thin enough to see light through it without tearing, your gluten has developed sufficiently.
- First Rise: Lightly grease a clean, large bowl with a little oil or cooking spray. Transfer the kneaded dough to this greased bowl, turning it once to coat all sides. Cover the bowl tightly with plastic wrap or a clean kitchen towel. Place the bowl in a warm, draft-free spot in your kitchen. Allow the dough to rise for approximately 2 hours, or until it has visibly doubled in size. This slow rise is crucial for flavor development.
- Shape the Loaves: Gently punch down the risen dough to release the air. Transfer the dough to a lightly floured surface. Divide the dough into two equal portions. Take each portion and gently shape it into a tight log, then further refine it into the classic baguette-style loaves that are typically served at The Cheesecake Factory. Prepare a baking sheet by dusting it generously with cornmeal. Carefully place your two shaped loaves onto the prepared baking sheet, ensuring they have enough space between them to rise without touching.
- Second Rise (Proofing): Lightly brush the tops of the shaped loaves with a little water. This helps the oats stick and creates a slightly crispier crust. Generously sprinkle rolled oats over the wet surface of each loaf. Cover the loaves loosely with a clean kitchen towel or plastic wrap. Let them rise again in a warm place for another 40-45 minutes, or until they look visibly puffy and almost doubled in size again. This second rise, known as proofing, ensures a light and airy final texture.
- Bake to Perfection: While the loaves are on their second rise, preheat your oven to 350 degrees Fahrenheit (175 degrees Celsius). Once preheated and the loaves have finished their second rise, place the baking sheet into the preheated oven. Bake both loaves for 25-30 minutes. The bread is done when it has achieved a beautiful golden-brown crust and sounds hollow when tapped gently on the bottom. An instant-read thermometer inserted into the center should read around 200-210°F (93-99°C).
- Cool Before Slicing: Transfer the freshly baked loaves immediately to a wire rack to cool completely. Resist the temptation to slice into them right away! Cooling allows the internal structure of the bread to set and prevents a gummy texture. Once cooled to room temperature, slice generously and prepare to enjoy your homemade Copycat Cheesecake Factory Brown Bread.
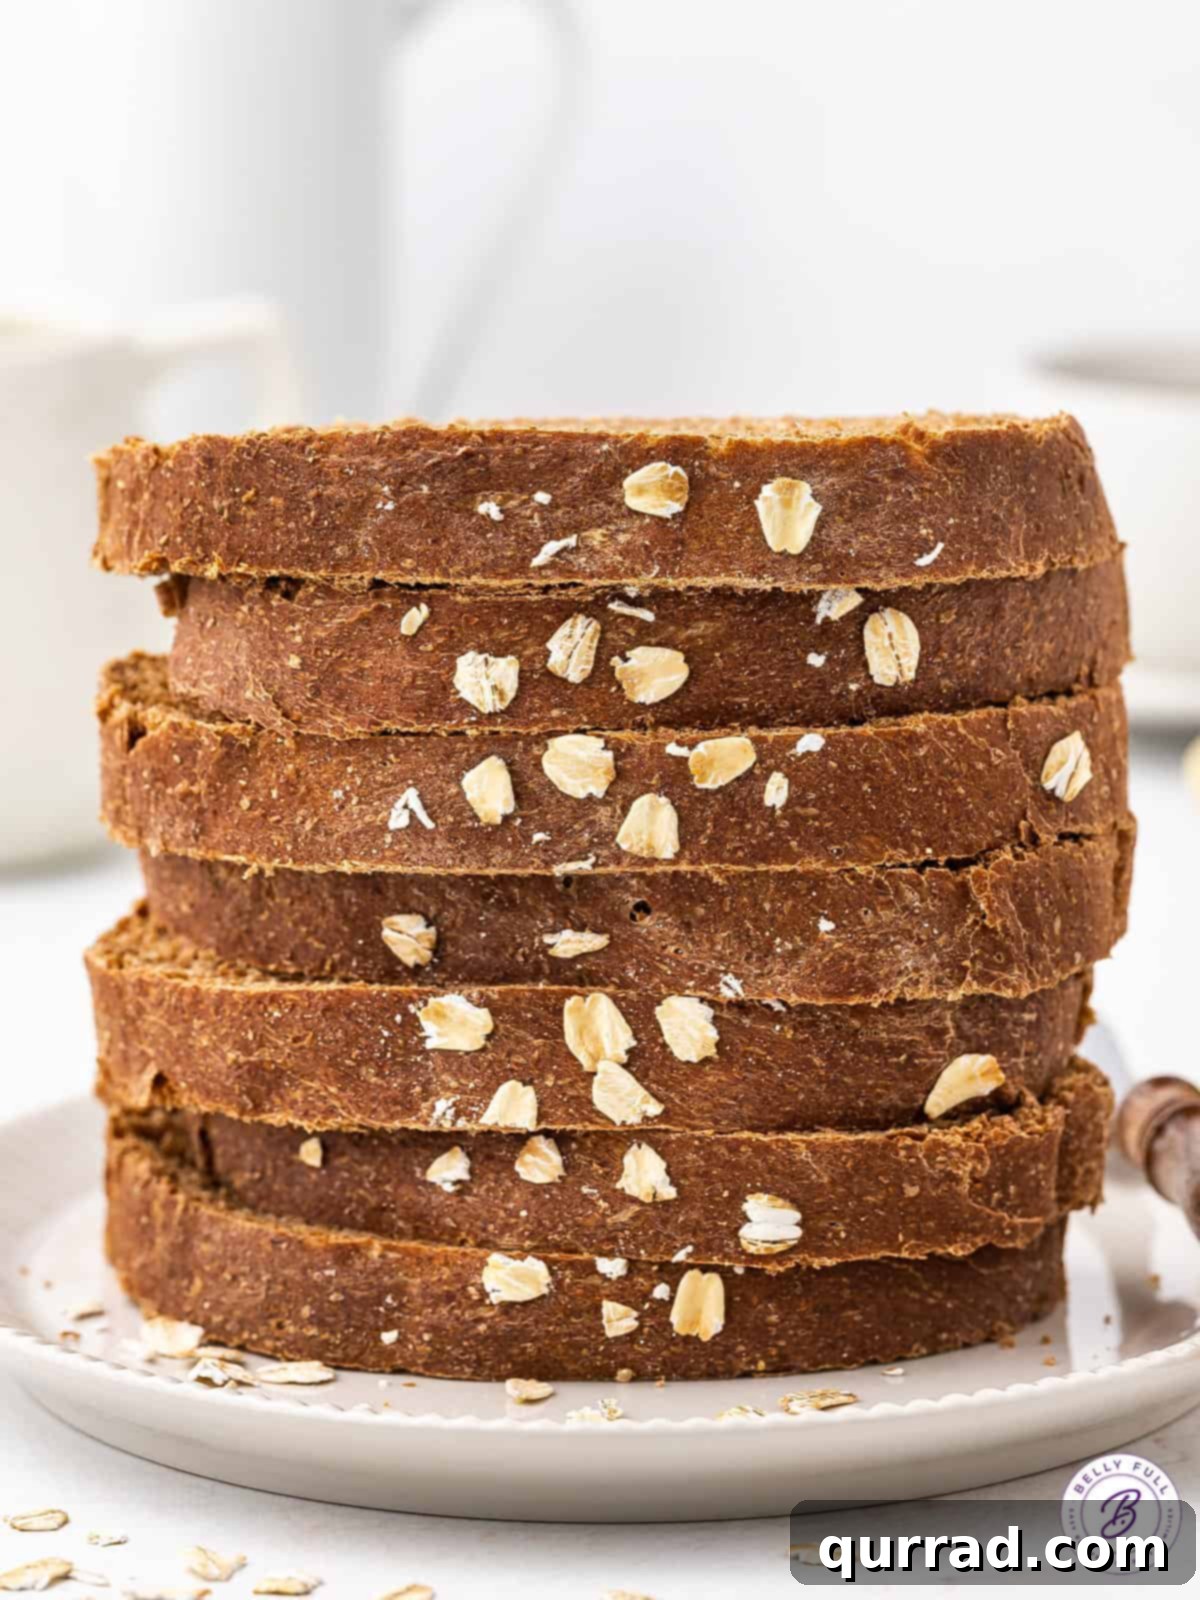
Pro Tips for Achieving Bakery-Quality Brown Bread
Even with a straightforward recipe, a few expert tips can elevate your baking from good to truly exceptional. Here’s how to ensure your copycat Cheesecake Factory brown bread turns out perfectly every time:
- Temperature is Key for Yeast Activation: As mentioned, the water for your yeast starter must be warm, not hot or cold. The ideal range is 105 – 110 degrees Fahrenheit (40-43°C). Use a kitchen thermometer to confirm the temperature. Too cold, and the yeast won’t activate; too hot, and it will die. This precision is absolutely crucial for a proper, active yeast and a good rise in your bread.
- Patience During Rising is a Virtue: The two rising periods are not mere suggestions; they are fundamental to the bread’s light and airy texture, as well as its flavor development. Always allow the dough to rise until it genuinely doubles in size, both during the initial bulk fermentation and the second rise after shaping the loaves. If your kitchen is cool, place the dough in a slightly warmer spot, like a turned-off oven with the light on, or near a sunny window. Don’t rush these stages.
- Flour Measurement Matters: When measuring your flours (both whole wheat and all-purpose), always use the “spoon and level” method. Gently spoon the flour into your measuring cup until it’s overflowing, then use the back of a knife or a straight edge to level off the excess. Never scoop directly from the bag with the measuring cup, as this compacts the flour and can add significantly more than intended, leading to a dense, dry bread.
- Substituting Bread Flour: You can indeed substitute bread flour for all-purpose flour in this recipe. However, be mindful that bread flour has a higher protein content, which means it absorbs more water and develops stronger gluten. This will result in a slightly chewier texture for your bread, which some prefer. If you make this substitution, you might need to adjust the amount of water slightly, adding a tablespoon or two more as needed, until the dough reaches the correct consistency (smooth and elastic).
- Kneading by Hand (No Stand Mixer? No Problem!): If you don’t have a stand mixer with a dough hook, you can absolutely knead the dough by hand. Transfer the dough to a lightly floured surface after combining the ingredients. Knead consistently for a longer period, typically 15-20 minutes, until the dough becomes smooth, elastic, and passes the windowpane test (as described in step 5 of the instructions). This is a great workout and connects you more intimately with the bread-making process!
- Knowing When Your Bread is Done: Beyond the visual cue of a golden-brown crust, there are two reliable indicators for doneness. First, gently tap the bottom of a loaf; if it sounds hollow, it’s likely done. Second, and most accurate, is an internal temperature check. An instant-read thermometer inserted into the center of a loaf should register between 200-210°F (93-99°C) for perfectly baked bread.
- Proper Cooling is Essential: Always allow your loaves to cool completely on a wire rack before slicing. Slicing warm bread can lead to a gummy texture, as the internal starches are still setting. Patience here will be rewarded with the best texture.
Video: Learn to Bake Cheesecake Factory Brown Bread
Watch our step-by-step video tutorial to guide you through the process of making this delightful brown bread. Visual learners will find this extremely helpful!
Serving Suggestions for Your Homemade Brown Bread
The beauty of this copycat Cheesecake Factory brown bread lies in its versatility. While it’s absolutely divine enjoyed simply at room temperature or slightly warm with a generous smear of softened butter, its unique flavor profile makes it a fantastic accompaniment to a wide variety of meals, just like at the restaurant itself, which famously offers an expansive menu. Consider pairing it with:
- Hearty Entrees: Its subtle sweetness and rich depth beautifully complement savory dishes like pork medallions, succulent apricot chicken, classic baked chicken breast, or a perfectly cooked steak.
- Soups and Salads: Serve it alongside a comforting bowl of soup or a crisp, fresh salad for a complete and satisfying meal. The bread’s texture is ideal for soaking up broths and dressings.
- Breakfast or Brunch: A slice of this brown bread, toasted and spread with cream cheese or jam, makes for a delightful breakfast or brunch item.
- Sandwiches: Its sturdy yet tender crumb holds up well to fillings, making it an excellent choice for unique sandwiches.
Proper Storage for Lasting Freshness
To ensure your homemade brown bread stays fresh and delicious for as long as possible, proper storage is key:
- Room Temperature (Short-Term): For enjoyment within 2-3 days, store the whole loaf or individual slices in an airtight container or wrap them tightly in plastic wrap, then an additional layer of aluminum foil. This prevents the bread from drying out. Keep it in a cool, dry place away from direct sunlight.
- Refrigeration (Medium-Term): If you need to store the bread for up to one week, refrigeration is a good option. Wrap it well to prevent it from absorbing refrigerator odors. While it can prolong freshness, refrigeration can sometimes alter the texture slightly, making it a bit firmer. A quick toast or reheat will bring back its softness.
- Freezer (Long-Term): For longer storage, this bread freezes exceptionally well for up to 3 months. Ensure the loaves are completely cooled before wrapping them tightly in plastic wrap, then a layer of aluminum foil, and finally placing them in a freezer-safe bag or container. This triple-layer protection guards against freezer burn. To enjoy, simply thaw at room temperature, then warm gently in the oven or microwave for that fresh-baked taste and texture.
Explore More Delicious Homemade Bread Recipes
If you’ve enjoyed baking this Copycat Cheesecake Factory Brown Bread, we encourage you to expand your baking repertoire with these other fantastic homemade bread recipes:
- Homemade White Bread
- Dutch Oven Bread
- Challah Bread
- Easy Homemade Pizza Dough
- Simple Focaccia Bread with Pesto
We truly hope you adore this flavorful and straightforward recipe. Please consider leaving a review below to share your experience! And don’t forget to connect with Belly Full on TikTok, Facebook, Instagram, Pinterest, and YouTube for more delicious recipes and culinary inspiration!
Cheesecake Factory Brown Bread
30 minutes
30 minutes
2 hours
45 minutes
3 hours
45 minutes
20
slices (2 loaves)
Pin
Ingredients
-
1 & 1/2
cups
warm water,
(105-110 F) -
1
packet
active dry yeast -
3
tablespoons
molasses -
2
tablespoons
honey -
2
tablespoons
brown sugar -
1 & 1/2
teaspoons
instant coffee powder -
2
tablespoons
unsalted butter,
, melted -
2
cups
whole wheat flour -
2 & 1/4
cups
all-purpose flour,
, spooned and leveled -
1/4
cup
unsweetened cocoa powder -
1
teaspoon
salt -
cornmeal,
(for dusting) -
1/4
cup
water -
1/4
cup
rolled oats -
1/4
cup
softened butter,
(for serving)
Instructions
-
In the bowl of a stand mixer, combine warm water, brown sugar, and active dry yeast. Allow it to sit for 5-10 minutes until frothy.
-
Stir in the molasses, honey, instant coffee powder, and unsalted butter to the yeast mixture.
-
In a medium bowl, whisk wheat flour, all-purpose flour, cocoa powder, and salt. Add this flour mixture to the yeast mixture.
-
Use the dough hook attachment to knead the mixture on low speed until well combined. Increase the speed to medium and knead the dough for 6 – 8 minutes until it becomes smooth and elastic.
-
Transfer the dough to a greased bowl, cover it with a kitchen towel or plastic wrap, and let it rise in a warm place for 2 hours or until it doubles in size.
-
Punch down the risen dough and divide it into two equal portions.
-
Form each portion into a log, and then shape them into baguette-style loaves. Place them on a baking sheet dusted with cornmeal.
-
Gently brush the tops of the loaves with water and sprinkle rolled oats on them for a textured coating. Cover the loaves with a kitchen towel and let them rise for another 40 – 45 minutes.
-
Preheat your oven to 350 F degrees Fahrenheit.
-
Bake the loaves in the preheated oven for 25-30 minutes or until they sound hollow when tapped on the bottom.
-
Allow the loaves to cool on a wire rack before slicing. Serve with softened butter and enjoy.
Video
Notes
You can knead the dough by hand instead of using a stand mixer, if necessary. It should take from 15 – 20 minutes to knead on a floured surface until the dough is smooth and elastic.
How do I know when brown bread is done? The loaves are done when they have a golden-brown crust and sound hollow when tapped on the bottom. Use a toothpick or skewer, if it comes out clean when inserted into the center, the bread is fully baked.
Nutrition
Serving:
1
slice
|
Calories:
150
kcal
|
Carbohydrates:
26
g
|
Protein:
4
g
|
Fat:
4
g
|
Saturated Fat:
1
g
|
Polyunsaturated Fat:
1
g
|
Monounsaturated Fat:
2
g
|
Trans Fat:
0.05
g
|
Cholesterol:
3
mg
|
Sodium:
147
mg
|
Potassium:
133
mg
|
Fiber:
2
g
|
Sugar:
5
g
|
Vitamin A:
138
IU
|
Vitamin C:
0.02
mg
|
Calcium:
17
mg
|
Iron:
1
mg
Nutritional information given is an automatic calculation and can vary based on the exact products you use and any changes you make to the recipe. If these numbers are very important to you, I would recommend calculating them yourself.
Did you make this? Leave a rating below!