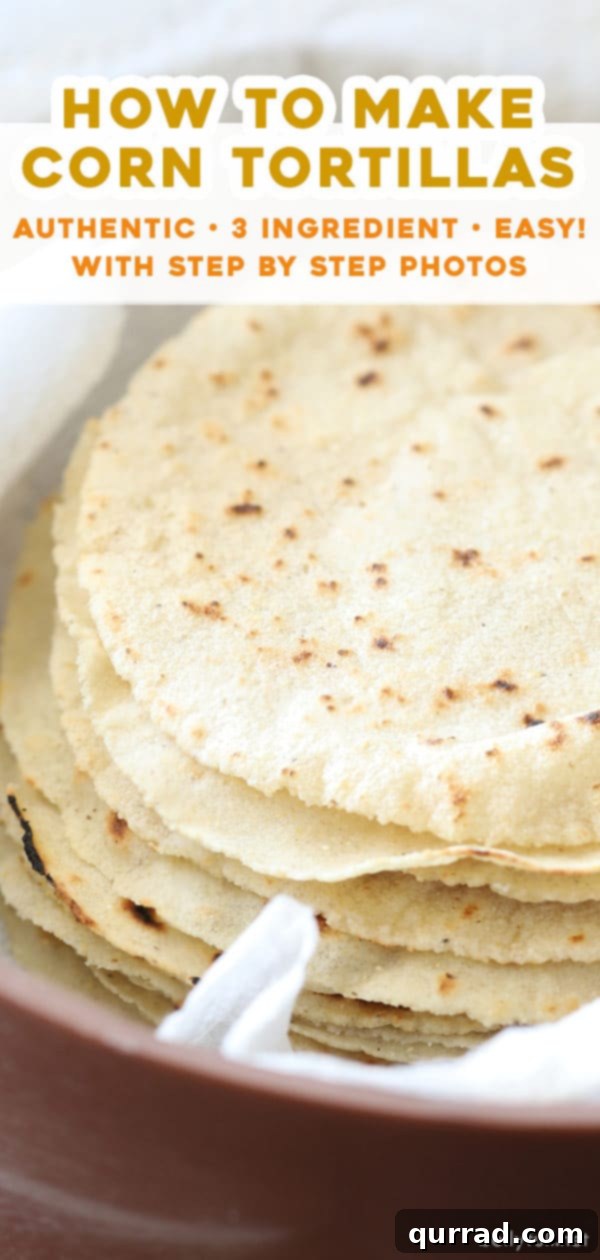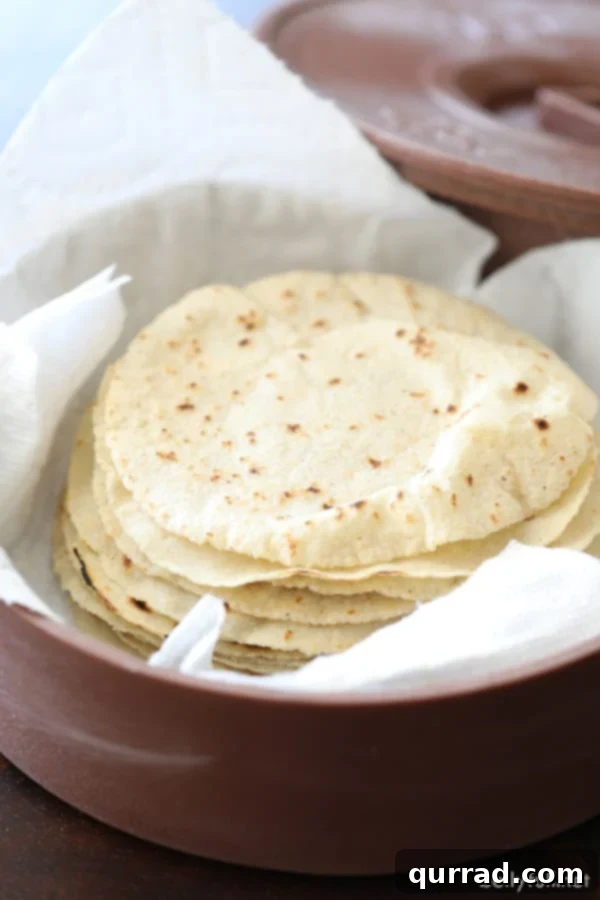
If you’ve ever dreamt of elevating your taco nights or simply craving the unparalleled freshness of authentic Mexican cuisine, then learning to make homemade corn tortillas from scratch is an absolute must! Forget the rigid, often bland, store-bought alternatives; these traditional tortillas are a revelation in flavor, texture, and pure culinary satisfaction. Our step-by-step guide will demystify the process, showing you just how easy, healthy, and incredibly rewarding it is to craft these golden disks of deliciousness in your own kitchen. Prepare to take your meals to an entirely new level!
Why Homemade Corn Tortillas Are a Game Changer
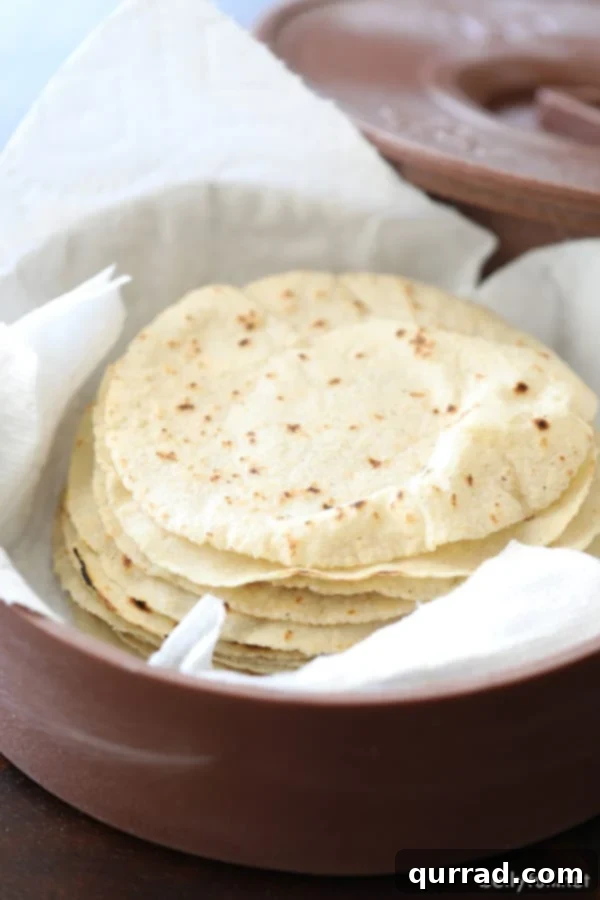
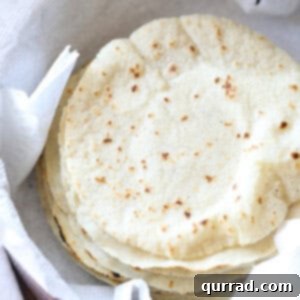
There’s a vast difference between the mass-produced, packaged tortillas found in most grocery stores and a warm, pliable, fragrant corn tortilla made fresh off your griddle. The aroma alone is enough to transport you straight to a bustling Mexican kitchen! Homemade tortillas offer a superior taste, a softer yet resilient texture, and an incomparable freshness that simply cannot be replicated. Once you experience the real deal, there’s no going back.
Beyond their incredible flavor, homemade corn tortillas are surprisingly easy to make, especially after a couple of practice runs. They serve as the perfect, authentic base for a myriad of Mexican dishes. Imagine them cradling succulent tacos, crisp taquitos, hearty Mexican Lasagna layers, or even wrapping tender Cuban pork. Not only are they low in calories (unless, of course, you can’t resist eating thirty!), but they are also naturally gluten-free, providing an excellent alternative for those who need to avoid flour tortillas without sacrificing flavor or authenticity.
The Simple Ingredients You’ll Need
Making traditional corn tortillas requires surprisingly few ingredients, focusing on quality and technique. You truly only need two core components to get started, though one optional addition can elevate the flavor:
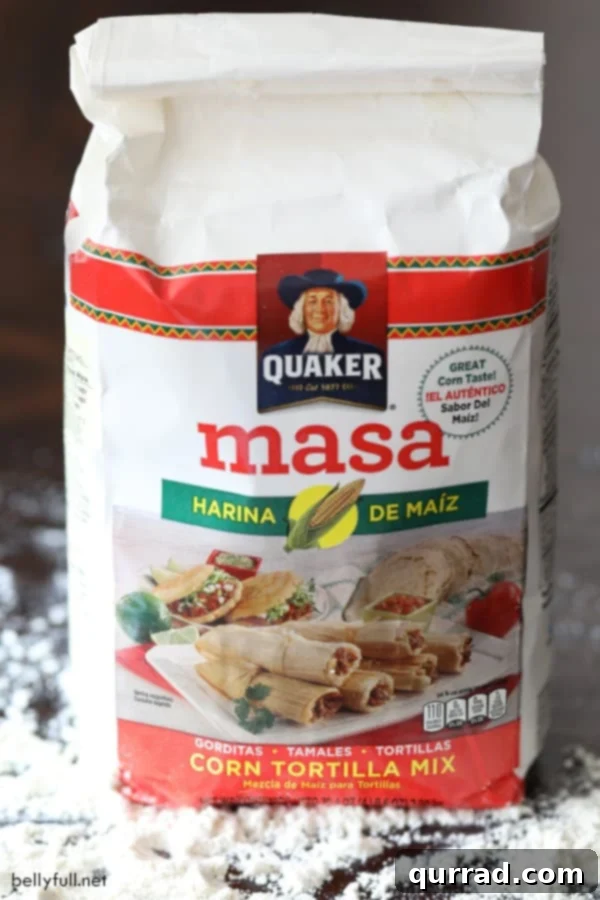
- Masa Harina: This is the star of the show. More on this crucial ingredient below!
- Hot Water: The temperature of the water is important for proper hydration and dough consistency.
- Salt (Optional, but Recommended): A pinch of salt enhances the natural corn flavor, adding a subtle depth that makes a noticeable difference.
What Exactly Is Masa Harina? The Secret to Authentic Tortillas
Masa harina isn’t just any corn flour; it’s a very special ingredient essential for authentic corn tortillas. While it might look similar to finely ground cornmeal, their origins and properties are entirely different. The magic lies in a traditional process called nixtamalization.
During nixtamalization, dried corn kernels are cooked and soaked in an alkaline solution, typically limewater (calcium hydroxide). This process transforms the corn in several ways: it softens the kernels, releases their natural nutrients (like niacin, making them more digestible), and fundamentally changes their flavor and texture profile. Once treated, the corn is ground into a moist dough called “masa.” Masa harina is simply this masa, dried and ground back into a fine flour, ready to be reconstituted with water.
Important: Cornmeal or regular corn flour cannot be substituted for masa harina. Attempting to do so will result in dry, crumbly tortillas that lack the characteristic pliable texture and rich flavor of genuine corn tortillas. The nixtamalization process is what gives masa harina its unique binding qualities and distinctive taste.
Where to Find Masa Harina
Despite its specialized nature, masa harina is not difficult to find. You’ll typically have luck at:
- Latin American Grocery Stores: These are your best bet for a variety of brands and often the freshest stock.
- Major Grocery Store Chains: Many large supermarkets carry masa harina, usually located in the baking aisle alongside other flours, or in the ethnic foods section. Popular brands like Maseca or Bob’s Red Mill are often available.
- Online Retailers: If you’re struggling to find it locally, online platforms like Amazon offer numerous options.
Essential Tools for Tortilla Making
While minimal, having the right tools makes the tortilla-making process significantly smoother and more enjoyable:
- Tortilla Press: Highly recommended! A tortilla press makes flattening the dough balls quick and effortless, ensuring consistent thickness. Cast iron presses are durable and provide excellent leverage.
- Large Mixing Bowl: For combining your masa harina, water, and salt.
- Measuring Cups and Spoons: For accurate ingredient ratios.
- Clean Tea Towels: Essential for covering the dough to prevent it from drying out and for keeping cooked tortillas warm.
- Plastic Bags or Parchment Paper: Crucial for preventing dough from sticking to the tortilla press and for easy removal. Gallon-size freezer bags, cut along the seams, work perfectly.
- Griddle or Nonstick Skillet (Comal): A flat, even heating surface is key for cooking the tortillas. A traditional cast iron comal is ideal, but a good quality nonstick skillet or electric griddle works just as well.
How to Make Homemade Corn Tortillas: A Step-by-Step Guide
Once you’ve gathered your masa harina and a reliable tortilla press, you’re ready to embark on this culinary adventure. The dough comes together in mere minutes, and the cooking process is quick. (The complete printable recipe with precise measurements is provided in the recipe card below.)
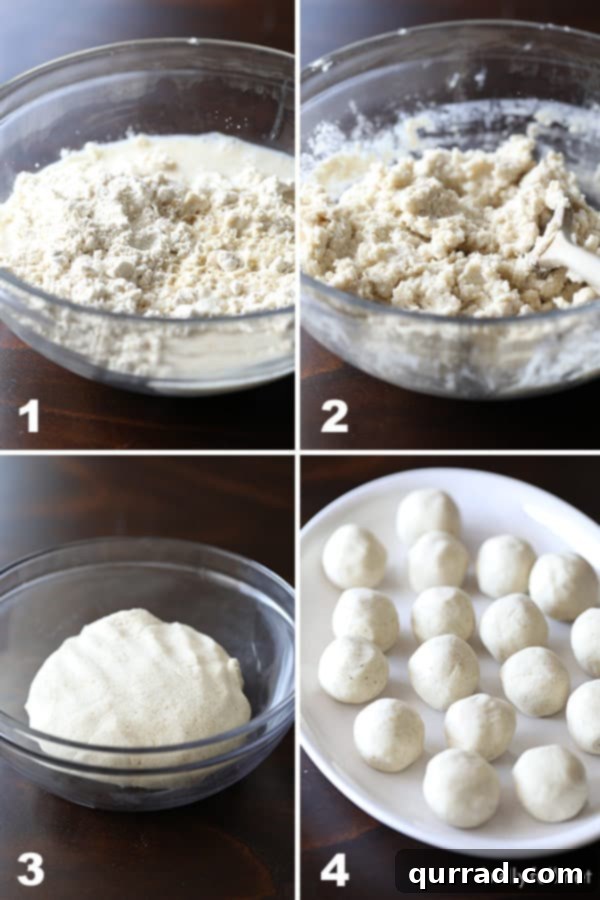
1. Prepare the Dough: In a large mixing bowl, combine the masa harina and the optional salt. Gradually add hot water, following the package directions for your specific masa harina brand, as water amounts can vary slightly. Start with the lower end of the recommended water, as you can always add more if needed.
2. Mix and Knead: Use a sturdy wooden spoon or your hands to mix the ingredients until all the water is absorbed and a shaggy dough forms. Transfer the dough to a clean surface and knead it gently for a few minutes, just as you would bread dough. Initially, it might feel a little gritty, but with kneading, it will become smooth, pliable, and slightly springy, much like Play-Doh. Form the dough into a large ball.
3. Rest the Dough: Return the dough ball to the bowl, cover it with a clean tea towel, and let it rest for approximately 5 minutes. This resting period allows the masa harina to fully hydrate, resulting in a more pliable and less sticky dough. If at any point the dough feels too dry and crumbly, add a teaspoon of water at a time and knead until smooth. If it feels too wet and sticky, add a pinch of masa harina.
4. Form the Dough Balls: Pinch off a piece of the masa dough, roughly the size of a large golf ball. Roll it between your palms to form a smooth, uniform sphere. You should aim to get about 18 equally sized balls from this recipe.
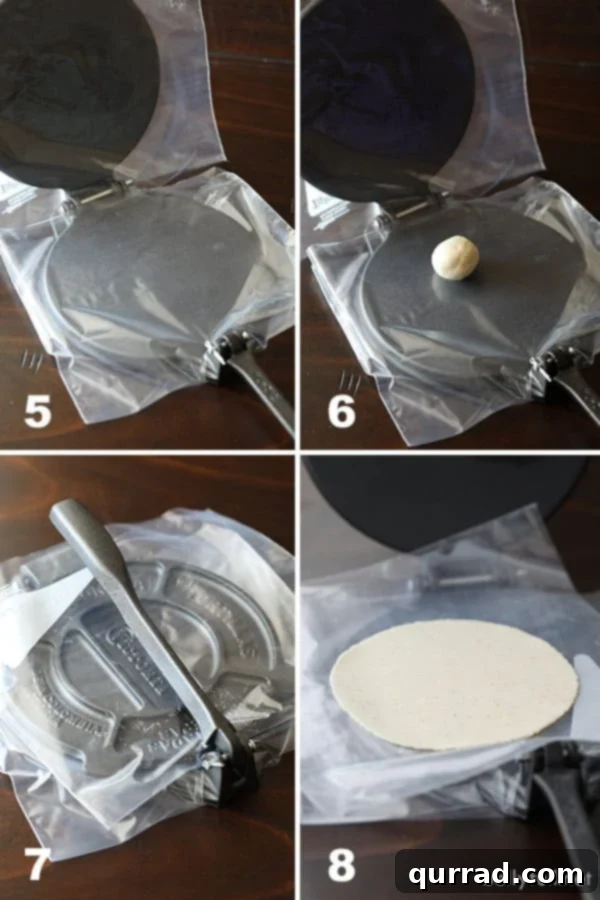
5. Prepare the Tortilla Press: Take a gallon-size freezer bag and cut along its seams so it opens into two separate square or rectangular pieces of plastic. Lay one piece of plastic onto the bottom plate of your tortilla press.
6. Position the Dough: Place a masa dough ball slightly off-center on the plastic, closer to the closing hinge of the press. This helps ensure an even, round tortilla. Cover the dough ball with the second piece of plastic.
7. Press the Tortilla: Gently close the top plate of the tortilla press and apply firm, even pressure to flatten the dough. The goal is to create a tortilla about 4 to 5 inches in diameter and uniformly thin. Avoid pressing too hard, which can make the edges overly thin or crack the tortilla.
8. Remove the Tortilla: Carefully open the tortilla press. Peel away the top piece of plastic, then gently lift the tortilla from the bottom plastic sheet onto the palm of your hand. If the dough sticks excessively, it might be too wet; try adding a tiny bit more masa harina to your dough batch or re-kneading. If it cracks, it’s likely too dry; add a few drops of water.
9. Cook the Tortillas: Heat a griddle or nonstick skillet over medium-high heat until hot (a drop of water should sizzle and evaporate quickly). You can either flatten one dough ball at a time and cook it immediately, or flatten all the balls first and stack them on a plate separated by parchment paper, then cook them in batches. Immediately transfer the pressed tortilla onto the hot cooking surface.
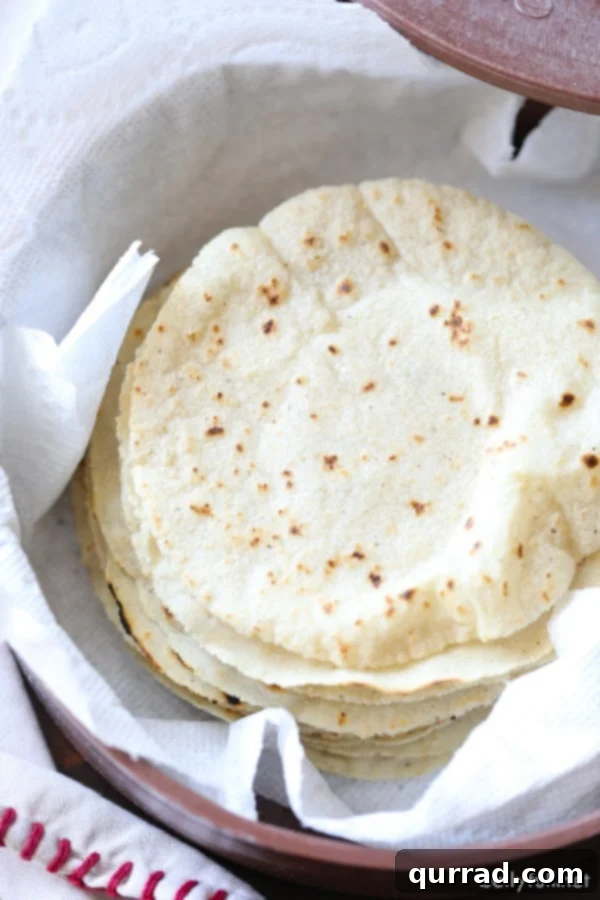
10. Flip and Finish: Cook the tortilla for approximately 15 seconds on the first side. This initial sear helps seal in moisture. Flip it to the second side and cook for about 40 seconds. Flip it a third time and cook for another 40 seconds, or until the tortilla puffs up beautifully and develops golden brown specks on both sides. The puffing is a sign of a perfectly cooked, light, and fluffy tortilla. Alternatively, if you prefer a simpler approach, you can cook for 30-60 seconds per side until desired doneness.
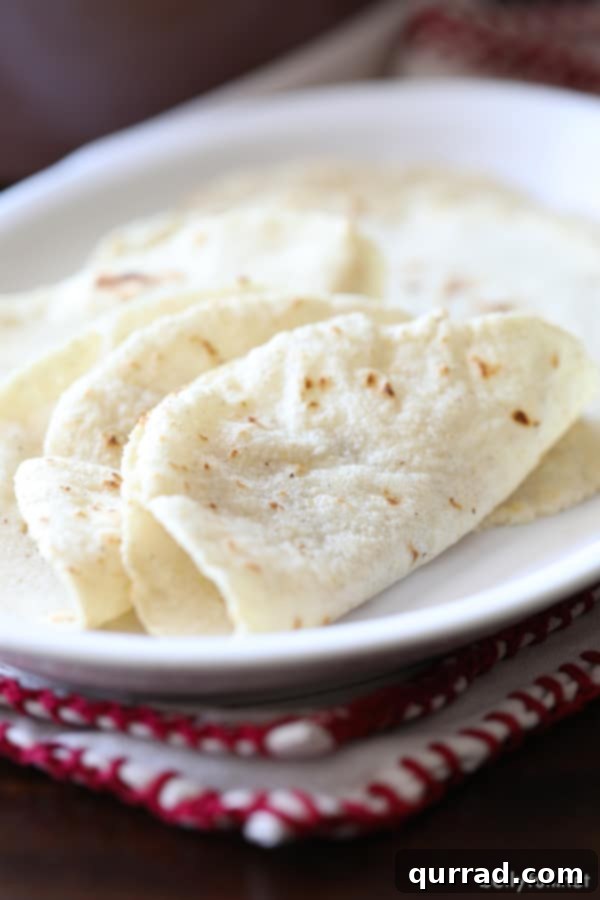
Congratulations! You now have warm, fresh, homemade corn tortillas. While the steps might seem numerous at first glance, the process quickly becomes intuitive and incredibly satisfying. And the moment you taste that first homemade tortilla, you’ll understand why this effort is so worth it!
Helpful Tips for Perfect Corn Tortillas
- Embrace the Salt: As my dear Mexican friend Roxanna taught me, a little pinch of salt truly makes a difference, subtly enhancing the corn’s natural sweetness and flavor. Don’t skip it!
- Dough Hydration is Key: The ideal dough should be moist but not sticky, firm yet pliable. If it feels dry and cracks at the edges, add water, a teaspoon at a time. If it’s too sticky and hard to handle, add a sprinkle of masa harina. Consistency is everything for a good tortilla.
- No Tortilla Press? No Problem! While a tortilla press is a fantastic investment that speeds up the process and ensures consistency, you can still make tortillas without one. Simply place a dough ball between two pieces of plastic wrap or parchment paper and use a heavy, flat object like a Pyrex pie plate, a cast iron skillet, or a sturdy casserole dish to press it down firmly and evenly. It requires a bit more muscle but yields great results.
- Keep Your Dough Covered: Masa dough can dry out quickly when exposed to air. Always keep any unpressed dough balls covered with a damp tea towel to maintain their moisture and pliability while you work.
- Eat Them Fresh: Homemade corn tortillas are at their absolute best when served immediately, still warm from the griddle. The flavor and texture are simply unmatched.
- Achieving the “Puff”: The puff indicates a well-developed, evenly hydrated dough that’s cooking perfectly. If your tortillas aren’t puffing, it might be due to incorrect dough consistency (too dry or too wet), insufficient heat on the griddle, or not enough moisture in the dough. Don’t worry if they don’t all puff perfectly; they’ll still taste amazing!
Storing and Reheating Your Homemade Tortillas
While best eaten fresh, you can certainly enjoy your homemade corn tortillas later with proper storage and reheating techniques.
- Keeping Them Warm During Mealtime: As you cook your tortillas, transfer them to a tortilla warmer lined with a clean paper towel or wrap them snugly in a clean tea towel. This traps the steam, keeping them warm, soft, and pliable until you’re ready to serve.
- Storing Leftovers: Allow any leftover tortillas to cool completely, still wrapped in a clean tea towel (this helps absorb any residual moisture). Once cool, transfer them to an airtight container or a sealed plastic bag and refrigerate for up to 3 days.
- Reheating for Freshness: To revive refrigerated tortillas, loosely wrap them in a damp paper towel and place them on a microwave-safe plate. Microwave in 20-second bursts until they are warm and pliable again. Alternatively, you can reheat them briefly on a dry hot griddle for a few seconds per side.
Now that you’re armed with the knowledge and confidence, go ahead and whip up a batch of these incredible homemade corn tortillas! They are guaranteed to transform your ordinary meals into extraordinary culinary experiences.
What to Serve with Your Homemade Corn Tortillas
These versatile tortillas are perfect for countless dishes. Here are a few ideas to get you started:
- Mexican Lasagna
- Baked Chicken Taquitos
- Grilled Fish Tacos with Chili-Lime Slaw
- Slow Cooker Salsa Verde Beef Tacos
- Slow Cooker Cuban Pork
- Breakfast tacos with scrambled eggs and salsa
- Enchiladas or flautas
- As a simple side to soups or stews
Other Homemade Bread Recipes to Explore
If you’ve enjoyed the satisfaction of making tortillas from scratch, you might love these other homemade bread recipes:
- World’s Easiest Homemade Sandwich Bread
- Quick and Easy Pizza Dough
- Easy Homemade Focaccia with Pesto
- Classic Popovers
*This post contains Amazon affiliate links.
We hope you adore this simple yet profoundly delicious recipe! Don’t forget to follow Belly Full on Facebook, Instagram, Pinterest, and YouTube for more culinary inspiration.
Homemade Corn Tortillas
Ingredients
- 2 cups Masa harina
- 1 1/2-2 cups hot water
- 1/2 teaspoon salt , optional but recommended
Instructions
-
Put the masa harina flour and salt in a large bowl. Add in hot water (according to the directions on the package, some masa flour brands may call for different amounts of water).
-
Mix the dough together with a wooden spoon until all the water is absorbed.
-
Knead the dough (like you would bread dough) for a few minutes and form into a large ball. (The dough will be a little gritty at first, but will become more pliable as you knead it. It’ll be a little springy and feel like Play-Doh when it’s ready.)
-
Then transfer back to the bowl, cover with a clean tea towel, and let sit for about 5 minutes. (If at any point the dough seems too dry or too wet, add a little more water or masa to the dough.)
-
Pinch off a piece of the masa dough (about the size of a large golf ball) and roll in between your hands to form the balls. You should get about 18 balls of dough.
-
Cut the seams of a gallon-size freezer bag and lay one piece on the press. Place a masa ball slightly off-center, towards the closing hinge. Then place another piece of plastic over the masa ball.
-
Close the tortilla press and flatten (the dough should spread to a diameter of 4 to 5 inches.)
-
Open the tortilla press and gently remove the tortilla from the plastic bag by peeling away the bag onto the palm of your hand. (If it’s sticking, there is probably too much water in the dough.)
-
Now you can start putting your pressed tortillas directly onto a hot griddle or nonstick skillet. You can do one ball at a time or you can flatten all of the balls and stack them on a plate, separated by sheets of parchment paper.
-
Gently place the tortilla onto the hot griddle; flip after 15 seconds. Then flip again after 40 seconds, then one last time for about 40 seconds, until it puffs up and has golden brown specs on both sides. (Those first 15 seconds seal in the heat and result in a lighter, fluffier tortilla, but alternatively you can just cook for 30-60 seconds per side.)
-
Serve and enjoy!
Notes
- For additional tips and a helpful guide, please refer to the full article above.
- To keep them warm: transfer the cooked tortillas to a tortilla warmer lined with a paper towel, or wrap them in a clean tea towel to keep them warm and pliable.
- To store: let any leftovers cool completely, wrapped in a clean tea towel, then transfer to an airtight container or plastic bag and refrigerate for up to 3 days.
- To reheat: loosely wrap corn tortillas in a damp paper towel and place on a plate. Microwave in 20-second spurts until they’re warm and pliable.
Nutrition
Carbohydrates: 10g |
Protein: 1g |
Fat: 1g |
Saturated Fat: 1g |
Sodium: 66mg |
Potassium: 34mg |
Fiber: 1g |
Sugar: 1g |
Calcium: 18mg |
Iron: 1mg
Nutritional information given is an automatic calculation and can vary based on the exact products you use and any changes you make to the recipe. If these numbers are very important to you, I would recommend calculating them yourself.