
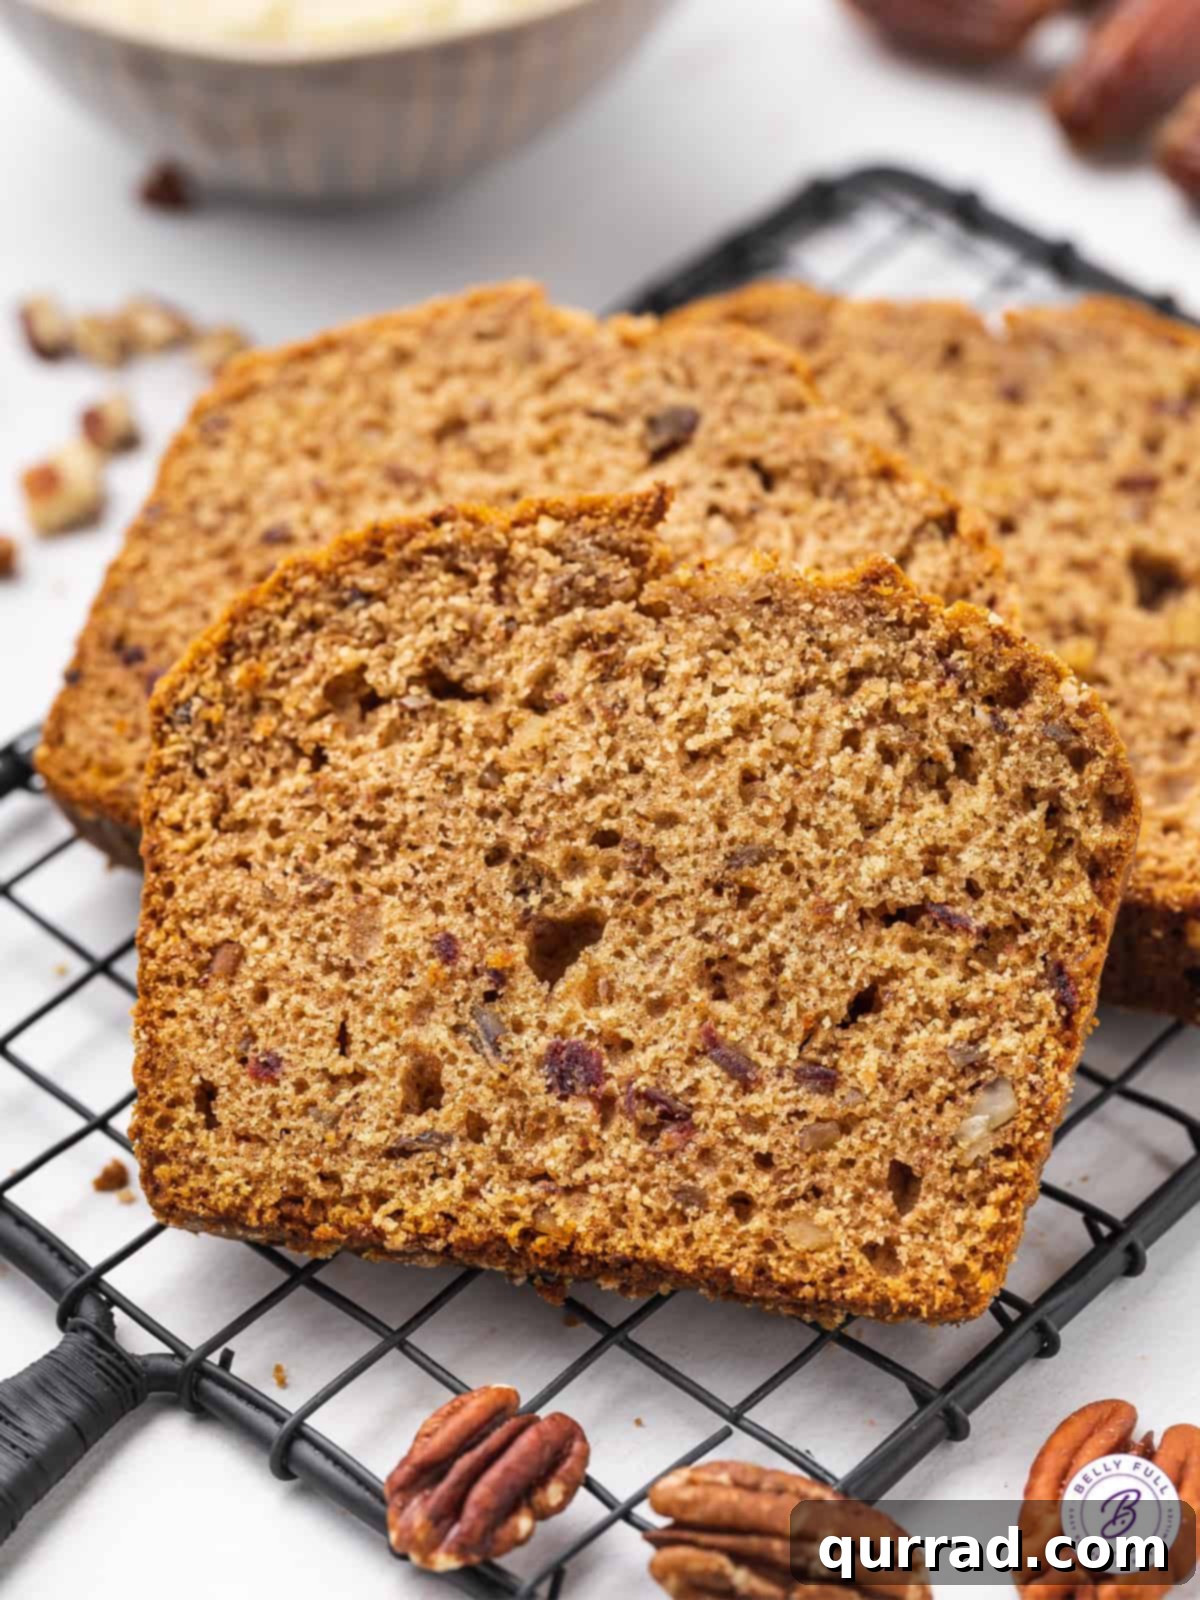
Indulge in the comforting embrace of a truly delightful treat: this Date Nut Bread. Sweet, profoundly moist, and infused with a subtle, caramel-like nutty essence, it’s a versatile baked good perfect for any season. Whether you’re craving a comforting breakfast, a charming brunch addition, or a satisfying dessert, a warm slice alongside your favorite coffee or tea is simply irresistible. This easy-to-make quick bread promises to be a staple in your kitchen, bringing warmth and flavor to any table.
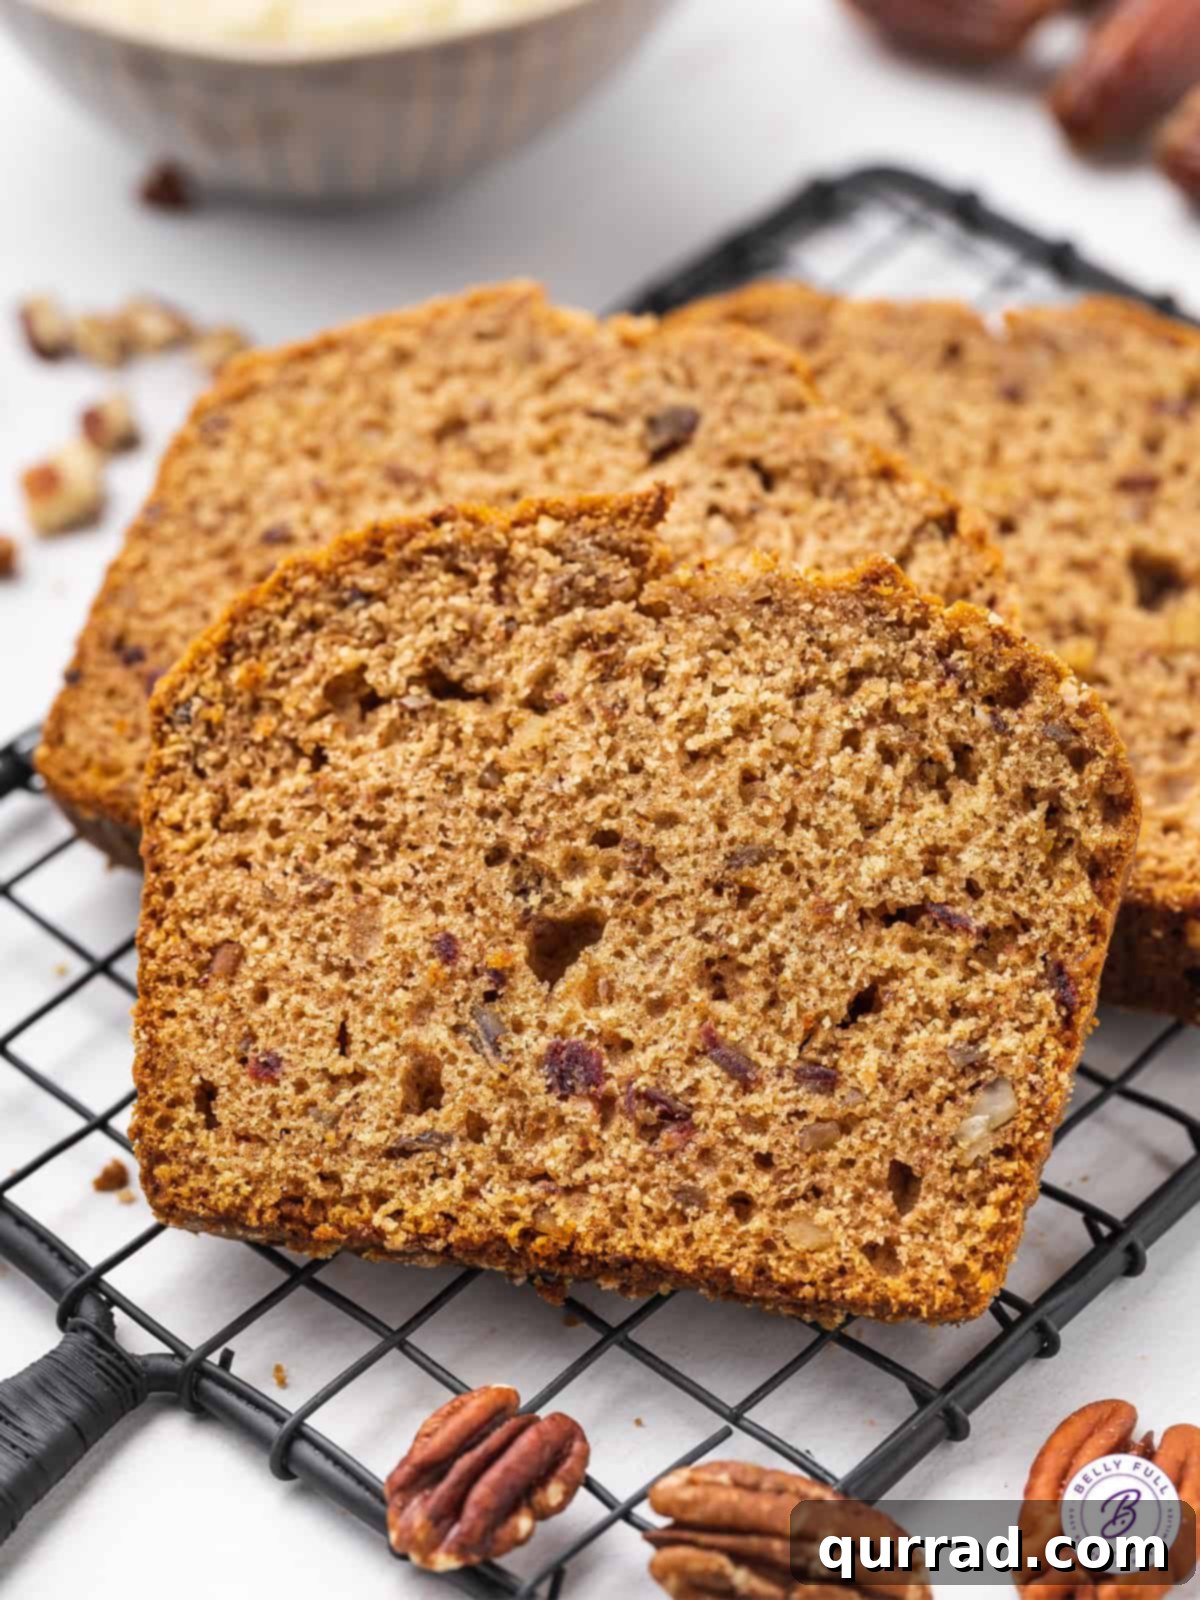
The Ultimate Easy Date Nut Bread Recipe
Crafting this exceptional Date Nut Bread was inspired by a desire to blend moist tenderness with rich, natural sweetness, much like my favorite honey cake. The result is a wonderfully soft loaf, generously studded with finely chopped, sweet dates and crunchy, nutty pecans in every single bite. It’s a harmonious combination that’s both deeply satisfying and incredibly comforting.
Enjoy a slice fresh from the oven, its warmth melting in your mouth, or savor it at room temperature, where its flavors have had time to fully develop. While it’s delicious on its own, a generous smear of cinnamon honey butter elevates it to an entirely new level of indulgence. This bread is a guaranteed crowd-pleaser, so consider baking a second loaf – it tends to disappear remarkably fast! If you find yourself with an abundance of dates, don’t miss out on trying these equally delightful Almond Joy stuffed dates or savory bacon-wrapped dates.
Why You’ll Adore This Date Nut Bread
There are countless reasons why this Date Nut Bread deserves a permanent spot in your baking repertoire. It’s incredibly easy to make, even for novice bakers, requiring minimal specialized equipment. The simple ingredients come together to create a loaf that’s not just delicious but also exceptionally moist, thanks to the natural sweetness and texture of the Medjool dates. This recipe is a fantastic way to enjoy a wholesome, homemade treat without a lot of fuss. It fills your home with an inviting aroma of cinnamon, dates, and toasted nuts as it bakes, promising a comforting experience long before the first bite. Perfect for gifting, holiday gatherings, or simply enjoying a quiet morning, this bread is truly a versatile delight.
Date Nut Bread
15 minutes
45 minutes
1 hour
8
Pin
Find detailed step-by-step images and tips below the recipe card.
Ingredients
- 1 cup Medjool dates, very finely chopped (ensure pits are removed)
- 1 cup boiling water
- 2 tbsp unsalted butter, softened or melted
- ½ cup granulated sugar
- ½ cup brown sugar, packed (light or dark brown sugar works)
- 1 large egg, at room temperature
- 2¼ cups all-purpose flour, spooned and leveled for accuracy
- 1 tbsp baking powder
- ½ tsp coarse salt
- ¼ tsp ground cinnamon
- ½ cup finely chopped pecans, or walnuts
Instructions
-
Prepare your oven and loaf pan: Preheat your oven to a steady 350°F (175°C). Carefully line a standard 9×5 inch loaf pan with parchment paper. This step is crucial for easy removal of the baked bread. Ensure the parchment paper hangs slightly over the two longer sides to create “handles.”
-
Soften the dates: In a medium-sized heatproof bowl, combine the very finely chopped Medjool dates. Pour 1 cup of boiling water over the dates, ensuring they are fully submerged. Add the butter to this mixture; the heat from the water will help it melt. Set this bowl aside for at least 10-15 minutes to allow the dates to soften and plump up, which contributes to the bread’s incredible moisture.
-
Cream sugars and egg: In a large mixing bowl, using an electric mixer (handheld or stand mixer with paddle attachment), beat together the granulated sugar, packed brown sugar, and the large egg. Continue beating on medium-high speed until the mixture becomes pale in color, light, and fluffy – typically about 2-3 minutes. This incorporates air, which helps with the bread’s texture.
-
Whisk dry ingredients: In a separate, medium-sized bowl, whisk together the all-purpose flour, baking powder, coarse salt, and ground cinnamon. Whisking ensures these dry ingredients are evenly distributed, preventing pockets of leavening agent or salt in the final loaf.
-
Combine wet and dry mixtures: Gradually add the dry flour mixture to the wet sugar-and-egg mixture, alternating with spoonfuls of the softened date and water mixture. Begin and end with the dry ingredients. Mix on low speed, just until the ingredients are moistened. Avoid overmixing, as this can lead to a tough bread.
-
Fold in pecans: Using a spatula, gently fold in the finely chopped pecans until they are just incorporated into the batter. Again, be careful not to overmix.
-
Fill the loaf pan: Pour the prepared batter evenly into your parchment-lined loaf pan. Ensure the top is relatively smooth. Transfer the pan to the preheated oven immediately.
-
Bake to perfection: Bake for 45 to 55 minutes. Baking time can vary depending on your oven and the exact thickness of your loaf, so keep an eye on it. The bread is done when a wooden skewer or toothpick inserted into the center comes out clean or with a few moist crumbs attached.
-
Cool and enjoy: Once baked, remove the loaf from the oven and carefully lift it out of the pan using the parchment paper overhang. Transfer it to a wire cooling rack and let it rest for at least 15 minutes before slicing. This cooling period allows the bread to set and prevents it from crumbling. Slice, serve warm or at room temperature, and enjoy the wonderful flavors!
Video Tutorial
Expert Tips & Notes for Success
- Pan Size Matters: I consistently use a 9×5 inch loaf pan for this recipe, which yields a beautifully shaped loaf. If you opt for an 8x4x2 inch pan, rest assured it will still work perfectly. However, with less surface area, your loaf will naturally be a bit taller, and as a result, may require an additional 5-10 minutes of baking time. Always rely on the toothpick test for true doneness.
- Preventing Over-Browning: If you notice the top of your date nut bread is browning too rapidly during the baking process, especially around the halfway mark, simply create a loose tent with aluminum foil over the pan. This protects the crust from burning while allowing the interior to continue baking thoroughly.
- Measure Flour Correctly: For the most accurate results, always spoon your flour into the measuring cup and then level it off with a straight edge. Scooping flour directly from the bag can compact it, leading to too much flour and a dry, dense loaf.
- Room Temperature Ingredients: Ensure your egg and butter are at room temperature. This allows them to incorporate more smoothly with other ingredients, creating a more cohesive and evenly textured batter.
- Don’t Overmix: Quick breads thrive on minimal mixing. Once the wet and dry ingredients are just combined and no streaks of flour remain, stop mixing. Overmixing develops gluten, which can make your bread tough and chewy instead of tender.
Nutrition Facts (per serving)
Carbohydrates: 68g |
Protein: 5g |
Fat: 9g |
Saturated Fat: 2g |
Polyunsaturated Fat: 2g |
Monounsaturated Fat: 4g |
Trans Fat: 0.1g |
Cholesterol: 31mg |
Sodium: 184mg |
Potassium: 373mg |
Fiber: 3g |
Sugar: 38g |
Vitamin A: 153IU |
Vitamin C: 0.1mg |
Calcium: 104mg |
Iron: 2mg
Please note: Nutritional information provided is an automatic calculation and can vary based on the specific products you use and any modifications made to the recipe. For precise dietary planning, it is recommended to calculate these values yourself.
How To Make Date Nut Bread: A Detailed Step-by-Step Guide
Creating this delicious Date Nut Bread is a straightforward process when you follow these steps. Each stage is designed to ensure a moist, flavorful loaf every time.
1. Prepare Your Baking Environment: Begin by preheating your oven to 350°F (175°C). This ensures the oven is at the correct temperature when the bread goes in, promoting even baking. Next, line a 9×5 inch standard loaf pan with parchment paper. Leave a slight overhang on the longer sides; these will act as convenient handles for easily lifting the baked bread out of the pan. This simple trick prevents sticking and makes cleanup a breeze.
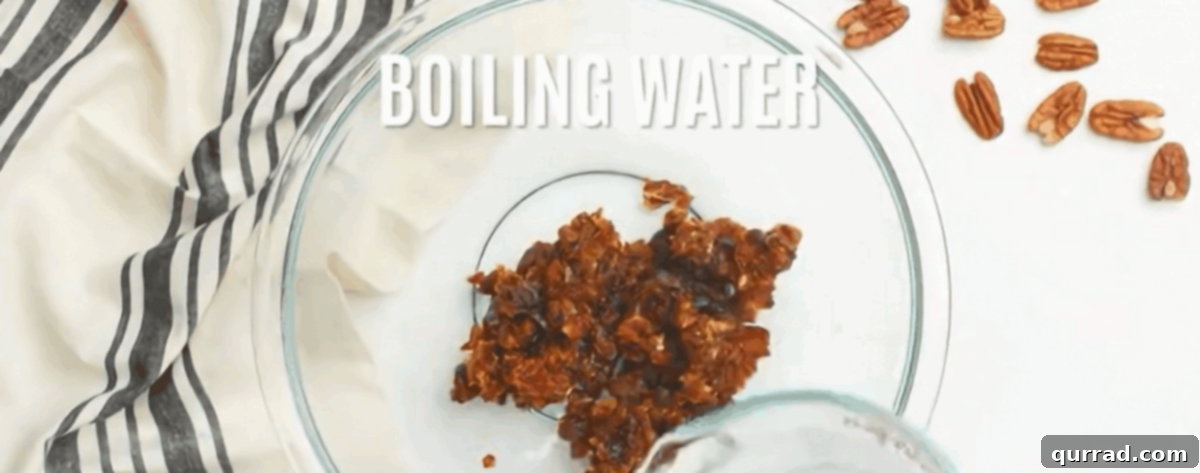
2. Soften and Infuse Dates: In a medium-sized bowl, add 1 cup of finely chopped Medjool dates. Pour 1 cup of boiling water over them. The hot water will rehydrate and soften the dates, releasing their natural sugars and creating a wonderfully moist texture in the final bread. Add 2 tablespoons of butter to the hot date mixture; the residual heat will gently melt the butter, infusing the dates with a rich, creamy flavor. Set this mixture aside to cool slightly and allow the dates to plump up.
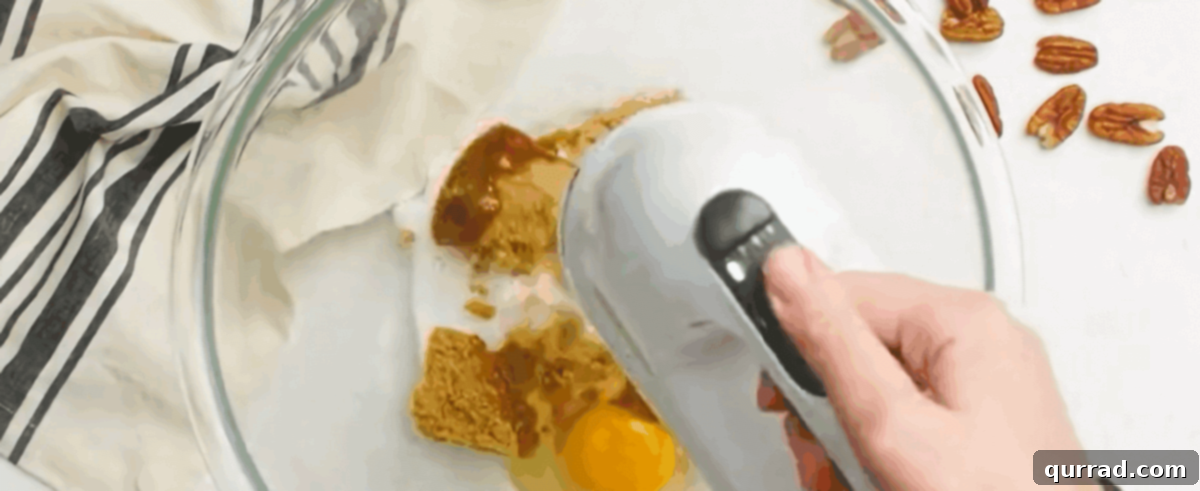
3. Beat Sugars and Egg: In a large mixing bowl, using an electric mixer, combine ½ cup granulated sugar, ½ cup packed brown sugar, and 1 large egg. Beat these ingredients together until the mixture is light in color, significantly increased in volume, and fluffy. This process incorporates air, which is essential for a tender and airy crumb in your quick bread.
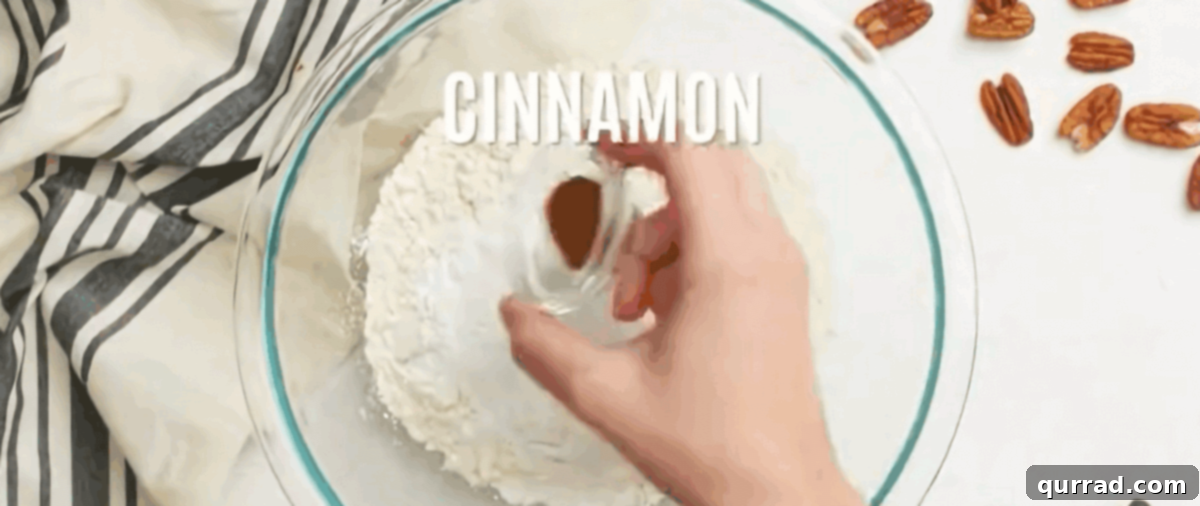
4. Combine Dry Ingredients: In a separate bowl, whisk together 2¼ cups all-purpose flour, 1 tablespoon baking powder, ½ teaspoon coarse salt, and ¼ teaspoon ground cinnamon. Whisking dry ingredients together ensures they are thoroughly combined, so leavening agents and spices are evenly distributed throughout the batter. This prevents uneven rising or pockets of flavor.
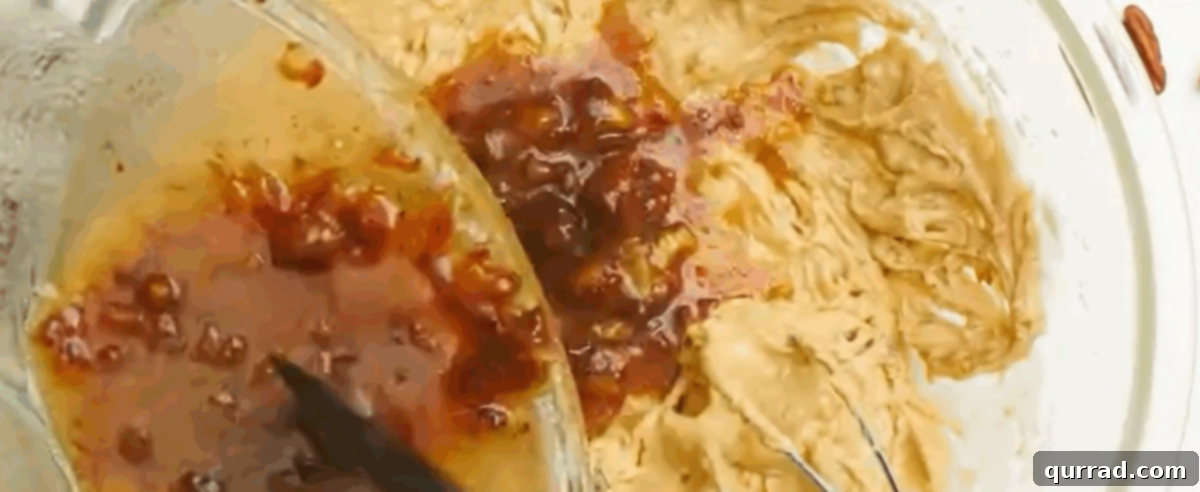
5. Incorporate Wet and Dry Alternately: Gradually add the whisked dry mixture to the wet sugar-and-egg mixture. Alternate this with the date and water mixture, beginning and ending with the dry ingredients. Mix on a low speed, just until all ingredients are moistened and barely combined. It’s crucial not to overmix the batter at this stage, as over-developed gluten can result in a tough, dense bread.
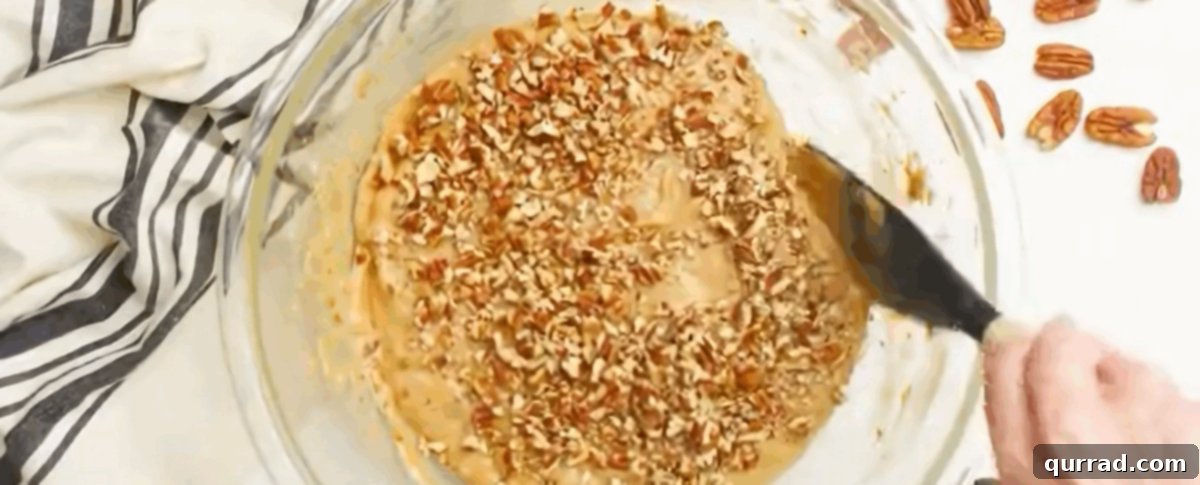
6. Fold in the Nuts: With a spatula, gently fold in ½ cup of finely chopped pecans. Mix just enough to distribute the nuts evenly throughout the batter. You want to avoid crushing the nuts or further developing the gluten, so a light hand is best here.
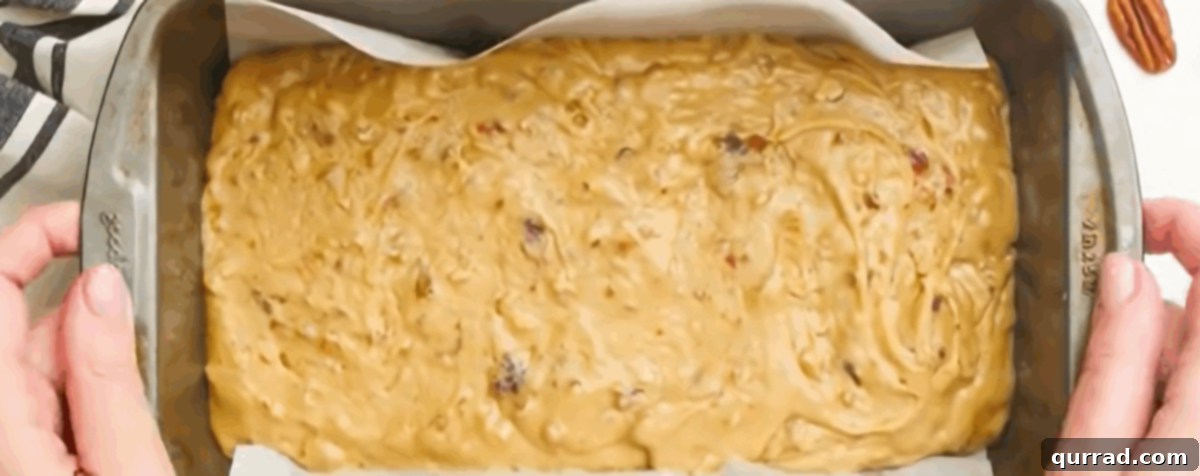
7. Transfer and Bake: Pour the finished batter into your prepared loaf pan. Smooth the top gently with your spatula. Transfer the pan to the preheated oven promptly. Bake for 45 to 55 minutes, or until a wooden skewer inserted into the center of the loaf comes out clean. Keep in mind that baking times can vary, so monitor your bread closely.
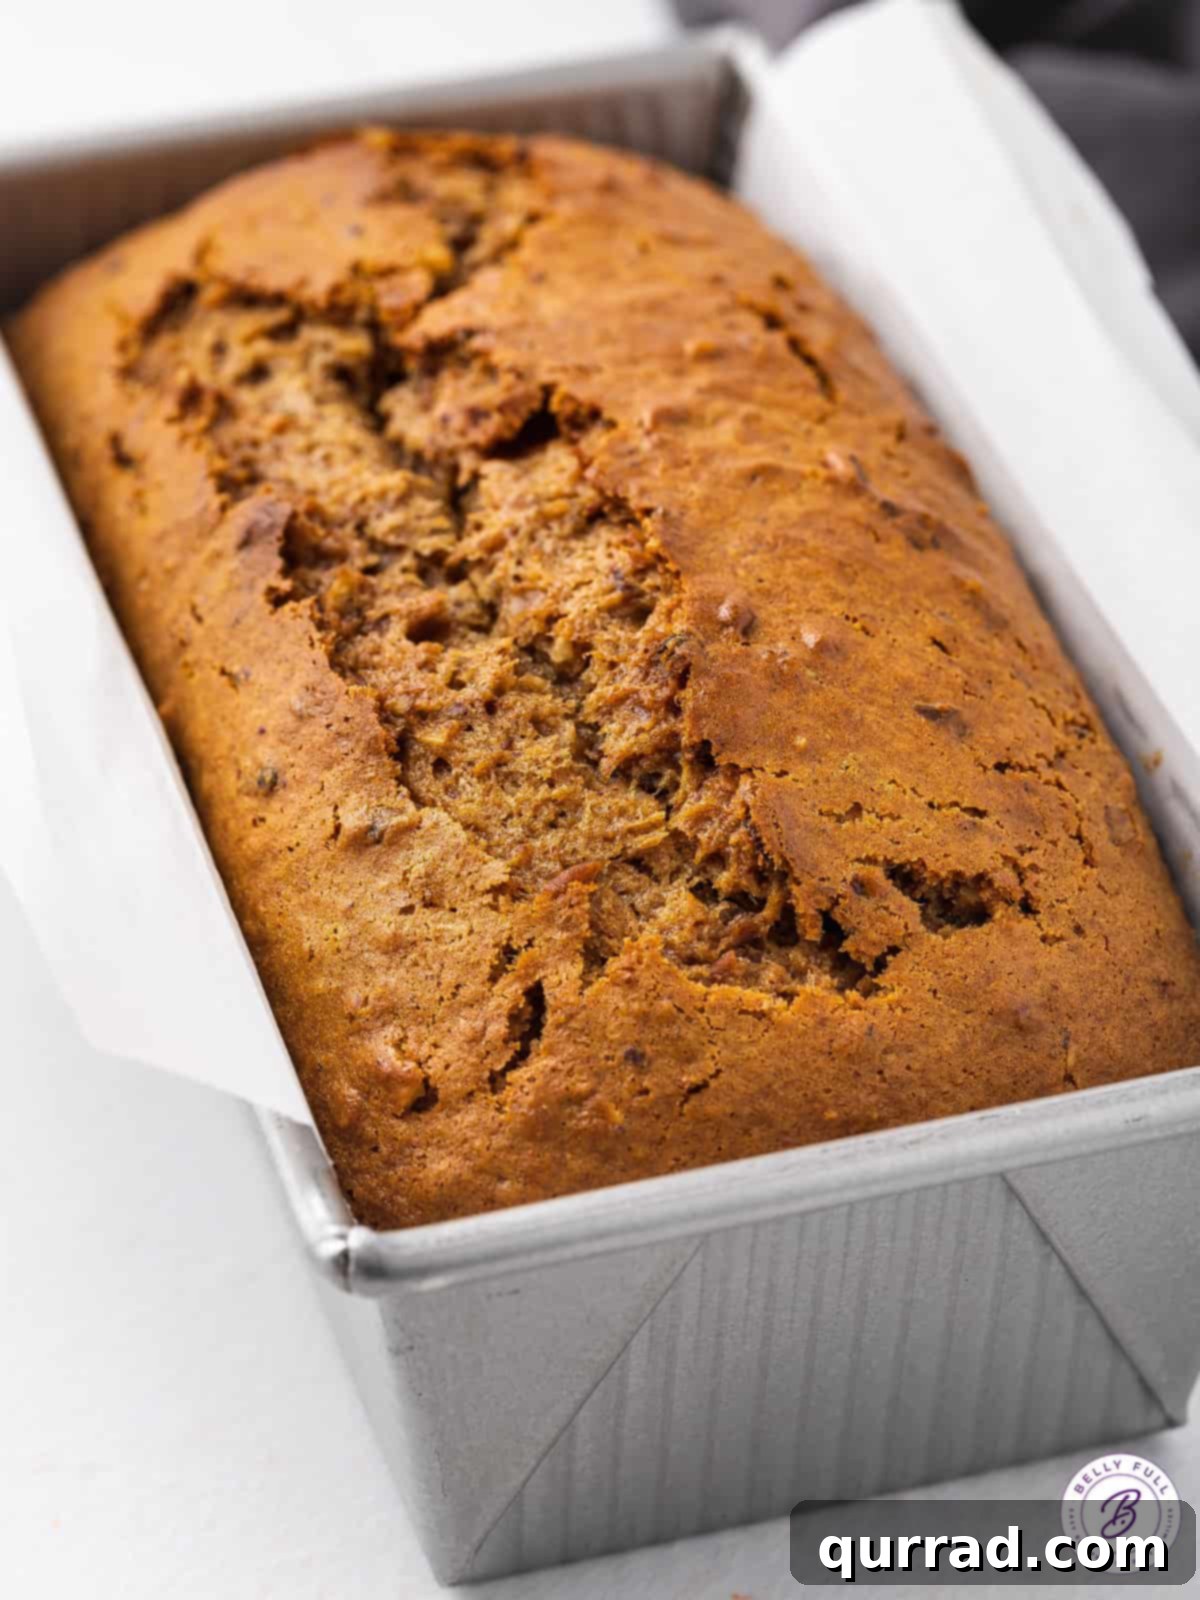
8. Cool and Serve: Once baked, remove the loaf from the oven. Using the parchment paper overhang, carefully lift the bread from the pan and transfer it to a wire cooling rack. Allow it to cool for at least 15 minutes before slicing. This resting period is essential for the bread to fully set, making it easier to slice without crumbling and ensuring the perfect texture. Once cooled slightly, slice and enjoy your homemade Date Nut Bread!
Exciting Substitutions and Variations for Your Date Nut Bread
One of the best things about this Date Nut Bread recipe is its adaptability. Feel free to experiment with these ideas to tailor it to your taste or what you have on hand:
- Elevate with Coffee: For an extra layer of sophisticated flavor, substitute the boiling water with an equal amount of hot brewed coffee. The rich, slightly bitter notes of coffee perfectly complement the sweetness of the dates, creating a more complex and aromatic loaf.
- Butter Alternatives: If you prefer, you can easily swap the butter for an equivalent amount of neutral-flavored vegetable oil, such as canola or sunflower oil. Avoid strong-flavored oils like extra virgin olive oil, which can overpower the delicate flavors of the dates and nuts.
- Nutty Choices or Nut-Free: Pecans offer a wonderful crunch and buttery flavor, but feel free to use other nuts like chopped walnuts, almonds, or even a mix of your favorites. If you have nut allergies or simply prefer a nut-free bread, you can omit them entirely. The bread will still be delicious, albeit with a slightly different texture.
- Chocolate Indulgence: Transform this classic bread into a decadent treat by stirring in a ½ cup of chocolate chips. Dark, semi-sweet, or even white chocolate chips would be fantastic additions. You can replace the nuts with chocolate chips or add them in alongside the nuts for an extra rich experience.
- Spice It Up: Enhance the warm, comforting profile of the bread by adding a pinch of other spices. A touch of nutmeg, cardamom, or ground ginger along with the cinnamon can add wonderful depth and a festive aroma, especially for fall or winter baking.
- Citrusy Brightness: Introduce a vibrant, fresh note by mixing in a teaspoon or so of finely grated orange zest into the batter. Orange and dates are a classic pairing, and the zest adds a lovely aromatic lift that balances the sweetness. Lemon zest would also work beautifully.
- Smoother Date Flavor: For an even more consistent date flavor throughout your bread, consider blending the softened date and water mixture until mostly smooth before incorporating it into the batter. This ensures the date flavor is evenly distributed in every bite, almost like a puree.
- Enhanced Crust with Cinnamon-Sugar: For a truly exceptional crust, instead of just using parchment paper, grease your loaf pan generously with butter or shortening. Then, dust the entire interior with a mixture of cinnamon and sugar before pouring in the batter. This creates a slightly crispy, sweet, and spiced crust that’s incredibly addictive. Alternatively, you can simply sprinkle a bit of cinnamon-sugar on top of the batter just before placing it in the oven for a similar effect.
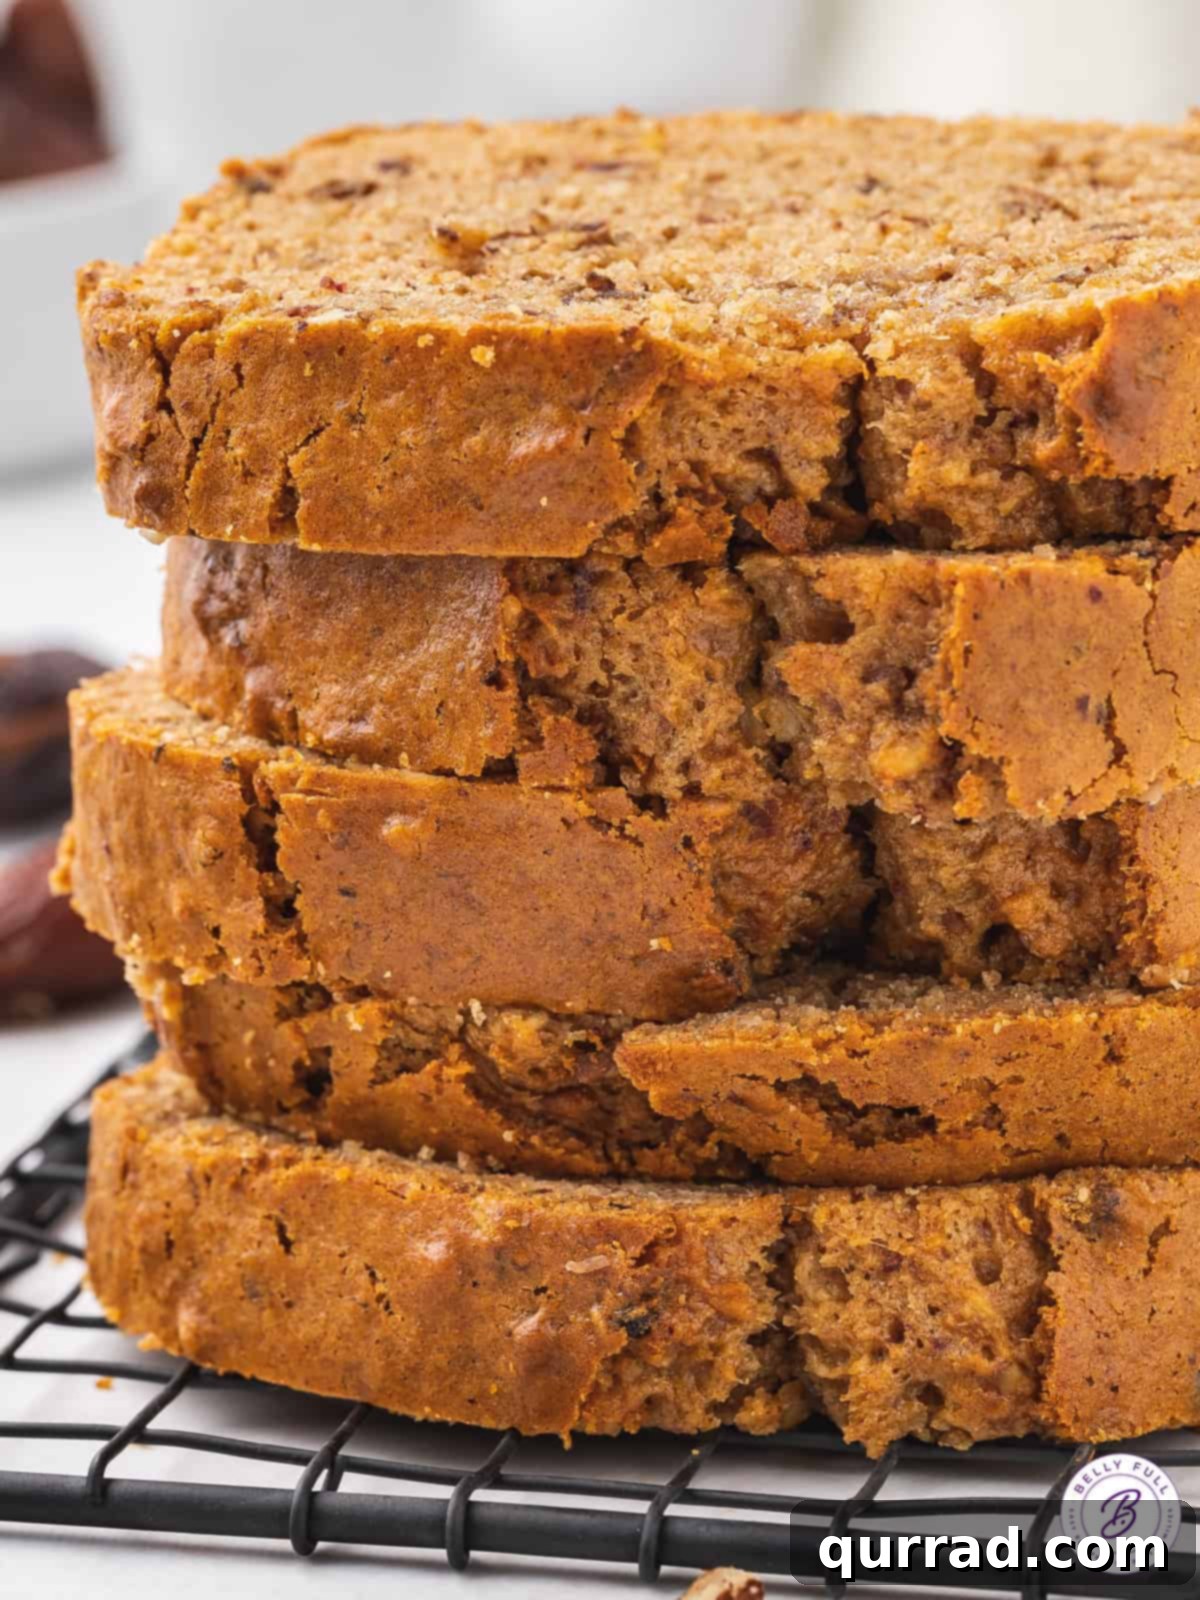
How to Properly Store Your Date Nut Bread
Ensuring your Date Nut Bread stays fresh and delicious is key to enjoying it for days to come. Here’s how to store it effectively:
Once your bread has completely cooled, wrap the entire loaf tightly in plastic wrap or aluminum foil. Stored on the countertop at room temperature, it will remain fresh and moist for 2-3 days. For longer storage, transfer the wrapped loaf to the refrigerator, where it will keep well for up to a week. The dates’ natural moisture helps keep it from drying out quickly.
For extended freshness, freezing is an excellent option. Wrap the cooled loaf first in plastic wrap, then securely in aluminum foil, and finally place it in a freezer-safe plastic bag. It can be stored in the freezer for up to 2 months. To enjoy, simply thaw the bread overnight in the refrigerator, or for a quicker option, slice individual portions and gently warm them in the microwave or oven.
Delightful Serving Suggestions
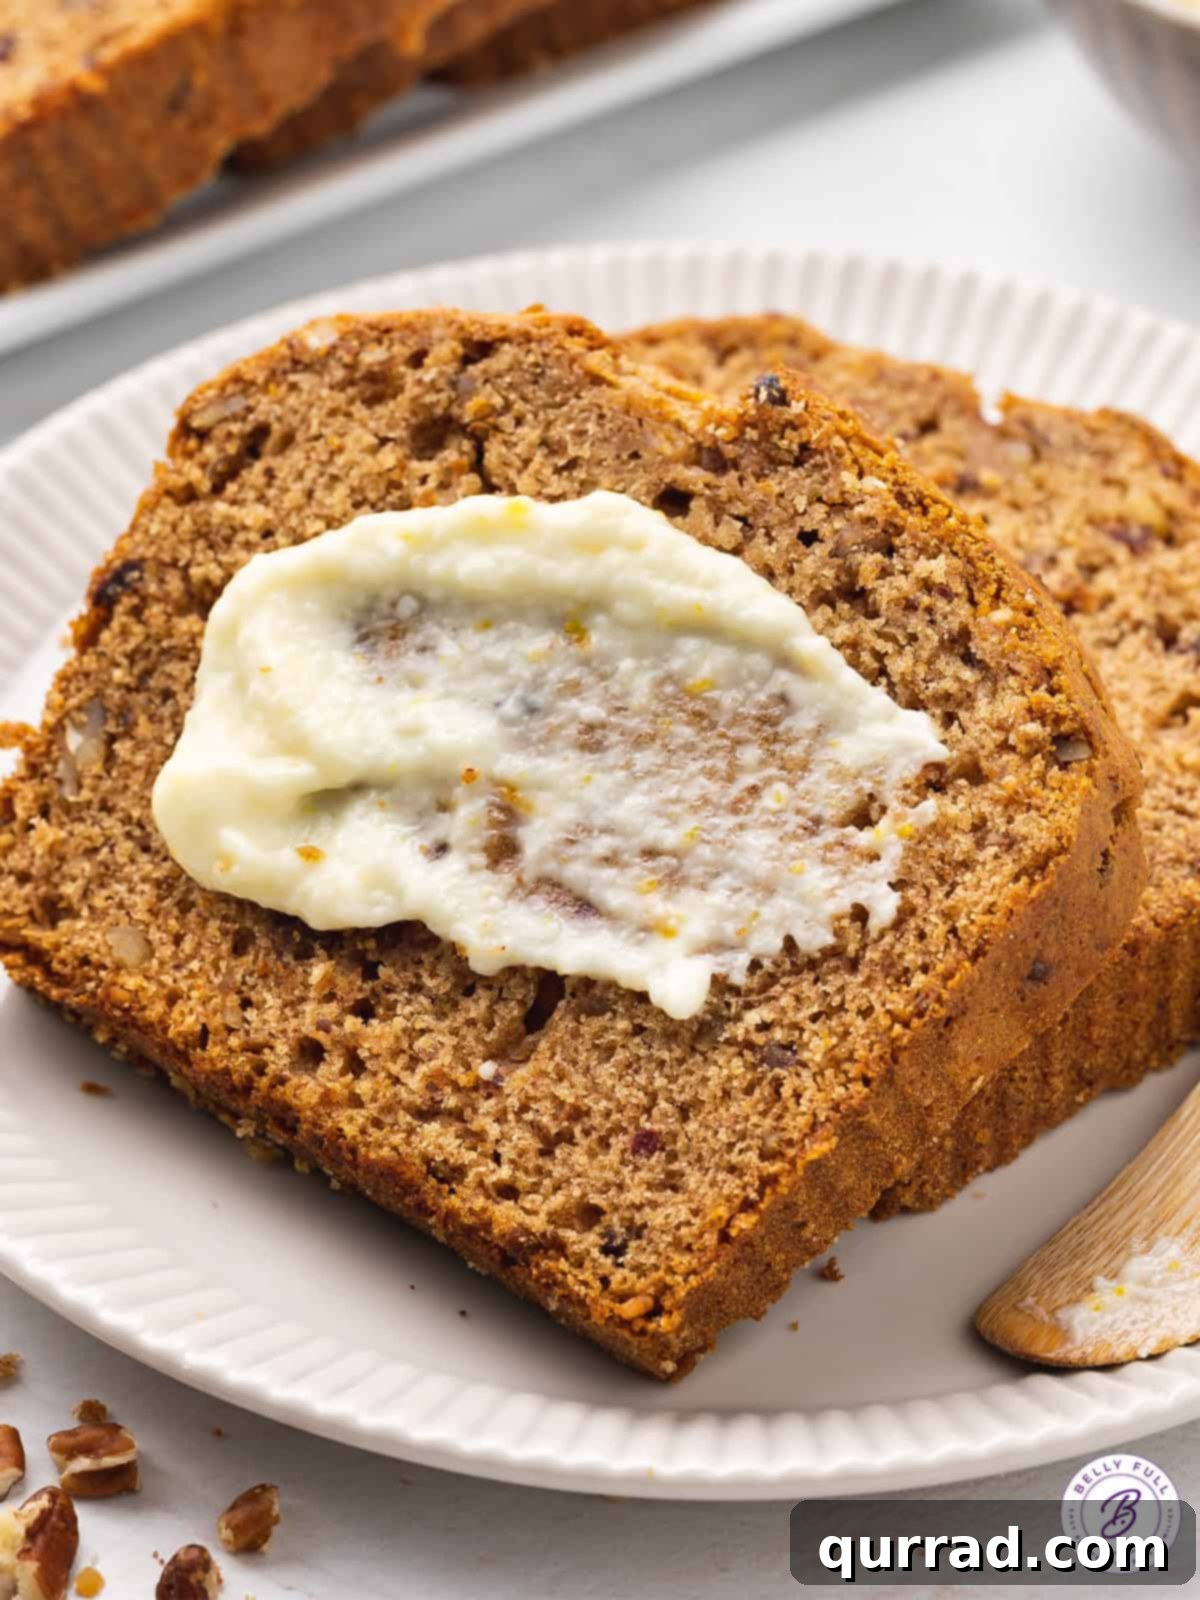
While Date Nut Bread is absolutely wonderful on its own, pairing it with a complementary spread can elevate the experience even further. My personal favorite is a rich, tangy cream cheese spread that beautifully balances the sweetness of the dates.
Homemade Orange Cream Cheese Spread: In a mixing bowl, beat together 4 ounces of softened cream cheese with 1½ teaspoons of finely grated orange zest, 3 tablespoons of powdered sugar, and a few drops of pure vanilla extract until smooth and creamy. The bright citrus notes and subtle tang of the cream cheese perfectly complement the caramel-like flavor of the dates and nuts. For another delightful twist, this homemade strawberry cream cheese also adds a fantastic layer of fruity flavor and vibrant color.
Beyond spreads, consider serving slices with a dollop of whipped cream, a drizzle of warm honey, or alongside fresh fruit for a wholesome breakfast. It’s also fantastic lightly toasted, bringing out the nutty flavors even more.
Frequently Asked Questions About Date Nut Bread
What kind of dates are best for Date Nut Bread?
Medjool dates are highly recommended for Date Nut Bread. They are naturally soft, incredibly moist, and have a rich, caramel-like flavor that enhances the bread beautifully. Their tender texture also blends well into the batter once chopped and softened. Deglet Noor dates can also be used, but they are generally firmer and less sweet, so you might need to soak them a little longer or adjust sugar levels slightly to achieve similar results.
Can I make this bread gluten-free?
While this recipe is written for all-purpose flour, you can often adapt quick bread recipes to be gluten-free. I recommend using a high-quality 1:1 gluten-free baking flour blend that already contains xanthan gum. You might find the texture to be slightly different, possibly a bit denser, but it should still yield a delicious loaf. Ensure all other ingredients (like baking powder) are also certified gluten-free.
My bread turned out dry, what went wrong?
A dry loaf is often the result of one of two common issues: either too much flour was used, or the bread was overbaked. When measuring flour, always spoon it into the measuring cup and level it off rather than scooping directly from the bag. This prevents compacting the flour and adding excess. Additionally, check for doneness at the lower end of the baking time range (e.g., 45 minutes) and only continue baking if the toothpick test doesn’t come out clean. Ovens vary, so it’s always best to be vigilant!
How can I make this bread even moister?
To ensure maximum moisture, ensure your dates are very finely chopped and well-softened by the boiling water. Some bakers also like to add an extra tablespoon of sour cream or plain yogurt to the wet ingredients, which can add a touch of tang and help retain moisture. Alternatively, if you are concerned about dryness, you can slightly reduce the baking time and monitor it closely.
Explore More Delicious Quick Bread Recipes
If you’ve fallen in love with the ease and deliciousness of quick breads, you’ll want to try these other fantastic recipes:
- Ultimate Banana Bread
- Pumpkin Chocolate Chip Bread
- Zucchini Bread
- Lemon Blueberry Bread
- Savory Cheese Bread
Conclusion: Your New Favorite Quick Bread
This Date Nut Bread recipe offers a perfect blend of comforting flavors and an incredibly moist texture, making it a truly exceptional quick bread. From its simple preparation to its versatile serving options, it’s a delightful addition to any breakfast, brunch, or dessert spread. Whether you’re baking for family, friends, or simply treating yourself, this easy-to-follow recipe guarantees a wonderfully fragrant and delicious loaf every time. Don’t hesitate to dive into your kitchen and create this timeless classic that’s sure to become a beloved favorite.