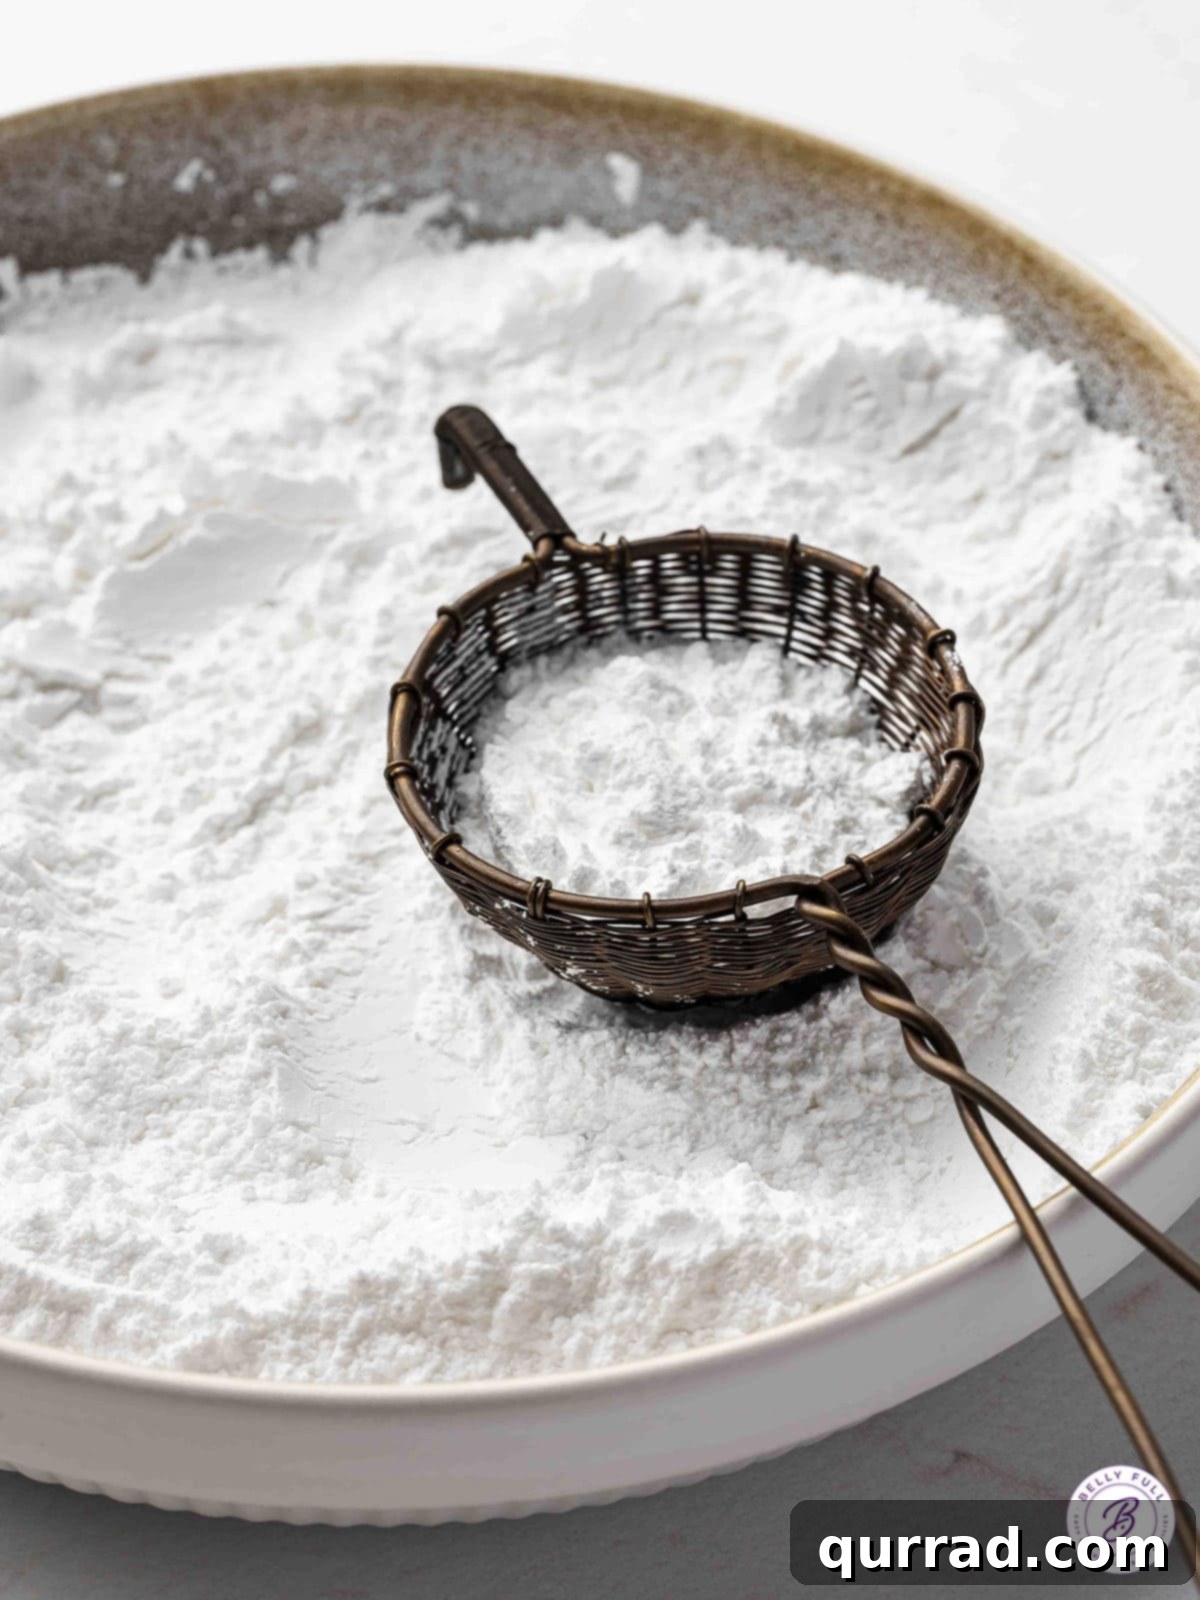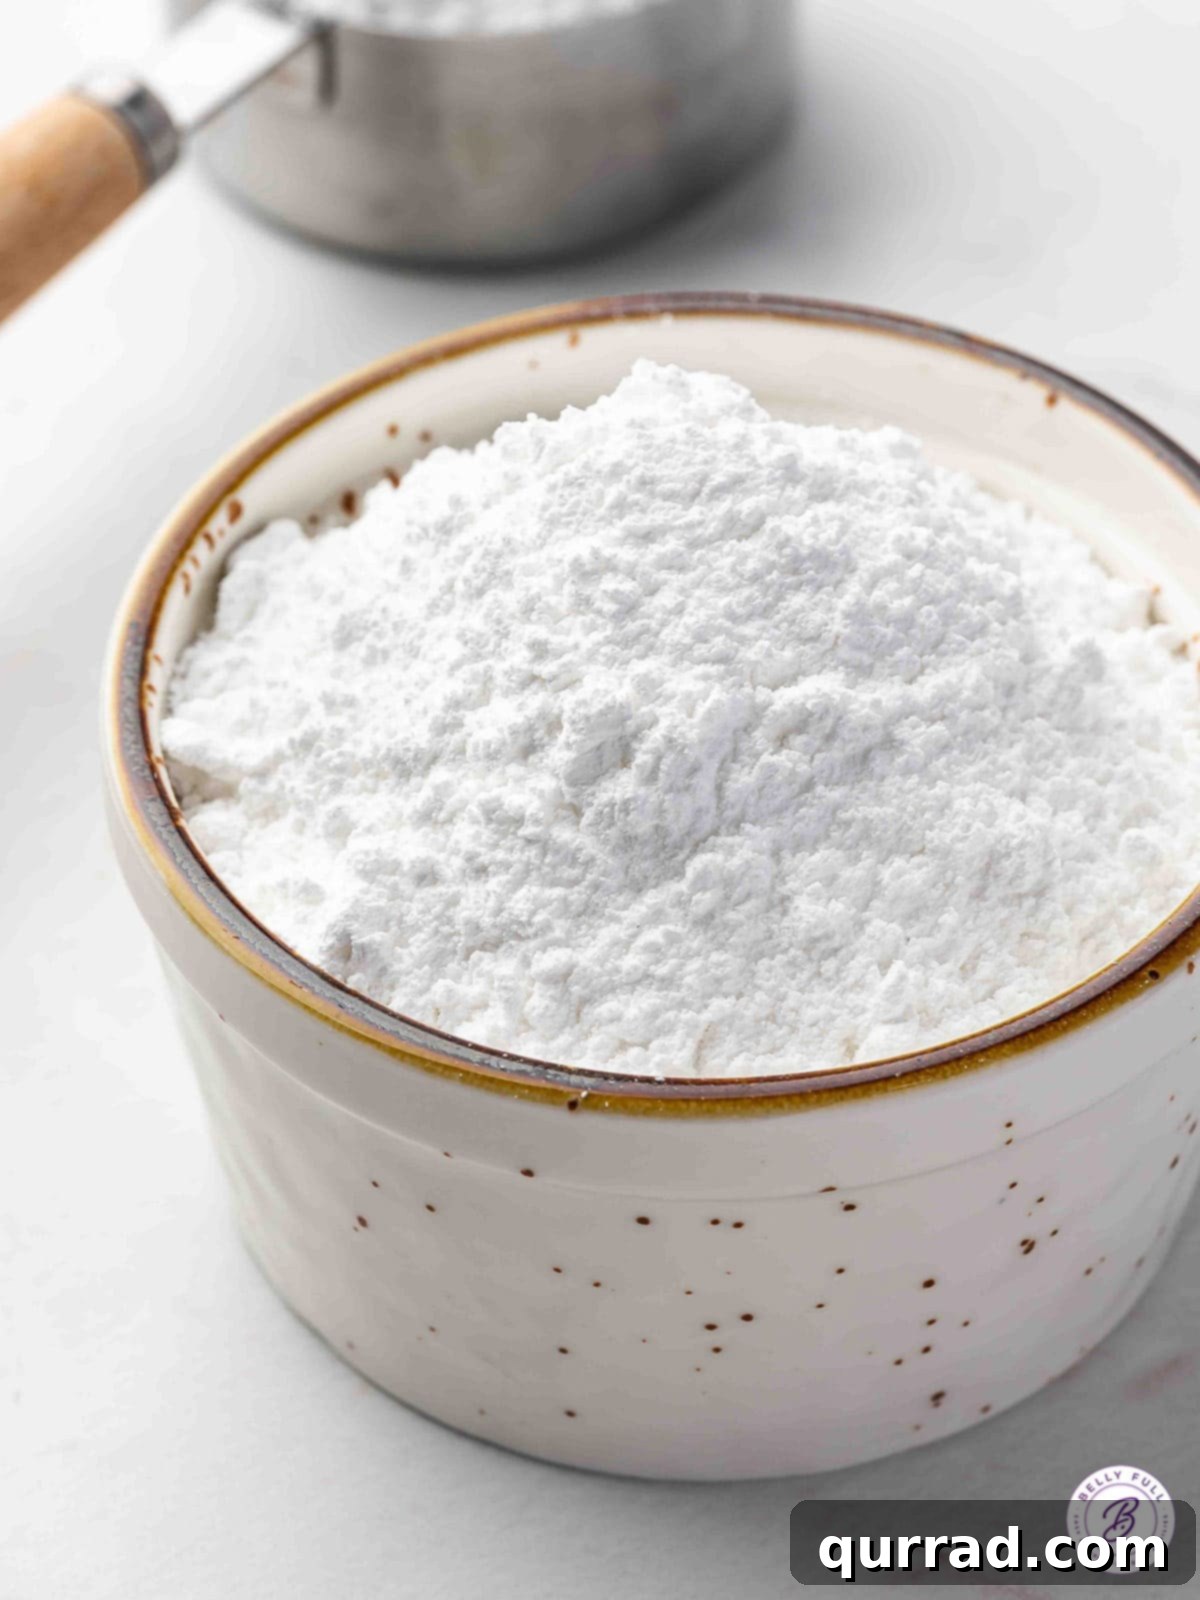
Have you ever found yourself in the middle of a baking frenzy, only to discover you’ve run out of powdered sugar? Panic no more! Learning how to make powdered sugar at home is not only incredibly quick and easy but also a fantastic way to ensure you always have this essential ingredient on hand. Forget those last-minute dashes to the grocery store; with just a few pantry staples and a blender, you can whip up a fresh batch in mere minutes.
This comprehensive guide will show you how to transform ordinary granulated sugar into light, fluffy powdered sugar – also known as confectioners’ sugar or icing sugar, depending on where you are in the world. They’re all the same versatile product! Whether you’re making a delicate frosting, dusting pastries, or simply need it for a quick glaze, our method is foolproof and efficient. We’ll cover everything from the essential ingredients and equipment to helpful tips for perfect results, alternative sugar options, storage advice, and creative ways to use your homemade creation.
Why Make Your Own Powdered Sugar?
Beyond the sheer convenience of avoiding a store trip, making powdered sugar at home offers several compelling advantages:
- Freshness You Can Taste: Homemade powdered sugar is often finer and fresher than store-bought varieties, leading to smoother frostings and more delicate textures in your baked goods.
- Cost-Effective: Granulated sugar is typically less expensive per pound than powdered sugar. Making it yourself can save you money in the long run, especially if you bake frequently.
- Control Over Ingredients: While most commercial powdered sugars contain cornstarch (or another anti-caking agent), making your own allows you to control the type and amount of starch used, or even omit it if you’re using it immediately.
- Emergency Solution: No more derailed recipes! With a bag of granulated sugar and a blender, you’re always just minutes away from having powdered sugar on demand.
- No Additives: Some store-bought varieties might contain anti-caking agents beyond cornstarch. Making it at home ensures you know exactly what’s going into your food.
Essential Ingredients and Equipment
The beauty of this process lies in its simplicity. You only need two core ingredients and one piece of kitchen equipment:
Ingredients:
- Granulated Sugar: This is the base of your powdered sugar. Any standard white granulated sugar will work perfectly. We’ll discuss other sugar types later, but for a classic result, start here.
- Cornstarch (Optional but Recommended for Storage): Cornstarch acts as an anti-caking agent. It absorbs moisture and prevents the finely ground sugar from clumping together. If you plan to use your powdered sugar immediately, you can omit the cornstarch. However, for storage, it’s highly recommended. A good ratio is 1 tablespoon of cornstarch per cup of granulated sugar.
Equipment:
- High-Powered Blender: This is your best friend for achieving super-fine results. Blenders like Vitamix, Blendtec, or other powerful models work exceptionally well due to their strong motors and sharp blades that can withstand continuous blending and produce a very fine powder.
- Food Processor: A food processor can also be used, especially for larger batches. While it might not achieve quite the same ultra-fine consistency as a high-speed blender, it will certainly produce a usable powdered sugar for most applications.
- Spice Grinder / Coffee Grinder: For smaller quantities, a dedicated spice grinder or a clean coffee grinder is a fantastic option. It can produce incredibly fine powder, but you’ll need to work in small batches.
- Fine-Mesh Sieve (Optional but Recommended): For the smoothest possible results, especially for frostings and glazes, sifting your homemade powdered sugar after blending is a great step to remove any lingering tiny granules.
The key to success with any equipment is a strong motor. Appliances with weaker motors might struggle to break down the sugar crystals finely enough, resulting in a slightly gritty texture. If your sugar still feels gritty after a few minutes, your machine might not be powerful enough for the task.
Helpful Tips for Perfect Powdered Sugar
- Understanding Cornstarch’s Role: As mentioned, cornstarch is crucial for preventing caking during storage. If you skip it, your homemade powdered sugar will likely clump into a solid block very quickly due to moisture absorption. If you’re sensitive to corn or prefer to avoid it, you can experiment with other starches like arrowroot powder or tapioca starch, though cornstarch is the most traditional and effective choice.
- Quantity Yield: A good rule of thumb is that every 1 cup of granulated sugar will yield approximately 2 cups of powdered sugar. This is because the grinding process increases the volume significantly as the sugar crystals break down into a fluffy powder.
- Check for Fineness: To determine if your powdered sugar is ready, simply pinch a small amount between your fingers. If you feel any grittiness, continue blending until it feels silky smooth, just like store-bought powdered sugar.
- Preventing Overheating: Blending sugar generates heat. If you’re processing a large amount or using a less powerful machine, it’s wise to give your appliance short breaks (e.g., 30 seconds to 1 minute) every couple of minutes to prevent overheating the motor. This can extend the life of your machine.
- Ensure Dryness: Make sure your blender jar or food processor bowl is completely dry before adding sugar. Any moisture can cause the sugar to clump and stick to the blades, making it difficult to process.
- Adding Flavor (Optional): You can create flavored powdered sugar by adding small amounts of freeze-dried fruit, vanilla beans, or spices (like cinnamon or ginger) to the blender along with the sugar. This adds a wonderful dimension to your baked goods.
How to Make Powdered Sugar
Print Recipe
Ingredients
- 2 cups granulated sugar
- 2 tablespoons cornstarch (optional, for storage)
Instructions
-
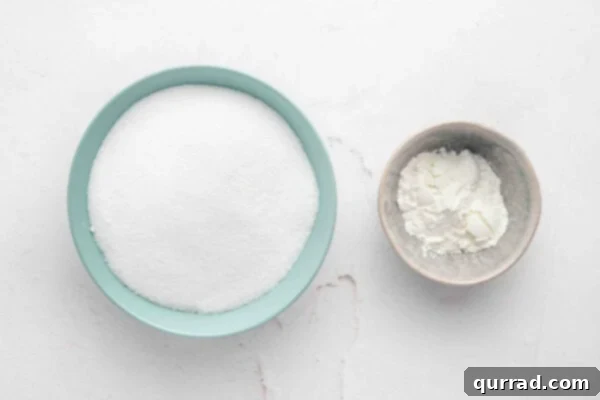
Gather your ingredients: 2 cups of granulated sugar and 2 tablespoons of cornstarch (if storing). Ensure your blending equipment is clean and completely dry.

-
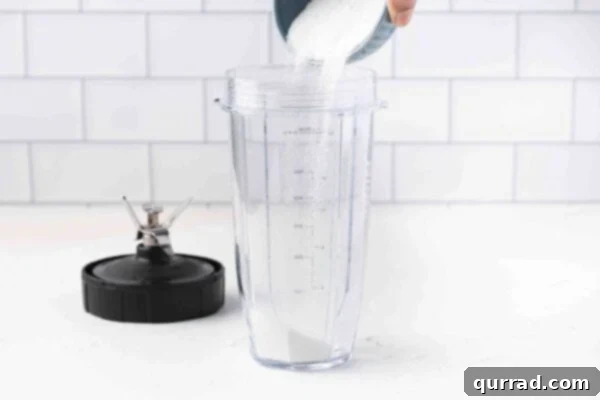
Carefully pour both the granulated sugar and the cornstarch into your high-powered blender, food processor, or spice grinder. Do not overfill; it’s better to work in batches if you have a smaller machine.
-
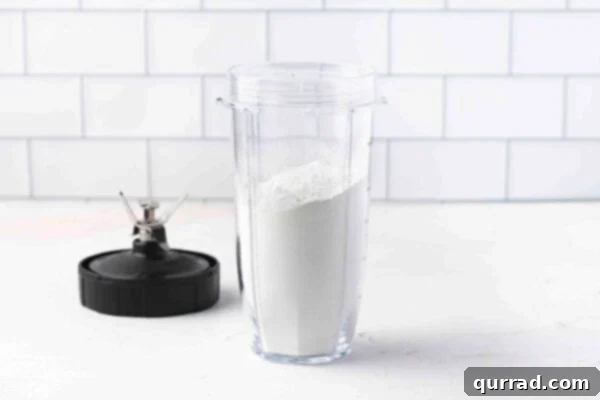
Secure the lid and blend on high speed. The blending time can range from 30 seconds to 5 minutes, depending on your machine’s power. Continuously blend, occasionally stopping to scrape down the sides if necessary. Check the consistency by pinching a small amount between your fingers; it should feel smooth and completely free of grit. If your machine starts to get very warm, give it a short rest.
-
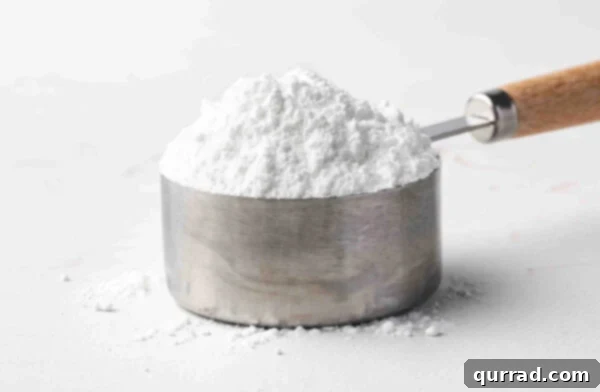
Once finely powdered, your homemade confectioners’ sugar is ready to use! For the silkiest texture, especially for delicate frostings, sift the sugar through a fine-mesh sieve before using. This helps remove any tiny lumps and incorporates air, making it extra fluffy.
Notes
Equipment: For the finest texture, a high-power blender like a Vitamix is ideal. A food processor also works well, and a spice grinder is excellent for small batches. A strong motor is crucial for achieving an extra-fine powder.
Cornstarch: Cornstarch is essential if you plan to store your powdered sugar for later use, as it prevents caking. If using immediately, you can omit it.
Consistency Check: Always perform the “pinch test” to ensure your sugar is smooth and grit-free before calling it done.
Nutrition
Calories: 25kcal |
Carbohydrates: 6g |
Protein: 0.001g |
Fat: 0.02g |
Sodium: 0.1mg |
Potassium: 0.1mg |
Fiber: 0.002g |
Sugar: 6g |
Calcium: 0.1mg |
Iron: 0.004mg
Nutritional information provided is an automatic calculation and may vary based on the specific products used and any modifications made to the recipe. For precise values, it’s recommended to calculate them independently.
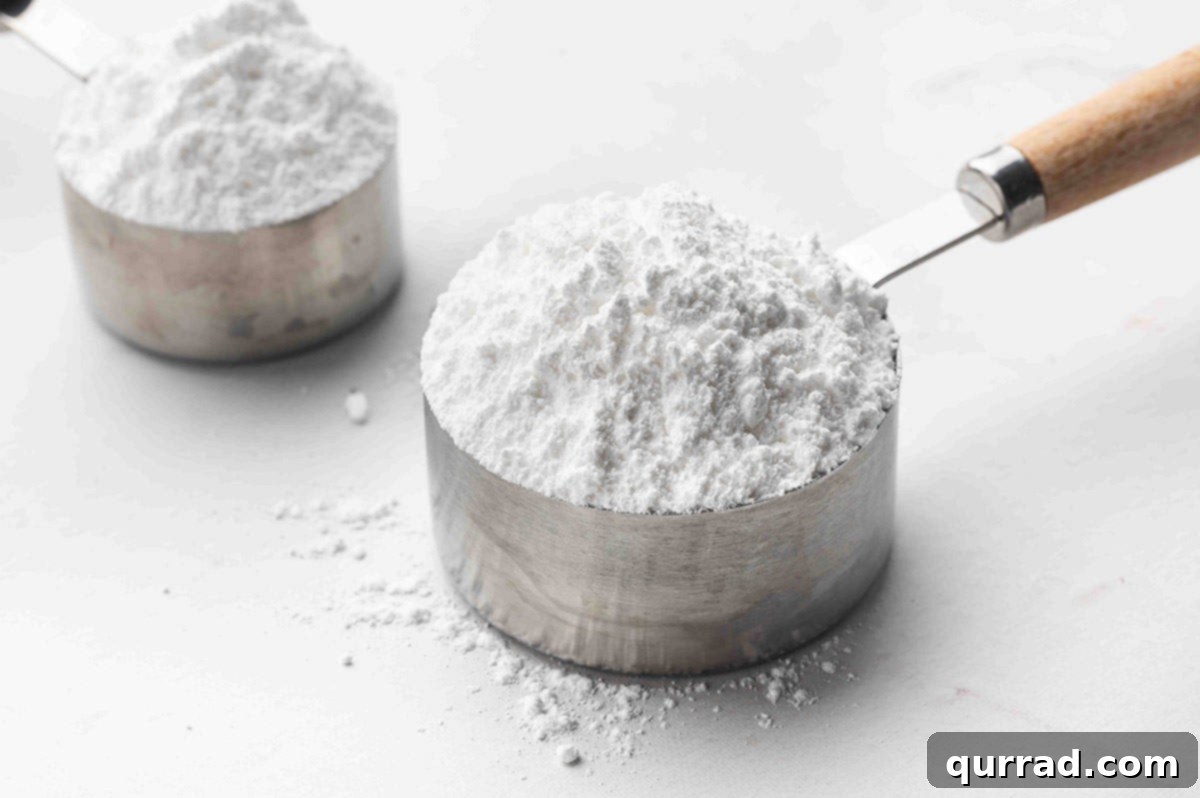
What Sugar Should I Use? Exploring Different Types
While standard white granulated sugar is the go-to for making classic powdered sugar, you have options! The type of sugar you choose can affect the color, flavor, and texture of your final product. Here’s a look at different sugars and their suitability:
- White Granulated Sugar: This is the ideal choice for a neutral-flavored, bright white powdered sugar. Its refined nature allows it to grind down into the finest, fluffiest powder without affecting the color of your icings or baked goods.
- Organic Cane Sugar: Similar to white granulated sugar, organic cane sugar can produce excellent powdered sugar. It might have a slightly off-white tint compared to highly refined white sugar, but the difference is usually negligible in most recipes.
- Turbinado Sugar / Raw Cane Sugar: These sugars have larger crystals and a light golden-brown color due to some retained molasses. They will produce a powdered sugar with a subtle caramel flavor and an off-white or light tan hue. This can be wonderful for certain recipes where a slight color and flavor variation is desired, but be mindful that it will impact the appearance of pure white frostings.
- Coconut Sugar: Derived from coconut palm sap, coconut sugar has a distinct caramel-like flavor and a brownish color. When ground, it yields a powdered sugar that retains this flavor and color. It’s a popular choice for those seeking a less refined sugar alternative, but again, be aware of the color change in your final dishes.
- Brown Sugar (Not Recommended): Brown sugar, whether light or dark, contains a significant amount of molasses, which gives it its characteristic moist texture and rich flavor. This moisture content makes it very difficult to grind into a fine, stable powder. It tends to become sticky and clumpy in the blender and won’t achieve the dry, fluffy consistency needed for powdered sugar. It’s best to avoid using brown sugar for this purpose.
Ultimately, your choice of sugar depends on your desired outcome. For traditional white frostings and delicate dusting, stick with white granulated sugar. For a more rustic appeal or specific flavor profiles, experiment with turbinado or coconut sugar, keeping their natural color in mind.
Versatile Ways to Use Homemade Powdered Sugar
Once you master making your own powdered sugar, a world of culinary possibilities opens up! It performs identically to store-bought varieties, making it suitable for countless applications. Here are just a few ideas:
- Fluffy Frostings and Icing: This is perhaps the most common use. From classic buttercream to royal icing, cream cheese frosting, and glazes, homemade powdered sugar provides the perfect base for smooth, delicious toppings. Try it in our Sugar Cookie Icing recipe or a rich Sugar Cookie Frosting.
- Delicate Dusting: Lightly dust baked goods like cakes, brownies, muffins, French toast, waffles, or fresh berries for an elegant finish. It adds a touch of sweetness and a beautiful presentation. It’s wonderful sprinkled over Jam Puff Pastry Rolls.
- Quick Glazes: Combine powdered sugar with a small amount of milk, lemon juice, or water to create simple glazes for cakes, cookies, and pastries. Add a touch of vanilla or almond extract for extra flavor.
- Sweetening Drinks: Dissolve powdered sugar into cold beverages like iced tea, lemonade, or cocktails for instant sweetness without the grittiness of granulated sugar. It’s fantastic in my Sugar Cookie Martinis!
- Stabilizing Whipped Cream: A tablespoon or two of powdered sugar not only sweetens homemade whipped cream but also helps to stabilize it, making it last longer without deflating.
- Candy Making: Essential for recipes like fondant, fudge, and other confections where a smooth, fine sugar is required.
- Meringues: For light and airy meringues, powdered sugar helps create a smoother, more stable foam when folded into egg whites.
Proper Storage and Shelf Life
One of the fantastic attributes of powdered sugar is its impressive shelf life. When made with cornstarch and stored correctly, your homemade batch can last just as long as, if not longer than, store-bought varieties. This means you can confidently make a larger batch and have it ready whenever inspiration strikes.
- Airtight Container is Key: Always store your powdered sugar in an airtight container. This is crucial to protect it from moisture and air, which are the primary culprits behind clumping and hardening. Glass jars with tight-fitting lids, plastic food storage containers with secure seals, or even heavy-duty freezer bags (squeezing out excess air) work wonderfully.
- Cool, Dry Place: Similar to granulated sugar, powdered sugar should be kept in a cool, dry pantry or cabinet, away from direct sunlight, heat, and humidity. Avoid storing it near sources of heat like ovens or dishwashers, as fluctuating temperatures and moisture can compromise its quality.
- The Role of Cornstarch in Storage: If you included cornstarch in your recipe, it will actively absorb any residual moisture, further preventing clumps and extending its usable life. Without cornstarch, even in an airtight container, the sugar will eventually solidify.
- Shelf Life: Stored properly, homemade powdered sugar with cornstarch can last up to 1 year or even longer. While it doesn’t truly “go bad” in the sense of spoiling, it can lose its fine, fluffy texture over time if exposed to too much air or moisture.
- Reviving Clumped Sugar: If your powdered sugar does develop some clumps (it happens!), don’t despair! Simply sift it through a fine-mesh sieve before use. This will break up any lumps and restore its light, airy texture, making it perfectly usable again.
By following these simple storage guidelines, you can ensure your homemade powdered sugar remains fresh, fine, and ready for all your baking adventures.
More Essential Cooking Guides:
- How to Make Brown Sugar
- Homemade Whipped Cream
- How to Make the Best Scrambled Eggs
- How to Make Caramelized Onions
- Homemade Graham Cracker Crust
- Homemade Chicken Stock
- World’s Easiest Sandwich Bread
We hope you enjoyed this quick and easy guide to making powdered sugar at home! If you tried this recipe, please leave a rating below to let us know how it turned out. Don’t forget to connect with Belly Full on TikTok, Instagram, Facebook,Pinterest, and YouTube for more delicious recipes and kitchen tips!