
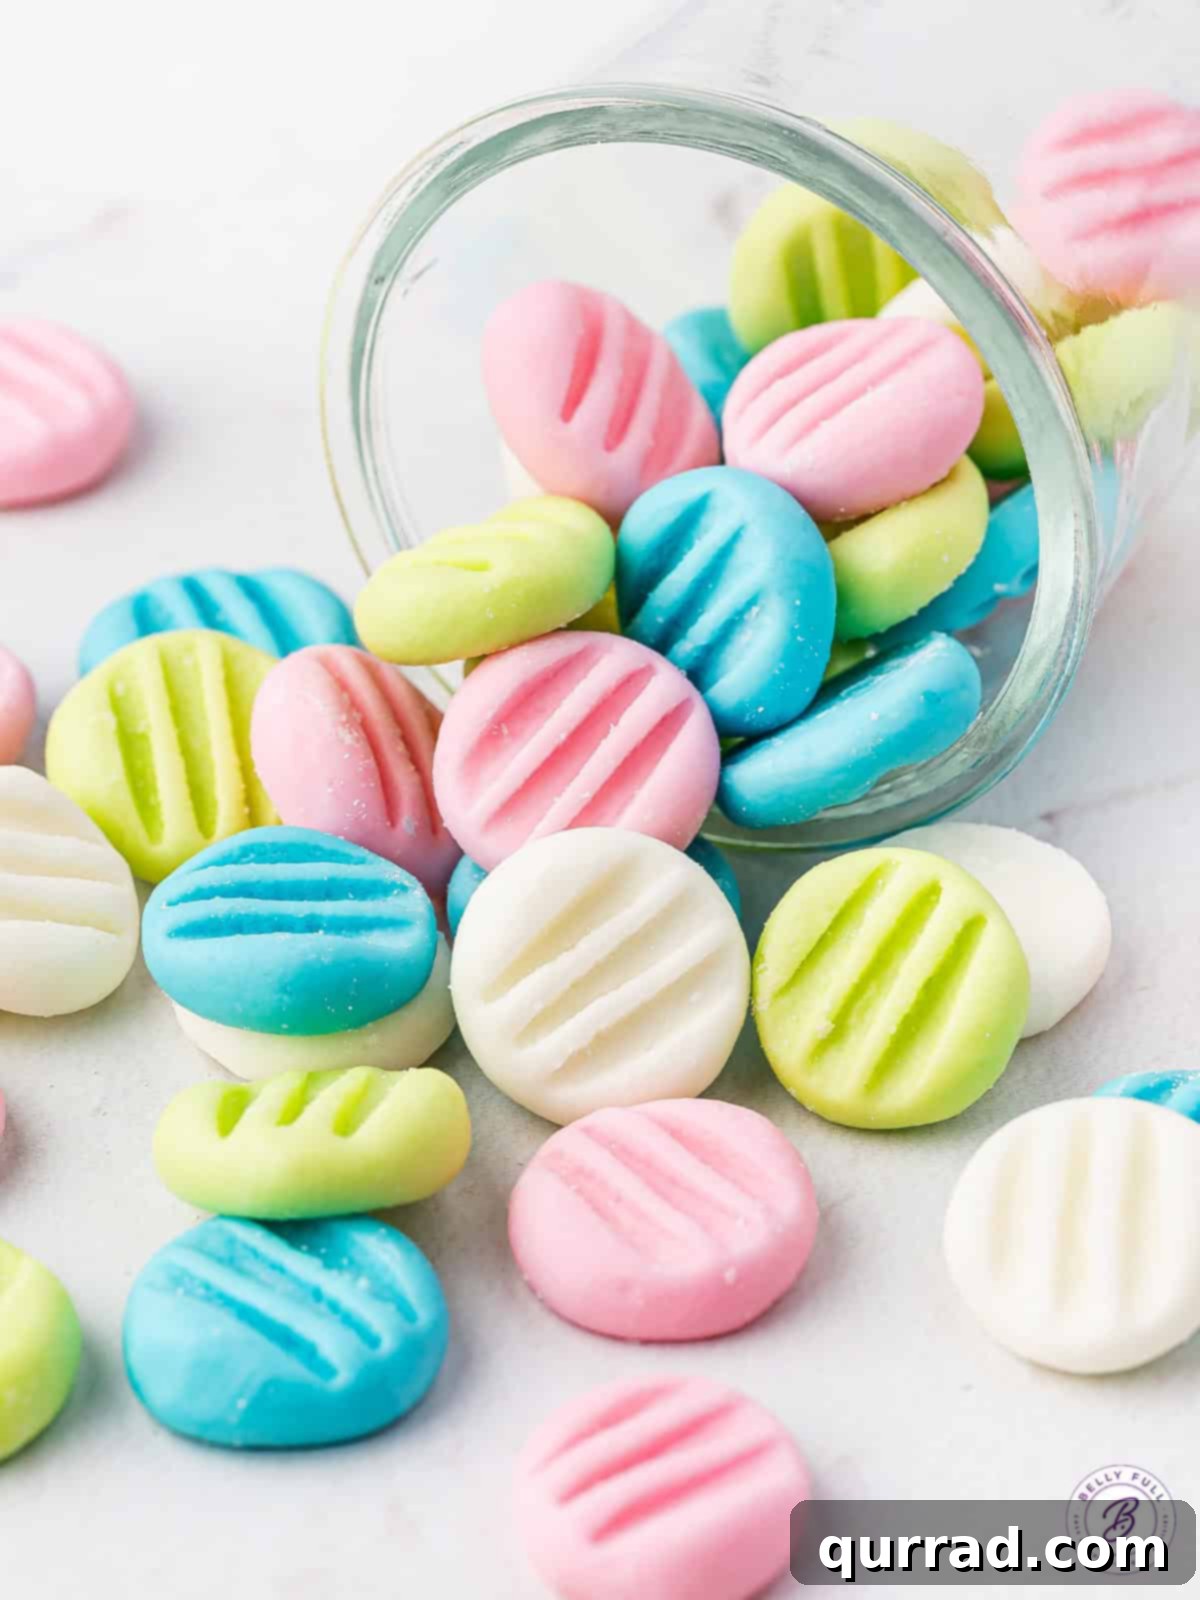
These homemade Cream Cheese Mints are a true old-fashioned classic candy, beloved for their irresistibly melt-in-your-mouth texture and bright, refreshing peppermint flavor. Remarkably simple to make with just four core ingredients, this recipe offers endless possibilities for customization. You can effortlessly adjust their color to perfectly match any celebration, making them an ideal treat for baby showers, elegant weddings, festive holidays, or thoughtful gift-giving.
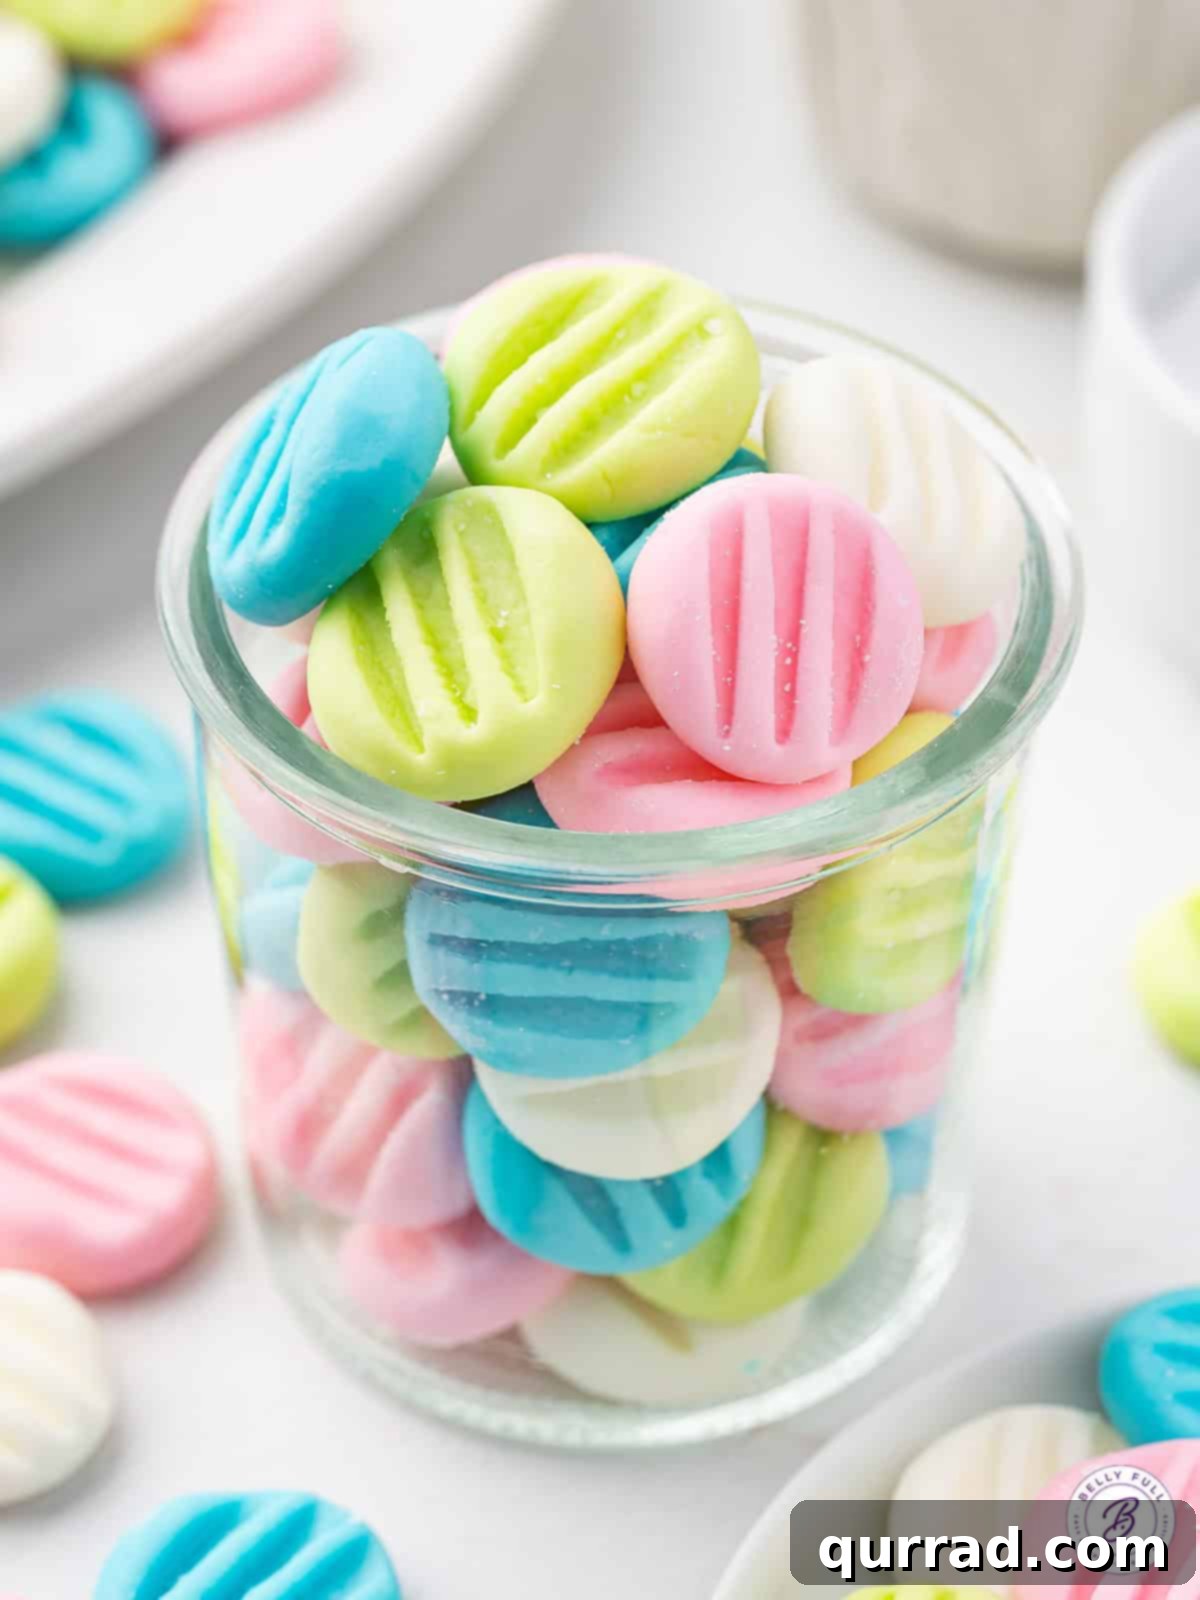
Growing up, while my parents weren’t known for grand holiday parties, I always looked forward to the incredible spread of homemade candies and cookies at my best friend’s house. Her mom’s treat tray was legendary, featuring everything from delightful haystack cookies and classic thumbprint cookies to festive snowball cookies. Among all these goodies, those creamy, cool cream cheese mints were an absolute staple, always disappearing first!
Over the years, these charming, old-fashioned mints made appearances at countless other gatherings – graduation celebrations, elegant wedding receptions, and joyous baby showers. Each time I encountered them, they were just as wonderful as I remembered: tiny, buttery gems with a soft, yielding texture and a vibrant burst of peppermint. Their ability to be customized in any color you desire makes them incredibly versatile, and they’re truly a joy to give and receive.

A Taste of Nostalgia: The Enduring Charm of Cream Cheese Mints
There’s something uniquely comforting about a classic confection that transports you back to simpler times. Cream Cheese Mints are precisely that kind of treat. They embody a sweet nostalgia, reminiscent of community potlucks, family gatherings, and celebrations where homemade touches were cherished. Their simple elegance and delicate flavor make them a timeless addition to any dessert table.
Beyond their nostalgic appeal, these mints are incredibly versatile. Need a charming favor for a bridal shower? Pastel pinks, blues, and whites are perfect. Planning a festive Christmas party? Red and green mints add a delightful pop of color. Even for a casual get-together, a tray of vibrantly colored mints can elevate the experience and provide a refreshing bite after a meal. Their small size makes them ideal for portion control, yet their rich flavor leaves a lasting impression.
Why Make Your Own Cream Cheese Mints?
While some may opt for store-bought candies, there are numerous compelling reasons to whip up a batch of homemade Cream Cheese Mints:
- Unmatched Freshness: Nothing compares to the fresh, vibrant taste of a candy made just hours before serving. You control the quality of ingredients, ensuring the best flavor.
- Complete Customization: From color to flavor, you have full creative control. Match your party theme, favorite hues, or experiment with different extracts for a unique twist.
- Cost-Effective: Making your own treats is often more economical than purchasing artisanal candies, especially when preparing for large events.
- Thoughtful Gift-Giving: A beautifully packaged box of homemade cream cheese mints makes a heartfelt and personal gift for friends, neighbors, teachers, or hosts.
- Fun and Rewarding: The process itself is enjoyable, simple enough for beginners, and yields a delightful result that’s incredibly satisfying to share.
Essential Ingredients for Perfect Mints
This delightful cream cheese mint recipe requires just a handful of common ingredients, plus optional food coloring for visual appeal. Each component plays a crucial role in achieving the signature melt-in-your-mouth texture and vibrant flavor.
- Cream Cheese: An 8-ounce package of full-fat cream cheese is the foundation of these mints. Ensure it is fully softened to room temperature before mixing. This is vital for achieving a smooth, lump-free dough that blends easily with the other ingredients, creating that signature creamy texture.
- Butter: Three tablespoons of softened butter add richness and contribute to the smooth consistency. Like the cream cheese, it should be at room temperature for optimal blending. If you’re using unsalted butter, a tiny pinch of salt can be added to enhance the overall flavor.
- Powdered Sugar (Confectioners’ Sugar): This is the star ingredient for sweetness and texture, providing the bulk of the mints. You’ll need approximately 8 cups (2 pounds). Powdered sugar dissolves seamlessly, creating a silky-smooth, non-grainy candy. Granulated sugar, on the other hand, would result in a gritty texture, so it’s essential to stick with powdered sugar.
- Peppermint Extract: About 1 ¼ teaspoons of peppermint extract delivers that signature bright and refreshing minty flavor. Make sure to use extract, not oil, as oils can be much more potent and can sometimes seize the mixture.
- Food Gel Coloring (Optional): For vibrant, customizable colors, food gel coloring is highly recommended. Unlike liquid food coloring, gels are concentrated and won’t thin out your dough, allowing you to achieve rich hues with just a small drop. Choose any colors to suit your holiday or occasion.
Expert Tips for Melt-in-Your-Mouth Cream Cheese Mints
Achieving perfectly smooth, firm, and flavorful cream cheese mints is easy with a few key techniques. These tips will help you master the recipe and ensure your mints are always a hit.
- The Sugar Secret: Powdered is Key. As mentioned, always use powdered sugar (confectioners’ sugar) and never granulated sugar. Granulated sugar’s coarser texture will prevent the mints from achieving their characteristic smooth, melt-in-your-mouth consistency, resulting in a gritty, unpleasant bite.
- Gradual Sugar Addition for Smoothness. This recipe calls for a substantial amount of powdered sugar (up to 8 cups). To ensure a perfectly smooth and fully combined mixture, it’s crucial to add the powdered sugar gradually, about a cup at a time. This allows the ingredients to incorporate properly without overwhelming the mixer or creating clumps. Scrape down the sides of the bowl frequently between additions.
- Keep the Dough Covered. This recipe yields a generous batch of approximately 70 mints. While you’re busy shaping, any exposed dough can start to dry out, making it crumbly and harder to work with. To prevent this, always keep the portion of dough you’re not actively shaping covered tightly with plastic wrap or a damp cloth.
- Patience is a Virtue: Firming Up Your Mints. Once formed, the mints need time to set and firm up at room temperature. This crucial step can take several hours (at least 3 hours, sometimes longer), especially in humid conditions. Ensure they are placed in an area away from direct heat or moisture. The mints are ready when they are firm to the touch and no longer squishy. If the bottoms feel damp, flip them over and allow them to firm up on the other side.
- Achieving Vibrant Colors. When coloring your dough, use food gel coloring for best results. Gels provide intense color with minimal product, preventing the dough from becoming too wet. Start with a tiny drop, mix thoroughly, and add more if a deeper shade is desired. Remember, a little goes a long way.
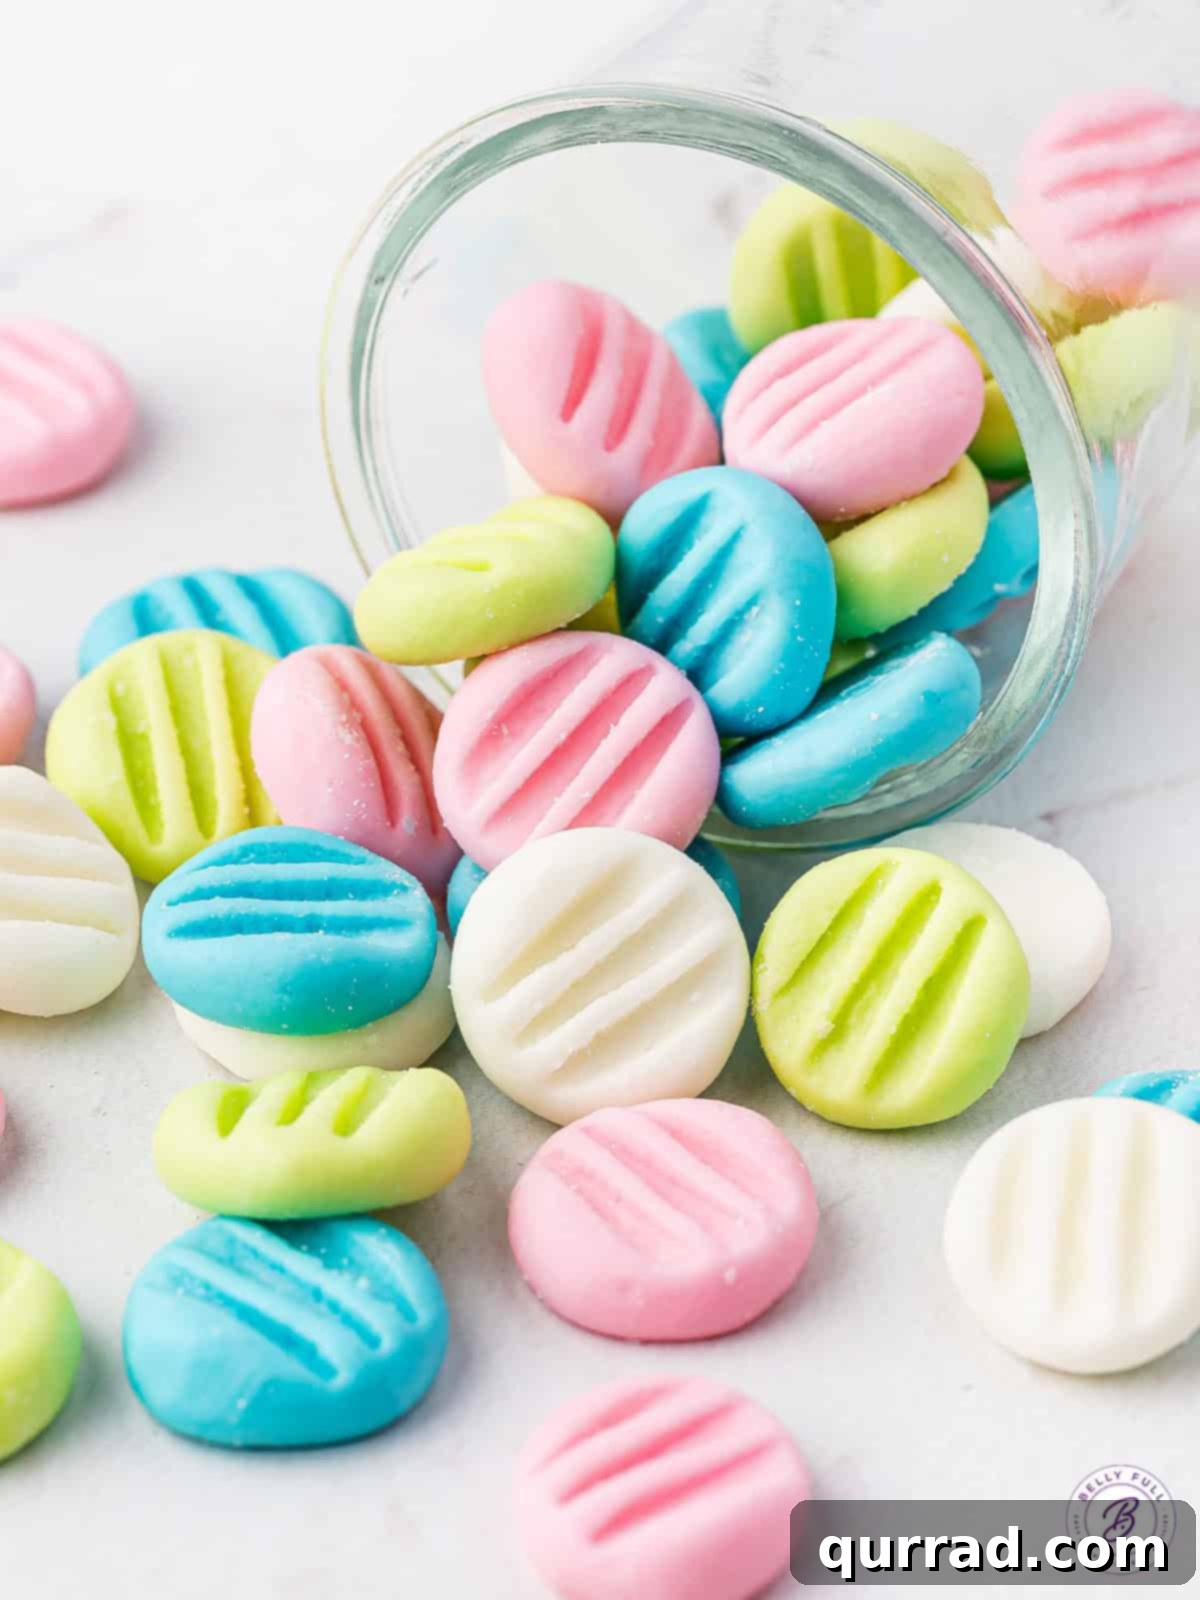
- Shaping Techniques for Variety. While the classic fork-tine press creates a lovely pattern, don’t hesitate to experiment! You can flatten them with the bottom of a glass for a smooth top, or even use small candy molds or a cookie press for more intricate designs, especially for themed events.
Creative Variations to Personalize Your Mints
One of the best aspects of this Cream Cheese Mint recipe is its adaptability. Feel free to get creative and tailor them to your personal taste or the occasion:
- Decorative Impressions: Adorn the mints with a simple fork tines pattern, as demonstrated in this recipe. This classic look is elegant and easy to achieve.
- Smooth Finish: For a sleek, modern appearance, simply flatten the mints with the bottom of a glass, ensuring an even, polished surface.
- Festive Shapes: Elevate your mints for special occasions by using a cookie press with various dies or small candy molds to create intricate and themed designs.
- Seasonal Colors: Dye your mints any color to perfectly match the season or specific event. Think pastels for spring, bright hues for summer, warm tones for autumn, and festive red and green for the holidays.
- Chocolate Dipped Delight: Keep the mint dough white for a classic look, then dip or drizzle them in melted chocolate. For a smooth, shiny coating that hardens nicely, mix a small amount of coconut oil into your melted chocolate before dipping.
- Flavor Exploration: While peppermint is traditional, feel free to experiment with different extracts. Try a hint of almond for a delicate, nutty flavor, lemon extract for a bright, zesty twist, or even spearmint for a milder mint profile.
Proper Storage for Lasting Freshness
Proper storage is key to maintaining the delightful texture and fresh flavor of your homemade cream cheese mints. They keep well for an extended period, making them ideal for preparing in advance.
- Fridge Storage: Cream cheese mints should always be stored in an airtight container in the refrigerator. To prevent them from sticking together or absorbing moisture, separate layers with parchment paper or waxed paper. When stored correctly, these mints will maintain their quality for 3 to 4 weeks. Simply take them out a few minutes before serving to allow them to come to a slightly softer, more enjoyable temperature.
- Freezer Storage: For even longer-term preservation, cream cheese mints freeze beautifully for up to 6 months. Arrange them in a single layer on a baking sheet to flash freeze for about an hour, then transfer them to a freezer-safe airtight container or a resealable plastic freezer bag, separating layers with waxed paper to prevent sticking. Thaw them in the refrigerator overnight before you plan to enjoy them.
Frequently Asked Questions (FAQ) About Cream Cheese Mints
Can I use different flavorings instead of peppermint?
Absolutely! Peppermint is a classic choice, but you can experiment with other extracts like almond, vanilla, lemon, or even a combination. Adjust the quantity to your taste, starting with a smaller amount and adding more as needed.
Why is my mint dough sticky/crumbly?
If your dough is too sticky, it likely needs more powdered sugar. Gradually add a tablespoon at a time until it reaches a Play-Doh-like consistency that’s easy to handle. If it’s too crumbly, it might be too dry or overworked. A tiny bit more softened cream cheese or butter, or even a few drops of milk, can help bring it together, but be cautious not to make it too wet.
How far in advance can I make these mints?
These mints are fantastic for making ahead! They can be stored in the refrigerator for 3-4 weeks or frozen for up to 6 months. This makes them a perfect stress-free option for holidays and parties.
What if I don’t have food gel coloring?
While gel coloring is recommended for vibrant colors without altering dough consistency, you can use liquid food coloring. Just be aware that you might need more drops to achieve your desired shade, and it could slightly affect the dough’s texture, potentially requiring a bit more powdered sugar to compensate.
These homemade cream cheese mints are more than just candy; they’re a delightful tradition, easy to prepare, and incredibly rewarding to share. Their versatility and irresistible flavor make them a staple for any occasion. Give this recipe a try, and you’ll quickly discover why they’ve remained a beloved classic for generations!
Follow Belly Full on TikTok, Facebook,Instagram,Pinterest, and YouTube for more delicious recipes!
Cream Cheese Mints
30 mins
3 hrs
3 hrs 30 mins
70 mints
These homemade Cream Cheese Mints have a melt-in-your-mouth texture and a bright peppermint flavor. They’re super easy to make with just 4 ingredients and you can customize the color to suit any occasion!

Pin Recipe
Print Recipe
Ingredients
- 1 (8 ounce) package cream cheese, softened to room temperature
- 3 tablespoons butter, softened to room temperature
- 1 & 1/4 teaspoons peppermint extract
- 8 cups (2 pounds) powdered sugar, plus more for rolling/pressing
- Food gel coloring (of your choice, optional)
Instructions
-
Line 2 large baking sheets with parchment paper and lightly dust with powdered sugar. Set aside.
-
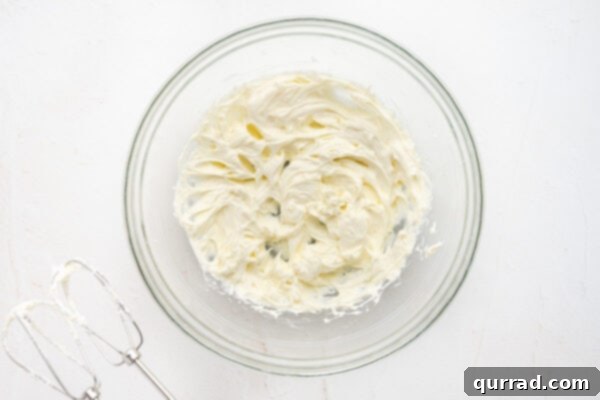
Using a handheld mixer and a large bowl (or a stand mixer), beat together the 8 ounces of softened cream cheese and 3 tablespoons softened butter until the mixture is fully combined, smooth, and creamy.

-
Beat in the 1 & 1/4 teaspoons of peppermint extract until well incorporated.
-
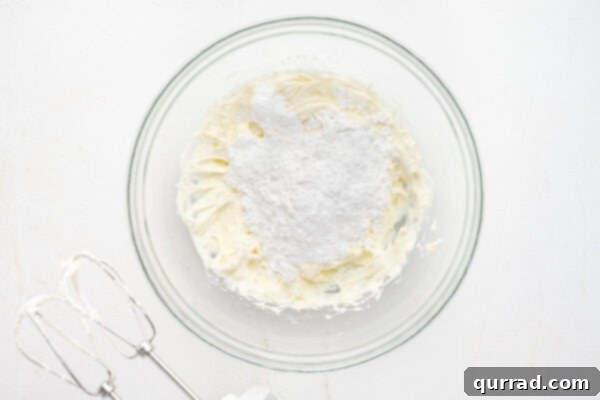
Gradually blend in the 8 cups of powdered sugar. Start by adding 2 cups, then continue to add the remaining powdered sugar, 1 cup at a time, until combined and smooth. Scrape down the bowl as needed between additions to ensure all ingredients are well mixed. The dough should become very stiff and should not be sticky. If it remains sticky, add a little more powdered sugar, a tablespoon at a time, until it reaches a consistency similar to Play-Doh.
-
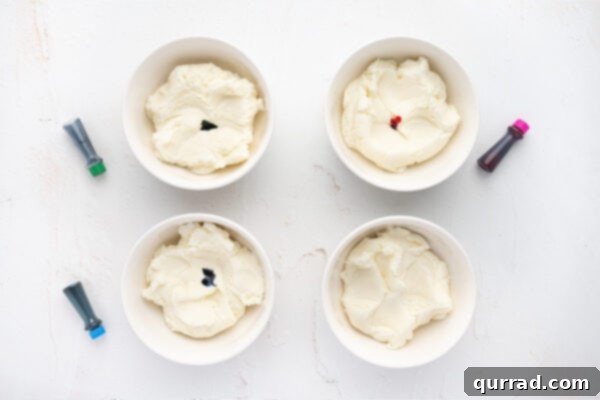
At this point, you can either leave the dough white or divide it into separate bowls (depending on how many different colors you wish to use).
-
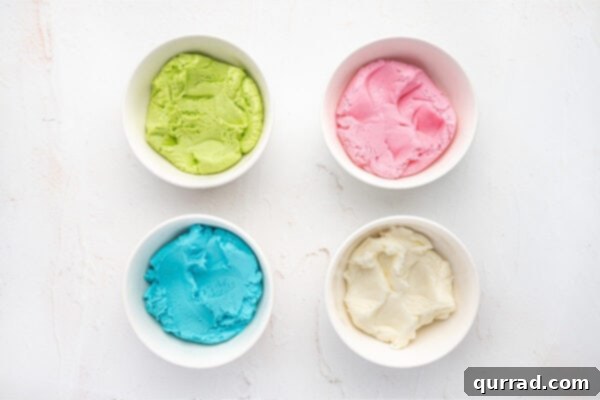
For pastel colors, add just 1 small drop of food gel coloring to each bowl of dough you intend to color. Mix thoroughly until the color is evenly incorporated and no white streaks remain. It’s best to work with one color at a time, keeping the remaining dough covered to prevent it from drying out.
-
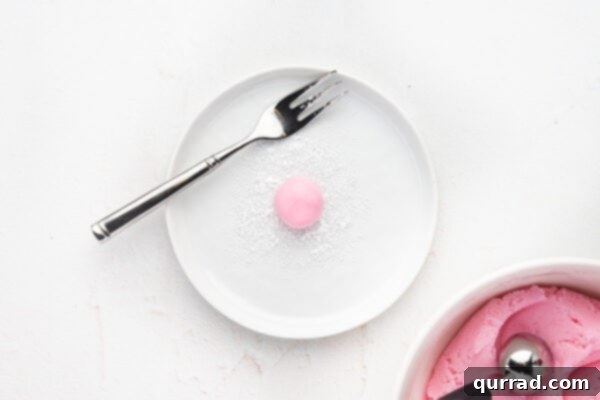
Pinch off small amounts of the dough, roughly 1 teaspoon each. Using the palms of your hands, roll each piece into a smooth ball, ensuring any cracks disappear.
-
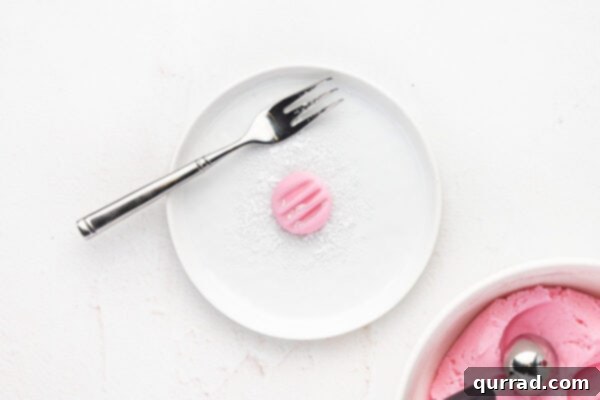
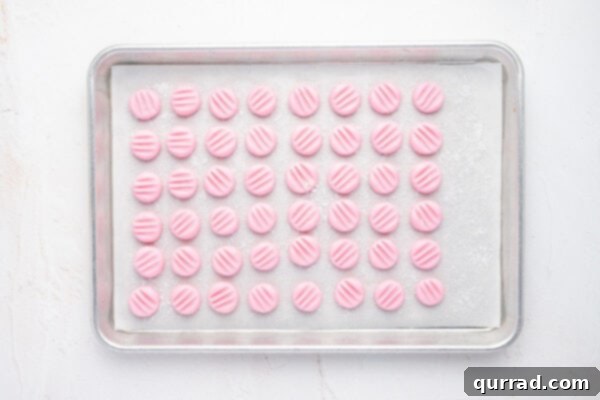
Transfer the formed balls to the prepared baking sheets, spacing them a few inches apart. Working quickly, dip a fork in powdered sugar and gently press the tines into the top of each ball to flatten them, creating a decorative mark (this step also helps prevent sticking). Repeat the rolling and pressing process for all remaining colors and batches of mints.
-
Let the mints stand, uncovered, at room temperature, away from any heat or moisture, for at least 3 hours. This allows them to firm up and fully absorb the powdered sugar. If the bottoms of the mints feel moist, carefully flip them over and let them stand again until both sides are firm. They should not feel squishy at all when ready.
-
Once firm, cream cheese mints can be stored in an airtight container in the refrigerator for 3 to 4 weeks, or in a freezer-safe container in the freezer for up to 6 months. To prevent sticking, arrange them in a single layer between sheets of wax paper.

Video
An embedded video demonstrating the process of making Cream Cheese Mints would typically appear here.
Notes
You can choose to simply flatten the mints with the bottom of a glass, instead of using fork tines for decoration. Don’t be afraid to try different flavored extracts like almond or lemon for a unique twist. If you opt to leave the dough white, these mints are also absolutely delicious coated in melted chocolate! For best results, I recommend mixing in a bit of coconut oil with your melted chocolate first; this helps the chocolate harden beautifully after dipping.
Nutrition
| Calories: 66 kcal
| Carbohydrates: 13 g
| Protein: 0.2 g
| Fat: 2 g
| Saturated Fat: 1 g
| Polyunsaturated Fat: 0.1 g
| Monounsaturated Fat: 0.4 g
| Trans Fat: 0.02 g
| Cholesterol: 5 mg
| Sodium: 14 mg
| Potassium: 5 mg
| Sugar: 13 g
| Vitamin A: 59 IU
| Calcium: 3 mg
| Iron: 0.01 mg
Nutritional information provided is an automatic calculation and can vary based on the exact products you use and any changes made to the recipe. If these numbers are critically important to you, it is recommended to calculate them yourself.
Did you make this? Leave a rating below!
More Holiday Candy Recipes:
- Homemade Caramels
- Candied Pecans
- Crockpot Candy
- Polar Bear Paws
- Old Fashioned Potato Candy