Master Your Kitchen: 10 Essential Tips for Effortless Cooking, Baking, and Cleanup
Are you tired of encountering kitchen tips that sound brilliant in theory but never quite make it into your daily routine? We’ve all been there – scrolling through countless “hacks” that promise to revolutionize your cooking, only to find them impractical or overly complicated. The truth is, genuinely useful kitchen wisdom should simplify your life, save you time, and make your culinary adventures more enjoyable, not add another layer of complexity.
This comprehensive guide presents ten indispensable kitchen strategies that are more than just clever ideas; they are tried-and-true techniques that consistently deliver real-world benefits. From enhancing your baking prowess and streamlining meal preparation to making cleanup a breeze, these practical insights are designed to be integrated seamlessly into your daily kitchen activities. Prepare to transform your culinary space into a hub of efficiency and enjoyment with these truly actionable kitchen hacks.
1. Accelerate Dough Rising with a Heating Pad
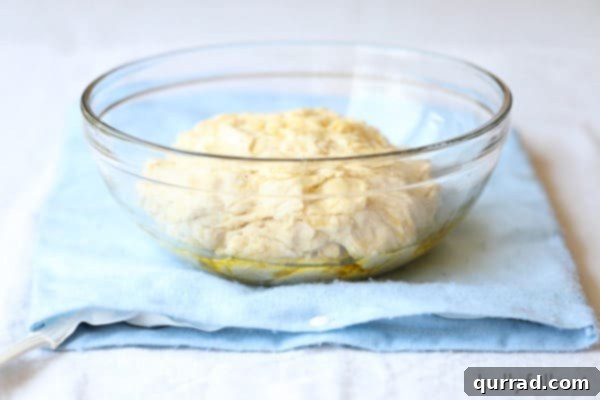
For any avid baker, especially those who live in colder climates or simply crave quicker results, this method is an absolute game-changer. The activation and growth of yeast are highly dependent on temperature. A consistently warm environment allows yeast to ferment more rapidly, leading to a faster and more robust rise for your dough. Historically, finding a reliably warm spot in a drafty kitchen, especially during winter months, could be a challenge. That’s where a humble heating pad comes in.
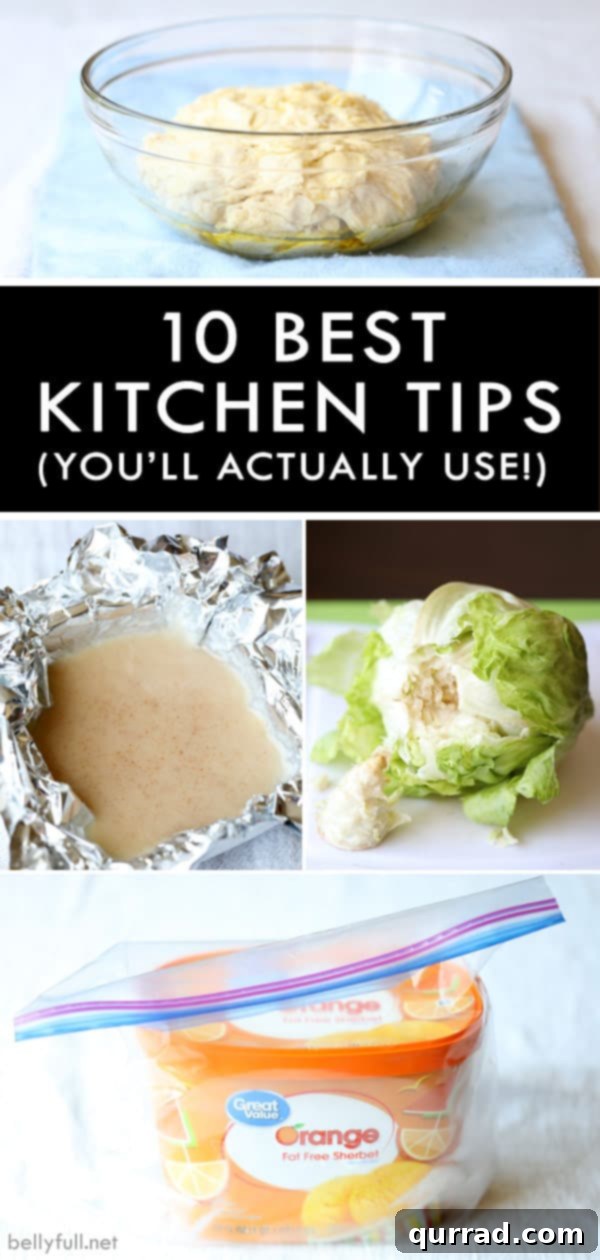
Simply place your bowl of dough, covered, directly onto a heating pad set to its lowest setting. The gentle, consistent warmth will significantly cut down the proofing time, often by half or more, ensuring your bread, pizza dough, or rolls are ready for the oven sooner. This technique eliminates the guesswork and inconsistency of relying on oven pilot lights or sunlit windows, providing a controlled environment crucial for perfect yeast activation every time. It’s a simple yet incredibly effective way to ensure your baked goods achieve that perfect fluffy texture without the long wait.
2. Nonstick Spray: The Secret to Releasing Sticky Ingredients
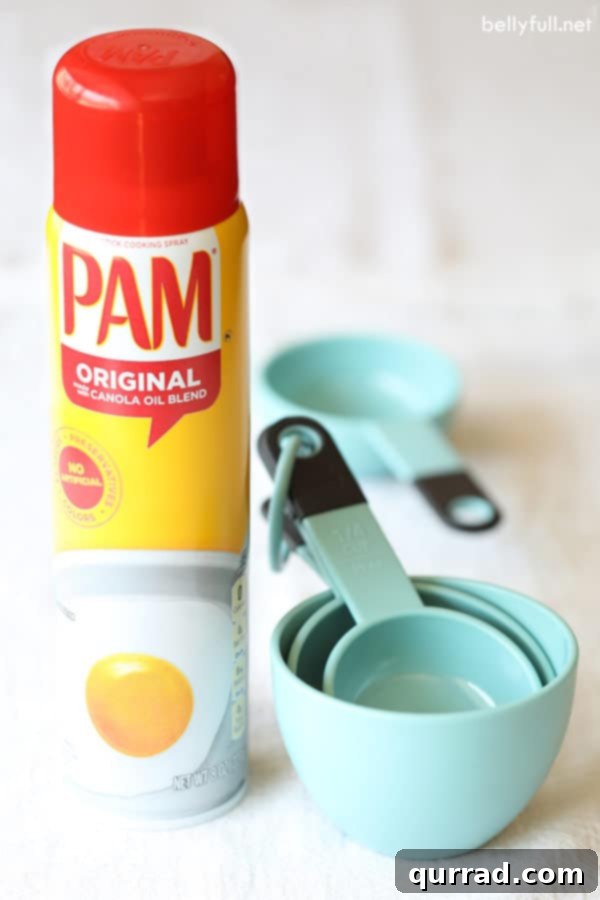
Anyone who has ever tried to measure honey, molasses, or peanut butter knows the frustration of dealing with sticky residues. These viscous ingredients cling stubbornly to measuring cups and spoons, making accurate measurement difficult and cleanup tedious. This simple trick will not only save you time but also ensure precise measurements for your recipes. Before scooping or pouring, lightly coat the inside of your measuring cups or spoons with nonstick cooking spray or a neutral oil.
The thin layer of oil creates a barrier that prevents the sticky substance from adhering to the surface. As a result, ingredients like syrup, honey, agave nectar, or even thick nut butters will slide out effortlessly, leaving virtually no residue behind. This means less scraping, less waste, and significantly easier washing up. It’s a small preparatory step that yields immense benefits, making your baking and cooking process smoother and more enjoyable, especially when working with challenging ingredients.
3. Conquer Onion Tears: A Simple Chilling Hack
Onions are a staple in countless savory dishes, providing a foundational flavor that is hard to replicate. However, the joy of cooking with them often comes at the cost of stinging, watery eyes. This common kitchen woe is caused by sulfur compounds released when an onion is cut, which then react with the moisture in your eyes to form sulfuric acid. While various remedies exist, from ventilation to sharp knives, one of the most effective and least intrusive methods involves temperature control.
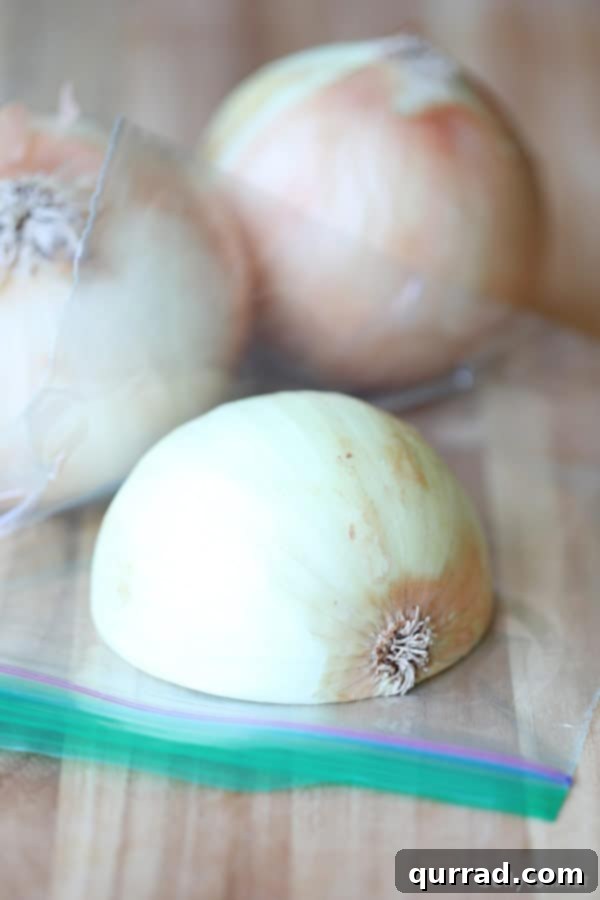
To eliminate those unwelcome tears, simply cut your onion in half and place the halves in a resealable plastic bag. Store them in the refrigerator for at least 30 minutes, or ideally, in the morning if you plan to use them for dinner. The cold temperature significantly slows down the release of the tear-inducing enzymes. By the time you’re ready to chop, the enzymes are far less active, allowing you to slice and dice your onions without any discomfort. This method ensures you can enjoy the delicious flavor of fresh onions without the typical watery aftermath.
4. Keep Ice Cream Scoop-Ready with This Storage Method
There’s nothing quite like a bowl of ice cream, but the struggle of scooping rock-hard frozen dessert can often detract from the experience. Once opened, ice cream is susceptible to freezer burn and hardening due to exposure to cold air and the formation of ice crystals. This makes it incredibly difficult to scoop, sometimes requiring a significant wait for it to soften or even risking bent spoons.
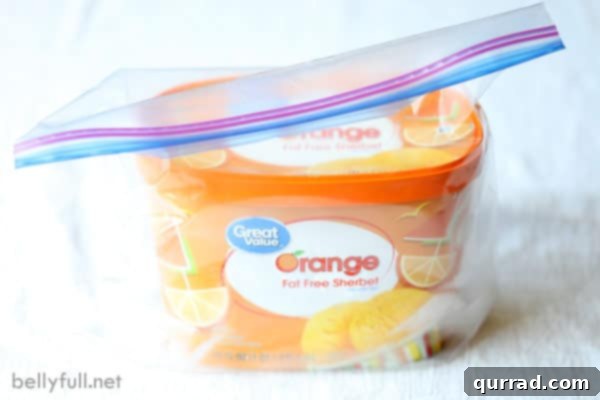
The solution is surprisingly simple and effective: after opening a new container of ice cream, place the entire carton into a gallon-sized resealable plastic bag. The crucial step here is to press out as much air as possible from the bag before sealing it and returning it to the freezer. This creates an additional insulating layer that minimizes exposure to cold air and reduces ice crystal formation, keeping your ice cream consistently softer and easier to scoop. It’s a small effort that pays off immensely, ensuring every spoonful is smooth and enjoyable.
5. Proper Disposal of Bacon Grease and Other Fats
Bacon grease adds unparalleled flavor to many dishes, but once you’ve finished cooking, disposing of the leftover fat can be a dilemma. Pouring hot grease down the drain is a major plumbing hazard; as it cools, it solidifies and adheres to pipes, leading to costly clogs and potential damage. It’s also environmentally irresponsible. Therefore, proper disposal is essential, and it’s simpler than you might think.
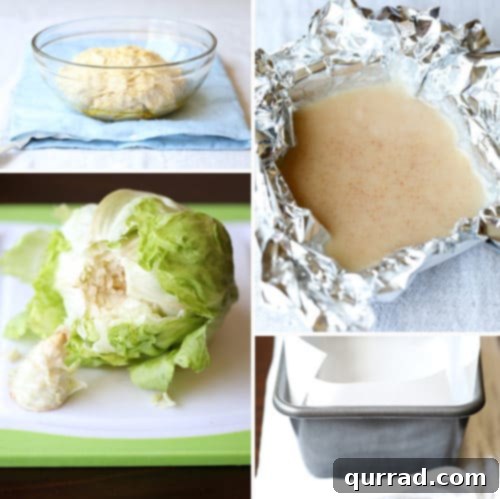
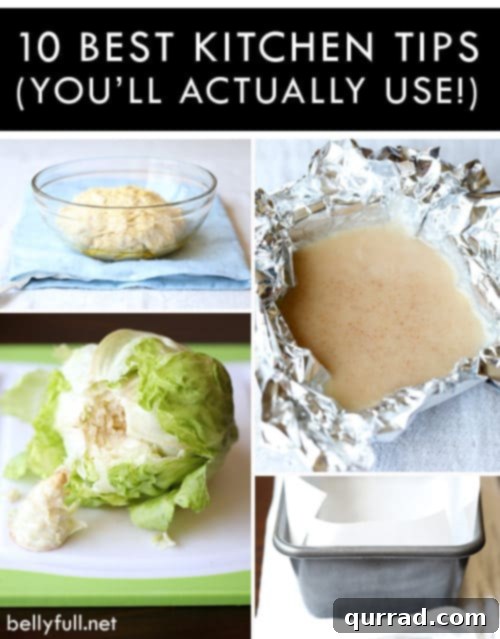
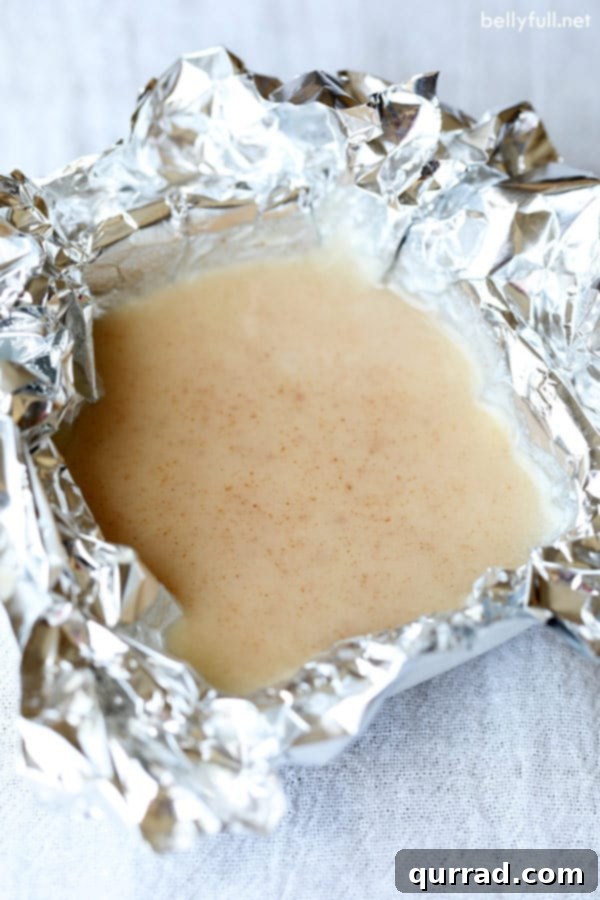
Instead of risking your plumbing, simply line an old dish, bowl, or cup with aluminum foil. Carefully pour the hot bacon grease (or any other fats that solidify at room temperature, like coconut oil or lard) into the foil-lined container. Allow the grease to cool completely and harden. Once solid, you can easily roll up the foil, encasing the hardened fat, and toss it directly into the garbage. This method is mess-free, safe for your plumbing, and prevents environmental contamination. For those who wish to reuse bacon grease, strain it through a fine-mesh sieve into an airtight container and store it in the refrigerator for future flavorful cooking.
6. Effortlessly Remove the Core from a Head of Lettuce
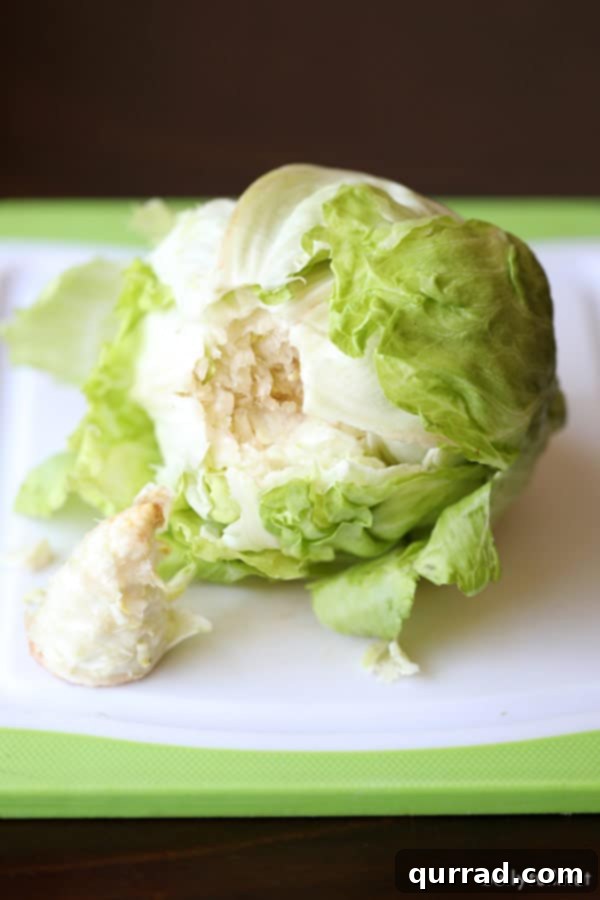
Whether you’re making a large salad, prepping lettuce for sandwiches, or creating wraps, separating individual leaves from a head of lettuce can be surprisingly frustrating, especially when dealing with the tough, bitter core. Trying to meticulously pull leaves away often results in torn pieces and wasted lettuce. This simple, satisfying trick allows you to remove the entire core in one swift motion, leaving you with perfectly intact, ready-to-use leaves.
To execute this, hold the head of lettuce firmly in both hands, stem-side down. With a decisive motion, firmly slam the stem end against a clean, hard counter surface. You might need to repeat this 1-3 times, depending on the firmness of the lettuce. The impact loosens the core from the leaves. Once loosened, simply twist the core and pull it out. It should detach cleanly, leaving all the beautiful, fresh leaves easily accessible and ready for your culinary creations. This method is not only efficient but also remarkably effective.
7. Shred Cooked Chicken Quickly and Effortlessly with an Electric Mixer
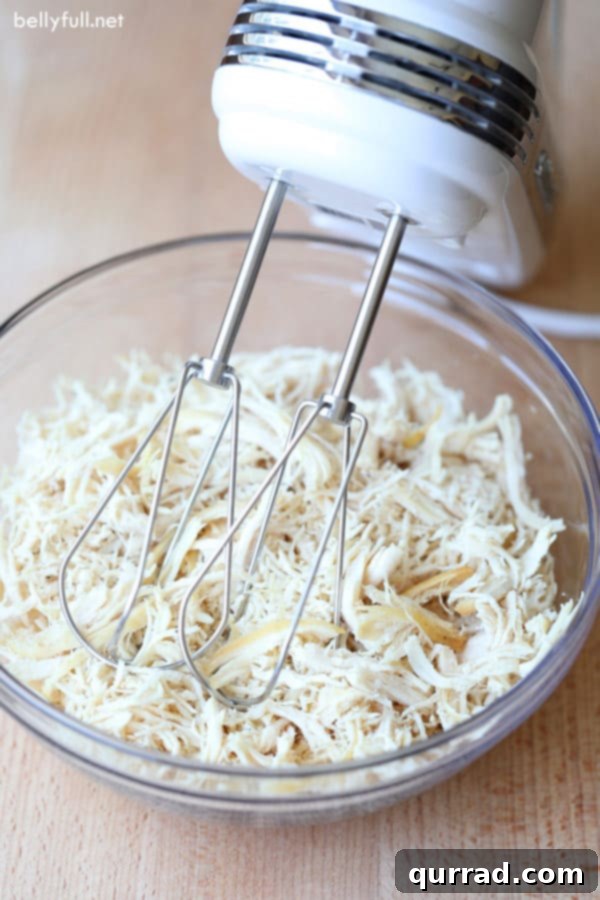
Many recipes, from hearty soups and comforting casseroles to tacos, enchiladas, and salads, call for shredded chicken. While two forks can get the job done, it’s often a time-consuming and messy process, especially when the chicken is hot. For meal preppers or anyone regularly cooking large quantities of chicken, this technique is a revelation, dramatically cutting down prep time and effort.
After cooking your chicken (whether boiled, baked, or slow-cooked), place the pieces into a large, sturdy bowl. Using a handheld electric mixer fitted with beaters, turn it on to a low speed. Gently press the beaters into the chicken. The mixer will effortlessly shred the chicken into perfect, even pieces within seconds. This method is far superior to using forks, delivering consistently shredded chicken much faster and with less physical strain. This technique also works wonderfully for other cooked meats like pork shoulder for pulled pork, making your meal prep a breeze.
8. Rapidly Soften Hard Butter for Baking Success
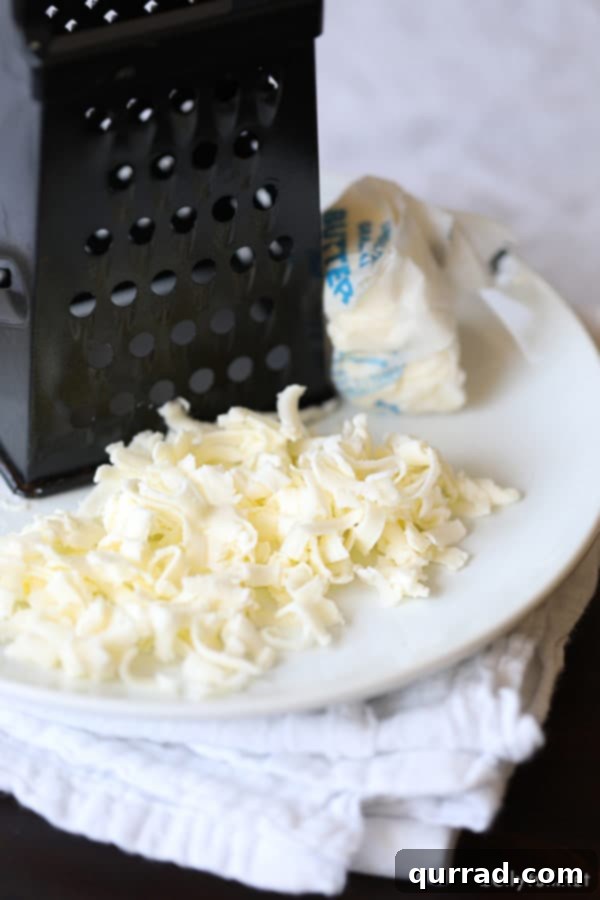
Baking often demands softened butter for optimal results, as it creams more effectively with sugar, creating air pockets essential for light and fluffy cakes, cookies, and pastries. Forgetting to take butter out of the refrigerator in advance is a common oversight that can derail your baking plans. While microwaving can unevenly melt butter and alter its texture, there’s a quick and reliable method to achieve perfectly softened butter without compromising your recipe.
When faced with a cold, hard stick of butter, simply grate it using a standard box grater. The act of shredding breaks the butter into small, thin pieces, significantly increasing its surface area. This allows it to come to room temperature and soften almost instantly, making it ready for creaming or mixing. This technique is far superior to trying to mash cold butter, which can lead to lumpy batters and inferior baked goods. It’s a brilliant workaround that ensures your baking isn’t delayed and your results are consistently excellent.
9. Simplify Loaf Pan Lining with Two Sheets of Parchment Paper
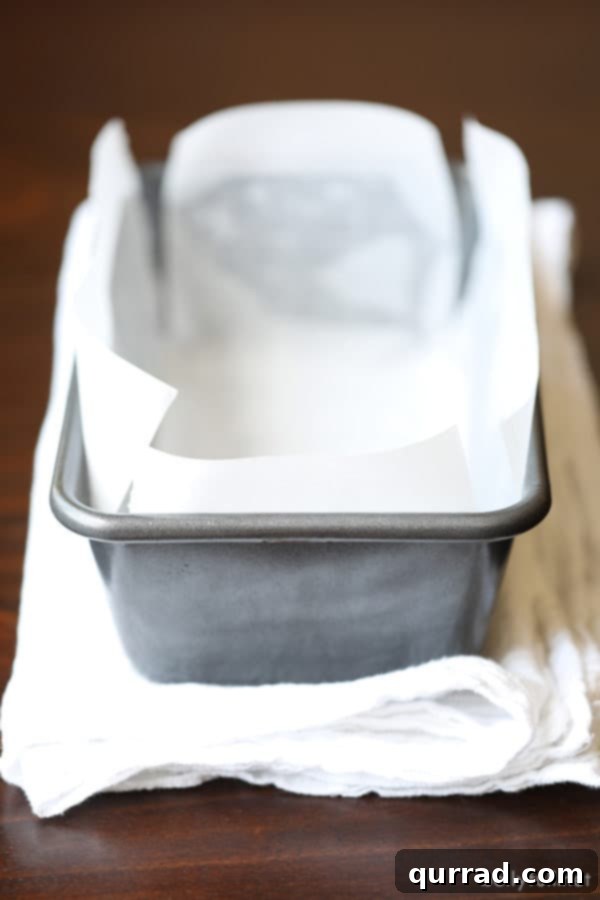
Lining a loaf pan with a single large sheet of parchment paper can often feel like wrestling an unruly piece of paper. It creases, it folds in odd places, and it rarely sits perfectly flat, making it difficult to achieve clean edges and easy removal of your baked goods. This clever method, utilizing two smaller sheets, transforms the lining process into a simple, effective “sling” system.
Instead of one large sheet, cut two pieces of parchment paper. One should be the length of the loaf pan, with enough overhang to act as handles on the short sides. The second piece should be the width of the loaf pan, again with an overhang on the long sides. Place the length-wise piece into the pan first, then lay the width-wise piece perpendicularly over it. The overlaps will create a crosshatch pattern that forms a perfect sling. This not only ensures the entire pan is neatly lined with minimal fuss but also provides convenient “handles” to effortlessly lift your freshly baked bread, meatloaf, or cake right out of the pan, guaranteeing a clean release and easy transfer.
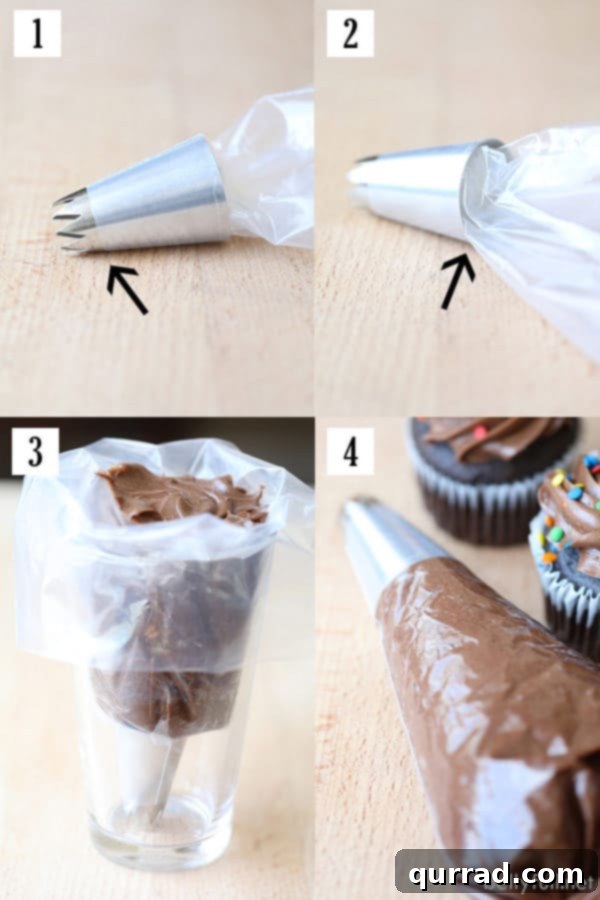
10. The Ultimate Hack for Filling a Pastry Bag Without the Mess
Whether you’re piping intricate frosting designs, filling delicate deviled eggs, or garnishing savory dishes, working with a pastry bag can often lead to a messy, frustrating experience. Getting the filling into the bag cleanly and efficiently, especially when working alone, often results in sticky hands and wasted ingredients. This step-by-step method eliminates the mess and makes the process surprisingly simple, whether you’re using a traditional pastry bag or a resealable plastic bag with a trimmed corner.
- **Prepare the Tip (if applicable):** If you’re using a piping tip, insert it into the end of your pastry bag or a trimmed corner of a large resealable plastic bag, ensuring it just pokes through.
- **Create a Stopper:** This is the game-changing step. Using your finger, gently push a small amount of the plastic from the inside of the bag into the opening of the piping tip. This creates a temporary stopper, preventing any filling from oozing out of the bottom while you load the bag.
- **Stabilize for Filling:** Fold the top edges of the pastry bag down over the rim of a tall drinking glass or a large measuring cup. This creates a wide, stable opening, allowing you to easily spoon or spatula your frosting, filling, or puree into the bag without having to hold it awkwardly.
- **Fill and Release:** Once the bag is filled, gently lift it out of the glass. Hold onto the top of the bag, twist it to secure the filling, and then push the filling downwards. The pressure will naturally pop out the plastic stopper from the tip.
- **Ready to Decorate:** With a clean bag and no mess, you’re now perfectly set to decorate, fill, and garnish with precision and ease.
Spending time in the kitchen should be a rewarding experience, not a source of frustration. These ten invaluable kitchen tips are designed to streamline your cooking, baking, and cleanup processes, allowing you to achieve professional-level results with less effort and more enjoyment. By incorporating these practical strategies into your daily routine, you’ll not only save precious time but also enhance the overall quality of your culinary creations. Embrace these shortcuts and transform your kitchen into a haven of efficiency and delicious possibilities. Which tip will you try first?