
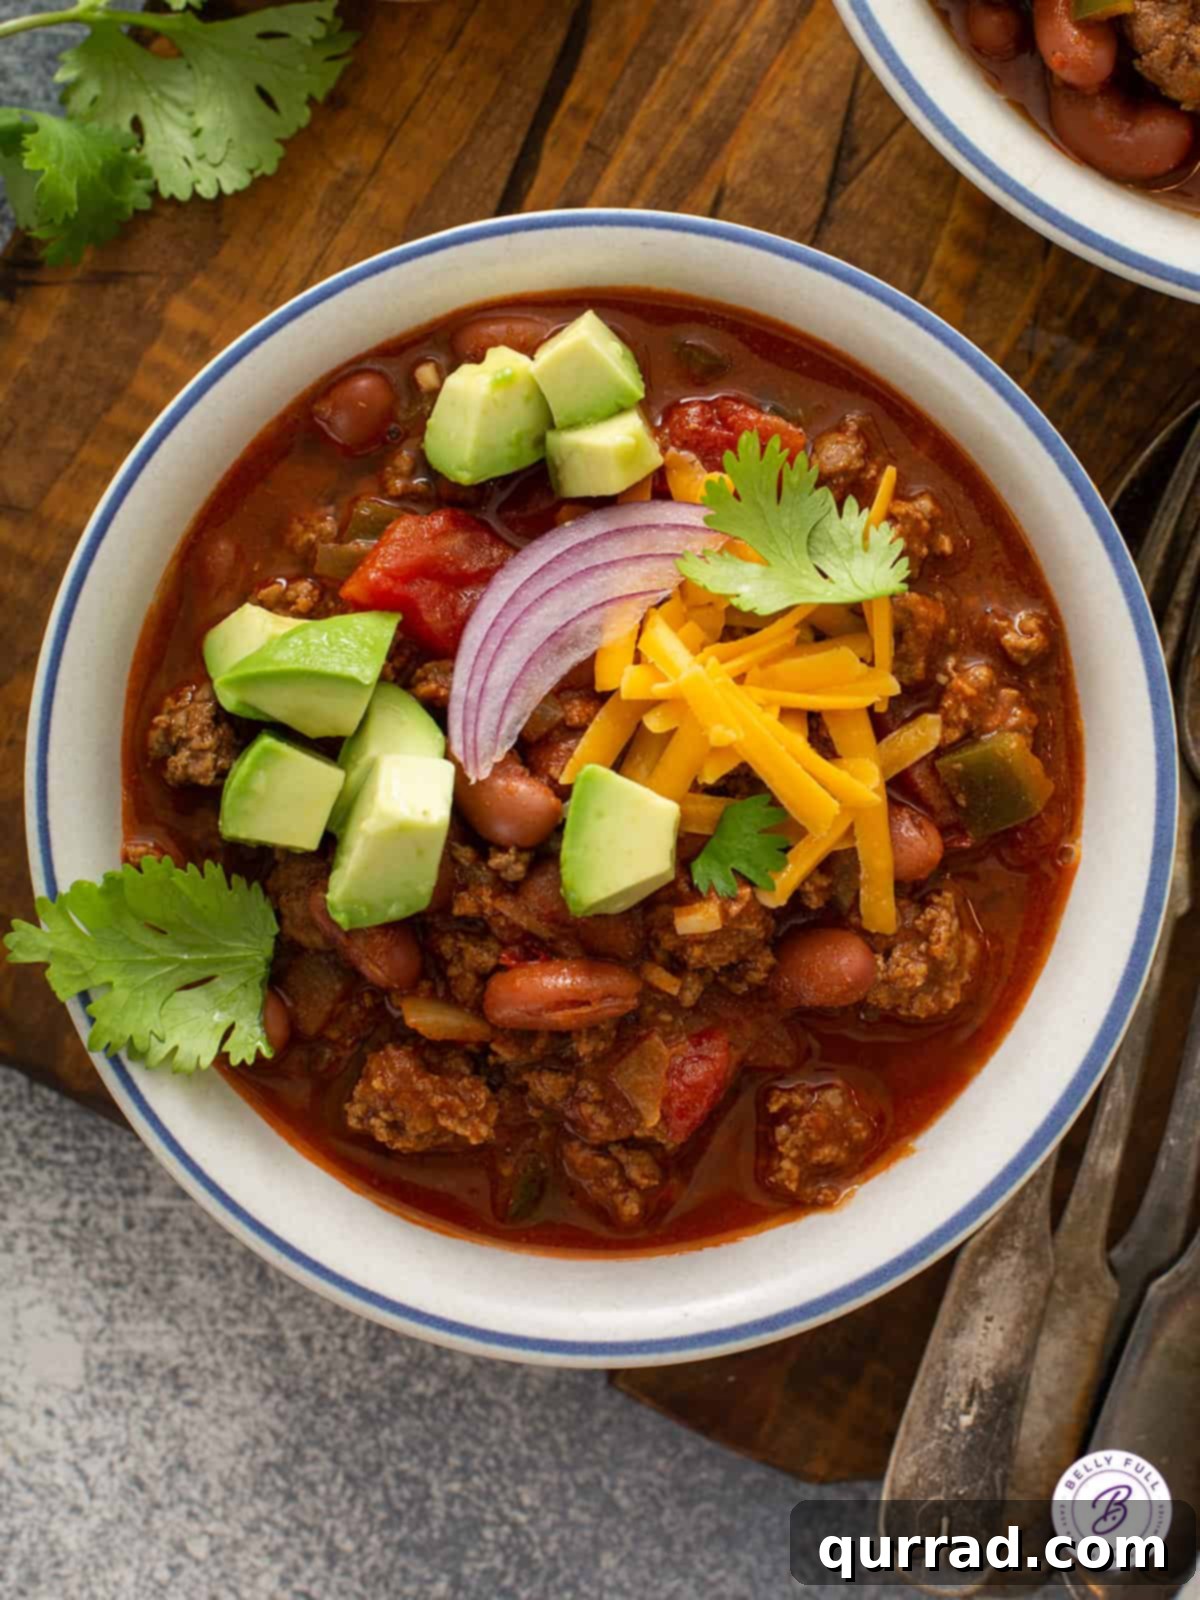
This Easy Chili Recipe comes together quickly, yet it doesn’t compromise on the deep, savory flavors that make a hearty chili truly satisfying. Crafted with lean ground beef, tender beans, and a classic blend of chili seasonings, this recipe yields a thick, robust, and comforting meal that’s perfect for any occasion. It’s the ultimate comfort food, warming you from the inside out and guaranteed to become a family favorite.
We especially love serving this chili alongside our simple homemade cornbread, which is absolutely perfect for soaking up every last drop of the rich, flavorful sauce from your bowl.
The Heartwarming Allure of Classic Homemade Chili
Chili is more than just a meal; it’s a culinary tradition, a staple of comfort food that evokes warmth, togetherness, and simple pleasures. Like treasured family recipes for spaghetti sauce, meatballs, or pizza dough, everyone seems to have their own beloved version, often passed down through generations. And that’s precisely the beauty of chili – its adaptability and the personal touch each cook brings to it.
From Texas-style no-bean chili to vegetarian delights, the variations are endless, yet one thing remains constant: a good chili is deeply satisfying. This dish holds a special place in homes across the globe, especially on chilly evenings, game days, or whenever a hearty, fuss-free meal is desired. It’s truly one of those rare dishes that’s hard to get wrong, offering boundless opportunities for customization while consistently delivering robust flavor.
Why This Easy Chili Recipe Stands Out
Among the countless ways to prepare chili, this specific easy chili recipe has earned its place as a favorite. Its brilliance lies in its simplicity and speed, proving that you don’t need hours in the kitchen to achieve incredible depth of flavor. In less than an hour, you can create a thick, rich, and truly hearty chili that tastes like it’s been simmering all day. It perfectly embodies what a classic chili should be: robust, full-bodied, and incredibly satisfying.
This recipe is designed for those busy weeknights when you crave a homemade meal without the fuss, or for weekend gatherings where you want to impress without stress. The harmonious blend of spices, succulent ground beef, and hearty beans creates a texture and taste that’s both familiar and extraordinarily delicious. It’s a go-to recipe for a reason, promising a comforting bowl of goodness every single time.
Essential Ingredients for Your Flavorful Chili
Crafting the perfect chili begins with selecting the right components. Each ingredient in this recipe plays a crucial role in building the layered flavors and hearty texture that define a truly great chili. Here’s a closer look at what you’ll need, along with tips for optimal selection and preparation:
- Lean Ground Beef: We recommend using lean ground beef (such as 80/20 or 90/10). A leaner cut ensures you get plenty of rich beef flavor without an excessive amount of grease, which would need to be drained. Proper browning of the beef is essential for developing a deep, savory foundation for your chili.
- Quality Beef Broth: The liquid base of your chili significantly impacts its final taste. Opt for a good quality beef broth, as it provides a richer and more complex flavor compared to water or a lower-quality broth. This liquid gold contributes immensely to the chili’s overall depth.
- Aromatic Vegetables: A classic chili begins with a flavorful trio: a sweet onion, a poblano pepper, and fresh garlic. Dicing the onion and poblano pepper finely ensures they soften and meld seamlessly into the chili, releasing their sweet and earthy notes. Garlic adds a pungent, aromatic kick that is indispensable for a robust flavor profile.
- Olive Oil: Used to sauté the foundational vegetables, olive oil helps to soften the onions and poblano, allowing them to release their aromatic compounds and build a fragrant base for the chili.
- Tomato Power Trio: This recipe utilizes a combination of tomato paste, tomato sauce, and fire-roasted diced tomatoes for a multi-dimensional tomato flavor. Tomato paste provides concentrated umami and richness, the sauce contributes to the chili’s body and tangy notes, and fire-roasted tomatoes introduce a unique smoky depth that elevates the entire dish. Using all three creates a complex and balanced tomato base.
- Hearty Beans: Red kidney beans are our preferred choice for their firm texture and ability to absorb the chili’s robust flavors, adding bulk and fiber. Remember to drain and rinse canned beans thoroughly before adding them to remove excess sodium and any starchy liquid.
- Signature Chili Seasoning Blend: The magic of this chili truly comes alive with its perfectly balanced blend of spices: classic chili powder, earthy ground cumin, essential salt and black pepper, and a touch of cayenne pepper for a gentle kick. Chili powder provides the overarching savory and slightly smoky notes, while cumin adds warmth and depth. The cayenne is adjustable to your desired level of heat.
Unleash Your Creativity: Recipe Variations & Customizations
One of the joys of cooking chili is its incredible versatility. This easy chili recipe serves as a fantastic foundation, but don’t hesitate to get creative and customize it to your personal preferences or what you have on hand. Here are some popular variations:
- Explore Different Meats: While ground beef is a classic, you can easily substitute it for other ground meats. Ground turkey or chicken can create a lighter chili option; simply ensure they are well-seasoned to maintain flavor. For a more adventurous twist, try ground pork, Italian sausage (mild or spicy), or even a flavorful chorizo, which will infuse the chili with its unique spices and richness.
- Make it Vegetarian or Vegan: Transforming this into a meat-free dish is simple. Omit the ground beef and add an extra 2 tablespoons of olive oil to compensate for the fat. Incorporate an additional can of your favorite beans – black beans, pinto beans, or cannellini beans work wonderfully. For a “meaty” texture, consider adding crumbled extra-firm tofu (pressed and sautéed until golden), plant-based ground crumbles, or a generous amount of diced mushrooms (sautéed until deeply browned for umami).
- Adjust the Spice Level: Tailor the heat to your palate. Increase the amount of cayenne pepper for a spicier kick, or reduce it if you prefer a milder chili. For those who enjoy very little heat, you can omit the cayenne pepper entirely and instead offer hot sauce at the table for individual customization. Adding a diced jalapeño (seeded for less heat) or a pinch of chipotle powder can also introduce different layers of spice and smokiness.
- Change the Beans: Don’t feel limited to red kidney beans! White beans (such as cannellini or great northern), black beans, pinto beans, or even a blend of your favorite legumes can be swapped in. Each bean variety offers a slightly different texture and flavor profile, allowing you to personalize your chili. Remember to always drain and rinse canned beans thoroughly before adding them to the pot.
- Add a Pop of Sweetness and Color: Stir in about 1/2 cup of corn kernels (fresh, frozen, or canned and drained) during the last 10 minutes of simmering. Corn adds a vibrant pop of color, a subtle sweetness, and a pleasant textural contrast to the hearty chili.
- Boost the Veggies: Enhance the nutritional value and complexity of your chili by incorporating additional vegetables. Diced bell peppers (any color), finely chopped carrots, or celery can be added along with the onion and poblano for an even richer vegetable base. Diced zucchini or squash can also be stirred in during the last 15-20 minutes of simmering.
Crafting Your Easy One-Pot Chili: A Step-by-Step Guide
This homemade chili recipe is not only bursting with flavor but also incredibly easy to make, all in one pot. This simplifies cleanup and allows the flavors to meld beautifully. Follow these steps for a rich, hearty, and satisfying meal:
- Sauté the Aromatics: Begin by warming the extra-virgin olive oil in a large, heavy-bottomed pot or Dutch oven over medium-high heat. Add the diced sweet onion and poblano pepper. Cook, stirring occasionally, for 3-4 minutes, or until the onions soften and become translucent. This initial sauté is crucial for building the foundational flavors. Next, stir in the minced garlic and cook for just 30 seconds until it becomes fragrant. Be careful not to burn the garlic, as it can turn bitter.
- Brown the Ground Beef: Add the lean ground beef to the pot with the sautéed vegetables. Break the beef apart with a wooden spoon as it cooks. Continue cooking for 5-6 minutes, stirring frequently, until the beef is thoroughly browned and no pink remains. Once the beef is cooked through, carefully drain off most of the excess fat from the pot. This step is important to prevent the chili from becoming greasy and ensures a cleaner, more robust flavor.
- Bloom the Spices and Tomato Paste: Reduce the heat slightly if needed. Stir in the tomato paste along with all the seasonings: chili powder, ground cumin, salt, black pepper, and cayenne pepper. Cook for another 1-2 minutes, stirring constantly. This crucial “blooming” step toasts the spices, significantly enhancing their aromatic qualities, and allows the tomato paste to caramelize slightly, deepening its flavor and adding a rich umami note to the chili. Ensure everything is thoroughly combined with the beef and vegetables.
- Combine Liquids and Beans: Pour in the beef broth, tomato sauce, and the can of petite diced fire-roasted tomatoes (including their juices for maximum flavor). Add the drained and rinsed red kidney beans to the pot. Stir all the ingredients together until they are well incorporated and evenly distributed throughout the mixture.
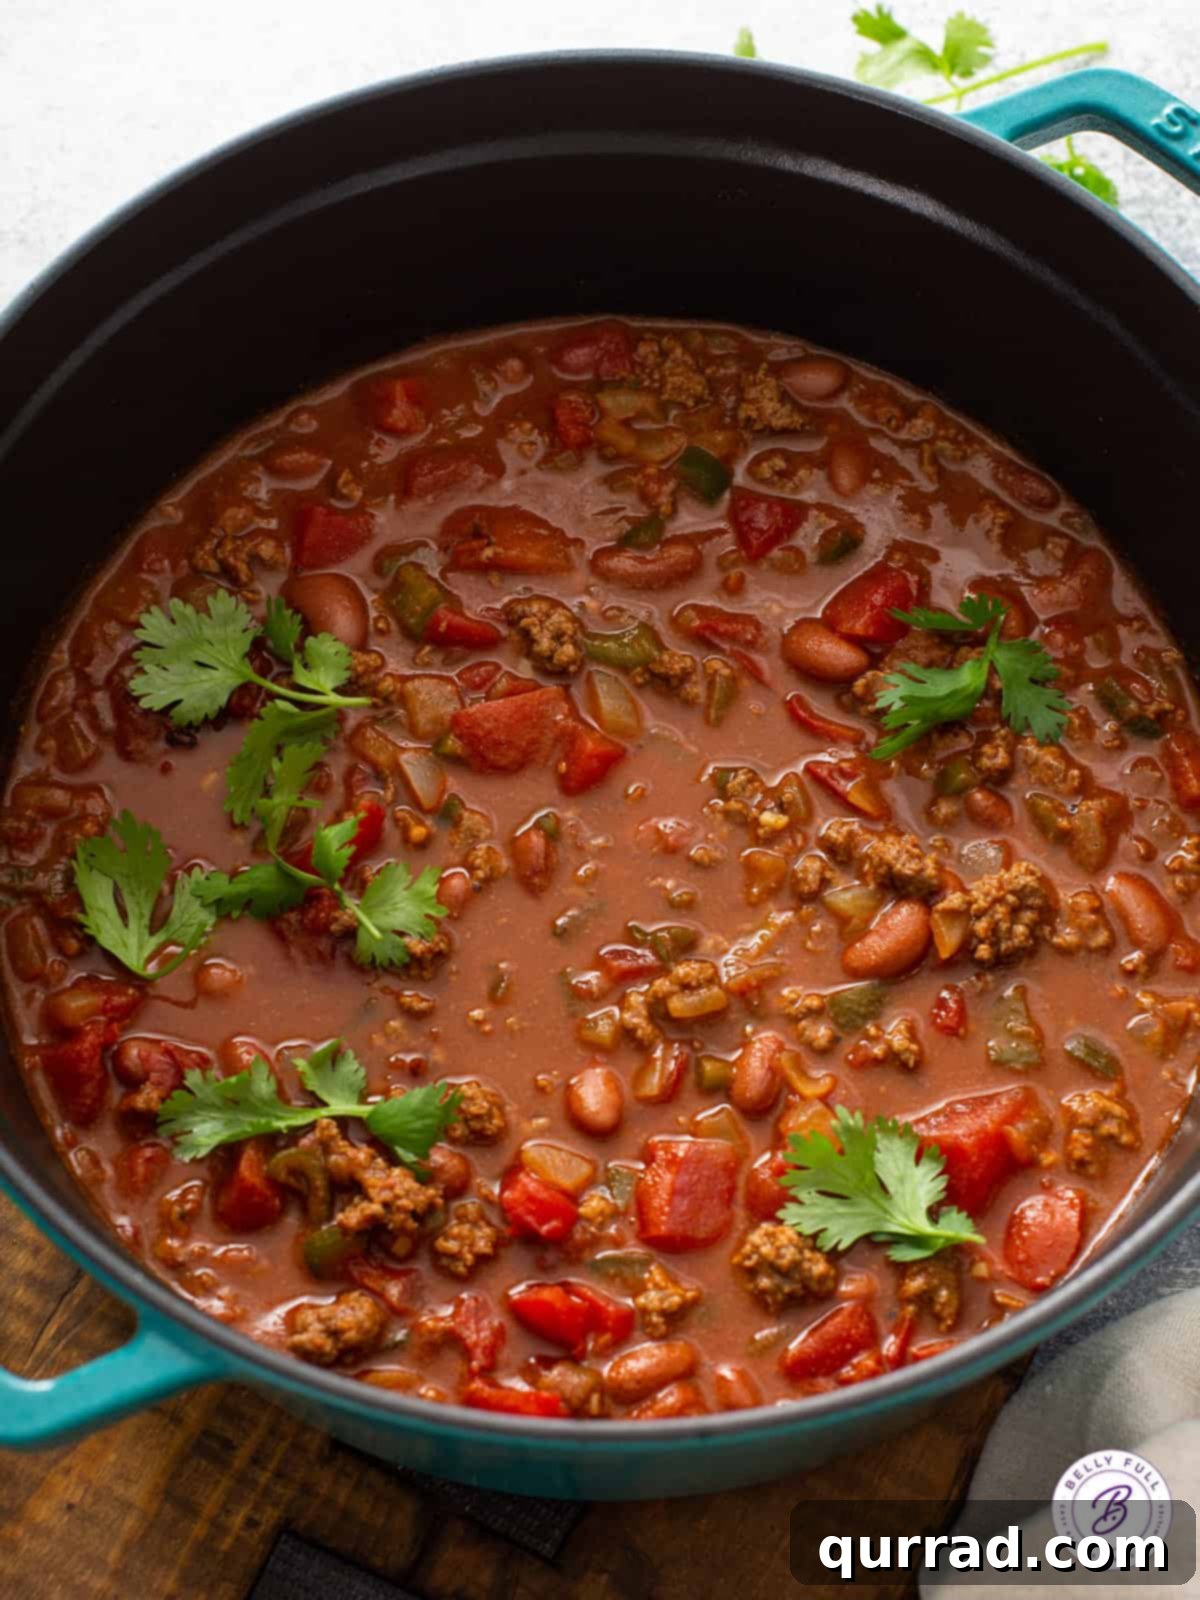
- Simmer to Perfection: Bring the liquid in the pot to a gentle boil. Once boiling, immediately reduce the heat to a low to medium-low simmer. Cook, uncovered, for about 20 minutes. Stir occasionally to prevent the chili from sticking to the bottom of the pot and to ensure even cooking and thickening. During this simmering phase, the individual flavors will meld and intensify, transforming into a harmonious and deeply satisfying chili. Taste the chili and adjust any seasonings as necessary; you might find it needs a bit more salt, a dash more pepper, or an extra pinch of cayenne for your desired level of heat.
- Allow to Rest: Once the simmering is complete and the flavors have developed, remove the pot from the heat. Cover it and let the chili rest for at least 5 minutes before serving. This brief resting period allows the flavors to settle and become even more harmonious, resulting in a richer, more integrated taste experience.
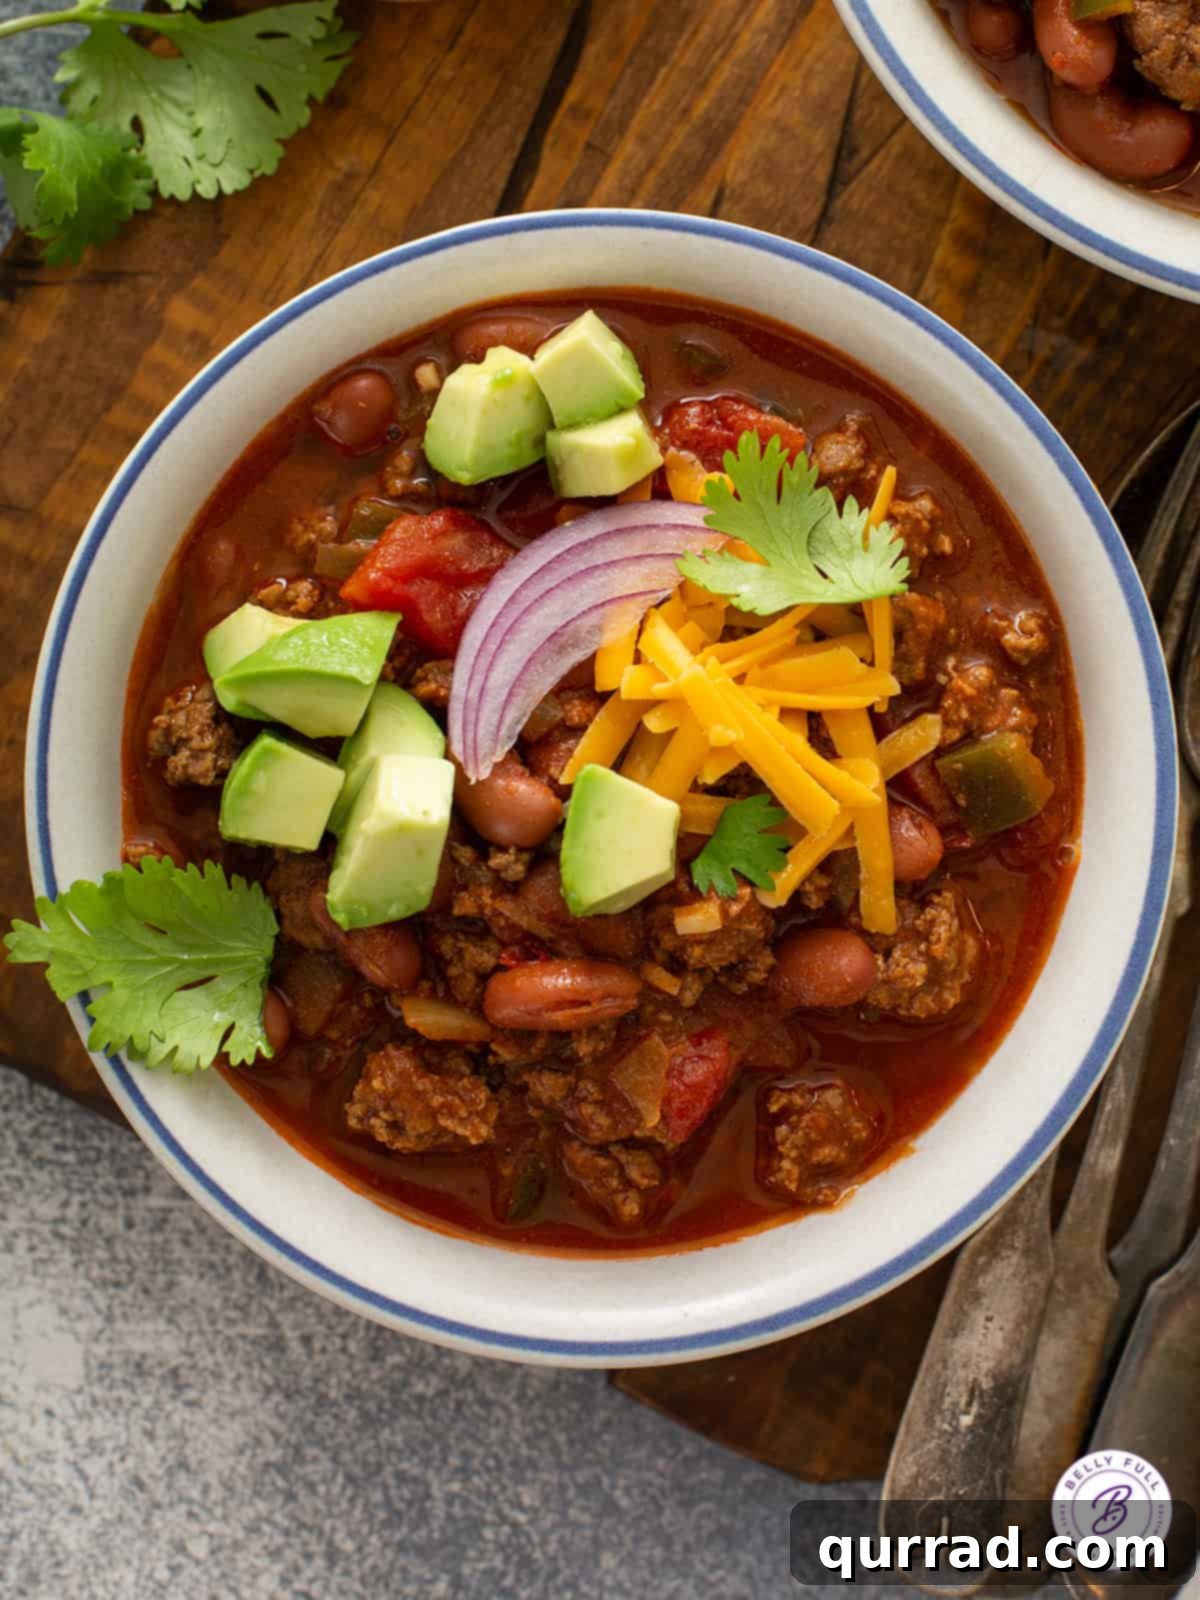
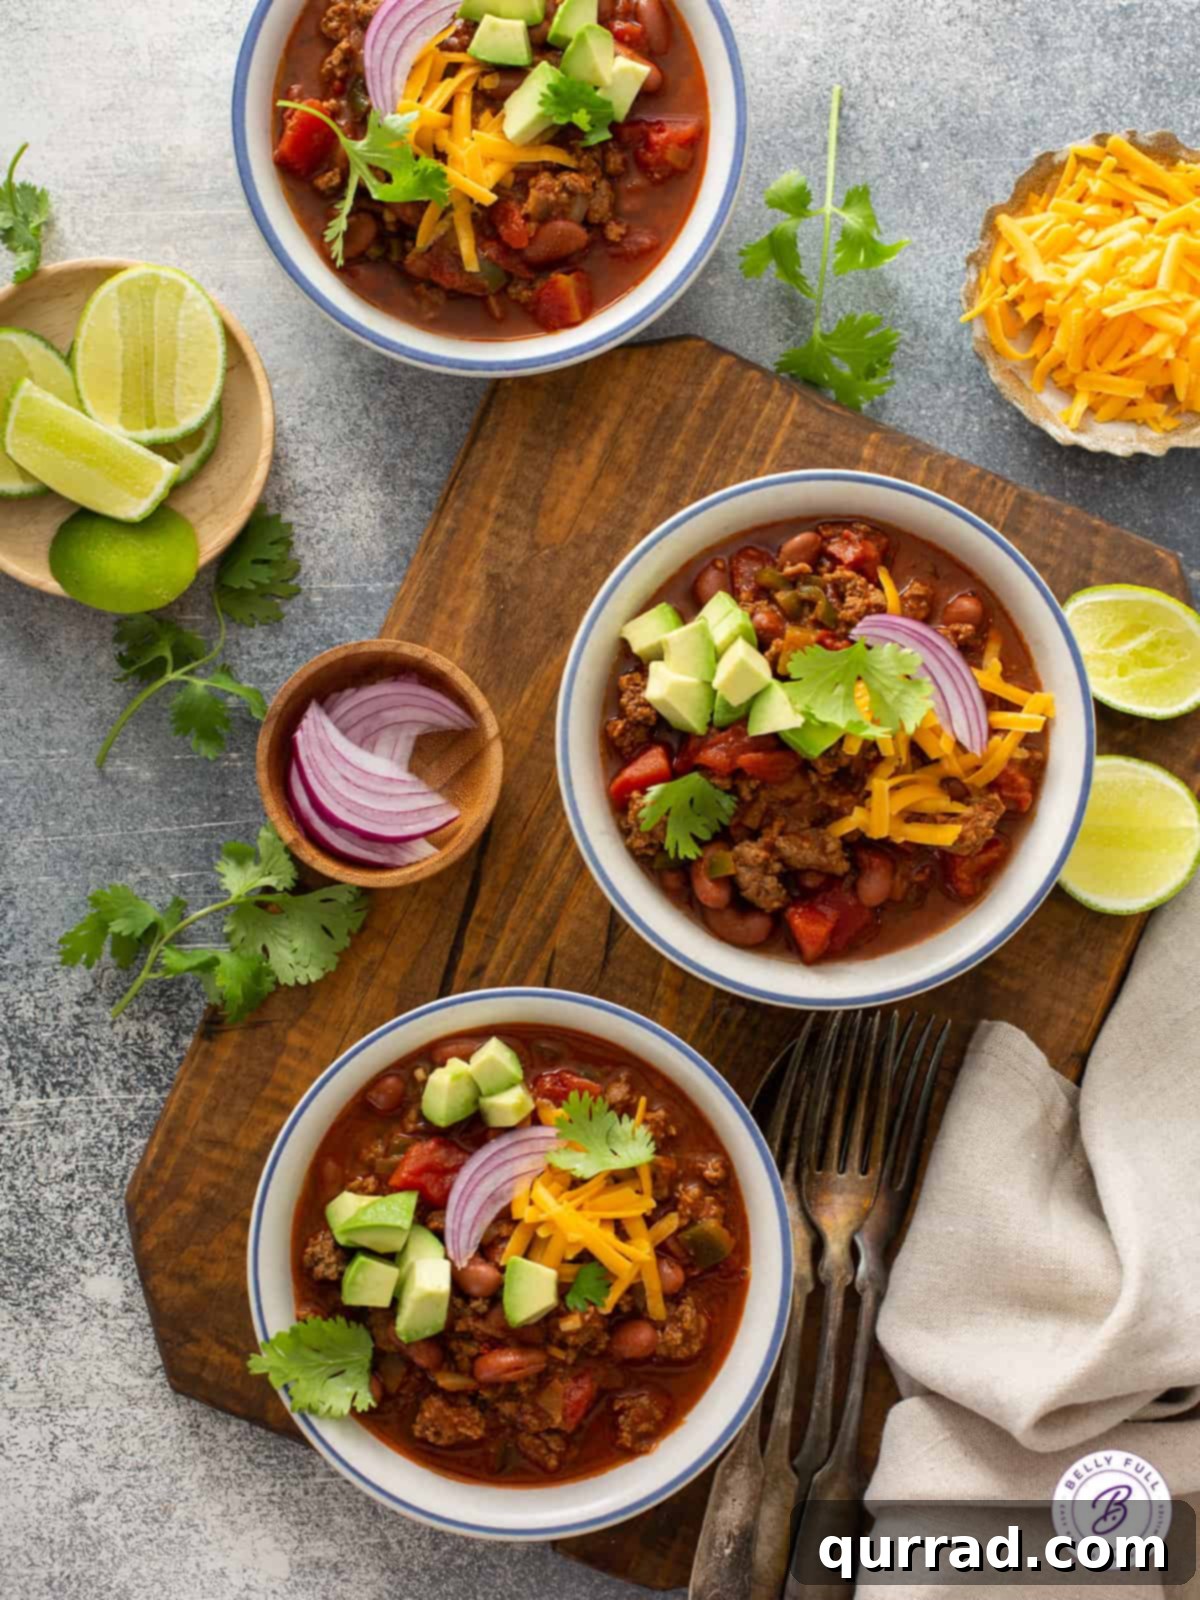
- Serve and Enjoy: Ladle the hot chili into individual bowls. Serve with your choice of delicious toppings (see suggestions below) and enjoy this hearty, comforting, and incredibly flavorful meal!
Video: Crafting the Perfect Easy Chili
Watch this quick video to see how easily this delicious homemade chili comes together!
Elevate Your Bowl: The Best Chili Toppings
While this easy chili recipe is delicious on its own, adding a variety of toppings can transform it into an even more exciting and personalized meal. These garnishes add texture, contrasting flavors, and visual appeal, taking your chili experience to the next level:
- Shredded Cheddar Cheese: A timeless classic! The sharp, tangy flavor of cheddar cheese melts beautifully over the hot chili, creating a creamy texture and adding a rich, savory dimension. Other fantastic cheese options include Monterey Jack, Colby, or a zesty Mexican blend.
- A Dollop of Sour Cream or Greek Yogurt: Provides a cool, creamy, and tangy contrast that beautifully balances the chili’s richness and spice. Greek yogurt offers a similar effect with the added benefit of extra protein.
- Diced Red Onion: Offers a vibrant, sharp crunch and a pungent bite that cuts through the hearty flavors of the chili, adding a refreshing element.
- Sliced Pickled Jalapeños or Candied Jalapeños: For an extra layer of heat and a delightful vinegary tang, pickled jalapeños are an excellent choice. If you prefer a sweet and spicy kick, candied jalapeños (often referred to as “cowboy candy”) provide an unforgettable burst of flavor.
- Diced Ripe Avocado: Adds a creamy, buttery texture and a mild flavor that helps to cool the palate, providing a refreshing counterpoint to the chili’s warmth.
- Crispy Corn Chips: For that irresistible crunch and a salty flavor that complements the chili perfectly. Crushed tortilla chips or Fritos are popular choices that add a satisfying texture.
- Crumbled Crackers: Oyster crackers, crushed saltine crackers, or even seasoned fire crackers provide a delightful textural contrast and are ideal for soaking up the flavorful broth.
- Fresh Cilantro: A sprinkle of fresh, chopped cilantro adds a bright, herbaceous note and a vibrant pop of color, enhancing the chili’s aroma and freshness.
Perfect Pairings: What to Serve Alongside Your Chili
While a bowl of chili is hearty enough to be a meal in itself, pairing it with the right side dishes can elevate the dining experience, offering complementary textures and flavors. Here are some of our favorite accompaniments that go wonderfully with this easy chili recipe:
- Homemade Cornbread: The quintessential chili companion! Its slightly sweet, crumbly texture is absolutely perfect for soaking up every last drop of flavorful chili. A warm slice of cornbread with a pat of butter is pure comfort.
- Garlic Bread or Cheese Bread: Crusty bread, especially when brushed with garlic butter and herbs, or baked until gooey with melted cheese, offers a hearty complement. It’s excellent for scooping up the chili and adds a satisfying savory crunch.
- Irish Soda Bread: A dense, slightly chewy, and often subtly sweet bread that provides a wonderful textural contrast. Its robust nature makes it capable of standing up to the rich flavors of the chili.
- Easy Beer Bread: Simple to prepare and incredibly flavorful, beer bread introduces a unique savory and slightly yeasty note that pairs surprisingly well with chili, making the meal feel extra special and hearty.
- Fluffy Buttermilk Biscuits: Soft, tender, and flaky biscuits are fantastic for dipping into the chili’s rich sauce or even for constructing mini chili sliders, adding a comforting, homestyle touch.
- A Simple Green Salad: For a refreshing counterpoint to the rich and hearty chili, a crisp green salad with a light vinaigrette can provide balance and brightness to the meal.
Storing Your Delicious Leftovers: Tips for Freshness
One of the best things about chili is that it often tastes even better the next day, as the ingredients have more time to meld and the flavors deepen. Proper storage ensures your leftovers remain delicious and safe to eat. Here’s how to handle your chili for future enjoyment:
- Refrigeration: Allow any leftover chili to cool completely to room temperature before transferring it to an airtight container. This is crucial for food safety. Stored properly in the refrigerator, the chili will remain fresh and delicious for up to 4 days. Make sure to cool it quickly to prevent bacterial growth.
- Freezing: Chili is an excellent candidate for freezing, making it perfect for meal prep. Once the cooked chili has cooled completely, transfer it into freezer-safe airtight containers or heavy-duty freezer bags. If using freezer bags, lay them flat before freezing for easier stacking and quicker thawing. Frozen chili will maintain its quality for up to 3 months. For best results, thaw the chili overnight in the refrigerator before reheating.
- Reheating: For stovetop reheating, gently warm the chili over medium-low heat, stirring occasionally, until it is thoroughly heated through. If the chili has thickened considerably in the fridge or freezer, you might want to add a splash of beef broth or water to reach your desired consistency. Individual portions can also be reheated in the microwave; stir halfway through the heating process to ensure even warming.
Frequently Asked Questions About Homemade Chili
For those new to chili-making or looking to perfect their technique, here are answers to some common questions that can help you make the best easy chili:
- Can I make this chili in a slow cooker? Absolutely! After browning the ground beef and sautéing the onion, poblano, and garlic in a separate pan (steps 1 & 2), transfer everything to your slow cooker. Add all the remaining ingredients (beef broth, tomato sauce, diced tomatoes, beans, and seasonings). Cook on low for 6-8 hours or on high for 3-4 hours. A longer simmer often results in even deeper, more integrated flavors.
- How can I thicken my chili if it’s too watery? If your chili is thinner than you’d like after simmering, you have several options. The simplest is to continue simmering it uncovered for a longer period, allowing more liquid to evaporate. Alternatively, you can create a slurry by mixing 1-2 tablespoons of cornstarch with an equal amount of cold water, then stirring it into the simmering chili until it thickens. For a richer thickening, you can mash a portion of the kidney beans against the side of the pot.
- What kind of beans are best for chili? While red kidney beans are a classic choice and work wonderfully, many varieties can be used based on personal preference. Black beans, pinto beans, cannellini (white kidney beans), or even a mixture of several types are excellent. The key is to choose beans you enjoy! Always remember to drain and rinse canned beans well before adding them to remove excess sodium and starchy liquid.
- Is chili better the next day? Many chili enthusiasts swear that chili tastes even better on the second day, and often, they are right! This phenomenon occurs because the ingredients have more time to mingle and their flavors deepen and harmonize during the resting period, creating a more complex and robust taste profile.
- Can I add vegetables other than onion and poblano? Yes, certainly! Feel free to boost the vegetable content and flavor. Diced bell peppers (green, red, or yellow), finely chopped carrots, or celery can be added during the initial sautéing step along with the onion and poblano. Diced zucchini or corn kernels can also be stirred in during the last 15-20 minutes of simmering.
We hope you thoroughly enjoy this delicious and easy chili recipe. It’s a truly rewarding dish to prepare and share, and we encourage you to savor every hearty spoonful!
Easy Homemade Chili Recipe
This Easy Chili Recipe comes together quickly, but doesn’t skimp on flavor. Made with ground beef, beans, and classic chili seasonings, it’s thick, hearty, and a perfect comfort food anytime!
Ingredients
- 2 tablespoons extra-virgin olive oil
- 1 medium sweet onion, diced small
- 1 medium poblano pepper, diced small
- 3 cloves garlic, minced
- 1 pound lean ground beef
- 2 tablespoons tomato paste
- 2 & 1/2 tablespoons chili powder
- 1 & 1/2 tablespoons ground cumin
- 1 & 1/2 teaspoons salt
- 1/2 teaspoon black pepper
- 1/4 teaspoon cayenne pepper
- 1 & 1/2 cups beef broth
- 8 ounce can tomato sauce
- 15 ounce can petite diced fire roasted tomatoes, undrained
- 16 ounce can red kidney beans, drained and rinsed
Instructions
- Warm the olive oil in a large pot over medium-high heat. Add in the onion and poblano pepper; cook, stirring occasionally, for 3-4 minutes until the onion becomes translucent. Add in the garlic and cook for 30 seconds until fragrant.
- Add the ground beef to the pot. Cook for 5-6 minutes, breaking it apart with a wooden spoon, until browned and no pink remains. Drain off most of the fat.
- Stir in the tomato paste, chili powder, cumin, salt, pepper, and cayenne until everything is thoroughly combined.
- Pour in the broth, tomato sauce, diced tomatoes (with their juice), and kidney beans. Stir well.
- Bring the liquid to a boil, then reduce heat to a gentle simmer (low to medium-low.) Cook, uncovered, for about 20 minutes, stirring occasionally to prevent sticking. Taste and adjust seasonings, if necessary.
- Remove the pot from the heat and let rest for 5 minutes.
- Serve in bowls with your choice of toppings and enjoy!
Video
Watch this quick video to see how easily this delicious homemade chili comes together!
Nutrition Information (Approximate)
Calories: 280kcal | Carbohydrates: 26g | Protein: 24g | Fat: 10g | Saturated Fat: 3g | Cholesterol: 47mg | Sodium: 1460mg | Potassium: 868mg | Fiber: 8g | Sugar: 9g | Vitamin A: 1644IU | Vitamin C: 25mg | Calcium: 101mg | Iron: 6mg
Nutritional information provided is an automatic calculation and can vary based on the exact products you use and any changes you make to the recipe. If these numbers are very important to you, I would recommend calculating them yourself.
Did you make this? Leave a rating below!