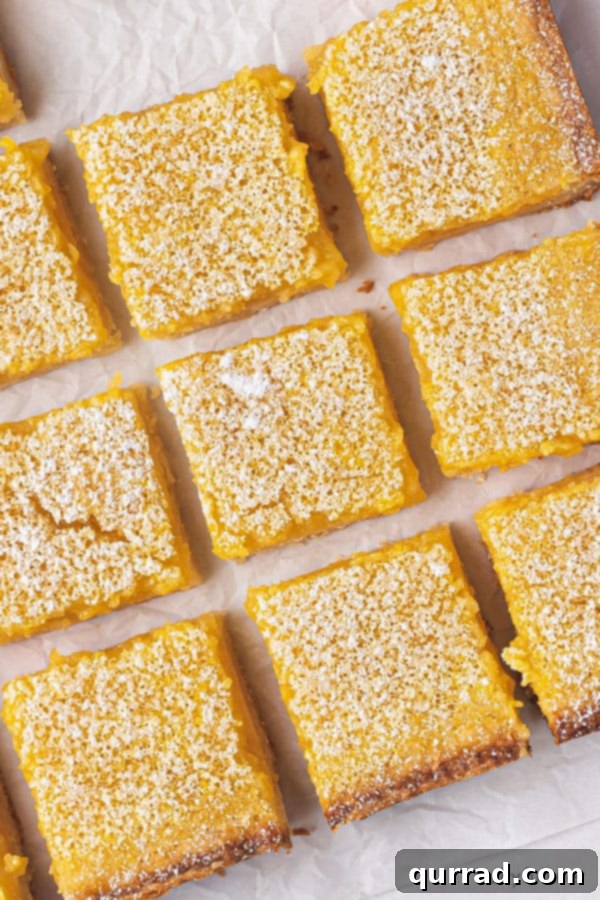
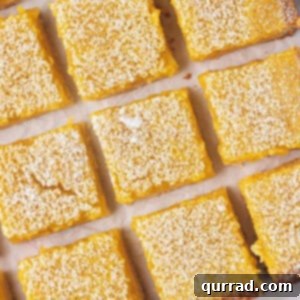
Prepare to be enchanted by the quintessential dessert experience: the **Best Lemon Bars** recipe. This culinary delight perfectly marries a rich, buttery shortbread crust with a vibrant, intensely tangy lemon filling, all elegantly finished with a soft dusting of powdered sugar. The result is a treat that is as visually appealing as it is incredibly delicious, promising a burst of sunshine in every bite.
If you’re a true lemon aficionado, you might also adore their delightfully chewy cousin, these Lemon Gooey Bars. They offer a triple dose of lemon goodness from lemon cake, fresh lemon zest, and luscious lemon curd, creating a moist, irresistibly chewy, and utterly amazing dessert experience.
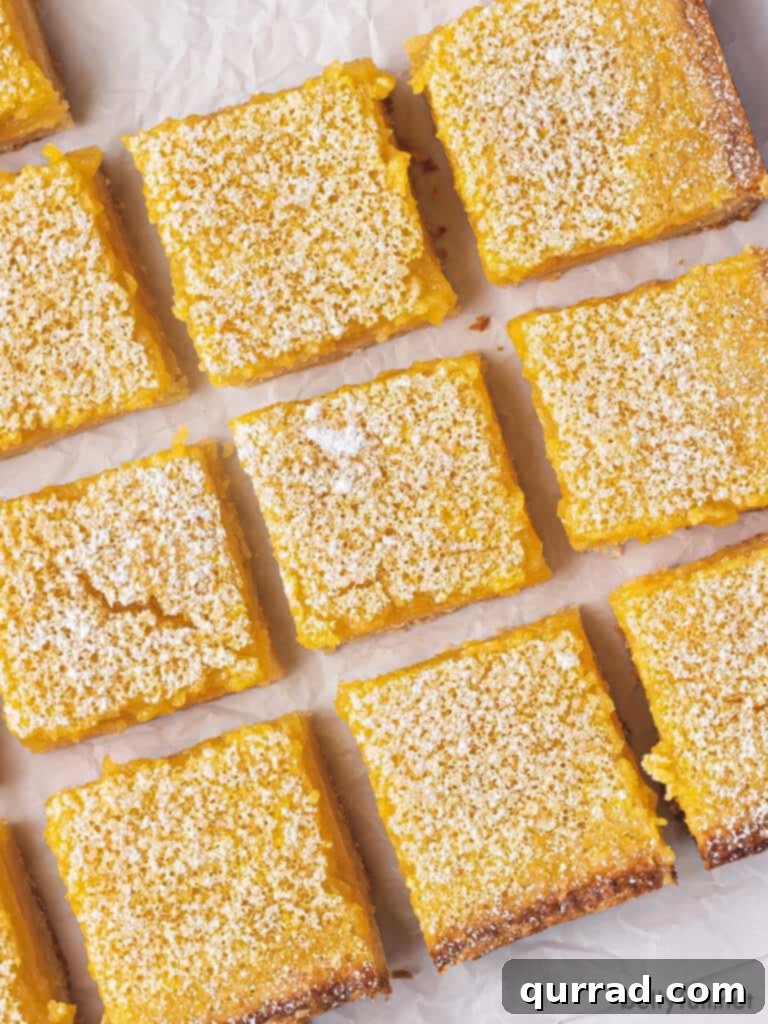
It’s hard to imagine anyone resisting the allure of a truly exceptional lemon bar. What’s not to love about the harmonious blend of a tender, buttery shortbread crust cradling a silky, intensely tangy lemon filling? This classic dessert is a timeless favorite for a reason, offering a perfect balance of sweet and tart that is simply irresistible.
What Makes This Lemon Bar Recipe Truly Exceptional?
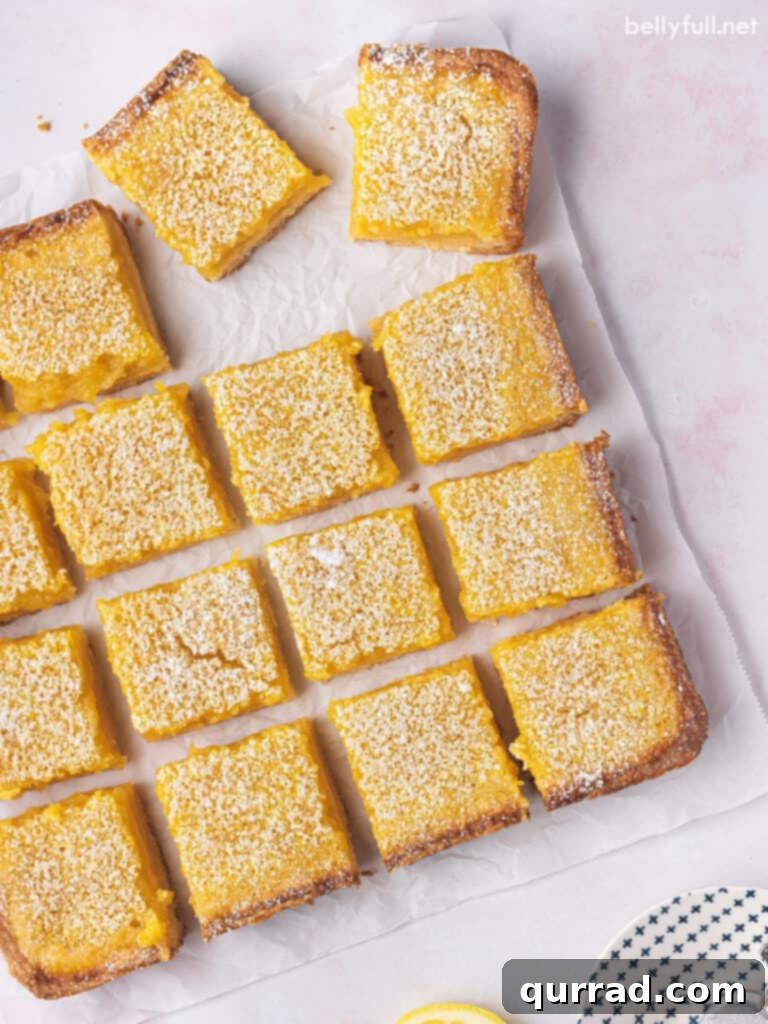
Our particular recipe stands out from the rest, consistently delivering lemon bars that exceed expectations. We are absolutely thrilled with this version because it achieves a trifecta of perfection: the crust remains wonderfully crisp and firm, the center boasts a soft, velvety texture, and crucially, the powdered sugar dusting stays delicately perched on top, without melting into the filling. The flavor profile is brilliantly bright and invigoratingly tangy, striking an impeccable balance between sweetness and tartness that dances on your palate. Furthermore, the ratio of the luscious lemon filling to the sturdy shortbread crust is precisely calibrated, ensuring every bite is a delightful symphony of textures and tastes. These aren’t just good lemon bars; they are simply exquisite.
Mastering the Perfect Lemon Bars: Key Ingredients Explained
Crafting these delectable lemon bars involves two primary components: the sturdy, flavorful shortbread crust and the creamy, vibrant lemon filling. Each ingredient plays a vital role in achieving that perfect taste and texture. Below, we break down what you’ll need and why each element is essential. (For precise measurements and detailed instructions, please refer to the printable recipe card further down.)
Essential Ingredients for the Crust:
- All-Purpose Flour: The foundation of our crust. It’s crucial to measure flour correctly – spoon it into your measuring cup and then level it off. Scooping directly from the bag can compact the flour, leading to an excess amount that results in a dry, crumbly crust instead of a tender one.
- Cornstarch: A secret weapon for tender shortbread! Adding cornstarch to the crust helps to reduce the gluten development in the flour. This results in a much more delicate, flaky, and melt-in-your-mouth texture, preventing the crust from becoming tough.
- Powdered Sugar: Unlike granulated sugar, powdered sugar (confectioners’ sugar) contributes to a finer, more tender crumb in the shortbread. Its super-fine texture also prevents a grainy feel and helps create a smoother, more cohesive dough. Plus, you’ll need extra for that iconic finishing dusting!
- Cold Unsalted Butter: The cornerstone of a truly rich and buttery shortbread. Using *cold* butter is paramount as it creates pockets of steam during baking, leading to a flaky and tender texture. Unsalted butter allows you to control the exact amount of salt in your recipe, ensuring a balanced flavor. If only salted butter is available, simply omit any additional salt called for in the crust.
- Salt: A small amount of salt enhances the overall flavor of the crust, balancing the sweetness and bringing out the buttery notes.
Essential Ingredients for the Lemon Filling:
- Fresh Lemons (Juice & Zest): The undeniable star of this dessert! Using fresh lemon juice and zest is non-negotiable for superior flavor. Bottled lemon juice often contains preservatives and lacks the bright, nuanced acidity and aromatic oils found in freshly squeezed lemons. Always zest your lemons before juicing them for maximum flavor and ease. While this recipe highlights lemons, feel free to experiment with fresh lime or orange juice for a delightful twist!
- Large Eggs: Eggs serve multiple crucial functions in the filling. They add richness, contribute to the luscious, custard-like texture, and act as a binding agent, helping the filling to set properly as it bakes and cools.
- Granulated Sugar: Beyond providing sweetness, granulated sugar plays a critical role in the texture and moisture of the lemon filling. It balances the intense tartness of the lemon juice, ensuring a pleasant flavor. More importantly, sugar is hygroscopic, meaning it attracts and retains moisture. This is essential for preventing the filling from cracking and becoming dry.
- All-Purpose Flour: A small amount of flour in the filling acts as a thickener, giving the lemon custard its characteristic firm-yet-silky consistency. It helps prevent the filling from being too runny.
Expert Tips for Achieving Lemon Bar Perfection
While this lemon bar recipe is remarkably straightforward, following a few key tips will elevate your baking and ensure optimal results every time. These simple guidelines are designed to help you create bars that are consistently delicious and picture-perfect.
- Always Use Fresh Lemon Juice and Zest: We cannot stress this enough. Lemons are the heart and soul of this dessert, so their quality directly impacts the final flavor. Avoid lemon concentrate or bottled juice at all costs. Freshly squeezed juice provides a vibrant, authentic tang, and the zest adds essential aromatic oils that elevate the lemon flavor to new heights.
- Measure Flour with Precision: Incorrect flour measurement is a common baking pitfall. Always spoon your flour into the measuring cup and then level it off with a straight edge. Never scoop directly from the bag, as this compacts the flour and can add up to 25% more than needed. Too much flour will lead to a dense, dry, and crumbly crust, compromising the delicate balance of the bars.
- Do Not Reduce the Sugar Content: We understand the desire to cut back on sugar, but lemon bars are truly not the place to do it. Sugar is not merely for sweetness; it’s a critical structural ingredient. In the filling, it balances the intense tartness of the lemon juice and, crucially, contributes moisture. Without sufficient sugar, the lemon filling is prone to cracking and drying out, resulting in a disappointing texture. This recipe has not been tested with sugar substitutes, and we cannot guarantee satisfactory results if you deviate from the specified amount.
- Embrace the Cool and Chill Time: Patience is a virtue, especially with lemon bars. They absolutely need to cool completely at room temperature and then chill thoroughly in the refrigerator to set properly. This process allows the filling to firm up and prevents it from being gooey or runny. Rushing this step will result in bars that are difficult to cut cleanly and may not hold their shape. Trust us, the wait is absolutely worth it for beautifully set bars.
- Utilize Parchment Paper for Easy Removal: For a seamless experience, always line your baking dish with parchment paper, ensuring there’s an overhang on two opposite sides. This simple trick transforms the removal process, allowing you to easily lift the entire slab of lemon bars out of the pan onto a cutting board without any sticking or crumbling.
- Don’t Overmix the Crust: When combining the butter with the dry ingredients for the crust, mix just until the mixture resembles coarse crumbs and can be pressed together. Overmixing develops gluten, leading to a tough crust rather than a tender, melt-in-your-mouth shortbread.
- Pre-bake the Crust: Baking the crust separately before adding the filling (known as blind baking) is key. This prevents it from becoming soggy and ensures it’s perfectly crisp and golden when the bars are finished.

How to Determine When Your Lemon Bars Are Perfectly Baked
Knowing exactly when your lemon bars are done can be a bit tricky, but there are clear indicators to look for. The bars are ready when the edges appear set and slightly golden, and the center is just barely jiggly. It’s okay if the very center still seems a little loose when you take them out of the oven; this is known as carryover cooking. The residual heat in the pan will continue to cook the custard as it cools, helping it to firm up perfectly. Follow the baking time specified in the recipe as a primary guide, but if the middle still seems overly fluid, you can extend the baking time by a few more minutes, checking frequently. Remember, under-baked bars will be too runny, while over-baked ones can become dry and crack.
Storing and Freezing Your Delicious Lemon Bars
Proper storage is key to maintaining the freshness and incredible flavor of your homemade lemon bars. Here’s everything you need to know to enjoy them for days, or even months!
- Do Lemon Bars Need to Be Refrigerated? Yes, due to their egg-based custard filling, lemon bars require refrigeration. While they can safely sit out at room temperature for a couple of hours for serving, beyond that, they should be stored in the fridge. The good news is they are equally delightful chilled as they are at room temperature, offering a refreshing treat straight from the cold.
- How Long Do Lemon Bars Last? When stored in an airtight container in the refrigerator, your lemon bars will maintain their peak freshness and flavor for up to 5 days. Ensure the container is truly airtight to prevent them from absorbing other odors from the fridge and to keep the crust from becoming stale. Enjoy them directly from the fridge for a cool treat, or let them come to room temperature for about 15-20 minutes for a softer texture.
- Can You Freeze Lemon Bars? Absolutely! Lemon bars freeze exceptionally well, making them an excellent make-ahead dessert. To freeze, first ensure the bars have cooled completely to room temperature, then chill them thoroughly in the refrigerator until firm. For best results, wrap the entire slab (or individual bars) tightly in plastic wrap, then an additional layer of aluminum foil to prevent freezer burn. Transfer them to a freezer-safe plastic bag or container. They will keep beautifully in the freezer for up to 2 months. To thaw, simply transfer them to the refrigerator overnight. We highly recommend omitting the powdered sugar dusting until just before you plan to cut and serve them, as it can absorb moisture and disappear during thawing.
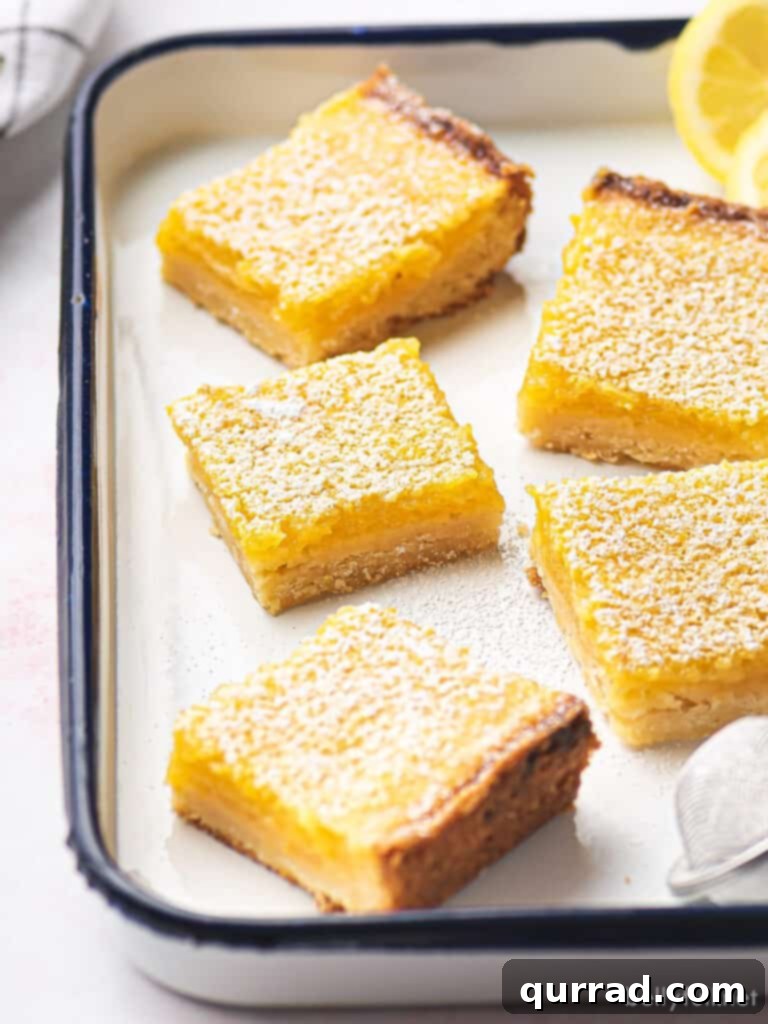
You are going to absolutely adore these lemon bars. With their irresistible balance of sweet and tart, and their perfect texture, the only real challenge with this recipe will be preventing your family from devouring the entire pan in a single day!
Delightful Lemon Bar Variations to Explore
While the classic lemon bar is perfection itself, these treats are also incredibly versatile! Once you’ve mastered the basic recipe, feel free to experiment with these exciting variations to add a new dimension of flavor:
- Lime or Orange Bars: Easily swap out the lemon juice and zest for fresh lime or orange. Lime bars offer a slightly different tangy punch, while orange bars provide a sweeter, mellower citrus note.
- Berry Swirl Lemon Bars: Before pouring the lemon filling, spread a thin layer of raspberry, strawberry, or blueberry jam over the baked crust. Then pour the lemon filling over the jam. You can also warm some berry preserves and swirl them gently into the lemon filling after it’s poured for a beautiful marble effect.
- Coconut Lemon Bars: Add 1/2 to 1 cup of shredded unsweetened coconut to the shortbread crust mixture for a tropical twist. You can also sprinkle some toasted coconut on top of the finished bars before dusting with powdered sugar.
- Ginger Lemon Bars: Incorporate 1-2 teaspoons of finely grated fresh ginger into the lemon filling mixture for a subtle warmth and spicy kick that complements the lemon beautifully.
- Almond Shortbread Crust: Replace 1/4 cup of the all-purpose flour in the crust with finely ground almond flour (or add 1/4 cup of finely chopped almonds) for a nutty undertone.
More Zesty Lemon Desserts to Explore
If your love affair with lemon extends beyond these bars, here are some other fantastic lemon-infused desserts that are sure to brighten your day and impress your taste buds:
- Classic Lemon Tart: A sophisticated dessert with a rich, creamy lemon custard in a crisp pastry shell.
- Easy Lemon Trifle: Layers of lemon cake, whipped cream, and lemon curd create a light and refreshing dessert.
- 15 Minute Homemade Lemon Curd: A vibrant, velvety spread that’s perfect for tarts, cakes, or simply eating by the spoon.
- Soft Lemon Crinkle Cookies: Chewy, zesty cookies with a delightful crinkled, powdered sugar coating.
We truly hope you enjoy this delightful and easy lemon bar recipe. If you try it, please consider leaving a review below to share your experience! Don’t forget to follow Belly Full on Facebook, Instagram, Pinterest, and YouTube for more delicious recipes!
Perfect Lemon Bars
10 mins
45 mins
3 hrs
3 hrs 55 mins
20 Bars
Pin
Ingredients
For the Crust
- 1 3/4 cups all-purpose flour, spooned and leveled
- 1/4 cup cornstarch
- 1/2 teaspoon salt
- 1 cup powdered sugar (plus more for finishing)
- 1 cup (2 sticks) cold unsalted butter, cut into small cubes
For the Lemon Filling
- 6 large eggs
- 2 1/2 cups granulated sugar
- 1/3 cup + 1 tablespoon all-purpose flour
- 1 cup fresh lemon juice
- 2 tablespoons lemon zest
Instructions
-
FOR THE CRUST: Preheat oven to 350 degrees F (175°C) with the rack in the center position.
-
Spray a 9×13 inch baking dish with nonstick spray, then line it with parchment paper, ensuring there’s an overhang on both of the longer sides for easy removal.
-
Place the flour, cornstarch, salt, and powdered sugar in the bowl of a food processor; pulse a few times to combine thoroughly. Add the cold butter and blend until the mixture resembles coarse crumbs, typically 10 to 15 seconds. Evenly sprinkle this mixture into the prepared pan and press firmly with your fingers into an even layer, extending slightly up the sides (this helps prevent the filling from seeping beneath the crust).
-
Refrigerate the crust for 30 minutes (or freeze for 15 minutes) to chill it before baking.
-
Bake the crust until it just begins to brown slightly at the top edges, about 15 to 20 minutes.
-
FOR THE LEMON FILLING: Prepare the filling while the crust bakes. Note that the filling mixture needs to sit for about 10 minutes before being poured over the crust.
-
In a large bowl, whisk together the eggs, granulated sugar, flour, fresh lemon juice, and lemon zest. Whisk thoroughly until the sugar is completely dissolved and the flour is fully incorporated, ensuring no lumps remain.
-
PUT IT TOGETHER: Once the crust is ready, give the lemon mixture a quick stir, then carefully pour it over the warm, pre-baked crust.
-
Return the pan to the oven and bake for an additional 20-25 minutes, or until the top is very lightly browned and the custard appears set and firm with a slight jiggle in the center. (Baking times can vary between ovens, so adjust as needed.) Allow the bars to cool completely to room temperature; this will take several hours and is crucial for proper setting.
-
Once at room temperature, transfer them to the refrigerator and chill until cold and firm, typically for at least 2-3 hours.
-
CUT AND SERVE: To cut, use the parchment overhang to carefully lift the entire baked rectangle out of the pan and onto a clean cutting board. Gently loosen the parchment from the edges of the crust.
-
Using a sharp, clean knife, cut the slab into even squares. For exceptionally clean cuts, slightly dampen the blade with warm water before cutting each slice and wipe it clean between cuts, using one smooth downward motion.
-
Just before serving, dust the squares with a generous layer of powdered sugar using a fine-mesh sieve.
-
Serve and enjoy your perfect homemade lemon bars!
-
NOTE: For the very best results, don’t miss reading the helpful tips provided in the full article above.
Nutrition
Calories:
279
kcal
|
Carbohydrates:
43
g
|
Protein:
3
g
|
Fat:
11
g
|
Saturated Fat:
6
g
|
Trans Fat:
1
g
|
Cholesterol:
80
mg
|
Sodium:
82
mg
|
Potassium:
52
mg
|
Fiber:
1
g
|
Sugar:
31
g
|
Vitamin A:
366
IU
|
Vitamin C:
5
mg
|
Calcium:
15
mg
|
Iron:
1
mg
Nutritional information provided is an automatic calculation and can vary based on the exact products you use and any modifications made to the recipe. If these numbers are of significant importance to you, we recommend calculating them independently using your specific ingredients.
Did you make this? Leave a rating below!