
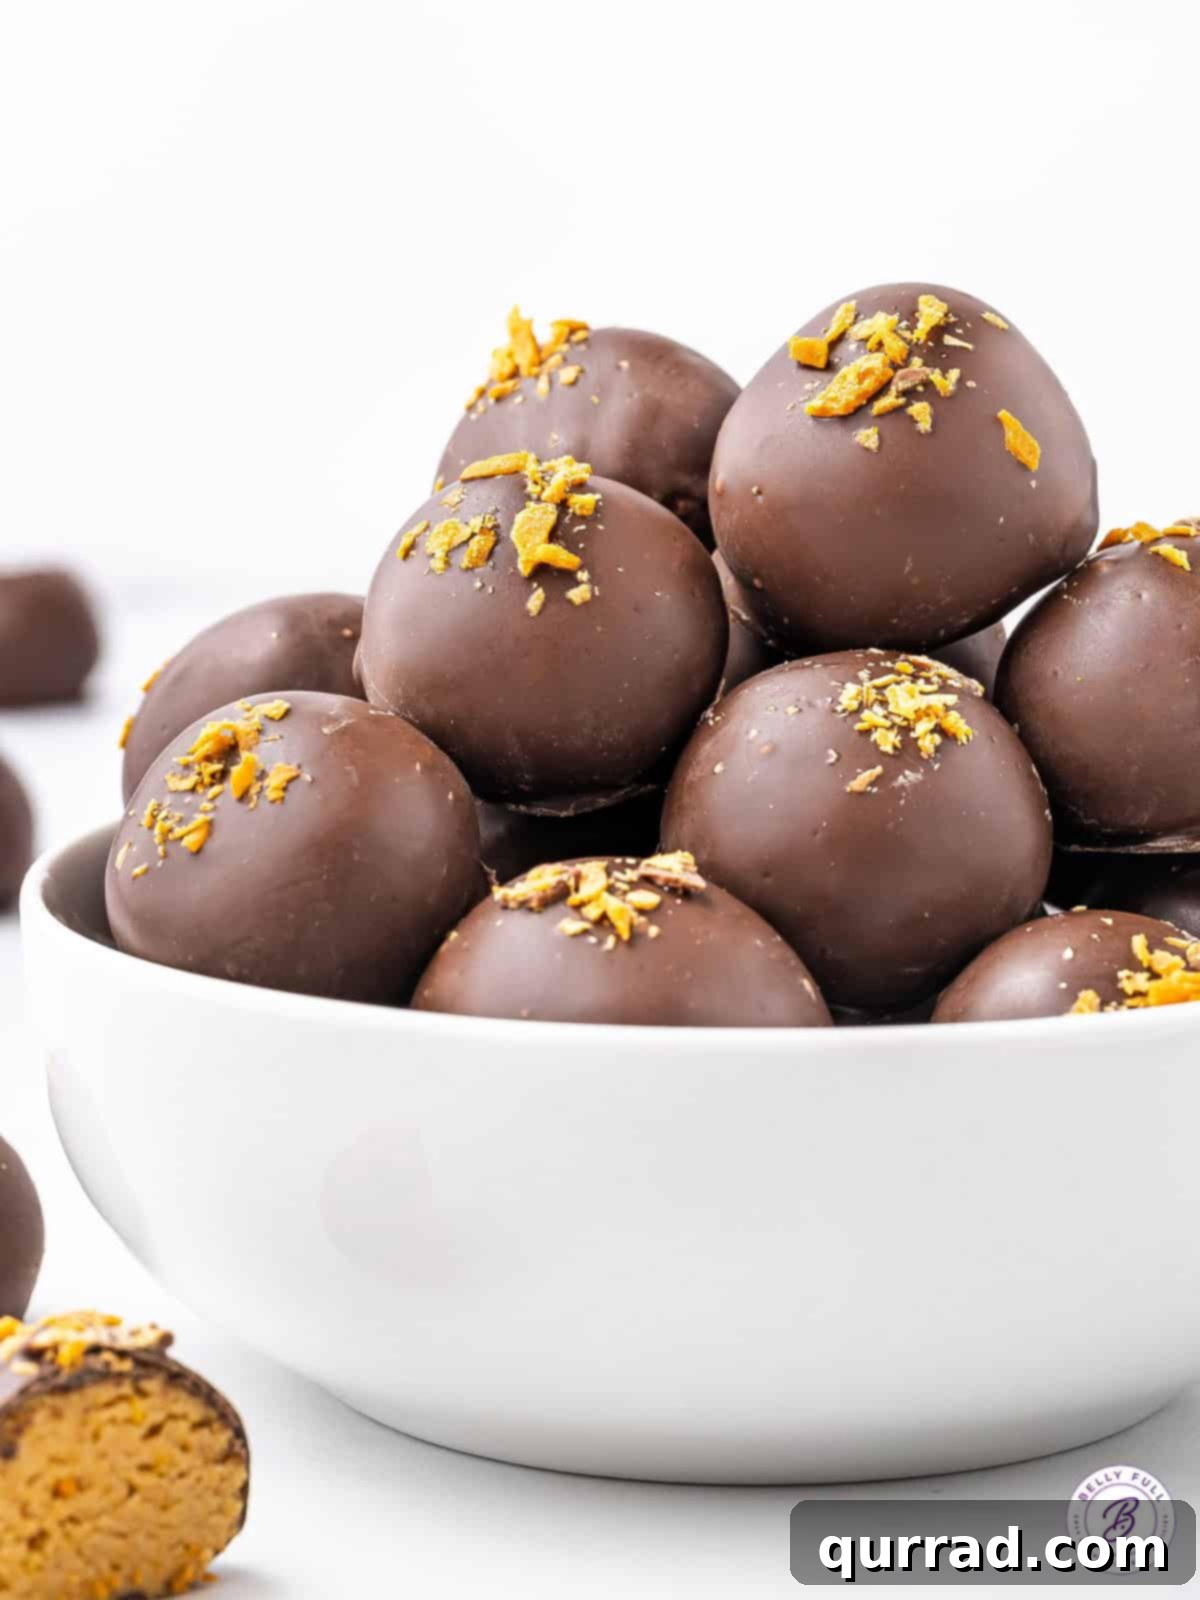
Indulge your sweet cravings with these irresistible Butterfinger Truffles, a homemade treat that brilliantly captures the iconic crunch, sweet creaminess, and rich chocolate coating of the classic Butterfinger candy bar. Perfect for anyone who adores the harmonious combination of peanut butter and chocolate, these no-bake truffles are not only incredibly easy to make but also deliver a delightful explosion of flavor and texture in every bite. Whether you’re preparing for a festive holiday gathering, a casual game day, or simply seeking a quick and delicious dessert to satisfy a sudden sweet tooth, these Butterfinger Truffles are guaranteed to be a crowd-pleaser and an absolute joy to prepare.
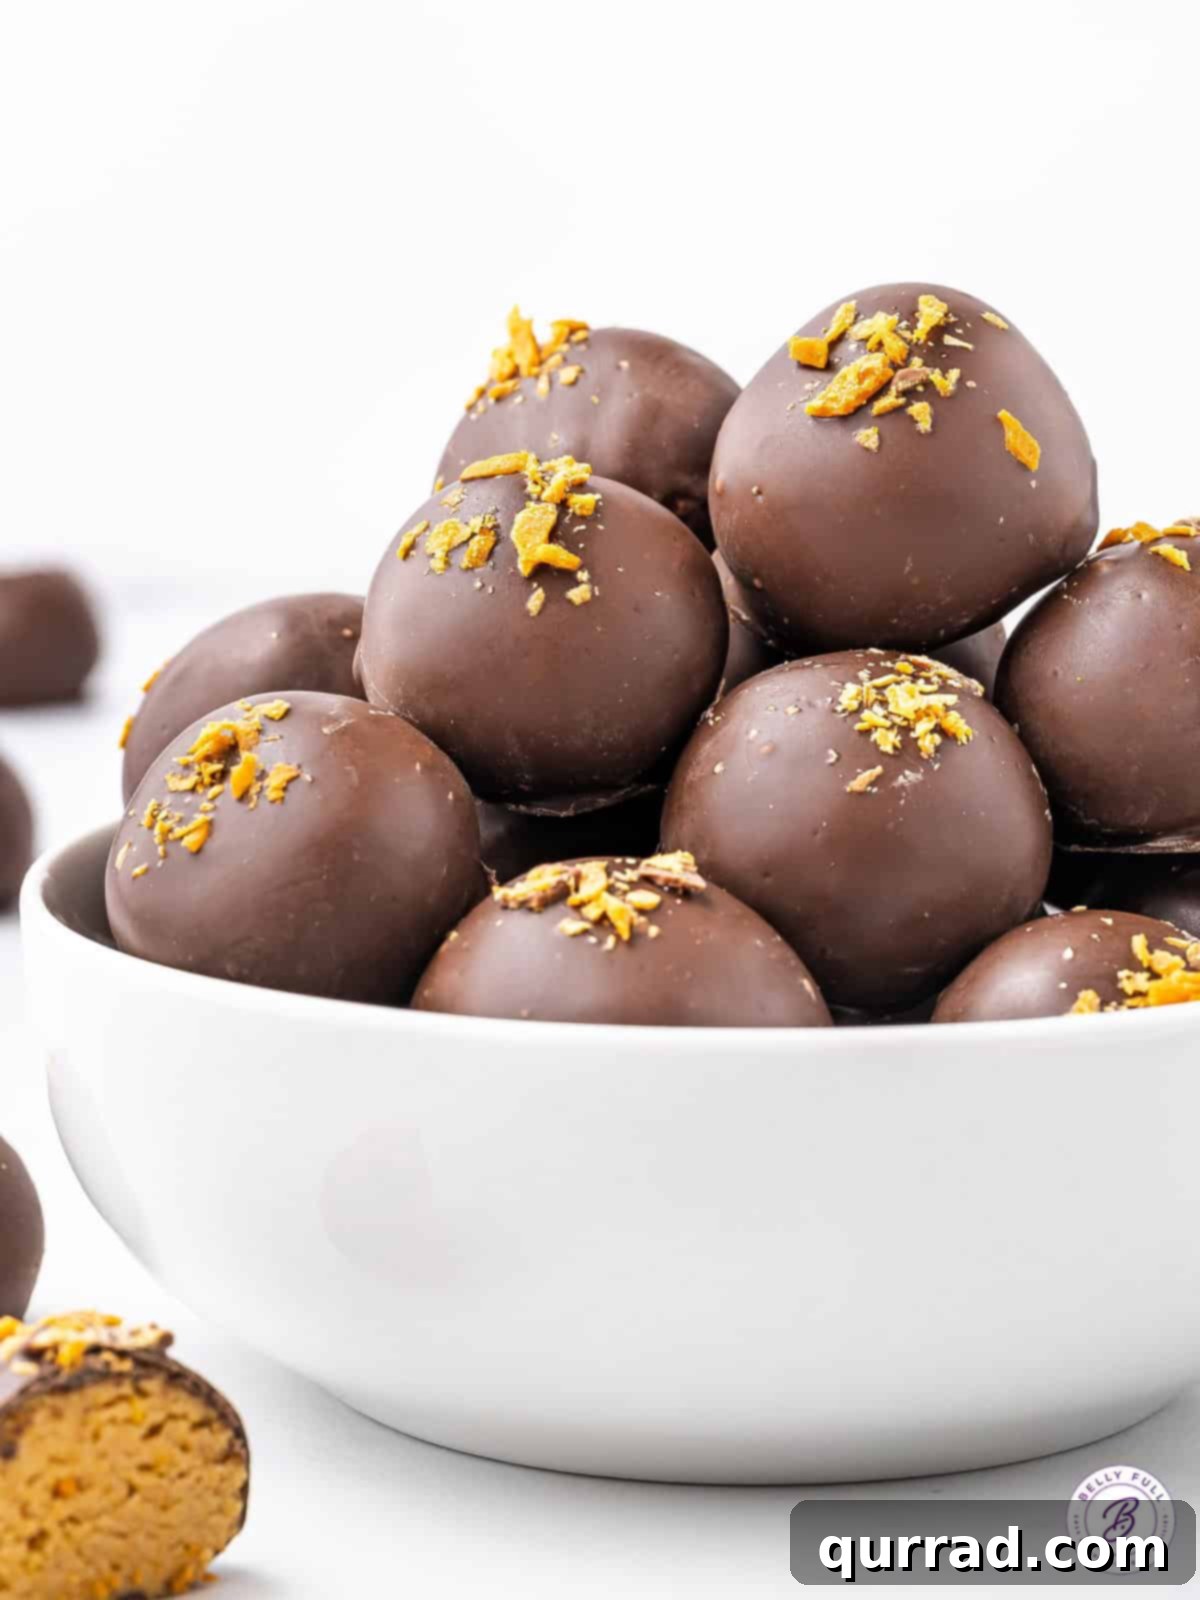
Discover the Magic of Easy Butterfinger Truffles
If the unique peanut-buttery, chocolatey, and delightfully crunchy experience of a Butterfinger candy bar holds a special place in your heart, then get ready to fall in love with these homemade Butterfinger Truffles. This recipe takes everything you adore about that beloved candy and transforms it into a bite-sized, decadent truffle that is surprisingly simple to create. Forget about complicated baking processes; these truffles are a hassle-free, no-bake wonder, requiring just a handful of staple pantry ingredients and minimal effort.
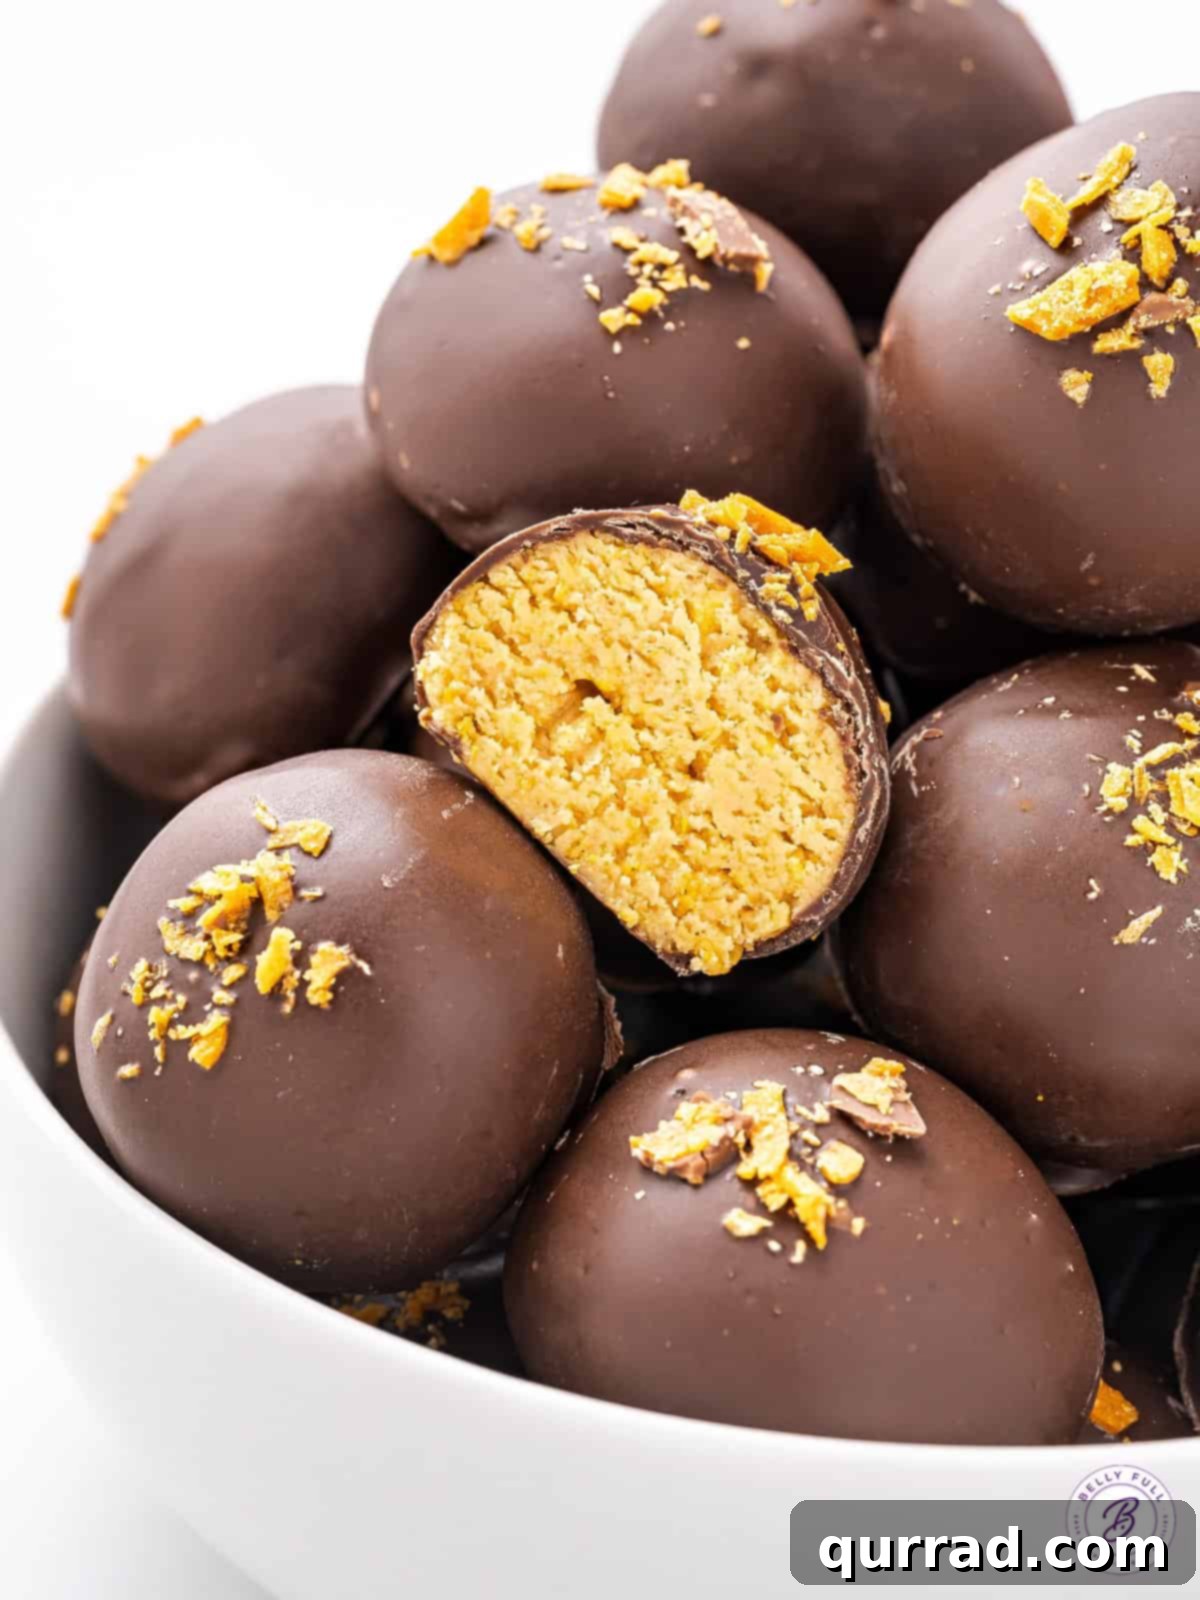
The secret to their incredible taste lies in the meticulously crafted filling. Creamy peanut butter, softened butter, and a generous amount of powdered sugar are whipped together to form a smooth, sweet base. The magic truly happens with the addition of finely crushed Captain Crunch cereal. This ingenious ingredient not only contributes a fantastic textural crunch that mimics the signature flakiness of a Butterfinger bar but also infuses the truffles with its subtly nutty and sweet flavor profile. Once the irresistible filling is shaped into perfect spheres, each one is lavishly dipped in smooth, melted chocolate, creating a luxurious outer shell. A final sprinkle of crushed Butterfinger candy crumbs adds an authentic touch and an extra layer of visual appeal, making these truffles as beautiful as they are delicious.
These versatile Butterfinger Truffles are suitable for any occasion, from an elegant holiday dessert platter where they stand out as a unique offering, to casual gatherings like parties, potlucks, or game days. Their universal appeal and ease of preparation make them a fantastic choice for year-round enjoyment, promising to bring smiles and satisfy even the most discerning sweet tooth.
Why You’ll Adore This Butterfinger Truffle Recipe
- Uncomplicated No-Bake Delight: Say goodbye to ovens and complex baking steps! This recipe simplifies dessert making, allowing you to whip up a gourmet-tasting treat without breaking a sweat.
- Authentic Butterfinger Flavor: Through a clever combination of ingredients, these truffles perfectly replicate the distinctive peanut butter, chocolate, and crispy texture of your favorite candy bar.
- Minimal Ingredient List: With just 5 primary ingredients (plus honey and salt), you likely already have most of what you need in your pantry, making this a convenient last-minute dessert option.
- Fantastic Textural Experience: The creamy peanut butter filling contrasted with the delightful crunch of crushed cereal and a smooth chocolate coating creates an explosion of textures that keeps you coming back for more.
- Perfect for Any Occasion: Whether it’s a holiday party, a birthday celebration, a family gathering, or just a quiet evening at home, these truffles are a fitting and impressive dessert.
- Great for Gifting: Packaged beautifully, these homemade truffles make a thoughtful and delicious gift for friends, family, or colleagues.
- Kid-Friendly & Fun to Make: The no-bake nature and simple steps make this a wonderful recipe to involve children in the kitchen.
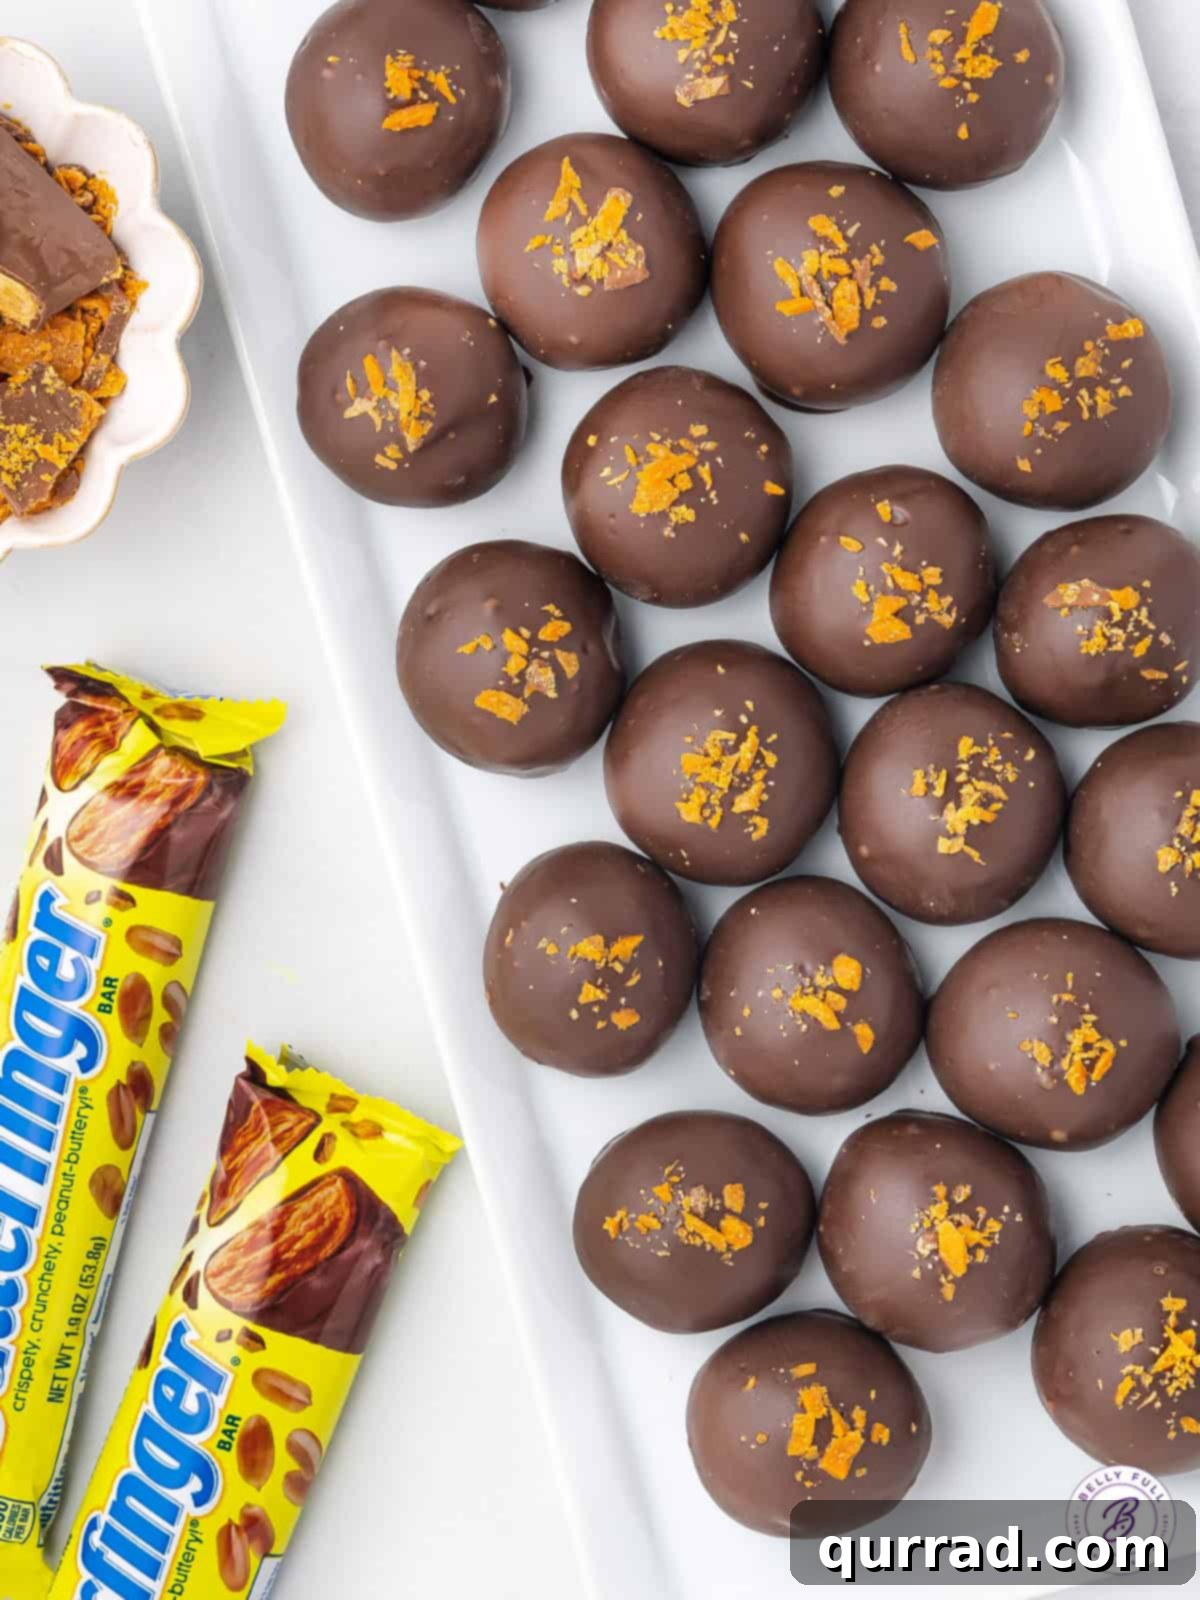
Essential Ingredients for Your Butterfinger Truffles
Crafting these delectable Butterfinger Truffles requires a simple yet carefully selected list of ingredients to achieve that signature flavor and texture. Here’s what you’ll need, along with some helpful tips:
- Creamy Peanut Butter: The foundation of our truffle filling. Opt for a creamy, processed peanut butter (like Jif or Skippy) as its consistent texture and stability are crucial for the truffle’s structure. Avoid natural peanut butter, which tends to separate and can make the mixture too oily or crumbly, leading to difficulties in shaping.
- Unsalted Butter: Softened to room temperature, unsalted butter is vital for achieving a smooth, well-combined truffle base. Softened butter creamed with peanut butter and sugar creates that rich, melt-in-your-mouth consistency. Using unsalted butter allows you to control the overall saltiness of the truffles.
- Powdered Sugar (Confectioners’ Sugar): This fine sugar sweetens the truffles and contributes significantly to their smooth, non-gritty texture. Unlike granulated sugar, powdered sugar dissolves easily, ensuring a silky filling.
- Captain Crunch Cereal (without the berries): This is the secret ingredient that provides the iconic crunch and a unique flavor profile reminiscent of a Butterfinger. The original Captain Crunch, known for its buttery, brown sugar notes, perfectly complements the peanut butter. It must be crushed into very fine crumbs to integrate seamlessly into the filling and provide a subtle, rather than overwhelming, crunch. You can use a food processor or a Ziploc bag and a rolling pin for this.
- Honey: A touch of honey deepens the sweet and nutty flavors of the peanut butter, adding a lovely complexity and helping to bind the mixture.
- Salt: A small pinch of salt is essential to balance the sweetness of the truffles and enhance all the other flavors, particularly the peanut butter.
- Ghirardelli Melting Wafers: For the perfect chocolate coating, high-quality melting wafers are highly recommended. Ghirardelli, Wilton candy melts, or CandiQuik Almond Bark are excellent choices because they melt smoothly, set quickly, and create a beautiful, glossy shell without needing tempering. They also help the truffles remain stable at room temperature.
- Finely Crushed Butterfinger Candy (Optional Garnish): For an authentic finish and an extra burst of Butterfinger goodness, sprinkle a small amount of finely crushed Butterfinger candy bar pieces on top of the freshly dipped truffles. This is a delightful decorative and flavor touch.
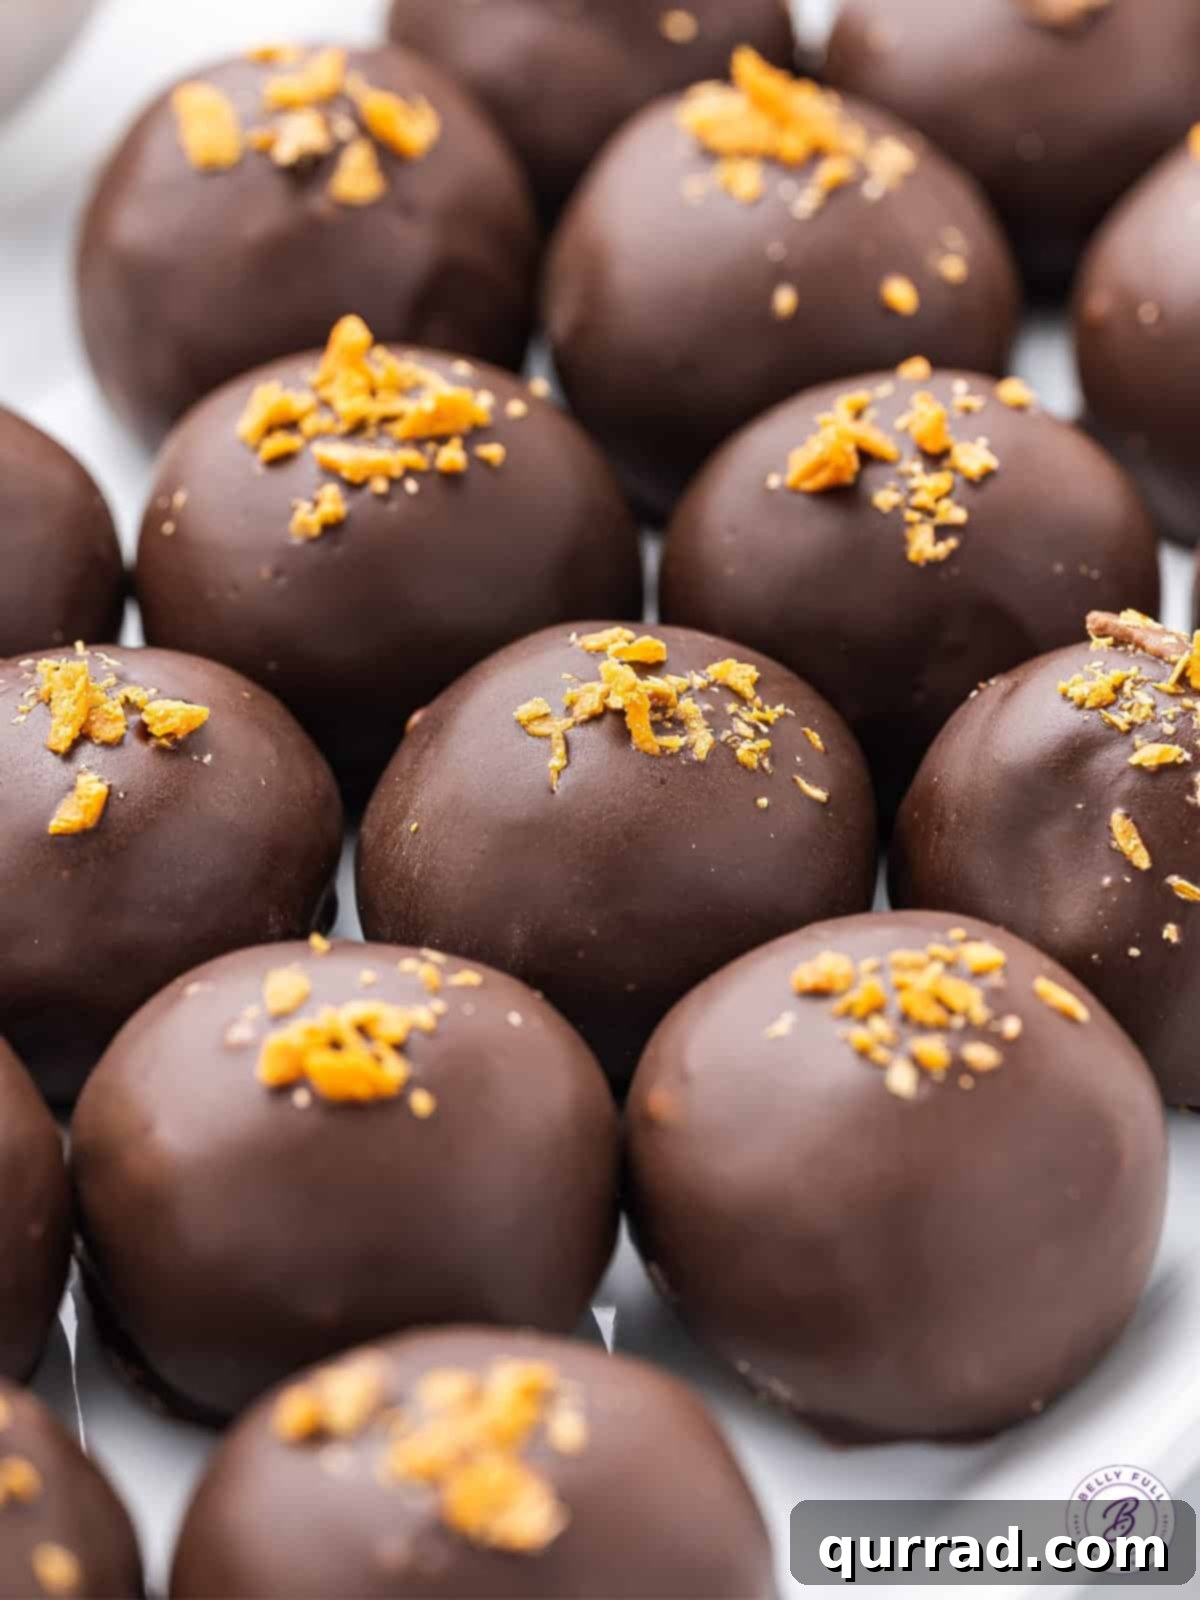
Step-by-Step Guide: How to Make Butterfinger Truffles
Creating these delightful no-bake Butterfinger Truffles is straightforward and fun. Follow these detailed steps for perfect results every time:
- Prepare Your Workspace: Begin by lining a large baking sheet with parchment paper or wax paper. This will prevent your truffles from sticking and make chilling and coating much easier.
- Create the Flavorful Base: In a spacious mixing bowl, combine the creamy peanut butter, softened unsalted butter, powdered sugar, honey, and salt. Use an electric mixer on medium speed (or a sturdy spatula for hand mixing) to cream these ingredients together until the mixture is light, fluffy, and well combined. Scrape down the sides of the bowl as needed to ensure everything is incorporated.
- Add the Signature Crunch: Once the base is smooth, gently fold in the finely crushed Captain Crunch cereal crumbs. Stir until the cereal is evenly distributed throughout the peanut butter mixture. The mixture should be pliable and come together easily when pressed between two fingers, without crumbling. If it’s too sticky, add a little more powdered sugar; if too dry, a tiny bit more honey or peanut butter.
- Shape and Chill the Truffle Balls: Take small portions of the mixture (about 1 tablespoon each) and roll them between your palms to form smooth, uniform 1-inch bite-sized balls. Knead the mixture slightly as you roll to ensure there are no cracks and the balls are compact. Place the formed balls onto the prepared parchment-lined baking sheet. Once all the truffles are shaped, transfer the baking sheet to the refrigerator and chill for at least 30 minutes. This firming up period is crucial for preventing them from falling apart during the chocolate dipping process.
- Melt the Chocolate Coating: While the truffles are chilling, prepare your chocolate. Melt the chocolate melting wafers according to the package instructions. This typically involves using a microwave at short intervals (30 seconds at a time, stirring between each) or a double boiler method, ensuring the chocolate is smooth and lump-free. Be careful not to overheat the chocolate, as this can cause it to seize.
- Dip the Chilled Truffles: Once the truffles are firm and the chocolate is perfectly melted, it’s time to dip! Working one at a time, gently place a chilled peanut butter ball onto the tines of a fork. Submerge the ball completely into the melted chocolate. Use a spoon to help coat it if necessary. Carefully lift the truffle from the chocolate, tapping the fork gently against the side of the bowl to allow any excess chocolate to drip off. This helps create a smooth, even coating.
- Garnish and Set: Immediately transfer the chocolate-coated truffle back to the parchment-lined baking sheet. If desired, lightly sprinkle a touch of finely crushed Butterfinger candy bar pieces on top before the chocolate sets. Repeat the dipping and garnishing process with the remaining truffles.
- Final Chill: Once all the trles are dipped and garnished, return the baking sheet to the refrigerator for an additional 15 minutes. This final chilling period allows the chocolate coating to harden completely, giving you a firm, glossy, and perfectly set truffle. Serve and enjoy!
Expert Tips for Perfect Butterfinger Truffles & Variations
Achieving bakery-quality Butterfinger Truffles is easy with a few insider tips and creative variations:
- Chocolate Choice Matters: Melting Wafers vs. Regular Chocolate: For the smoothest, most professional-looking chocolate shell that sets beautifully and remains stable at room temperature, I highly recommend using Ghirardelli melting wafers, Wilton candy melts, or CandiQuik almond bark. These are designed to melt evenly and harden without needing special tempering. If you opt for regular chocolate chips (semi-sweet, milk, or dark), you’ll achieve a better consistency by melting them with a small amount (1-2 teaspoons per cup of chips) of coconut oil or shortening. This helps create a thinner, more fluid chocolate that’s easier to dip and sets more smoothly.
- Crushing the Cereal: For the ideal Butterfinger-like texture, ensure your Captain Crunch cereal is crushed into very fine crumbs. Large pieces can make the truffles difficult to roll smoothly and may compromise their structure. A food processor works best for a fine crumb, but a Ziploc bag and a rolling pin can also get the job done.
- Chill Time is Key: Don’t rush the chilling process! The initial 30-minute chill for the peanut butter balls is crucial for them to firm up. This prevents them from falling apart or losing their shape when dipped into warm chocolate. The final 15-minute chill ensures the chocolate coating is completely set.
- Achieving Uniform Truffle Size: For consistent results and even portions, use a small cookie scoop or a tablespoon measure to portion out the peanut butter mixture before rolling.
- Preventing Sticky Hands: If the peanut butter mixture starts to stick to your hands while rolling, lightly dust your palms with a little powdered sugar or lightly moisten them with water.
- Creative Cereal Alternatives: While Captain Crunch is ideal for mimicking Butterfinger, you can experiment with other cereals for a slightly different flavor and texture profile. Finely crushed cornflakes or even bran flakes can offer an interesting twist, though they won’t replicate the exact Butterfinger taste.
- Double Chocolate Drizzle: If you find yourself with extra melted chocolate after dipping, or if you simply desire a more elaborate presentation, wait for the first chocolate layer to harden completely. Then, drizzle additional melted chocolate over the tops of the truffles in a decorative pattern. This adds visual appeal and an extra layer of chocolatey goodness.
- Add-ins for the Filling: Feel free to get creative with your filling! A tiny sprinkle of mini chocolate chips, a hint of vanilla extract, or even a very fine sprinkle of toffee bits could elevate the flavor complexity.
Proper Storage for Maximum Freshness
Properly storing your Butterfinger Truffles ensures they remain delicious and fresh for as long as possible. Here are your best options:
- Countertop Storage: Thanks to the sturdy candy melt or melting wafer coating, these truffles can be stored, covered, at cool room temperature for up to 3-4 days. It’s crucial to keep them away from direct sunlight, heat sources, and high humidity, which can cause the chocolate to melt or bloom. An airtight container is best to protect them from air exposure.
- Refrigerator Storage (Recommended): For optimal freshness, texture, and extended shelf life, storing Butterfinger truffles in the refrigerator is highly recommended. Place them in an airtight container, and they will remain fresh and delightful for 5-7 days. The chilled temperature also enhances their firm, crispy texture.
- Freezer Storage: These truffles freeze exceptionally well, making them perfect for meal prep or enjoying a treat whenever a craving strikes. Once the chocolate coating has completely hardened, transfer the truffles to a freezer-safe airtight container or a heavy-duty freezer bag, separating layers with parchment paper if necessary. They can be frozen for up to 3 months. To enjoy, simply thaw them in the refrigerator for a few hours or at room temperature until softened slightly.
Frequently Asked Questions (FAQs)
Can I use natural peanut butter for these truffles?
It’s generally not recommended. Natural peanut butter tends to be oilier and has a looser consistency than processed creamy peanut butter, which can make the truffle mixture too wet and difficult to shape properly. For best results, stick to creamy, no-stir peanut butter.
What if my chocolate seizes while melting?
Chocolate can seize (become thick and clumpy) if even a tiny bit of water or steam gets into it, or if it’s overheated. To prevent this, ensure all your utensils and bowls are completely dry. If melting in the microwave, use short bursts and stir frequently. If melting over a double boiler, ensure the water in the pot doesn’t touch the bottom of the chocolate bowl. If it does seize, sometimes you can rescue it by stirring in a teaspoon of vegetable oil or coconut oil until it becomes smooth again, but it might alter the final texture.
Can I make these truffles gluten-free?
Yes, you can! The main ingredient to check for gluten is the Captain Crunch cereal. While Captain Crunch is not typically gluten-free, you can substitute it with a certified gluten-free crispy rice cereal (like Rice Krispies, ensuring it’s GF) or gluten-free cornflakes, crushed finely. Ensure all other ingredients (peanut butter, chocolate, etc.) are also certified gluten-free.
How far in advance can I make Butterfinger Truffles?
These truffles are a fantastic make-ahead dessert! You can prepare them up to a week in advance and store them in an airtight container in the refrigerator. For longer storage, freeze them, and they’ll be delicious for up to 3 months. Just remember to thaw them properly before serving.
Can I use different types of cereal?
While Captain Crunch is key for the Butterfinger-like flavor and crunch, you can experiment. Finely crushed cornflakes offer a good crispiness, but the flavor will be milder. Graham cracker crumbs could also work for texture but would yield a different taste. Always crush your chosen cereal very finely.
More Peanut Butter and Chocolate Desserts to Savor:
- Butterfinger Cookies
- Classic Peanut Butter Balls
- Peanut Butter Blossoms
- No-Bake Peanut Butter Pie
I genuinely hope you thoroughly enjoy preparing and savoring this incredible recipe for easy Butterfinger Truffles. It’s a true celebration of peanut butter and chocolate, made simple for everyone to enjoy. Please consider leaving a review below to share your experience! And for more delightful recipes and culinary inspiration, don’t forget to follow Belly Full on your favorite social media platforms: TikTok, Facebook, Instagram, Pinterest, and YouTube!
Butterfinger Truffles: The Full Recipe
These Butterfinger Truffles mimic the classic candy bar and are perfect for the peanut butter and chocolate lover. They’re a super easy and delicious no bake treat great for any occasion!
Prep Time: 10 mins
Chill Time: 30 mins (initial) + 15 mins (final)
Total Time: 40 mins active + chilling
Yields: 24 truffles
Ingredients
- 1 cup creamy peanut butter
- 1/4 cup unsalted butter, softened
- 1 & 3/4 cups powdered sugar
- 1 & 1/2 tablespoons honey
- Pinch of salt
- 1 & 1/4 cups Captain Crunch cereal (without the berries), crushed into very fine crumbs
- 12 ounces chocolate Ghirardelli melting wafers (or candy melts or CandiQuik Almond Bark)
- Finely crushed Butterfinger candy, for garnish (optional)
Instructions
- Line a large baking sheet with parchment paper.
- In a large mixing bowl, cream together the peanut butter, butter, powdered sugar, honey, and salt until smooth and well combined.
- Stir in the finely crushed Captain Crunch crumbs until evenly distributed. The mixture should be pliable and hold its shape when pressed.
- Knead and shape the mixture into small 1-inch bite-sized balls. Place them on the prepared baking sheet and chill in the refrigerator for at least 30 minutes.
- Melt the chocolate wafers according to package directions.
- Working one at a time, place a chilled truffle ball onto fork tines and lower it into the melted chocolate, coating it completely. Tap the fork gently on the side of the bowl to remove excess chocolate.
- Transfer the chocolate-coated truffle back to the parchment-lined baking sheet. If desired, sprinkle with finely crushed Butterfinger candy before the chocolate sets.
- Place the baking sheet back in the fridge for about 15 minutes to allow the chocolate to fully harden. Enjoy your delicious Butterfinger Truffles!
Notes
Melting Wafers vs. Regular Chocolate: For a smooth, stable coating, Ghirardelli melting wafers, Wilton candy melts, or CandiQuik almond bark are ideal as they melt easily and set without softening at room temperature. If using regular chocolate chips, melt them with 1-2 teaspoons of coconut oil per cup to achieve a better dipping consistency.
Cereal Alternatives: While Captain Crunch is recommended for its signature flavor, you can substitute with finely crushed cornflakes or even bran flakes for a different taste and texture.
Nutrition Information (per truffle, approximate)
Calories: 219kcal | Carbohydrates: 27g | Protein: 3g | Fat: 10g | Saturated Fat: 4g | Polyunsaturated Fat: 1g | Monounsaturated Fat: 3g | Trans Fat: 0.1g | Cholesterol: 5mg | Sodium: 144mg | Potassium: 85mg | Fiber: 1g | Sugar: 20g | Vitamin A: 59IU | Vitamin C: 0.01mg | Calcium: 6mg | Iron: 0.2mg
Nutritional information is an automatic calculation and can vary based on the exact products used and any modifications to the recipe. For precise values, it’s recommended to calculate them yourself.
Save this recipe!
Get this sent to your inbox, plus receive new recipes from us every week!
Did you make this recipe? We’d love to hear from you! Leave a rating below!