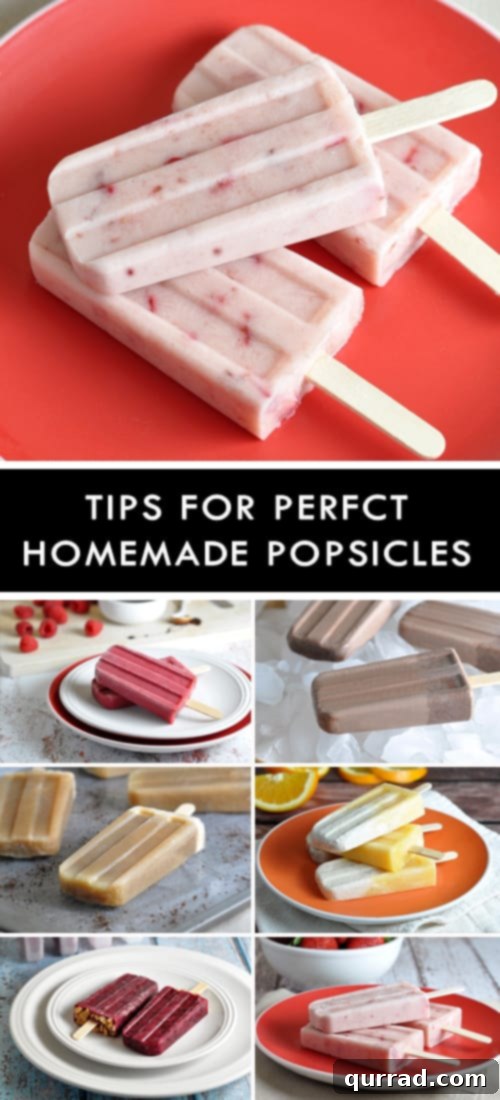
Cool down this summer with some fresh, frozen, and fun homemade popsicles. They’re super easy to make and less expensive than commercial brands!
The Ultimate Guide to Making Delicious Homemade Popsicles This Summer
As the mercury rises and the days stretch long, there’s nothing quite like a frosty treat to beat the summer heat. While store-bought popsicles offer convenience, crafting your own homemade versions opens up a world of flavor, health benefits, and creative fun. Forget artificial colors and excessive sugars; with homemade popsicles, you’re in control of every delicious ingredient, making them a fantastic, wholesome snack for the entire family. They’re surprisingly simple to prepare, incredibly customizable, and significantly lighter on your wallet compared to their commercial counterparts. Get ready to transform your kitchen into a summer dessert factory and discover the joy of DIY frozen delights!
Why Homemade Popsicles Are Your Summer MVP
Summer is undeniably here, bringing with it soaring temperatures and an insatiable desire for cooling refreshments. In many regions, the heat is already pushing into the high 90s, making daily swims a necessity and prompting endless requests for icy treats. Instead of constantly reaching for pre-packaged options, consider the myriad benefits of making popsicles from scratch. It’s not just a culinary activity; it’s an investment in healthier habits, creative expression, and memorable summer moments.
Healthier Choices, Happier Kids (and Adults!)
One of the primary advantages of homemade popsicles is the ability to dictate the ingredients. You can opt for fresh, ripe fruits, natural sweeteners like honey or agave, and avoid artificial dyes, high-fructose corn syrup, and preservatives often found in store-bought varieties. This means a healthier snack that you can feel good about serving to your children – and indulging in yourself! Imagine vibrant popsicles bursting with real strawberry flavor, creamy mango goodness, or zesty lemon-lime tang, all derived from wholesome components. This control over ingredients also makes homemade popsicles an excellent option for those with dietary restrictions or allergies, as you can easily tailor recipes to suit specific needs.
Save Money, Savor Flavor: A Budget-Friendly Delight
Beyond the health aspect, making popsicles at home is a remarkably cost-effective solution. A single box of commercial popsicles can quickly add up, especially if your family goes through them daily. By purchasing fruit in bulk when it’s in season and combining it with basic pantry staples like yogurt, juice, or even just water, you can produce a large batch of delicious popsicles for a fraction of the price. This financial saving means you can enjoy more frozen treats throughout the summer without breaking the bank, allowing you to allocate your budget to other fun summer activities.
Unleash Your Inner Chef: Endless Flavor Adventures
The beauty of homemade popsicles lies in their boundless versatility. The possibilities are truly limitless, allowing you to experiment with a vast array of bases and flavor combinations. Whether you prefer a refreshing fruit-based pop, a rich and creamy dairy creation, a texturally interesting blend with chunks of fruit or chocolate, or even a sophisticated boozy treat for grown-ups, your imagination is the only constraint. This creative freedom encourages culinary exploration and can be a fun activity to involve the whole family in, letting everyone customize their favorite frozen concoction.
Getting Started: What You Need for Perfect Popsicles
Making your own popsicles is incredibly easy, requiring just a few basic tools that you likely already own or can acquire affordably. Having the right equipment makes the process smoother and ensures consistently great results. Here’s a rundown of the simple tools that will become your best friends this summer:
Essential Kitchen Tools for DIY Popsicles
1. Blender: Chances are, a blender is already a staple in your kitchen. If not, and you’re embarking on your homemade popsicle journey, it’s a worthwhile investment. You don’t need a high-end, super-expensive model; most standard blenders will easily handle the task of pureeing fruits and mixing bases for your popsicles. An immersion blender can also work well for smaller batches or if you prefer less cleanup.
2. Popsicle Molds: This is where the magic happens! Popsicle molds come in an impressive variety of shapes, sizes, and materials (silicone, plastic, stainless steel). Some molds feature built-in reusable sticks, while others require you to insert separate wooden or reusable plastic sticks. Consider what best suits your preferences and read reviews to find a durable, easy-to-clean option that will serve you well for many summers to come. Silicone molds are particularly popular for their flexibility, making un-molding a breeze.
3. Popsicle Sticks: If your chosen mold doesn’t include integrated sticks, you’ll need to purchase a separate supply of wooden popsicle sticks. They are inexpensive and readily available in various quantities. It’s always a good idea to stock up, as you’ll likely find yourself making batch after batch!
4. Pitcher: While not strictly mandatory, a pitcher with a spout makes the pouring process significantly easier and less messy, especially when filling multiple molds. It helps prevent spills and ensures you can accurately fill each cavity without overfilling.
5. Basic Prep Tools: Don’t forget the essentials like measuring cups and spoons for accurate ingredient ratios, a cutting board, and a sharp knife for preparing fruits. A spoon or spatula might also be useful for stirring and scraping down the blender sides.
Expert Tips for Crafting the Best Homemade Popsicles
To ensure your homemade popsicles turn out perfectly every time, keep these expert tips in mind. They’ll help you achieve optimal flavor, texture, and ease of preparation and enjoyment.
The Sweet Secret of Ripe Fruit
For fruit-based popsicles, patience is a virtue. Wait until your fresh fruit is overly ripe – almost to the point of being a bit soft. The riper the fruit, the more natural sugars it contains, which means your popsicles will be inherently sweeter. This allows you to reduce the amount of added sugar, resulting in a more wholesome and naturally delicious treat. Think about the intense sweetness of a perfectly ripe mango or strawberry – that’s the flavor you want to capture!
Balancing Sweetness: Sugar Alternatives and Freezing
You can certainly enhance the sweetness of your popsicles by adding granulated sugar, honey, agave nectar, maple syrup, or even natural sugar substitutes like stevia. However, be mindful that excessive sugar can interfere with the freezing process, potentially making your popsicles softer or preventing them from fully solidifying. If you’re aiming for a very firm popsicle, use sweeteners judiciously. For creamier pops, a bit more sugar can contribute to a smoother texture.
Preventing the Sinking Fruit Syndrome
When making juicy popsicles with fruit chunks, those delicious pieces have a tendency to sink to the bottom of the mold before freezing. To prevent this, employ a simple layering technique: fill the molds about a quarter of the way with your liquid base, then partially freeze them (this usually takes about 30-60 minutes, just until slushy). Once slightly firm, add the rest of your fruit chunks, and then top off with the remaining liquid base. This method helps suspend the fruit evenly throughout the popsicle, ensuring every bite is packed with flavor and texture.
Room to Grow: Understanding Expansion
Remember that liquids expand as they freeze. To prevent your molds from overflowing and making a mess in your freezer, always leave about a quarter-inch of room at the top of each mold when filling it. This small space accommodates the expansion, ensuring a perfectly formed popsicle and easy un-molding later.
The Clean Mold Advantage
Before placing your filled molds into the freezer, take a moment to wipe away any excess mixture from the top edges of the mold. If left to freeze, this excess can create a seal that makes it incredibly difficult to remove the popsicles once frozen. A quick wipe with a damp cloth can save you a lot of struggle and frustration later.
Perfectly Placed Sticks
If you’re using molds that require you to insert sticks separately, timing is key. Partially freeze the filled molds for approximately one to two hours, or until the mixture is firm enough to hold the stick upright but still pliable. Then, carefully slide the popsicle sticks into the center of each partially frozen pop. Return the molds to the freezer and allow them to freeze completely. Freezing times will vary depending on your freezer’s temperature, the specific mold you’re using, and the base ingredients of your popsicle (dairy-based pops often freeze firmer than water-based ones).
The Art of Effortless Un-Molding
Struggling to get a popsicle out of its mold can be frustrating. The best technique for effortless un-molding is to prepare a container (such as a tall glass or pitcher) with warm water, ensuring it’s as tall as your popsicle mold. Dip the mold into the warm water for about 20-30 seconds. This brief exposure to warmth will slightly loosen the popsicle from the mold’s edges. Remove the mold from the water, place it on a countertop, and gently pull upward on the stick. If it doesn’t release easily, place the mold back in the warm water for a few more seconds. Do not force it, as this can break the stick or the popsicle itself.
Storage Savvy: Keeping Your Popsicles Fresh
While popsicles can remain in their molds for a few days, for longer storage and to prevent freezer burn, it’s best to transfer them. Once fully frozen and un-molded, wrap each popsicle individually in plastic wrap, or store them in resealable plastic bags or airtight containers. If using a container, you can separate layers of popsicles with sheets of wax paper to prevent sticking. Placing them back in the freezer for an additional 30 minutes after un-molding and wrapping can help them firm up and hold their shape even better during storage. Properly stored, homemade popsicles can last for several weeks in the freezer.
Beyond the Basics: Creative Popsicle Ideas to Try
Once you’ve mastered the fundamentals, the real fun begins with experimentation! Don’t be afraid to think outside the box and try unconventional ingredients or layering techniques. The world of homemade popsicles is an exciting canvas for your culinary creativity.
Fruit-Based Wonders
Start with simple fruit purees. Blend berries (strawberries, raspberries, blueberries), tropical fruits (mango, pineapple, kiwi), or classic citrus (orange, lemon, lime) with a splash of water or juice. You can also combine different fruits for a vibrant medley. For extra texture, consider leaving small chunks of fruit in the puree.
Creamy Indulgences
For a richer, more decadent treat, incorporate dairy or dairy alternatives. Greek yogurt, coconut milk, heavy cream, or even almond milk can form the base for luscious popsicles. Think about creating flavors like chocolate fudge pops, vanilla bean creamsicles, or a tangy yogurt-berry swirl. These tend to have a smoother, less icy texture.
Boozy Bliss (Adults Only!)
For a sophisticated summer treat, experiment with adding a splash of your favorite spirits. Margarita pops with tequila, sangria pops with wine and fruit, or even a mojito-inspired pop with rum, mint, and lime are delightful adult options. Be aware that alcohol has a lower freezing point, so use it sparingly to ensure your popsicles freeze properly. A small amount will infuse flavor without preventing solidification.
Hidden Veggies and Superfoods
Sneak some extra nutrients into your popsicles! Spinach or kale can be blended into fruit smoothies for green pops that taste surprisingly good, especially when paired with sweet fruits like pineapple or banana. Add chia seeds for a boost of omega-3s and a unique texture, or incorporate spirulina for an adventurous blue hue.
Layered and Swirled Masterpieces
Create visually stunning popsicles by layering different colors and flavors. You can alternate fruit purees with yogurt, or create a marbled effect by swirling two different mixtures together just before freezing. For distinct layers, freeze each layer partially before adding the next. This takes a little more time but the visual appeal is worth it.
Our Favorite Homemade Popsicle Recipes to Inspire You
Ready to dive in? Here are some beloved homemade popsicle recipes that are sure to become family favorites. Each one offers a unique flavor profile and demonstrates the incredible versatility of DIY frozen treats. Click through to discover the full recipes and start your sweet summer adventure!
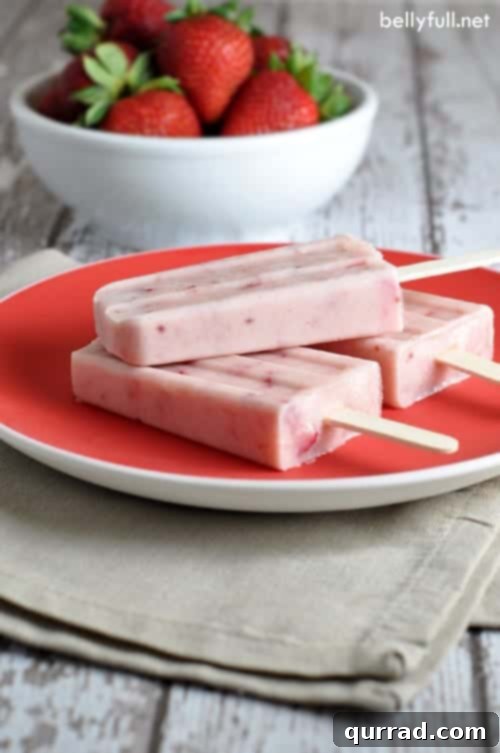
Strawberry Jam Yogurt Popsicles: A Creamy Fruit Blend
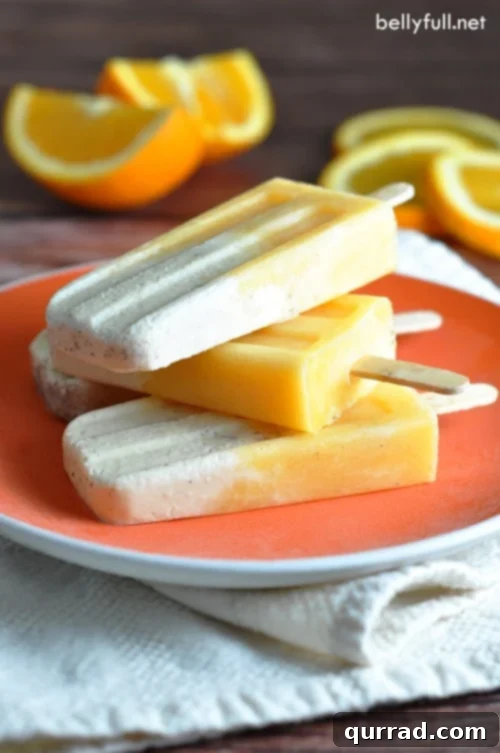
Orange Creamsicles: A Nostalgic Childhood Treat
Mexican Chocolate Popsicles: Rich and Spicy Delight
Root Beer Float Popsicles: Fizzy and Creamy Fun
Cookies and Cream Popsicles: An Indulgent Sweet Fix
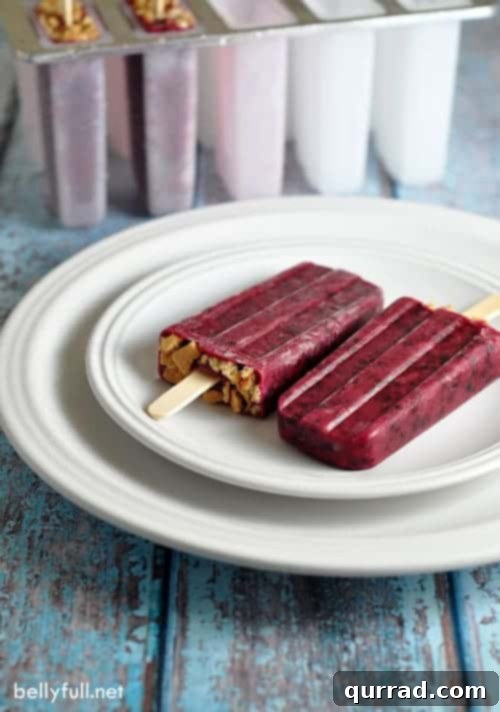
Blackberry Cheesecake Popsicles: Decadent Dessert on a Stick
Chocolate-Raspberry Popsicles: A Perfect Sweet-Tart Combo
Embrace the Chill: Make This Summer Unforgettable!
There you have it – everything you need to know to become a homemade popsicle pro! From selecting the freshest ingredients to mastering the perfect un-molding technique, you’re now equipped to create an endless array of delightful frozen treats. Not only are these DIY popsicles a healthier and more economical alternative to store-bought options, but they also offer a wonderful opportunity for creativity and family fun in the kitchen. So, gather your ingredients, unleash your imagination, and get ready to enjoy a summer filled with refreshing, custom-made popsicles. Your taste buds (and your wallet!) will thank you. Happy freezing, and yay for summer time!