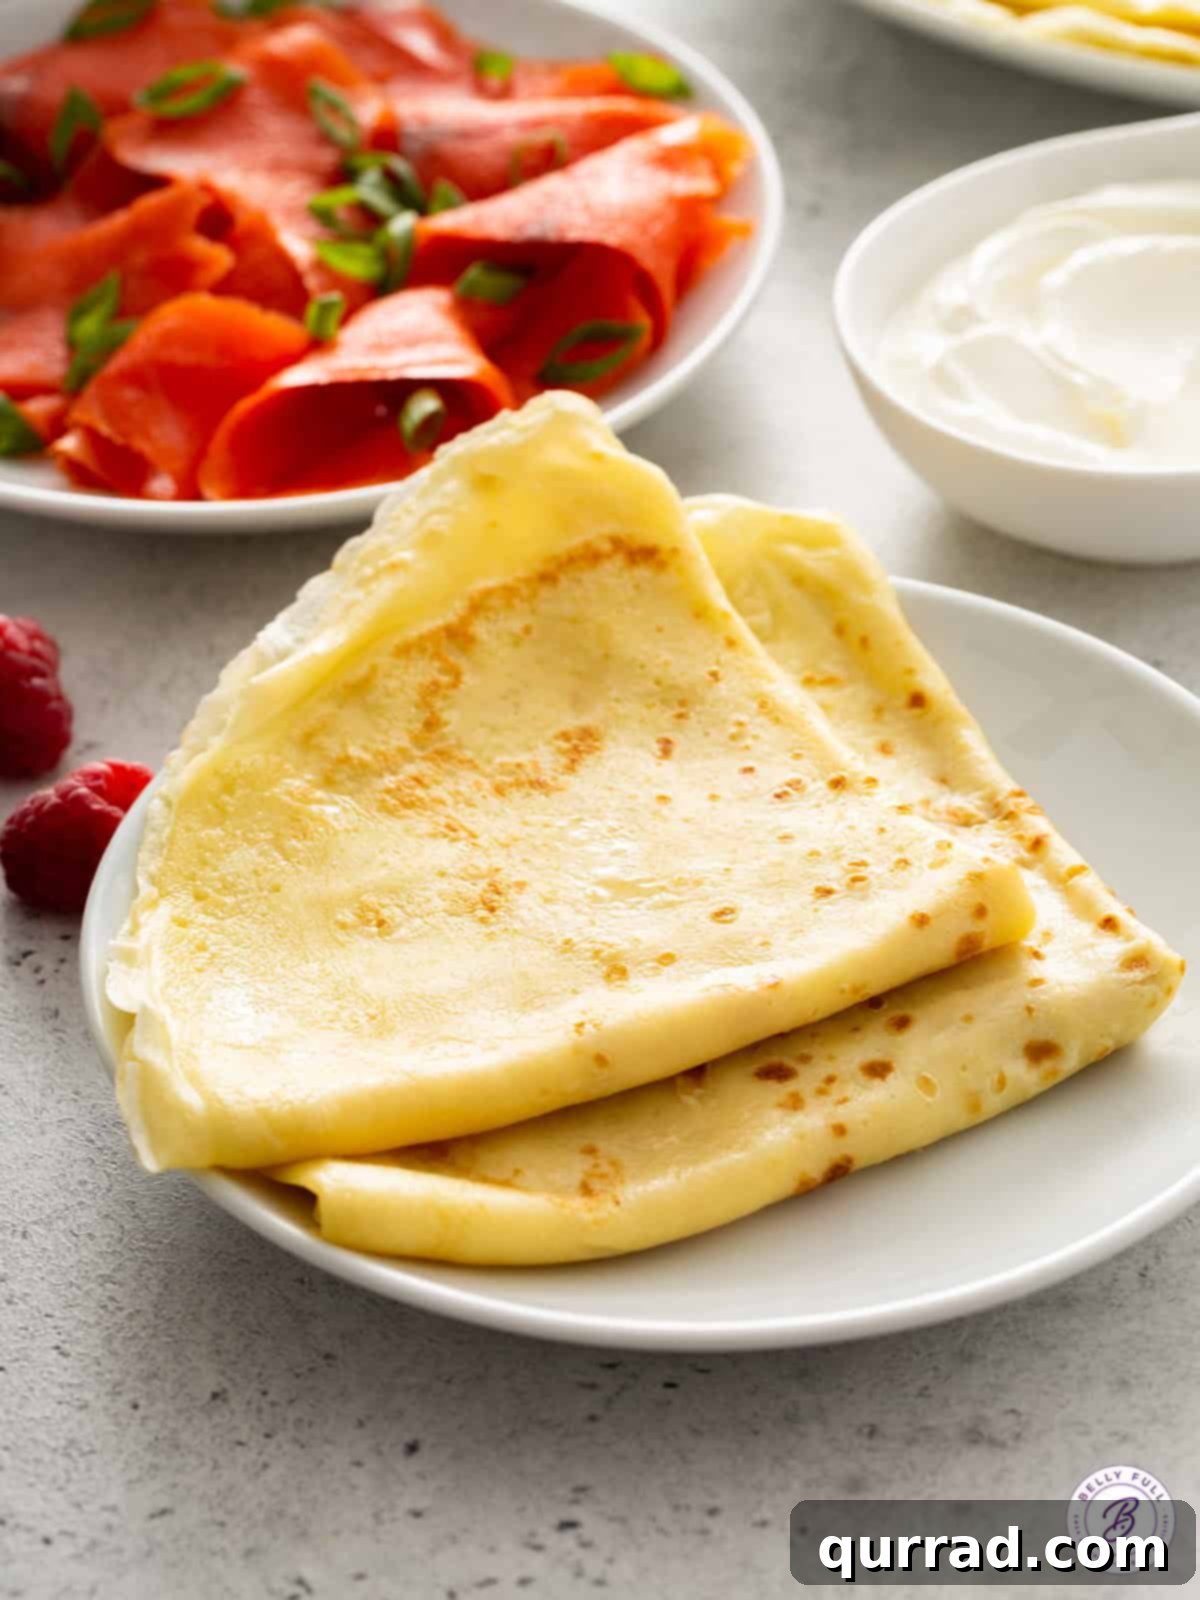
Unlock the secret to making perfectly delicate, buttery, and utterly delightful crepes right in your own kitchen! This comprehensive guide provides an easy crepe recipe that requires no special equipment, making gourmet breakfast, brunch, or dessert achievable for anyone. Whether your palate craves something sweet or savory, the endless possibilities for filling these thin pancakes will inspire your culinary adventures.
Rave Reviews for This Crepe Recipe!
Pamela Richards raves, “This recipe was incredibly straightforward to follow and resulted in the most lovely crepes I’ve ever made!”
Lori Schmidt states, “This has become my absolute go-to recipe for perfect crepes every single time!”
Crepes hold a special place in many hearts, evoking images of Parisian cafes and sophisticated brunches. While they may appear fancy, the truth is that homemade crepes are surprisingly simple to master. Imagine creating these delicate, paper-thin treats with just five basic pantry ingredients, plus a touch of butter for the pan. Forget about specialized crepe makers; a good quality 10-inch nonstick skillet is all you need to achieve professional-level results. We’ll show you how to effortlessly whip up a batch that will impress family and friends alike.
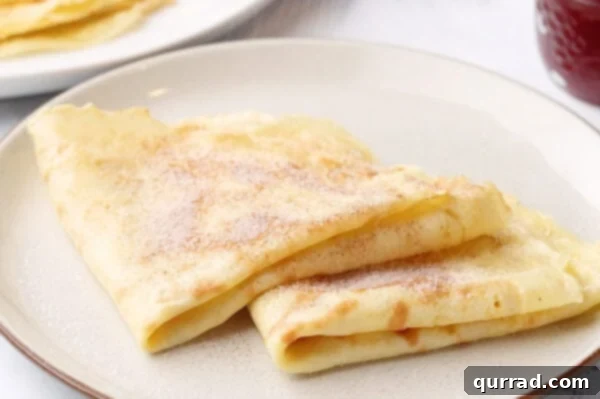
From a nostalgic childhood memory of making up tongue twisters like “Clara Cooked Crispy Crepes,” my affection for these thin pancakes has only grown. Their versatility is truly remarkable; enjoy them simply dusted with cinnamon-sugar, generously spread with your favorite jam, or lavishly stuffed with a sweet cheese filling, much like my popular blintz recipe. The potential for customization is virtually limitless, and we’ll explore a wealth of inspiring ideas later in this article!
What Exactly is a Crepe?
At its core, a crepe is a very thin pancake, originating from French cuisine. Unlike their fluffy American counterparts, crepes are characterized by their delicate, almost lace-like texture and minimal leavening. They are made by pouring a thin, smooth batter into a hot, buttered nonstick skillet and swirling it quickly to create a uniform, thin layer. This distinct method results in a product that is incredibly pliable and perfect for folding, rolling, or stuffing with an array of fillings.
Crepes are more than just a breakfast item; they are a culinary canvas. Their neutral, slightly buttery flavor makes them equally suitable for both sweet and savory applications. This particular crepe recipe is a fundamental building block, offering a simple yet profoundly satisfying taste that feels special. Perhaps it’s their elegant appearance or the fact that they’re not as commonplace as traditional pancakes or waffles that lends them an air of occasion. Regardless, mastering this basic crepe recipe opens up a world of delicious possibilities for any meal of the day.
Essential Tips for Perfect Crepes Every Time
Achieving perfectly tender, golden-brown crepes is simpler than you might think, especially with these expert tips:
- Let the Batter Rest for Optimal Texture: This is a crucial step that many overlook. Whether you mix your batter by hand with a whisk or in a blender, allow it to rest for at least 20 minutes at room temperature. Just like kneading bread dough helps gluten develop, resting crepe batter allows the flour to fully hydrate and the gluten strands to relax. This results in crepes that are incredibly tender, pliable, and less prone to tearing. Skipping this step can lead to tougher, less desirable crepes.
- Utilize a High-Quality Nonstick Pan: A good nonstick skillet is your best friend when making crepes. It ensures even heat distribution across the surface, which is essential for uniform cooking and prevents the delicate batter from sticking to the pan. A 10-inch pan is typically ideal for creating standard-sized crepes that are easy to handle.
- Butter the Pan for Superior Flavor and Browning: While nonstick spray or oil can work in a pinch, using a small amount of unsalted butter for the pan adds an unparalleled richness and depth of flavor to your crepes. The butter also helps achieve that beautiful, lightly golden-brown finish and crisp edges. Melt about 1 teaspoon of butter before adding each new crepe, spreading it evenly until it starts to foam gently.
- Employ a 1/4 Cup Measuring Cup for Consistency: For crepes that are uniform in size and thickness – and thus cook evenly – use a 1/4 cup measuring cup to portion your batter. This consistency is key for beautiful presentation and ensures each crepe cooks at the same rate, preventing some from being undercooked while others burn.
- Master Medium Heat for Ideal Cooking: The right temperature is critical. If your heat is too low, the crepes will take too long to cook, potentially drying out and becoming rubbery. If the heat is too high, they could burn quickly before cooking through, leading to an undesirable texture. Medium heat provides the perfect balance for a golden exterior and a fully cooked interior.
- The Art of Tilting and Swirling the Batter: Unlike thicker pancake batter that simply spreads when ladled, crepe batter requires an immediate and deliberate technique. As soon as you pour the 1/4 cup of batter into the center of the hot pan, immediately lift the pan from the burner and gently tilt and swirl it in a circular motion. This ensures the thin batter coats the entire bottom surface of the pan evenly, creating that signature thinness. Don’t let this step intimidate you; a little practice will make it second nature!
5 out of 5 stars from 22 ratings.
Classic Homemade Crepes
5
2
20
27
10 crepes

Print Recipe
Ingredients
- 4 large eggs
- 1 cup whole milk
- 1/2 teaspoon salt
- 1/2 tablespoon granulated sugar
- 1 cup all-purpose flour
- 4 tablespoons unsalted butter, divided, for pan
Instructions
-
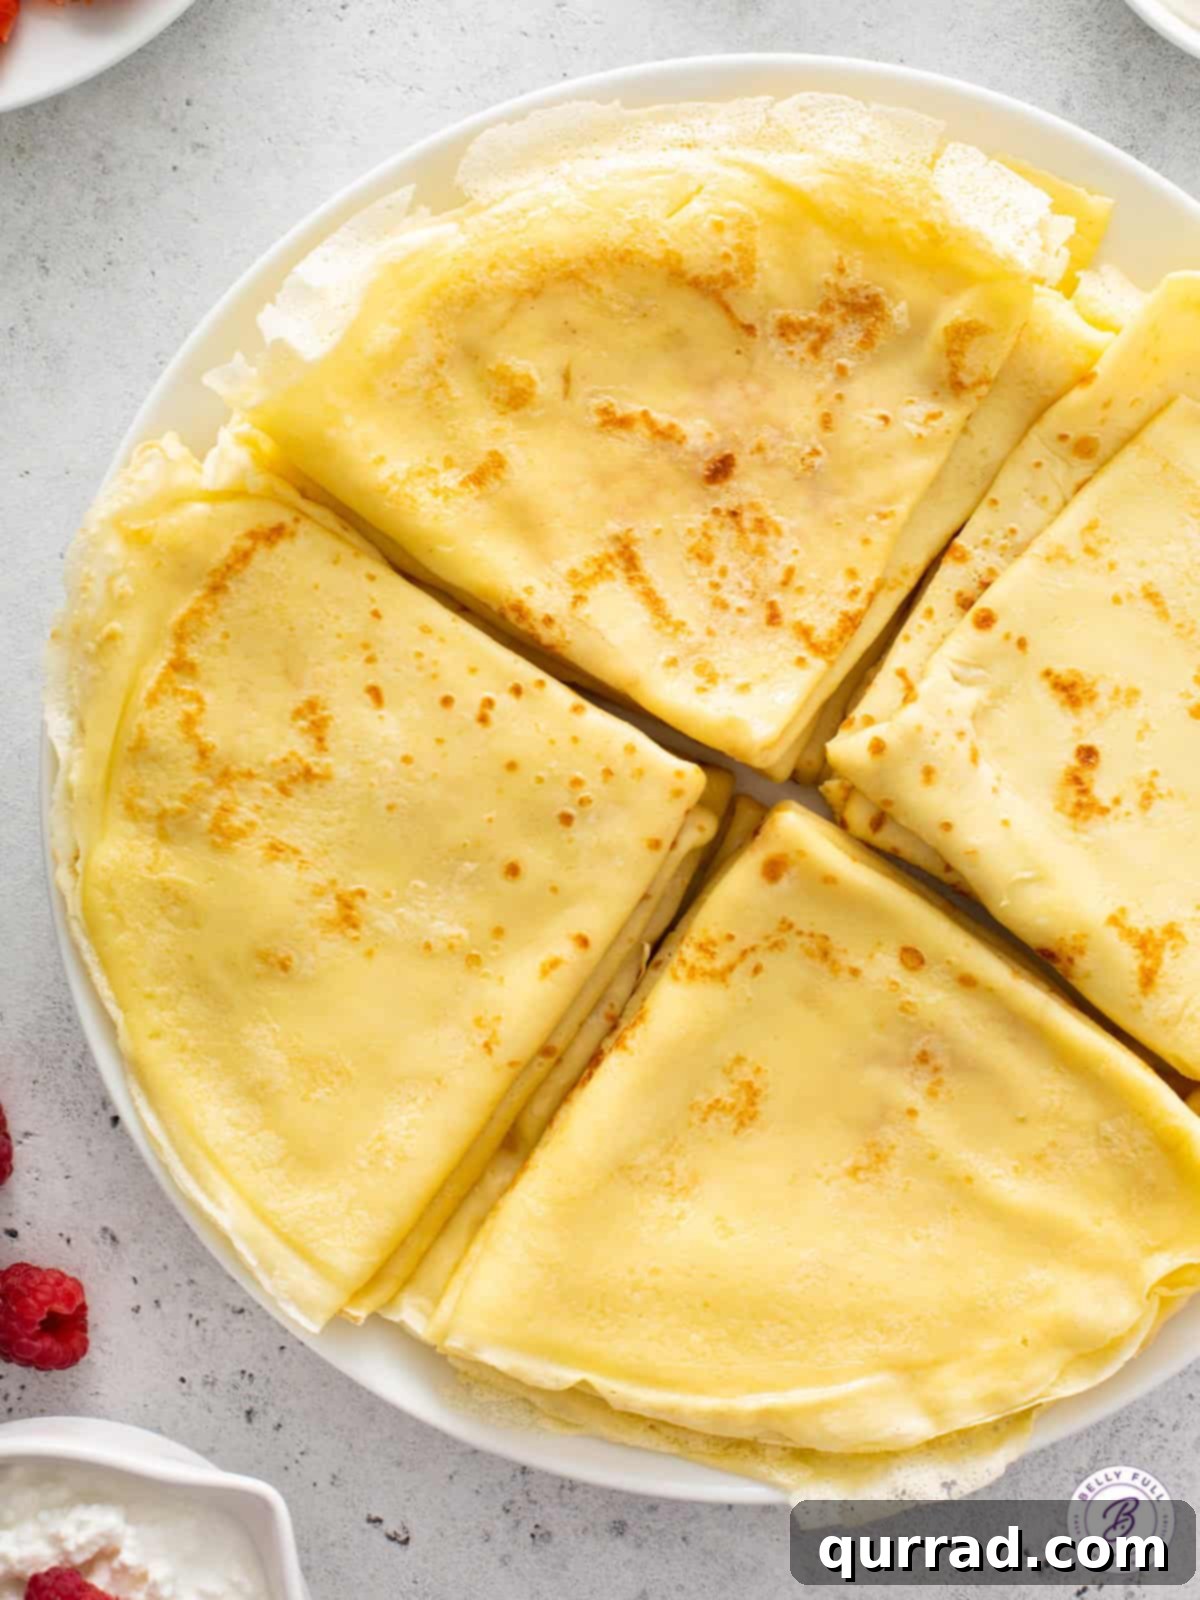
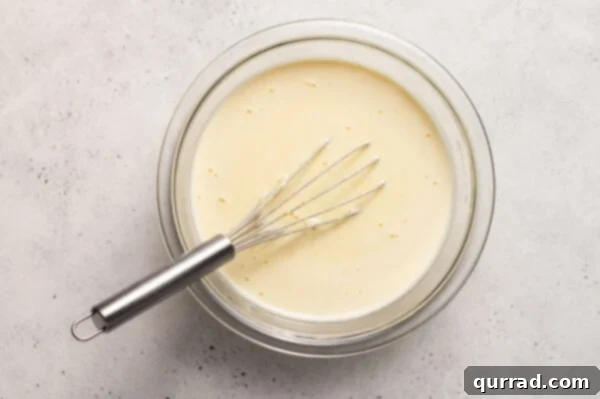
In a medium bowl, whisk together the eggs and milk until well combined. Then, gradually whisk in the salt, sugar, and all-purpose flour until the batter is smooth and no lumps remain. A fine mesh sieve can be used to strain the batter for an even silkier result, though it’s often not necessary.

-
Set the batter aside to rest for a minimum of 20 minutes at room temperature. This crucial step allows the flour to hydrate fully and the gluten to relax, resulting in tender, pliable crepes. Do not skip this!
-
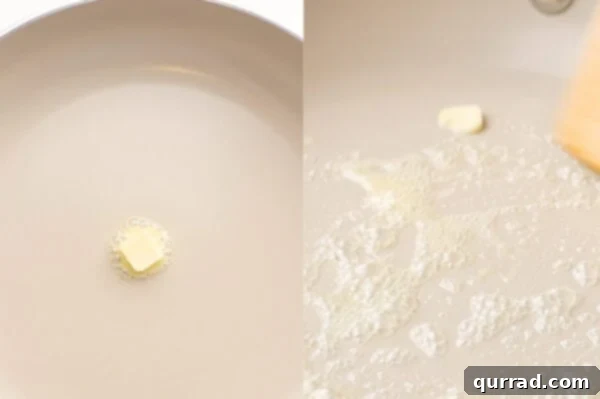
Warm up a 10-inch nonstick pan over medium heat. Once warm, melt about 1 teaspoon of unsalted butter in the pan. Swirl the butter around until it evenly coats the bottom and begins to foam slightly, indicating it’s ready.
-
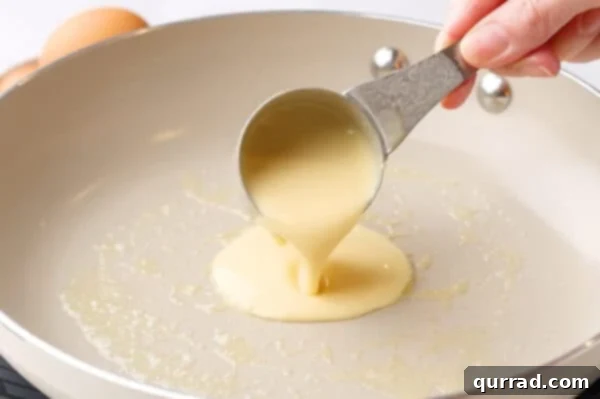
Before cooking, give the rested batter a quick whisk to ensure it’s still smooth and well-mixed. Then, ladle 1/4 cup of the batter directly into the center of the hot, buttered pan.
-
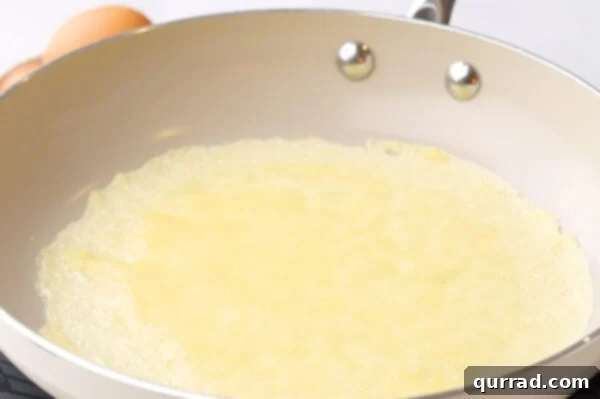
Immediately lift the pan from the burner and tilt it, quickly swirling the batter in a circular motion. This ensures the batter evenly coats the entire bottom surface of the pan, creating a thin, round crepe.
-
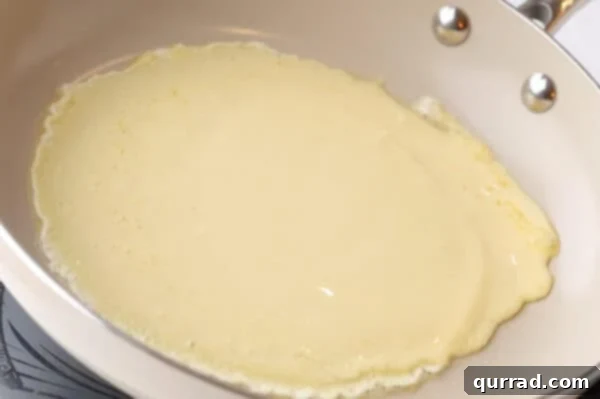
Replace the pan on the burner and cook the crepe until the edges begin to crisp, the batter is just set, and the underside is a beautiful light golden brown. This typically takes about 1 minute.
-
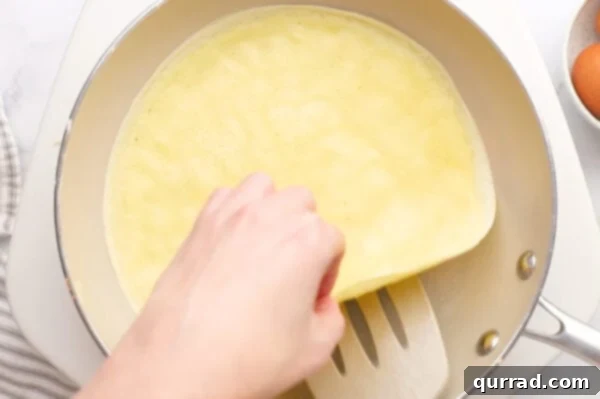
Carefully loosen the sides of the crepe using a thin spatula or even your fingertips. Gently slide the spatula under the center and flip the crepe in the pan to cook the other side.
-
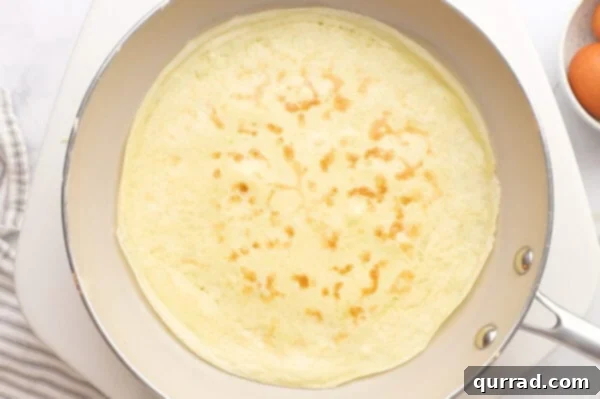
Allow the second side to cook for approximately 45 seconds, or until it is also lightly golden brown and fully cooked. Crepes cook quickly, so keep a watchful eye!
-
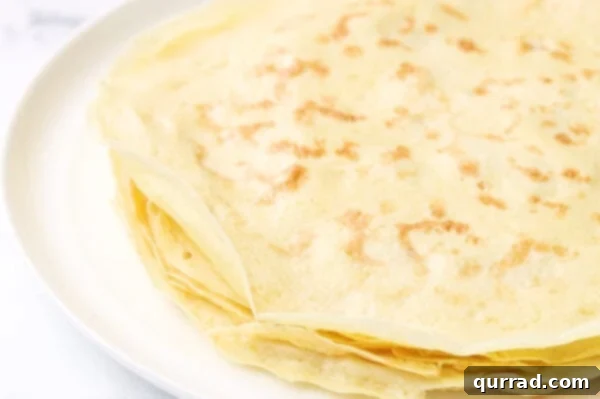
Transfer the cooked crepe to a plate. Continue this process, adding a bit more butter to the pan before each new crepe, until all the batter is used. You can stack them as you go; the residual heat will keep them warm and pliable.
-
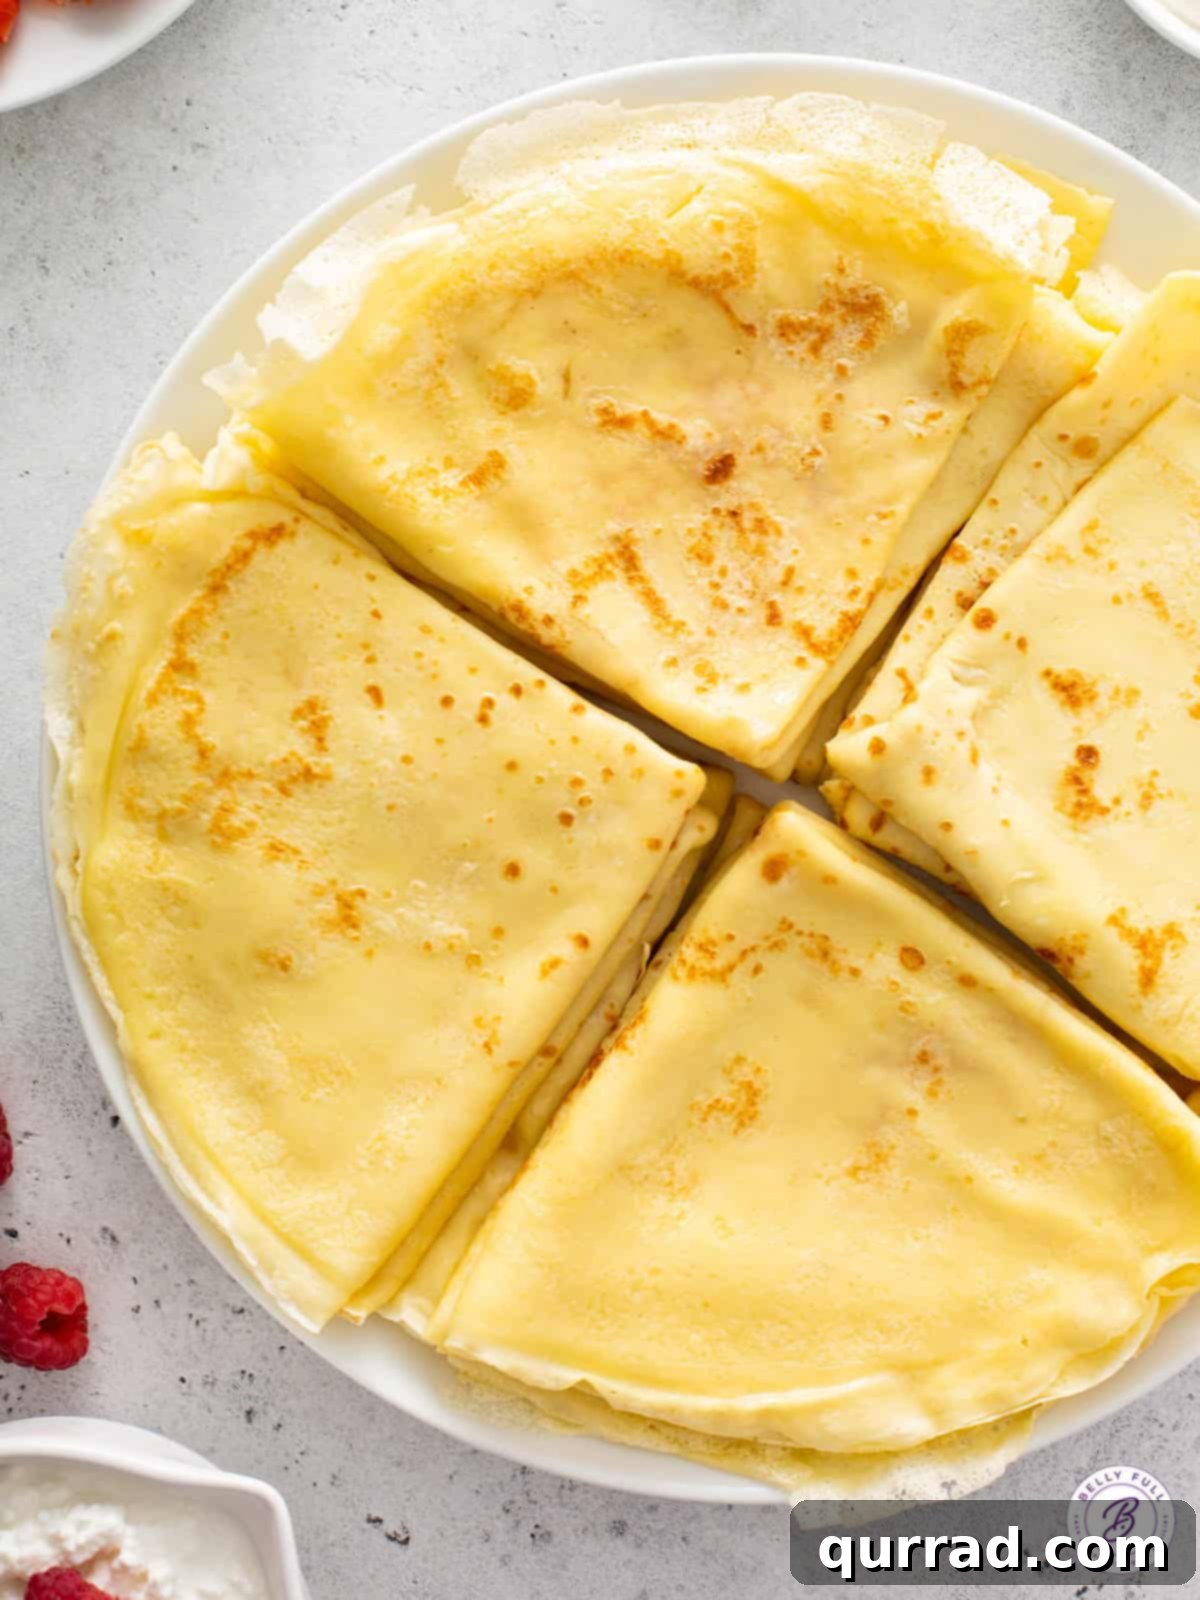
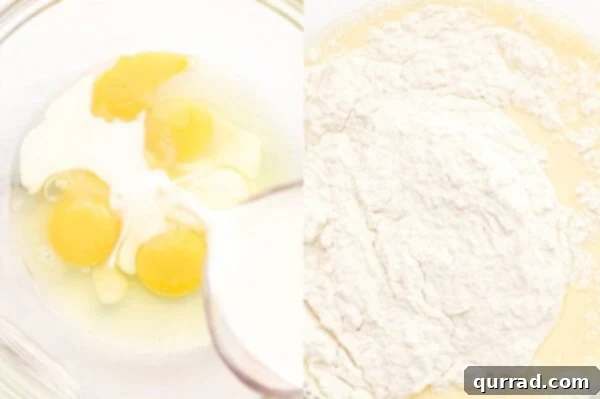
Once cooked, crepes are incredibly versatile. You can roll them up tightly, fold them into elegant quarters, or simply stack them and prepare for stuffing.
-
Serve immediately and enjoy your delicious crepes with a myriad of toppings! Consider a simple dusting of cinnamon and sugar, a few teaspoons of your favorite jam, a drizzle of melted chocolate, or a generous dollop of whipped cream. See below for even more incredible ideas!
Recipe Demonstration (Video coming soon!)
A video guide showing each step of making these easy crepes will be added shortly to help you visualize the process and achieve perfect results. Stay tuned!
Notes and Additional Guidance
Nutrition Information (per crepe)
Calories: 131kcal |
Carbohydrates: 11g |
Protein: 5g |
Fat: 7g |
Saturated Fat: 4g |
Polyunsaturated Fat: 1g |
Monounsaturated Fat: 2g |
Trans Fat: 0.2g |
Cholesterol: 89mg |
Sodium: 155mg |
Potassium: 79mg |
Fiber: 0.3g |
Sugar: 2g |
Vitamin A: 287IU |
Calcium: 45mg |
Iron: 1mg
Nutritional information provided is an automatic calculation and may vary based on the exact ingredients and brands you use, as well as any modifications made to the recipe. For precise dietary planning, it is recommended to calculate these values independently.
Did you try this amazing crepe recipe? Leave a rating below and share your experience!

Endless Ideas for Delicious Crepe Fillings and Toppings
One of the most exciting aspects of making crepes is the incredible variety of ways you can serve them. Whether rolled into elegant cylinders, folded into neat quarters, or simply stacked high, crepes are a versatile base for countless sweet and savory combinations. Enjoy them warm straight from the pan or cool; the choice is yours!
Sweet Crepe Delights:
- Classic Berries & Cream: Fill with a generous dollop of light and airy homemade whipped cream and an assortment of fresh berries like strawberries, blueberries, or raspberries. A timeless favorite!
- Fruity Jams & Curds: Spread with a spoonful of bright raspberry chia seed jam or a zesty lemon curd for a burst of fruit flavor.
- Warm Cinnamon Butter: A simple yet comforting choice, a thin layer of sweet cinnamon butter melts beautifully into the warm crepe.
- Caramelized Bananas: Pair with pan-fried honey bananas for a warm, sweet, and slightly sticky filling that feels utterly decadent.
- Creamy Ricotta & Honey: A sophisticated and light option, fill with creamy homemade Ricotta cheese drizzled with a touch of golden honey.
- Rich Chocolate Indulgence: Drizzle with a decadent homemade chocolate sauce for a truly irresistible dessert. Add sprinkles or nuts for extra texture.
- Dessert Dip Fillings: Get creative by using sweet dips as fillings! Try a luscious coconut cream pie dip, an authentic cannoli dip, or an elegant tiramisu dip for an unforgettable dessert crepe.
- Fruity & Nutty Combos: Craft beloved combinations like banana Nutella crepes or fresh strawberry creme crepes for a special breakfast or brunch treat that will vanish quickly!
Savory Crepe Creations:
- Hearty Breakfast Crepes: Start your day right by filling these tender crepes with the absolute best scrambled eggs, perhaps with some cheese, ham, or sautéed vegetables.
- Classic Blintzes: Utilize this versatile crepe recipe to create incredible cheese blintzes, a delightful dish typically featuring a sweet cheese filling, often baked or pan-fried. They are truly heavenly!
- Ham & Cheese: A simple yet satisfying lunch or light dinner option, fill with thinly sliced ham and your favorite melting cheese.
- Spinach & Feta: Sautéed spinach with crumbled feta cheese makes for a wonderfully light and flavorful savory crepe.
- Mushroom & Swiss: A creamy mushroom filling with melted Swiss cheese is a sophisticated choice for a savory crepe.
How to Properly Store and Reheat Crepes
While crepes are often devoured immediately after cooking, it’s wise to know how to store any extras or even prepare a double batch for future enjoyment. The good news is that crepes freeze and refrigerate beautifully, making them an excellent make-ahead option for busy mornings or spontaneous cravings.
- Refrigeration for Short-Term Storage: Allow your freshly cooked crepes to cool completely to room temperature. To prevent them from sticking together, stack them with a piece of parchment paper or wax paper in between each crepe. Once stacked, gently place them in a resealable plastic bag or an airtight container. Stored this way, they will remain fresh and delicious in the refrigerator for up to 3 days. This is perfect for enjoying them throughout the week!
- Freezing for Long-Term Storage: For extended freshness, crepes are excellent for freezing. Ensure they are fully cooled before stacking them with parchment paper between each one. This separation is crucial, as it allows you to easily peel them apart individually when frozen. Place the stacked crepes in a heavy-duty freezer bag or an airtight freezer-safe container. They will keep beautifully in the freezer for up to 2 months.
- Defrosting and Reheating Made Easy: When you’re ready to enjoy your frozen crepes, transfer them from the freezer to a wire rack in the refrigerator and allow them to thaw overnight. Once thawed, they can be gently peeled apart. To reheat, simply place each individual crepe in the microwave for about 15-20 seconds, or until warm and pliable. Alternatively, you can briefly warm them in a lightly buttered nonstick pan over low heat for about 30 seconds per side.
Having a stash of homemade crepes on hand means a quick, delicious meal or treat is always just moments away. Prepare them in advance, and enjoy the convenience and versatility!
We genuinely hope you enjoy this delightfully easy and incredibly versatile crepe recipe! If you give it a try, please remember to leave a review below and share your thoughts. Your feedback helps other home cooks discover and love this recipe too. And for more culinary inspiration, don’t forget to follow Belly Full on TikTok, Instagram, Facebook, Pinterest, and YouTube!