

Easy 3-Ingredient Halloween Pretzel Rods: The Ultimate No-Bake Treat!
Get ready to conjure up some magic this Halloween with a treat that’s as enchanting as it is effortless: these delightful Halloween Pretzel Rods! Forget complicated recipes and endless baking; we’re talking about a sweet and salty sensation made with just three simple ingredients. Perfect for busy ghouls and goblins, this no-bake wonder is ideal for last-minute parties, school events, or simply a fun activity with the kids.
While some holiday treats might challenge your culinary skills, these pretzel rods promise pure simplicity and maximum festive cheer. If you’ve ever felt overwhelmed by elaborate Halloween desserts, this recipe is your stress-free solution, delivering irresistible flavor and eye-catching appeal without breaking a sweat.
Why These Halloween Pretzel Rods Are an Absolute Must-Make
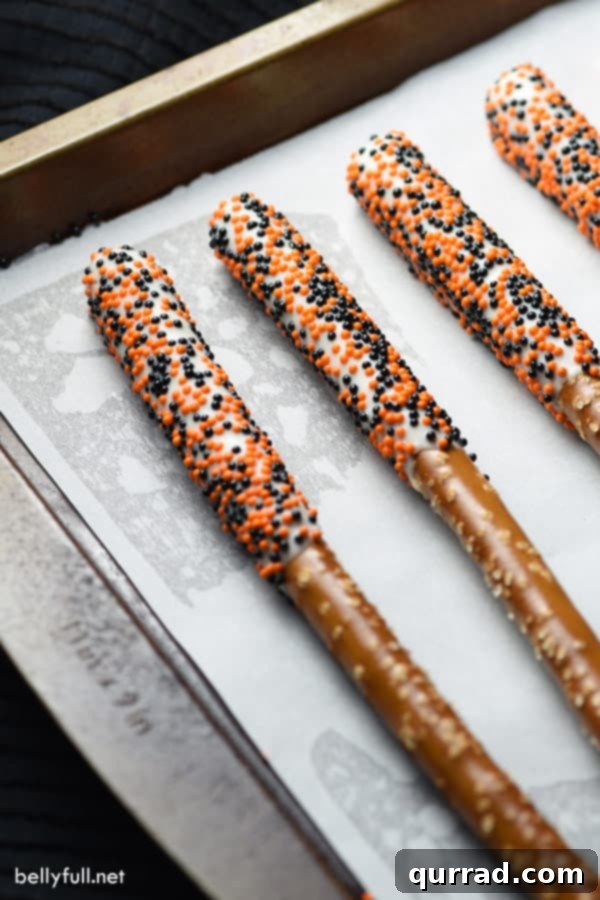
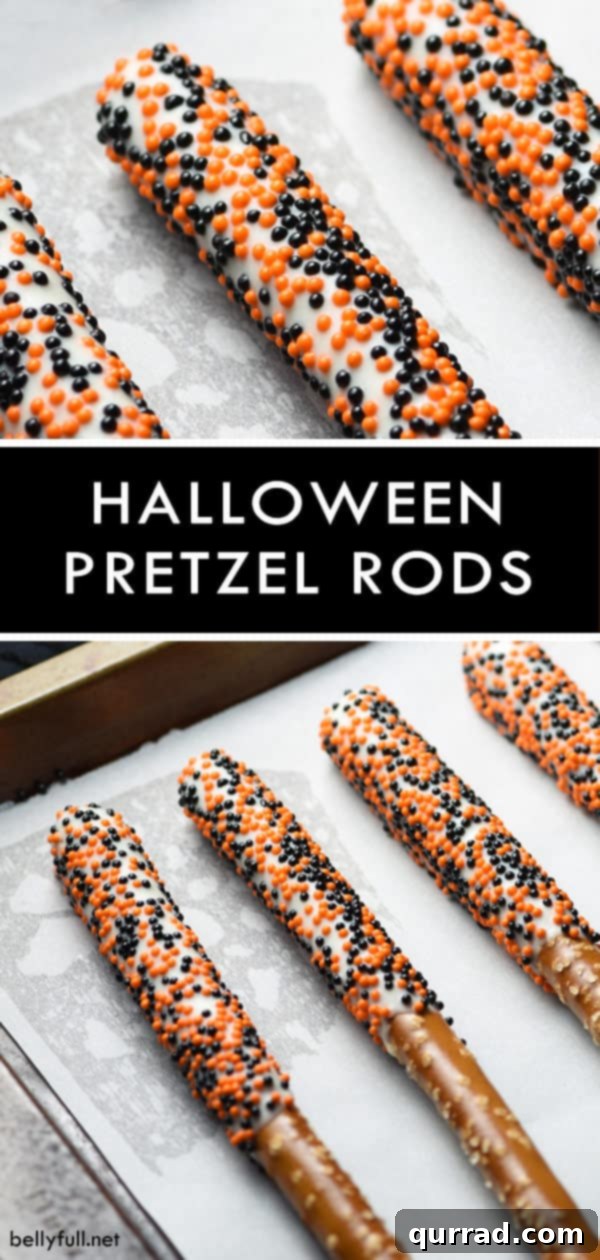
In a world full of complex recipes, sometimes all you need is something genuinely uncomplicated and utterly delicious. These Halloween Pretzel Rods hit all the right notes for a fantastic holiday treat. They offer the perfect harmony of crunchy, salty pretzels coated in smooth, sweet white chocolate, finished with a playful burst of colorful sprinkles that scream “Halloween!”
Here’s why they’ll become your new favorite:
- Incredibly Easy: Seriously, if you can melt chocolate, you can make these. No baking, no fancy techniques required.
- Only 3 Ingredients: You won’t need a pantry full of obscure items. Just pretzel rods, melting wafers, and sprinkles.
- No-Bake Brilliance: Free up your oven for other dishes or just enjoy a cool kitchen while you create these treats.
- Kid-Friendly Fun: This is an excellent project for children to help with (under supervision, especially with melting chocolate). They’ll love dipping and decorating!
- Sweet and Salty Perfection: The classic combination of savory pretzel and sweet chocolate is universally loved.
- Versatile & Customizable: Easily adapt colors and toppings to match any Halloween theme or personal preference.
- Party Perfect: They’re fantastic for Halloween parties, school functions, bake sales, or as edible gifts for friends and neighbors.
Once you try these, you’ll wonder why you ever bothered with anything more complicated. They’re a delicious testament to the fact that the best things in life are often the simplest.
Gathering Your Simple Ingredients & Essential Tools
The beauty of these Halloween Pretzel Rods lies in their minimal ingredient list and basic equipment requirements. You likely have most of what you need already!
The 3 Magical Ingredients:
- Thick Pretzel Rods: Opt for sturdy, thick pretzel rods that can withstand dipping and handling. The thicker they are, the easier they are to coat and the less likely they are to break. A 12-ounce package typically contains enough for a good batch. The classic pretzel flavor provides that essential salty crunch that perfectly balances the sweetness.
- White Melting Wafers: This is where the magic happens for a smooth, professional-looking coating. I highly recommend using Ghirardelli White Melting Wafers. Unlike regular white chocolate chips, melting wafers are specifically designed to melt smoothly and harden beautifully, ensuring your pretzels have a firm, non-sticky coating that won’t soften at room temperature. White chocolate chips can work, but they often contain additives to help them hold their shape, making them more challenging to melt evenly and prone to a softer, less stable finish.
- Festive Sprinkles: This is your chance to get creative! For a classic Halloween look, chocolate and orange sprinkles are perfect. However, feel free to use any combination of Halloween-themed sprinkles: black, purple, green, ghost shapes, bat shapes, or even edible glitter. A 2.5-ounce container of each color (or mixed) will be plenty.
Essential Tools You’ll Need:
- Microwave: For melting the chocolate quickly and efficiently.
- Microwave-Safe Bowl: A medium-sized bowl is ideal for melting your wafers.
- Tall Mug or Glass: This is a game-changer for dipping! A tall, narrow vessel allows you to submerge the pretzel rod easily without wasting chocolate and provides a clean dipping experience.
- Cookie Sheet: To lay your decorated pretzel rods on while they set.
- Parchment Paper or Silicone Mat: Line your cookie sheet to prevent sticking and make cleanup a breeze.
With these few items, you’re all set to create an impressive spread of spooky treats!
Beyond the Basics: Customization and Creative Fun
While the classic orange and chocolate sprinkles are a Halloween staple, don’t hesitate to unleash your inner artist! These pretzel rods are incredibly versatile and can be customized in countless ways to match your party theme or personal taste.
- Color Your World: Instead of plain white melting wafers, you can use candy melts in various Halloween colors like orange, green, purple, or even black. Food coloring designed for chocolate (oil-based) can also be used to tint white chocolate for a custom palette.
- Sprinkle Spectacle: Beyond traditional jimmies, explore other sprinkle options. Think ghost sprinkles, pumpkin shapes, bat confetti, or even sparkly edible glitter for an extra touch of magic.
- Drizzle Delights: Once your initial white chocolate coating has set, melt a different color of candy melts or dark chocolate and drizzle it over the rods for a contrasting effect. A spiderweb pattern with black chocolate on a white background, or green slime drizzles, can be particularly effective.
- Crushed Candy Topping: After dipping, roll the wet chocolate in finely crushed Halloween candies like Oreos, candy corn, M&M’s, or even chopped nuts for added texture and flavor.
- Spooky Eyes: For a quick monster look, use edible candy eyes. Simply press two eyes onto the wet chocolate coating before it sets.
- Flavor Boosters: Add a tiny drop of food-grade extract (like peppermint or almond) to your melted chocolate for an extra flavor dimension, just be careful not to thin the chocolate too much.
Encourage friends and family to get involved in the decorating process. Set up a “pretzel rod decorating station” with different bowls of sprinkles and toppings, and let everyone create their own edible masterpieces!
The Perfect Treat for Sharing and Celebrating
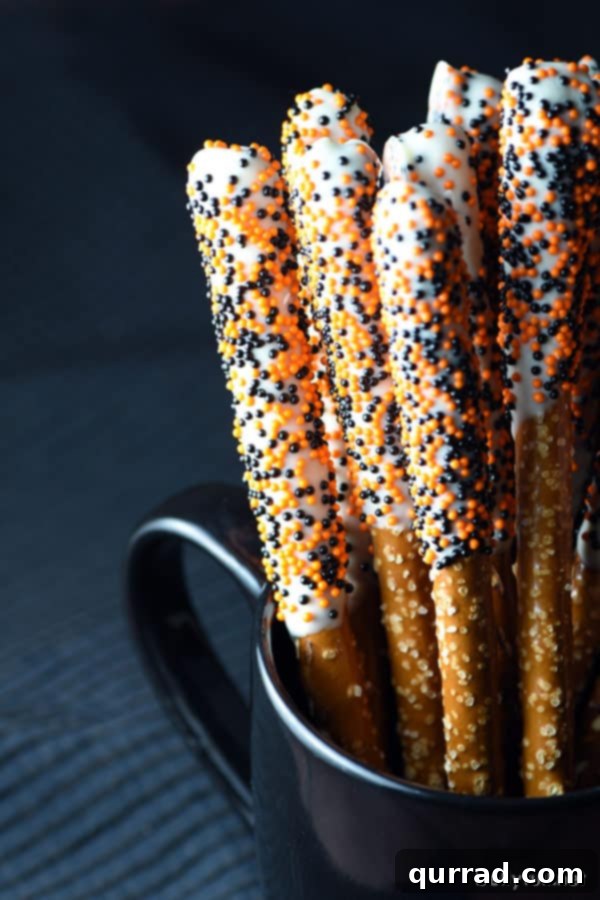
These Halloween Pretzel Rods aren’t just easy to make; they’re also incredibly easy to share and enjoy! Their grab-and-go nature makes them perfect for any gathering. Arrange them upright in a festive mug or jar for an attractive centerpiece that doubles as a dessert bar. Package them individually in clear treat bags tied with orange or black ribbons for charming party favors or gifts for teachers, co-workers, and neighbors.
Imagine the joy on kids’ faces when they receive these personalized, spooky treats in their lunchboxes or trick-or-treat bags (as a homemade addition, of course!). The delightful crunch combined with the sweet and salty flavors makes them an instant hit with all ages, guaranteeing smiles and satisfied palates at any Halloween celebration.
Halloween Pretzel Rods
Prep Time: 15 mins
Chill Time: 10 mins
Total Time: 25 mins
Servings: 25
Print Recipe
Halloween Pretzel Rods are an easy 3-ingredient no-bake treat perfect for the holiday!
Ingredients
- 12 ounces package thick pretzel rods
- 10 ounces Ghirardelli White Melting Wafers (or similar quality melting chocolate)
- 2.5 ounces container chocolate sprinkles (or other Halloween colors)
- 2.5 ounces container orange sprinkles (or other Halloween colors)
Instructions
- Line a cookie sheet with parchment paper. This prevents sticking and makes cleanup simple.
- In a small bowl, combine your chosen chocolate and orange sprinkles. This makes them easy to grab and apply evenly.
- Place white chocolate wafers in a medium microwavable bowl. Melt in the microwave in 30-second intervals on low power, stirring thoroughly after each interval. Continue until the chocolate is completely melted and smooth. Be careful not to overheat, as this can cause the chocolate to seize. Transfer the melted chocolate to a tall, narrow mug or glass for easier dipping.
- Take one pretzel rod and place it inside the mug with the melted chocolate. Twirl the rod gently, coating approximately two-thirds of its length. Wriggle the pretzel slightly as you pull it out to shake off any excess chocolate, ensuring a clean finish.
- Immediately sprinkle your combined chocolate and orange sprinkles over the chocolate-coated portion of the rod, rotating to cover all sides. Apply as much or as little as you like.
- Lay each decorated pretzel rod on the prepared cookie sheet.
- Once all pretzels are coated, place the cookie sheet in the refrigerator for 5-10 minutes. This will allow the chocolate to set and dry completely, ensuring a firm, non-sticky finish.
Notes
1. For the best results and a smooth, professional finish, I highly recommend Ghirardelli White Melting Wafers. Standard white chocolate chips often contain additives that make them harder to melt evenly and prone to softening at room temperature once hardened. Using melting wafers ensures your pretzel rods will have a stable coating.
2. To keep your Halloween Pretzel Rods fresh, store them in an airtight container in a cool, dry place for up to a week. For extended freshness, especially in warmer climates, store them in the refrigerator.
Nutrition
The nutritional information below is an estimate and can vary based on the exact brands and quantities of ingredients used. If precise nutritional values are important to you, consider calculating them with your specific ingredients.
- Calories: 101 kcal
- Carbohydrates: 19g
- Protein: 1g
- Fat: 2g
- Saturated Fat: 2g
- Sodium: 177mg
- Potassium: 19mg
- Fiber: 1g
- Sugar: 9g
- Calcium: 2mg
- Iron: 1mg
Tips for Success and Storage
Creating these Halloween Pretzel Rods is straightforward, but a few expert tips can ensure your treats turn out perfectly every time:
- Melting Chocolate Matters: Patience is key when melting chocolate. Use low heat and stir frequently to prevent scorching or seizing. If your chocolate seems too thick, you can add a tiny amount of coconut oil or vegetable shortening (about 1/2 teaspoon per cup of chocolate) to thin it, but avoid adding water as it will cause the chocolate to seize.
- Optimal Dipping Depth: Coating about two-thirds of the pretzel rod is ideal. This leaves a “handle” for easy eating and allows the pretzel’s saltiness to still shine through without being entirely covered.
- Sprinkle Immediately: Work quickly after dipping each pretzel. The chocolate begins to set almost instantly, so apply your sprinkles right away to ensure they adhere properly.
- Don’t Over-Chill: While chilling helps set the chocolate, leaving them in the refrigerator for too long can sometimes cause condensation to form when you take them out, potentially affecting the appearance. 5-10 minutes is usually sufficient.
- Airtight Storage: Store your finished pretzel rods in an airtight container. This protects them from humidity and keeps them fresh and crisp. A cool, dry pantry is fine for up to a week, or the refrigerator can extend their shelf life.
Other Spooktacular Halloween Treats We Love!
If you’re looking for more easy and festive ideas to complete your Halloween spread, check out these other favorites:
- Candy Corn Pretzel Bark
- Halloween Bloodshot Eyeballs
- Easy Ghost Cake
Whether you’re hosting a grand Halloween bash or simply looking for a fun and simple activity to enjoy with loved ones, these Halloween Pretzel Rods are a fantastic choice. Their irresistible blend of sweet and salty, combined with their festive appearance, makes them a treat that truly captures the spirit of the season. So go ahead, whip up a batch, and let the happy crunching (and spooky fun) begin!
*This post contains affiliate links, which means I may earn a small commission if you make a purchase through my links, at no extra cost to you. Thank you for supporting this site!