
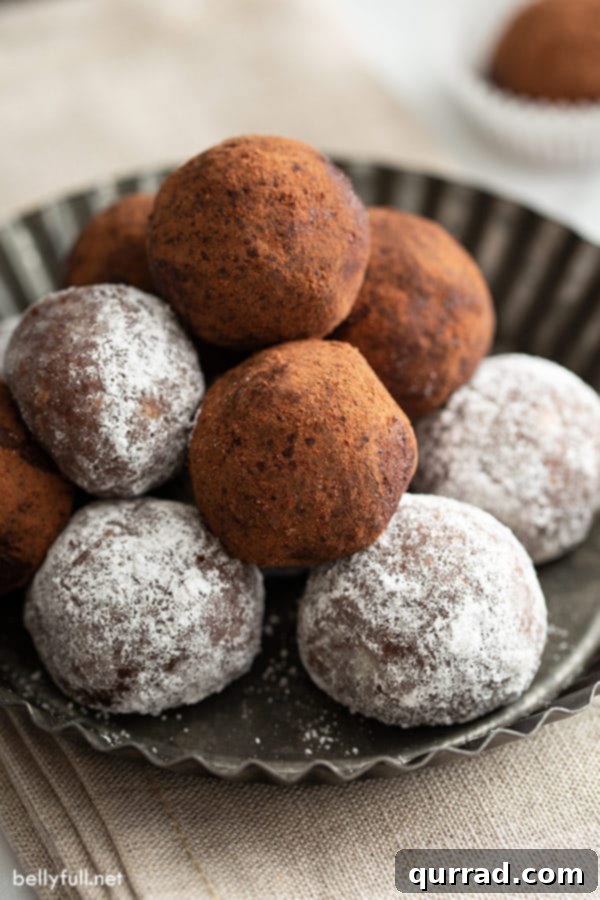
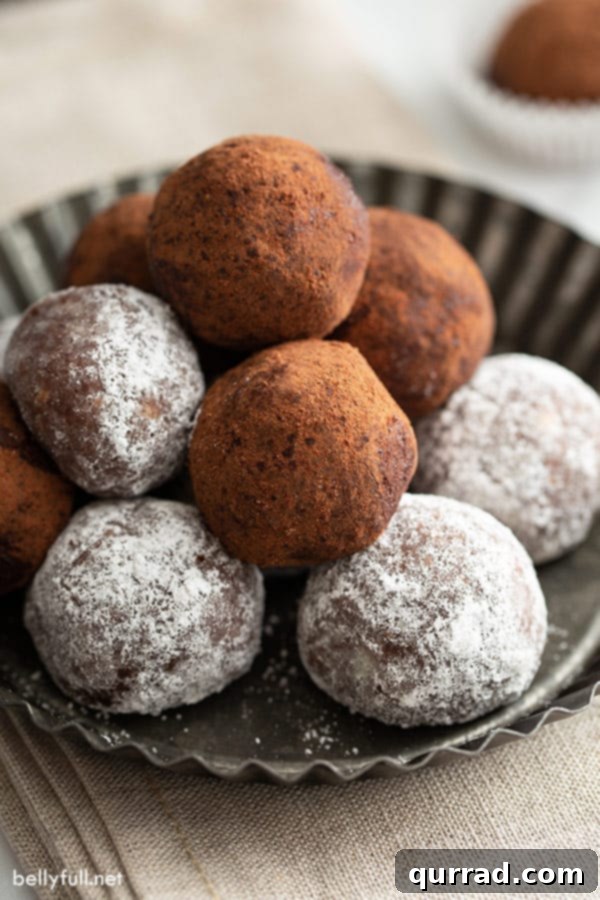
Easy No-Bake Rum Balls: A Classic Holiday Treat
As the holiday season draws near, the air fills with the delightful scent of festive baking. But what if you could capture that magic without ever turning on your oven? Enter the humble yet utterly irresistible Rum Ball – a timeless, no-bake confection that has graced countless holiday platters for generations. These decadent treats are more than just a dessert; they’re a symbol of holiday cheer, a perfect blend of rich chocolate, crunchy nuts, and a delightful hint of spiced rum. They are wonderfully quick to assemble, making them an ideal choice for busy festive periods, and their rich, boozy flavor only deepens with time, rewarding those who plan ahead.
Rave Review!
“These are the best tasting rum balls I’ve ever had!” – Patience
Why You’ll Love This Easy Classic Rum Ball Recipe
December typically brings a flurry of activity in my kitchen, often involving copious amounts of butter and sugar. While I adore baking, there’s something uniquely appealing about a delicious, homemade treat that requires no baking at all. These classic rum balls fit that bill perfectly. They offer all the richness and festivity of traditional holiday desserts with minimal effort. Their robust chocolate and rum flavor profile makes them an instant hit, and their simplicity means you can whip up a batch (or several!) in no time. Beyond being a delightful indulgence for your family, they make exceptional holiday gifts. Imagine presenting friends and loved ones with a beautifully packaged box of these flavorful rum balls – a thoughtful, handmade gesture that’s sure to be appreciated. Their delightful taste and ease of preparation truly make them a must-have on any holiday cookie platter.
The Magic Behind Rum Balls: A Holiday Tradition
Rum balls hold a special place in holiday culinary traditions, particularly for those who appreciate a treat with a bit of a kick. Originating from various European and American cultures, these no-bake wonders became popular as a way to use up leftover cake crumbs or cookies, combined with chocolate, nuts, and, of course, a generous splash of rum. Their appeal lies not only in their delicious taste but also in their practicality during the busy holiday season. Without the need for an oven, they free up valuable baking space and time, allowing you to focus on other festive preparations. Each bite delivers a rich, moist texture, infused with the warm, complex notes of spiced rum and deep cocoa, making them an undeniable crowd-pleaser and a nostalgic favorite for many.
Essential Ingredients for Perfect Rum Balls
Crafting the perfect rum ball starts with selecting quality ingredients. This recipe champions simplicity, relying on a few key components to deliver maximum flavor:
- Pecans (or other nuts): One cup of toasted pecans provides a delightful crunch and nutty depth. Almonds, walnuts, or pistachios can also be used for varied flavors.
- Nilla Wafer Cookies: Two cups of these classic vanilla wafers form the sweet, crumbly base. Their neutral flavor allows the rum and chocolate to shine.
- Powdered Sugar: Essential for sweetness and the classic coating. One cup for the mixture, plus an additional ¼ cup for rolling.
- Cocoa Powder: Two tablespoons of unsweetened cocoa powder add rich chocolate flavor to the mixture, with another ¼ cup reserved for a contrasting coating.
- Kosher Salt: Just half a teaspoon to balance the sweetness and enhance all the flavors.
- Spiced Dark Rum: The star ingredient! A combination of ⅓ cup plus 2 tablespoons of spiced dark rum provides the signature boozy kick and rich aroma. Choose a rum you genuinely enjoy drinking.
- Honey: Two tablespoons of honey act as a binder, adding a subtle sweetness and helping to create the perfect moist texture.
These straightforward ingredients come together to create a truly irresistible holiday treat that’s both easy to make and profoundly satisfying.
Expert Tips and Creative Variations: Make Them Your Own
While the classic rum ball recipe is perfect on its own, a few tips and creative variations can elevate your treats and tailor them to your personal taste or dietary needs. These suggestions ensure your rum balls are always a success and can be enjoyed by everyone.
Coating Options
The traditional coating of powdered sugar or cocoa powder is iconic, but don’t be afraid to experiment! Rolling your rum balls in different coatings can add variety in both flavor and presentation. Here are some popular choices:
- Sprinkles: Festive and fun, especially for a vibrant holiday display.
- Sanding Sugar: Provides a beautiful sparkle and a delightful textural crunch.
- Crushed Nuts: Enhance the nutty flavor profile with finely crushed pecans, walnuts, or almonds.
- Crushed Cookies: For an extra layer of flavor and texture, try finely crushed ginger snaps, Oreos, or shortbread cookies.
- Shredded Coconut: A tropical twist that pairs especially well if you use coconut rum.
- Melted Chocolate: For a truly decadent experience, dip the rum balls in melted dark or white chocolate and let them set.
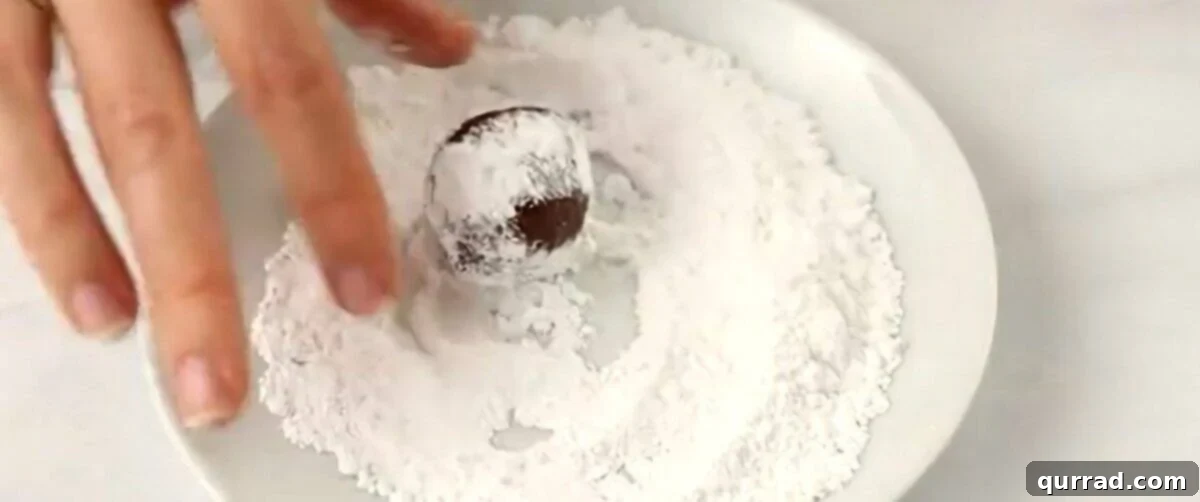
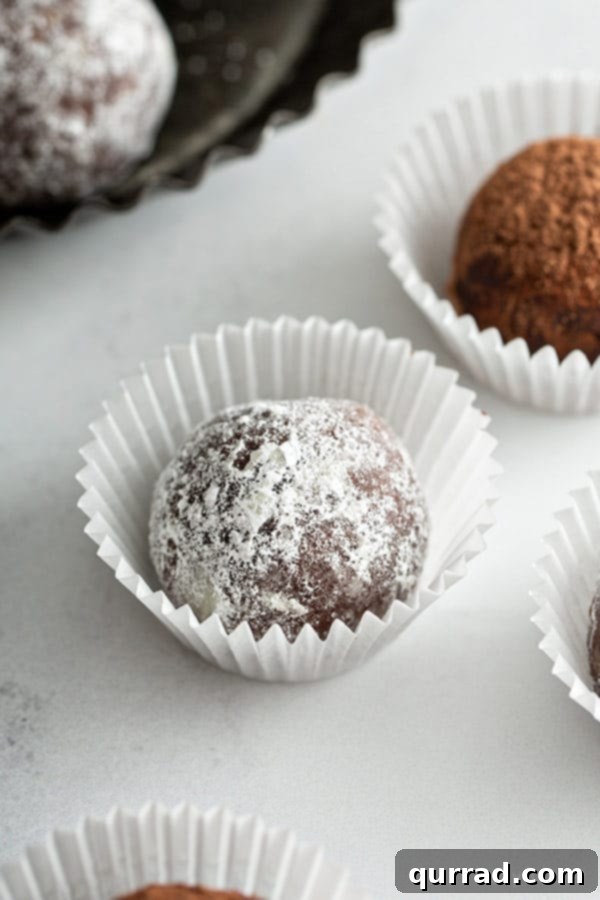
Pro Tip for Coating: It’s best to coat the rum balls immediately after forming them, while the exterior is still slightly moist and sticky. This allows the coating to adhere well. Powdered sugar tends to absorb moisture in the fridge, so for the freshest appearance, re-roll them in powdered sugar just before serving.
Cookie Swaps
The Nilla wafer base is classic, but other cookies can offer exciting flavor twists:
- Graham Crackers: Use crushed graham crackers for a more subtle, earthy flavor, often paired with a splash of vanilla extract in the mixture.
- Ginger Snaps: For a spicier, more aromatic rum ball, try a combination of Nilla wafers and finely crushed ginger snaps. This adds a wonderful warmth, perfect for winter holidays.
- Chocolate Wafers: Amp up the chocolate flavor by using crushed chocolate wafers instead of vanilla.
Swap the Alcohol (or Go Alcohol-Free!)
While rum is traditional, other spirits can create equally delicious variations. For those who prefer a non-alcoholic treat, juice is a fantastic substitute:
- Bourbon or Whiskey: These spirits lend a deeper, more robust, and slightly smoky flavor.
- Malibu Coconut Rum: If you’re a fan of coconut, this rum is a fantastic choice, especially when paired with a shredded coconut coating.
- Orange Juice or Apple Juice: For a completely alcohol-free version, replace the rum with an equal amount of orange or apple juice. These fruit juices still provide moisture and a pleasant tang that complements the chocolate and nuts.
Classic Rum Balls
Prep: 20 mins | Total: 20 mins | Servings: 50 rum balls

Print Recipe
Rum balls are an easy, classic no-bake holiday treat. Made with just a few simple ingredients, they are rich, chocolatey, boozy, and festive! Great for gift-giving, too!
Step-by-step photos can be seen below the recipe card.
Ingredients
- 1 cup pecans (almonds, walnuts, and pistachios all work)
- 2 cups Nilla wafer cookies
- 1 cup powdered sugar (plus ¼ cup for rolling)
- 2 tbsp cocoa powder (plus ¼ cup for rolling)
- ½ tsp kosher salt
- ⅓ cup + 2 tbsp spiced dark rum
- 2 tbsp honey
Instructions
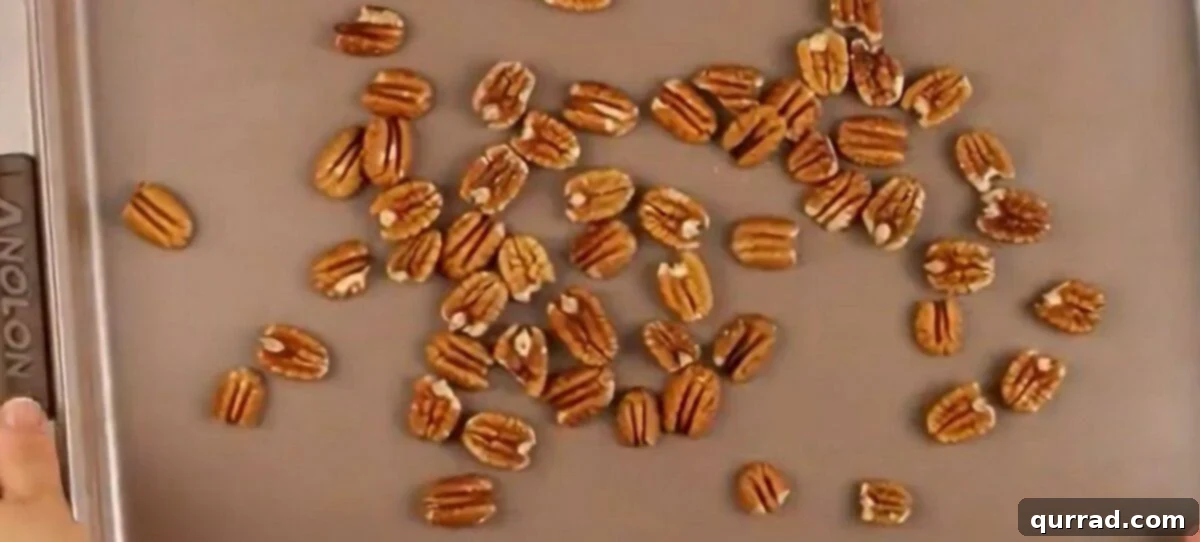
- Preheat oven to 350 degrees F. Place pecans on a baking sheet and toast for about 6-8 minutes until browned and fragrant, stirring halfway through. Set aside to cool completely.
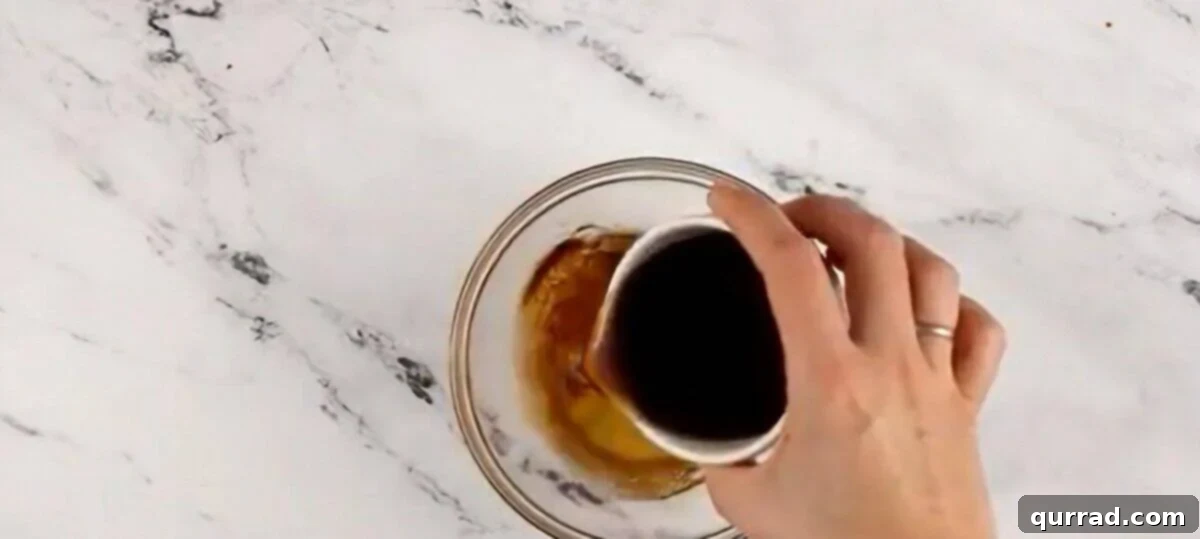
- In a small bowl or measuring cup, whisk together the rum and honey until the honey is completely dissolved.
- Add the Nilla wafer cookies to the bowl of a food processor and pulse into fine crumbs; transfer to a large mixing bowl.
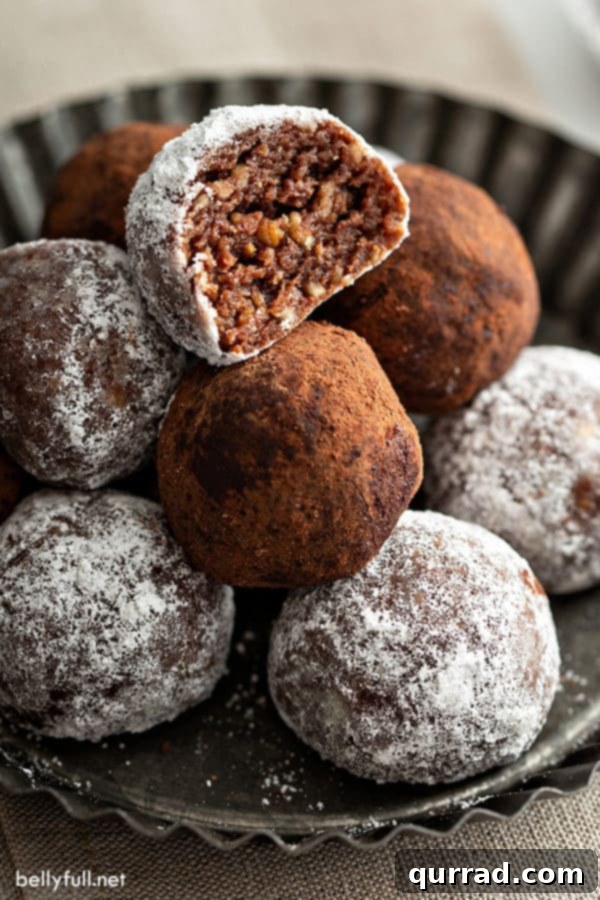
- Add the cooled, toasted pecans to the food processor and pulse into fine bits. Be careful not to over-process, or you’ll end up with a paste! Transfer the pecan crumbs to the bowl with the cookie crumbs.
- Sift the 1 cup powdered sugar, 2 tablespoons cocoa powder, and salt over the bowl containing the cookie and pecan mixture. Whisk everything together until thoroughly combined.
- Add the honey/rum mixture to the dry ingredients in the bowl and mix until completely combined and a dough forms.
- To check consistency, squeeze a bit of the mixture. If it seems too dry and doesn’t hold together, slowly add up to 1 tablespoon of water (or more rum, if desired) until it forms a cohesive dough. If the batter is too sticky, you can chill it for about 20 minutes before forming the balls.
- Use a cookie scoop to form the mixture into 1-inch balls, then roll them smoothly between the palms of your hands.
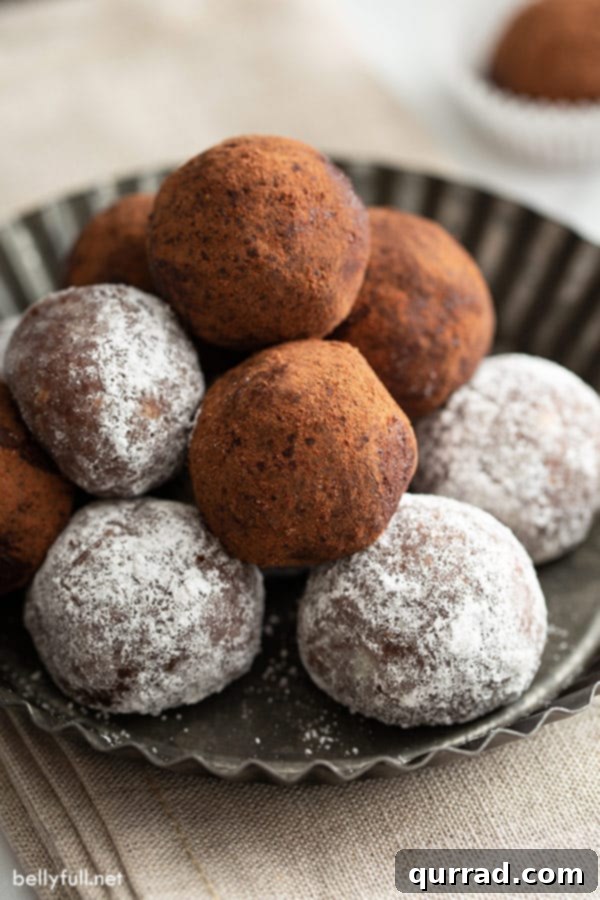
- Prepare two separate shallow dishes: one with the extra powdered sugar and the other with the extra cocoa powder. Coat about half of the formed balls in powdered sugar and the other half in cocoa powder.
- For ideal flavor development, transfer the rum balls to the fridge and allow them to chill for 2-3 days before serving. Re-roll them in fresh powdered sugar or cocoa powder just before serving to refresh their coating.
Video
Watch this helpful video for a visual guide on how to make these delicious rum balls:
Nutrition Facts (per rum ball)
- Calories: 50kcal
- Carbohydrates: 7g
- Protein: 1g
- Fat: 2g
- Saturated Fat: 1g
- Cholesterol: 1mg
- Sodium: 41mg
- Potassium: 15mg
- Fiber: 1g
- Sugar: 5g
- Vitamin A: 1IU
- Vitamin C: 1mg
- Calcium: 2mg
- Iron: 1mg
Nutritional information is an automatic calculation and can vary based on the exact products you use and any changes you make to the recipe. If these numbers are very important to you, I would recommend calculating them yourself.
Did you make this? Leave a rating below and share your experience!
How to Make Rum Balls: A Step-by-Step Visual Guide
Let’s walk through the process of creating these delightful rum balls with clear, easy-to-follow steps, complete with visual aids to ensure your success.
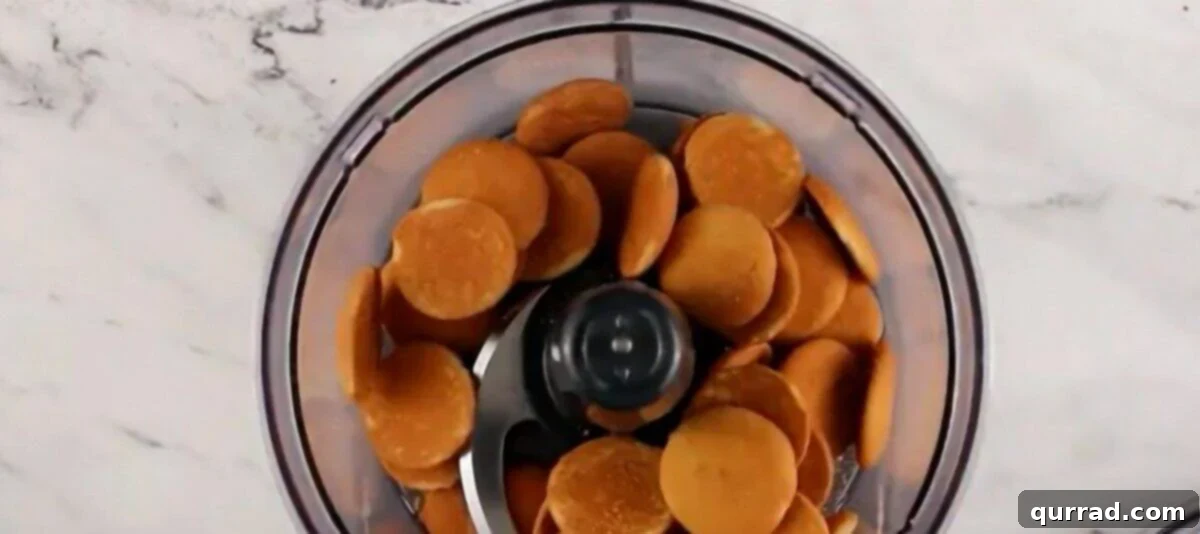
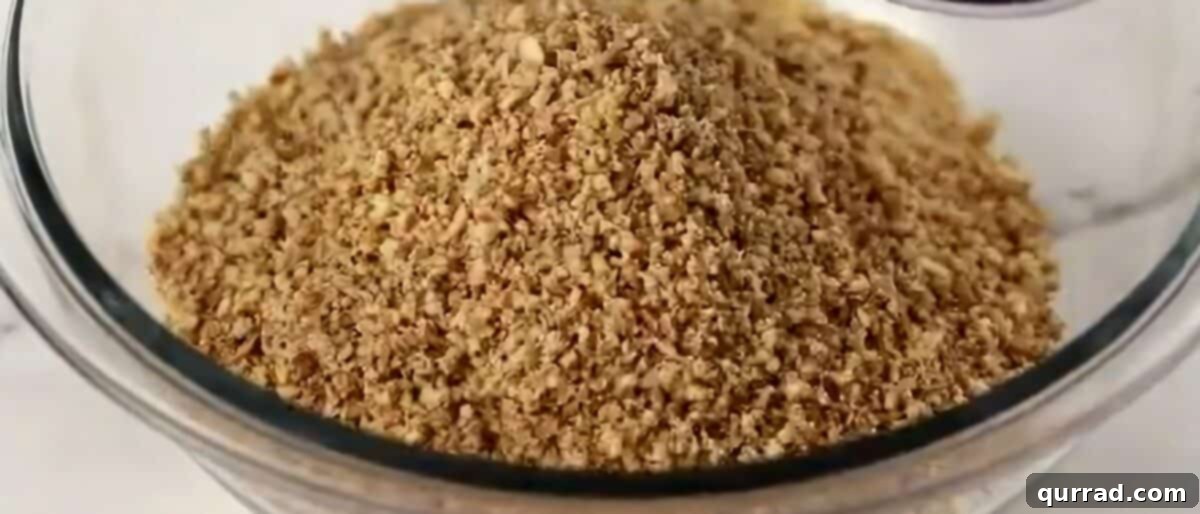
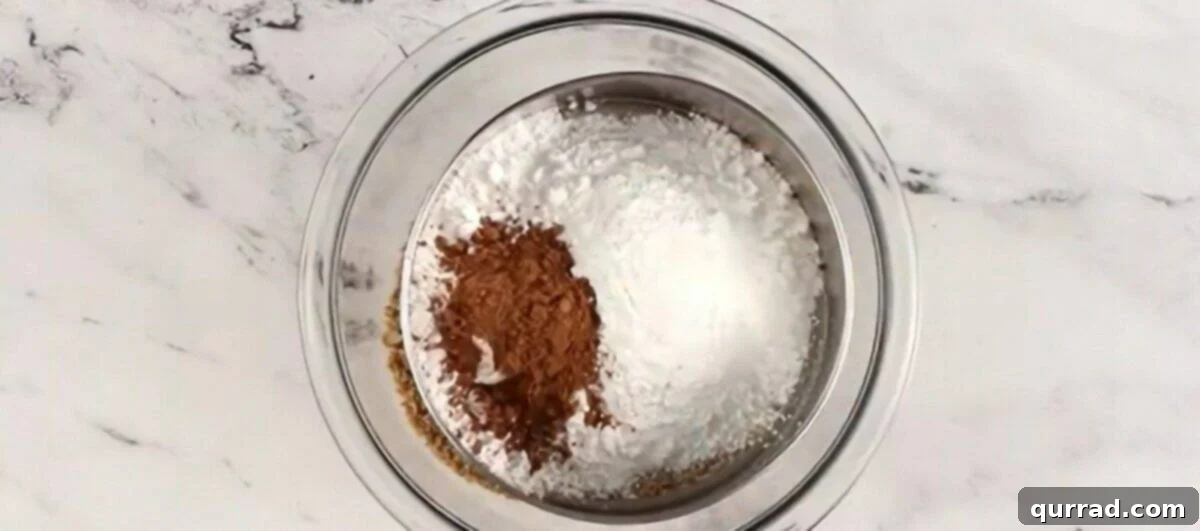
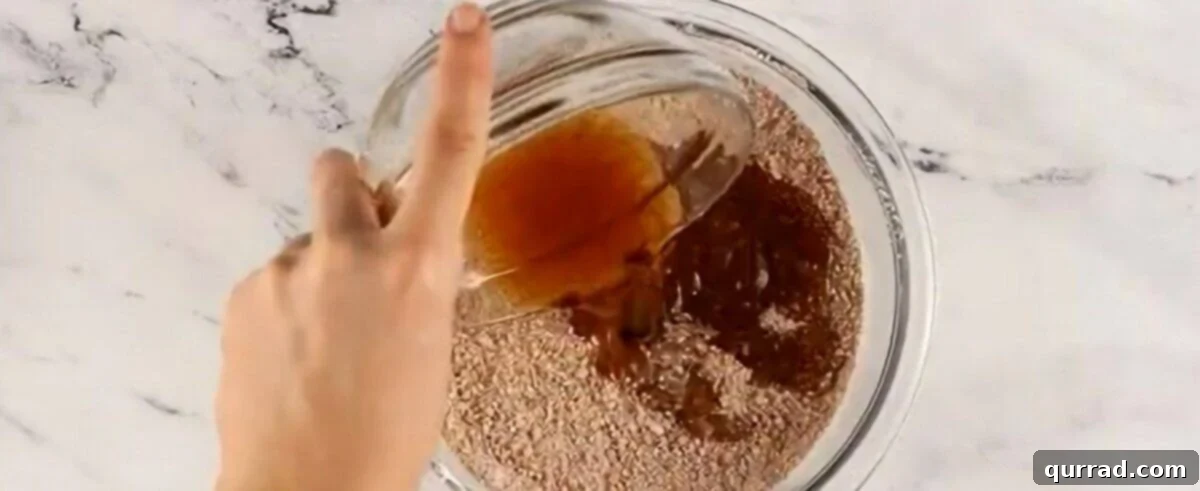
Step 7: Form the Dough. After mixing, squeeze a small portion of the mixture in your hand. If it feels a bit dry and doesn’t hold its shape, slowly add up to 1 tablespoon of water (or a touch more rum for extra kick) until the dough holds together perfectly. Conversely, if the batter is excessively sticky, chilling it in the refrigerator for about 20 minutes can make it easier to handle and roll.
All About the Rum: Choosing Your Spirit
The rum is undeniably the star of these no-bake treats, imparting its signature warmth and complex flavor. For this recipe, I highly recommend using a **spiced dark rum**. Dark rums, typically aged and distilled from molasses, offer a richer, deeper flavor profile than their lighter counterparts, which beautifully complements the chocolate and nuts in the rum balls. The “spiced” element adds layers of aromatic notes like vanilla, cinnamon, and nutmeg, enhancing the overall festive taste.
When selecting your rum, choose a brand you enjoy drinking, but don’t feel the need to splurge on anything overly expensive or fancy. A good quality mid-range spiced dark rum will work wonderfully. Avoid using cheap, harsh rums, as their quality will directly impact the flavor of your rum balls.
It’s important to note that since these rum balls are a no-bake treat, the alcohol in the rum does not cook off. Therefore, the alcohol content remains, and they will indeed have a distinct, boozy, spiced rum flavor. For this reason, these treats are intended for adults and should not be served to minors.
A common question is: “Can you get drunk off of rum balls?” While theoretically possible, it’s highly unlikely under normal consumption. The ⅓ cup + 2 tablespoons of rum used in this recipe is distributed among approximately 50 individual rum balls. Unless one were to consume an extreme number of these treats in a short period, the chance of intoxication is extremely low. They are designed to be a flavorful indulgence, not a potent alcoholic beverage.
Storing Your Rum Balls: Make Ahead for Best Flavor
One of the many charms of rum balls is their incredible make-ahead potential. In fact, they taste even better after a few days! The longer they sit, the more time the crushed cookies and other ingredients have to fully absorb that wonderful spiced rum flavor, resulting in a deeper, more harmonious taste.
For optimal freshness and flavor, I highly recommend storing your rum balls in the refrigerator. Place them in an airtight container, and they will remain fresh for up to 2 weeks. Storing them in the fridge also helps them hold their shape better and maintain a firmer, more desirable texture. While they can technically be stored in a cool, dry area in an airtight container without refrigeration, the chilled environment significantly enhances both their texture and flavor.
When serving, you can enjoy them straight from the fridge for a firm, cool bite, or allow them to come to room temperature on the counter for about 15-20 minutes if you prefer a slightly softer consistency. Don’t forget, if you stored them for a while, a quick re-roll in fresh powdered sugar or cocoa powder before serving will make them look as enticing as they taste!
Freezing Rum Balls for Longer Storage
Rum balls are also excellent candidates for freezing, allowing you to prepare them well in advance for future events. To freeze:
- Arrange the finished rum balls in a single layer on a baking sheet lined with parchment paper.
- Flash freeze them for 1-2 hours, or until they are solid. This prevents them from sticking together.
- Once frozen solid, transfer the rum balls to an airtight, freezer-safe container or a heavy-duty freezer bag.
- They can be stored in the freezer for up to 2 months.
To thaw, simply transfer them from the freezer to the refrigerator overnight, or let them sit at room temperature for a few hours. Before serving, a quick re-roll in powdered sugar or cocoa powder will revive their fresh appearance, making them look as if they were just made.
Serving Suggestions and Holiday Pairings
Rum balls are a versatile treat that can be enjoyed in many ways during the holiday season. Their rich flavor and festive appearance make them a wonderful addition to any dessert spread or holiday party. Here are some ideas for serving and pairing these delightful confections:
On a Holiday Dessert Platter
Rum balls shine brightly when served alongside other classic holiday treats. Their deep chocolate and rum notes offer a lovely contrast to lighter, sweeter desserts. Consider pairing them with:
- Christmas Cheese Trees: A savory counterpoint that adds visual appeal and balances the sweetness.
- Christmas Muddy Buddies: Another easy, no-bake favorite that offers a different texture and flavor profile, yet still feels perfectly festive.
- Assorted Cookies: Include a variety of baked cookies, like sugar cookies, gingerbread, or shortbread, to offer a diverse selection.
With Festive Beverages
The boozy nature of rum balls makes them an excellent companion to both alcoholic and non-alcoholic holiday drinks:
- Homemade Eggnog: A classic pairing! The creamy richness of eggnog complements the bold flavor of the rum balls beautifully.
- Coffee or Hot Chocolate: For a cozy experience, serve them with a hot cup of coffee, espresso, or a decadent hot chocolate.
- Mulled Wine or Cider: The warm spices in mulled beverages harmonize perfectly with the spiced rum in the balls.
As Thoughtful Gifts
Handmade rum balls make for cherished holiday gifts. Package them in decorative boxes, tins, or cellophane bags tied with festive ribbons. They are durable, travel well, and their flavor improves with time, making them a perfect gift to prepare in advance.
More Festive No-Bake Holiday Treats
If you’ve fallen in love with the ease and deliciousness of no-bake holiday treats, you’re in luck! There’s a whole world of simple yet satisfying confections that require no oven. These are perfect for expanding your holiday repertoire, especially when oven space is at a premium or you’re looking for quick, crowd-pleasing desserts. Here are some other classic no-bake holiday candies that are sure to become new favorites:
- Old-Fashioned Potato Candy: A surprisingly delicious and unique candy made with mashed potatoes, peanut butter, and powdered sugar. Don’t let the name fool you – it’s a nostalgic treat!
- Homemade Turtles Candy: These delightful clusters of pecans and caramel, generously coated in chocolate, are a rich and satisfying classic.
- Saltine Cracker Toffee: An incredibly addictive treat where salty crackers are transformed into a buttery, sweet, and crunchy toffee sensation, often topped with chocolate.
Exploring these no-bake options allows you to create an impressive array of holiday sweets with minimal fuss, leaving you more time to enjoy the festive season!