
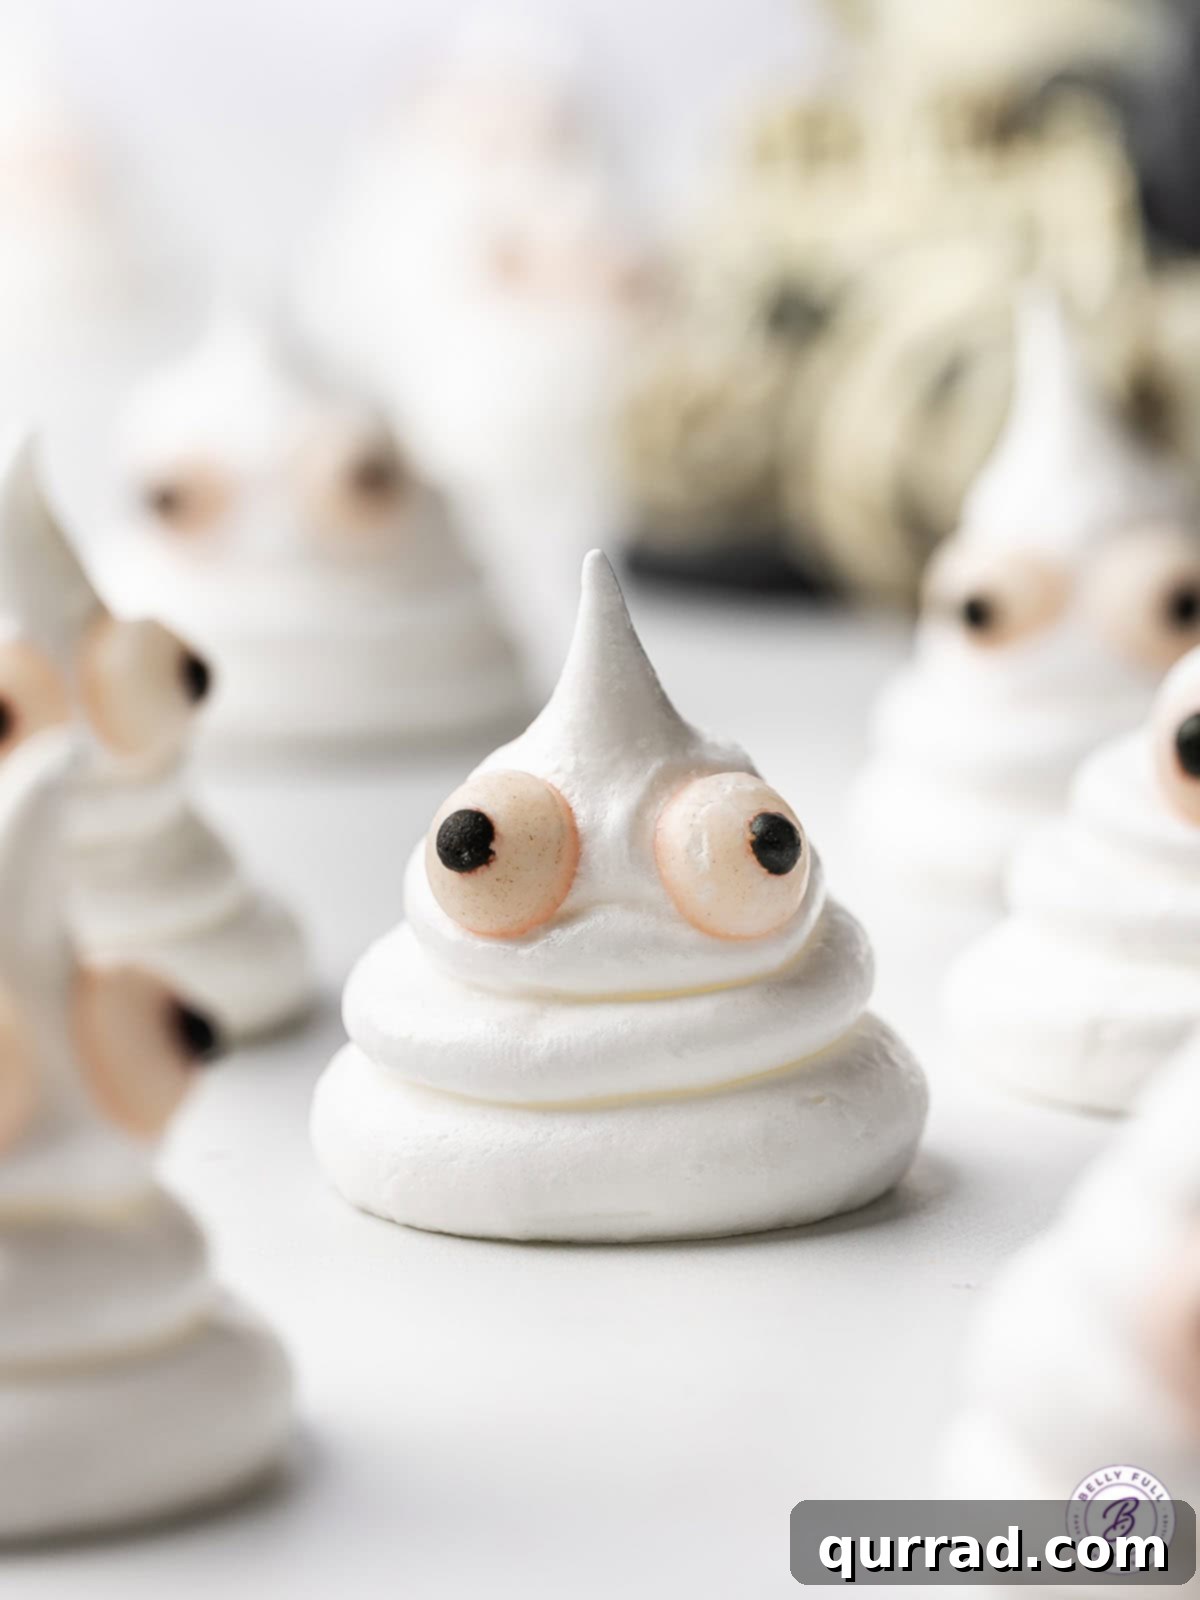
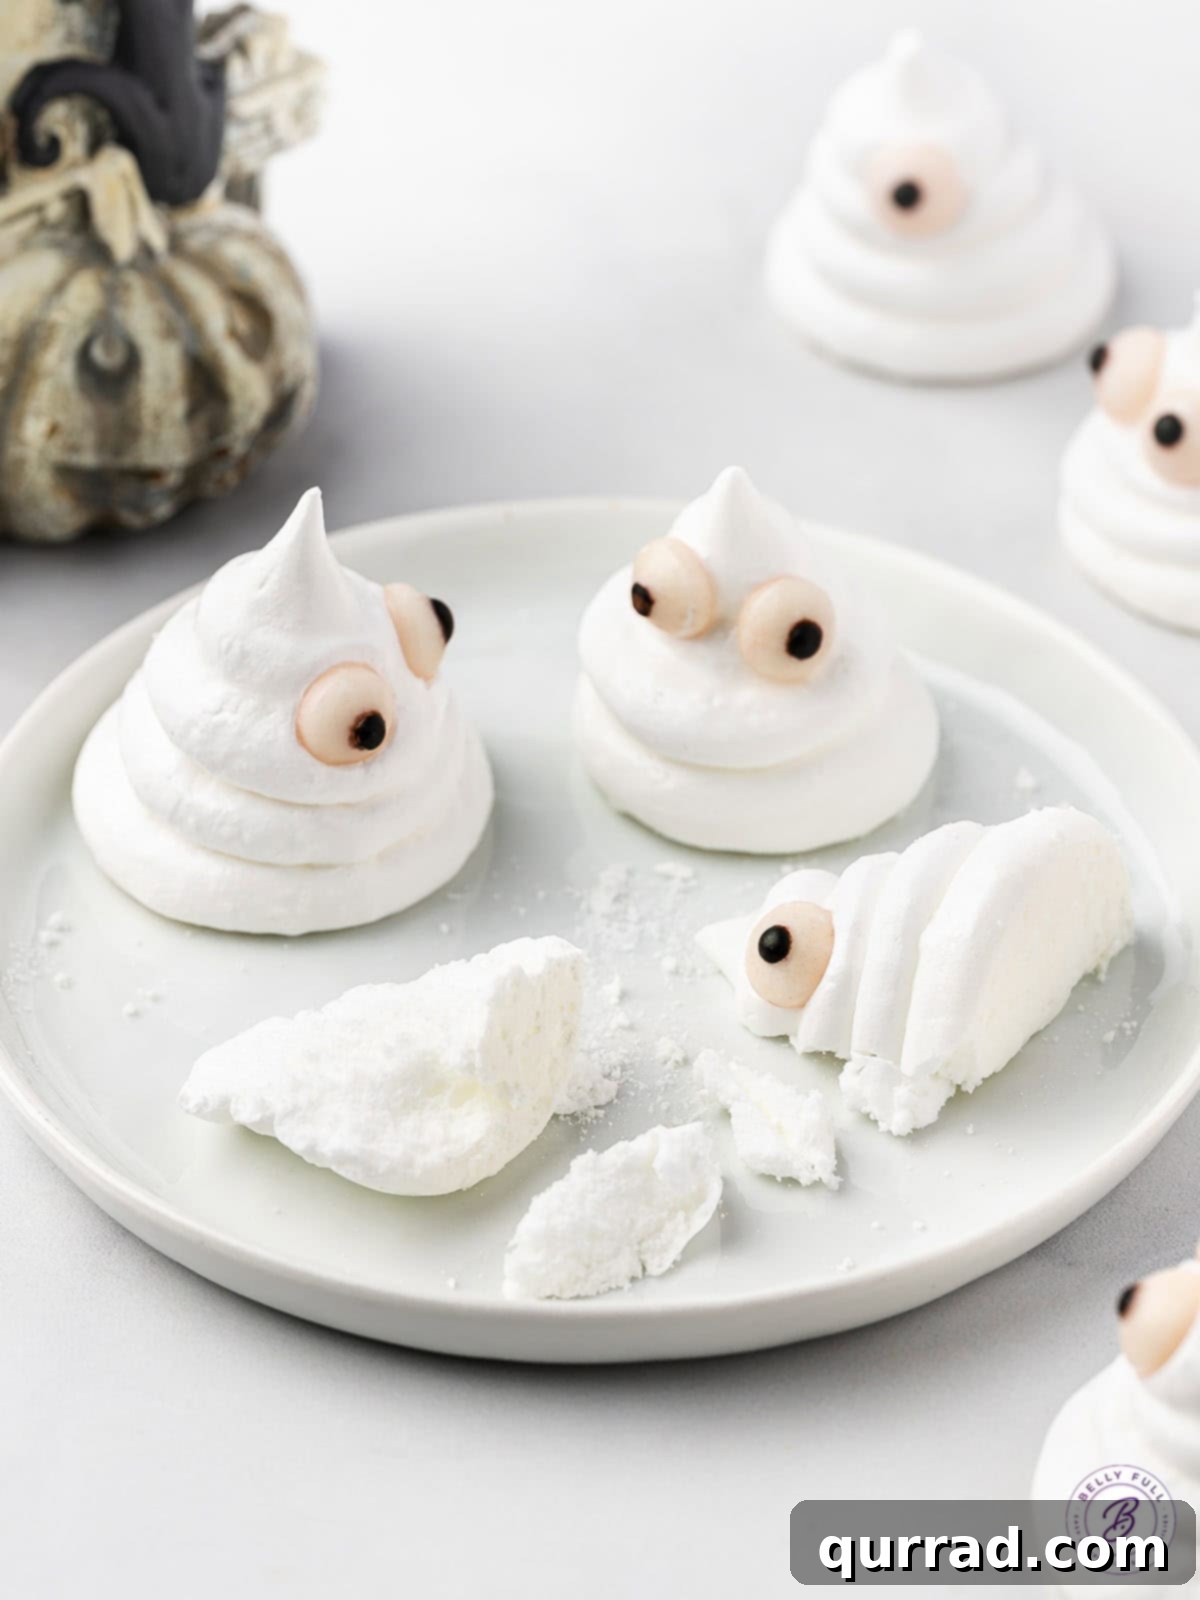
Get ready for the spookiest season with these adorable Ghost Meringue Cookies, the quintessential Halloween treat! Light, airy, incredibly crisp, and perfectly sweet without being overwhelming, these cookies are surprisingly simple to make. They are an absolute delight for any Halloween party, offering a whimsical touch that guests of all ages will adore.
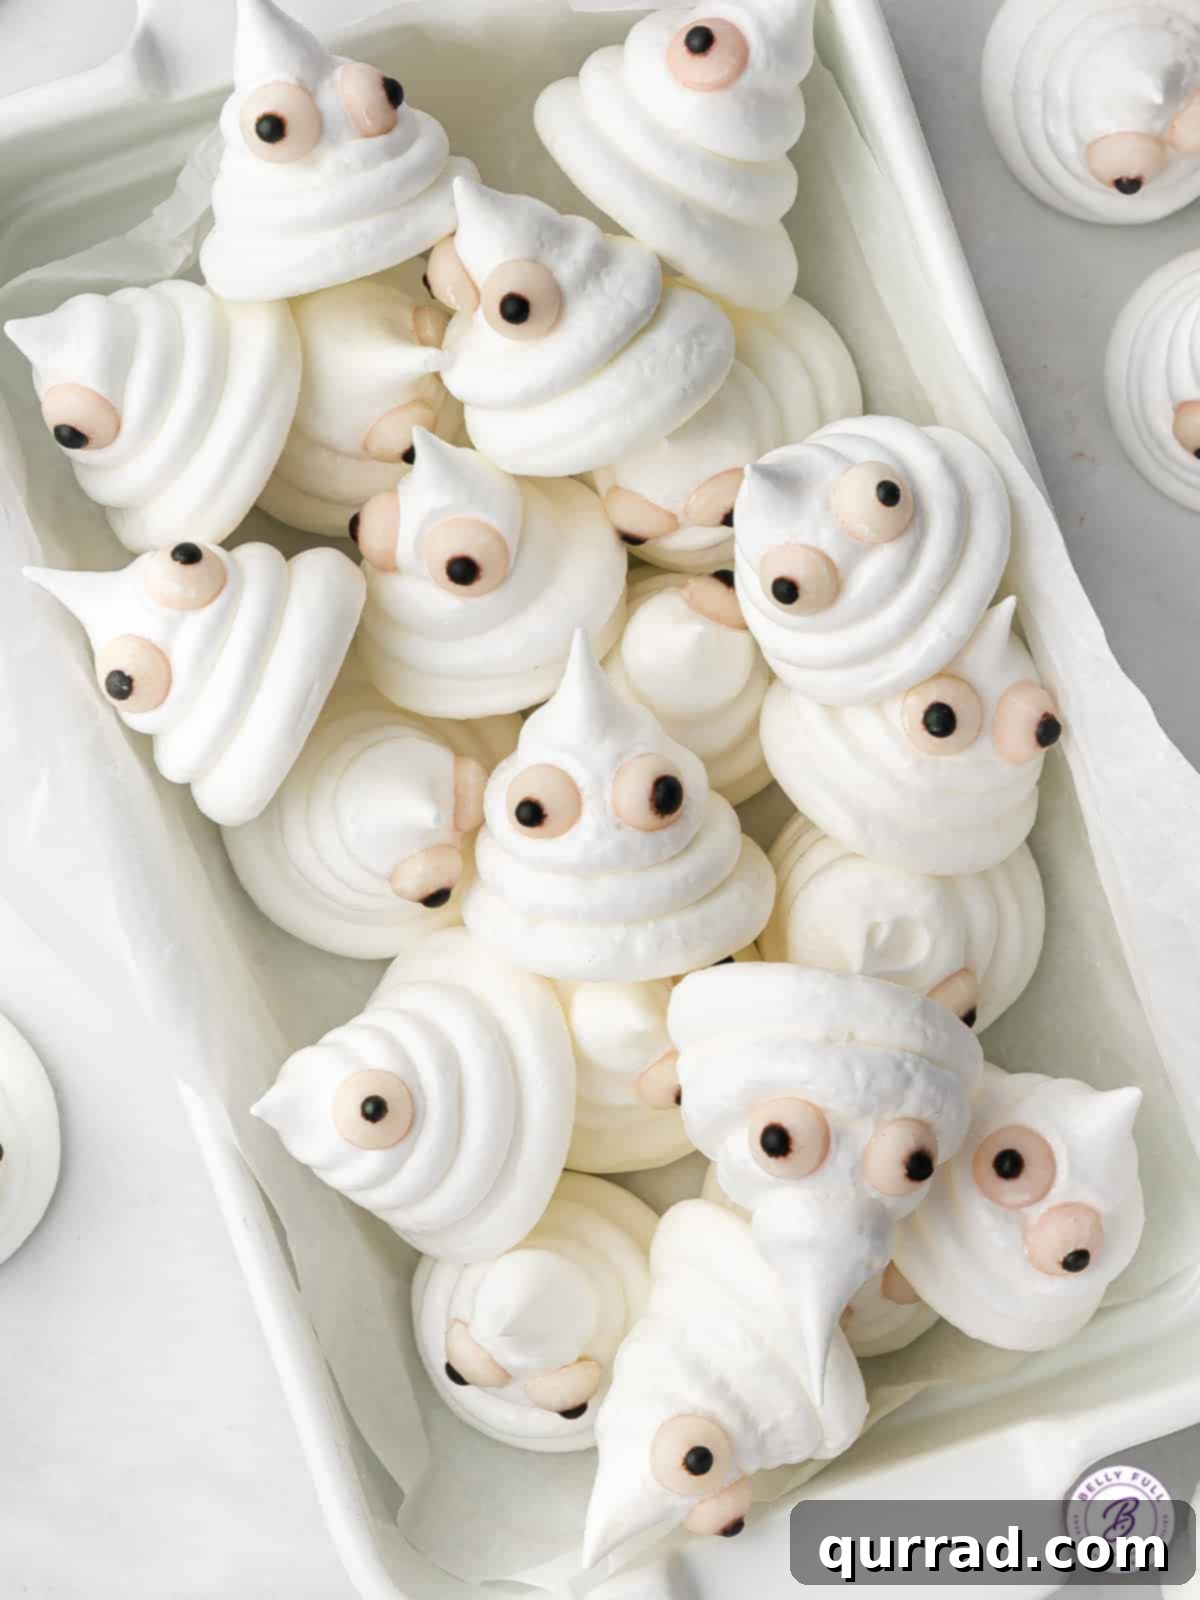
There’s something uniquely enchanting about a tray full of these charming ghost cookies. Their delicate structure and melt-in-your-mouth texture make them an irresistible addition to any festive spread. Often perceived as a gourmet dessert requiring expert skills, meringue cookies are, in fact, quite approachable for home bakers. With just a few common pantry staples and a little patience for the gentle baking process, you can create a batch of these supernatural sweets. What’s even better? At only around 28 calories per cookie, you can indulge in a few without any of the typical Halloween treat guilt. Now, that’s a ghostly good deal!
Unveiling the Magic of Meringue: What Are They?
Meringue cookies are essentially a confection made from whipped egg whites and sugar. The mixture is typically flavored, then piped into desired shapes and baked at a low temperature for an extended period. This slow baking process doesn’t cook the meringue in the traditional sense; rather, it dries it out, resulting in a feather-light, crisp, and ethereal cookie. The origin of meringue is often debated, with claims tracing back to Switzerland or France in the 17th or 18th century, but one thing is certain: their delicate charm has captivated dessert lovers for centuries.
For those who love the crisp delight of meringue, be sure to explore our other fantastic variations. Don’t miss our classic vanilla and chocolate meringue cookies, refreshing lemon meringue cookies, and festive peppermint meringue cookies, perfect for the Christmas season!
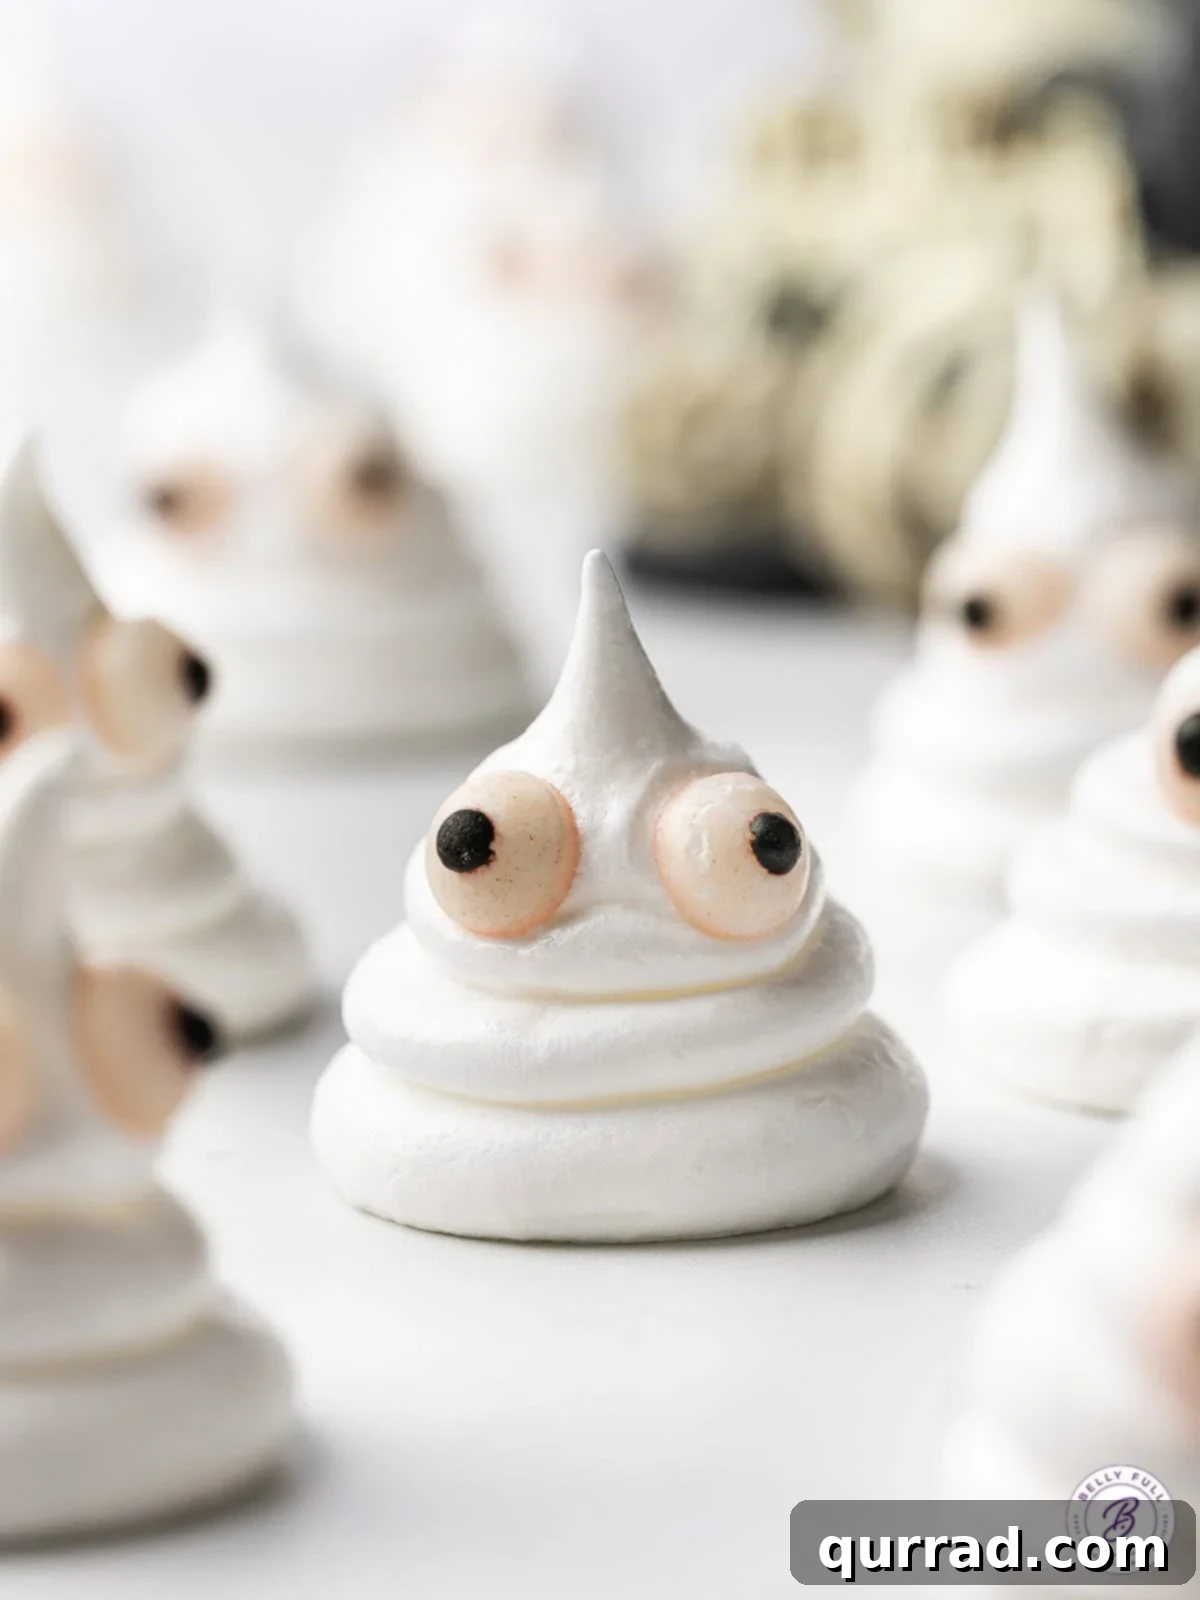
Why You’ll Love These Ghost Meringue Cookies
These ghost meringue cookies aren’t just a holiday novelty; they’re a genuinely delightful dessert that offers numerous reasons to fall in love:
- Ethereal Texture: They are wonderfully light and dissolve beautifully in your mouth, leaving a delicate sweetness and a satisfying crispness.
- Perfect Sweetness: Unlike some overly rich Halloween candies, these meringues offer a balanced sweetness that appeals to a wide range of palates.
- Surprisingly Easy: Despite their elegant appearance, the process is straightforward, requiring minimal active cooking time and basic ingredients.
- Guilt-Free Indulgence: With their low-calorie count, these spooky treats allow for a lighter indulgence during a season often filled with heavy sweets.
- Visually Adorable: The candy eyes transform simple meringue dollops into charming, friendly ghosts that instantly elevate your Halloween decor.
- Kid-Friendly Fun: Kids will love helping to place the candy eyes, making it a fun baking project for the whole family.
Essential Ingredients for Your Ghost Meringue Cookies
Crafting these delightful Halloween treats requires just a handful of straightforward ingredients, plus the fun addition of candy eyes to bring your ghosts to life. (For precise measurements, refer to the detailed recipe card below.)
- Fresh Egg Whites: The foundation of any good meringue. It’s crucial that your egg whites are fresh, at room temperature, and completely free of any trace of fat or egg yolk. Even a minuscule amount of yolk can prevent the egg whites from whipping properly, leading to a flat, failed meringue. Room temperature eggs whip to a much higher volume and achieve stiffer peaks than cold eggs.
- Cream of Tartar: This acidic ingredient is a meringue’s best friend. It acts as a stabilizer for the egg whites as they are whipped, helping them reach those essential stiff peaks and preventing them from deflating. It’s a key component for achieving the perfect meringue structure.
- Granulated Sugar: While regular granulated sugar can work, super-fine sugar (also known as caster sugar) is highly recommended. Its finer crystals dissolve more quickly and thoroughly into the egg whites, resulting in a smoother, less grainy meringue. If you can’t find super-fine sugar, you can easily make your own by pulsing regular granulated sugar in a food processor for a few seconds until finely processed. When using regular sugar, add it very slowly to ensure it dissolves completely.
- Salt: Just a pinch of salt makes a significant difference. It doesn’t just add a subtle depth of flavor but also expertly balances the sweetness, ensuring your meringues are deliciously harmonious.
- Almond Extract: This extract provides a wonderfully distinct and aromatic flavor that truly elevates these ghost meringues. Its slightly nutty and sweet notes complement the crisp texture beautifully. While almond extract is highly recommended for its unique profile, if you prefer, you can substitute it with vanilla extract for a more classic flavor.
- Candy Eyes: These are the magical finishing touch that transform simple meringue peaks into adorable, spooky ghosts! They’re readily available in most baking aisles, especially around Halloween.
Essential Equipment for Meringue Success
Having the right tools can make all the difference in achieving perfect meringues:
- Electric Mixer: A stand mixer with a whisk attachment is ideal for consistent, hands-free whipping. A hand-held electric mixer also works well.
- Large Mixing Bowl: Preferably glass or metal. Avoid plastic, as it can retain grease residues.
- Piping Bag and Tip: A large round tip (like an Ateco 808 or Wilton 1A) is perfect for creating the ghost shapes. Alternatively, a sturdy Ziploc bag with a corner snipped off will suffice.
- Parchment Paper: Essential for preventing sticking and for easy removal of the delicate cookies from the baking sheets.
- Baking Sheets: Two large baking sheets will be needed to bake all the cookies without overcrowding.
- Rubber Spatula: For gently folding and transferring the meringue.
Top Tips for Meringue Perfection
Meringues are delicate, but with these expert tips, you’ll achieve crispy, delightful ghosts every time:
- Use Fresh, Room Temperature Eggs: The fresher your eggs, the stronger the protein structure in the whites, leading to better volume and stability. Additionally, egg whites at room temperature whip up more quickly and achieve greater volume than cold eggs, resulting in a lighter and airier meringue.
- Separate Eggs When Cold: While room temperature whites are best for whipping, eggs are easiest to separate when they are cold, as the yolks are firmer and less likely to break. Separate your eggs immediately after taking them from the fridge, then allow the whites to sit at room temperature for 30 minutes to an hour before whipping.
- Crack Eggs into a Separate Bowl: Always crack each egg into a small, separate bowl before adding it to your main mixing bowl. This safeguards your entire batch. If a yolk accidentally breaks and contaminates an egg white, you only lose one egg, not all of them. Even the smallest speck of yolk (fat) will prevent the egg whites from whipping to stiff peaks.
- Ensure All Equipment is Spotlessly Clean and Dry: This cannot be stressed enough. Any trace of grease or moisture on your mixing bowl, whisk attachment, or spatulas will be detrimental. Fat prevents egg whites from emulsifying and building structure, and moisture can weigh them down. Wipe everything down thoroughly before you begin.
- Add Sugar Gradually and Slowly: Drizzle the granulated sugar into the whipping egg whites very slowly, ideally no more than a tablespoon at a time. This allows each addition of sugar ample time to dissolve completely into the egg white foam. Rushing this step or adding too much sugar at once can result in a grainy meringue or cause the egg whites to collapse. Beat until the mixture is thick, glossy, and you can no longer feel sugar crystals when rubbing a tiny bit between your fingers.
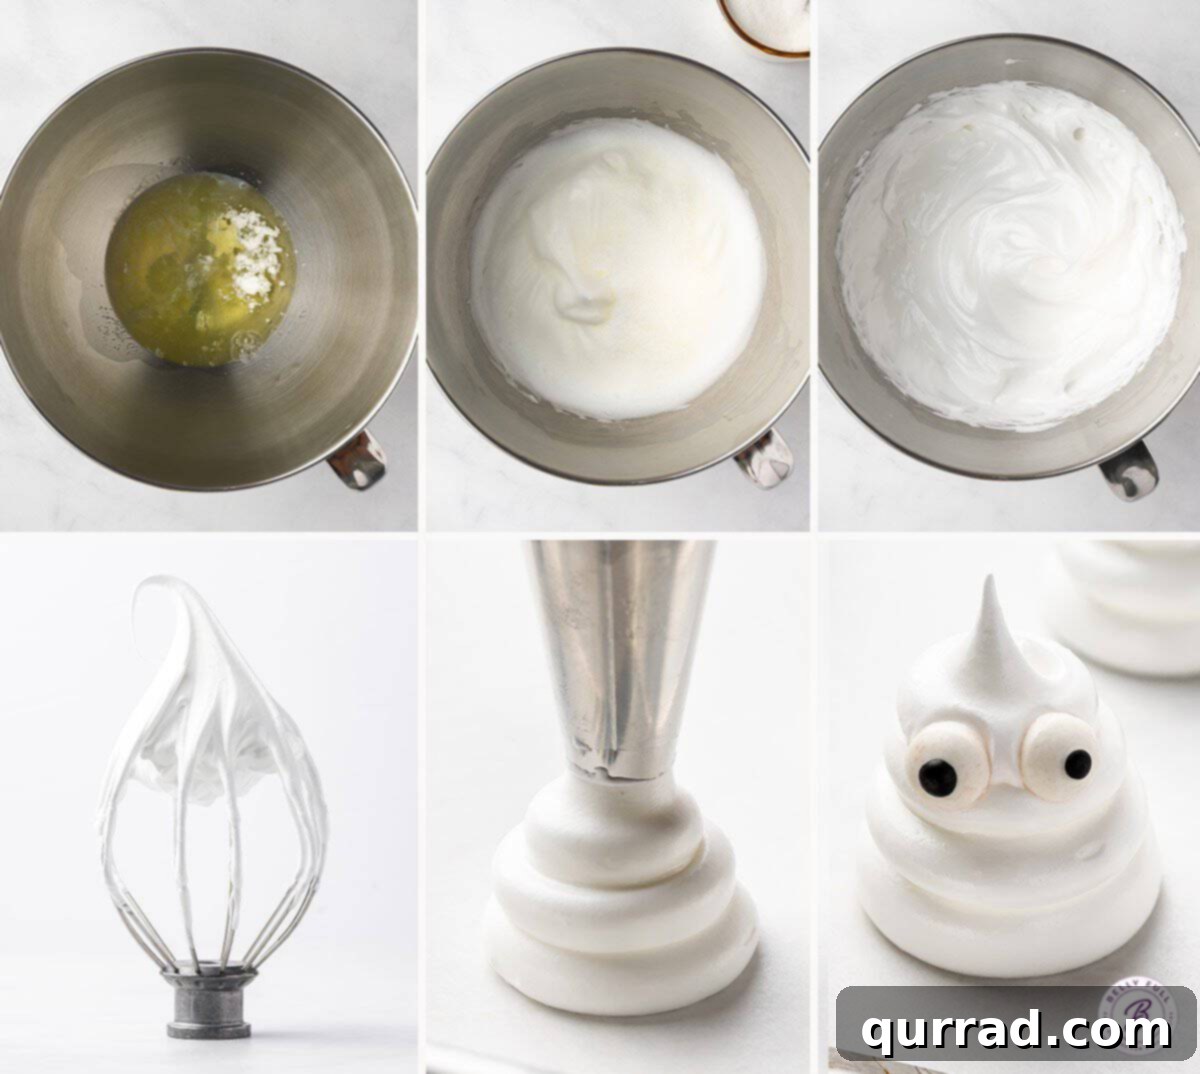
- Achieve Stiff, Glossy Peaks: The meringue batter will take several minutes of consistent beating to reach the correct consistency. You’ll notice a significant increase in volume, and the mixture will become incredibly thick, smooth, and glossy. When you lift the whisk, the peaks should stand straight up and hold their shape firmly, without drooping. This is a critical stage for a stable meringue.
- Avoid Over-Beating: While stiff peaks are important, over-whipping can be detrimental. Over-beaten egg whites can become dry, lumpy, and lose their smooth texture. This can lead to a meringue that cracks excessively during baking or loses its crispness and collapses after cooling. Stop once firm, glossy peaks are achieved.
- Pipe Immediately: Once your meringue is ready, don’t let it sit around. The longer it sits, the more it will lose its volume and consistency. Transfer it to your piping bag and start piping your ghosts onto the parchment-lined baking sheets right away.
- Humidity is the Enemy: Meringues are incredibly susceptible to humidity. The moisture in the air can cause them to become sticky, chewy, or weep. Avoid making meringues on rainy, humid days. A dry day is your best friend for crisp meringues.
- Bake Low and Slow, Then Rest: This is arguably the most crucial step for perfect meringues. They are not “baked” in the traditional sense, but rather slowly dried out. Bake your ghost meringues at a very low temperature (around 225°F / 110°C) for about 1 hour. They should be dry to the touch but not show any browning. Once baking time is complete, turn off the oven and leave the meringues inside with the oven door closed for another 2-3 hours, or even overnight. This extended cooling period in the residual heat fully dries them out and locks in their crisp texture, preventing them from becoming soft or chewy.
Troubleshooting Common Meringue Issues
Even with the best intentions, meringues can sometimes be tricky. Here are solutions to common problems:
- Meringue Won’t Stiffen: This is almost always due to fat contamination (yolk, grease on equipment) or moisture. Ensure your bowl and whisk are perfectly clean and dry, and there’s no yolk in your whites. Also, check that your eggs are at room temperature.
- Grainy Meringue: This indicates that the sugar didn’t fully dissolve. Add sugar very slowly, and beat until it’s completely incorporated and the mixture is smooth.
- Sticky or Chewy Meringues: Too much humidity is the main culprit. Make them on a dry day! It can also be a sign of not enough baking/drying time or cooling too quickly.
- Meringues Browned: The oven temperature was too high. Meringues should bake at a very low temperature to dry, not color.
- Meringues Cracked: This can be due to adding sugar too quickly, over-beating the egg whites, or the oven temperature being too high and causing them to expand and contract too rapidly.
Delicious Variations to Try
While the ghost meringues are perfect as is, you can always experiment with flavors:
- Different Extracts: Instead of almond, try vanilla, peppermint (for Christmas!), or even a hint of orange or lemon extract for a citrusy twist.
- Food Coloring: For non-ghost meringues, you can gently fold in a few drops of gel food coloring at the end of the whipping process for colorful treats.
- Chocolate Drizzle: Once cooled, a drizzle of melted dark or white chocolate can add another layer of flavor and visual appeal.
Serving Suggestions for a Spooktacular Party
These Ghost Meringue Cookies are fantastic on their own, but they also integrate beautifully into a larger Halloween spread. They can sit out on a party table for several hours, just be sure to keep them away from any direct heat sources or moisture, which can cause them to soften. To complete your ultimate Halloween party experience, pair these ghostly delights with more themed treats and drinks:
- Spooky Sips: Complement their sweetness with a fizzy, mysterious Witches Brew Punch.
- Creepy Candies: Offer a frightfully fun assortment like our vibrant Halloween Bloodshot Eyeballs Candy.
- Savory Snacks: Balance the sweetness with playful savory bites such as Monster Munch or creative Witches Brooms.
Proper Storage for Lasting Crispness
Proper storage is paramount to maintaining the delicate crispness of your Ghost Meringue Cookies. They should always be stored in an airtight container at room temperature, in a cool, dry place. It’s crucial not to refrigerate them, as the moisture in the refrigerator will quickly turn them sticky and chewy. Similarly, keep them away from any heat sources, open air, or other foods that contain moisture (like fresh fruit or soft cakes), as these elements will cause them to soften prematurely. For optimal taste and texture, these cookies are best enjoyed within a few days of baking. If you live in a particularly humid climate, their shelf life will be even shorter. Conversely, in very dry environments or during the dry winter months, properly stored meringues can remain crisp for up to two weeks.
Frequently Asked Questions About Meringue Cookies
Here are answers to some common questions about making and enjoying meringue cookies:
- Can I make meringue cookies ahead of time? Absolutely! Meringues are excellent for making in advance. Store them properly as described above, and they will retain their crispness for days, making them a perfect stress-free party treat.
- Why are my meringue cookies chewy instead of crisp? This is often due to humidity, insufficient drying time in the oven, or the oven temperature being too high, which bakes them rather than dries them. Ensure low and slow baking followed by adequate cooling time in the turned-off oven.
- Can I freeze meringue cookies? Freezing is generally not recommended for meringue cookies. The freezer environment can introduce moisture, which will ruin their crisp texture upon thawing, making them soft and sticky.
- What if I don’t have cream of tartar? While cream of tartar is highly recommended for stability, you can substitute it with an equal amount of white vinegar or lemon juice. The acidity helps stabilize the egg whites, but cream of tartar generally yields the most reliable results.
- Can I use egg whites from a carton? Fresh egg whites are always preferred for meringues because they tend to whip up to a higher volume and create a more stable foam. Carton egg whites can be used, but you might find they don’t achieve the same volume or stability, potentially resulting in a slightly denser meringue.
I sincerely hope you enjoy creating and sharing this delightful and surprisingly easy recipe. These Ghost Meringue Cookies are sure to be a hit at your next Halloween gathering!
Ghost Meringue Cookies
15 mins
1 hr
2 hrs
3 hrs 15 mins
30 meringue cookies
Pin
Cute little Ghost Meringue Cookies for Halloween! They’re light, crisp, not overly sweet, and easier to make than you might think. Great for parties!
Ingredients
- 4 large egg whites
- 1/2 teaspoon cream of tartar
- 1/8 teaspoon salt
- 1 teaspoon almond extract (or vanilla extract)
- 1 cup granulated sugar
- 60 candy eyes
Instructions
- Preheat oven to 225°F (110°C). Line 2 cookie sheets with parchment paper.
- In a medium bowl, combine egg whites, cream of tartar, salt, and almond extract. Beat with an electric mixer until frothy and soft peaks begin to form. Continue beating, gradually adding the granulated sugar, 1 tablespoon at a time. Beat until stiff, glossy peaks form and the sugar is completely dissolved (this should take approximately 2-3 minutes after all sugar is added).
- Carefully transfer the meringue mixture into a piping bag fitted with a large open round tip (or use a sturdy Ziploc bag with one corner snipped off). Pipe the meringue onto the parchment-lined baking sheets in dollops, slightly larger than the width of a quarter and spaced about 1 inch apart, to form your ghost shapes.
- Gently place two candy eyes on each piped “ghost” before baking.
- Bake in the preheated oven for 1 hour, or until the meringues are dry to the touch but show no signs of browning. Once baking is complete, turn off the oven heat and allow the meringues to rest inside the closed oven for another 2-3 hours, or until they are completely cool. This crucial step dries them out completely and ensures their crisp texture.
- Once fully cooled, carefully remove the meringues from the parchment paper (they should lift off easily; if not, gently use a thin spatula). Serve and enjoy your adorable ghost meringue cookies!
Nutrition
Calories: 28kcal | Carbohydrates: 7g | Protein: 0.5g | Fat: 0.03g | Sodium: 17mg | Potassium: 16mg | Sugar: 7g | Calcium: 0.4mg | Iron: 0.01mg
Nutritional information provided is an automatic calculation and may vary based on the exact products used and any modifications to the recipe. If these numbers are critically important to you, it is recommended to calculate them yourself.
Did you make this? Leave a rating below!