
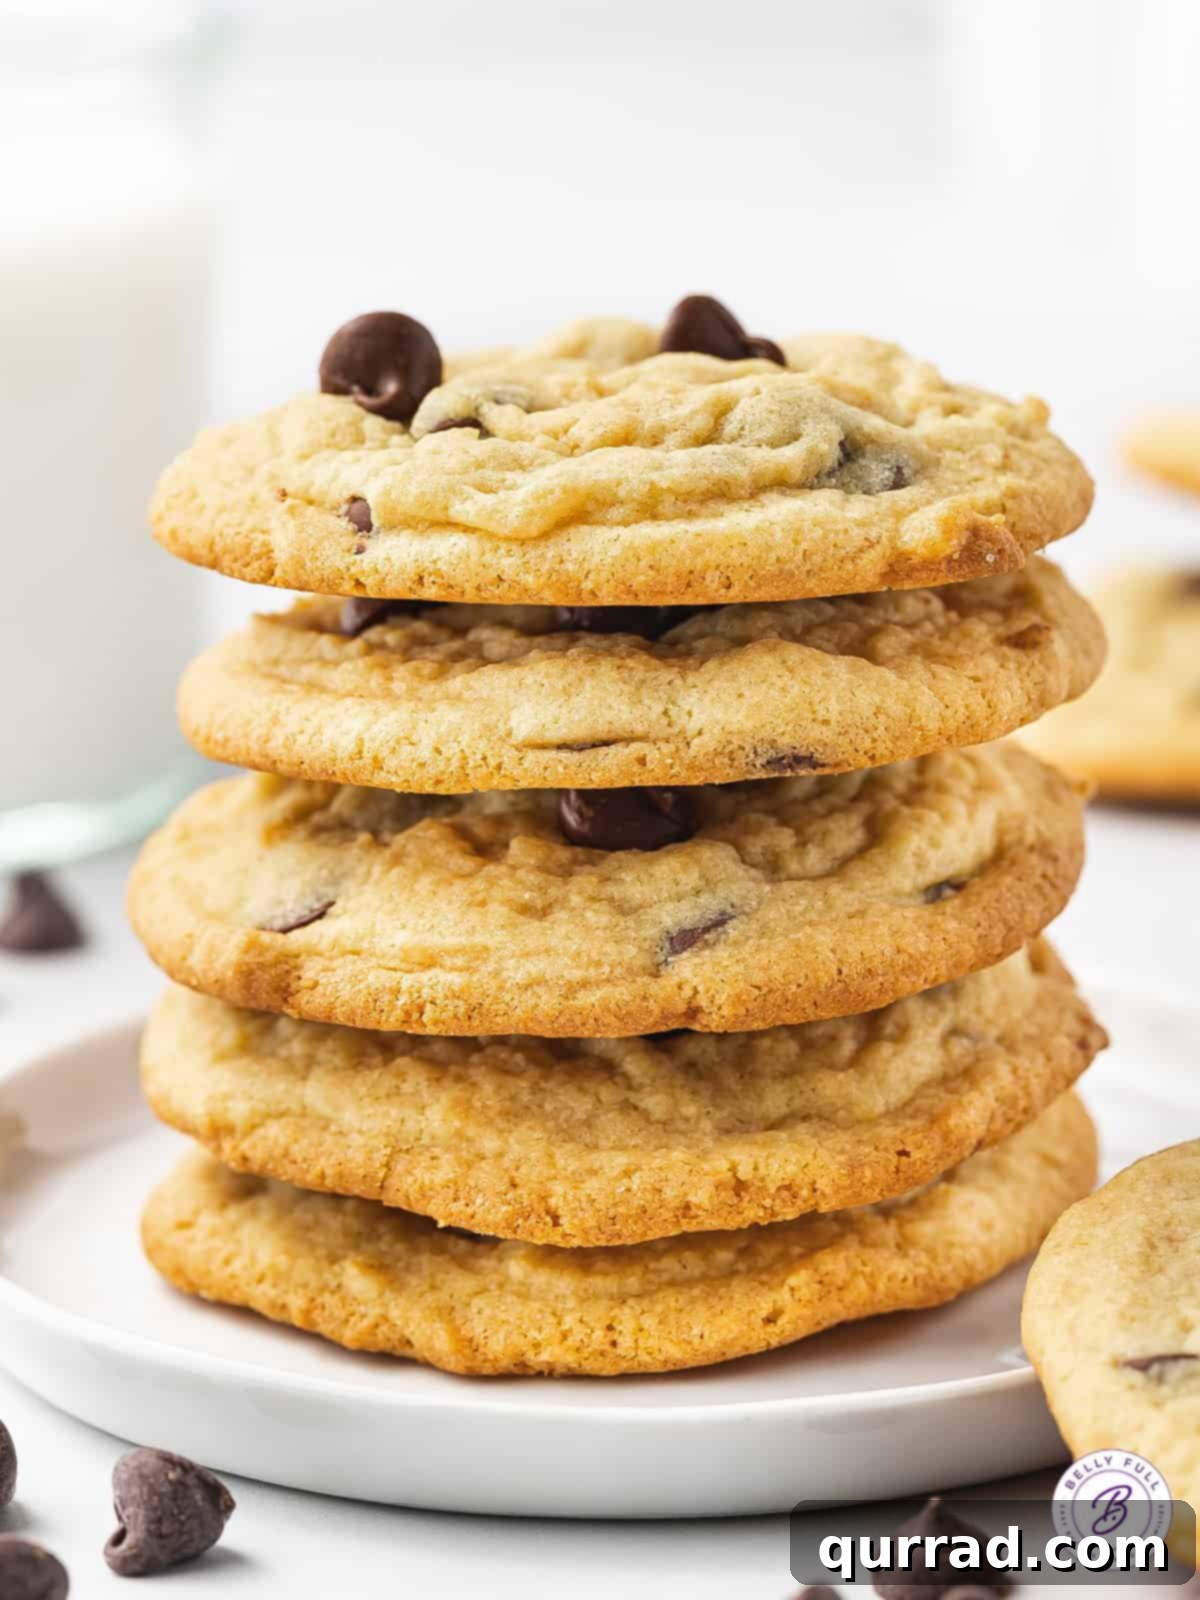
There’s a reason chocolate chip cookies are a timeless classic, beloved by generations. But what if we told you there’s a simple secret to elevate them from simply delicious to irresistibly soft, chewy, and utterly melt-in-your-mouth perfection? Enter these incredible Chocolate Chip Pudding Cookies. This recipe takes everything you adore about the traditional cookie and enhances it with the magical touch of vanilla pudding mix, transforming ordinary into extraordinary.
If you’re a connoisseur of classic cookies, you might also enjoy exploring our chocolate chunk cookies for a bolder chocolate experience, or our playful Oreo stuffed chocolate chip cookies for an extra surprise.
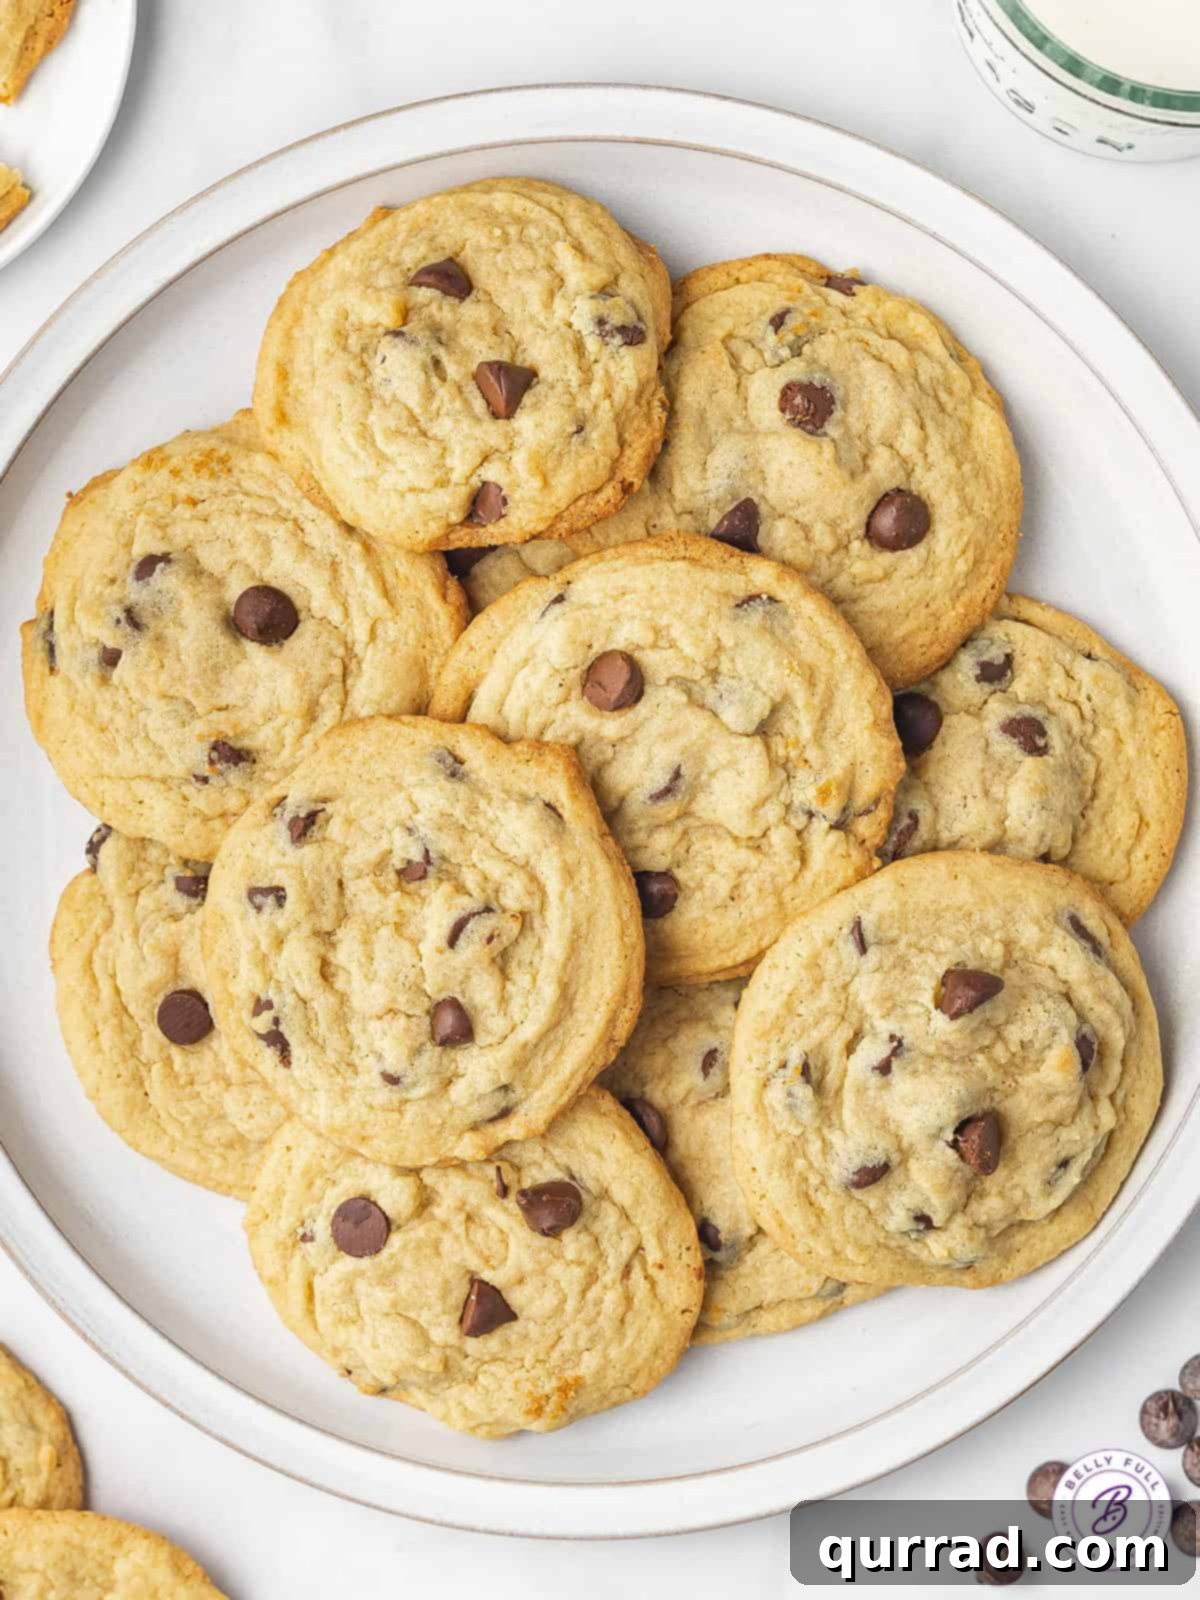
Discover the Magic of Pudding in Your Chocolate Chip Cookies
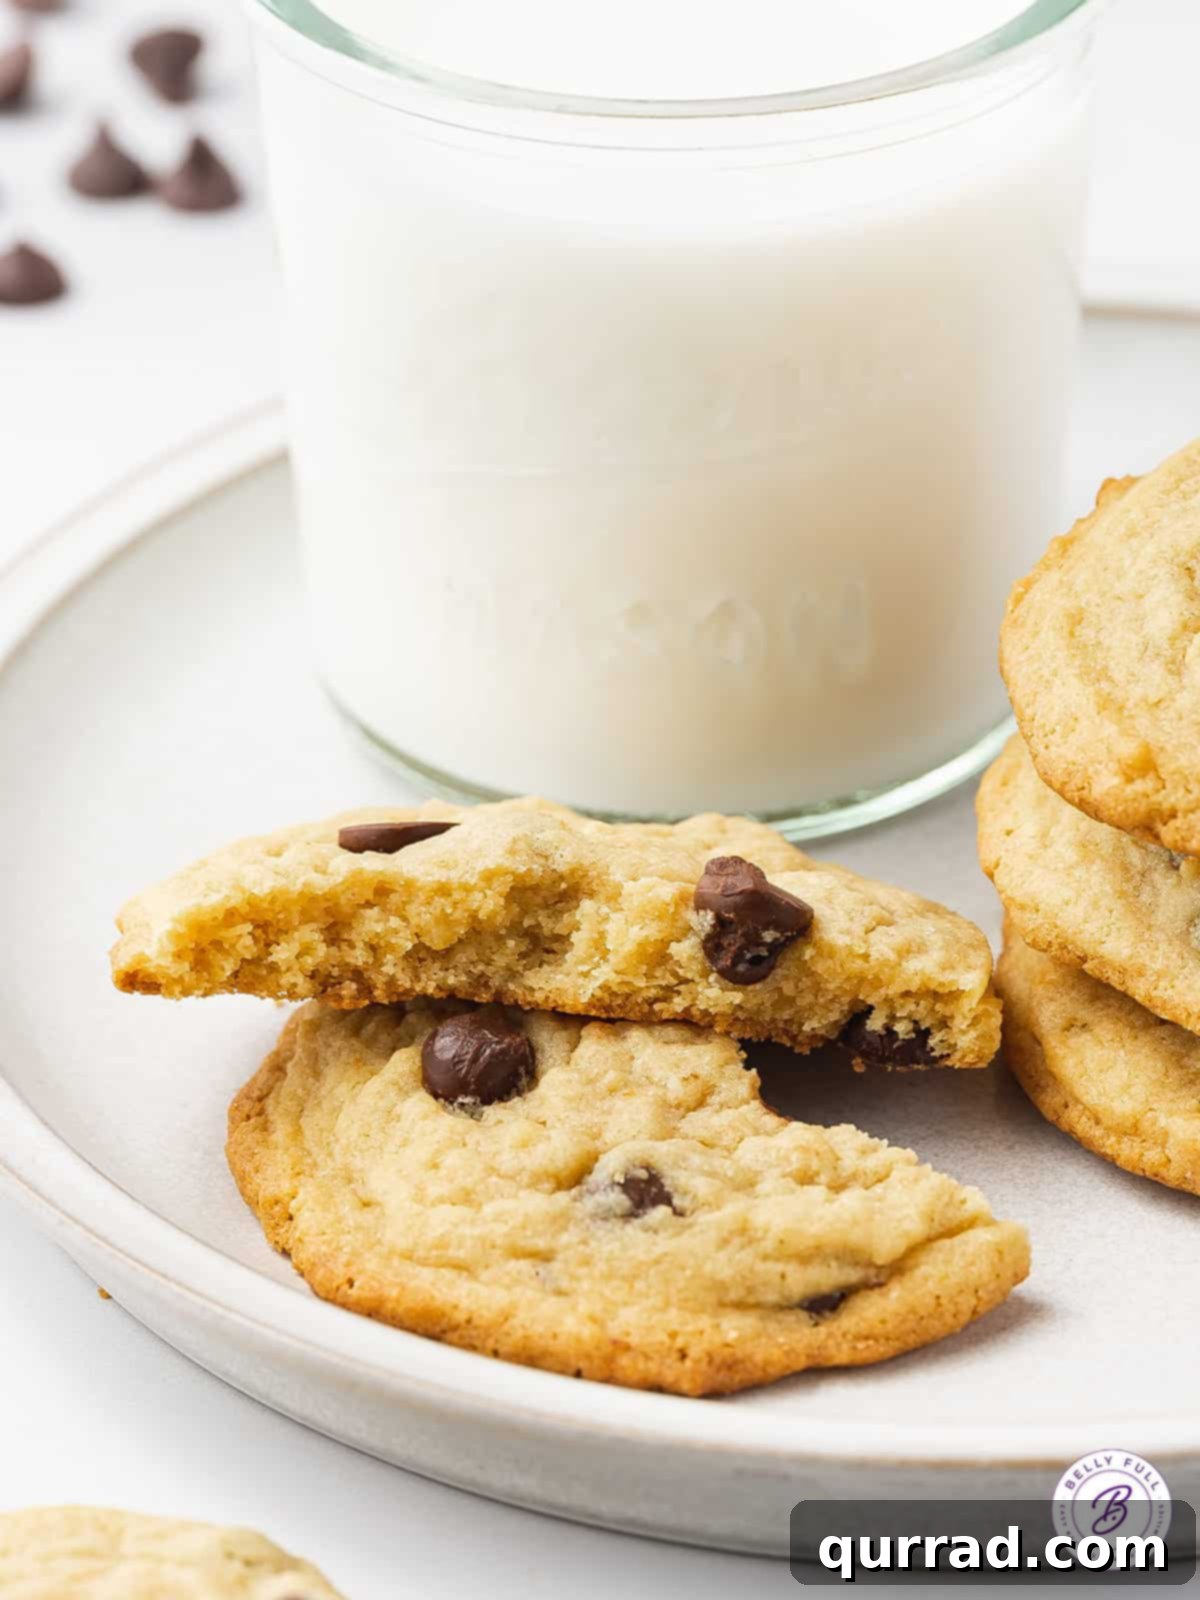
These Chocolate Chip Pudding Cookies have quickly become a new favorite in our kitchen, and for good reason! They boast an unparalleled softness and a delightful creaminess that truly sets them apart. What might seem like your everyday chocolate chip cookie is actually hiding a clever secret ingredient: instant vanilla pudding mix. This isn’t just a quirky addition; it’s a game-changer that imbues the cookies with a superior texture and an extended shelf life.
Beyond the undeniable boost in flavor, offering a subtle yet distinct vanilla note, the instant pudding mix works wonders in keeping these cookies incredibly moist and fresh for longer. While we humorously suggest they rarely last more than a few days in our home (who can resist?), the science is there – the pudding mix adds extra moisture and a tenderizing agent, preventing them from drying out quickly. This means you can bake a batch and enjoy them at their peak for several days, making them perfect for meal prep, gifting, or just savoring at your leisure. The gelatin and cornstarch in the pudding mix contribute to a wonderfully soft and slightly chewy texture that distinguishes them from traditional chocolate chip cookies. Each bite offers a satisfyingly tender crumb that practically melts in your mouth.
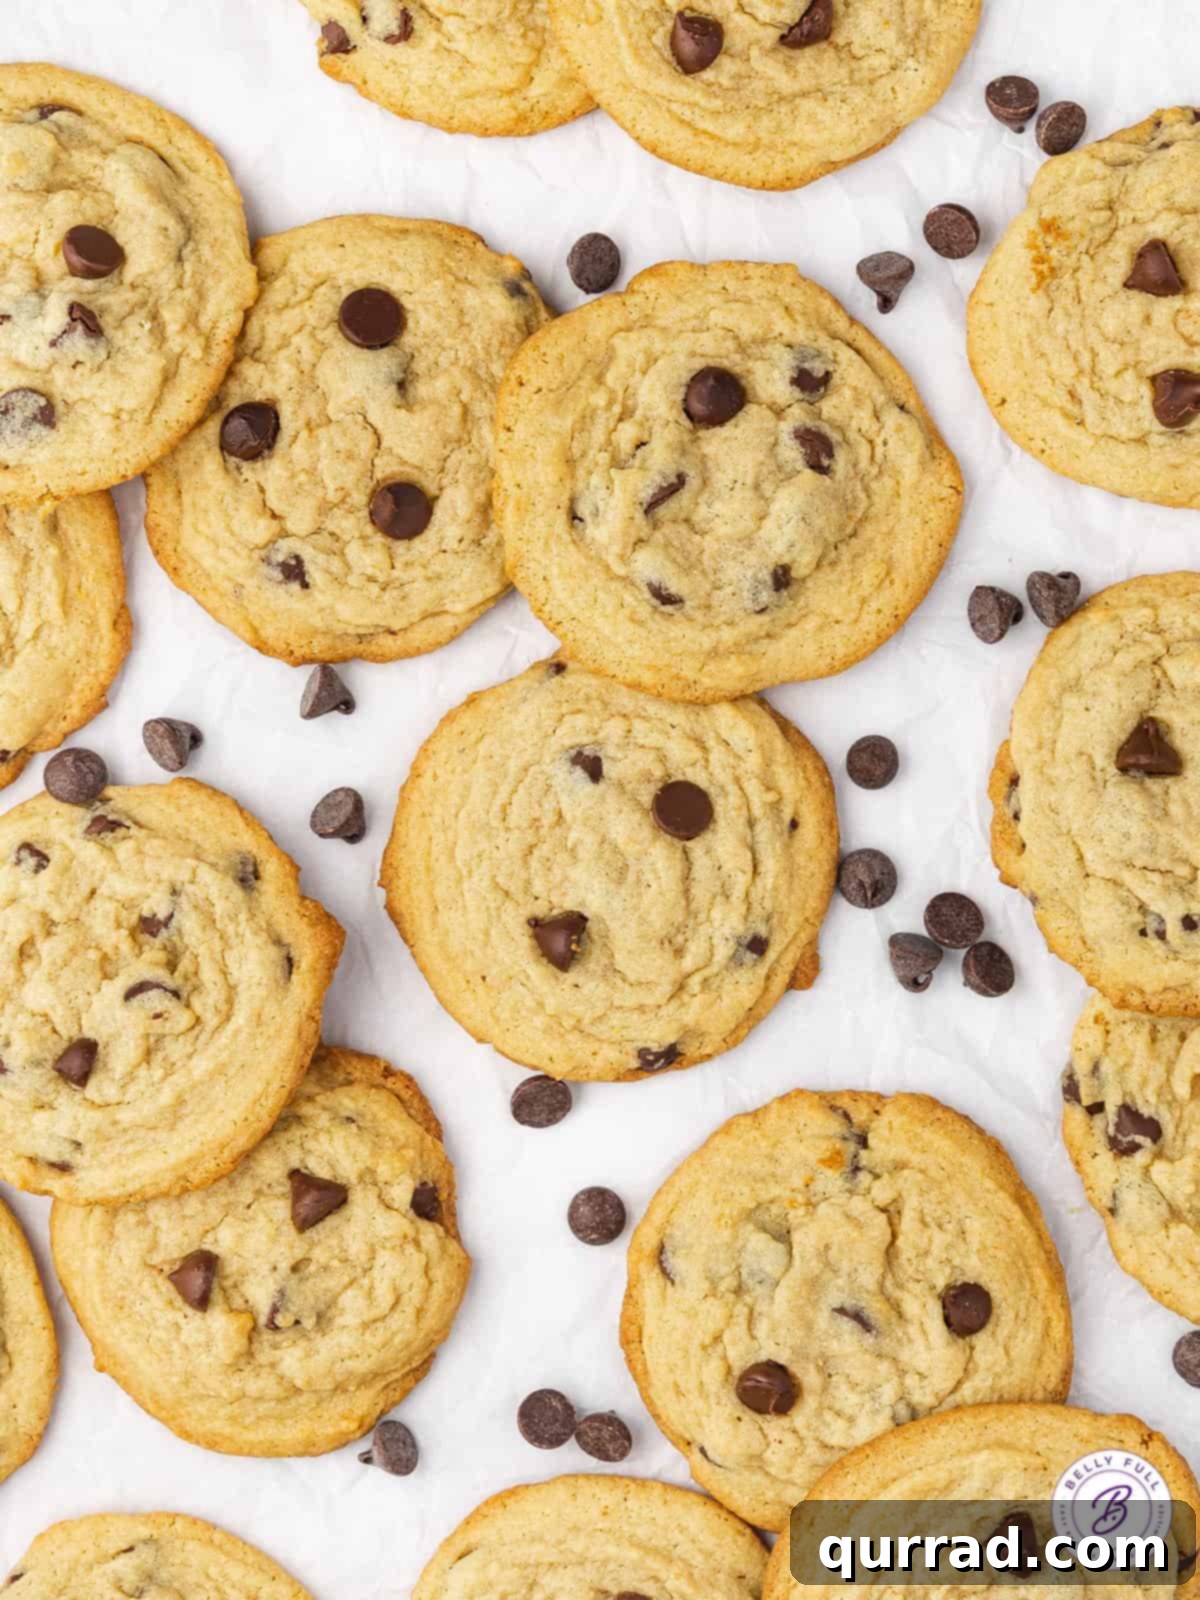
Essential Ingredients for Perfect Pudding Cookies
Crafting these irresistibly soft and chewy chocolate chip pudding cookies requires a handful of common baking staples, plus one special addition. Here’s a detailed look at the ingredients you’ll need to create this amazing recipe. Remember to refer to the printable recipe card below for exact measurements and further details.
- Sugars: Our recipe calls for a balanced blend of both granulated sugar and brown sugar. Granulated sugar contributes to the cookie’s structure and a slight crispness around the edges, while brown sugar adds moisture, depth of flavor, and that signature chewy texture we all love in a chocolate chip cookie. Using both creates the perfect equilibrium for flavor and texture.
- Unsalted Butter: Softened to room temperature, unsalted butter is crucial for achieving that light, fluffy texture when creamed with the sugars. It’s important that your butter isn’t melted or too soft, as this can lead to cookies spreading too much during baking. Room temperature butter emulsifies better, trapping air for a tender crumb. Unsalted butter allows you to control the exact amount of salt in your recipe.
- Eggs: Large eggs act as a binding agent, providing essential structure and richness to the cookie dough. They help hold all the ingredients together and contribute to the overall moisture and chewiness of the final product. Eggs also add fat and lecithin, which help create a smooth, emulsified dough.
- Vanilla Extract: A good quality pure vanilla extract is non-negotiable for enhancing the overall flavor profile. It complements the vanilla pudding beautifully and adds a warm, inviting aroma to your cookies, enriching the taste experience beyond measure.
- All-Purpose Flour: For accurate measuring and consistent results, always spoon and level your all-purpose flour. This prevents over-measurement, which can lead to dry, dense cookies that lack the desired soft chewiness. Flour provides the main structural framework for the cookie.
- Instant Vanilla Pudding Mix: This is our secret weapon! Ensure you grab an instant pudding mix, not the cook-and-serve variety. You’ll only be using the dry powder from a standard 3.4-ounce box. The pudding mix adds a unique tenderness, boosts vanilla flavor, and helps the cookies stay soft and moist for an extended period, thanks to its cornstarch content which retains moisture.
- Baking Soda: This leavening agent reacts with the acidic brown sugar to help the cookies rise gently and create a wonderfully soft, fluffy interior without being cake-like. It contributes to the cookie’s slight lift and tender texture.
- Kosher Salt: A pinch of kosher salt is vital for balancing the sweetness and intensifying all the other delicious flavors in the cookies, especially the chocolate. Don’t skip it! Salt truly makes all the other ingredients shine.
- Semi-Sweet Chocolate Chips: What’s a chocolate chip cookie without chocolate chips? Semi-sweet chips offer a classic balance of sweetness and rich cocoa flavor, melting beautifully and providing delightful pockets of indulgent chocolate throughout each bite. Feel free to use your favorite brand and quality; higher quality chips often yield better flavor and melt more smoothly.
Creative Recipe Variations to Delight Your Palate
One of the best things about these chocolate chip pudding cookies is how easily customizable they are. While the vanilla pudding base provides an incredible foundation, you can get creative with various simple swaps and additions to tailor them to your personal preferences or what you have on hand. Here are some fantastic ideas to inspire your next batch and make these cookies truly your own:
- Experiment with Chocolate Varieties: Don’t feel limited to semi-sweet! The world of chocolate is vast and exciting.
- Dark Chocolate: For a more intense, less sweet cookie, swap in dark chocolate chips or finely chopped dark chocolate bars (70% cocoa or higher for a true bitter contrast).
- Milk Chocolate: If you prefer a sweeter, creamier chocolate experience, milk chocolate chips are a fantastic alternative, especially for those with a sweet tooth.
- White Chocolate: White chocolate chips add a lovely contrast in color and a sweet, milky flavor, especially delicious when paired with a different pudding flavor like lemon or coconut.
- Chocolate Chunks: For larger, more decadent pockets of gooey melted chocolate, use chocolate chunks instead of chips. They provide a more substantial bite of chocolate.
- Mini Chips: Great for ensuring every single bite has a bit of chocolate, or for a more delicate appearance, making them ideal for smaller cookies or children.
- Combination: Why choose just one? Use a mix of two or three different types of chocolate chips (e.g., semi-sweet, milk, and dark) for a complex and layered flavor profile.
- Introduce Crunchy Nuts: Nuts add a wonderful textural contrast and a nutty depth of flavor that complements the sweet, soft cookie.
- Chopped Walnuts: A classic pairing with chocolate, walnuts bring an earthy, slightly bitter note that cuts through the sweetness beautifully.
- Toasted Pecans: Pecans offer a buttery, rich flavor and a tender crunch that complements the sweetness of the cookie exceptionally well.
- Almonds: Sliced or chopped almonds provide a delicate crunch and a mild, sweet flavor. Consider toasting them lightly for enhanced aroma.
- Macadamia Nuts: For a truly decadent treat, macadamia nuts add a rich, buttery texture and tropical hint, pairing wonderfully with white chocolate or coconut pudding.
- Explore Different Pudding Flavors: The instant pudding mix is the star here, and switching up its flavor can dramatically change your cookie experience, opening up a world of possibilities.
- Banana Pudding: Creates a delightful banana bread-like cookie, especially good with white chocolate chips or a sprinkle of cinnamon.
- Coconut Cream Pudding: Infuses a subtle tropical essence, perfect with dark chocolate or macadamia nuts, transporting you to an island paradise.
- Cheesecake Pudding: Adds a rich, tangy depth that pairs wonderfully with dried berries (like cranberries or cherries) or a mix of white and dark chocolate for a dessert fusion.
- Lemon Pudding: For a bright, zesty cookie that’s perfect for spring or summer, fantastic with white chocolate or poppy seeds for added texture.
- Butterscotch Pudding: Delivers a warm, caramel-like flavor, excellent with pecans or toffee bits for an autumnal treat.
- Chocolate Pudding: For an extra dose of chocolate, making a double chocolate pudding cookie with even more depth of cocoa flavor!
- Other Exciting Mix-Ins: Don’t limit yourself to just chocolate and nuts!
- Toffee Bits: Add a chewy, buttery crunch and irresistible caramel notes to every bite.
- Dried Fruits: Dried cranberries, cherries, chopped apricots, or even golden raisins can add a lovely tartness and chewiness, as well as vibrant color.
- Sprinkles: Perfect for a festive touch, especially around holidays or birthdays, adding visual appeal and a slight crunch.
- Pretzel Pieces: For a salty-sweet crunch that’s incredibly addictive and offers a surprising textural element.
- Peanut Butter Chips: For a classic flavor combination, these chips pair perfectly with the vanilla pudding base.
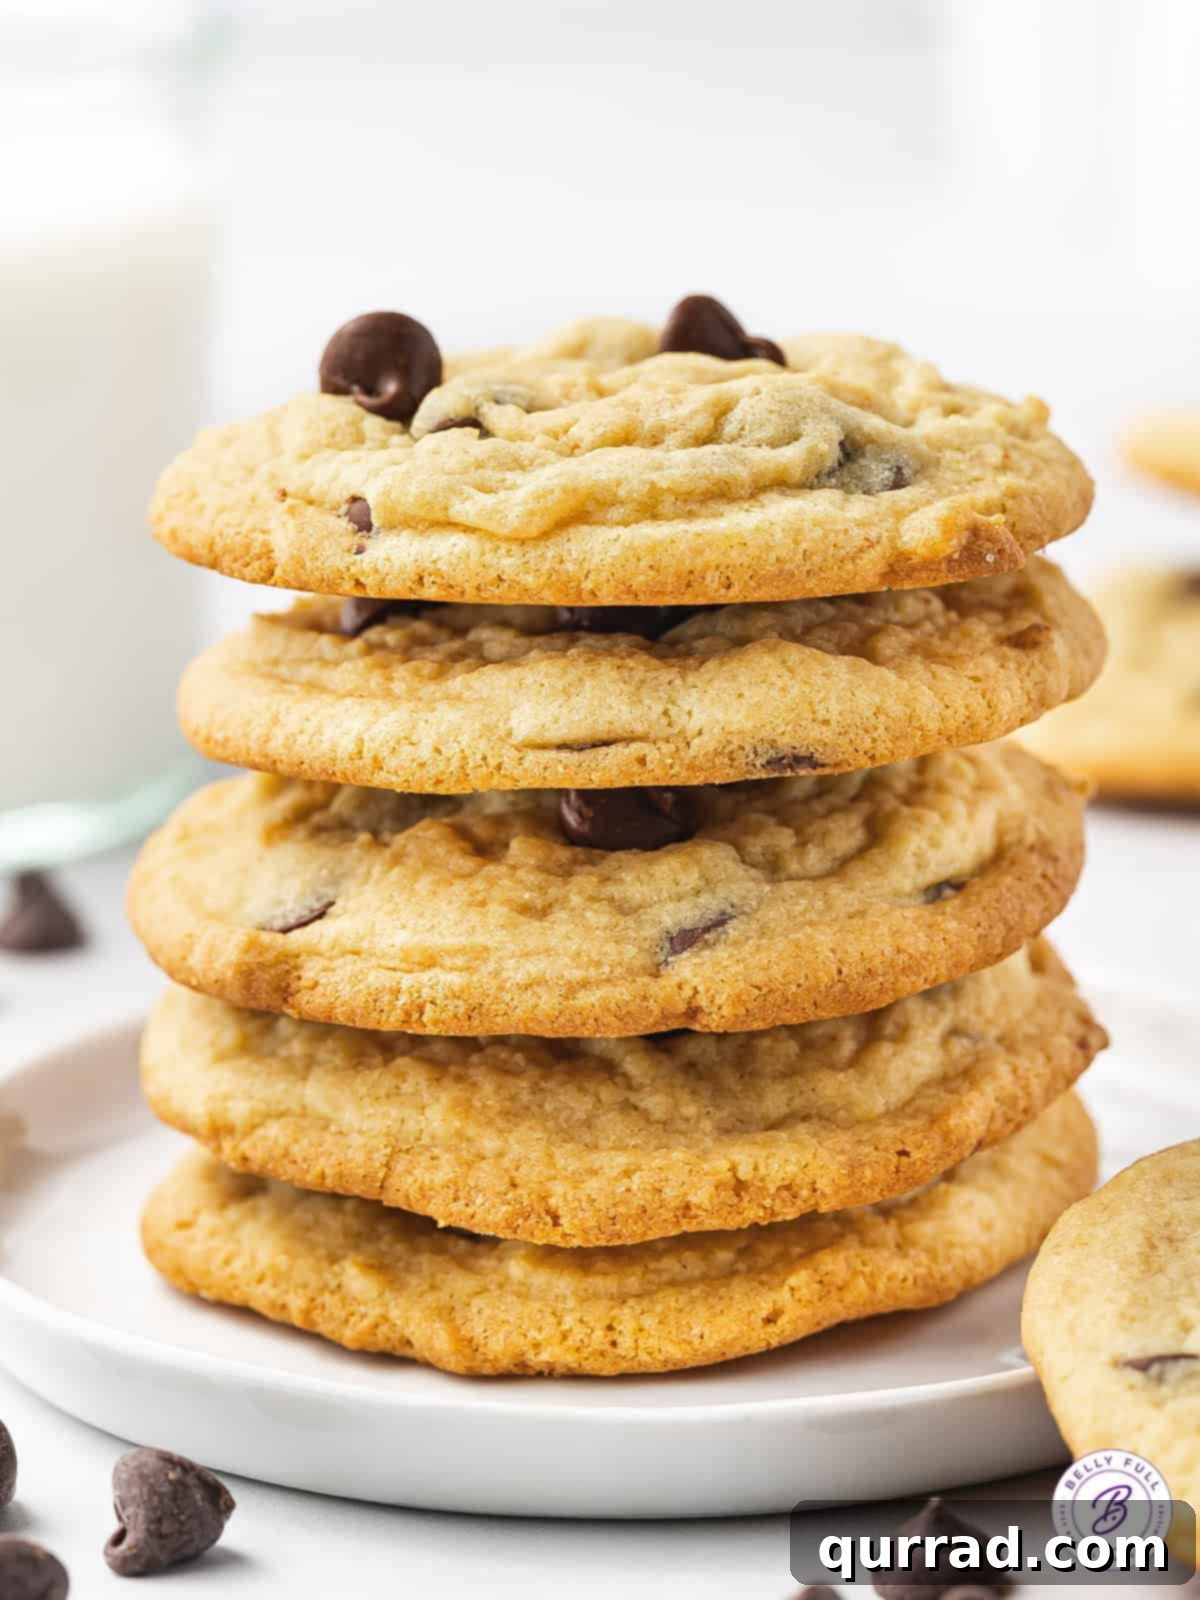
Step-by-Step Guide to Baking Perfect Chocolate Chip Pudding Cookies
Achieving these wonderfully soft, delightfully chewy vanilla pudding cookies is surprisingly simple and quick. The active preparation time is merely 15 minutes, followed by a short 10-minute bake, making this recipe an absolute breeze. Follow these easy steps, and you’ll be enjoying warm, homemade cookies in no time!
(For precise measurements and a detailed, printable recipe card, please scroll further down.)
- Prepare Your Workspace and Oven: Begin by preheating your oven to 350°F (175°C) and positioning a rack in the center. Line two standard baking sheets with parchment paper. Parchment paper is essential for preventing sticking and ensuring even baking, as well as making cleanup a breeze.
- Cream the Wet Ingredients: In a large mixing bowl, combine your softened unsalted butter with both brown sugar and granulated sugar. Using an electric mixer, cream these ingredients together on medium speed for about 2 minutes, until the mixture is light, fluffy, and well combined. This process incorporates air, which is key to the cookies’ soft texture. Next, beat in the eggs one at a time, ensuring each is fully incorporated before adding the next. Finally, stir in the vanilla extract until just combined.
- Combine the Dry Ingredients: In a separate, medium-sized bowl, whisk together the all-purpose flour, the dry instant vanilla pudding powder, baking soda, and kosher salt. Whisking ensures these ingredients are evenly distributed, which is crucial for uniform leavening and flavor throughout each cookie.
- Gently Mix Wet and Dry: Gradually add the dry ingredient mixture to the wet ingredient mixture. Mix on low speed, or by hand, until just combined. Be careful not to overmix the dough, as overmixing can develop the gluten in the flour, resulting in tougher cookies. A few streaks of flour are perfectly fine at this stage; you’ll finish combining when you add the chocolate.
- Fold in the Chocolate Chips: Gently fold in the semi-sweet chocolate chips (or your chosen mix-ins) using a rubber spatula or spoon. Distribute them evenly throughout the dough without crushing them. This final mix ensures the dough is fully combined without overworking it.
- Portion and Place Dough: Using a tablespoon-sized cookie scoop (this helps ensure uniform cookies that bake evenly and look professional), drop rounded balls of dough onto your prepared baking sheets. Space them about 2 inches apart to allow for spreading during baking. Resist the urge to flatten the dough balls; they will spread naturally in the oven to create that perfect chewy texture.
- Bake to Golden Perfection: Place the baking sheets in your preheated oven and bake for approximately 10 minutes. The cookies are done when their edges are lightly golden brown, but their centers still appear soft and slightly underbaked. This is the secret to achieving that coveted soft and chewy interior; remember, they continue to cook slightly after removal.
- Cool and Enjoy: Once baked, remove the cookies from the oven. Allow them to cool on the baking sheets for about 2-3 minutes. This crucial resting period allows them to set up without breaking apart when transferred. Then, carefully transfer them to a wire cooling rack to cool completely. Or, if you’re like us, enjoy them warm with a tall glass of cold milk for the ultimate treat!
Expert Tips for Your Best Batch of Pudding Cookies
While this recipe for chocolate chip pudding cookies is straightforward, a few key tips can elevate your baking experience and ensure you achieve bakery-quality results every single time. Pay attention to these details for the softest, chewiest, and most flavorful cookies imaginable.
- Mastering Butter Temperature: The state of your butter is paramount. It should be softened to room temperature, which means it should yield slightly when pressed but still hold its shape. If your butter is too cold, it won’t cream properly with the sugars, leading to a dense texture. If it’s too warm or melted, the cookies will spread excessively in the oven, resembling flat pancakes rather than thick, chewy cookies. Plan ahead and take your butter out of the refrigerator about 30-60 minutes before you start baking.
- Even Baking with Oven Rotation: Most home ovens have hot spots, meaning certain areas bake faster than others. While you can typically bake two cookie sheets at once with this recipe, it’s a good practice to rotate them halfway through the baking time (around the 5-minute mark). This ensures all your cookies bake evenly and achieve that perfect golden edge without burning on one side, resulting in a consistent batch.
- The Golden Rule: Do Not Overbake! This is perhaps the most critical tip for pudding cookies. These cookies are designed to be soft and chewy, so resist the urge to bake them until they look fully “done” and firm in the oven. They should still appear soft and slightly underbaked in the center when you pull them out. The residual heat from the baking sheet will continue to cook them as they cool, allowing them to set up beautifully while retaining a wonderfully soft, almost gooey center. If you wait until they’re firm in the oven, you’ll end up with dry, crispy cookies, losing that signature pudding cookie texture. Look for lightly golden edges and a pale, slightly puffed center.
- Spoon and Level Your Flour: Accuracy in measuring flour is vital for cookie texture. Scooping flour directly from the bag can compact it, leading you to use more flour than the recipe calls for. This excess flour results in a drier, tougher cookie. Instead, use a spoon to lightly scoop flour into your measuring cup until it’s overflowing, then use the back of a knife or a straight edge to level off the excess, ensuring precise measurement.
- Quality of Ingredients Matters: While basic, using fresh, good-quality ingredients can make a noticeable difference in the final taste and texture of your cookies. Fresh eggs, good quality unsalted butter, pure vanilla extract, and high-quality chocolate chips all contribute to the superior taste of your homemade treats.
- Don’t Forget the Salt: A teaspoon of kosher salt might seem like a lot, but it’s crucial. Salt doesn’t just make things salty; it perfectly balances the sweetness of the sugars and enhances all the other flavors, particularly the richness of the chocolate. It creates a more complex and well-rounded flavor profile that keeps you coming back for more.
- Cool on the Baking Sheet: Giving the cookies a few minutes to cool on the warm baking sheet after removing them from the oven allows them to firm up slightly without becoming brittle. This makes them easier to transfer to a cooling rack without breaking and helps achieve that ideal soft center.
Proper Storage and Freezing for Lasting Freshness
One of the fantastic benefits of using instant pudding mix in your cookies is its ability to help them retain their moisture and incredible softness for an extended period. Proper storage is key to maximizing this benefit, whether you’re enjoying them over a few days or planning to freeze a batch for later indulgence.
- Storing Leftovers: These pudding cookies are exceptionally good at staying soft and fresh. Once completely cooled to room temperature, transfer them to an airtight container. Layer them with parchment paper if stacking multiple layers to prevent sticking. Store them at room temperature on your kitchen counter, away from direct sunlight or heat. Thanks to the pudding mix, they will remain wonderfully soft, chewy, and delicious for up to 5 days. This makes them an excellent candidate for baking ahead for parties, school lunches, picnics, or simply ensuring you always have a delightful treat on hand without worrying about them drying out quickly.
- Freezing Baked Cookies: If you’ve baked a large batch or simply want to save some for a rainy day, these cookies freeze beautifully. First, ensure the cookies are completely cooled to room temperature. This is crucial to prevent ice crystals from forming and affecting texture. Then, arrange them in a single layer on a baking sheet and flash freeze for about 30 minutes to an hour until firm. This prevents them from sticking together. Once firm, transfer the frozen cookies to a heavy-duty freezer-safe ziploc bag or an airtight freezer container. Remove as much air as possible to prevent freezer burn. They will maintain their quality in the freezer for up to 3 months. When you’re ready to enjoy, simply thaw them on the kitchen counter at room temperature for an hour or two. For a “fresh from the oven” experience, you can warm them briefly in a microwave (10-15 seconds) or a low oven (around 250°F for 5-7 minutes) after thawing.
- Freezing Cookie Dough: For ultimate convenience and fresh-baked cookies on demand, you can also freeze the raw cookie dough. After preparing the dough and mixing in the chocolate chips, scoop out tablespoon-sized portions and roll them into uniform balls. Place these dough balls on a parchment-lined baking sheet, ensuring they don’t touch, and freeze until solid (about 1-2 hours). Once frozen, transfer the dough balls to a freezer-safe bag or container, again removing as much air as possible. They can be stored in the freezer for up to 3 months. When you’re craving fresh cookies, simply place the frozen dough balls on a prepared baking sheet and bake as directed (350°F for 10 minutes), adding an extra 2-4 minutes to the baking time, or until the edges are golden. There’s no need to thaw the dough first; just bake from frozen!
Frequently Asked Questions About Pudding Cookies
New to baking with pudding mix? Here are answers to some common questions to help you bake with confidence and achieve the best results with your chocolate chip pudding cookies.
- Can I use cook-and-serve pudding instead of instant? No, it’s crucial to use *instant* pudding mix. Cook-and-serve pudding has different ingredients and gelling agents that require cooking to thicken, and it will not yield the same tenderizing and moistening effects in a baked cookie dough. Always look for “instant” on the box label!
- What does the pudding mix do for the cookies? Instant pudding mix serves several purposes: it adds significant moisture to the dough, helping to create an incredibly soft and wonderfully chewy texture; it enhances the vanilla flavor (or whatever pudding flavor you choose); and its starches act as a tenderizer, helping the cookies stay fresh and soft for a longer period.
- Do I need to chill the cookie dough? For this specific recipe, chilling the dough is not strictly necessary due to the pudding mix already helping with dough consistency and texture. However, if you find your dough is too sticky to handle, or if you prefer a slightly thicker, chewier cookie with less spread, chilling the dough for 30 minutes to an hour can certainly help. Chilled dough also allows the flavors to meld and deepen slightly.
- Can I use a different flavor of pudding mix? Absolutely! This is one of the most fun and versatile aspects of this recipe. As mentioned in the variations section, flavors like butterscotch, banana cream, coconut cream, or even cheesecake pudding can create unique and delicious cookies. Just ensure it’s an *instant* pudding variety, not cook-and-serve.
- How do I know when the cookies are done? The key is to look for lightly golden brown edges while the centers still appear soft, slightly puffed, and perhaps a bit shiny. They might seem underbaked when you first pull them out of the oven, but they will continue to set and firm up as they cool on the baking sheet. Overbaking is the enemy of a soft, chewy cookie, so err on the side of caution.
- Why are my cookies spreading too much? This can often be attributed to butter that is too soft or melted, or measuring too little flour. Ensure your butter is at room temperature (soft but still holding its shape), and spoon and level your flour accurately to avoid this common issue. If spreading is still a concern, chilling the dough for 30-60 minutes before baking can also help.
- Can I make these gluten-free? While we haven’t personally tested a gluten-free version of this specific recipe, you might be able to substitute an all-purpose gluten-free flour blend (one that specifically states it’s for baking and ideally contains xanthan gum) for the regular all-purpose flour. Results may vary slightly in texture, but it’s often a viable option for those with dietary restrictions.
More Delicious and Easy Cookie Recipes:
- Easy Sugar Cookies
- Easy Peanut Butter Cookies
- DoubleTree Cookies
- Kitchen Sink Cookies
- Potato Chip Cookies
- Ranger Cookies
We truly hope you adore this delightful and easy recipe for Chocolate Chip Pudding Cookies! If you give them a try, please consider leaving a review below to share your experience with other bakers. Your feedback is invaluable! And for more tempting recipes, culinary tips, and delicious inspiration, be sure to follow Belly Full on TikTok, Facebook, Instagram, Pinterest, and YouTube! Happy baking!
Chocolate Chip Pudding Cookies
15 minutes
10 minutes
25 minutes
38 cookies

Pin
Ingredients
- 1 cup unsalted butter, softened
- 3/4 cup brown sugar
- 1/4 cup granulated sugar
- 2 large eggs
- 1 teaspoon vanilla
- 2 & 1/4 cups all-purpose flour, , spooned and leveled
- 3.4 ounce box vanilla instant pudding, (just the powder)
- 1 teaspoon baking soda
- 1 teaspoon kosher salt
- 1 cup semi-sweet chocolate chips
Instructions
-
Preheat oven to 350 degrees F with rack in the center. Prepare two regular sized baking sheets with parchment paper.
-
In a large bowl, cream the butter, brown sugar, and granulated sugar together until well combined and fluffy, about 2 minutes. Add eggs, one at a time. Add the vanilla.
-
In a separate bowl combine the flour, pudding powder, baking soda, and salt. Add to the wet mixture and mix until combined.
-
Add the chocolate chips and combine again.
-
Scoop out tablespoon sized scoops and roll into balls (do not flatten), leaving at least a 2 inch space between each cookie.
-
Bake 10 minutes and remove from the oven.
-
Let cool on the baking sheet for 2 minutes before moving to a cooling rack. Eat and enjoy!
Nutrition
Nutritional information given is an automatic calculation and can vary based on the exact products you use and any changes you make to the recipe. If these numbers are very important to you, I would recommend calculating them yourself.