
Irresistible Cherry Pie Bars: An Easier, Shareable Dessert for Any Occasion
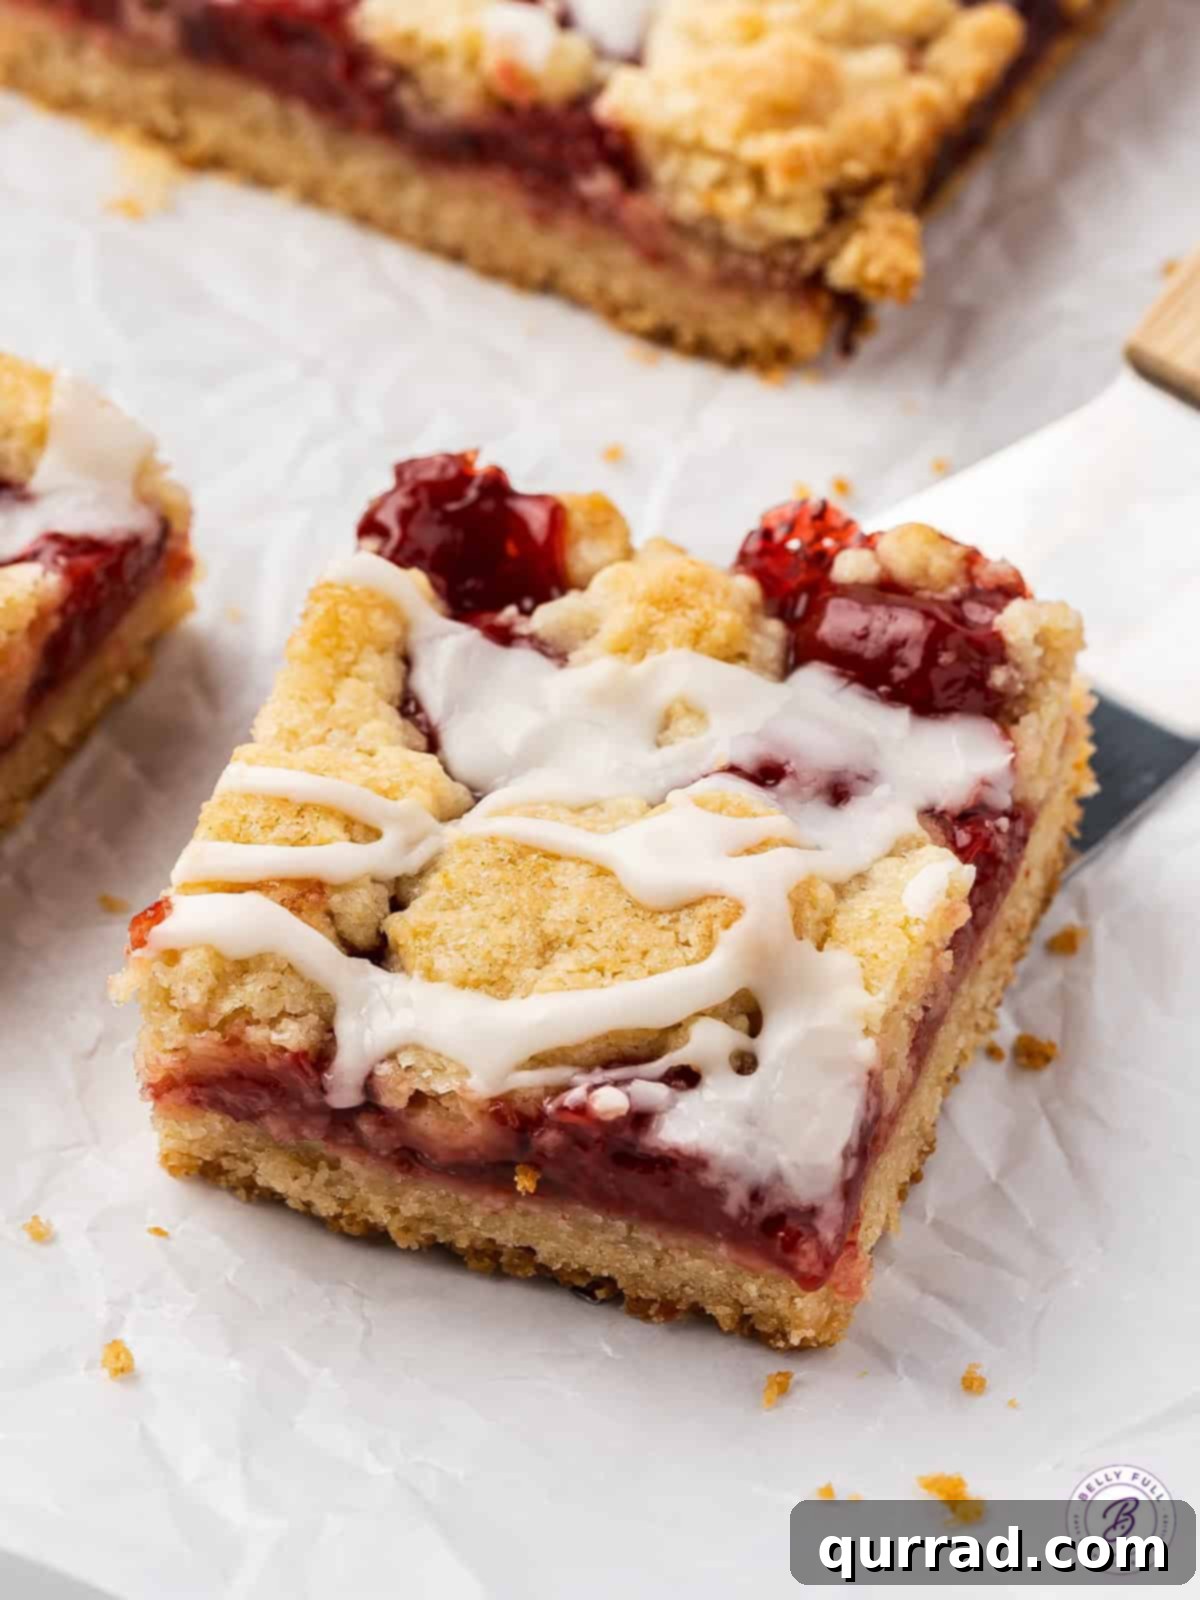
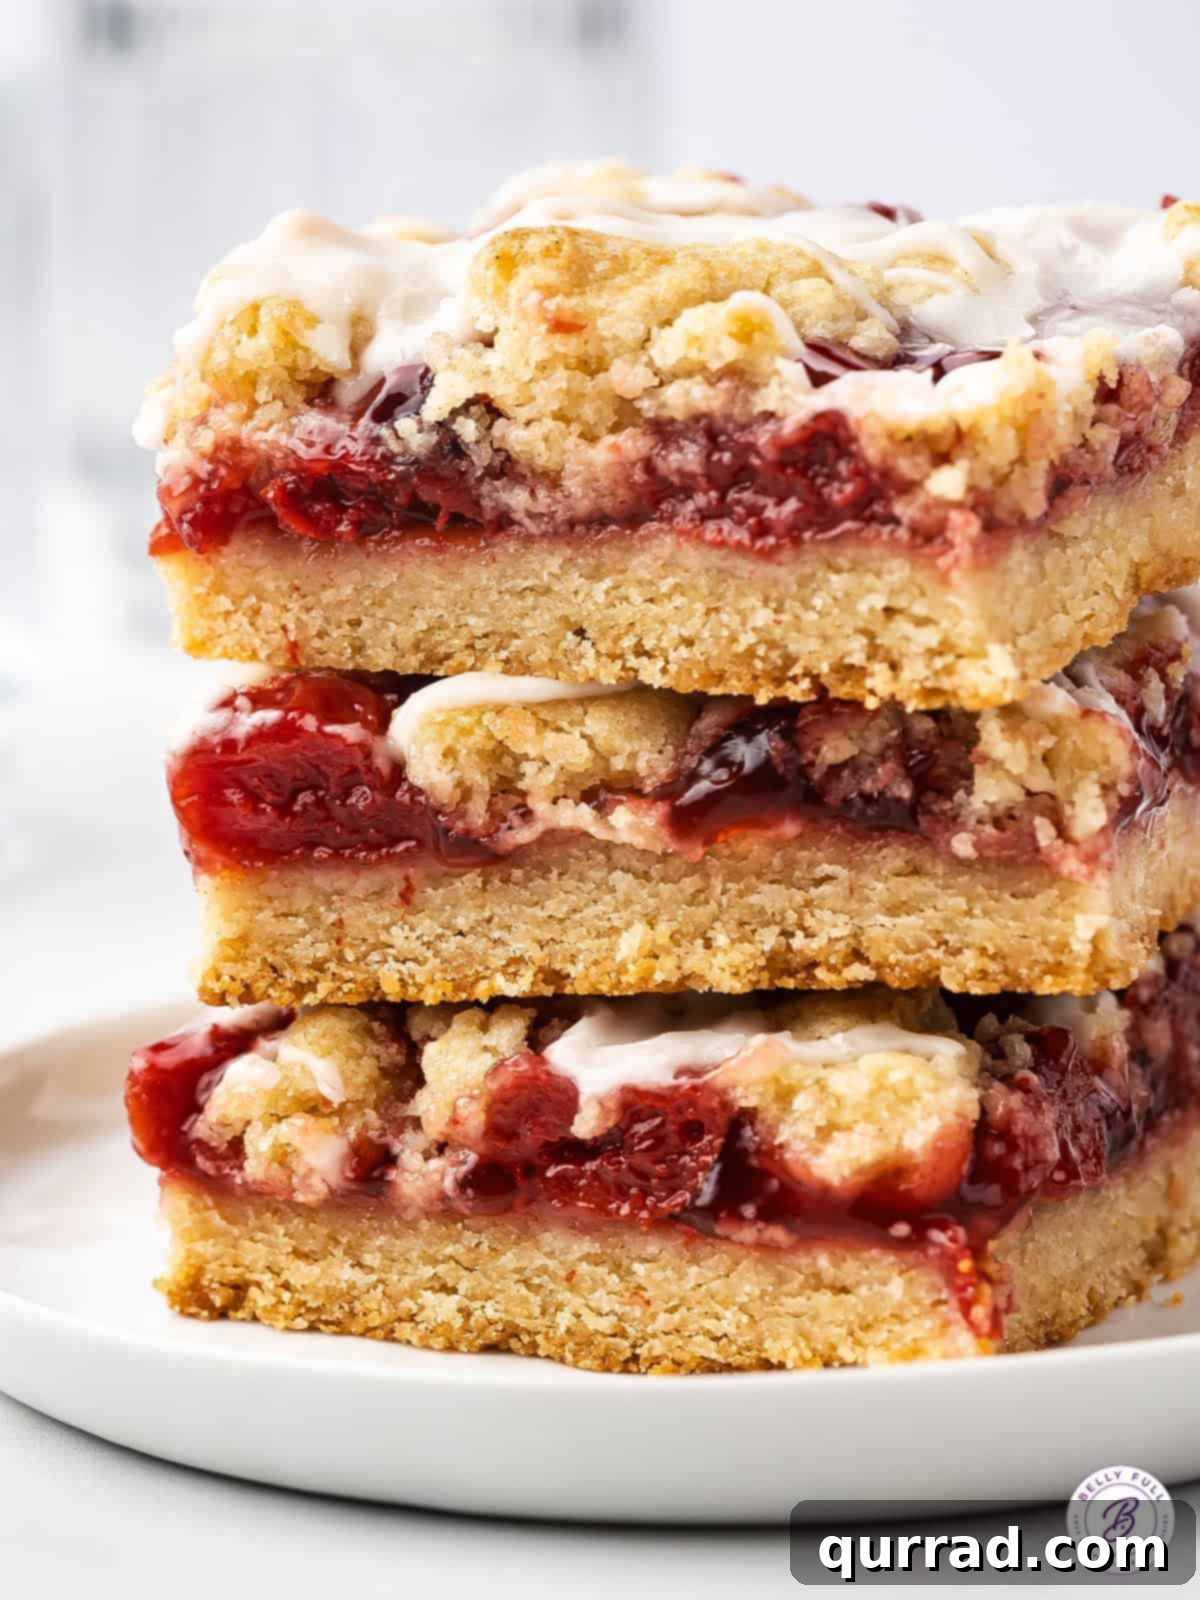
Forget the fuss of traditional pie making! These delectable Cherry Pie Bars offer all the beloved flavors of classic cherry pie, but in a significantly easier, more shareable, and less messy format. Featuring a luscious cherry pie filling nestled between a tender, buttery crust and a delightful crumb topping, then drizzled with an irresistible sweet glaze, these bars are a perfect balance of sweet and tart. They are ideal for holiday gatherings, potlucks, or simply as a comforting treat at home, promising a crowd-pleasing dessert that's simple to prepare and even easier to serve.
Why Choose Cherry Pie Bars Over Traditional Pie?
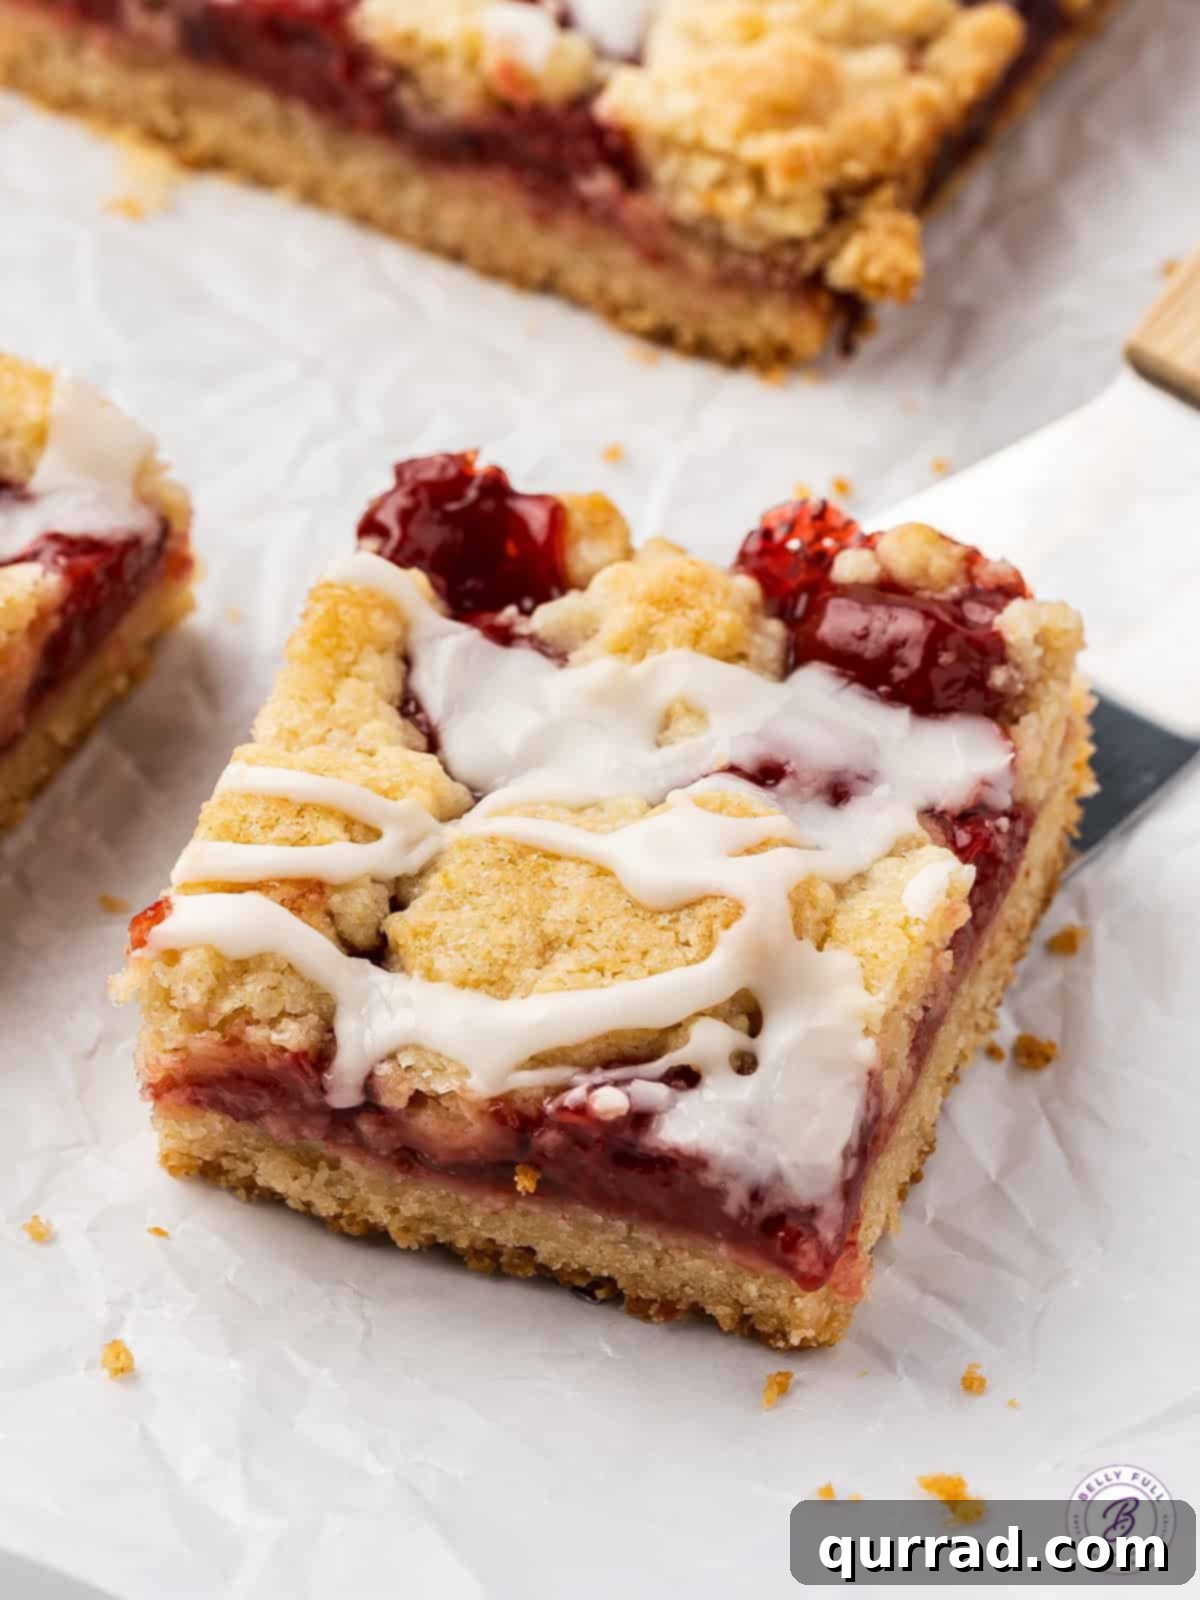
While a classic cherry pie holds a special place in our hearts, sometimes its elaborate preparation and tricky serving can be a deterrent. That's where cherry pie bars shine! This recipe takes the iconic flavor profile and transforms it into a convenient, handheld dessert. The crust, more akin to a rich crumble than a delicate pie pastry, creates a sturdy base and a delightful crunchy topping. This innovative approach makes slicing and serving a breeze, eliminating the need for plates and forks if desired, and significantly reducing post-dessert cleanup. It's the ultimate solution for anyone craving cherry pie without the extensive commitment.
Our Cherry Pie Bars strike a wonderful balance, combining the best elements of a traditional pie with the simplicity of a crumble. The bottom layer forms a thick, satisfying crust, while the top is sprinkled with a rustic, buttery crumble. To elevate the experience, a simple yet decadent glaze is drizzled over the cooled bars, adding an extra layer of sweetness and visual appeal. This combination ensures every bite is bursting with flavor and delightful textures.
What Goes Into These Delicious Cherry Pie Bars?
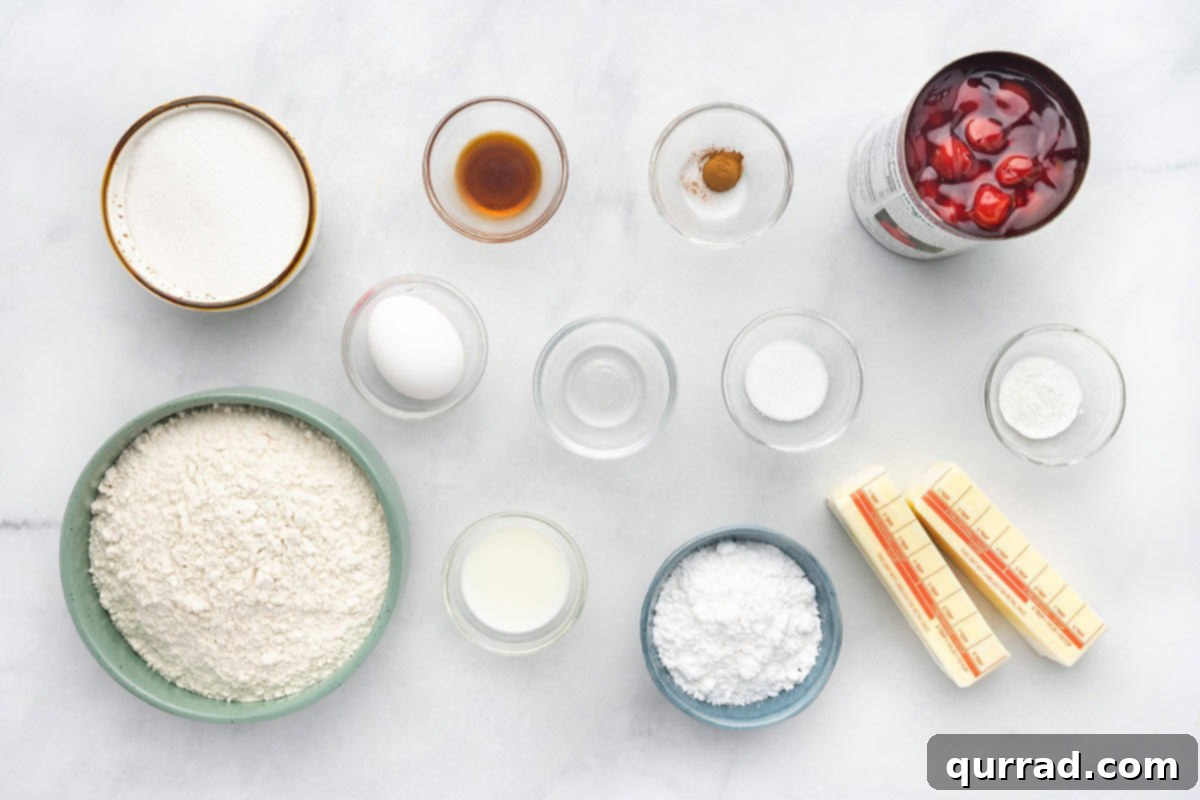
Creating these delightful cherry pie bars requires a selection of common pantry staples, many of which you’d already have on hand for baking a classic cherry pie. The magic truly happens when these simple ingredients come together to form a rich, flavorful crust, a vibrant filling, and a sweet, delicate glaze. Here's a closer look at the key components:
- All-Purpose Flour: The foundation of our crust and crumble. For accurate measurement and the best texture, always use the spoon and level technique. This prevents over-packing the flour, which can lead to a dense, tough crust.
- Granulated Sugar: Provides essential sweetness to both the crust and topping, balancing the tartness of the cherries. It also contributes to the golden-brown color and crisp texture of the crumble.
- Baking Powder: A leavening agent that gives the crust a slight lift, making it tender rather than overly dense. It's crucial for achieving the perfect crumbly consistency.
- Salt: A pinch of salt is vital for enhancing all the other flavors in the bars. It helps to balance the sweetness and brings out the natural depth of the cherry and butter.
- Cinnamon: Adds a beautiful warmth and subtle spice to the crust, complementing the cherry flavor without overpowering it. It’s a classic pairing that makes these bars even more comforting.
- Butter: Cut into small cubes and kept chilled, butter is key to creating that wonderfully flaky and crumbly texture. Whether you use salted or unsalted, ensure it’s cold so it doesn’t melt too quickly when mixed with the dry ingredients, leading to a more tender result.
- Egg: A large egg acts as a binder, helping the crust ingredients hold together just enough to form a cohesive bottom layer, while still allowing the top to remain delightfully crumbly.
- Vanilla Extract: A staple in most baked goods, vanilla adds a fragrant, sweet aroma and a layer of complex flavor that enriches the entire bar.
- Almond Extract: This is our secret ingredient! Almond extract has a unique flavor profile that surprisingly enhances the natural taste of cherries, making them even more pronounced and delicious. It doesn’t make the bars taste like almonds, but rather amplifies the fruit.
- Cherry Pie Filling: The star of the show! You can either use a high-quality canned cherry pie filling for convenience, or for an extra special touch, consider making your own homemade cherry pie filling. Both options will yield fantastic results.
- For the Glaze: A simple yet decadent glaze is made from powdered sugar for smooth sweetness, a splash of milk to achieve the perfect drizzling consistency, and a hint of both vanilla and almond extract to echo the flavors in the bars and create an irresistible finish.
Expand Your Horizons: Can I Make These Bars With Other Fruits?
Absolutely! One of the fantastic advantages of this cherry pie bar recipe is its incredible versatility. While cherry is a classic and beloved flavor, you are certainly not limited to it. Feel free to experiment with any flavor of fruit pie filling you adore. The sturdy crust and crumb topping provide a perfect foundation for a variety of fruit combinations, allowing you to customize these bars to your taste or what's in season.
Here are just a few delightful suggestions that would work wonderfully in this recipe:
- Apple Pie Filling: Imagine the comforting flavors of apple pie in a convenient bar format. Simply use chopped apple pie filling for a cozy, spiced treat perfect for autumn.
- Peach Pie Filling: For a taste of summer, opt for peach pie filling. The sweet, juicy peaches would pair beautifully with the buttery crust and glaze.
- Blueberry Pie Filling: Blueberry pie bars would be a vibrant and delicious choice, offering a burst of berry flavor in every bite.
- Mixed Berry Filling: Why choose just one? A medley of berries like raspberries, blackberries, and blueberries in a mixed berry pie filling would create a complex and exciting flavor profile.
- Strawberry Pie Filling: For a sweet and slightly tart option, strawberry pie filling is a fantastic alternative.
When swapping fillings, ensure they are of a similar consistency to cherry pie filling to maintain the structural integrity of the bars. If your chosen fruit is particularly watery, you might consider draining off some excess liquid or adding a touch more cornstarch to the filling to prevent a soggy crust.
Expert Tips for Perfect Cherry Pie Bars Every Time
Achieving bakery-quality cherry pie bars is easier than you think with a few simple techniques. Follow these expert tips to ensure your bars turn out perfectly tender, crumbly, and bursting with flavor:
- Maintain a Crumbly Dough Texture: When mixing the ingredients for the crust and topping, your goal is not to form a smooth, uniform ball of dough. Instead, focus on creating a coarse, crumbly texture. This is essential for both the sturdy bottom crust and the delicious, streusel-like topping. Overworking the dough will develop the gluten too much, leading to a tough rather than tender result.
- Always Use Chilled Butter: This is a golden rule for many baking recipes, especially those with crumbly or flaky crusts. Chilled butter, cut into small cubes, is crucial because it slowly melts in the oven, creating pockets of steam that result in a tender and crisp texture. If your butter is too soft or at room temperature, it will incorporate too easily, making the dough greasy and less crumbly.
- Don’t Overbake the Bottom Crust: The bottom crust requires a preliminary bake to set it and prevent it from becoming soggy once the wet filling is added. However, it's important not to overbake it at this stage. You want it to be just lightly golden-brown around the edges and no longer wet or shiny on top. It will continue to bake with the filling later.
- Cool Completely Before Glazing: Patience is a virtue, especially when it comes to glazing your pie bars. If you drizzle the glaze over warm bars, it will melt and run off, creating a sticky mess instead of a beautiful, set finish. Allow the bars to cool completely to room temperature on a wire rack before applying the glaze. This ensures the glaze hardens properly and provides a clean, appealing aesthetic.
- Press the Bottom Crust Firmly: When pressing more than half of your crumb mixture into the baking dish for the bottom crust, make sure to press it down firmly and evenly. This creates a solid base that holds the filling well and prevents it from crumbling apart when sliced. A flat-bottomed glass or the back of a measuring cup can help achieve an even layer.
- Don't Overcrowd the Pan with Filling: While it's tempting to load up on the delicious cherry filling, ensure it's spread in an even layer over the partially baked crust. An overly thick layer can make the bars difficult to bake through evenly and potentially lead to a less stable final product.
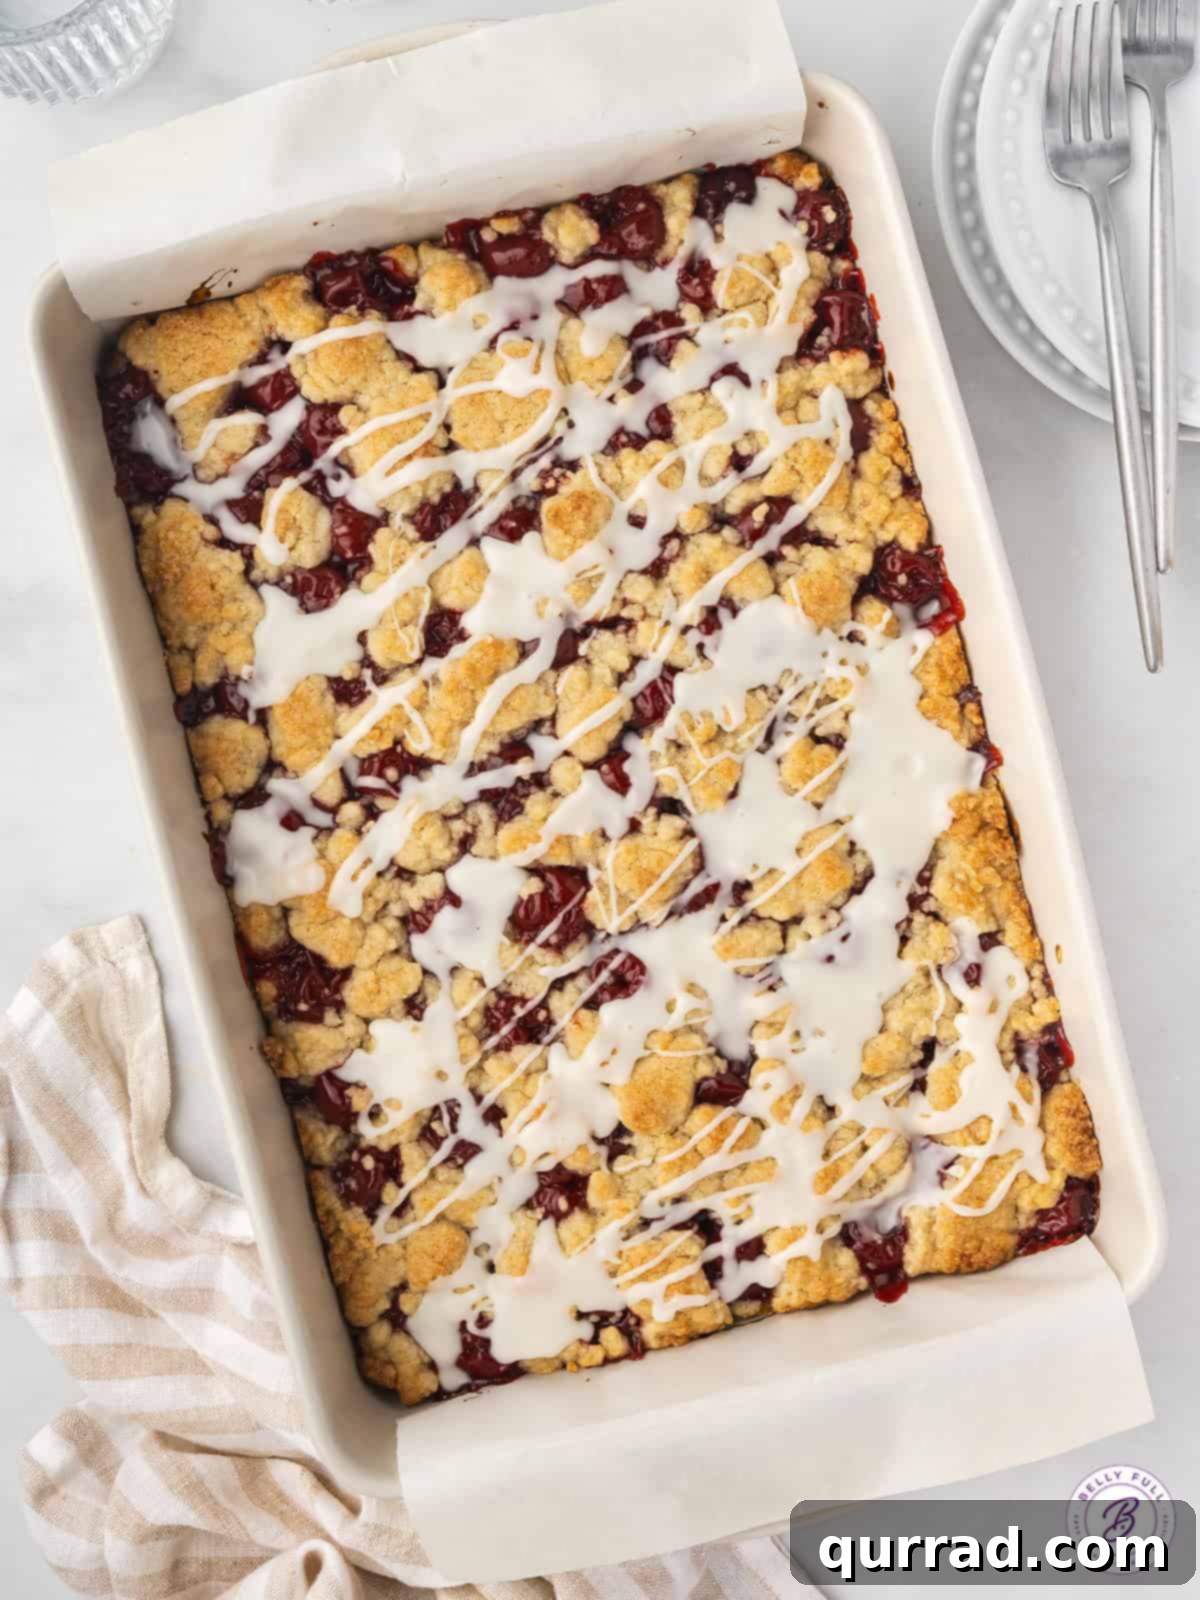
- Embrace the "Peaks" of Filling: When sprinkling the remaining crumble mixture over the filling, don't feel the need to completely cover it. Allowing some of the vibrant cherry filling to peek through creates an attractive rustic look and hints at the deliciousness within. You can gently press some of the crumbs together to form larger clusters for more textural variety.
Proper Storage for Freshness
To keep your cherry pie bars tasting their best and ensure they last, proper storage is key. Whether you plan to enjoy them within a few days or save some for later, here’s how to store them effectively:
- Refrigeration: Sliced cherry pie bars can be stored in the refrigerator for 3-4 days. It’s crucial to keep them in an airtight container to prevent them from drying out or absorbing other odors from the fridge. For best results, consider placing parchment paper between layers of bars if stacking them to prevent sticking.
- Freezing: These bars freeze wonderfully, making them an excellent make-ahead dessert. To freeze, first flash freeze the individual bars on a baking sheet until solid (this prevents them from sticking together). Once solid, wrap each bar individually in plastic wrap, then place them in a freezer-safe Ziploc bag or airtight container. They can be frozen for up to 3 months. When you’re ready to enjoy, simply thaw them in the refrigerator overnight or on the counter for a couple of hours.
Recipe: Classic Cherry Pie Bars
Cherry Pie Bars
These sweet and tart cherry pie bars feature a buttery crust, a luscious cherry filling, a delightful crumble topping, and an irresistible glaze – perfect for sharing!
Cook time: 40 mins
Total time: 50 mins
Yields: 15 to 18 bars
Ingredients
For the Bars:
- 3 cups all-purpose flour, spooned and leveled
- 1 cup granulated sugar
- 1 teaspoon baking powder
- 1/2 teaspoon salt
- 1/4 teaspoon cinnamon
- 1 cup (2 sticks) unsalted butter, cut into small cubes and chilled
- 1 large egg, lightly beaten
- 1 teaspoon vanilla extract
- 1/4 teaspoon almond extract
- 21 ounces (approximately 1 can) cherry pie filling
For the Glaze:
- 1 cup powdered sugar
- 2 tablespoons milk (adjust as needed for consistency)
- 1/2 teaspoon vanilla extract
- 1/4 teaspoon almond extract
Instructions
- Preheat your oven to 375°F (190°C). Line a 9x13 inch baking dish with parchment paper, leaving a slight overhang on the two longer sides to make lifting the bars out easier later.
- In a large mixing bowl, combine the dry ingredients for the bars: 3 cups spooned and leveled all-purpose flour, 1 cup granulated sugar, 1 teaspoon baking powder, 1/2 teaspoon salt, and 1/4 teaspoon cinnamon. Whisk them together until well combined.
- Add the 1 cup of chilled, cubed butter to the dry ingredients. Using a fork or a pastry blender (or your fingertips), cut the butter into the flour mixture until it resembles coarse crumbs. This step is crucial for a tender, crumbly texture.
- Stir in the 1 large beaten egg, 1 teaspoon vanilla extract, and 1/4 teaspoon almond extract with a fork. The dough should still remain crumbly; do not overmix or form a smooth dough ball.
- Take a little more than half of the crumb mixture and press it firmly and evenly into the bottom of your prepared baking dish. Ensure it forms a compact, solid base.
- Bake the pressed crust for 10-12 minutes, or until the edges are just starting to lightly brown and the top no longer looks wet or shiny. This par-baking prevents a soggy bottom.
- Carefully spoon the 21 ounces of cherry pie filling over the partially baked crust. Use a spatula to gently spread it into an even layer, ensuring it covers the crust without disturbing it too much.
- Sprinkle the remaining crumb mixture evenly over the cherry pie filling. For a more rustic look and varied texture, you can gently press some of the remaining crumbs together to form slightly larger clusters before sprinkling. Allow some of the vibrant red cherry filling to peek through for visual appeal.
- Return the baking dish to the oven and bake for an additional 25-30 minutes. The bars are ready when the top is lightly golden brown and the cherry filling is visibly bubbly around the edges.
- Once baked, remove the pan from the oven and transfer it to a wire rack. Let the cherry pie bars cool completely to room temperature. This is essential before glazing to prevent the glaze from melting.
- While the bars are cooling, prepare the glaze: In a small bowl, whisk together 1 cup powdered sugar, 2 tablespoons milk, 1/2 teaspoon vanilla extract, and 1/4 teaspoon almond extract until smooth and drizzle-able. If the glaze is too thick, add a tiny bit more milk, a half-teaspoon at a time, until you reach your desired consistency. If it's too thin, add a little more powdered sugar.
- Once the bars are completely cooled, generously drizzle the prepared glaze over the top in a decorative pattern. Allow the glaze to set for about 15-30 minutes before slicing.
- Using the parchment paper overhang, carefully lift the cooled and glazed bars out of the pan. Transfer them to a cutting board, slice into individual bars, and enjoy your homemade cherry pie bars!
Video Tutorial
For a visual guide to making these delicious cherry pie bars, consider watching a video tutorial. You can find many helpful step-by-step guides online that demonstrate the techniques for perfect crumbly crusts and delightful glaze.
Nutrition Information (per serving, estimated)
Please note that nutritional information is an automatic calculation and can vary based on the exact products you use and any changes you make to the recipe. If these numbers are very important to you, it is recommended to calculate them yourself using your specific ingredients.
- Calories: 319 kcal
- Carbohydrates: 48g
- Protein: 3g
- Fat: 13g
- Saturated Fat: 8g
- Polyunsaturated Fat: 1g
- Monounsaturated Fat: 3g
- Trans Fat: 0.5g
- Cholesterol: 44mg
- Sodium: 188mg
- Potassium: 107mg
- Fiber: 1g
- Sugar: 17g
- Vitamin A: 479 IU
- Vitamin C: 1mg
- Calcium: 28mg
- Iron: 1mg
More Delectable Cherry Desserts to Explore
If you've fallen in love with the vibrant taste of cherries in these pie bars, you're in for a treat! There are countless other ways to enjoy this versatile fruit in delightful desserts. From elegant bakes to no-fuss treats, here are some other cherry-infused recipes that are sure to tantalize your taste buds. Why not try one of these next?
- Cherry Clafoutis: A classic French baked dessert where cherries are baked into a thick, flan-like batter, offering a delicate and sophisticated treat.
- Cherry Cheesecake Tacos: A fun and creative dessert combining crispy taco shells with creamy cheesecake filling and sweet cherry topping.
- Air Fryer Cherry Cheesecake Egg Rolls: A quick and easy way to enjoy the flavors of cherry cheesecake in a crispy, air-fried wrapper.
- Cherry Cheesecake in a Jar: Perfect for individual servings and picnics, this layered dessert combines crushed cookies, creamy cheesecake, and cherry topping in a portable jar.
- No Bake Cherry Cheesecake: Enjoy the rich, tangy flavors of cheesecake with a sweet cherry topping without ever turning on your oven, ideal for hot summer days.
We hope you thoroughly enjoy creating and tasting this incredibly delicious and easy Cherry Pie Bars recipe. Your feedback is valuable, so please consider leaving a review once you've tried them! For more delightful recipes and cooking inspiration, don't forget to follow us on TikTok, Instagram, Facebook, Pinterest, and YouTube! Happy baking!