
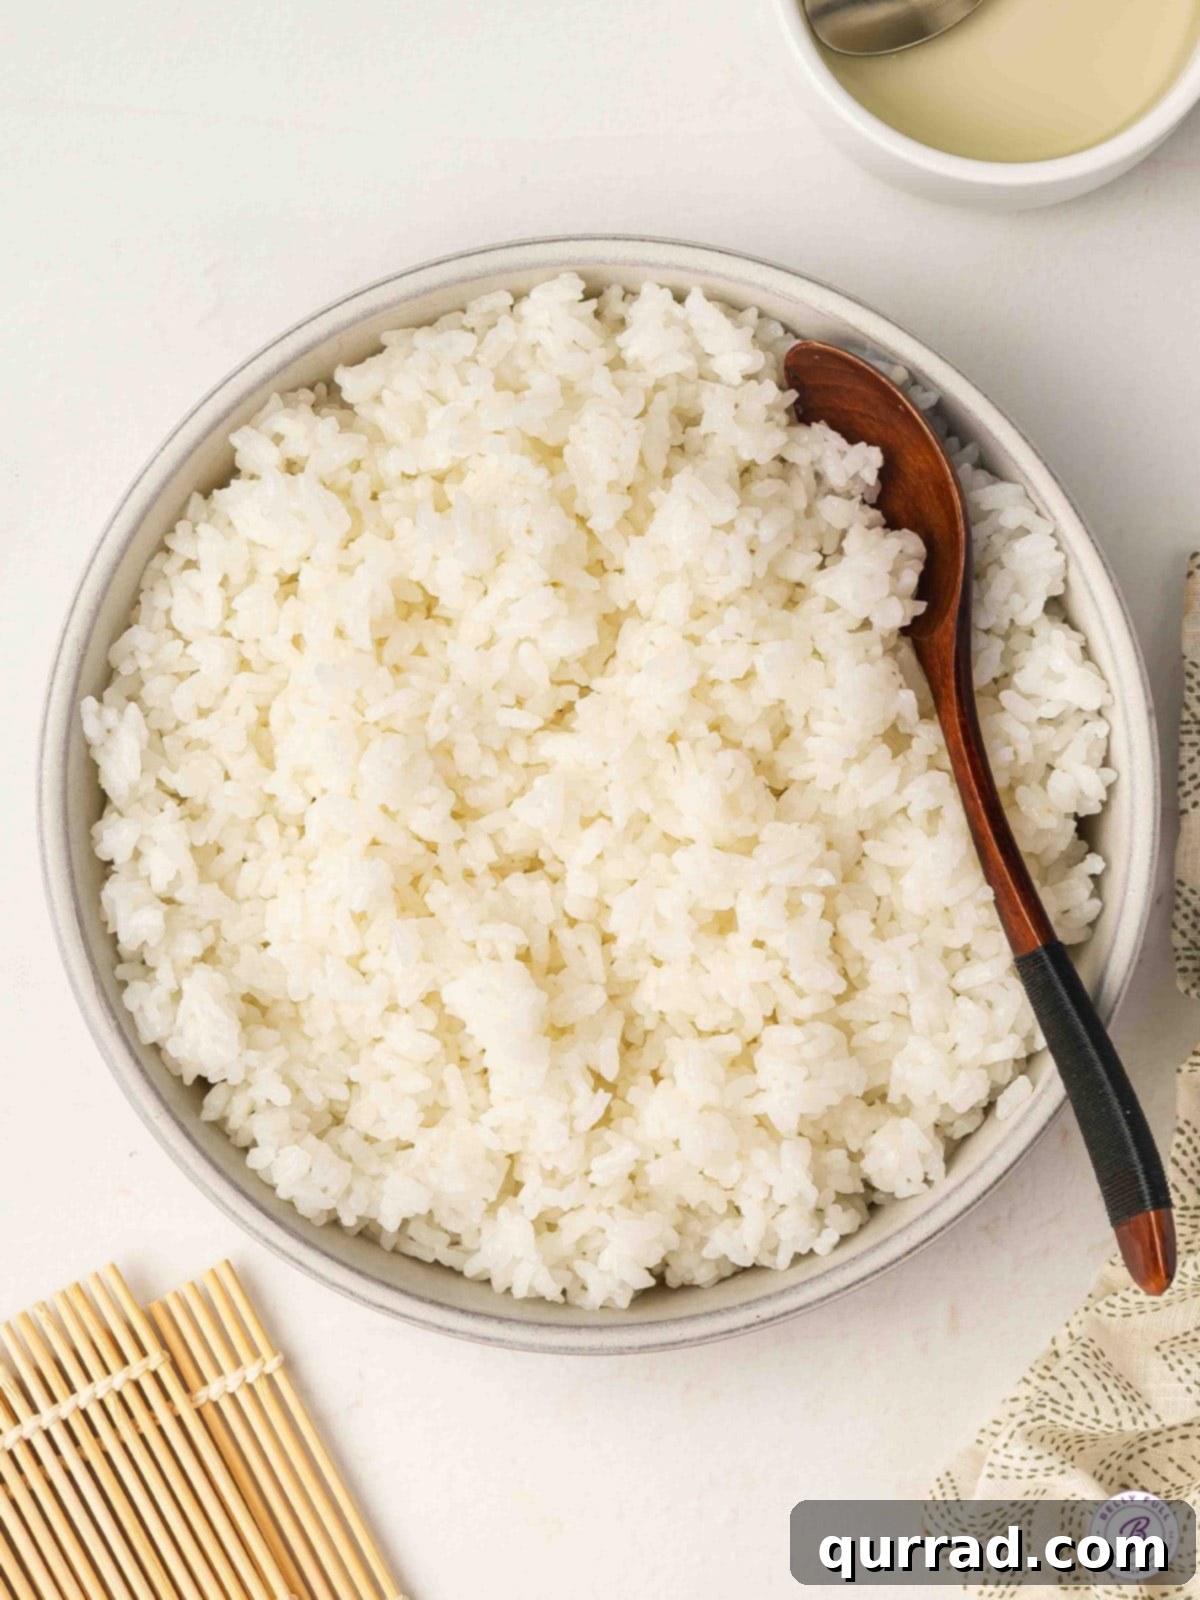
The secret to perfect homemade sushi, delicious poke bowls, and classic Spam Musubi lies in one fundamental element: impeccably prepared sushi rice. Far from being just plain white rice, this staple of Japanese cuisine is a marvel of culinary balance – fluffy yet slightly sticky, subtly sweet, and delicately tangy. Mastering the art of sushi rice at home is not only incredibly rewarding but also surprisingly straightforward once you understand the key techniques. This comprehensive guide will walk you through every step, ensuring you achieve that ideal texture and flavor every single time, ready to elevate all your favorite Asian-inspired dishes.
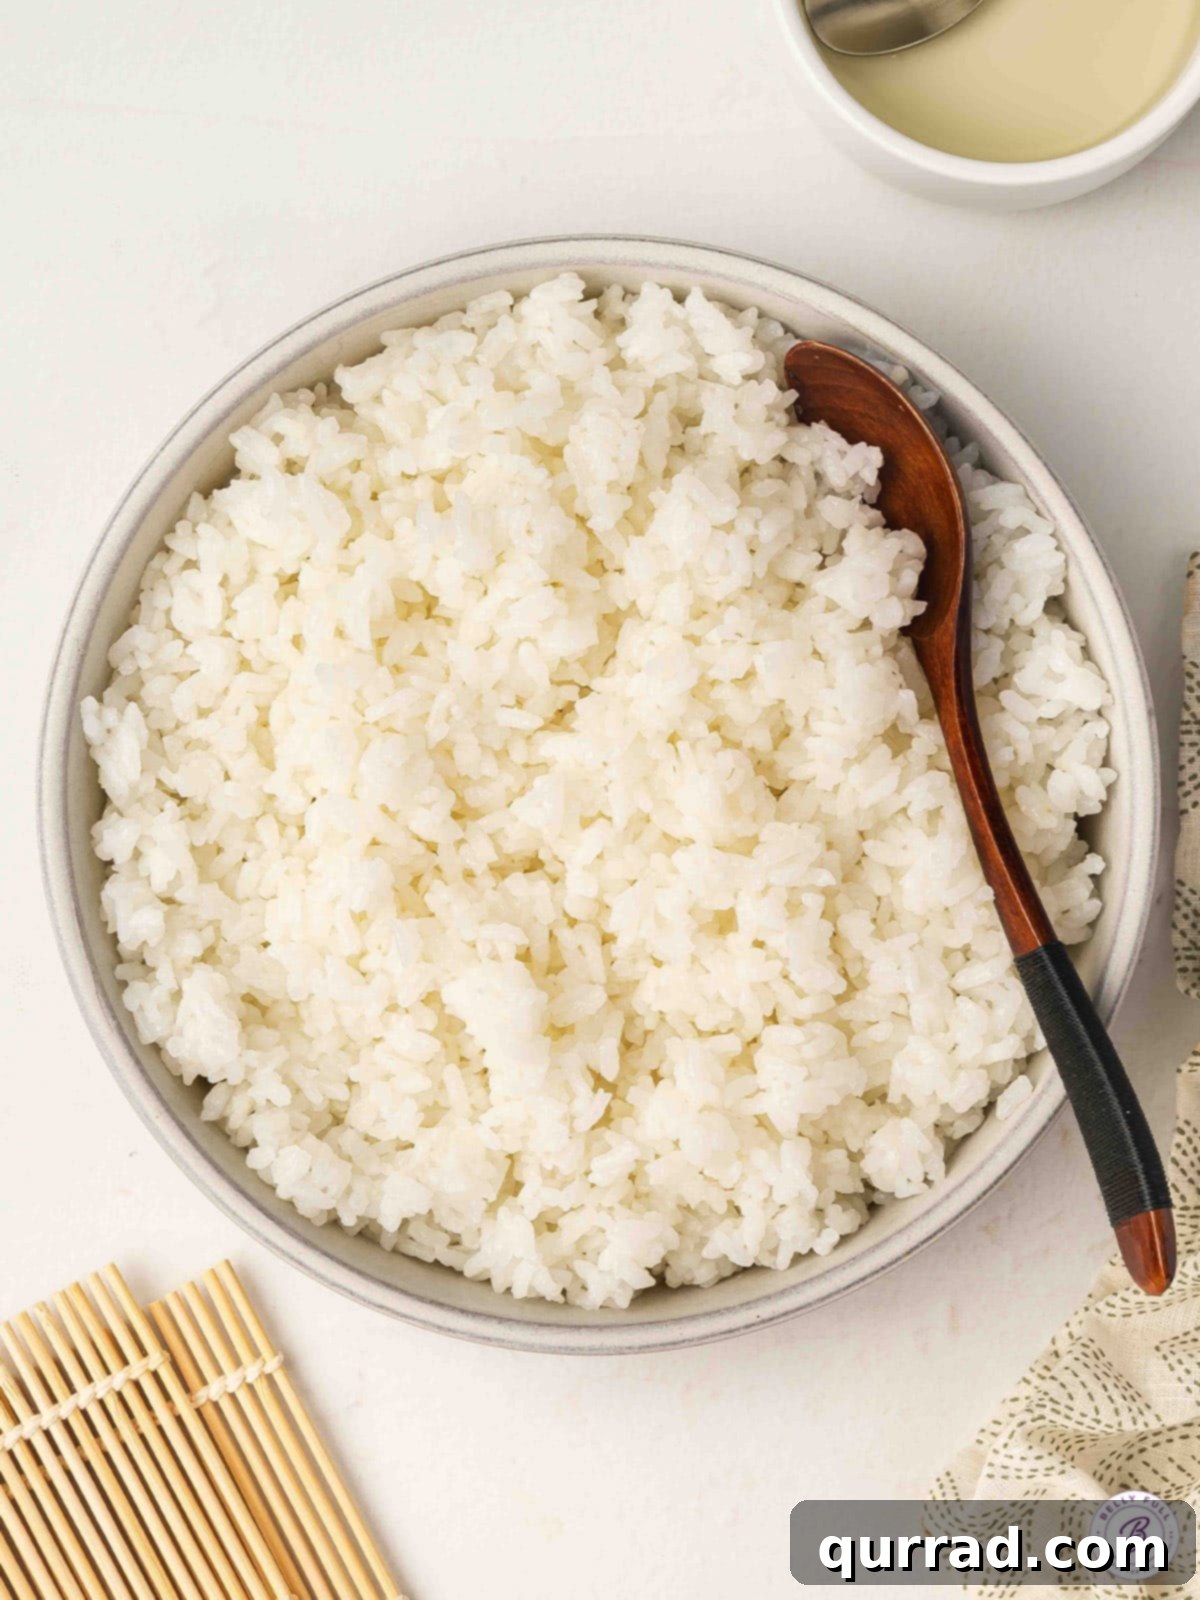
For many, sushi rice is the unsung hero of countless beloved meals. Its unique texture and subtly seasoned flavor provide the perfect foundation, whether you’re crafting intricate sushi rolls, assembling vibrant sushi bake casseroles, or preparing savory Spam Musubi. My family, like many others, adores anything involving sushi, and the rice is no exception. I embarked on my journey to make sushi rice at home years ago, quickly discovering how wonderfully simple it is to achieve professional-quality results right in my own kitchen. Essentially, it’s tender, short-grain rice meticulously seasoned with a harmonious blend of rice vinegar, sugar, and salt. Once you grasp the fundamental method described here, you’ll possess the ultimate base for an endless array of delicious creations, making every meal a celebration of flavor and texture.
What Exactly is Sushi Rice?
Before diving into the cooking process, it’s crucial to understand that “sushi rice” isn’t merely white rice used for sushi; it refers to a specific type of Japanese short-grain rice. This particular variety, often labeled as “sushi rice” or “short-grain Japanese rice,” is characterized by its plump, stubby grains and high starch content. When cooked, these grains release amylopectin, a type of starch that gives the rice its signature sticky, cohesive texture, essential for holding together in rolls and bowls without becoming mushy. Popular brands include Koshihikari, Botan, and Nishiki, but any brand explicitly labeled “sushi rice” will yield excellent results. Do not substitute with long-grain or medium-grain rice, as they lack the necessary starch profile to achieve the desired stickiness and resilience. The right rice is truly the cornerstone of authentic sushi rice.
Why Master Homemade Sushi Rice?
Making sushi rice from scratch might seem daunting, but the benefits far outweigh any perceived difficulty. Firstly, homemade sushi rice offers unparalleled freshness and flavor control. You can adjust the seasoning to your exact preference, whether you like it a little sweeter, tangier, or saltier. Secondly, it’s significantly more cost-effective than buying pre-made sushi or even takeout, especially if sushi is a regular craving in your household. Thirdly, mastering this skill opens up a world of culinary possibilities. Once you have a perfect batch of sushi rice, you can effortlessly create a variety of dishes, from traditional maki and nigiri to modern fusion bowls and casseroles. It’s also incredibly satisfying to serve your family and friends dishes crafted with such care and precision, knowing every element, right down to the rice, is made with love. Finally, by learning the fundamentals, you gain a deeper appreciation for Japanese culinary traditions and the subtle nuances that make sushi so special.
Essential Ingredients for Authentic Sushi Rice
Crafting perfect sushi rice requires just a few simple ingredients, each playing a vital role in achieving that distinct flavor and texture. Understanding their purpose will help you appreciate the delicate balance of this culinary staple.
- Sushi Rice: As mentioned, this is paramount. Short-grain Japanese rice is naturally stickier than other varieties due to its higher amylopectin content. This stickiness is what allows it to be molded into rolls and shapes. Rinsing it thoroughly before cooking is essential to remove excess surface starch, preventing the rice from becoming overly gummy and ensuring each grain remains somewhat distinct yet cohesive.
- Water: The quality of your water can subtly affect the taste of your rice. Filtered water is always recommended for the purest flavor. The precise water-to-rice ratio is critical; too much water results in mushy rice, while too little leads to undercooked, hard grains. Our recipe provides the perfect balance for a standard rice cooker or stovetop method.
- Rice Vinegar: This is the defining ingredient that transforms plain cooked rice into “sushi rice.” Rice vinegar, specifically Japanese rice vinegar, is milder and sweeter than other vinegars. It provides the characteristic tangy flavor, helps to preserve the rice, and adds a beautiful glossy sheen. Do not substitute with white vinegar or apple cider vinegar, as their strong acidity will overpower the delicate rice flavor.
- Sugar: A touch of sugar balances the acidity of the rice vinegar, adding a subtle sweetness that rounds out the overall flavor profile. It’s not meant to make the rice overtly sweet but rather to enhance its complexity and provide that classic sushi taste.
- Salt: Essential for seasoning, salt brings out the natural flavors of the rice and the vinegar mixture. It’s a crucial component in creating a well-balanced, palatable sushi rice.
Helpful Tips & Expert Variations for Success
Achieving restaurant-quality sushi rice at home is within reach with these expert tips and variations:
- Make sure to use sushi rice. This cannot be stressed enough. Sushi rice is a specific type of Japanese short-grain rice designed to become sticky when cooked, which is vital for holding rolls and shapes. Brands like Koshihikari, Botan, and Nishiki are excellent choices, but any package clearly labeled “sushi rice” will work. Avoid using jasmine, basmati, or any other long-grain or medium-grain rice, as their starch content and texture are completely different and will not yield the desired results for sushi.
- Rinse thoroughly. This is a non-negotiable step. Place the dry rice in a fine-mesh sieve and rinse it under cold, running water. Use your fingers to gently agitate the rice. Continue rinsing until the water running through the sieve turns completely clear. This process removes excess surface starch, which is the primary culprit behind gummy or clumpy rice. Proper rinsing ensures that each grain cooks up light, fluffy, and possesses just the right amount of desirable stickiness, preventing a pasty texture.
- Once cooked, don’t stir. When it’s time to season your perfectly cooked rice with the vinegar mixture, resist the urge to stir it vigorously as you might with soup or batter. This heavy-handed approach will crush the delicate rice grains, releasing more starch and turning your fluffy rice into an unappealing, gummy mess. Instead, use a gentle slicing and folding motion with a rice paddle or a flat spatula. Imagine gently cutting through the rice and then folding it over itself. This technique helps distribute the seasoning evenly while keeping the individual grains intact and preserving their ideal texture.
- Fan while mixing. This traditional technique, often seen with Japanese sushi chefs using a handheld fan (uchiwa), serves multiple important purposes. As you gently fold in the vinegar mixture, simultaneously fan the rice. The airflow rapidly cools the rice, preventing it from continuing to cook and become mushy. More importantly, quick cooling helps the rice grains absorb the seasoning more evenly and efficiently. This rapid cooling and even absorption are what contribute to that signature glossy finish and delicate texture you admire in sushi restaurant rice. If you don’t have a traditional uchiwa, a small handheld electric fan or even a piece of cardboard can work.
- Keep covered. Cooked sushi rice dries out remarkably fast if left exposed to the air. As you work on assembling your sushi rolls or sushi bowls, it’s crucial to keep any unused rice covered. A simple method is to place the rice in a large bowl and cover it with a damp paper towel or a clean, damp kitchen towel. This creates a moist environment that locks in the essential moisture, ensuring the rice remains soft, pliable, and easy to handle for shaping throughout your preparation process.
- Use a Non-Metallic Bowl for Seasoning: After cooking, transfer the rice to a large, non-metallic bowl or a rimmed baking sheet. Metal can react with the vinegar, potentially imparting an undesirable metallic taste or discoloring the rice. A wooden hangiri (sushi rice tub) is traditional, but a large glass or ceramic bowl works perfectly.
- Don’t Overcrowd the Rice: Spread the cooked rice out thinly on your chosen surface. This allows for maximum surface area exposure to the air, facilitating quicker and more even cooling when fanning. Piling it high will trap heat and moisture, leading to uneven seasoning and potentially gummy rice.
- Adjust Seasoning to Taste: While the recipe provides a standard ratio for the vinegar mixture, feel free to adjust the sugar and salt slightly to suit your palate. Some prefer a sweeter rice, while others like it more subtly flavored. Always taste a small amount of the seasoned rice to ensure it’s to your liking before proceeding.
Sushi Rice
Fluffy, sticky, and seasoned just right, this easy sushi rice recipe makes perfect rolls, bowls, and musubi at home every time.
Step-by-step photos can be seen below the recipe card.
Equipment
-
rice cooker or medium-sized pot
Ingredients
- 2 cups uncooked sushi rice, (it should say “sushi rice” on the bag)
- 3 cups water
- 1/4 cup rice vinegar
- 2 tablespoons sugar
- 1 teaspoon salt
Instructions
-
Add the dry sushi rice into a fine-mesh sieve. Run it under cold water, mixing it around with your fingers until the water runs clear.
-
Add the rinsed rice and 3 cups of water to a rice cooker and cook according to package directions. (If you don’t have a rice cooker, place rice and water in a heavy medium-sized pot and bring just to a boil, then reduce the heat to low and simmer, covered, for 15 minutes. Turn off the heat and let the rice rest, covered, for an additional 15 minutes.)
-
While the rice cooks, combine rice vinegar, sugar, and salt in a microwave-safe bowl or measuring cup and cook on high until it steams and the sugar is dissolved (don’t let it boil.) Then let it cool to room temperature.
-
Transfer cooked rice to a rimmed baking sheet or baking dish and drizzle evenly with the cooled vinegar mixture. Gently combine with a slicing motion using a rice paddle/spoon (be gentle, do not stir or mash it up.)
-
Fan the rice while mixing to help cool it off. When it’s cooled to room temperature, it’s ready to use for sushi rolls, sushi bowls, sushi casserole, and spam musubi.
Notes
- Use sushi rice, not regular white rice: Sushi rice has the right starch content to make it sticky enough for rolls. Regular white rice doesn’t have the right texture and won’t hold together properly.
- Don’t skip the vinegar: Rice vinegar isn’t optional—it gives sushi rice its signature flavor and helps the grains hold their texture.
Nutrition
Nutritional information given is an automatic calculation and can vary based on the exact products you use and any changes you make to the recipe. If these numbers are very important to you, I would recommend calculating them yourself.
How to Make Sushi Rice Step by Step with Photos
Visual learners, rejoice! Here’s a detailed, step-by-step guide with accompanying images to ensure your sushi rice turns out perfectly every time. Follow along and see how simple it truly is.
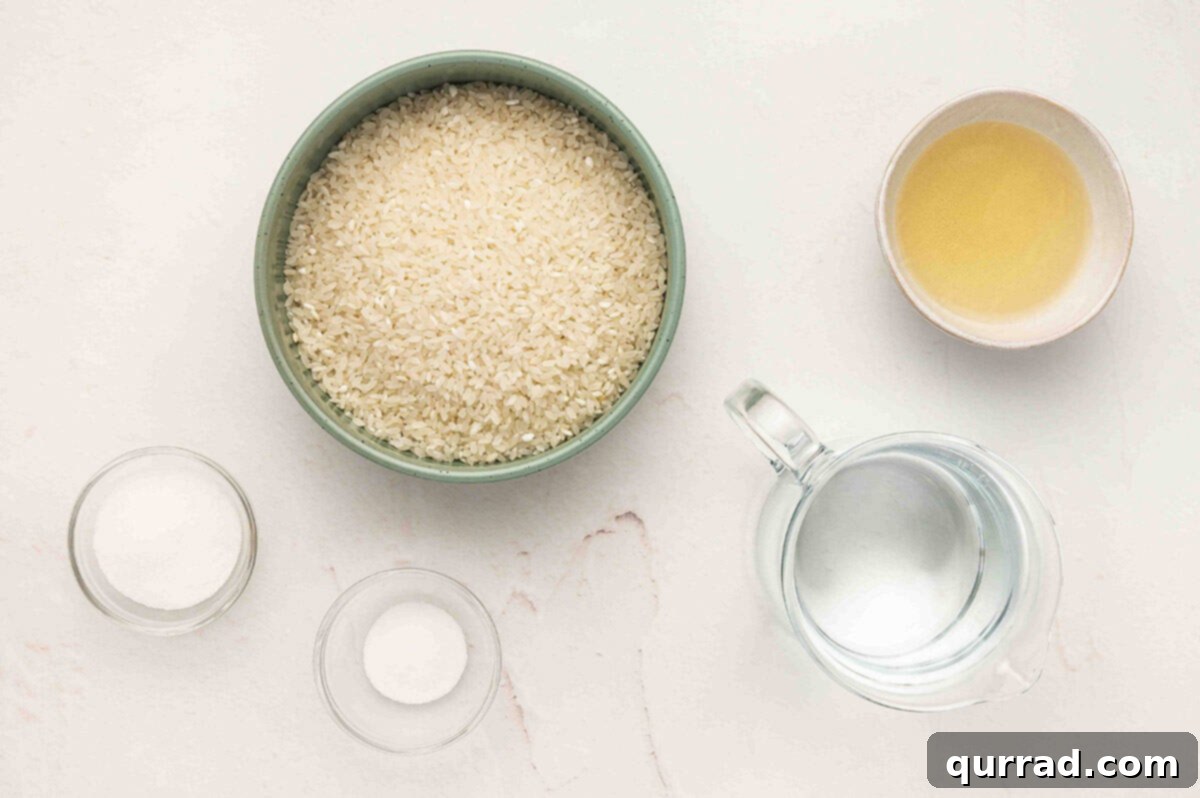
Step 1: Gather Ingredients and Rinse the Rice. Begin by carefully gathering all your necessary ingredients: the sushi rice, water, rice vinegar, sugar, and salt. Measure out 2 cups of uncooked sushi rice and place it into a fine-mesh sieve. Position the sieve under cold running water and gently agitate the rice with your fingers. Continue this rinsing process until the water that drains from the sieve runs completely clear. This crucial step removes excess starches, which is key to achieving fluffy, separate, yet sticky grains rather than a gummy, clumpy texture.
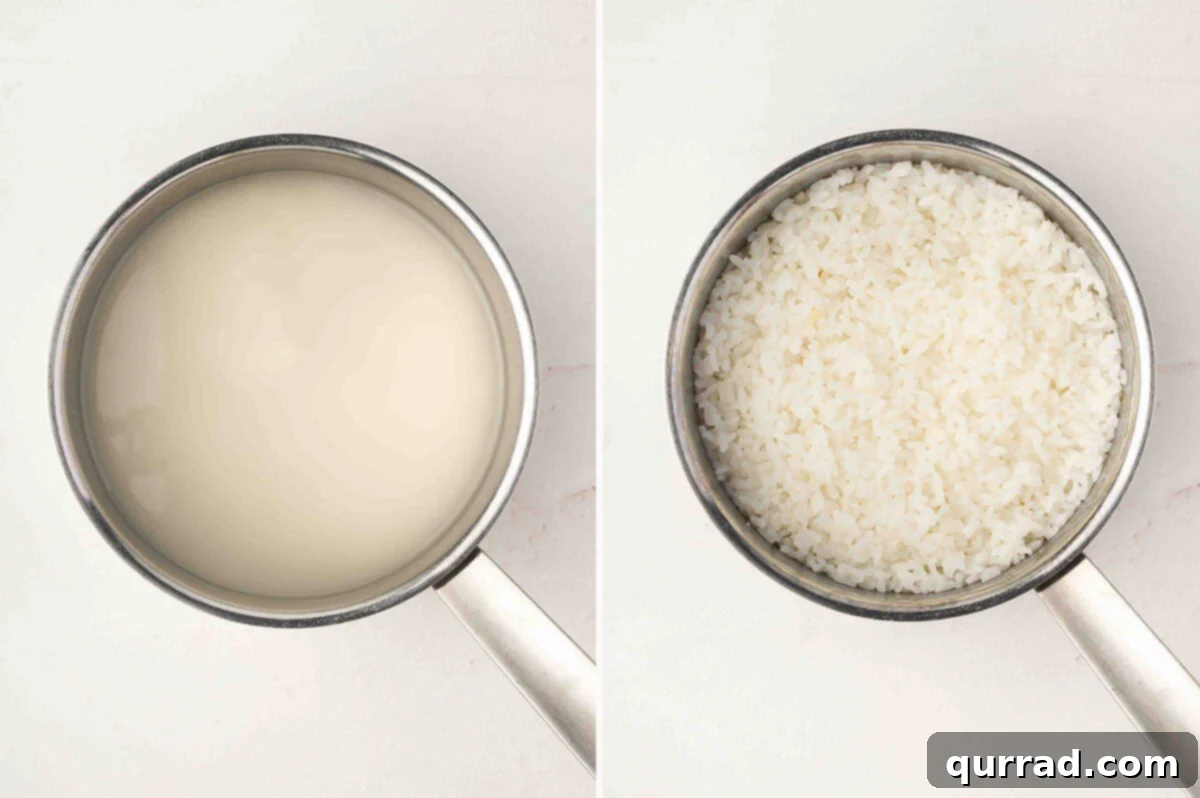
Step 2: Cook the Rice to Perfection. Once the rice is thoroughly rinsed, transfer it into your rice cooker along with 3 cups of fresh water. Cook the rice according to your appliance’s package directions, typically on a “white rice” or “sushi rice” setting. If you don’t own a rice cooker, you can achieve excellent results on the stovetop. Place the rinsed rice and 3 cups of water in a heavy medium-sized pot with a tight-fitting lid. Bring the water to a gentle boil over medium-high heat. Once boiling, immediately reduce the heat to the lowest setting, cover the pot tightly, and simmer for 15 minutes. After 15 minutes, turn off the heat completely but leave the lid on and let the rice rest, undisturbed, for an additional 15 minutes. This resting period allows the steam to continue cooking the rice evenly and ensures it absorbs any remaining moisture, resulting in perfectly tender grains.
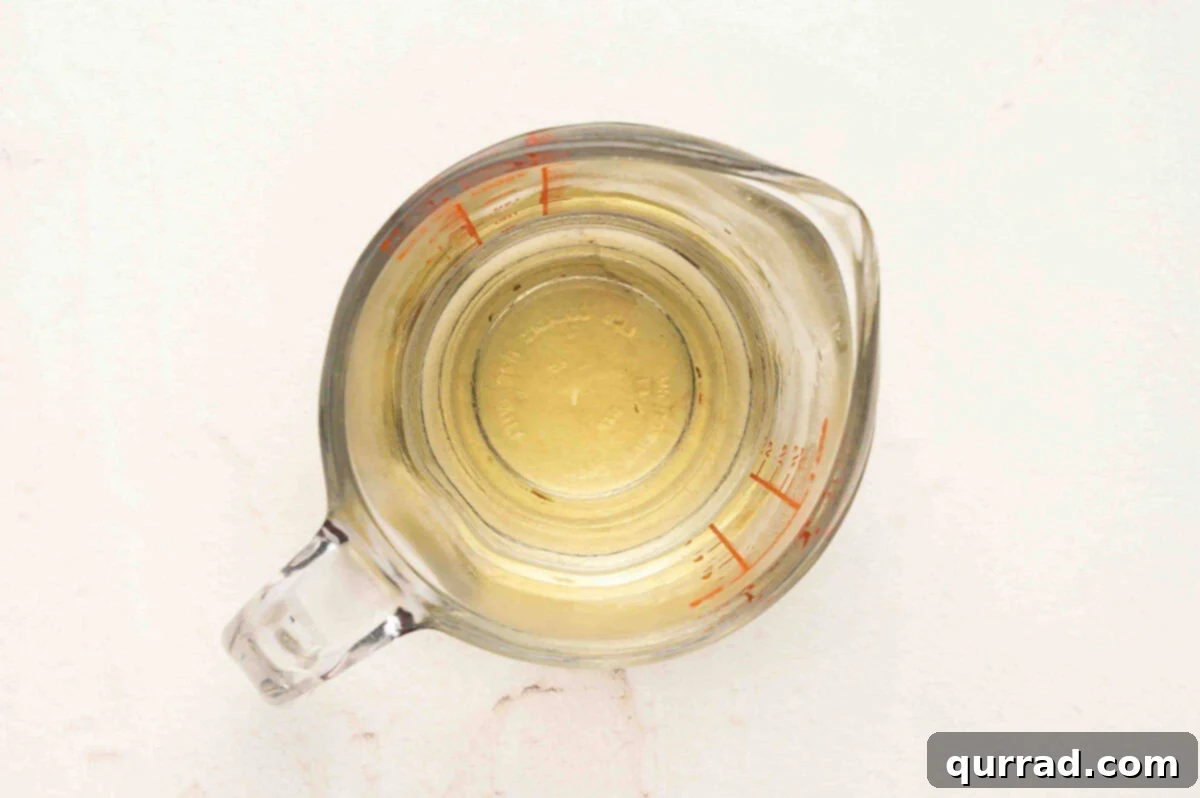
Step 3: Prepare the Sushi Rice Seasoning. While your rice is cooking, prepare the essential seasoning mixture. In a microwave-safe bowl or a measuring cup, combine ¼ cup of rice vinegar, 2 tablespoons of sugar, and 1 teaspoon of salt. Heat this mixture on high in the microwave for short bursts until it begins to steam and the sugar and salt are completely dissolved. It’s important not to let the mixture boil, as this can alter the vinegar’s delicate flavor. Once dissolved, remove it from the heat and set it aside to cool down to room temperature. This cooling step is crucial, as adding hot vinegar to hot rice can negatively impact the rice’s texture.
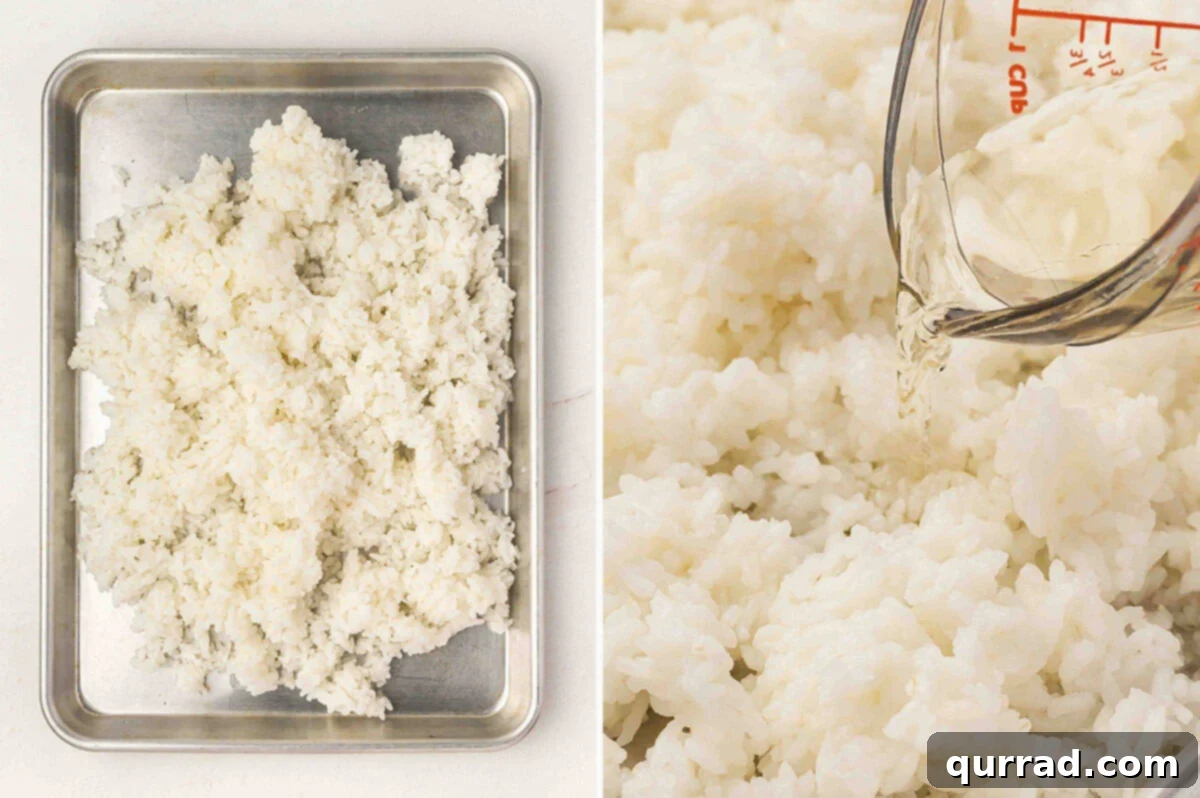
Step 4: Season the Rice with Care. Once the rice has finished cooking and resting, transfer it immediately to a large, non-metallic rimmed baking sheet or a wide baking dish. Spread the rice evenly in a thin layer across the surface. Drizzle the cooled vinegar mixture evenly over the entire bed of rice. Now comes the delicate part: using a rice paddle or a flat spatula, gently combine the seasoning into the rice using a slicing and folding motion. Avoid stirring or mashing the rice aggressively, as this will break the grains and turn your fluffy rice into a gummy paste. The goal is to distribute the seasoning without damaging the individual grains. While you’re folding, vigorously fan the rice with a handheld fan or a piece of cardboard. This traditional technique rapidly cools the rice, enhancing its glossy appearance and helping it absorb the seasoning more uniformly.
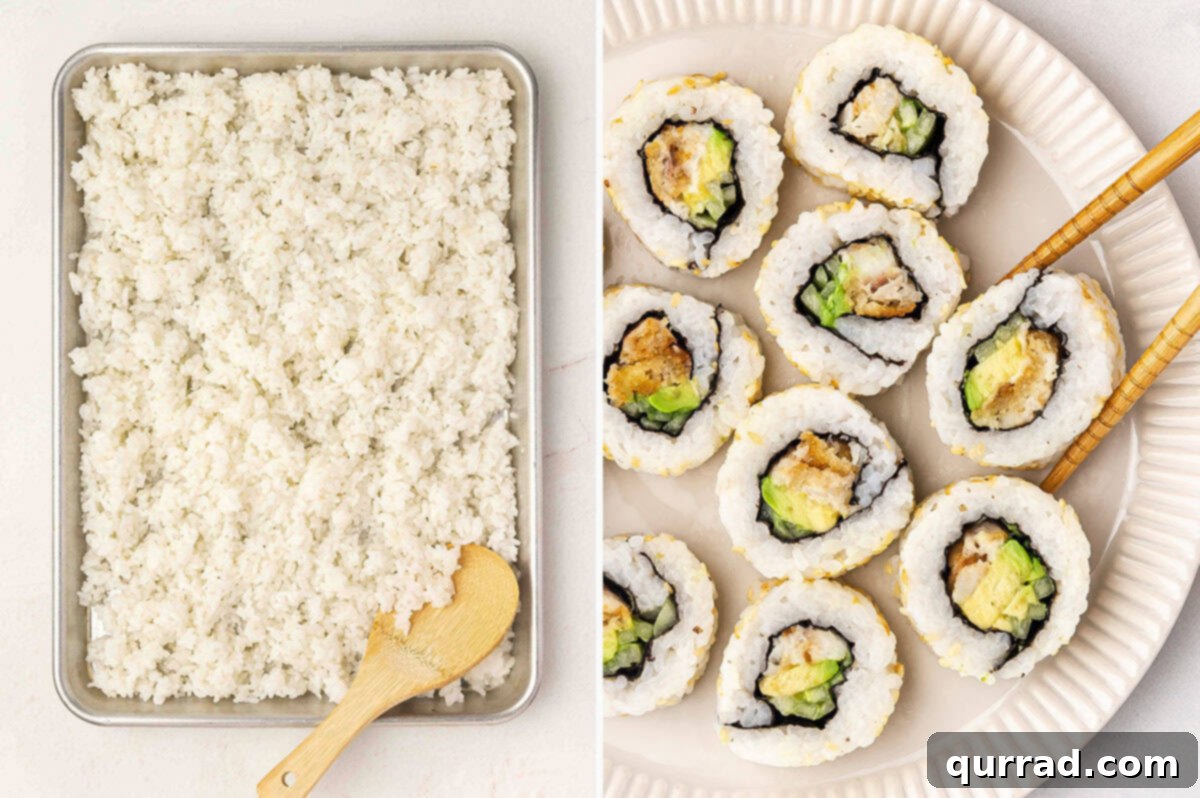
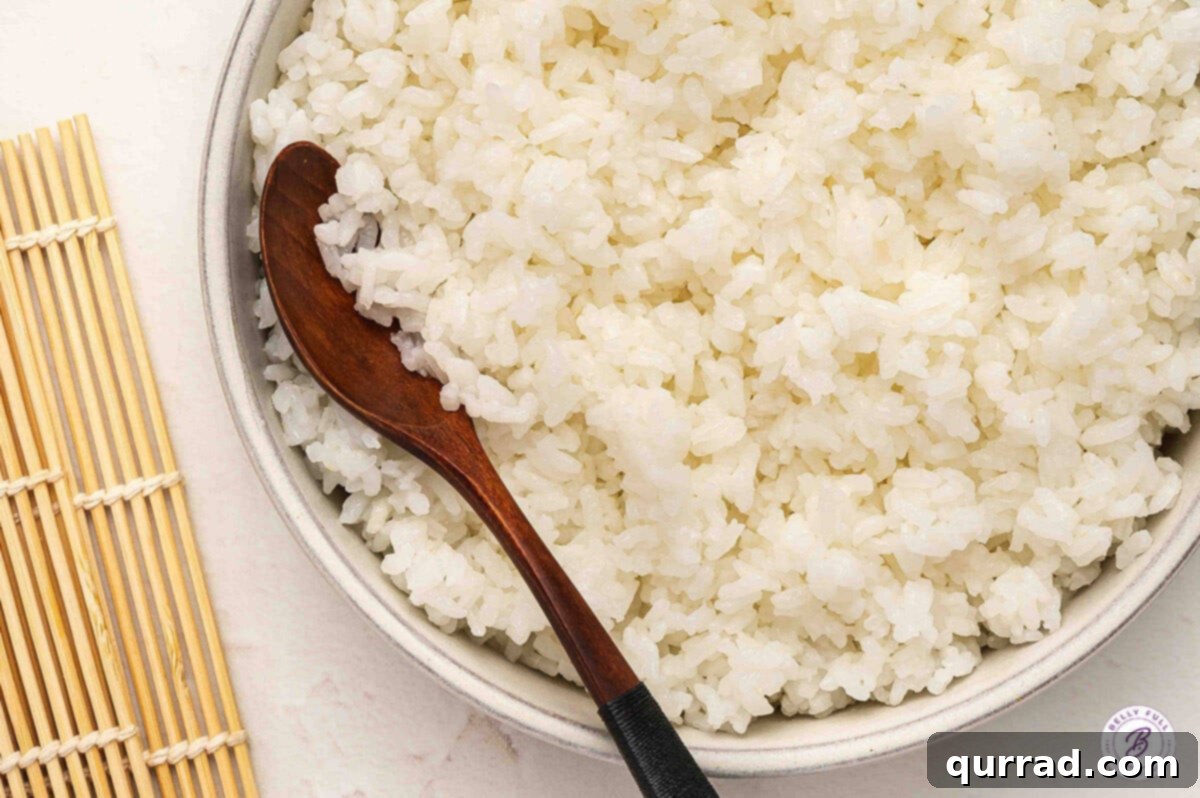
Step 5: Cool and Prepare for Use. Continue fanning and folding the rice until it reaches room temperature. It’s essential that the sushi rice is completely cooled before using it for rolls or bowls, as warm rice can affect the texture and freshness of other ingredients. Once cooled, your perfectly seasoned, fluffy, and sticky sushi rice is ready to become the star of your favorite Japanese-inspired dishes. Whether you’re making intricate sushi rolls, hearty sushi bowls, comforting sushi casserole, or savory Spam Musubi, this rice will provide the ideal foundation for a truly delicious experience. Enjoy the fruits of your labor!
Creative Ways to Enjoy Your Homemade Sushi Rice
Once you’ve mastered this perfect sushi rice recipe, a world of culinary possibilities opens up. Its versatile nature makes it an ideal base for countless delicious meals, far beyond just traditional sushi. Here are some of my favorite ways to enjoy it:
- Classic Sushi Rolls (Maki): This is the most obvious choice! Roll it up with fresh vegetables like cucumber, avocado, and carrots, or add cooked fish, imitation crab, or even crispy fish sticks for a family-friendly version. Experiment with different fillings and sauces to create your signature rolls.
- Deconstructed Sushi Bowls (Poke or Chirashi): If rolling feels too intricate, create a vibrant sushi bowl. Simply pile the seasoned rice into a bowl and top it with your favorite sushi-grade fish (like tuna or salmon), imitation crab, fresh avocado, crisp cucumbers, edamame, and a drizzle of spicy mayo or soy sauce. It’s all the flavor of sushi without the fuss!
- Baked Sushi Casserole: For a comforting, crowd-pleasing meal, layer your sushi rice in a casserole dish with a creamy crab or salmon mixture, spicy mayo, and a sprinkle of furikake. Bake until golden and bubbly for a fantastic fusion dish that’s perfect for gatherings. This sushi bake is always a hit!
- Spam Musubi: A beloved Hawaiian snack, Spam Musubi consists of grilled Spam on top of sushi rice, often wrapped with a strip of nori. It’s savory, slightly sweet, and incredibly addictive, perfect for picnics or lunchboxes.
- Simple Seasoned Side Dish: Sometimes, the rice itself is enough. Mix it with a dash more soy sauce, a touch of sesame oil, and finely chopped scallions for a wonderfully aromatic side dish that complements grilled fish or chicken beautifully.
- Onigiri (Rice Balls): Shape the seasoned rice into triangles or spheres and fill them with pickled plum (umeboshi), grilled salmon, or tuna mayo. Wrap a small strip of nori around the base for easy handling and a salty crunch. These are fantastic portable snacks or light lunch options.
Storing Leftover Sushi Rice: Best Practices
While sushi rice is undoubtedly at its peak when freshly made and still slightly warm, you can certainly store leftovers for future enjoyment. However, it’s important to note that its texture will change after refrigeration. For best results, transfer any leftover sushi rice to an airtight container and store it in the refrigerator for up to 2 days. Beyond this, the quality significantly diminishes.
When you’re ready to reheat, you’ll notice the rice has become firmer and less sticky. To restore some of its former glory, sprinkle a little water over the rice – about a tablespoon or two per cup of rice. Then, cover the container with a damp paper towel before microwaving in short bursts (30-60 seconds) until it’s just warmed through. Fluff it gently with a fork or rice paddle. Be careful not to overheat, as this can dry it out further. While reheating helps, it’s worth reiterating that the ideal fluffy and pliable texture of sushi rice is best enjoyed the same day it’s made. For the most authentic experience and safest consumption, avoid leaving prepared sushi rice out at room temperature for extended periods, especially if it contains other perishable ingredients.
Frequently Asked Questions (FAQs) About Sushi Rice
Making sushi rice might bring up a few common questions. Here are answers to help you perfect your technique:
- Can I use regular white rice instead of sushi rice?
No, it is highly recommended to use actual sushi rice, which is a specific short-grain Japanese rice. Regular long-grain or even medium-grain white rice varieties like jasmine or basmati lack the high starch content needed to achieve the characteristic sticky yet separate texture of sushi rice. They simply won’t hold together properly for rolls or have the right mouthfeel. - Why is my sushi rice too sticky or mushy?
There are a few common culprits. Firstly, insufficient rinsing before cooking can leave too much surface starch, leading to a gummy texture. Ensure you rinse until the water runs completely clear. Secondly, using too much water during cooking can result in mushy rice. Stick to the recommended rice-to-water ratio. Lastly, stirring the rice too vigorously when adding the vinegar mixture can break the grains and release excess starch, making it pasty. Use a gentle slicing and folding motion. - Why is my sushi rice not sticky enough?
If your rice isn’t sticky enough, it’s likely due to using the wrong type of rice (not a short-grain sushi rice) or not enough water during cooking. Ensure you are using a designated sushi rice and measure your water precisely. The cooking method (rice cooker vs. stovetop) can also play a role; ensure your lid is tight to trap steam effectively. - How long can homemade sushi rice be stored?
Leftover seasoned sushi rice should be stored in an airtight container in the refrigerator for no more than 2 days. The texture will firm up and become less pliable over time, but it will still be safe to eat and can be gently reheated as described in the storage section. - Can I make the sushi rice ahead of time?
Yes, you can make sushi rice a few hours in advance, or even the day before, as long as it’s stored correctly. However, for the absolute best flavor and texture, it is always recommended to use sushi rice within a few hours of preparation. The fresh, delicate balance of warm rice absorbing the cool seasoning is what truly makes it special. - What if I don’t have a fan for cooling the rice?
While fanning helps achieve that beautiful glossy finish and aids in even seasoning absorption, it’s not strictly essential. If you don’t have a fan, simply spread the rice thinly on a large, non-metallic surface after seasoning. This will allow it to cool down naturally to room temperature, which is the most important part. The texture might be slightly less glossy, but the flavor will still be excellent.
More Japanese-Inspired Recipes to Try
Now that you’ve mastered the art of sushi rice, why stop there? Explore these other fantastic Japanese-inspired recipes to expand your culinary repertoire and bring more delicious flavors to your kitchen:
- Slacker Sushi Bowls – Perfect for a quick and easy deconstructed sushi experience.
- Fish Stick Sushi Rolls – A fun, kid-friendly take on classic sushi.
- Chicken Katsu – Crispy fried chicken cutlets, a Japanese comfort food favorite.
- Teriyaki Chicken – Sweet and savory glazed chicken, perfect over your homemade sushi rice.
- Miso Soup – A warm, comforting, and essential Japanese side dish.
With this guide, you now have all the tools and knowledge to consistently prepare perfect sushi rice at home. Enjoy the process, experiment with different dishes, and delight in the fresh, authentic flavors you can create!