
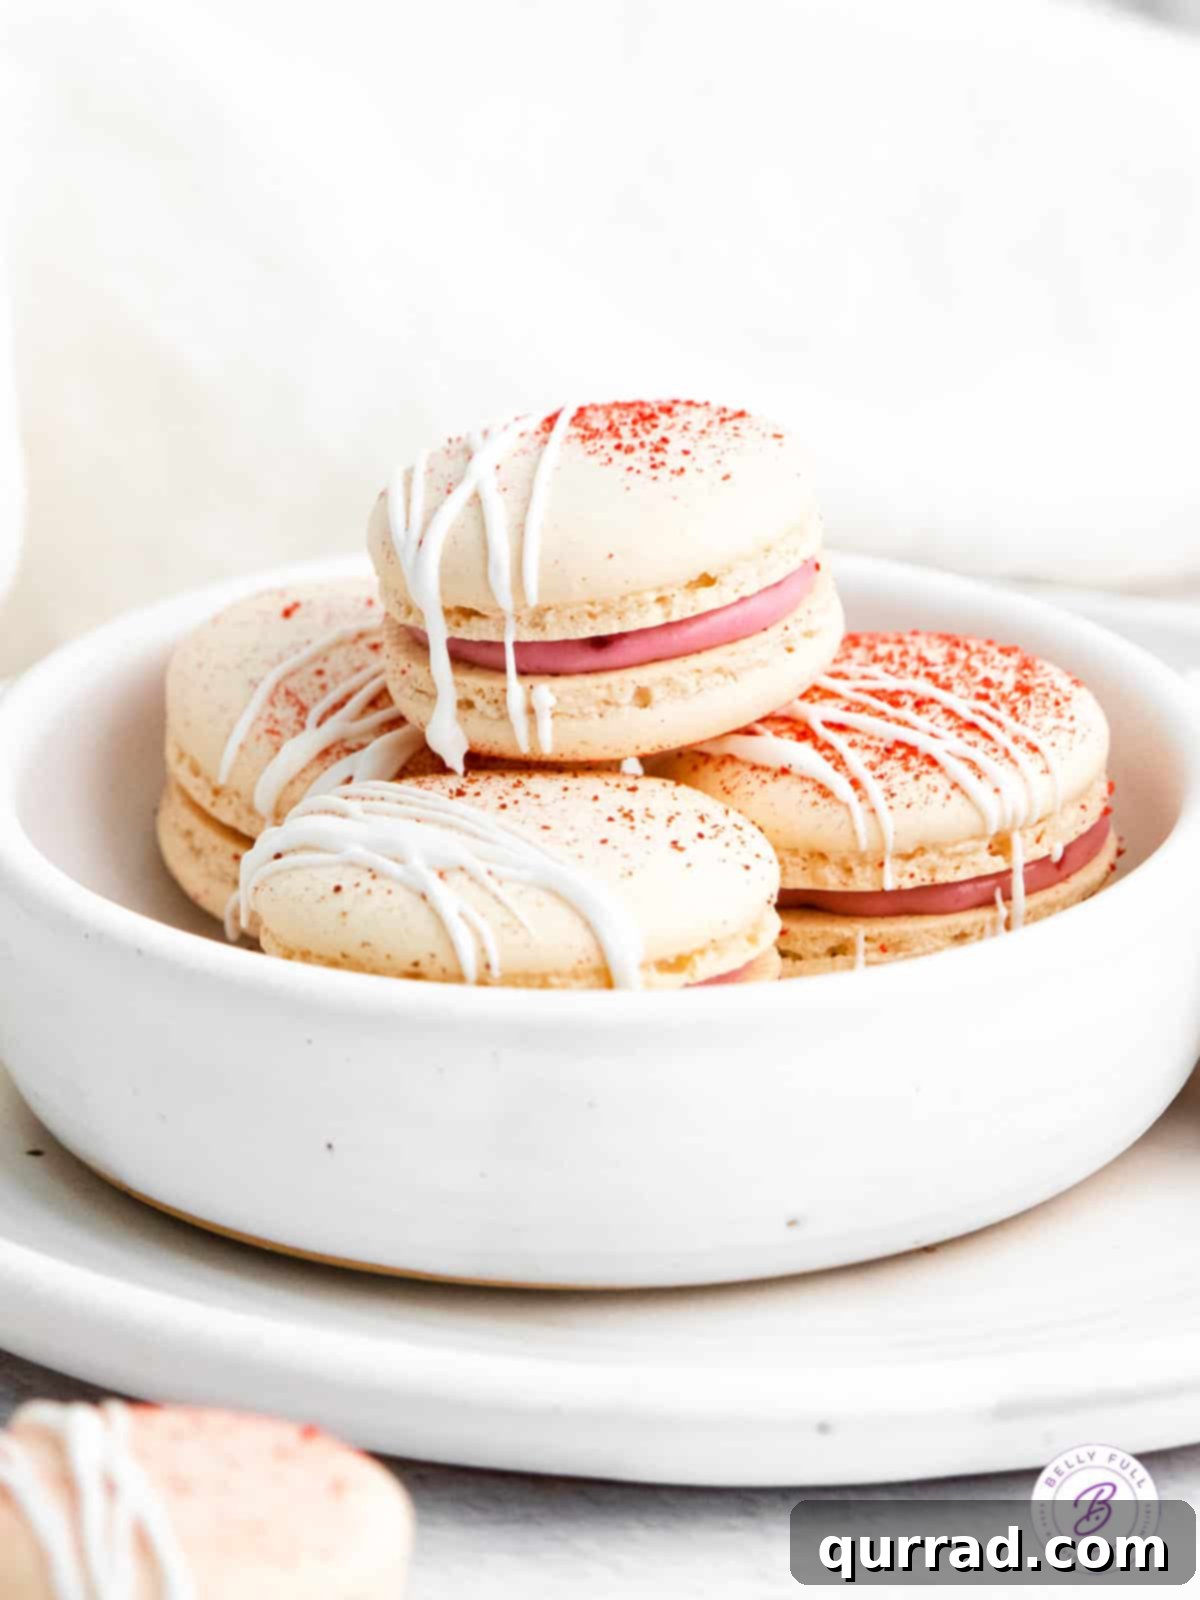
Easy Raspberry Macarons: A Delicate French Delight You Can Master
Delight your senses with these exquisite Raspberry Macarons, featuring a vibrant raspberry cream filling nestled between delicate, crisp outer shells. Often perceived as a challenge, French macarons are surprisingly achievable with the right guidance and a touch of patience. This recipe, requiring just a handful of ingredients, is designed to demystify the macaron-making process, making it an ideal starting point for anyone new to these iconic French confections. Prepare to impress yourself and your loved ones with these beautiful, flavorful treats!
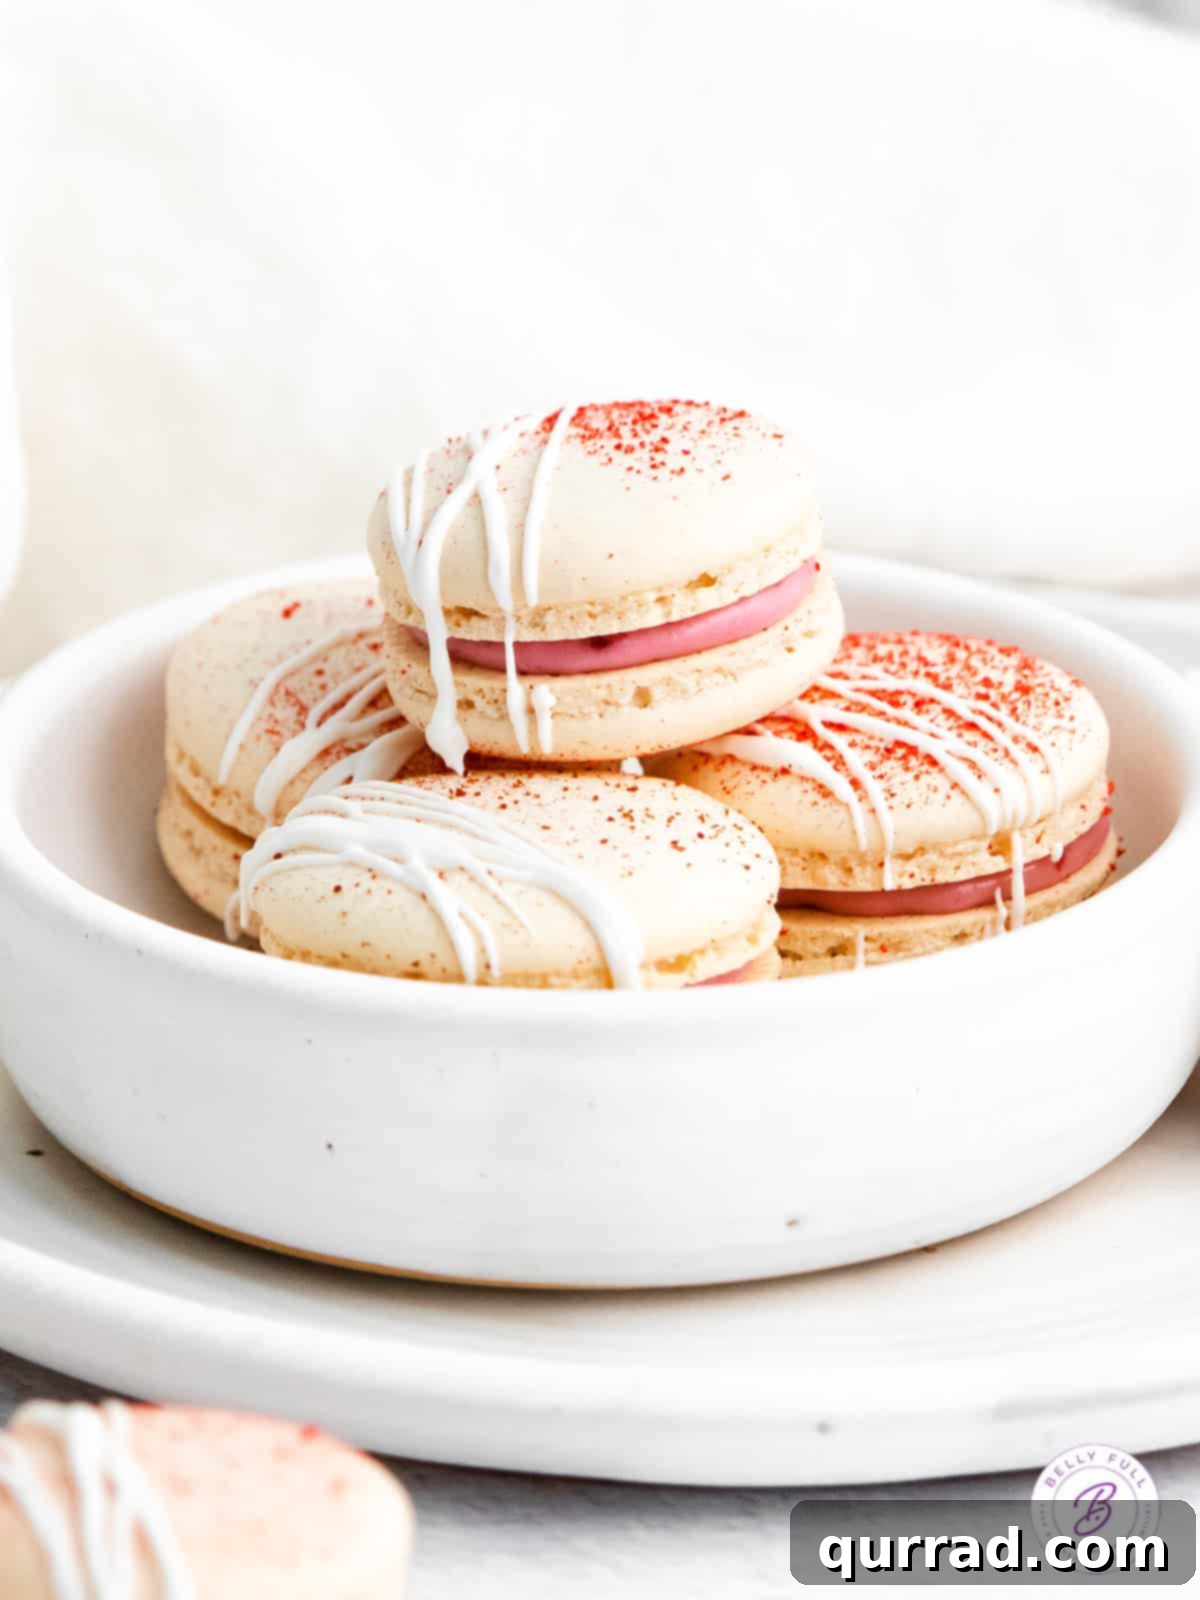
Mastering the Art of French Macarons with Ease
Today, we’re tackling one of the baking world’s most elegant, yet notoriously finicky, desserts: the French macaron. But don’t let its reputation intimidate you! Our Raspberry Macaron recipe is meticulously crafted to be straightforward and accessible, proving that these delightful cookies are within reach for any home baker. While they might require a bit more attention than a batch of chocolate chip cookies, with a little patience and adherence to our detailed steps, you’ll be creating bakery-worthy macarons in no time.
For those unfamiliar, a macaron (pronounced mah-kah-RON) is a petite French sandwich cookie composed of two delicate, almond-flour based meringue shells, joined by a flavorful filling. They are celebrated for their vibrant colors, smooth tops, ruffled “feet” at the base, and a satisfyingly chewy interior. The majority of their distinctive flavor comes from the delicious filling, making raspberry a popular and irresistible choice.
While you can certainly find macarons in gourmet bakeries, their exquisite nature often comes with a hefty price tag, typically ranging from $2 to $4 per cookie. This is precisely why learning to make them at home is so rewarding—you get to enjoy these luxurious treats without breaking the bank, and the satisfaction of baking them yourself is unparalleled.
Raspberry Macarons Recipe
Prep Time: 20 mins
Cook Time: 30 mins
Rest & Chill Time: 12 hrs 30 mins
Total Time: 13 hrs 20 mins
Yields: 16 cookies
Craft these beautiful Raspberry Macarons with a rich raspberry cream filling and perfectly crisp, delicate shells. This recipe is surprisingly easy to follow, making it perfect for aspiring macaron bakers. Just 7 ingredients and a little patience are all you need!
See below the recipe card for step-by-step images and detailed instructions.
Ingredients
For the Macaron Shells:
- 90 grams egg whites (preferably aged)
- 90 grams granulated sugar
- 95 grams powdered sugar
- 95 grams almond flour, super fine
- 5 grams freeze-dried raspberry powder*
For the Raspberry Cream Filling:
- 20 grams cream cheese, softened (whipped or block)
- 35 grams raspberry jam or preserves
- 40 grams powdered sugar
Instructions
Preparing the Macaron Shells:
- Prepare Baking Sheets: Line two large baking sheets with parchment paper or high-quality silicone baking mats (Silpat).
- Create Meringue Base: Set a small saucepan with about 1 inch of water over medium-high heat and bring to a simmer. In a medium-sized heatproof bowl, combine the egg whites and granulated sugar. Place the bowl over the simmering water (ensure the bottom of the bowl does not touch the water).
- Whisk Over Heat: Continuously whisk the egg whites and granulated sugar mixture for 2-3 minutes, or until all the granulated sugar has completely dissolved and the mixture is warm to the touch.
- Whip Meringue: Transfer the warm egg white mixture to the bowl of a stand mixer fitted with the whisk attachment. Beat on medium-high speed (Kitchenaid #6-8 setting) for 4-5 minutes, until the egg whites form stiff, glossy peaks. When you lift the whisk, the meringue should hold its shape firmly.
- Sift Dry Ingredients: Using a fine mesh sieve, carefully sift the powdered sugar, almond flour, and freeze-dried raspberry powder into the whipped egg whites. This step is crucial for smooth macaron tops.
- Macaronage – Initial Fold: Gently begin folding the dry ingredients into the egg whites using a spatula. Use a “J” motion: scoop from the bottom, move up and over, and gently press down. Be careful not to deflate the meringue too much at this stage.
- Achieve Proper Consistency: Continue the folding process, gently “smushing” the batter against the sides of the bowl with your spatula and then folding it back into the center. Repeat this “smush-and-fold” technique 4-5 more times, ensuring you scrape all the way to the bottom to incorporate everything evenly. The batter is ready when it flows slowly and continuously off your spatula, forming a “figure 8” without breaking the stream. It should have the consistency of slow-moving lava. If it falls in clumps, continue folding a few more times and retest.
- Pipe Macaron Shells: Transfer the prepared meringue batter into a piping bag fitted with a small round tip (such as a Wilton #10-12). Holding the piping bag perpendicularly to the baking sheet, pipe 1.5-inch diameter rounds onto the prepared trays, leaving approximately 2 inches between each macaron. Consistency in size and shape is key.
- Release Air Bubbles: Once one tray is piped, firmly tap the baking sheet 6-8 inches off the counter 4-5 times to release any trapped air bubbles. Repeat this process until no large air bubbles appear on the surface of the piped macarons. Repeat for the second tray.
- Rest and Form Skin: Allow the piped macarons to rest at room temperature for 25-30 minutes, or until a dry “skin” forms on their surface. They are ready to bake when you can gently touch them without the batter sticking to your finger.
- Preheat Oven: While the macarons rest, preheat your oven to 325°F (160°C). An oven thermometer is highly recommended to ensure accurate temperature, which is critical for macaron success.
- Bake: Bake the dried macaron shells one tray at a time for 14 minutes. Rotate the tray halfway through baking to ensure even cooking.
- Decorate (Optional): Immediately after removing the macarons from the oven, gently sprinkle them with additional freeze-dried raspberry powder for an extra burst of flavor and visual appeal.
- Cool Completely: Allow the macaron shells to cool fully on the baking sheet before attempting to remove them. Trying to remove warm macarons can cause them to stick or break.
Preparing the Raspberry Cream Filling:
- Combine Ingredients: In a medium-sized bowl, whisk together the softened cream cheese and raspberry jam until they are fully incorporated and smooth.
- Add Powdered Sugar: Gradually add the powdered sugar, whisking until the mixture is smooth, creamy, and lump-free.
- Pipe Filling: Transfer the raspberry cream filling to a piping bag fitted with your desired tip (a small round or star tip works well).
Assembling the Macarons:
- Pair Shells: Once the macaron shells are completely cool, gently lift them from the parchment paper. Match similar-sized shells to create pairs.
- Add Filling: Pipe a small dollop of the raspberry cream filling onto the flat side of one macaron shell.
- Form Sandwich: Place a second macaron shell on top of the filling, gently pressing down until the filling spreads slightly to the edges. Repeat with all remaining shells.
- Age Overnight (Critical Step): Arrange the assembled macarons in an airtight container and refrigerate them overnight, or for at least 12 hours. This “aging” process is vital as it allows the moisture from the filling to soften the shells, resulting in the perfect chewy texture that macarons are famous for.
- Serve: Before serving, bring the aged macarons to room temperature for about 15-30 minutes to allow the filling to soften slightly and enhance their flavor. Enjoy!
Recipe Notes
- *Freeze-Dried Raspberry Powder: You can typically find freeze-dried raspberries in the dried fruit and nut aisle of most grocery stores. To make the powder, simply pulse the freeze-dried raspberries in a food processor or blender until a fine powder forms.
- Piping Technique for Even Macarons: Holding the piping bag strictly perpendicular to the baking sheet is crucial for creating perfectly round and even macaron shells. For consistent sizing, you can either draw 1.5-inch circles on your parchment paper as a guide or invest in a specialized macaron silicone mat which has pre-marked circles.
Nutrition Information (per serving)
Calories: 103 kcal | Carbohydrates: 17g | Protein: 2g | Fat: 3g | Saturated Fat: 0.5g | Polyunsaturated Fat: 0.02g | Monounsaturated Fat: 0.1g | Cholesterol: 1mg | Sodium: 14mg | Potassium: 17mg | Fiber: 1g | Sugar: 15g | Vitamin A: 17 IU | Vitamin C: 4mg | Calcium: 15mg | Iron: 0.3mg
Nutritional information is an estimate and can vary based on specific product brands and any modifications made to the recipe. For precise values, please calculate them based on your exact ingredients.
Step-by-Step Guide to Perfect Raspberry Macarons
Creating beautiful macarons is a rewarding experience. Follow these detailed steps, complete with visual cues, to ensure your raspberry macarons turn out perfectly every time.
Step 1: Prepare Your Baking Surface
Line two large baking sheets with either parchment paper or high-quality silicone baking mats (Silpat). These provide the necessary non-stick surface for perfectly shaped macarons that peel off easily after baking. Ensuring your surface is ready before you start mixing is key to a smooth process.
Step 2: Gently Heat Egg Whites and Sugar
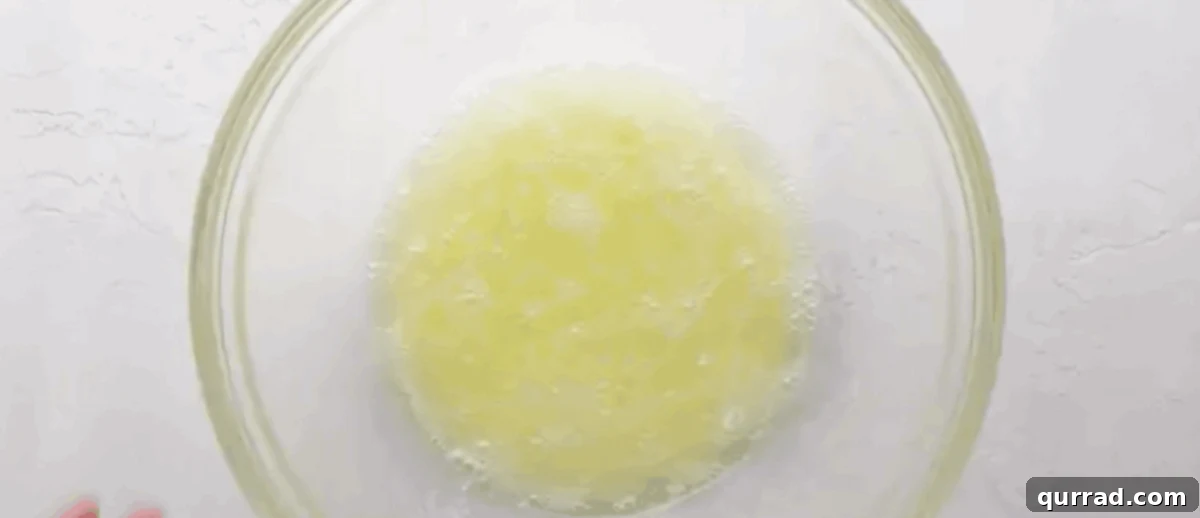
Begin by placing a small saucepan with about an inch of water over medium-high heat, bringing it to a gentle simmer. In a separate medium-sized heatproof bowl, combine 90 grams of egg whites and 90 grams of granulated sugar. Place this bowl directly over the simmering water, ensuring the bottom of the bowl does not touch the water. This creates a double boiler, gently warming the mixture.
Step 3: Whisk Until Sugar Dissolves
Continuously whisk the egg white and granulated sugar mixture for approximately 2-3 minutes. Your goal here is to fully dissolve the sugar, not to cook the eggs. You can test this by rubbing a small amount of the mixture between your fingers; if it feels smooth with no gritty sugar crystals, it’s ready.
Step 4: Whip to Stiff Peaks
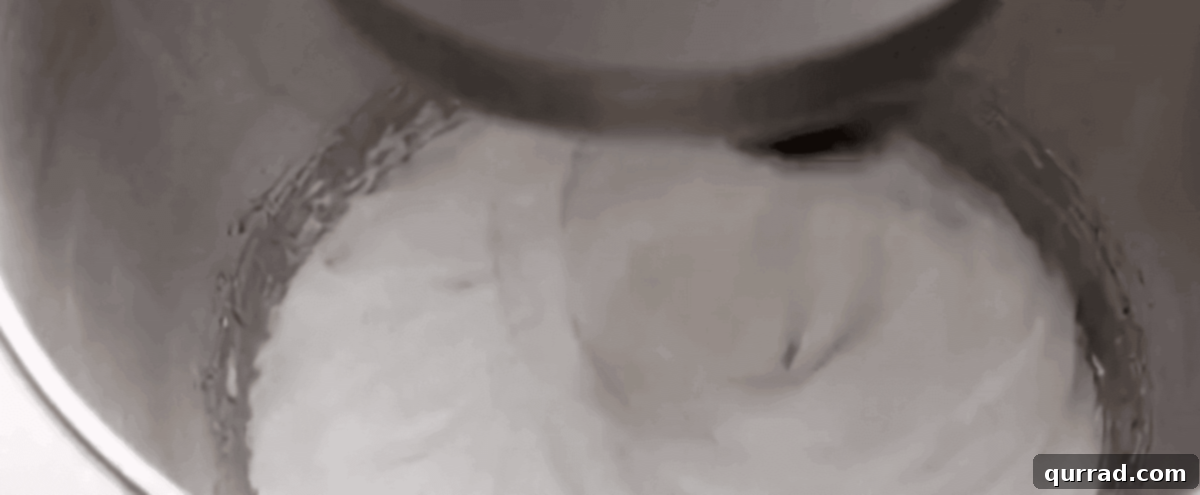
Carefully transfer the warm egg white mixture into the clean bowl of a stand mixer fitted with the whisk attachment. Beat on medium-high speed (typically Kitchenaid settings #6-8) for 4-5 minutes. Continue mixing until the egg whites form stiff, glossy peaks. When you lift the whisk, the meringue should hold its shape firmly without drooping.
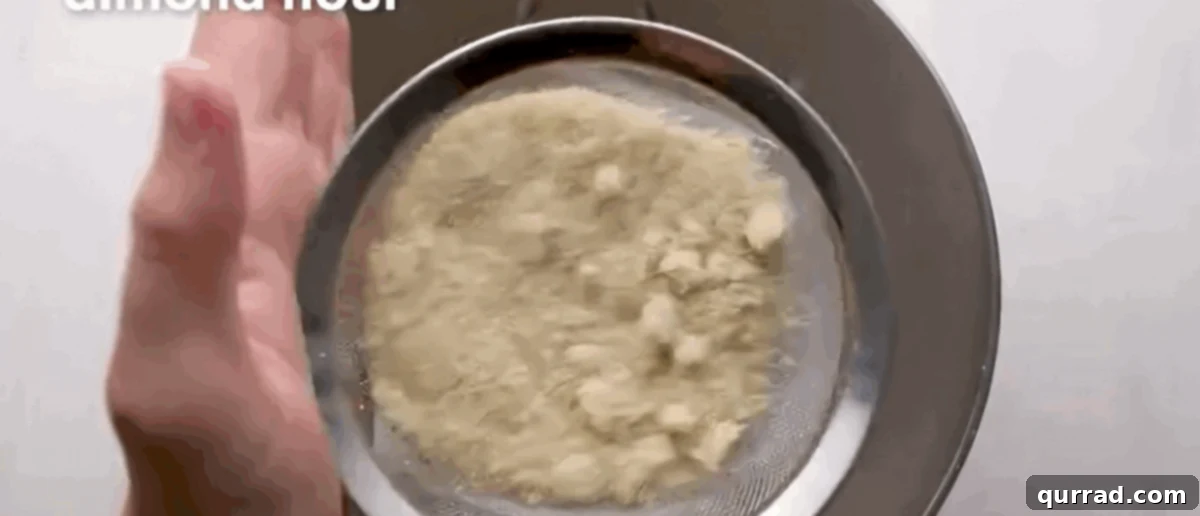
Step 5: Sift Dry Ingredients
Using a fine mesh sieve, carefully sift 95 grams of powdered sugar, 95 grams of super-fine almond flour, and 5 grams of freeze-dried raspberry powder directly into the stiff meringue. Sifting is crucial to prevent lumps and ensure a smooth macaron shell texture.
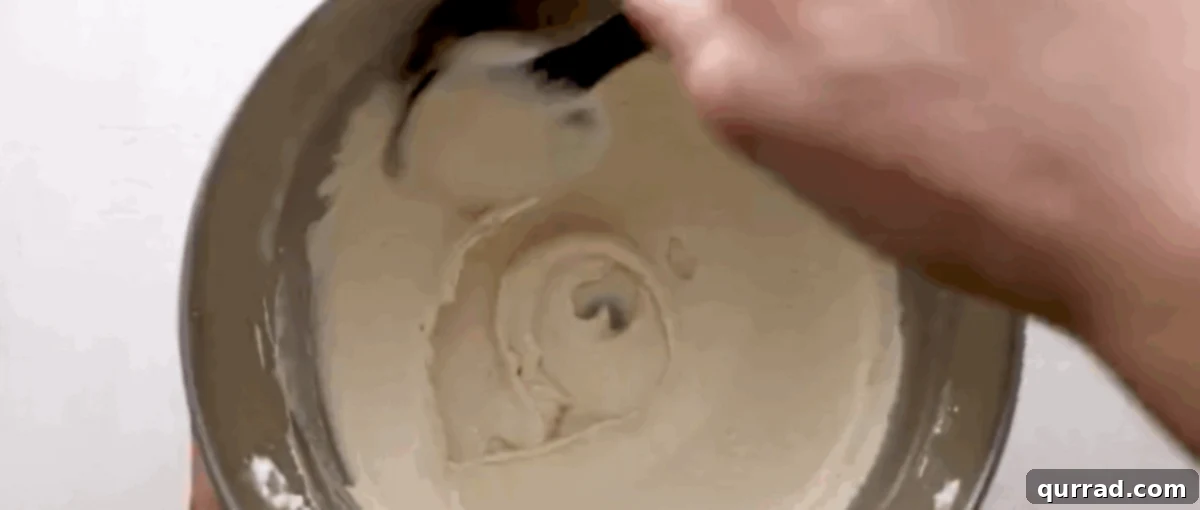
Step 6: Begin Macaronage
This step, known as “macaronage,” is vital for achieving the correct batter consistency. Gently fold the dry ingredients into the egg whites using a rubber spatula. Start by making a “J” shape: scoop from the bottom of the bowl, bring the spatula up and over the mixture, and gently press down. The goal is to combine the ingredients without excessively deflating the meringue. Avoid overmixing at this early stage.
Step 7: Achieve the “Lava” Consistency
Continue the macaronage process by gently “smushing” the batter against the sides of the bowl with your spatula, then folding it back into the center. Repeat this smush-and-fold technique 4-5 more times, always scraping to the very bottom to ensure thorough mixing. The meringue is ready when it flows slowly and continuously off your spatula, resembling molten lava, and you can draw a figure 8 with the batter without the stream breaking. If the mixture falls in distinct clumps, it needs a few more smush-and-folds.
Step 8: Transfer to Piping Bag
Once your batter has reached the perfect “lava” consistency, carefully transfer it into a piping bag fitted with a small round tip (a Wilton #10-12 works excellently). Ensure there are no large air pockets trapped in the bag.
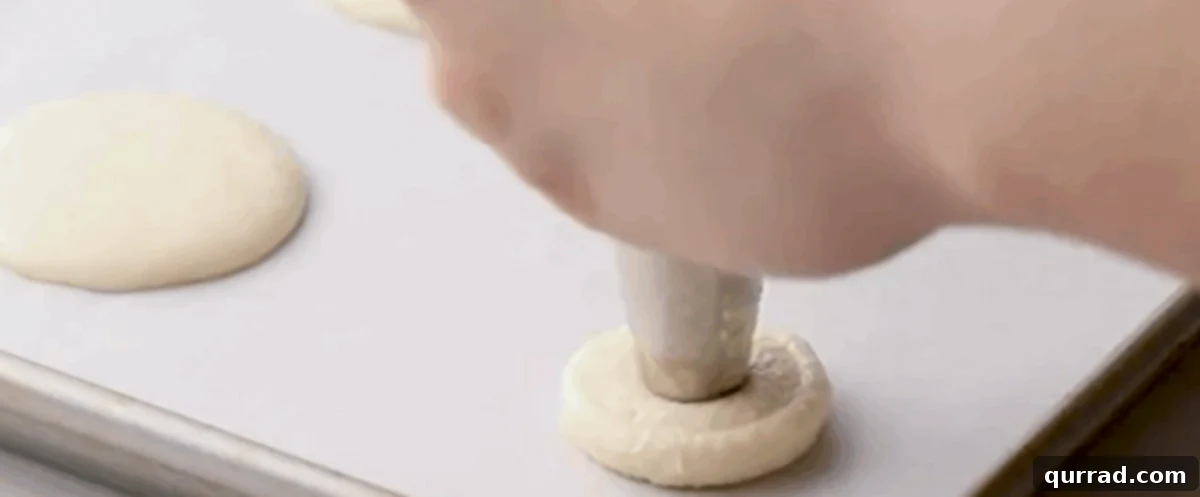
Step 9: Pipe Macaron Shells
Hold the piping bag strictly perpendicular to your baking tray. Pipe 1.5-inch diameter macarons onto the prepared parchment paper or silicone mats, leaving approximately 2 inches of space between each one to prevent them from merging during baking. Piping consistently will result in uniformly shaped macarons.
Step 10: Release Air Bubbles
After piping one tray, firmly hold the baking sheet 6-8 inches off the counter and drop it straight down onto the counter. Repeat this 4-5 times, or until any visible large air bubbles on the surface of your piped macarons have popped. This step helps create smooth tops and prevents cracking. Repeat the piping and tapping process for the second tray.
Step 11: Allow Shells to Dry (Form a Skin)
Set the piped macarons aside at room temperature to dry for 25-30 minutes. This drying time allows a “skin” to form on the surface of the shells. The macarons are ready for baking when you can gently touch them without any batter sticking to your finger. This skin is crucial for developing the signature “feet” during baking.
Step 12: Preheat Oven and Bake
While your macarons are resting and drying, preheat your oven to 325°F (160°C). Accurate oven temperature is paramount for macaron success; consider using an oven thermometer to verify. Bake the dried macarons one tray at a time for 14 minutes, rotating the tray halfway through baking for even heat distribution.
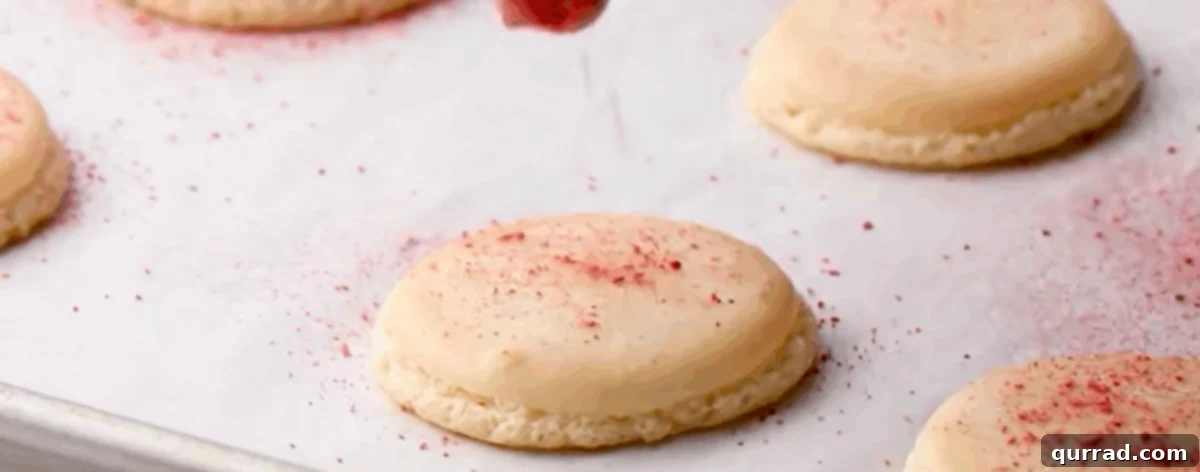
Step 13: Garnish and Cool
Once baked, immediately remove the macarons from the oven. For an extra touch of flavor and visual appeal, gently sprinkle them with additional freeze-dried raspberry powder while they are still warm. Allow the macarons to cool completely on the baking sheet before attempting to remove them. Warm macarons tend to stick and can break easily.
Step 14: Prepare the Raspberry Cream Filling
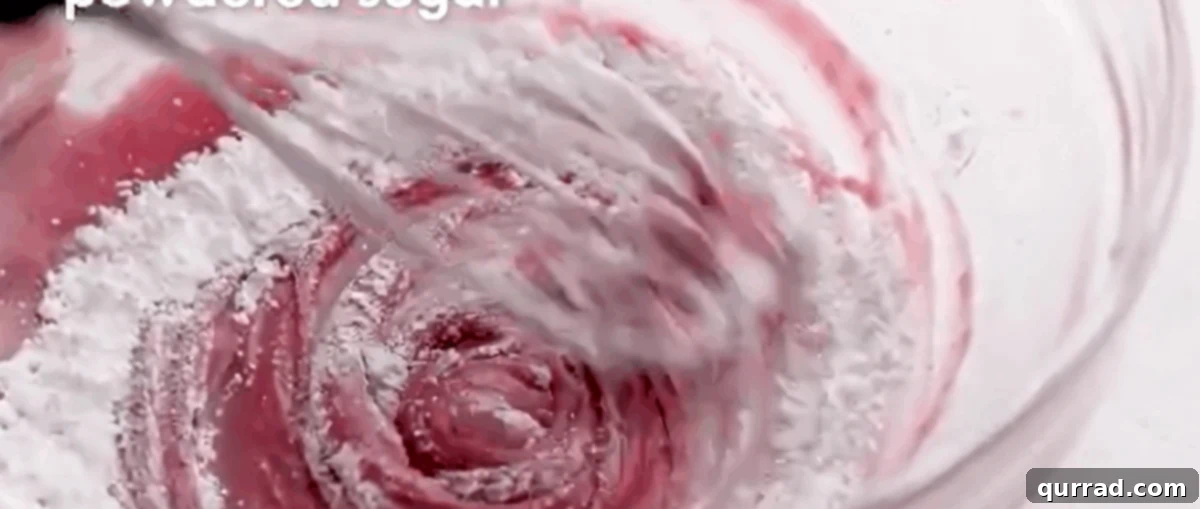
In a medium-sized bowl, whisk together 20 grams of softened cream cheese and 35 grams of raspberry jam until the mixture is fully incorporated and smooth. Gradually add 40 grams of powdered sugar, whisking until the filling is wonderfully smooth and creamy. Transfer this luscious filling to a piping bag fitted with your preferred tip.
Step 15: Assemble Your Macarons
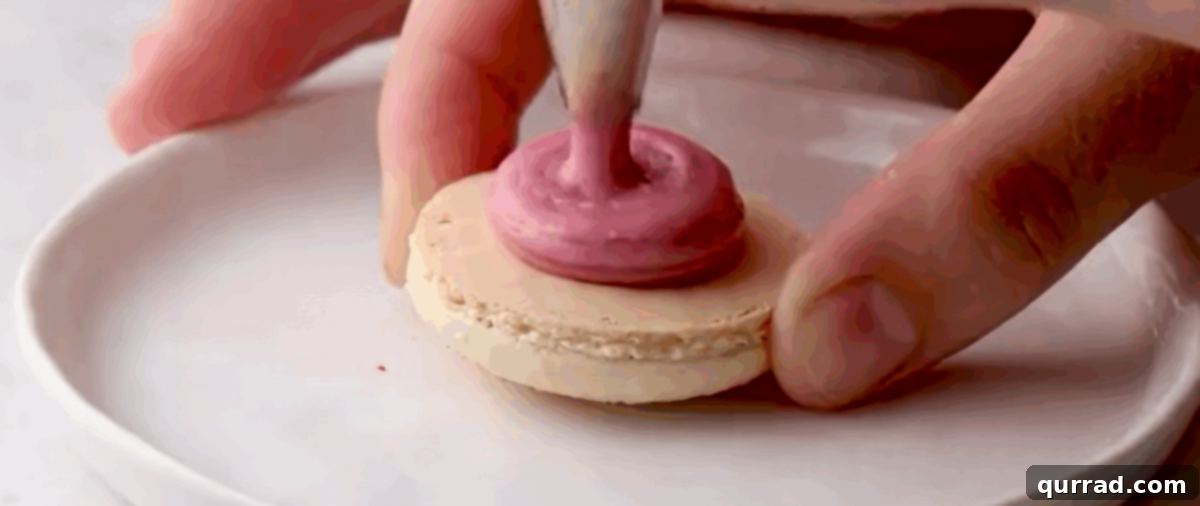
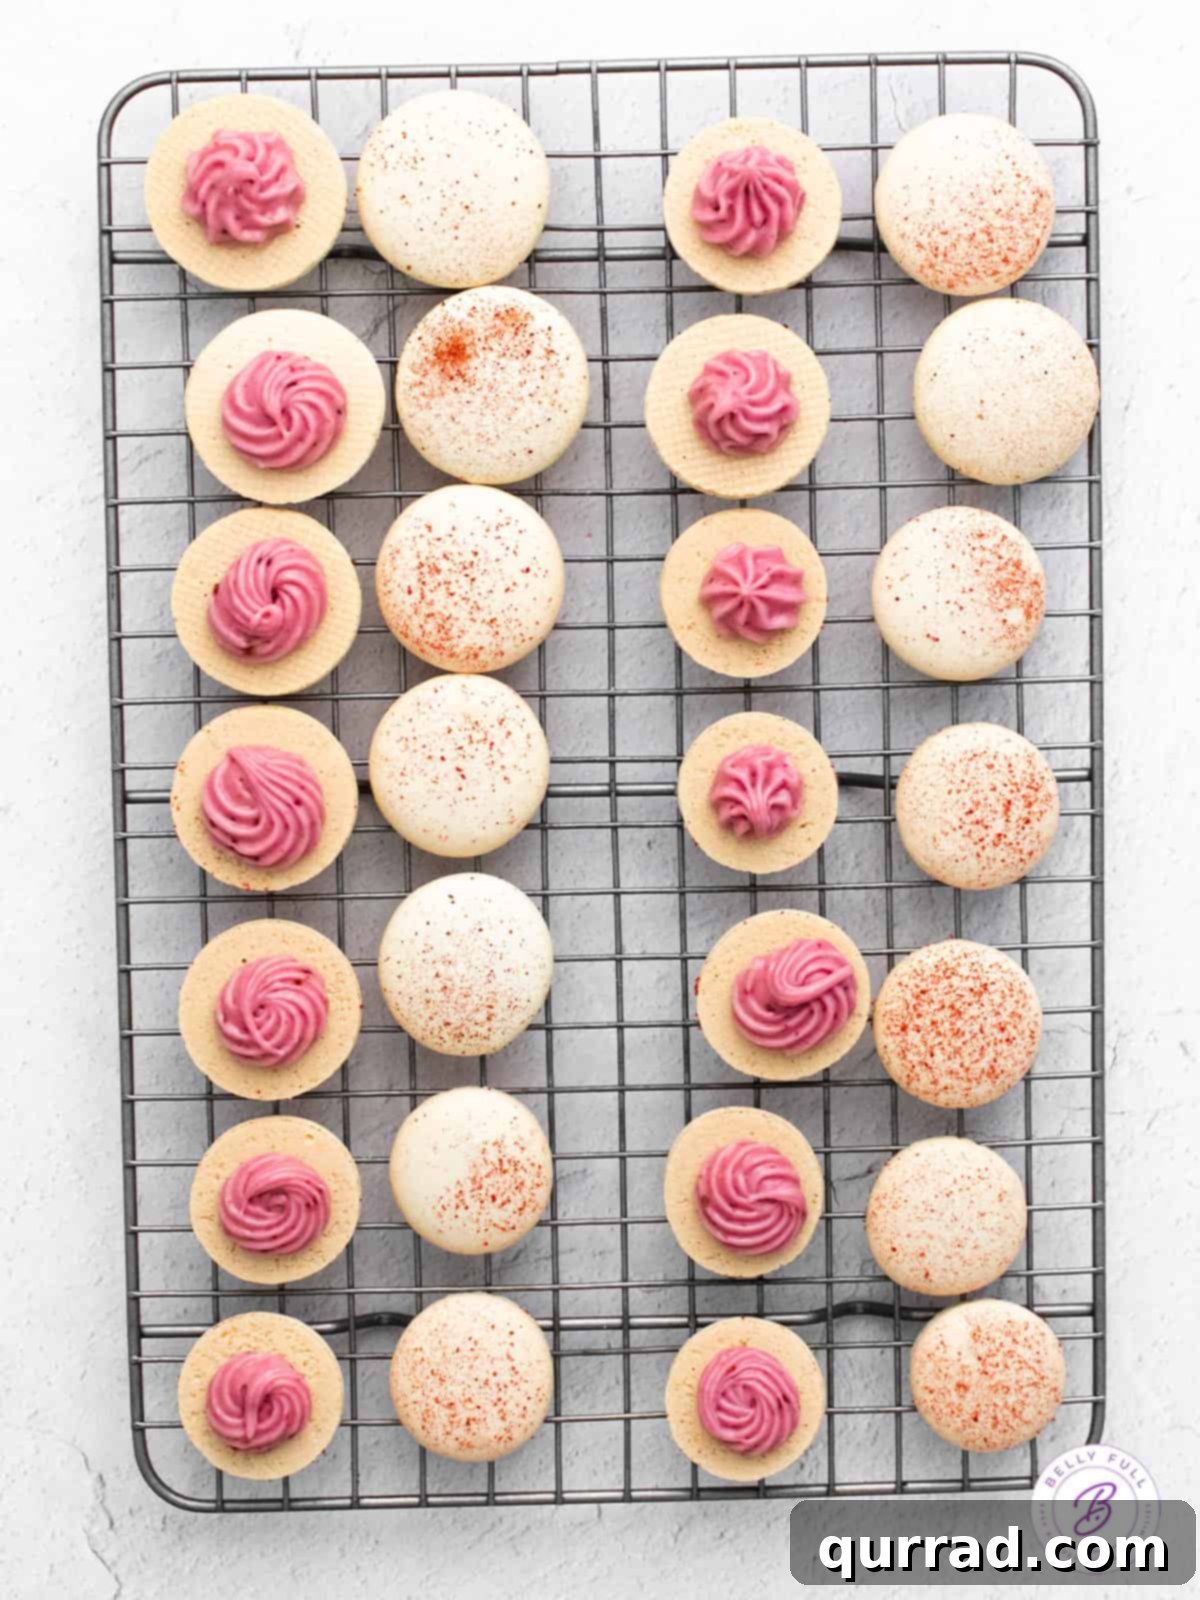
Once the macaron shells are completely cool, gently peel them from the parchment paper or silicone mat. Match them into similar-sized pairs. Pipe a small dollop of the raspberry cream filling onto the flat side of one macaron shell, then gently place the second shell on top, pressing just enough for the filling to reach the edges. Repeat this process until all your beautiful macarons are assembled.
Step 16: Refrigerate to “Age”
This step is absolutely critical for the perfect macaron texture! Place the assembled macarons in an airtight container and refrigerate them overnight, or for a minimum of 12 hours. This “aging” process allows the moisture from the filling to subtly soften the inner part of the macaron shells, transforming them into that delightfully chewy confection we all adore.
Step 17: Serve and Enjoy
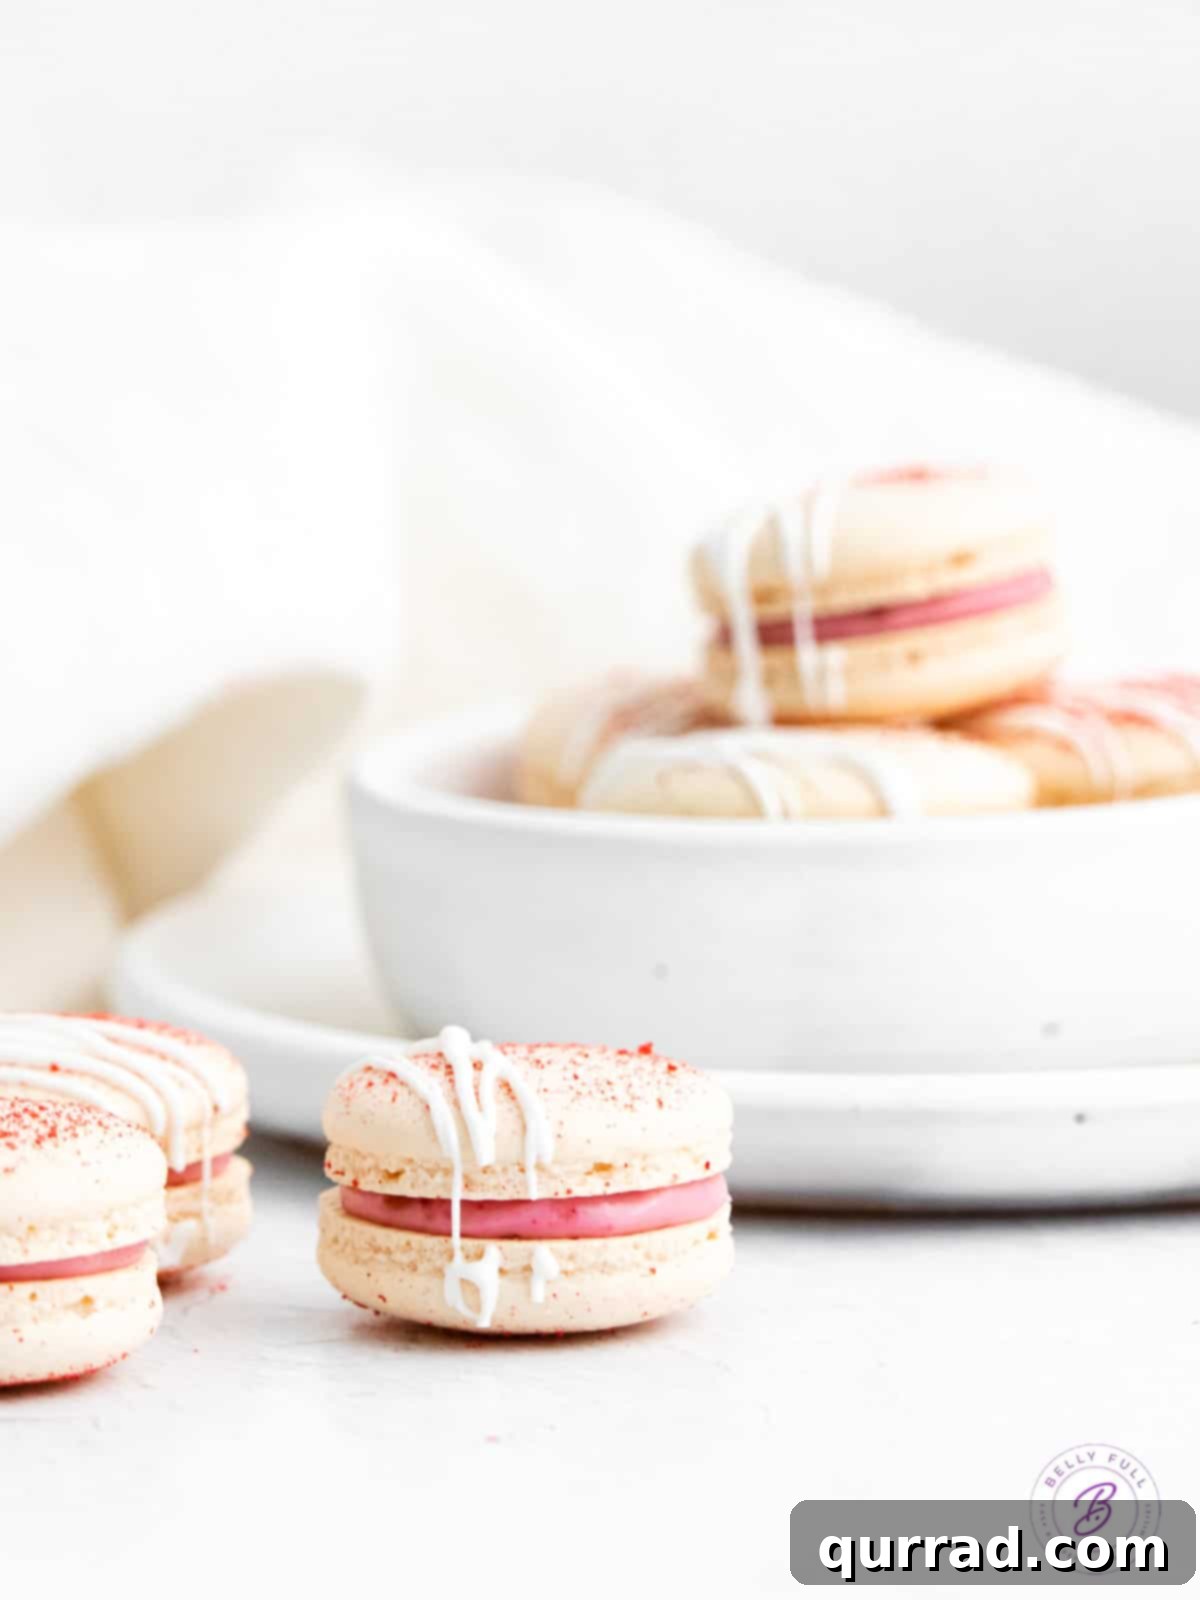
Before serving your aged macarons, let them come to room temperature for about 15-30 minutes. This enhances their flavor and ensures the filling is perfectly soft and creamy. Now, indulge in your homemade French masterpieces!
Macaron Baking Tips and Troubleshooting
Macarons can be a bit tricky, but with these tips, you’ll overcome common challenges:
- Accurate Measurements: Macarons are a science. Always use a kitchen scale to measure your ingredients, especially egg whites, sugar, and almond flour, for precise results.
- Aged Egg Whites: For best results, use egg whites that have been separated a day or two in advance and stored in the refrigerator in an airtight container. Bring them to room temperature before using. Aged whites are less watery and whip up to a more stable meringue.
- Super-Fine Almond Flour: Ensure your almond flour is super-fine and free of large chunks. If it’s not, pulse it briefly in a food processor with the powdered sugar before sifting.
- Don’t Skip Sifting: Sifting the dry ingredients is non-negotiable for smooth macaron tops.
- Proper Macaronage: This is the most critical step. Undermixed batter will be too thick and have pointy tops without feet. Overmixed batter will be too runny, spreading thin and potentially cracking. Aim for the “lava” consistency or the “figure 8” test.
- Tap the Trays: Don’t underestimate the importance of tapping the baking sheets. It releases air bubbles that can cause cracked shells or hollow interiors.
- Resting Time (Forming a Skin): The resting period is essential for the shells to dry and form a skin. This skin helps prevent cracks and encourages the development of the characteristic “feet.” Humidity can affect this time, so adjust as needed.
- Oven Temperature: Oven temperature is key. Invest in an oven thermometer to ensure your oven is truly at 325°F (160°C). Too hot, and they might crack; too cool, and they won’t form feet.
- Hollow Macarons: Hollow shells are a common issue. This can be due to over-whipped meringue, undermixing (macaronage), baking at too low a temperature, or not tapping enough. Experiment with slight adjustments in each area.
- Lopsided Macarons: This often happens if you’re not holding your piping bag perfectly perpendicular to the baking sheet or if your baking sheet is warped.
Macarons vs. Macaroons: Understanding the Difference
While their names sound strikingly similar and are often confused, macarons and macaroons are entirely distinct confections, hailing from different culinary traditions and boasting unique textures and appearances.
- Macarons: These are the delicate French sandwich cookies we’ve been discussing. They are typically made with almond flour, egg whites, and sugar, resulting in a smooth, crisp outer shell, a chewy interior, and distinctive ruffled “feet” at the base. Macarons are known for their elegant appearance, vibrant colors, and diverse flavor pairings (often fruit, chocolate, or floral). They are a more technically demanding bake, requiring precision and specific techniques like macaronage.
- Macaroons: In contrast, macaroons (pronounced mah-kah-ROON) are dense, often irregularly shaped mounds primarily made from shredded coconut, egg whites, and sugar. They have a wonderfully chewy texture and are much simpler to prepare, requiring no special techniques or equipment. Coconut macaroons are often dipped in chocolate and are a beloved treat in many cultures, particularly during holidays. There’s nothing delicate or overly technical about their rustic charm, making them a super easy and satisfying bake. You can explore our Coconut Macaroons recipe for a taste of this delightful cousin.
How to Store and Enjoy Your Raspberry Macarons
Proper storage is essential for maintaining the exquisite texture and flavor of your French macarons. In fact, they often taste even better a day or two after they’re made!
- Room Temperature: Unfilled macaron shells can be stored in an airtight container at room temperature for up to 2-3 days. However, once filled, macarons are best stored in the refrigerator.
- Refrigeration: The best way to store assembled French macarons is in an airtight container in the refrigerator. They are actually at their peak flavor and texture after 2-3 days of “aging” in the fridge, as this allows the moisture from the filling to permeate and soften the shells, creating that perfect chewy consistency. To prevent sticking, store them in a single layer or separate layers with parchment paper. Stored this way, they will stay fresh and delicious for up to 7 days.
- Freezing: Macarons freeze exceptionally well, even after they’ve been assembled with the filling. Place them in a single layer in an airtight freezer-safe container, or stack them with parchment paper between layers. They can be frozen for up to 3 months. When you’re ready to enjoy them, simply thaw them on the counter for about 30 minutes before serving.
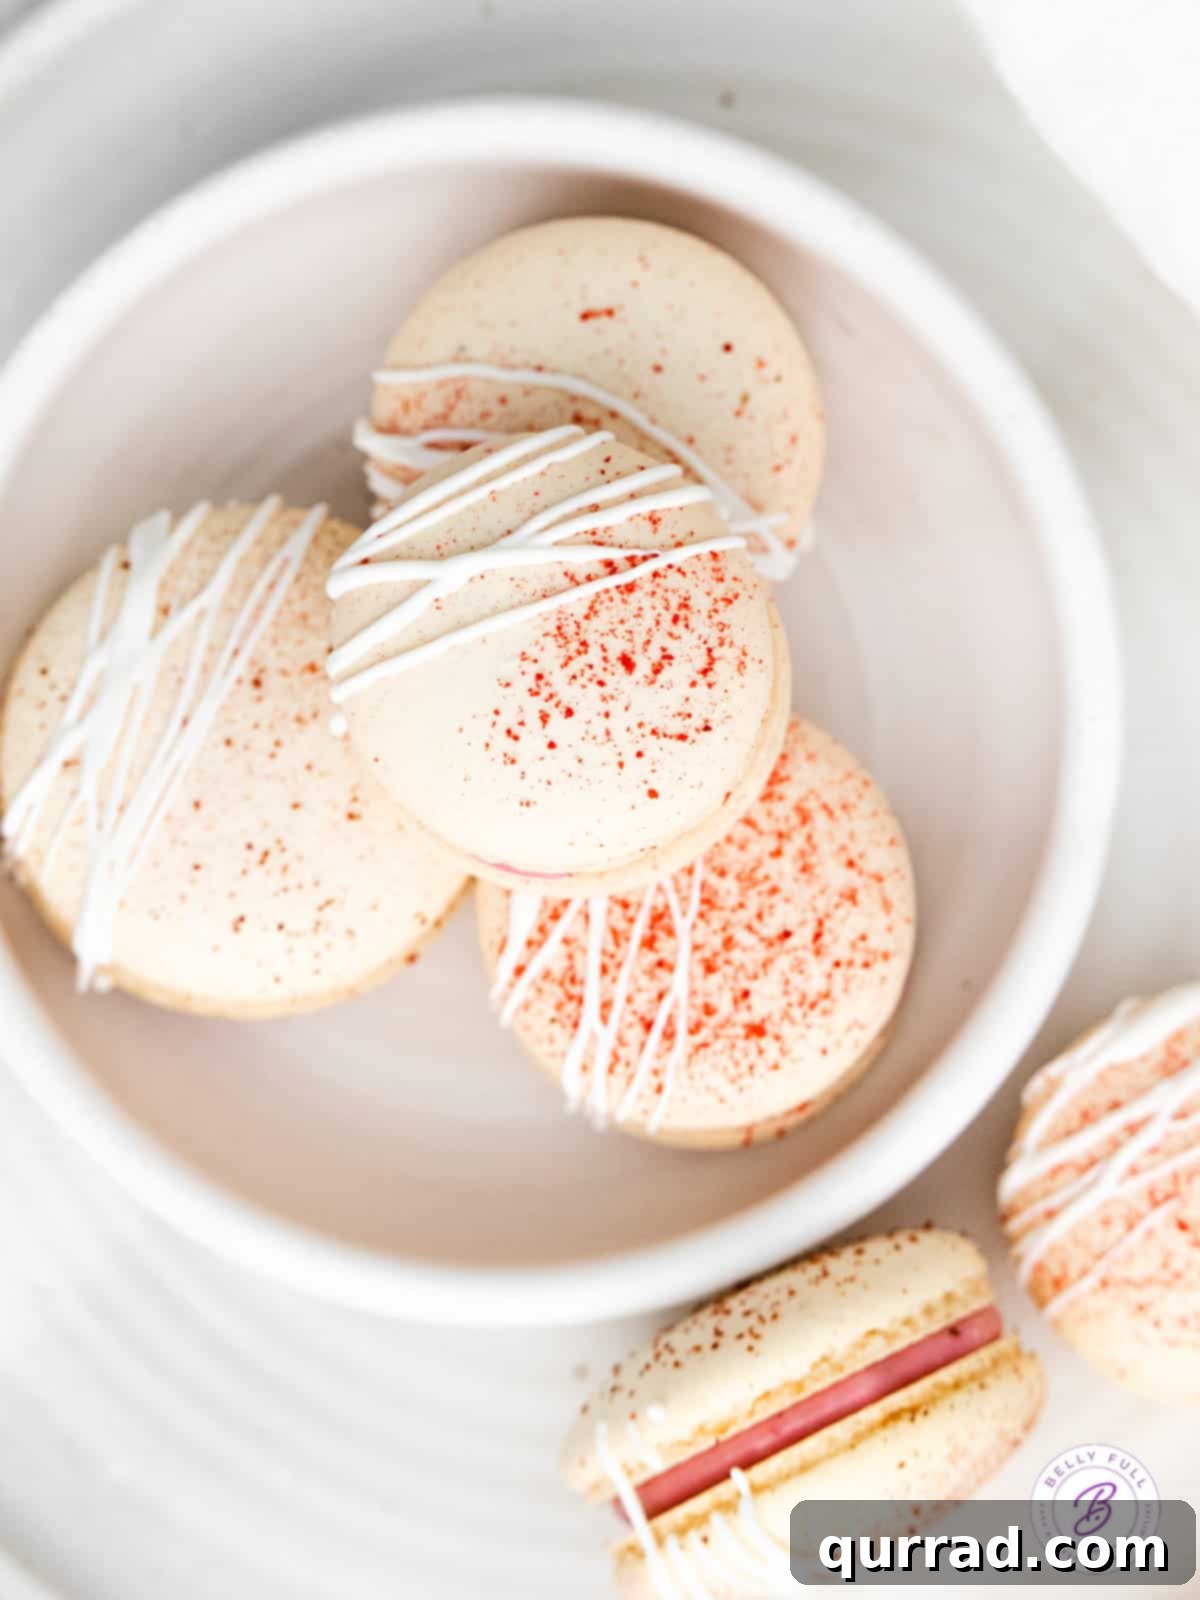
What to Serve With These Exquisite Macarons
These Raspberry Macarons are a sophisticated dessert on their own, but they also pair beautifully with other French-inspired treats or a simple beverage. Here are a few serving suggestions:
- Coffee or Tea: A classic pairing. Enjoy them with a strong espresso, a delicate herbal tea, or a creamy latte.
- Champagne or Sparkling Wine: For a truly elegant experience, a glass of brut champagne or a sparkling rosé complements the sweetness and fruitiness of the macarons beautifully.
- Other French-Inspired Desserts: Create a dessert platter with a selection of French delicacies. Consider serving them alongside our decadent Blueberry and Raspberry Croissant Puff, a sweet and tart Cherry Clafoutis, or a no-bake Chocolate Eclair Cake.
- Fresh Berries: A simple bowl of fresh raspberries, blueberries, or mixed berries can offer a lovely, light accompaniment.
- Ice Cream or Sorbet: A scoop of vanilla bean ice cream or a raspberry sorbet can create a delightful contrast in temperature and texture.
Frequently Asked Questions About Macaron Baking
What are the essential tools for macaron making?
While you don’t need a professional kitchen, a few tools are highly recommended: a kitchen scale for precise measurements, a stand mixer with a whisk attachment for meringue, a rubber spatula for macaronage, piping bags with a round tip (Wilton #10-12), and parchment paper or silicone baking mats.
Can I use food coloring in this recipe?
Yes, absolutely! Gel food coloring is preferred over liquid food coloring as it won’t add excess moisture to your meringue, which can disrupt the macaron’s delicate balance. Add a tiny drop after whipping the meringue to stiff peaks and gently fold it in during the macaronage process. For a natural pink, the freeze-dried raspberry powder already contributes beautiful color!
My macarons are hollow, what went wrong?
Hollow macarons are a common issue! It can be caused by several factors: over-whipped meringue, undermixed batter (not enough macaronage), baking at too low a temperature, or not tapping the trays sufficiently to release air. Try adjusting one variable at a time in your next batch.
How do I know when my macaron shells are baked through?
A properly baked macaron shell should have well-developed “feet” and should not wiggle or stick to the parchment paper when gently nudged. If it wiggles, bake for another minute or two. The bottom should also feel firm and peel off cleanly. Don’t overbake, or they will lose their chewiness.
Can I make these macarons ahead of time for an event?
Absolutely! Macarons are an excellent make-ahead dessert. As mentioned in the storage section, they actually benefit from a day or two of aging in the refrigerator. This makes them perfect for parties, gifts, or simply having a delightful treat ready when cravings strike. They can also be frozen for longer storage.
Explore More Delicious Cookie Recipes
If you’ve enjoyed mastering these Raspberry Macarons, you might love trying some of our other fantastic cookie creations:
- Hearty Ranger Cookies
- Classic Italian Cookies
- Simple & Easy Sugar Cookies
- Decorated Cut Out Sugar Cookies
- Light & Airy Meringue Cookies