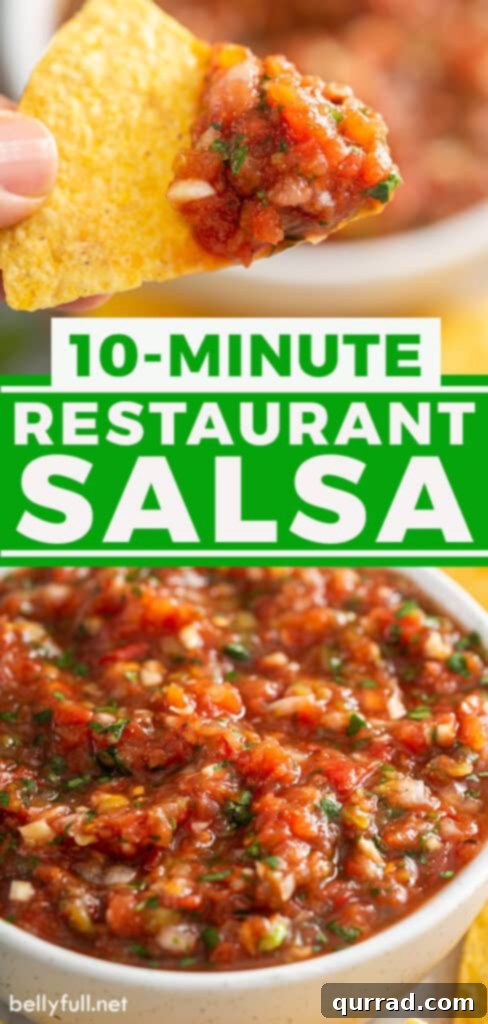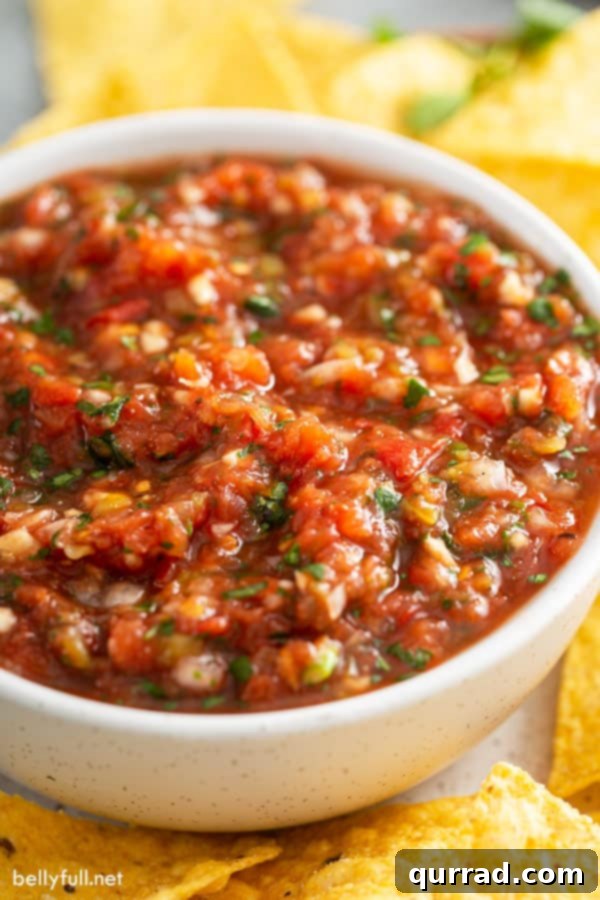
Unlock the secret to an irresistibly smooth, zesty, and utterly delicious salsa that tastes just like it came from your favorite authentic Mexican restaurant! This easy-to-follow recipe for Restaurant Style Salsa transforms a handful of fresh ingredients and pantry staples into a vibrant, flavor-packed condiment in mere minutes, all thanks to the power of your blender. Say goodbye to store-bought salsa and hello to the fresh, aromatic experience you crave.
There’s nothing quite like dipping a crisp tortilla chip into a perfectly balanced salsa – a symphony of ripe tomatoes, fiery jalapeños, fragrant cilantro, and a touch of tangy lime. Our homemade version captures that elusive restaurant quality, making it the ideal accompaniment for any Mexican feast, a refreshing snack, or a lively addition to countless dishes.
Beyond this fantastic salsa, explore other beloved Mexican condiments from our kitchen. Elevate your meals with our Pico de Gallo, a chunky, fresh salsa bursting with diced tomatoes, onions, and jalapeños. Dive into the creamy, rich goodness of our Guacamole, or discover a unique flavor with our vibrant Mexican Chimichurri Sauce. Each recipe is designed to bring authentic Mexican flavors right to your table.
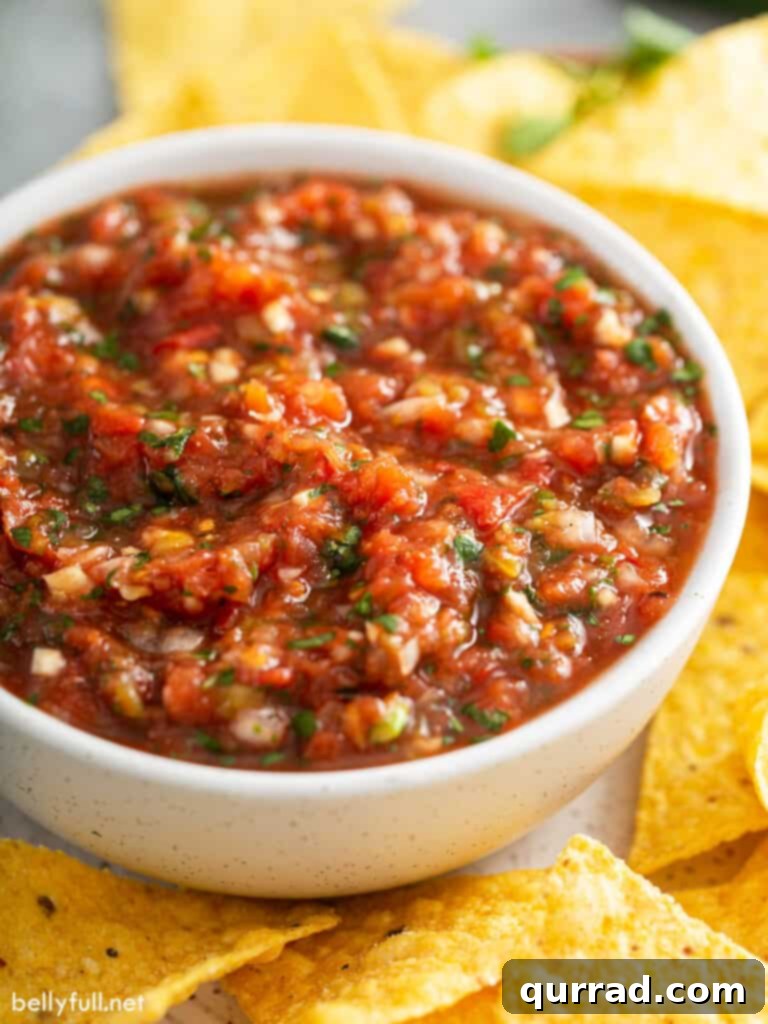
My journey to perfecting this Restaurant Style Salsa began at a charming, unassuming Mexican restaurant nestled just a short drive from my home. It’s one of those hidden gems, a ‘hole-in-the-wall’ spot that consistently serves up some of the most authentic Mexican cuisine I’ve ever tasted. Every month, without fail, my family and I would make our pilgrimage there, and every time, we’d find ourselves devouring bowl after bowl of their incredible, smooth salsa before our main courses even arrived. Its flavor was captivating – fresh, complex, with just the right amount of heat and tang. I was determined to recreate that magic at home.
One evening, mustering up the courage, I approached the owner and humbly asked for their secret. To my delight, they were incredibly generous and shared the fundamental principles of their renowned salsa. I took their insights back to my kitchen and, with a few minor adjustments to suit my family’s preferences, developed the recipe I am thrilled to share with you today. This isn’t just *a* salsa recipe; it’s *the* salsa recipe, a true taste of that beloved restaurant experience, now accessible in your own kitchen.
Restaurant Style Salsa – Why You’ll Love This Easy Blender Recipe!
Often referred to as “Blender Salsa,” Restaurant Style Salsa is the epitome of that irresistible, smooth, and richly flavored condiment you eagerly scoop up with tortilla chips at your favorite Mexican eatery. What makes this homemade version so exceptional? It’s a harmonious blend of fresh, vibrant vegetables and convenient pantry staples, ensuring you can whip up a batch of this amazing salsa any time of year.
Here’s a deeper look into why this recipe will become a staple in your culinary repertoire:
- Unforgettable Flavor Profile: This salsa is bursting with a complex and aromatic blend of ingredients that truly mimics the depth found in professional kitchens. The combination of fire-roasted tomatoes, fresh garlic, and vibrant cilantro creates a flavor that is both bold and incredibly fresh, leaving you craving more.
- Remarkably Quick and Effortless: Forget tedious chopping and simmering. The beauty of this recipe lies in its simplicity. With the aid of a blender or food processor, you can go from raw ingredients to a perfectly smooth and flavorful salsa in mere minutes, making it ideal for impromptu gatherings or busy weeknights.
- Incredibly Convenient: Utilizing a smart mix of fresh produce and readily available canned goods means you don’t have to wait for peak season to enjoy this salsa. Canned diced tomatoes and green chiles ensure consistent flavor and texture, while fresh components add that essential bright, vibrant kick.
- Budget-Friendly: Crafting your own restaurant-quality salsa at home is significantly more economical than purchasing gourmet store-bought versions. Most ingredients are inexpensive and common, allowing you to enjoy generous servings without breaking the bank.
- Excellent Shelf Life: This salsa stores beautifully in the refrigerator for several days, and its flavor only deepens over time. It’s an excellent make-ahead option for entertaining or meal prepping, ensuring you always have a delicious condiment on hand.
From its incredible taste to its unparalleled convenience and cost-effectiveness, this Restaurant Style Salsa is a culinary game-changer. It’s more than just a dip; it’s an experience that elevates any meal.
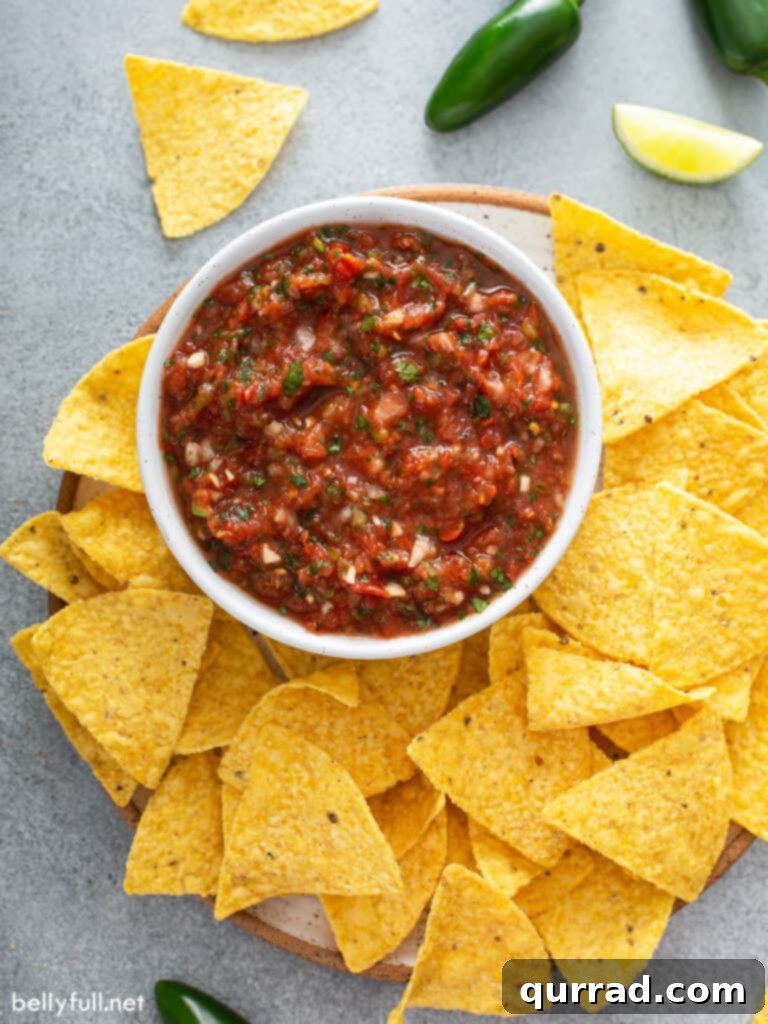
Crafting the Perfect Restaurant Style Salsa: Key Ingredients
The magic of this salsa lies in its carefully chosen ingredients, each contributing to that signature restaurant-quality flavor. Here’s a detailed breakdown of what you’ll need and why each component is crucial:
- Canned Diced Tomatoes and Fire-Roasted Tomatoes: This duo forms the robust base of our salsa. While regular diced tomatoes provide essential body and tang, fire-roasted tomatoes are a game-changer. Their smoky, slightly charred flavor adds incredible depth and complexity that regular tomatoes simply can’t match, elevating the salsa to restaurant-level deliciousness. If fire-roasted varieties are unavailable, you can double up on regular diced tomatoes, but be prepared for a slightly different flavor profile. Remember to use them undrained, as the liquid is vital for achieving that smooth consistency.
- Canned Diced Green Chiles: These unassuming chiles are flavor powerhouses, contributing a subtle earthy note and a very mild, approachable heat. They layer in another dimension of taste without overpowering the other ingredients, making the salsa more complex and inviting. Be sure to drain them well before adding to the blender.
- White Onion: We swear by white onion for its crisp texture and sharp, clean flavor that mellows beautifully when blended. It’s our top choice for a reason and a staple in our Pico de Gallo. However, if you prefer a slightly milder or sweeter onion, yellow or even red onion can be substituted. Just be aware that red onion might lend a slightly pinkish hue to your salsa.
- Jalapeño Pepper: This is where you control the heat! For a mild salsa that everyone can enjoy, meticulously remove all the seeds and the white ribs (pith) inside the pepper, as these are where most of the capsaicin (heat) resides. If you appreciate a spicier kick, feel free to leave some or all of the seeds and ribs intact. Always wash your hands thoroughly after handling jalapeños, or better yet, wear gloves.
- Fresh Garlic: Do not compromise on fresh garlic! It makes an enormous difference in the overall vibrancy and pungency of the salsa. Freshly peeled and chopped garlic cloves deliver an aromatic depth that garlic powder simply cannot replicate. While jarred minced garlic can work in a pinch, it won’t offer the same bright, sharp flavor as fresh. Avoid garlic powder for this recipe; its flat taste will detract from the fresh profile.
- Cilantro: Despite some people having a genetic aversion to cilantro, its fresh, herbaceous, and slightly citrusy notes are absolutely essential to authentic Mexican salsa. It brightens the entire mixture and provides an unmistakable aroma. If you are truly in the “cilantro tastes like soap” camp, fresh flat-leaf parsley is the best substitute, offering a similar fresh green note, though the overall flavor will be different.
- Lime Juice: This ingredient demands freshness! Bottled lime juice simply doesn’t compare to the vibrant, tangy, and aromatic punch of freshly squeezed lime juice. It’s the essential acid that balances the sweetness of the tomatoes and the heat of the peppers, tying all the flavors together and giving the salsa its characteristic zing.
- Essential Seasonings:
- Cumin: Earthy and warm, ground cumin adds a classic Mexican flavor, providing a subtle depth that enhances the savory notes.
- Salt and Pepper: These are fundamental for seasoning and bringing out the natural flavors of all the ingredients. Always taste and adjust to your preference.
- Sugar (Just a Touch!): This might seem counterintuitive, but a small amount of granulated sugar is a secret weapon in tomato-based recipes like sauces and salsas. It doesn’t make the salsa sweet; instead, it cleverly balances and cuts through the natural acidity of the tomatoes. This subtle sweetness enhances and rounds out all the other flavors, making them sing. Don’t skip it!
With these quality ingredients at your disposal, you’re well on your way to creating a Restaurant Style Salsa that will impress every palate.
Customizing Your Salsa: Adjusting to Personal Taste
One of the greatest joys of making homemade salsa is the ability to tailor it precisely to your palate. This recipe is wonderfully adaptable, allowing you to easily fine-tune the heat, consistency, and even add extra ingredients for unique variations.
- Craving More Heat? Turn Up the Spice!
- Jalapeño Control: As mentioned, leaving some or all of the seeds and white ribs in your jalapeño will significantly increase the heat. For a serious kick, consider adding a second jalapeño.
- Cayenne Pepper: A small pinch (1/4 to 1/2 teaspoon) of ground cayenne pepper can be blended in for a straightforward heat boost without altering the core flavor profile too much.
- Chiles in Adobo: For a smoky, complex heat, add 1/2 to 1 full teaspoon of minced chipotle chiles in adobo sauce. These peppers provide not only heat but also a rich, deep, and slightly sweet smokiness that transforms the salsa. Start with a small amount and add more to taste.
- Prefer a Thicker Consistency?
- If you enjoy a salsa with more body that clings perfectly to your chips, simply drain off some or all of the liquid from the canned diced tomatoes and fire-roasted tomatoes before adding them to the blender. The less liquid you include, the thicker your final salsa will be. You can always add a tablespoon or two back in if it becomes too thick.
- Like it Chunkier? Control the Blend!
- Our recipe aims for that smooth, restaurant-style texture by blending until no large pieces remain. However, if you prefer a more rustic, chunky salsa (similar to a Pico de Gallo, but blended), simply use fewer pulses in your blender or food processor. Pulse just a few times until the ingredients are broken down to your desired chunkiness, being careful not to over-process.
- Exciting Add-ins for Flavor Variations:
- Once your salsa is blended to perfection, consider stirring in some delightful additions. Sweet corn kernels (fresh, frozen, or canned and drained) add a lovely texture and burst of sweetness. Black beans (rinsed and drained) contribute a creamy texture and earthy flavor, making the salsa heartier and more substantial.
- For an even brighter, fresher taste, finely chopped bell peppers (red, yellow, or orange) can be folded in after blending.
- A sprinkle of crumbled cotija cheese or a dollop of sour cream on top can also add a creamy contrast when serving.
Don’t be afraid to experiment! This recipe provides a solid foundation, but your personal touches are what will make it truly yours.
How to Prepare This Incredible Restaurant Style Salsa
Making this Restaurant Style Salsa is astonishingly simple and takes minimal effort. The entire process is designed for maximum flavor with minimum fuss, thanks to your trusty blender or food processor. Here’s a step-by-step guide to achieving salsa perfection:
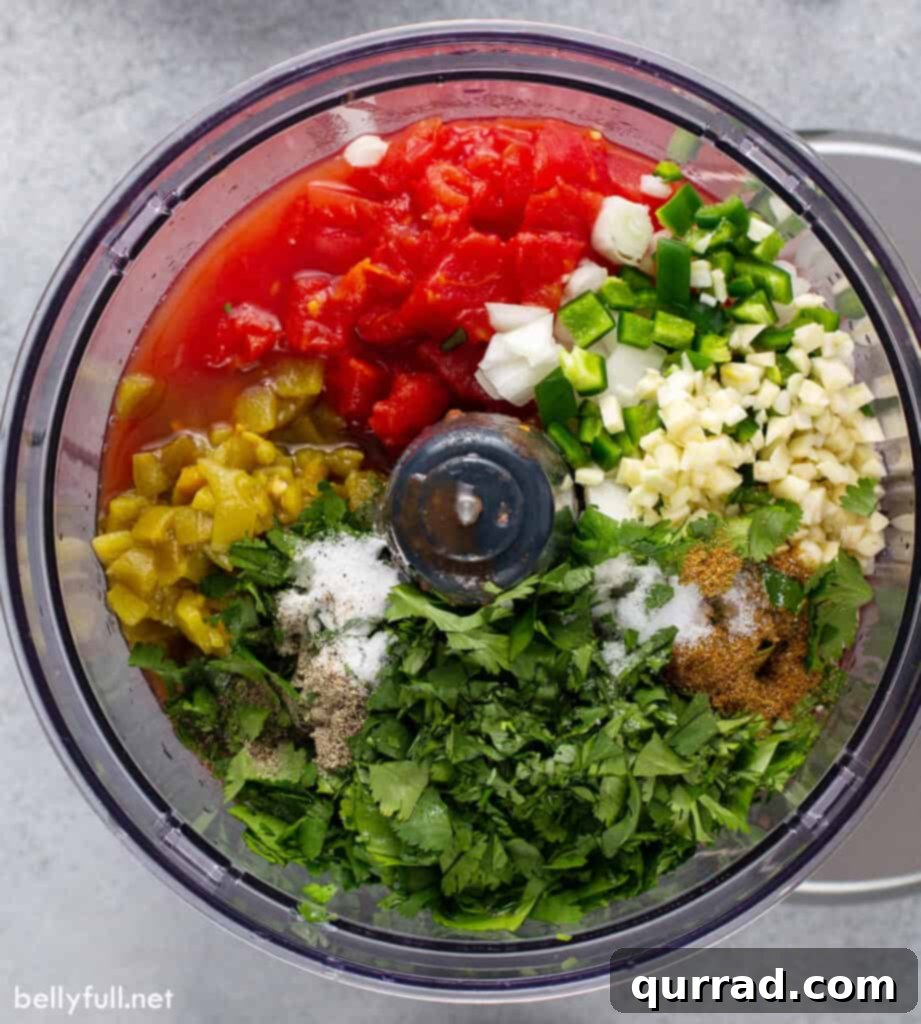
- Prepare Your Fresh Ingredients: Begin by giving your fresh ingredients – the white onion, jalapeño pepper, garlic cloves, and cilantro – a rough chop. There’s no need for fine dicing here, as your blender will do all the heavy lifting. Just ensure they are small enough to process easily. Remember to remove the seeds and ribs from the jalapeño if you prefer a milder salsa.
- Combine All Ingredients in the Blender: Carefully add all the prepared fresh ingredients along with the canned diced tomatoes (undrained), fire-roasted tomatoes (undrained), drained diced green chiles, fresh lime juice, ground cumin, salt, pepper, and that essential pinch of granulated sugar to the bowl of your food processor or blender. Adding the liquids first can sometimes help the blades catch the solids more effectively.
- Blend to Perfection: Secure the lid and begin by pulsing the mixture a few times. This initial pulsing helps to break down the larger pieces and ensures everything is evenly distributed. After the initial pulses, continue to process until your salsa reaches the desired consistency. For that authentic, smooth restaurant-style salsa, blend until no large chunks remain and the mixture is silky smooth. If you prefer a slightly chunkier texture, simply stop blending sooner after just a few more quick pulses. Be sure to scrape down the sides of the blender bowl occasionally to ensure all ingredients are incorporated.
- Taste and Adjust: Once blended, transfer a small amount of salsa to a spoon and taste it. This is your opportunity to truly personalize the flavor. Does it need a little more salt? A dash more lime juice for extra tang? A pinch of sugar to balance the acidity further? Perhaps a touch more cumin for depth, or a whisper of cayenne if you desire more heat? Adjust the seasonings according to your preference, blending briefly after each addition to incorporate.
- Chill for Optimal Flavor: This step is crucial for flavor development. Transfer your freshly made salsa to an airtight container and refrigerate it for at least a couple of hours. Ideally, let it chill for 1 day before serving. The longer the salsa rests in the fridge, the more the flavors will meld and deepen, resulting in a far richer and more complex taste.
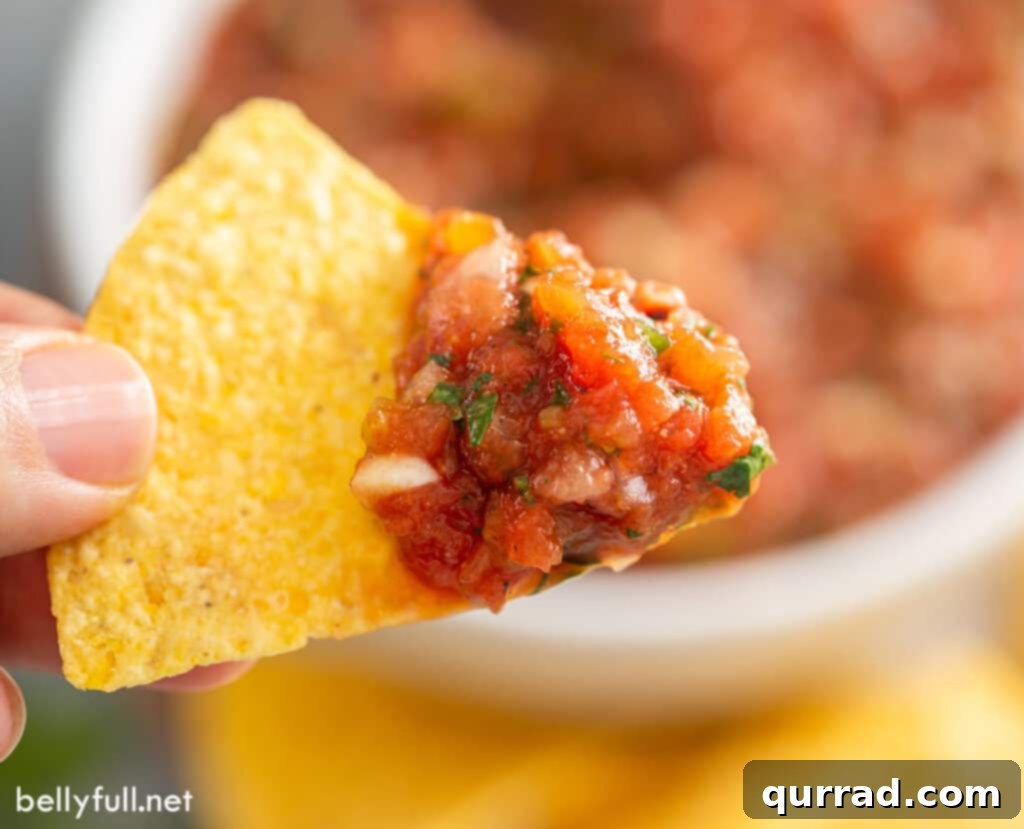
- Serve and Enjoy!: Once thoroughly chilled and bursting with flavor, serve your homemade Restaurant Style Salsa with a generous bowl of crispy tortilla chips. It’s also fantastic as a topping for tacos, burritos, grilled meats, or eggs.
Follow these simple steps, and you’ll be enjoying the freshest, most delicious salsa you’ve ever made at home!
The Secret to Deeper Flavor: Let It Chill
While this salsa is delicious right after blending, its flavors truly blossom and become significantly more complex after spending time in the refrigerator. Just like a fine wine, the ingredients need time to marry and for their individual characteristics to fully meld into a harmonious symphony. Chilling allows the aromatic compounds from the garlic, cilantro, and spices to infuse deeply into the tomato base, creating a more cohesive and satisfying taste experience. For the absolute best flavor, plan to make your salsa at least a few hours, or even a full day, in advance.
Storing Your Homemade Restaurant Style Salsa
Proper storage is key to enjoying your delicious homemade salsa for as long as possible. Here’s how to keep it fresh:
- Refrigeration: This salsa can be made up to a day in advance of serving, which, as noted, actually enhances its flavor significantly. Store it in an airtight container in the refrigerator. Any leftovers will maintain their quality and freshness for up to 4 days. Before serving again, give it a good stir and taste to see if it needs a little more salt or a fresh squeeze of lime juice to awaken the flavors.
- Freezing Salsa: While technically possible, freezing does tend to affect the texture of salsa. The water content in the vegetables can crystalize, leading to a slightly mushier or less vibrant consistency upon thawing. Therefore, it’s not our preferred method for long-term storage if you prioritize the fresh, crisp texture. However, if you have an abundance and wish to freeze it, transfer the salsa to freezer-safe containers or bags, leaving a little headspace. It will keep for up to 1 month for best quality. Thaw frozen salsa overnight in the refrigerator, give it a thorough stir, and taste for seasoning adjustments before using. It’s often best used in cooked dishes after freezing, such as in chili or casseroles, where texture changes are less noticeable.
- Canning Salsa: Canning salsa is a popular method for extended shelf life, but it requires specific procedures and adherence to safety guidelines to prevent spoilage and ensure food safety. Typically, canning salsa involves boiling the mixture until thickened, carefully cooling it, sterilizing jars, and then processing them in a hot water bath for 20-25 minutes, among other detailed steps. We have not tested this particular recipe for canning applications. The acidity levels and ingredient ratios would need to be precisely calibrated for safe home canning. Therefore, we strongly advise proceeding with extreme caution and consulting reputable canning guides and recipes specifically designed for canning to ensure safety if you choose to attempt it with a modified recipe.
Restaurant Salsa Video Guide
While the video player elements have been removed to adhere to the instruction of cleaning up Javascript, imagine a vibrant, step-by-step visual guide here, demonstrating just how effortless it is to transform simple ingredients into this stunning Restaurant Style Salsa. From the initial rough chop of fresh produce to the satisfying whir of the blender, and finally, the rich, smooth texture poured into a serving bowl, a video would perfectly capture the ease and appeal of this recipe. It would highlight the quick pulses for desired consistency and the joyful moment of tasting and adjusting for perfection.
Creative Ways to Use Leftover Salsa
While it’s hard to imagine having any of this delicious salsa leftover, if you do find yourself with extra, it’s incredibly versatile and can elevate many dishes beyond just dipping with chips. Here are some fantastic ideas to put your leftover Restaurant Style Salsa to great use:
- Flavorful Beef Tacos: Stir a generous dollop into your ground beef or shredded beef filling for tacos. The salsa adds moisture, tang, and a burst of authentic Mexican flavor, making your taco night even more exciting.
- Zesty Shrimp Fajitas: Use the salsa as a vibrant marinade for shrimp before sautéing, or simply spoon it over your cooked fajitas for a fresh, bright topping that complements the charred vegetables and succulent shrimp beautifully.
- Crispy Chicken Taquitos: Serve your homemade taquitos with a side of this salsa for dipping. Its smooth texture and rich flavor provide the perfect counterpoint to the crispy, savory taquitos. You can also mix it into your chicken filling for added moisture and taste.
- Hearty Chili Relleno Casserole: Layer the salsa into your chili relleno casserole for an extra layer of tomatoey goodness and a touch of heat. It integrates wonderfully with the cheese and peppers, enhancing the overall depth of flavor.
- Classic Huevos Rancheros: This salsa is a natural fit for Huevos Rancheros. Spoon it generously over fried eggs and tortillas for a truly authentic and satisfying breakfast or brunch. The fresh, tangy notes cut through the richness of the eggs perfectly.
- Elevated Scrambled Eggs: Stir a tablespoon or two into your scrambled eggs while they’re cooking, or simply top your finished eggs with a dollop of salsa. It’s a quick and easy way to add a fresh, savory kick to your morning meal.
Don’t limit yourself! This versatile salsa can also be used as a topping for grilled chicken or fish, mixed into rice, or even as a base for a quick soup. Let your culinary creativity shine!
Restaurant Style Salsa
Pin
Equipment
-
Blender or Food Processor
Ingredients
- 14 ounce can fire roasted tomatoes, undrained
- 14 ounce can diced tomatoes, undrained
- 4 ounce can diced green chiles, drained
- 1 small white onion, peeled and roughly chopped
- 1 jalapeno pepper, seeds removed, chopped (adjust to taste for heat)
- 3 cloves garlic, peeled and chopped
- 1 cup packed cilantro, roughly chopped (or fresh parsley if preferred)
- 1 teaspoon ground cumin
- 1 teaspoon salt
- 1 teaspoon granulated sugar
- 1/4 teaspoon ground black pepper
- 2 1/2-3 tablespoons fresh lime juice
Instructions
-
Add all ingredients to the bowl of a food processor or blender in the order listed. Pulse a few times to break up the large pieces, then process continuously until the texture is as smooth as desired. Scrape down the sides as needed to ensure even blending.
-
Taste the salsa and, based on personal preference, adjust seasonings as necessary. You may wish to add more salt, lime juice, a pinch of sugar, or additional spices for more heat.
-
Transfer the salsa to an airtight container and let it sit in the refrigerator for at least a couple of hours, or ideally 1 full day, for the best flavor development.
-
Serve chilled with your favorite tortilla chips and enjoy!
Video
Due to the request to remove JavaScript, the dynamic video player has been removed. However, imagine a helpful video embedded here showcasing the simple steps to create this delicious Restaurant Style Salsa, from prep to plating.
Nutrition Information (per serving)
Nutritional information given is an automatic calculation and can vary based on the exact products you use and any changes you make to the recipe. If these numbers are very important to you, I would recommend calculating them yourself.
We truly hope you adore this incredibly delicious and straightforward Restaurant Style Salsa recipe! It’s designed to bring that authentic Mexican restaurant flavor directly to your home kitchen, effortlessly. We’d love to hear your thoughts and see your culinary creations, so please be sure to give it a review below once you’ve tried it. Your feedback helps us and other home cooks discover new favorites!
And don’t forget to stay connected with Belly Full for more mouth-watering recipes and kitchen tips. You can find us on Facebook, Instagram, Pinterest, and YouTube. Join our community and let’s cook up some amazing meals together!