
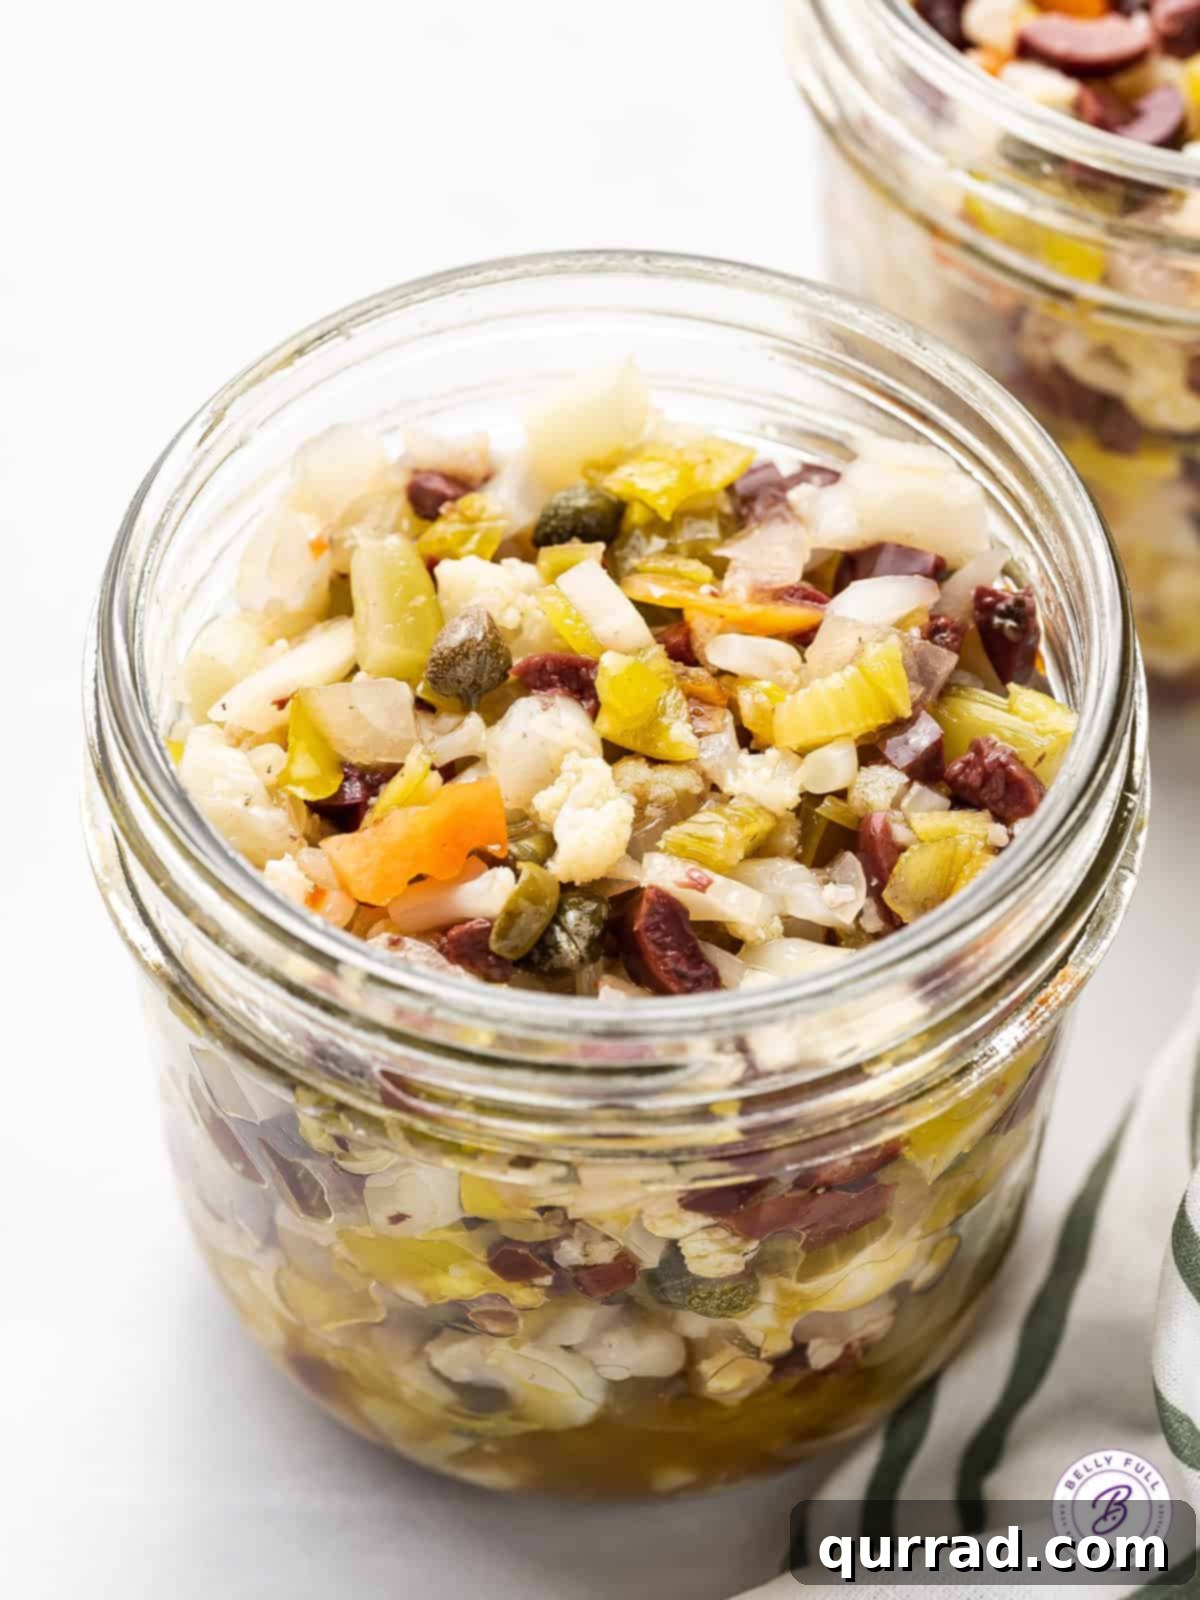
Welcome to the ultimate guide for crafting a truly exceptional Homemade Olive Salad, a vibrant and zesty condiment that promises to elevate your culinary creations. Far more than just a topping for the legendary Muffuletta sandwich, this olive salad bursts with a symphony of briny, tangy, and subtly spicy flavors, making it an indispensable addition to countless dishes. Whether you’re spreading it on crackers, tossing it into pasta, or using it as a unique pizza topping, its fresh, robust taste will undoubtedly become a staple in your kitchen.
Crafted with a thoughtful blend of Mediterranean-inspired ingredients, including crisp giardiniera, rich kalamata olives, piquant pepperoncini, delicate marinated onions, and salty capers, all bathed in a harmonious mixture of oil and vinegar, each bite delivers an unforgettable flavor explosion. This recipe isn’t just about recreating a classic; it’s about discovering a versatile condiment that’s quick to prepare and incredibly rewarding to have on hand. Prepare to transform ordinary meals into extraordinary culinary experiences with this easy-to-make, intensely flavorful olive salad.
The Essence of Homemade Olive Salad
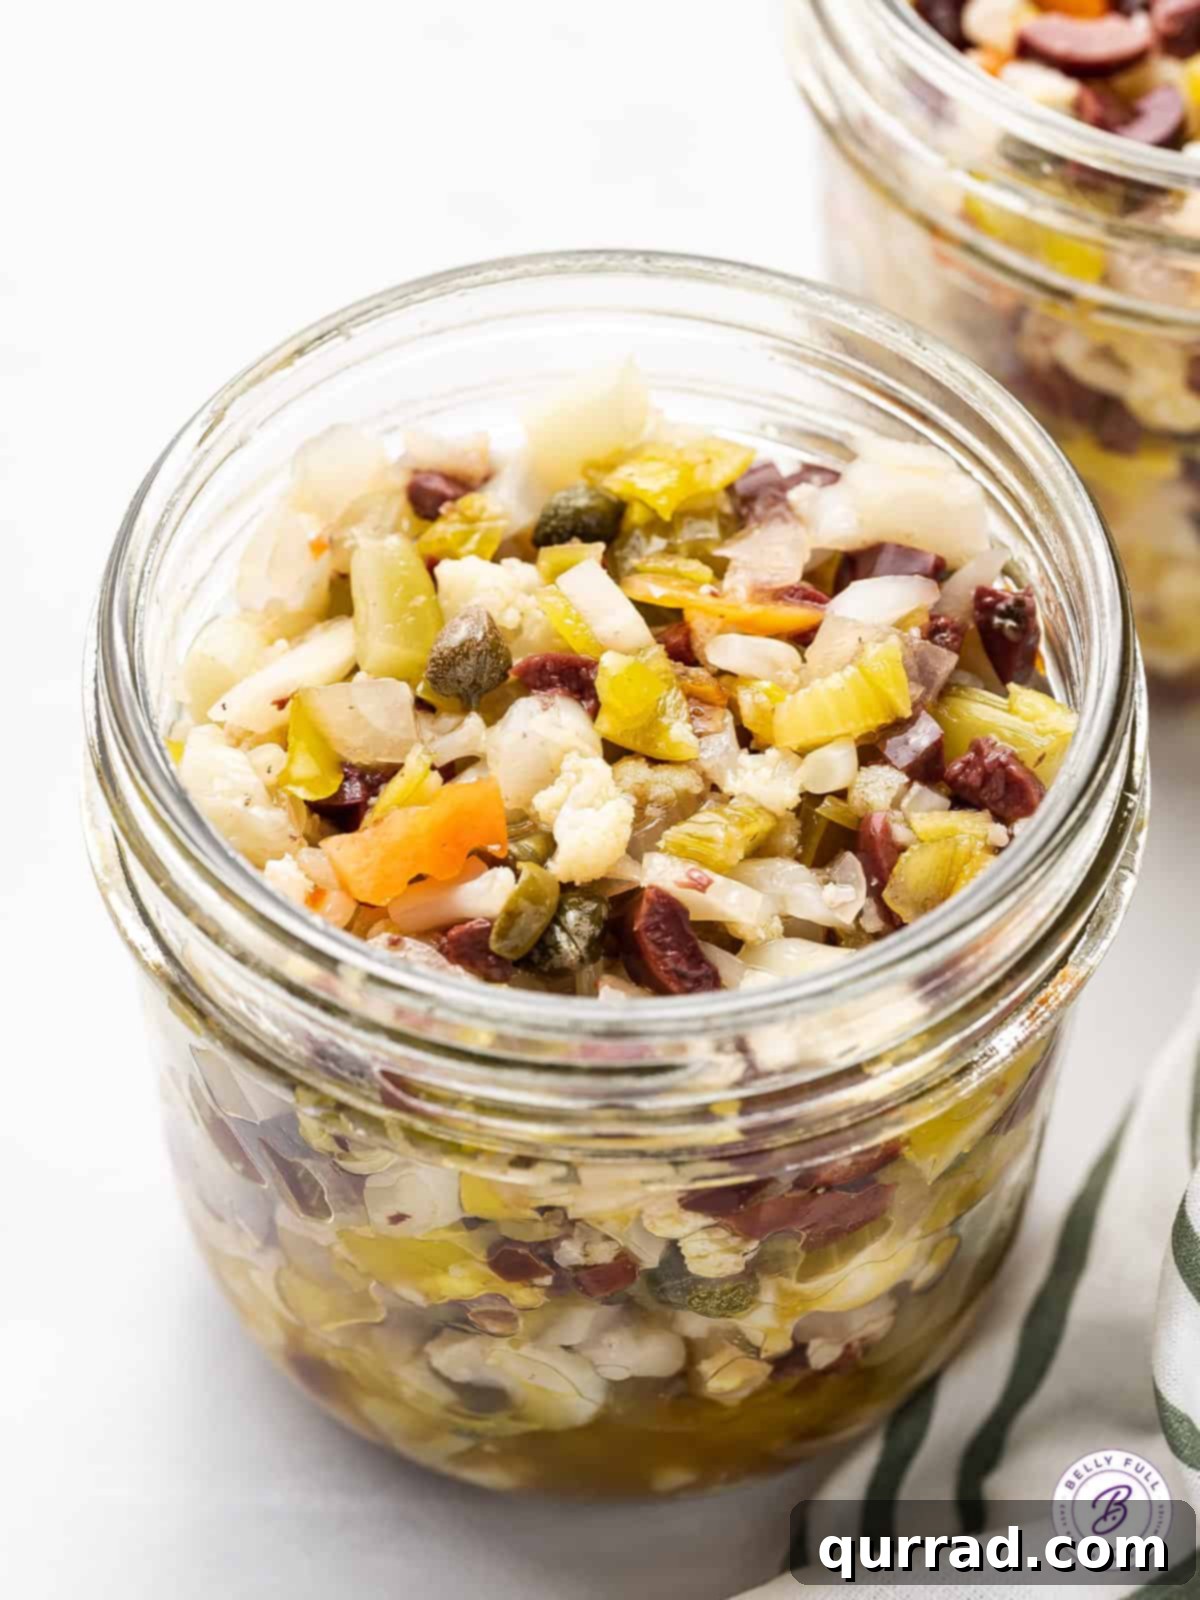
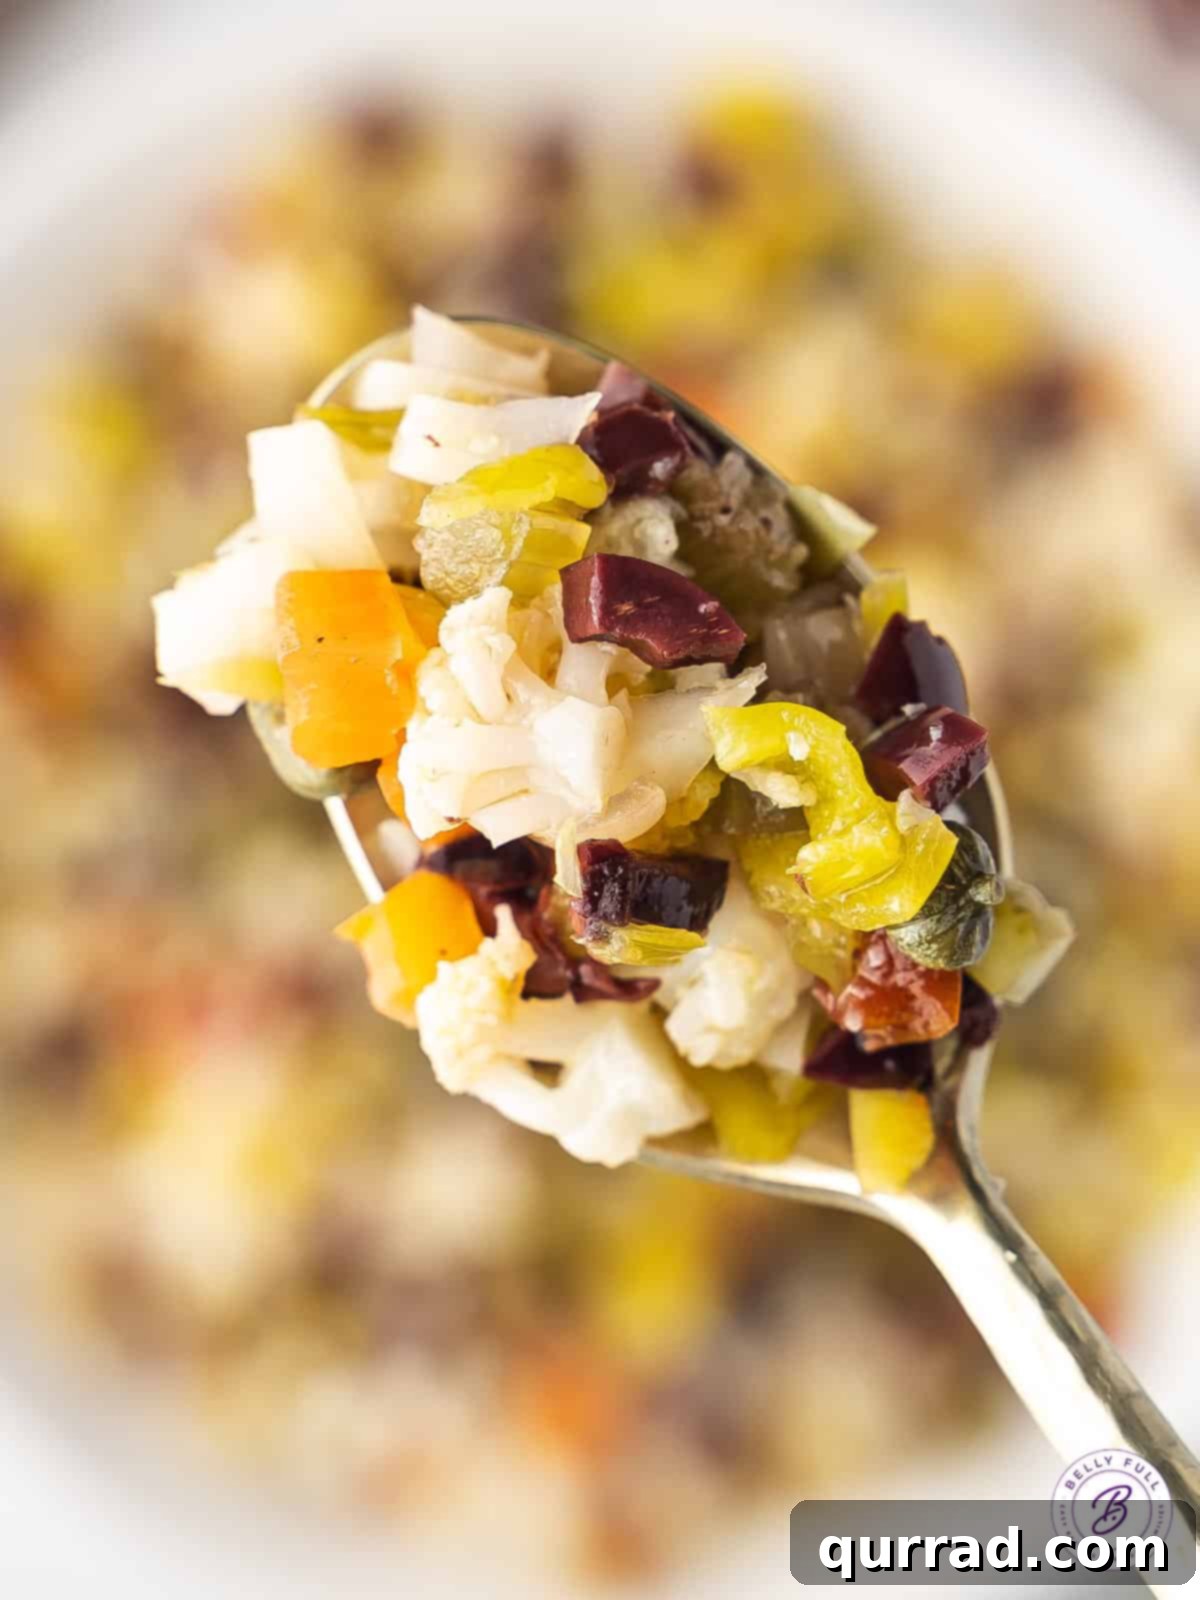
This homemade olive salad recipe brings the vibrant flavors of New Orleans straight to your kitchen. While famously known as the signature topping for the iconic Muffuletta sandwich, its incredible versatility and depth of flavor make it a stand-alone star. My version combines classic elements like crunchy giardiniera, the distinct brininess of kalamata olives, a subtle kick from pepperoncini, savory marinated cocktail onions, and a briny finish from capers, all unified by a light, zesty oil and vinegar dressing. The result is a chunky, textured condiment that adds a burst of Mediterranean-inspired zest to virtually anything it touches.
What truly sets this recipe apart is its simplicity and speed. In just minutes, you can assemble a batch of this flavorful salad, which only improves with time as the ingredients meld together. It’s an ideal make-ahead component for entertaining, meal prepping, or simply ensuring you always have a gourmet touch ready to enhance your daily dishes. Move beyond the sandwich and explore its potential – from enriching pasta salads to enlivening appetizers and even upgrading simple crackers, this olive salad is a testament to how bold flavors can be both easy to achieve and endlessly adaptable.
Why Craft Your Own Olive Salad?
While store-bought olive salads are available, creating your own at home offers unparalleled advantages. The primary benefit lies in the freshness and quality of ingredients. You have complete control over selecting the finest olives, the crispest giardiniera, and premium oils, ensuring a superior flavor profile that mass-produced versions simply cannot match. This allows for customization, letting you adjust the ratio of ingredients to suit your personal taste preferences – perhaps a little more spice from additional pepperoncini, or a richer olive blend.
Beyond taste, making olive salad from scratch is a surprisingly economical choice. Purchasing individual components often proves more cost-effective than buying pre-made gourmet spreads, especially when you consider the quantity you can produce. Furthermore, the satisfaction of preparing a dish from the ground up, knowing exactly what goes into it, adds an invaluable layer of enjoyment to your culinary endeavors. It’s an easy project that yields impressive results, making it a perfect entry point for aspiring home cooks or a beloved routine for seasoned chefs looking to master classic condiments.
Homemade Olive Salad Recipe
This vibrant and zesty olive salad is prepared in minutes and promises to become your new favorite condiment. Perfect for the classic Muffuletta sandwich or as a versatile topping for countless dishes.
Prep time: 10 mins | Total time: 10 mins
Servings: 8 servings (about 2 cups total)
Rate This Recipe |
Pin This Recipe |
Print Recipe
Ingredients
- 16 ounce jar Giardiniera, drained and finely diced (or store-bought for convenience)
- ¼ cup kalamata olives, pitted, drained, and finely diced
- ¼ cup pepperoncini peppers, stemmed, drained, and finely diced
- 5 marinated cocktail onions, drained and finely diced
- 1 tbsp capers, drained
- ¼ tsp ground black pepper
- 2 tbsp red wine vinegar
- ¼ cup olive oil (extra virgin preferred for flavor)
- 2 tbsp canola oil (or another neutral oil to balance the olive oil)
Instructions
- Prepare the Vegetables: Begin by finely dicing the giardiniera, kalamata olives, pepperoncini peppers, and marinated cocktail onions. The goal is to achieve pieces that are roughly the same size as the capers, ensuring a consistent texture and flavor distribution in every bite. This fine chop is key to a traditional muffuletta olive salad texture.
- Combine All Ingredients: In a medium-sized mixing bowl, add all the finely diced ingredients: giardiniera, kalamata olives, pepperoncini, marinated onions, and capers. Season with ¼ teaspoon of ground black pepper.
- Add the Dressing: Pour in the 2 tablespoons of red wine vinegar, ¼ cup of olive oil, and 2 tablespoons of canola oil. Gently mix all the ingredients thoroughly until they are well combined and coated in the dressing.
- Transfer and Chill: Carefully transfer the olive salad mixture to an airtight container. Ensure that all the solid ingredients are submerged in the oil mixture; if needed, add a small touch more olive oil to fully cover the salad, which helps preserve its freshness and prevents oxidation.
- Allow Flavors to Meld: Cover the container tightly and refrigerate overnight. This crucial chilling period allows the distinct flavors of all the ingredients to meld and deepen, transforming them into a harmonious and more complex condiment. While it can be enjoyed immediately, chilling overnight significantly enhances the overall taste experience.
Notes
- Food Processor Tip: For a quicker preparation, you can use a food processor. Pulse each ingredient (giardiniera, olives, pepperoncini, onions) separately in short bursts. Be careful not to over-process; the goal is a chunky spread, not a smooth paste. The texture is important for an authentic muffuletta olive salad.
- Serving Size: This recipe yields approximately 2 cups of olive salad. The nutritional information provided is based on a serving size of 1/4 cup. Feel free to adjust your serving size according to your preference and dietary needs.
Nutrition
The nutritional information below is an estimate and can vary based on the specific brands and exact quantities of ingredients used. If precise figures are essential for your dietary planning, it is recommended to calculate them independently.
Calories: 260kcal | Carbohydrates: 40g | Protein: 4g | Fat: 26g | Saturated Fat: 1g | Polyunsaturated Fat: 2g | Monounsaturated Fat: 8g | Trans Fat: 0.01g | Sodium: 1447mg | Potassium: 14mg | Fiber: 0.3g | Sugar: 0.1g | Vitamin A: 31IU | Vitamin C: 9mg | Calcium: 4mg | Iron: 0.1mg
Step-by-Step Visual Guide to Olive Salad Perfection
Achieving the perfect olive salad is all about the right preparation and allowing time for the flavors to develop. Follow these simple steps for a truly delicious homemade condiment.
Step 1: Precision Dicing for Consistent Texture
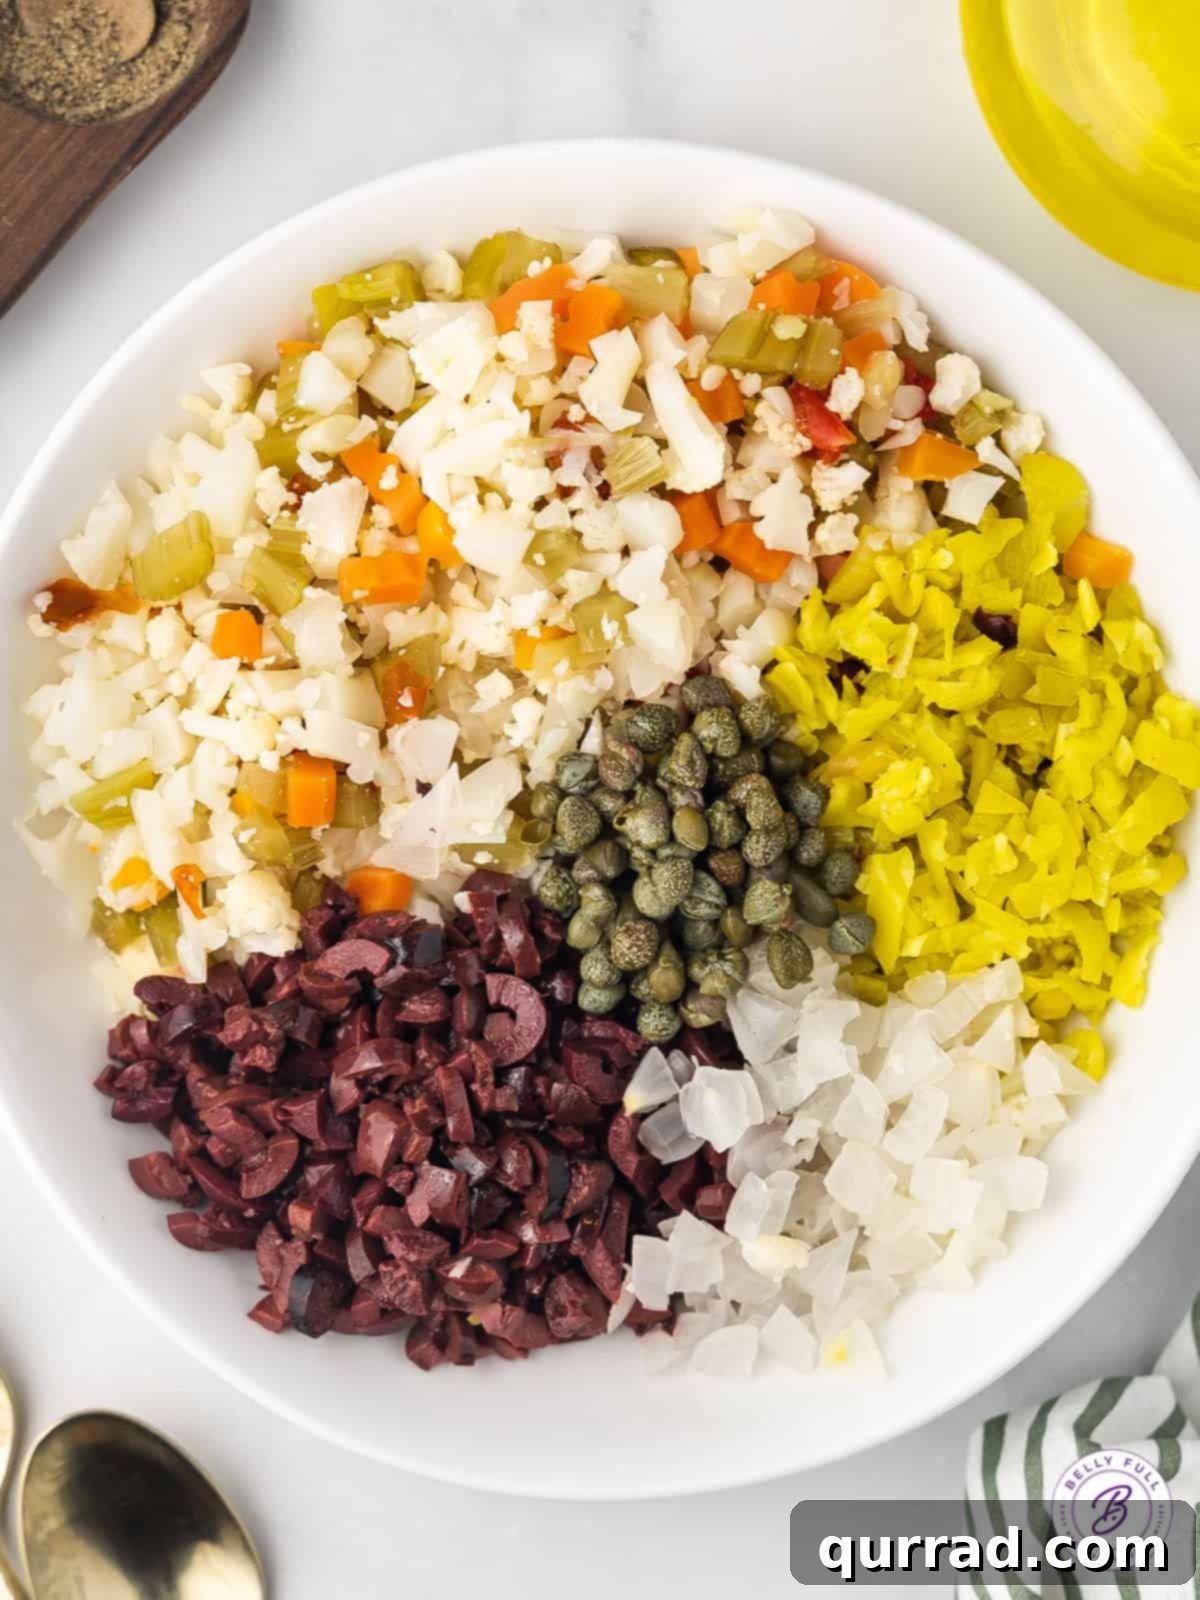
Begin by taking your 16-ounce jar of giardiniera, ¼ cup of kalamata olives, ¼ cup of pepperoncini peppers, and 5 marinated cocktail onions. Drain them thoroughly to remove excess liquid. The key to a great olive salad is uniformity in texture, so take your time to finely dice each ingredient. Aim for pieces roughly the same size as capers to ensure an even blend of flavors in every spoonful. This careful dicing process prevents any single ingredient from overpowering the others and contributes to the satisfying chunky consistency.
Step 2: Harmonizing the Flavors with Dressing
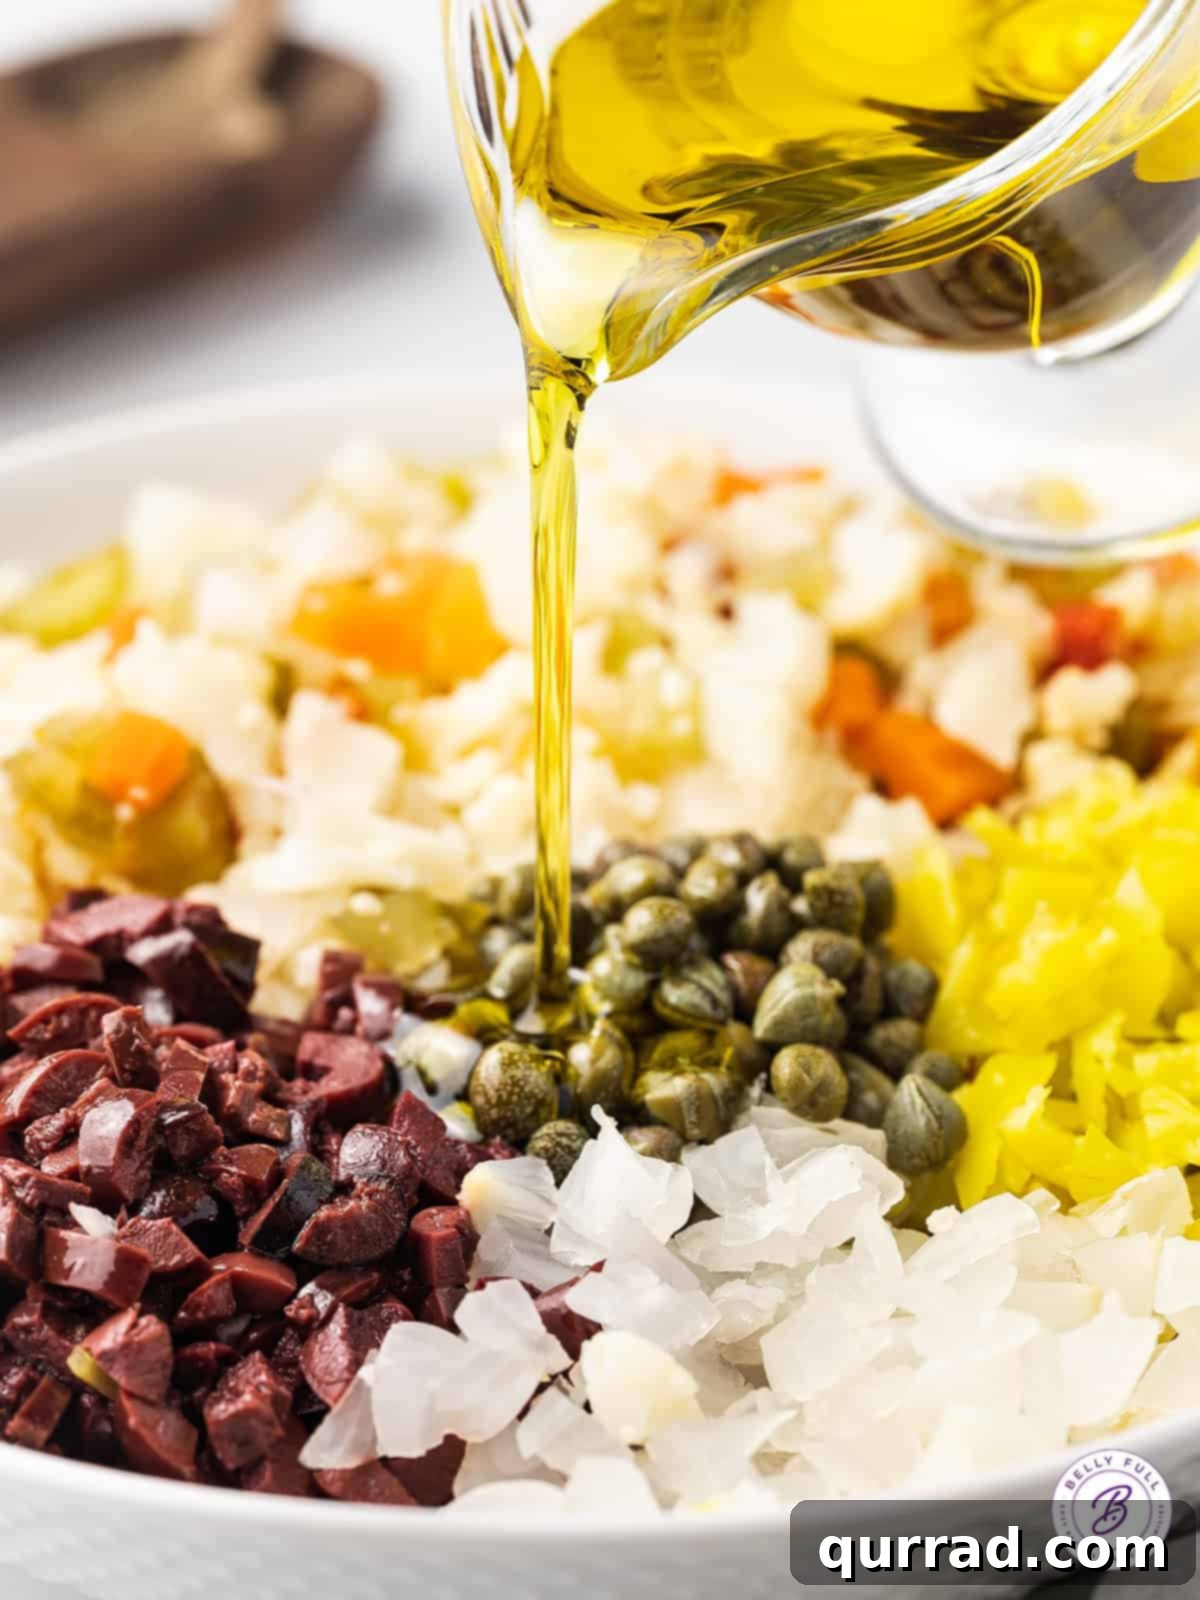
Once all your ingredients are finely diced, transfer them to a medium-sized mixing bowl. To this vibrant medley, add 1 tablespoon of drained capers and ¼ teaspoon of freshly ground black pepper. Next, introduce the liquid components: 2 tablespoons of red wine vinegar for its sharp tang, ¼ cup of high-quality olive oil for richness and a fruity note, and 2 tablespoons of canola oil (or another neutral oil) to lighten the overall texture and flavor without overshadowing the briny elements. Gently stir all ingredients until they are thoroughly combined and beautifully coated in the dressing.
Step 3: The Essential Chill for Flavor Development
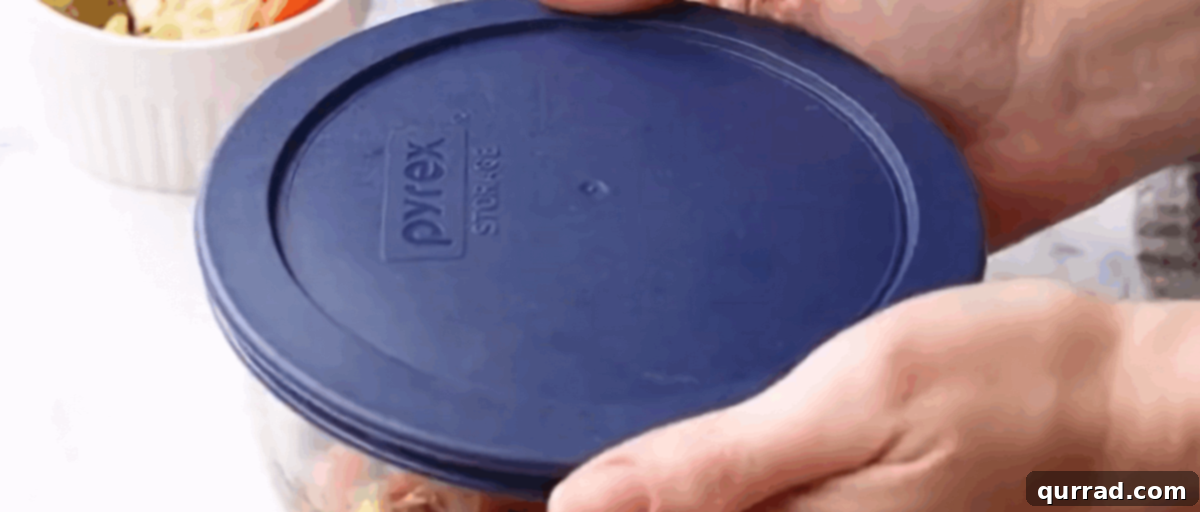
After mixing, transfer your homemade olive salad to an airtight container. An important tip for longevity and flavor is to ensure that all the solid ingredients are fully submerged in the oil and vinegar mixture. If necessary, pour a tiny bit more olive oil over the top to create a protective seal. Cover the container securely and refrigerate the olive salad overnight. This chilling period is not just for cooling; it’s a crucial step that allows all the distinct flavors to marry and deepen, resulting in a far more complex and satisfying taste profile. While you can serve it immediately, the overnight chill truly unlocks its full potential.
Step 4: Serve and Savor Your Culinary Creation
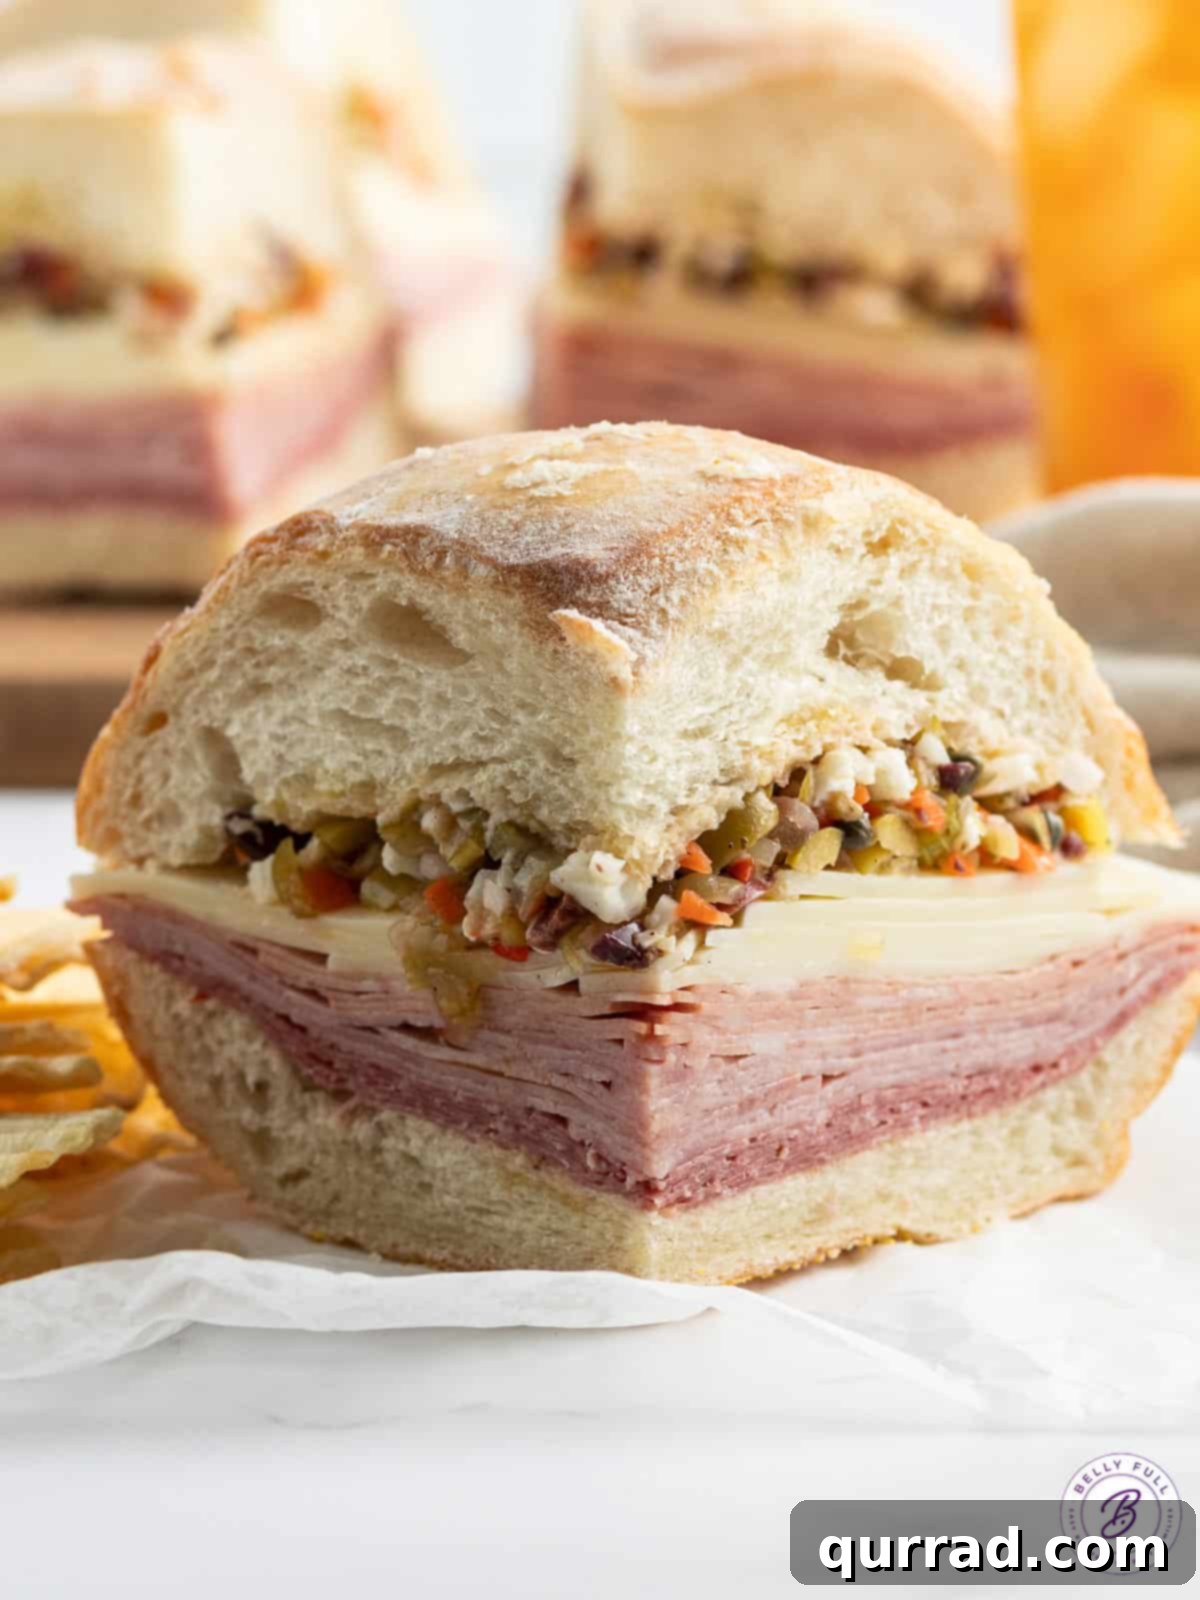
Once chilled, your homemade olive salad is ready to be enjoyed! Before serving, give it a good stir. It’s fantastic as the quintessential topping for a classic Muffuletta sandwich, providing that signature zesty punch. Beyond its traditional use, don’t hesitate to experiment. Spread it generously on crispy crackers for an appetizer, dollop it onto homemade pizza for an unexpected flavor twist, or integrate it into salads and other dishes. The chilled salad is a fantastic flavor enhancer, ready to bring a touch of New Orleans zest to any meal you desire.
Essential Tips for the Perfect Olive Salad
Crafting an unforgettable homemade olive salad is simple, but a few key tips can elevate your creation from good to absolutely spectacular.
- Uniform Dicing is Key: As mentioned in the steps, aim for consistency when dicing your ingredients. Small, evenly sized pieces ensure that every bite delivers a harmonious blend of flavors and textures, rather than one ingredient dominating. This also makes the salad easier to spread and enjoy.
- Don’t Skimp on Chilling Time: While tempting to dive in immediately, the overnight refrigeration period is crucial. It allows the acidity of the vinegar and the oils to deeply infuse into the vegetables, softening their edges and creating a more cohesive and complex flavor profile. Think of it as a flavor marination.
- Quality Ingredients Matter: Since olive salad relies heavily on its core components, invest in good quality giardiniera, fresh olives, and high-grade olive oil. The better your initial ingredients, the more profound and delicious your final salad will be.
- Taste and Adjust: Before the overnight chill, give your salad a quick taste. Do you prefer more tang? Add a splash more red wine vinegar. A touch more richness? A little extra olive oil. The beauty of homemade is customization to your palate.
- Keep it Submerged: Always ensure the solid components of your olive salad are covered by the oil and vinegar mixture when stored. This acts as a natural preservative, keeping the ingredients fresh and preventing discoloration or spoilage.
- Consider a Food Processor (Carefully!): For speed, a food processor can be a great tool. However, use it with caution. Pulse ingredients in small batches to maintain a chunky texture. Over-processing will turn your salad into a mushy paste, losing its delightful mouthfeel.
Storing Your Homemade Olive Salad
One of the many benefits of this homemade olive salad is its excellent shelf life, allowing you to enjoy its robust flavors for an extended period. When stored properly in a tightly sealed jar or an airtight container, ensuring that all the ingredients are fully submerged under the oil mixture, your muffuletta olive salad can happily reside in the refrigerator for several weeks. The oil acts as a protective barrier, preserving freshness and locking in those delicious briny notes.
It’s perfectly normal for the oil in your chilled olive salad to solidify when cold. This is simply a natural reaction of olive oil to lower temperatures and is no cause for concern. When you’re ready to use it, simply scoop out the desired amount and allow it to come to room temperature for a few minutes, or gently warm it in the microwave for a few seconds until the oil liquifies again. Give it a quick stir, and it will be ready to serve with all its flavors intact.
While the salad keeps wonderfully in the fridge for weeks, if you find yourself with an abundance or wish to extend its life even further, you can certainly freeze the leftovers. However, in my experience, its versatility and deliciousness mean it rarely lasts long enough to warrant freezing! We usually find ourselves using it up well before the refrigerator limit. Freezing might alter the texture of some ingredients slightly, but the flavor will remain vibrant.
Creative Ways to Enjoy Your Olive Salad
While the olive salad is quintessential for the iconic Muffuletta sandwich, its dynamic flavor profile makes it incredibly versatile. Don’t let any leftovers go to waste; this zesty condiment can transform a variety of dishes. Here are some inspired serving suggestions to help you explore its full potential:
- Elevate Your Salads: Stir a generous spoonful into your favorite mixed greens or grain salads. The briny, tangy flavors of the olive salad can act as a dressing or a powerful flavor enhancer, adding depth and a Mediterranean twist to simple greens or even a classic potato salad.
- Pasta Power-Up: Fold it into warm or cold pasta dishes. Whether it’s a simple weeknight pasta with olive oil and garlic, or a hearty pasta salad for a picnic, the olive salad introduces an immediate burst of savory, piquant goodness that complements both creamy and oil-based sauces.
- Panini and Sandwich Sensation: Beyond the Muffuletta, spread olive salad on paninis, grilled cheese, or any deli sandwich. It adds an incredible layer of flavor and moisture, turning an ordinary sandwich into a gourmet experience. Pair it with Italian meats and cheeses for a truly authentic touch.
- Bruschetta Brilliance: Use it as a vibrant topping for toasted baguette slices. A spoonful of olive salad on crisp bruschetta makes for an effortless yet sophisticated appetizer, perfect for entertaining or a quick, flavorful snack.
- Pizza Perfection: Ditch the conventional toppings and dollop olive salad onto your homemade or store-bought pizza before baking. The heat enhances its aromatic qualities, creating a unique and undeniably delicious pizza flavor that will surprise and delight.
- Scrambled Egg Upgrade: Stir a teaspoon or two into your scrambled eggs or omelets for a savory, zesty breakfast or brunch item. The olives and pickled vegetables add a bright counterpoint to the richness of eggs.
- Cheese and Charcuterie Boards: Serve it alongside an assortment of cheeses, cured meats, and crusty bread on your next cheese plate or charcuterie board. Its bright, briny notes cut through the richness of cheeses and meats beautifully.
- Crostini and Cracker Companion: A spoonful on a simple cracker or crostini is an easy, irresistible snack. The crunch of the cracker combined with the chunky, zesty salad is a match made in heaven.
- Creamy Spreads and Dips: For an instant dip, mix olive salad with softened cream cheese or blend it with mayonnaise for a tangy, creamy spread that’s fantastic on sandwiches or as a dip for vegetables.
Frequently Asked Questions About Olive Salad
- What is Giardiniera?
- Giardiniera is an Italian relish of pickled vegetables, typically including carrots, celery, cauliflower, and bell peppers. It comes in mild or hot varieties and provides a crucial crunchy, tangy, and slightly spicy element to the olive salad.
- Can I use other types of olives?
- Absolutely! While kalamata olives offer a distinct richness, feel free to experiment with other varieties. Green olives (like Manzanilla or Castelvetrano), black olives, or a mix of various brined olives can all work wonderfully, each lending its own unique flavor profile to the salad.
- Is this olive salad spicy?
- This recipe uses pepperoncini peppers, which typically provide a very mild heat and more of a tangy, slightly sweet flavor. The giardiniera can also come in mild or hot versions. If you prefer a spicier salad, you can opt for hot giardiniera or add a pinch of red pepper flakes to the mixture.
- How long does homemade olive salad last?
- When stored in an airtight container and fully submerged in the oil mixture, homemade olive salad can last for several weeks (up to 3-4 weeks) in the refrigerator. The oil acts as a natural preservative, but always use your best judgment and check for any signs of spoilage.
- Can I make it ahead of time for an event?
- Yes, absolutely! In fact, making olive salad a day or two in advance is highly recommended. The flavors need time to meld and deepen, which significantly improves the taste. Just remember to give it a good stir before serving.
- What’s the best way to serve it with a Muffuletta?
- For a traditional Muffuletta sandwich, generously spread the olive salad on both halves of a round, sturdy Italian bread (like a sesame seed muffuletta loaf). Then layer with various Italian deli meats and cheeses. Press the sandwich down firmly and let it rest for at least 30 minutes (or longer) for the flavors to truly soak into the bread.
Explore More Irresistible Olive Recipes
If you’ve fallen in love with the briny, savory notes of this homemade olive salad, then you’re in for a treat! Olives are incredibly versatile and form the base for many other delightful dishes. Expand your olive-inspired culinary repertoire with these fantastic recipes:
- Olive Pull-Apart Bread: A warm, savory bread infused with chopped olives, perfect for sharing.
- Mixed Olive Tapenade: A classic Mediterranean spread, rich with the flavors of finely chopped olives, capers, and olive oil.
- Marinated Olives: A simple yet elegant appetizer, featuring olives bathed in aromatic herbs, garlic, and citrus.
- Olive Quick Bread: A savory quick bread studded with olives, ideal for snacking or accompanying a meal.
- Olive Spread: A versatile and flavorful spread, similar to tapenade but often with a unique blend of ingredients.
Conclusion: Your New Favorite Condiment
This Homemade Olive Salad is more than just a recipe; it’s an invitation to infuse your meals with vibrant, zesty flavors that transport you straight to the heart of New Orleans. From its iconic role on the Muffuletta sandwich to its endless versatility across appetizers, main courses, and snacks, this condiment proves that simple ingredients can create truly extraordinary taste experiences.
Quick to prepare and designed to be made ahead, it’s a smart addition to any home cook’s arsenal. Embrace the joy of crafting your own flavorful creations and discover how this zesty olive salad can become your secret weapon for adding an instant gourmet touch to everyday dining. Give it a try – you might just find it becomes your new favorite condiment!