
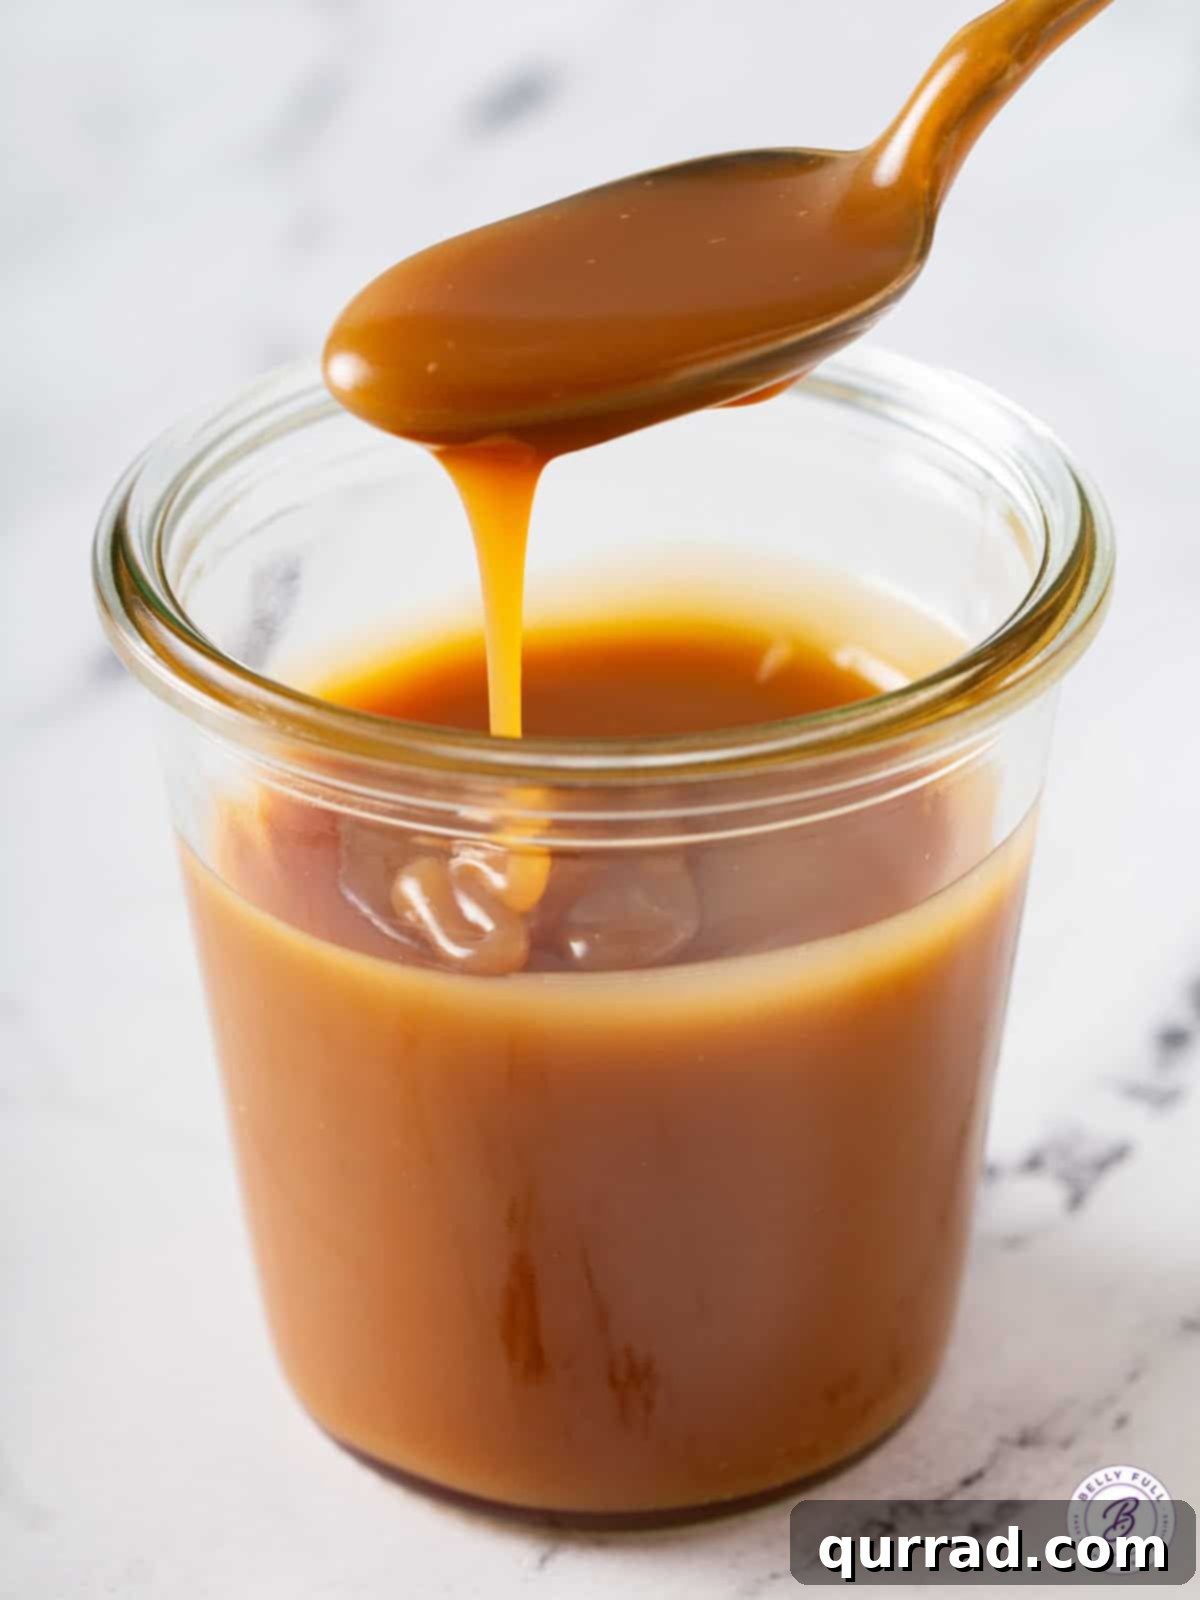
Easy Homemade Caramel Sauce: Your 10-Minute Secret to Sweet Perfection
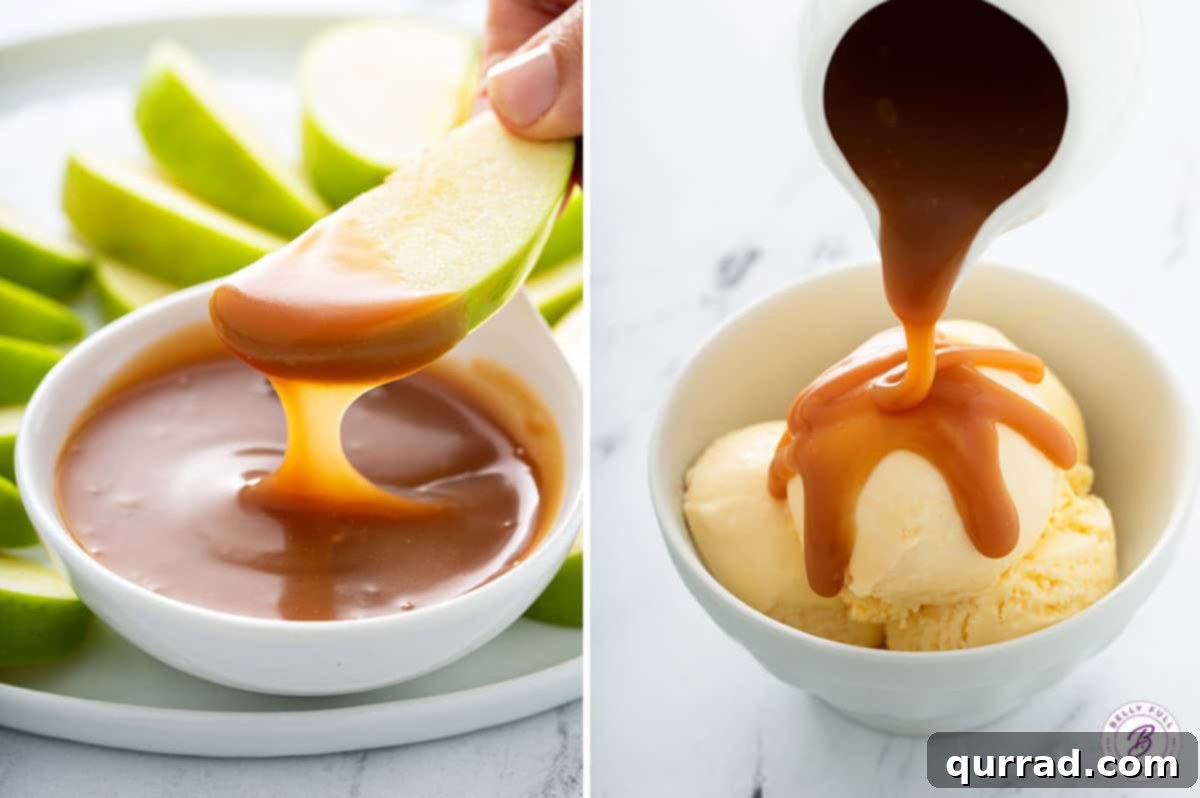
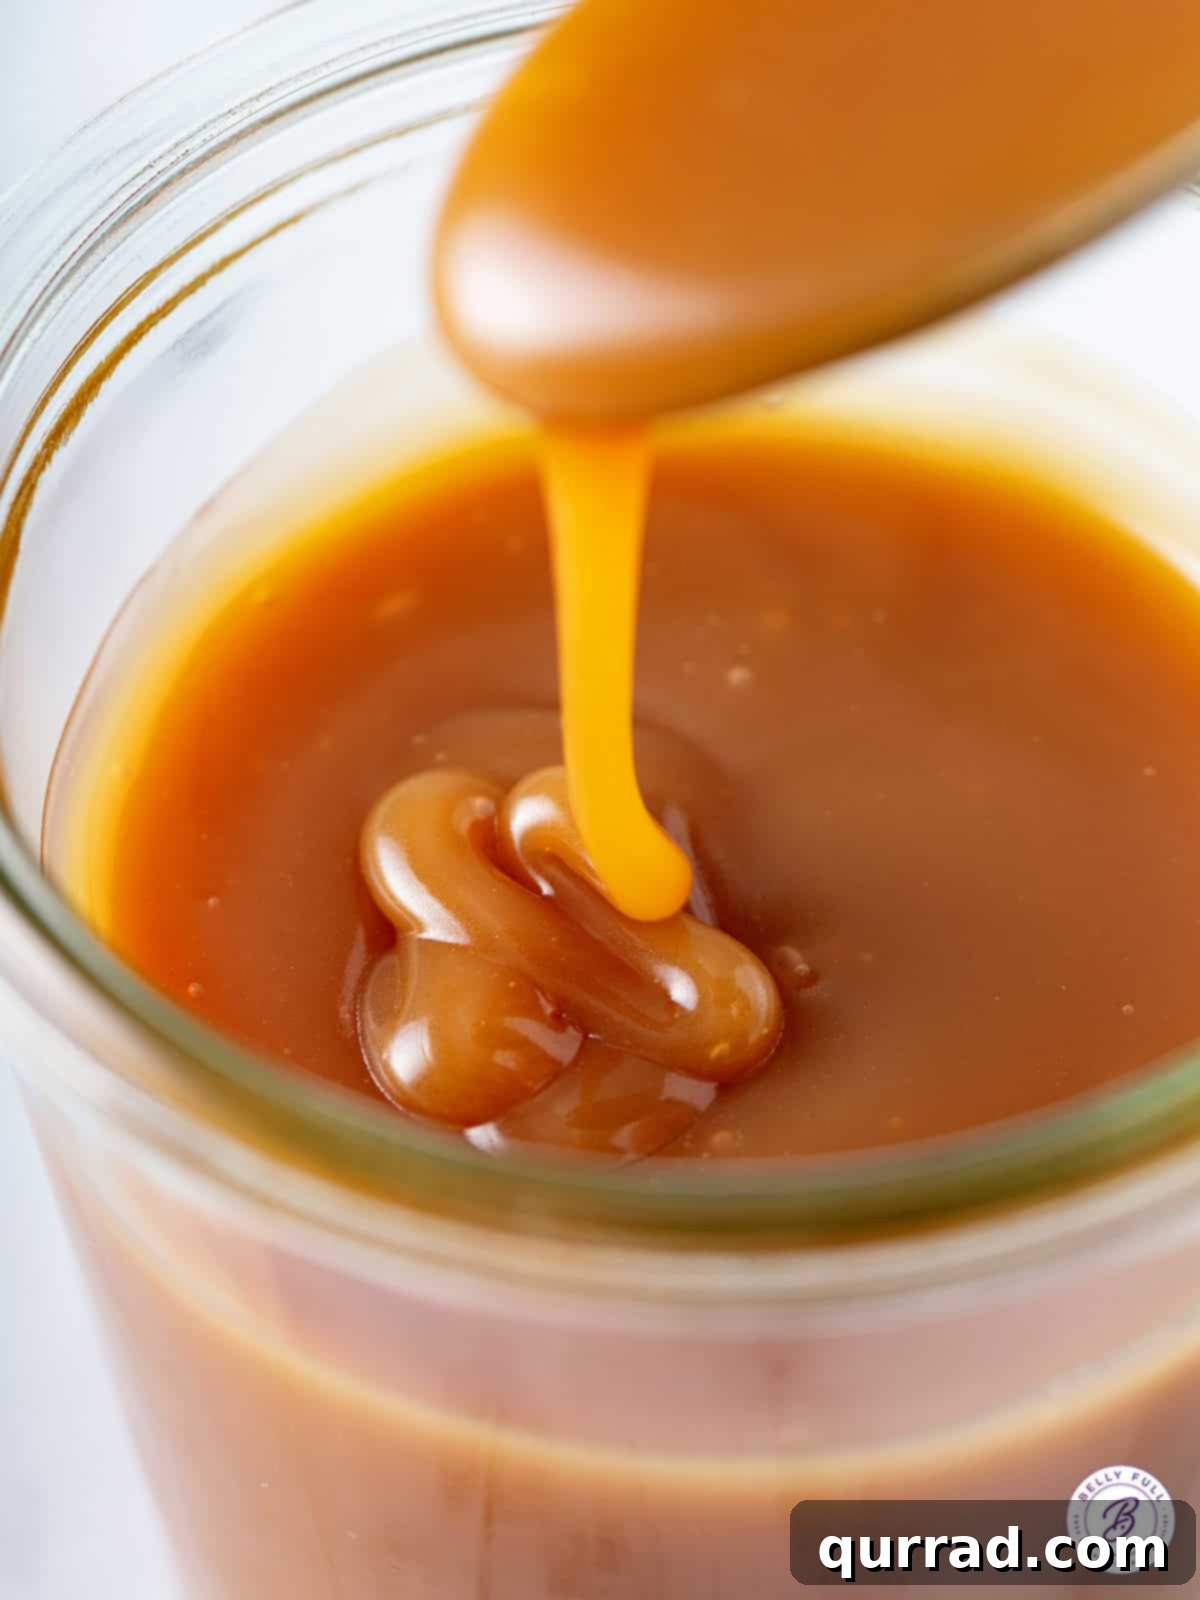
Unlock the secret to rich, velvety homemade caramel sauce in just 10 minutes, using only a few basic pantry ingredients. Whether you prefer it classic or salted caramel, this recipe delivers an unparalleled taste that elevates any dessert. Drizzle it generously over ice cream, transform a simple cake into a masterpiece, or add a luxurious touch to pancakes and cheesecake. Stir it into your iced coffee for a gourmet treat or use it as a delightful dip for fresh fruit slices. Once you try this easy recipe, you’ll never go back to store-bought!
Rave Reviews for This Caramel Sauce
Cynthia raves, “I followed every step, and the result was truly out of this world!”
Wendy exclaims, “Absolutely phenomenal! I struggled with caramel until this recipe. Thank you for such clear and precise directions!”
Julie shares, “I’ve made this three times now, and it’s perfect every single time. It tastes just like Werther’s candy!”
Prepare to have your dessert world rocked! Alongside my effortless homemade chocolate sauce, this easy homemade caramel sauce stands out as one of the simplest and most rewarding recipes you’ll ever master. It’s pure, unadulterated bliss! While convenience might tempt you to reach for a jar at the grocery store, the truth is, nothing compares to the rich, nuanced flavor of caramel made from scratch. Moreover, making it yourself means you control the ingredients, avoiding any unnecessary additives found in commercial versions. The best part? This luscious caramel will be ready faster than you can drive to the market and back! Its sweet, buttery notes are truly addictive, promising to elevate every dish it graces.
Why Homemade Caramel is a Game-Changer
Beyond the incredible taste, crafting your own caramel sauce offers several benefits:
- Superior Flavor: Freshly made caramel boasts a depth of flavor that store-bought versions simply can’t match. The subtle notes of toasted sugar and rich butter create a complex, irresistible taste.
- No Unnecessary Additives: With homemade, you know exactly what goes into your sauce – sugar, water, butter, cream, vanilla, and a touch of salt. No high-fructose corn syrup, preservatives, or artificial flavors.
- Cost-Effective: Pantry staples are all you need, making this a budget-friendly indulgence.
- Impressive & Versatile: Whipping up your own caramel feels like a culinary achievement, and its versatility means you’ll find endless ways to enjoy it, from a simple topping to a baking ingredient.
Essential Tips for Perfect Homemade Caramel Sauce
Creating the perfect caramel involves a bit of patience and a few key techniques. Follow these helpful tips to ensure a silky-smooth, beautifully colored sauce every time:
- Choose the Right Utensils: The type of pot and stirring utensil you use significantly impacts the outcome. A heavy-bottomed 3-quart pot is ideal as it distributes heat evenly, preventing scorching. For stirring initially and later adding butter, a wooden spoon or a heat-resistant silicone spoon is essential. Metal spoons can sometimes react with the sugar or scratch your non-stick surfaces, and their heat conductivity can be a hazard.
- Resist the Urge to Stir (After Initial Mixing)! This is perhaps the most crucial rule for preventing crystallization. Once the sugar and water begin to bubble, stirring can cause sugar crystals to form on the sides of the pot, which can then fall back into the mixture and trigger a chain reaction, leading to a grainy sauce. Allow the sugar mixture to cook undisturbed. If you see sugar crystals forming on the pot’s interior walls, you can gently brush them down with a damp pastry brush or a clean, wet paper towel, but avoid direct stirring of the caramel itself.
- Troubleshooting Crystallized Caramel: Don’t panic if your caramel crystallizes! It’s a common issue and usually fixable. Simply add a scant 1/4 cup of water to the pot and gently bring the mixture back to a low bubble over medium heat. The added water and gentle heat should dissolve the sugar crystals, restoring the smooth consistency. Once dissolved, proceed with the recipe as directed, continuing to cook until the desired dark gold color is achieved.
- Opt for Unsalted Butter: Even if your goal is a rich salted caramel sauce, start with unsalted butter. This gives you complete control over the final saltiness. I find 1/2 teaspoon of fine sea salt to be perfect for a balanced salted caramel, but it’s always best to start with 1/8 teaspoon and adjust to your personal taste preference after the caramel is complete. Remember, you can always add more salt, but you can’t take it out!
- Stay Focused and Patient: Caramelization is a delicate process that requires your full attention. Do not step away from the stove, even for a moment, while the sugar is cooking. The transformation from clear syrup to a gorgeous deep gold can happen surprisingly quickly and can easily go from perfect to burnt in a matter of seconds. This stage can take anywhere from 8 to 15 minutes, depending on your stove and pot, so keep a watchful eye for that beautiful amber hue.
- Caramel Sauce vs. Caramel Apples: This specific recipe yields a smooth, pourable sauce perfect for drizzling and dipping. While it makes an exceptional dip for apple slices and other fruits, it’s not designed to be thick enough to coat whole apples for traditional caramel apples. For that, you would need a much thicker, chewier caramel recipe with different ingredient ratios. However, for a quick and delicious fruit dip, this sauce is absolutely perfect!
Easy Homemade Caramel Sauce
Pin Recipe
Print Recipe
Whip up this incredibly easy and delicious homemade caramel sauce in just 10 minutes with minimal ingredients. Perfect for drizzling over all your favorite desserts!
Ingredients
- 1 cup granulated sugar
- 1/4 cup water
- 6 tablespoons unsalted butter, cut into pieces
- 1/2 cup heavy cream
- 1 teaspoon vanilla extract
- Pinch of salt (for classic caramel) or 1/8 to 1/2 teaspoon salt (for salted caramel, adjust to taste)
Instructions
- Combine the granulated sugar and water in a 3-quart heavy-bottomed pot. Stir lightly, just enough to moisten all the sugar and create an even layer at the bottom of the pot. Try to avoid sugar crystals clinging to the sides of the pot.
- Place the pot over medium heat. Allow the mixture to cook undisturbed until the sugar fully dissolves, turning from cloudy to a clear, bubbling syrup. This initial stage typically takes a few minutes. From this point forward, resist the urge to stir the mixture. Simply allow it to bubble and cook at a consistent medium heat.
- Continue cooking without stirring until the sugar syrup thickens and transforms into a beautiful deep golden-amber color, reminiscent of rich honey. This critical caramelization process can take anywhere from 8 to 15 minutes. It’s vital to keep a very close eye on it during this time, as it can quickly go from perfectly caramelized to burnt. Refer to the “Essential Tips” section for troubleshooting and more guidance.
- Once the desired color is reached, carefully add the pre-cut unsalted butter pieces to the hot caramel. The caramel will bubble up vigorously as the butter is added; this is normal. Whisk continuously and carefully until all the butter has completely melted and is fully incorporated into the caramel, creating a smooth mixture.
- Immediately remove the pot from the heat. Slowly and steadily pour in the heavy cream while continuously whisking. Again, the caramel will bubble and seize slightly, but keep whisking until the cream is fully incorporated and the mixture is smooth.
- Finally, whisk in the vanilla extract and your desired amount of salt (a pinch for classic, or 1/8 to 1/2 teaspoon for salted caramel).
- Allow the caramel sauce to cool in the pot for approximately 10 minutes. This allows it to slightly thicken before transferring.
- Pour the still-warm caramel into a clean, lidded glass jar. Allow it to cool completely at room temperature. The caramel will be quite liquid initially, but it will thicken considerably as it cools, developing its characteristic smooth and chewy texture. Once fully cooled, it must be stored in the refrigerator due to the dairy content. Reheat as needed before serving.
Caramel Sauce Recipe Video
Watch this video to see how easily this homemade caramel sauce comes together!
Chef’s Notes & Troubleshooting
Patience is Key! The caramelization process can vary. Factors like your specific stovetop, the type of pot you’re using, local altitude, and even ambient weather conditions can influence how long it takes for the sugar mixture to achieve that perfect dark gold color. Don’t rush it, and keep a close watch. Revisit the “Essential Tips” section in the article above for more in-depth troubleshooting and guidance on making perfect salted caramel.
Proper Storage for Longevity: This homemade caramel sauce can be stored, tightly sealed in a lidded glass jar, in the refrigerator for up to 3 weeks. For longer storage, it can be frozen in a freezer-safe container for up to 2 months. Make sure to thaw it in the refrigerator or at room temperature before use.
Reheating Your Caramel: Caramel sauce will naturally solidify and thicken significantly when refrigerated due to its butter and cream content. To restore its pourable consistency, simply reheat it gently. This can be done on the stovetop over low heat, stirring occasionally, or in the microwave in 10-15 second increments, stirring well after each interval, until your desired consistency is reached. Remember that reheating will make the caramel thinner and more liquid.
Nutrition Information (per serving)
- Calories:
- 180 kcal
- Carbohydrates:
- 20g
- Protein:
- 1g
- Fat:
- 11g
- Saturated Fat:
- 7g
- Cholesterol:
- 34mg
- Sodium:
- 6mg
- Potassium:
- 9mg
- Sugar:
- 20g
- Vitamin A:
- 385 IU
- Calcium:
- 10mg
Please note: Nutritional information provided is an automatic calculation and may vary based on the exact brands and products you use, as well as any modifications made to the recipe. If precise nutritional values are critical to your dietary needs, we recommend calculating them independently using your specific ingredients.
Made this delicious caramel sauce? We’d love to hear from you!
Please take a moment to leave a rating and share your experience below. Your feedback helps other home cooks!
Is a Candy Thermometer Essential for Caramel Making?
While a candy thermometer can certainly provide an extra layer of precision, it is by no means a necessity for this particular caramel sauce recipe. If you prefer to use one for exact measurements, aim for a target temperature between 225-230°F (107-110°C). This temperature range ensures proper caramelization and results in a sauce that is thick enough to drizzle beautifully, yet remains fluid when cooled. For candy making, higher temperatures would be required, but for a luscious sauce, this range is perfect. However, if you diligently follow the steps outlined in this recipe without significant deviations, your keen senses—a good nose for the subtle aroma changes and watchful eyes for that deep golden hue—will be all the tools you truly need!
Does Homemade Caramel Sauce Require Refrigeration?
Absolutely, yes! Given that this delectable sauce contains dairy products—specifically heavy cream and butter—it is imperative to refrigerate it once it has completely cooled down to prevent spoilage. Proper storage will ensure its freshness and safety for consumption. When you’re ready to enjoy it again, simply reheat it as needed to restore its desirable consistency.
Comprehensive Guide to Storing Homemade Caramel Sauce
Proper storage is key to extending the life of your delicious homemade caramel sauce. Here’s how to keep it fresh and ready for your next sweet craving:
- Refrigerator Storage: Once your caramel sauce has cooled completely to room temperature, transfer it into a clean, airtight glass jar or container. Ensure the lid is tightly sealed to maintain freshness and prevent any absorption of refrigerator odors. Stored correctly in the refrigerator, your homemade caramel will remain fresh and delightful for up to 3 weeks.
- Freezer Storage: For longer preservation, this versatile caramel sauce can be frozen. Pour it into a freezer-safe jar or container, leaving a little headspace for expansion, and freeze for up to 2 months. When you’re ready to use it, simply thaw the sauce in the refrigerator overnight or at room temperature for a few hours before reheating.
- Reheating Instructions: It’s entirely normal for caramel sauce to solidify and become quite firm in the refrigerator. To bring it back to a wonderfully pourable consistency, gentle reheating is all that’s needed. You can do this either on the stovetop over low heat, stirring frequently until smooth, or in the microwave. For microwave reheating, heat in short bursts of 10-15 seconds, stirring well after each interval, until it reaches your desired drizzly texture. Be aware that reheating will naturally make the caramel thinner and more liquid than its cooled, solidified state.
I genuinely hope you adore this incredibly delicious and straightforward caramel sauce recipe! Once you’ve experienced the joy of making it, please take a moment to leave a review below – your feedback is invaluable. And don’t forget to connect with Belly Full across social media platforms for more tempting recipes and culinary inspiration. Find us on TikTok, Instagram, Facebook, Pinterest, and YouTube!
Want More Delicious Recipes?
Never miss a new recipe! Get this recipe and many more culinary delights sent straight to your inbox every week. Join our community of home cooks today!
(Sign-up form functionality removed as per instructions, please imagine a delightful form here!)