
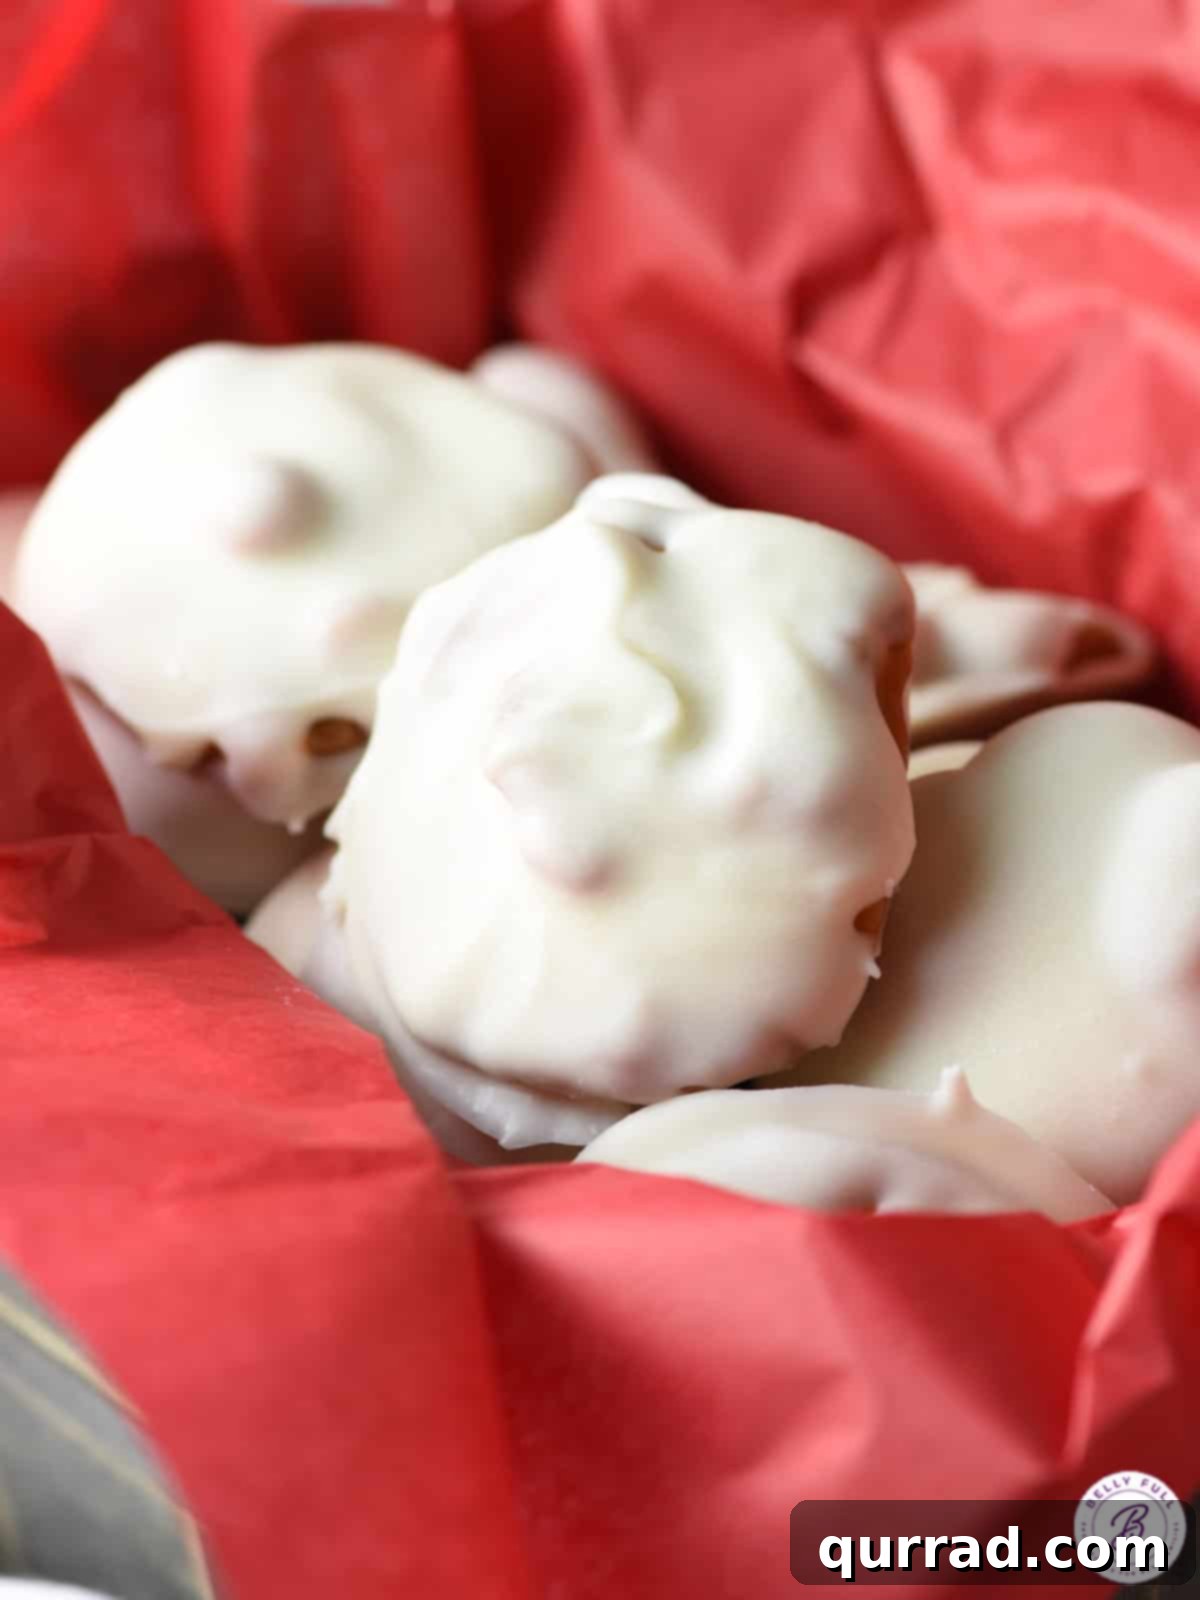
Indulge in the irresistible charm of homemade Polar Bear Paws, a delightful no-bake treat that perfectly balances sweet, salty, and crunchy textures. This beloved confection, inspired by the iconic See’s Candy classic, features roasted nuts enveloped in soft, buttery caramel, all generously coated in a smooth, silky layer of white chocolate. Whether you’re seeking a festive addition to your holiday dessert table, a thoughtful handmade gift, or simply a cooling, oven-free sweet for those warm summer days, these Polar Bear Paws are an effortlessly elegant choice that promises to impress every palate.
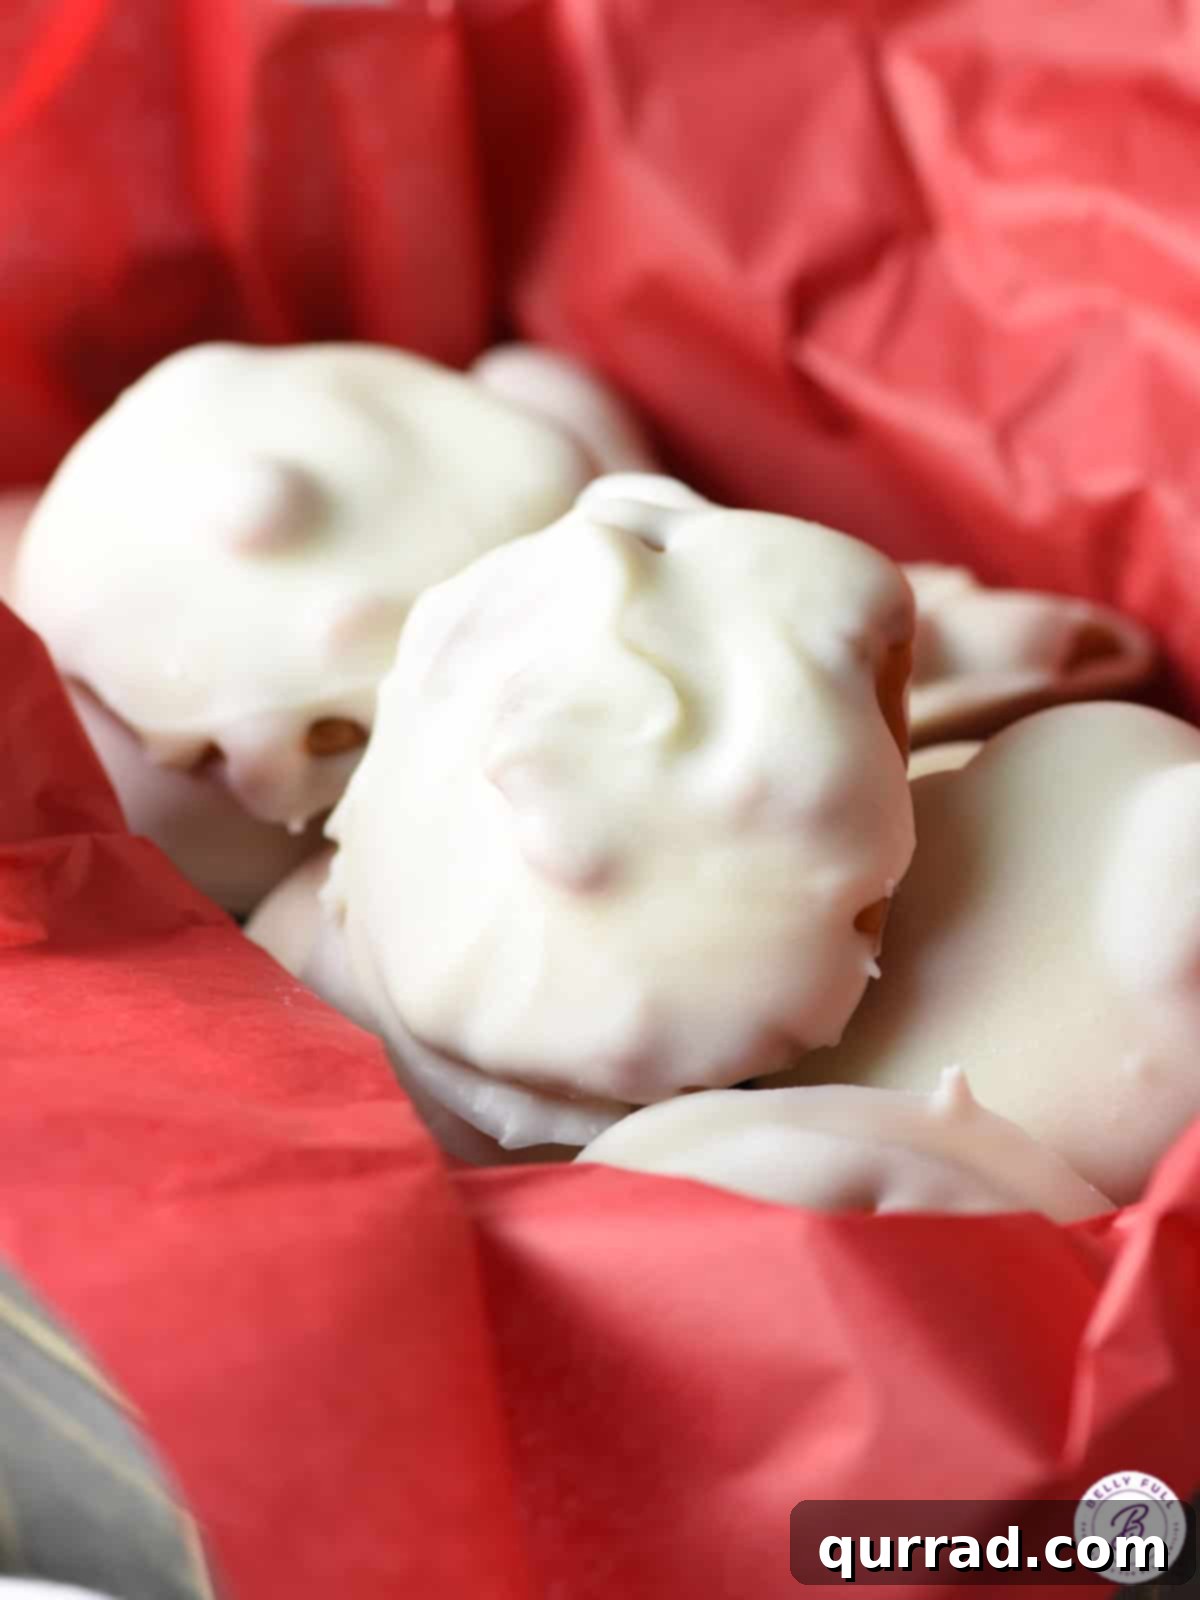
The Sweet Allure of Polar Bear Paws: A No-Bake Delight
There’s something uniquely captivating about a confection that offers a symphony of flavors and textures in every bite. Polar Bear Paws are precisely that—a harmonious blend of salty, crunchy nuts, gooey, rich caramel, and creamy white chocolate. Their no-bake nature makes them a dream come true for home cooks and busy enthusiasts alike, eliminating the need to turn on the oven and simplifying the preparation process significantly. This convenience makes them not only a fantastic option for the bustling holiday season when oven space is precious, but also an ideal treat for warm weather gatherings or simply when you crave something sweet without the fuss.
These delectable clusters are a testament to how simple ingredients can create extraordinary results. The contrast between the firm, slightly salty nut, the chewy caramel, and the snap of the white chocolate coating creates an experience that is both comforting and exciting. Perfect for sharing, gifting, or hoarding for yourself, Polar Bear Paws are destined to become a staple in your repertoire of favorite sweets.
Crafting Your Own See’s Candy Legacy: The Polar Bear Paws Copycat
For many, See’s Candy holds a special place in their hearts, evoking memories of childhood treats and special occasions. Their Polar Bear Paws, traditionally made with roasted peanuts, are a particular favorite. I vividly recall the tradition of my sister gifting my dad a grand box of See’s candy for his birthday – a cherished gesture that always brought a smile. While family traditions evolve, the desire for these classic flavors remains.
The beauty of this homemade Polar Bear Paws recipe lies in its ability to replicate that beloved See’s taste while offering flexibility for dietary needs and preferences. Due to family allergies, we often opt for cashews as a perfectly acceptable and equally delicious substitute for peanuts. When shared, these cashew versions are met with universal acclaim, their delightful combination of caramel and white chocolate proving utterly irresistible. This recipe empowers you to recreate this iconic candy from the comfort of your kitchen, often at a fraction of the cost. There’s an unparalleled joy and thoughtfulness in homemade gifts, and these Polar Bear Paws are sure to convey warmth and affection to anyone lucky enough to receive them.
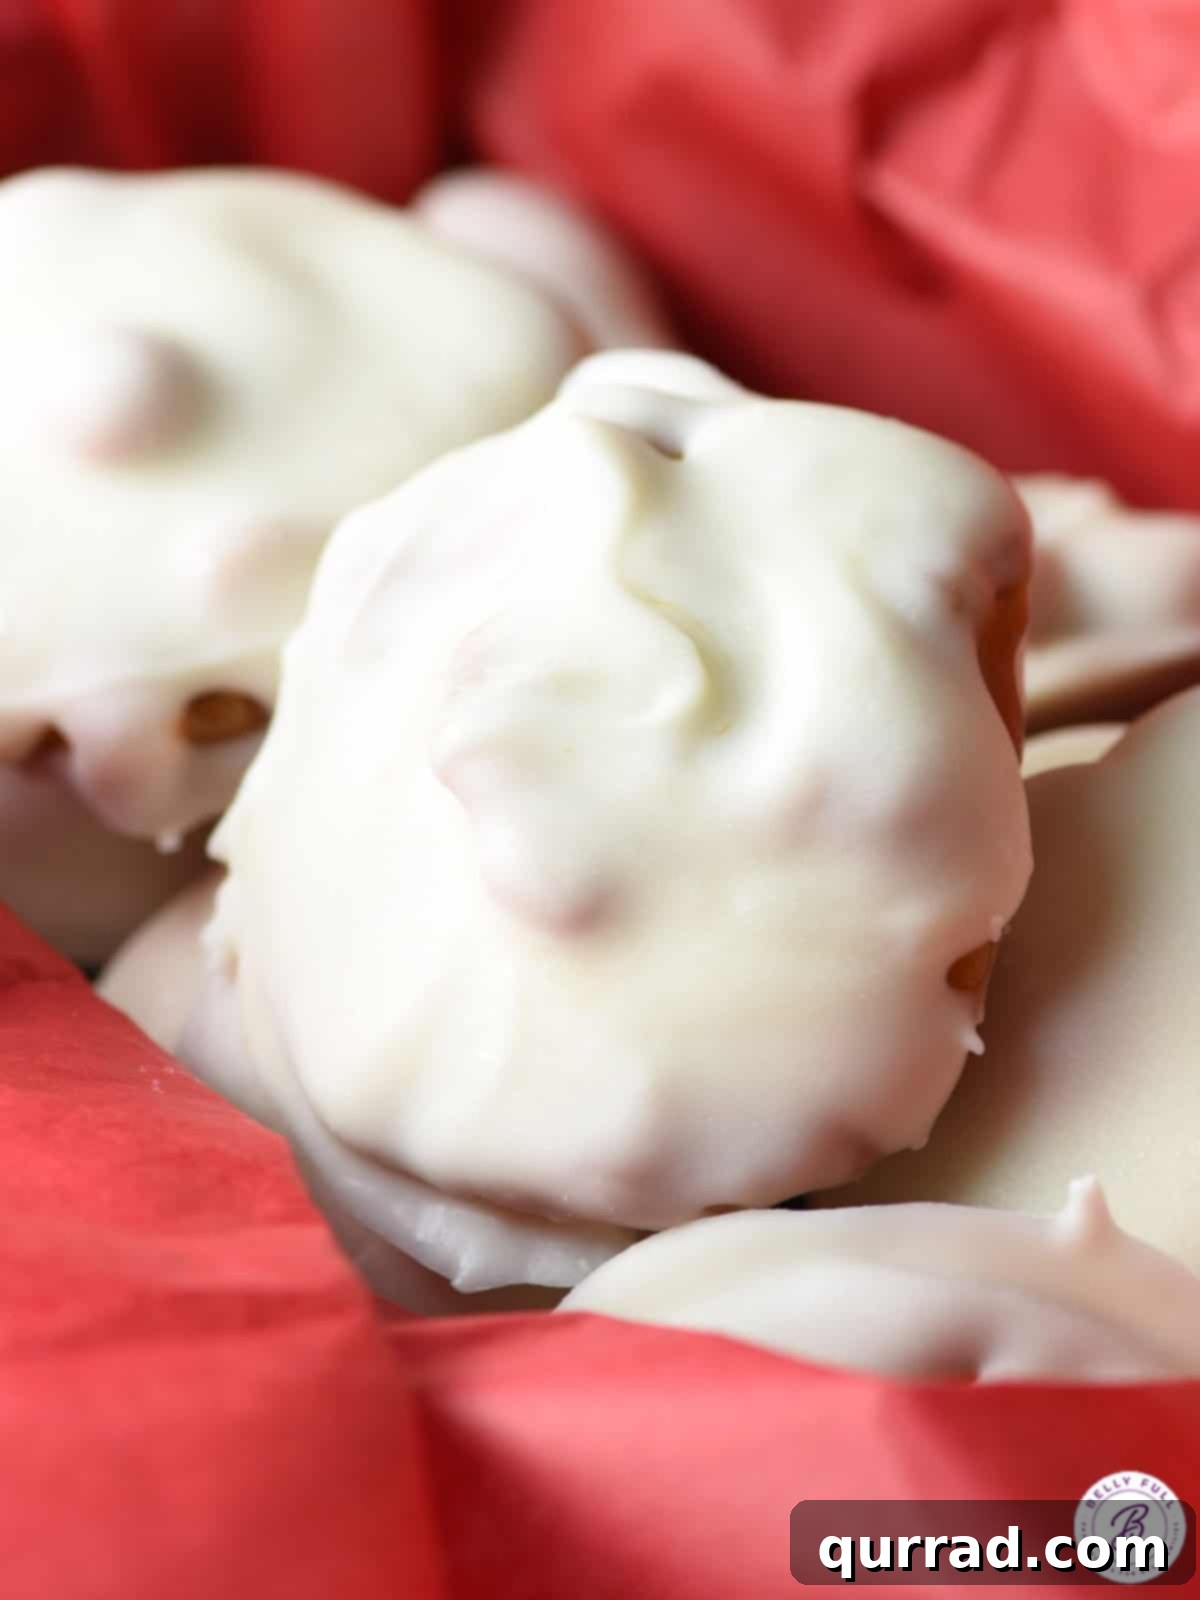
Essential Ingredients for Irresistible Paws
Creating these heavenly Polar Bear Paws requires just a handful of readily available ingredients. The quality of each component plays a crucial role in the final flavor and texture, so choose wisely!
- Caramel Bits or Caramel Squares (unwrapped): These form the gooey heart of your Paws. Caramel bits are often easier to melt smoothly, but unwrapped squares work just as well. Look for a brand that offers a rich, buttery flavor.
- Heavy Cream: This is essential for achieving the perfect soft, pliable consistency for your caramel. It helps to create a smooth, luscious texture that won’t be too hard or brittle once cooled.
- Unsalted Butter: Butter adds richness and a delightful creaminess to the caramel, enhancing its flavor profile and contributing to a luxurious mouthfeel.
- Roasted Cashew Halves (or Peanuts): While See’s traditionally uses peanuts, roasted cashews offer a wonderful alternative, providing a delicate crunch and buttery flavor that complements the caramel and white chocolate beautifully. If there are no peanut allergies, roasted peanuts are an excellent choice for a more traditional taste. Ensure your nuts are roasted for optimal flavor and crunch.
- Vanilla Almond Bark or White Chocolate Melting Wafers: This is the key to your Paws’ smooth, pristine white coating. Products like CandiQuik vanilla almond bark or Ghirardelli white chocolate melting wafers are formulated to melt smoothly and set firmly, creating that professional finish without the need for tempering. While white chocolate chips can be used, they often require a small amount of coconut oil to ensure they set properly and maintain their glossy appearance (more on this in the tips section).
Make Grizzly Bear Paws
Not a fan of white chocolate, or simply looking for a delicious variation? Easily swap out the white chocolate coating for regular chocolate candy melts or your favorite dark chocolate. This transformation creates delightful “Grizzly Bear Paws,” offering a deeper, richer chocolate experience that perfectly complements the caramel and nuts.
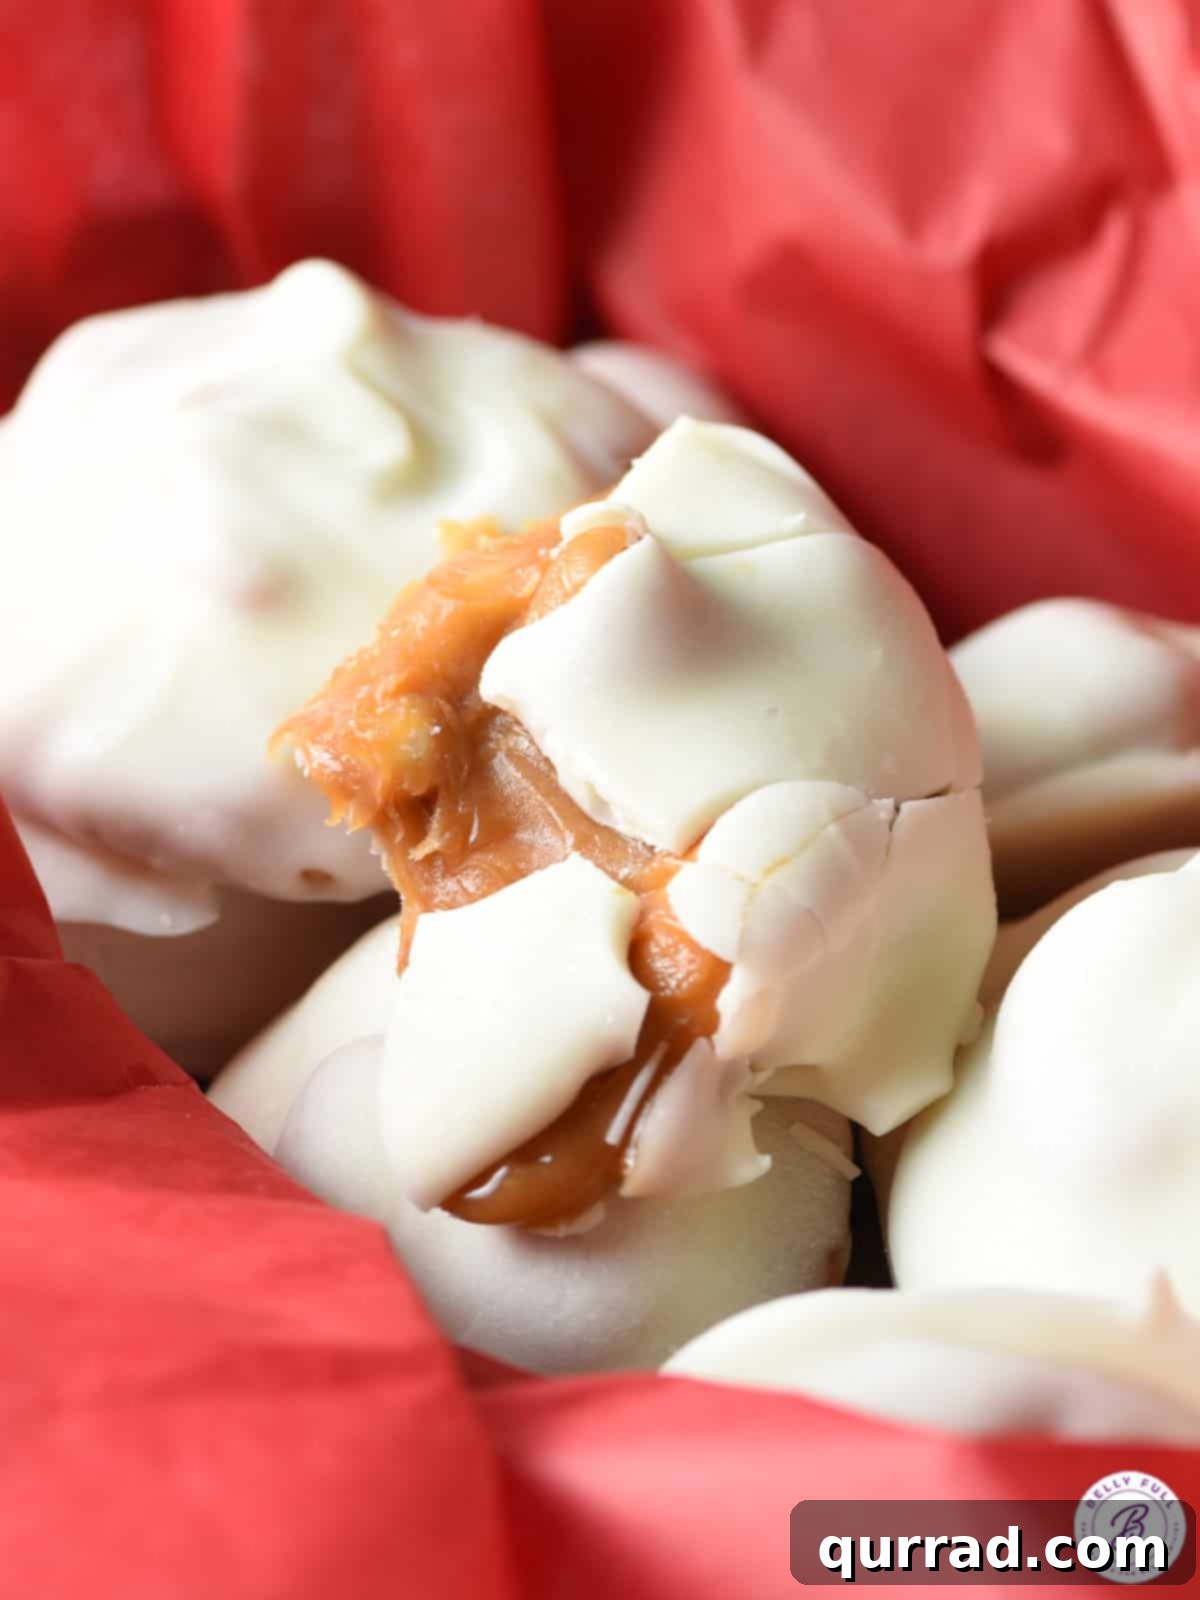
Mastering the Melt: Step-by-Step Guide to Perfect Polar Bear Paws
Making Polar Bear Paws is an incredibly straightforward process, yielding impressive results with minimal effort. Follow these simple steps to create your batch of irresistible treats.
- Prepare Your Workspace: Line a large baking sheet with parchment paper. This will prevent your Paws from sticking and make for easy removal once set. Set it aside.
- Melt the Caramel Base: In a microwave-safe bowl, combine the caramel bits (or unwrapped squares), heavy cream, and unsalted butter. Microwave the mixture in 30-second intervals, stirring thoroughly after each interval, until the caramel is completely melted and smooth. Be patient and stir well to avoid scorching.
- Incorporate the Nuts: Once the caramel mixture is smooth, gently stir in your roasted peanuts or cashew halves. Allow the mixture to cool in the bowl for about 15 minutes, stirring every few minutes. This cooling period helps the caramel thicken slightly, making it easier to form into clusters.
- Form the Caramel Clusters: Using a tablespoon, spoon out individual mounds of the caramel-nut mixture onto the prepared parchment paper. Aim for uniform sizes for consistent dipping. Place the baking sheet in the refrigerator for 30-45 minutes, or until the caramel clusters are firm enough to handle without losing their shape.
- Melt the White Chocolate Coating: While the caramel clusters are chilling, prepare your white chocolate. Place the vanilla almond bark or white chocolate melting wafers in a separate microwave-safe bowl. Melt according to package directions, typically in 30-second intervals, stirring until smooth and fluid. Avoid overheating to prevent seizing.
- Dip the Clusters: Retrieve a few chilled caramel clusters from the refrigerator at a time. Dip each cluster into the melted white chocolate, ensuring it’s fully coated. Use a fork to carefully lift the cluster out of the chocolate, gently tapping the fork against the edge of the bowl to allow any excess chocolate to drip off. This step helps achieve a smooth, even coating.
- Set and Chill: Place the chocolate-coated clusters back onto the parchment-lined baking sheet. Repeat the dipping process with the remaining clusters, working in small batches to keep the caramel firm. Once all clusters are dipped, return the pan to the refrigerator for another 30-60 minutes, or until the white chocolate is completely set and firm.
- Enjoy or Gift: Once set, remove your Polar Bear Paws from the refrigerator. They are now ready to be enjoyed immediately or packaged beautifully for gifting!
Expert Tips for Perfect Polar Bear Paws Every Time
Achieving bakery-worthy Polar Bear Paws is easy with a few insider tricks. These tips will help you navigate common challenges and ensure your treats turn out flawlessly.
- Work in Batches for Best Results: Caramel softens quickly at room temperature. To maintain the integrity of your clusters and prevent them from becoming too gooey or losing their shape during dipping, remove only a few from the refrigerator at a time. Keep the rest chilled until you’re ready for them.
- Choose the Right Coating: While white chocolate chips can be used, products like vanilla almond bark, CandiQuik, or white chocolate melting wafers are generally preferred. These are specifically designed to melt smoothly and set firmly without the need for tempering, giving your Paws a professional, glossy finish. If you opt for white chocolate chips, it’s crucial to mix in about a teaspoon of coconut oil (per 12 ounces of chips) once melted. This helps the chocolate achieve the right consistency for dipping and ensures it hardens properly.
- Don’t Rush the Cooling Process: Allowing sufficient chill time for both the caramel clusters and the final chocolate-coated Paws is key. Proper cooling ensures the caramel is firm enough to handle and the chocolate sets completely, giving you a satisfying snap when bitten.
- Gentle Dipping Technique: When dipping the clusters, a fork is your best tool. Submerge the cluster, then lift it, gently tapping the fork against the side of the bowl. This helps remove excess chocolate, preventing puddles and ensuring a clean, even coat.
- Roast Your Nuts: Even if your nuts come pre-roasted, a quick toast in a dry pan or oven before adding them to the caramel can significantly enhance their flavor and crunch, bringing out their inherent nutty goodness.
Proper Storage for Lasting Freshness
To keep your Polar Bear Paws tasting their best, proper storage is essential. Store them in a tightly sealed airtight container in a cool, dry place or in the refrigerator. When stored correctly, these delicious treats will maintain their freshness and delightful texture for up to 10 days.
Important Note on Serving: If storing your Polar Bear Paws in the refrigerator, make sure to let them come to room temperature for about 15-20 minutes before serving. Enjoying them straight from the fridge can make the caramel and nuts quite firm, potentially leading to a surprise (or even a lost tooth!) for unsuspecting snackers. Allowing them to soften slightly enhances their chewiness and overall enjoyment.
Beyond the Paws: More Irresistible Candy Recipes to Try
If you’ve enjoyed making these Polar Bear Paws, you might love exploring other homemade candy creations. Here are a few more delightful recipes to satisfy your sweet tooth:
- Popcorn Balls
- Peanut Brittle
- Candied Pecans
- Cream Cheese Mints
- Old Fashioned Potato Candy
- Homemade Caramels
Polar Bear Paws (See’s Candies Copycat)
Prep Time: 20 mins
Chill Time: 1 hr 30 mins
Total Time: 1 hr 50 mins
Servings: 24 pieces
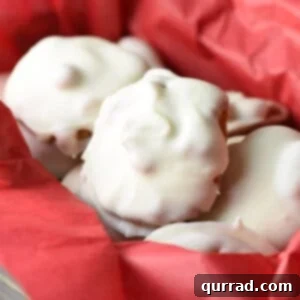
These no-bake Polar Bear Paws Recipe are the perfect sweet and salty treat, filled with roasted nuts and caramel, then coated in silky white chocolate. Perfect for the holidays and gift giving or the summer months when you don’t want to turn on the oven!
Ingredients
- 11 ounce bag Kraft Caramel Bits
- 3 tablespoons heavy whipping cream
- 1 tablespoon unsalted butter
- 1 cup roasted peanuts (or cashew halves)
- 12 ounces CandiQuik vanilla almond bark or Ghirardelli white chocolate melting wafers (see note below)
Instructions
- Line a large cookie sheet with parchment paper. Set aside.
- Place caramels, cream, and butter in a microwave safe bowl; microwave in 30 second increments, stirring, and repeating until smooth.
- Mix in the peanuts and then let it sit in the bowl to cool for about 15 minutes, stirring every few minutes.
- Spoon onto the parchment in tablespoon size mounds. Place in the refrigerator for 30-45 minutes until set.
- Place vanilla almond bark and melt according to package directions, stirring until melted and smooth.
- Dip a caramel cluster in the chocolate and use a fork to remove it. Holding it over the bowl, tap the fork on the edge to let any excess chocolate drip back down. Place clusters back on the parchment lined pan and repeat with remaining clusters.
- Put the pan back in the fridge for 30-60 minutes until chocolate is set. Remove and enjoy or package up for a gift!
Video
A video tutorial for this recipe is available to guide you through each step. Please refer to the original article source for the embedded video content.
Notes
Form only a few at a time. The caramel softens to room temperature pretty easily, so I recommend taking only a few out of the refrigerator at a time when dipping them in the chocolate, otherwise they can get gooey and not hold their shape.
Candy melts are preferred over white chocolate chips. You can use white chocolate chips instead of Candy Melts or CandiQuik Almond Bark, BUT you’ll need to mix the melted chocolate with a bit of coconut oil to ensure it hardens and sets properly.
Nutrition
Calories: 124 kcal | Carbohydrates: 16g | Protein: 2g | Fat: 7g | Saturated Fat: 3g | Cholesterol: 5mg | Sodium: 40mg | Potassium: 60mg | Fiber: 1g | Sugar: 13g | Vitamin A: 48IU | Vitamin C: 1mg | Calcium: 22mg | Iron: 1mg
Nutritional information given is an automatic calculation and can vary based on the exact products you use and any changes you make to the recipe. If these numbers are very important to you, I would recommend calculating them yourself.
Frequently Asked Questions About Polar Bear Paws
To help you perfect your Polar Bear Paws, here are some common questions and their answers:
Q: Can I use store-bought caramel sauce instead of bits or squares?
A: While convenient, caramel sauce typically has a thinner consistency and may not set as firmly as the caramel made from bits or squares with cream and butter. For the best texture, stick to caramel bits or unwrapped squares.
Q: My chocolate seized! What went wrong?
A: Chocolate seizing (becoming thick, clumpy, and unusable) usually happens due to even a tiny amount of water or steam coming into contact with it during melting, or overheating. Ensure your bowl and utensils are completely dry. If using a microwave, melt in short bursts and stir frequently. If using a double boiler, make sure the bottom of the bowl does not touch the simmering water, and no steam escapes into the chocolate.
Q: Can I use other types of nuts?
A: Absolutely! While peanuts and cashews are traditional, feel free to experiment with other roasted nuts like pecans, almonds, or even walnuts. Each will impart a slightly different flavor profile, allowing you to customize your Paws.
Q: How can I make my Polar Bear Paws look more professional?
A: For a professional touch, ensure your caramel clusters are uniform in size. When dipping, tap off excess chocolate carefully. You can also drizzle a contrasting chocolate (like milk or dark chocolate) over the set white chocolate Paws for an elegant finish. A sprinkle of sea salt flakes on top of the wet chocolate can also add visual appeal and an extra layer of flavor.
Q: Are these Polar Bear Paws gluten-free?
A: This recipe is generally gluten-free, provided you use gluten-free caramel bits, nuts, butter, cream, and white chocolate melting wafers/almond bark. Always check the labels of your specific ingredients to ensure they meet gluten-free standards.
I sincerely hope you enjoy creating and savoring this delicious and easy recipe. It’s a truly rewarding experience to make these classic treats at home.