
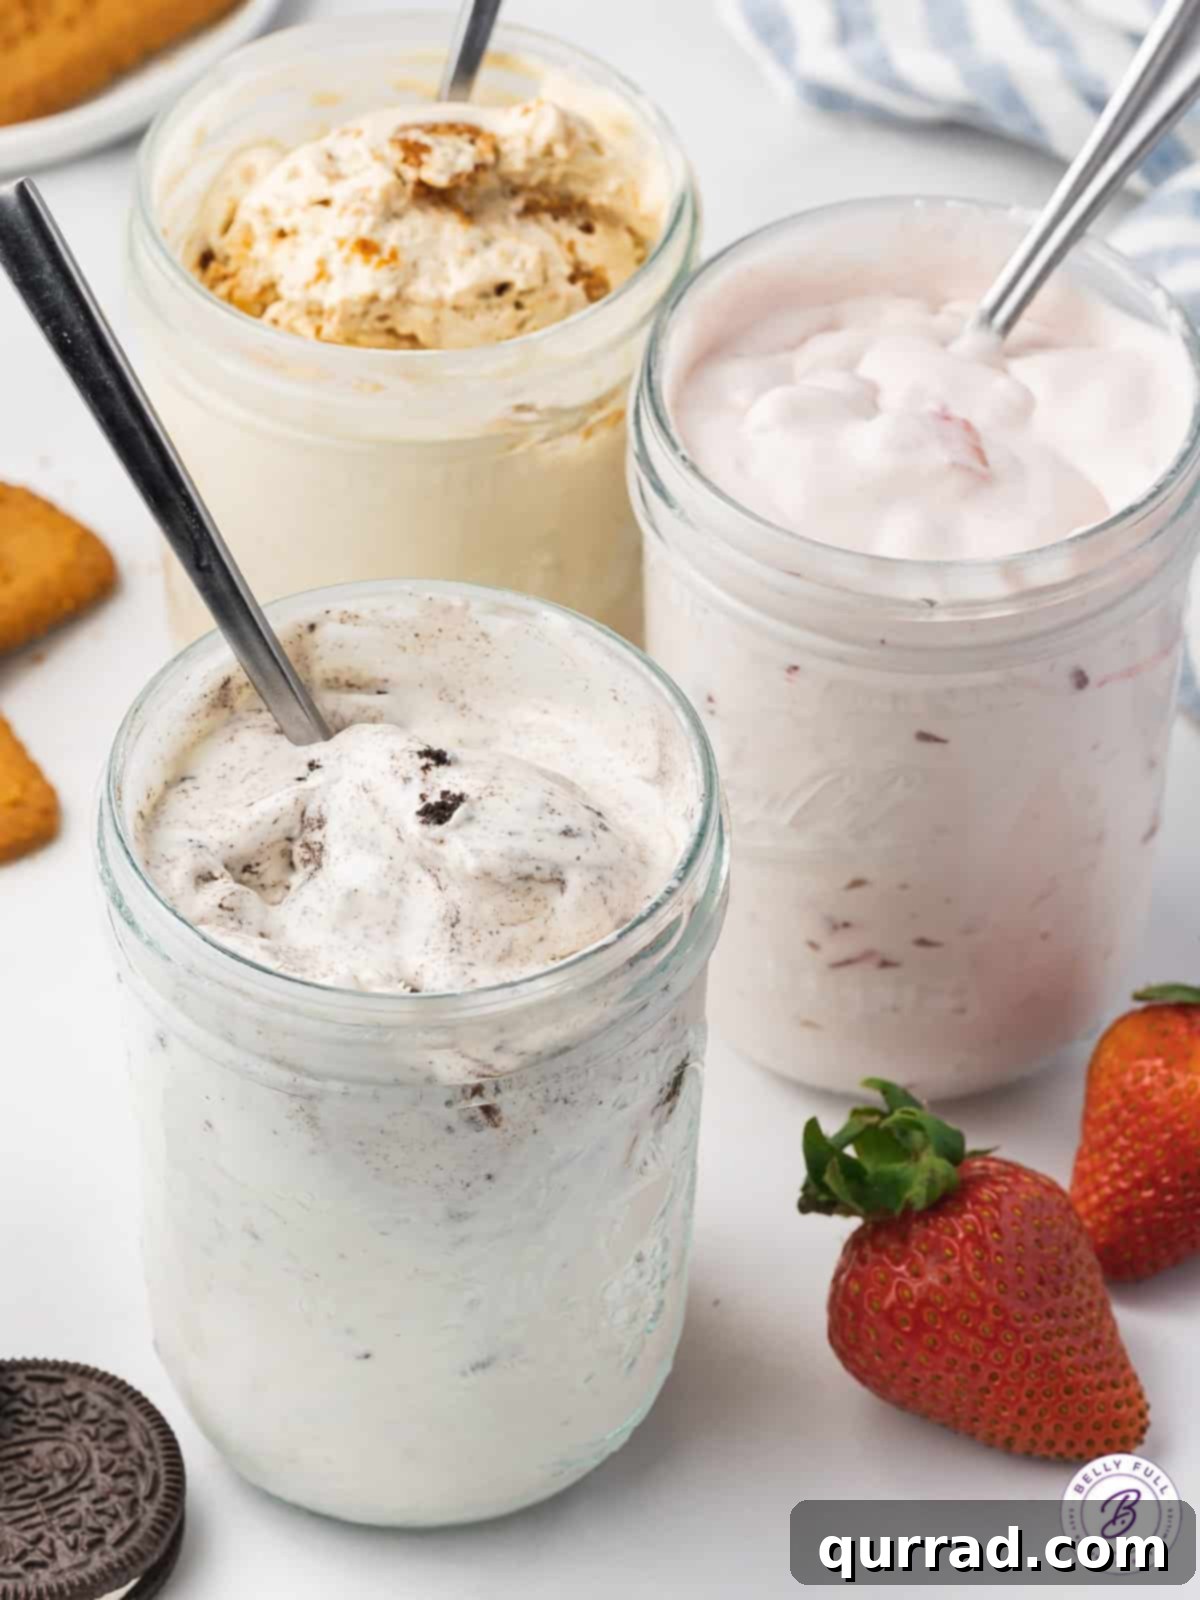
Craving a delightful frozen treat but don’t own an ice cream maker? Or perhaps you’re simply looking for an incredibly simple and fun way to whip up homemade ice cream without all the fuss? Look no further than Mason Jar Ice Cream! This revolutionary no-churn method requires no special appliances, just a humble mason jar, four basic ingredients, and about five minutes of hands-on preparation. It’s the ultimate solution for anyone who loves the rich, creamy taste of ice cream but wants to avoid complicated recipes or bulky kitchen gadgets. Get ready to explore a world of customizable flavors, making every batch a unique and delicious adventure perfect for summer or any time of year.
Unlocking the Simplicity of No-Churn Ice Cream in a Mason Jar
The thought of homemade ice cream often conjures images of complex recipes, simmering custards, and specialized machinery. For many, the commitment to an ice cream maker – with its requirement for pre-frozen bowls and counter space – is simply too much. If you’ve ever felt this way, you’re not alone. While traditional churned ice cream certainly has its place, it can be time-consuming and somewhat finicky. That’s where the magic of mason jar ice cream truly shines.
Unlike most other no-churn ice cream recipes that might still call for an electric hand mixer, multiple bowls, or various utensils, this method strips it all back to basics. As its name suggests, the star of the show is simply a mason jar. This innovative approach makes crafting your own frozen dessert incredibly easy, surprisingly fast, and a whole lot of fun. The simplicity of the process also makes it perfect for involving kids, turning dessert preparation into a delightful family activity. The real excitement comes when you start experimenting with endless mix-ins and flavor combinations, ensuring you can enjoy a different delightful creation every time.
What Exactly is Mason Jar Ice Cream?
At its core, mason jar ice cream is precisely what it sounds like: ice cream prepared and frozen directly within a glass jar. The defining characteristic is the complete absence of an ice cream machine. Traditional homemade ice cream typically involves a multi-step process: first, creating a base mixture, often requiring simmering on the stovetop, followed by an overnight chilling period in the refrigerator, and finally, churning in a dedicated ice cream maker until frozen. This can be a lengthy and often intimidating process for home cooks.
In stark contrast, our no-churn mason jar ice cream recipe simplifies everything. You only need four fundamental ingredients, a sturdy mason jar, approximately five minutes of active preparation, and a bit of arm strength (or a good shaking technique!). This method relies on vigorously shaking the ingredients inside the sealed jar to incorporate air, which is essential for a creamy texture. After this quick shake, the jar is transferred to the freezer, where it transforms into wonderfully creamy, delicious ice cream in just a couple of hours, ready for you to enjoy.
Essential Ingredients for Your Mason Jar Masterpiece
Crafting this simple yet satisfying mason jar ice cream requires only a handful of common kitchen staples. The beauty of this recipe lies in its minimal ingredient list, which forms the perfect canvas for any flavor you can imagine. Remember, the quality of your base ingredients will significantly impact the final taste and texture of your homemade treat. Here’s what you’ll need, along with insights into their importance:
- Cold Heavy Whipping Cream: This is the cornerstone of your creamy ice cream. It is absolutely crucial that your heavy whipping cream is very well chilled. Cold cream whips up much faster and creates a more stable, airy structure, which is vital for achieving that desirable light and smooth consistency without an ice cream maker. Do not substitute with half-and-half, milk, or lower-fat creams, as they will not yield the same results.
- Granulated Sugar: Providing the essential sweetness, granulated sugar also contributes to the ice cream’s smooth texture by helping to prevent the formation of large ice crystals during freezing. You can adjust the amount slightly to suit your personal preference, but avoid drastic reductions unless you’re experienced in making no-churn desserts, as sugar plays a critical role beyond just taste.
- Vanilla Extract: A splash of good quality vanilla extract enhances all the other flavors and provides that classic, universally loved ice cream taste. For an even richer aroma and flavor, consider using vanilla bean paste.
- Pinch of Salt: Don’t underestimate the power of salt in sweet recipes! A small, hefty pinch of fine or coarse salt doesn’t make the ice cream salty; instead, it cleverly balances and intensifies the sweetness and deepens the vanilla flavor. It’s a secret weapon for making your ice cream taste exceptionally rich and well-rounded.
- Optional Mix-ins: This is where your creativity truly comes alive! The possibilities for customizing your mason jar ice cream are virtually limitless. From fresh fruits to crunchy cookies, decadent sauces, and nutty additions, you can create a unique flavor profile every single time. See our dedicated section below for a plethora of inspiring suggestions.
How to Make Ice Cream in a Mason Jar: A Step-by-Step Guide
Making delicious homemade ice cream in a mason jar is astonishingly simple and takes mere minutes of active preparation. The freezer handles the rest, allowing you to create a delightful dessert with minimal effort. Follow these straightforward steps for perfect results:
- Combine All Ingredients in Your Mason Jar: Start by pouring your very cold heavy whipping cream, granulated sugar, vanilla extract, and pinch of salt into a clean 16-ounce wide-mouth freezer-safe Ball Mason Jar. Ensure the jar is indeed freezer-safe to prevent cracking. Once all ingredients are in, securely seal the jar with its lid. This tight seal is crucial for the shaking process.
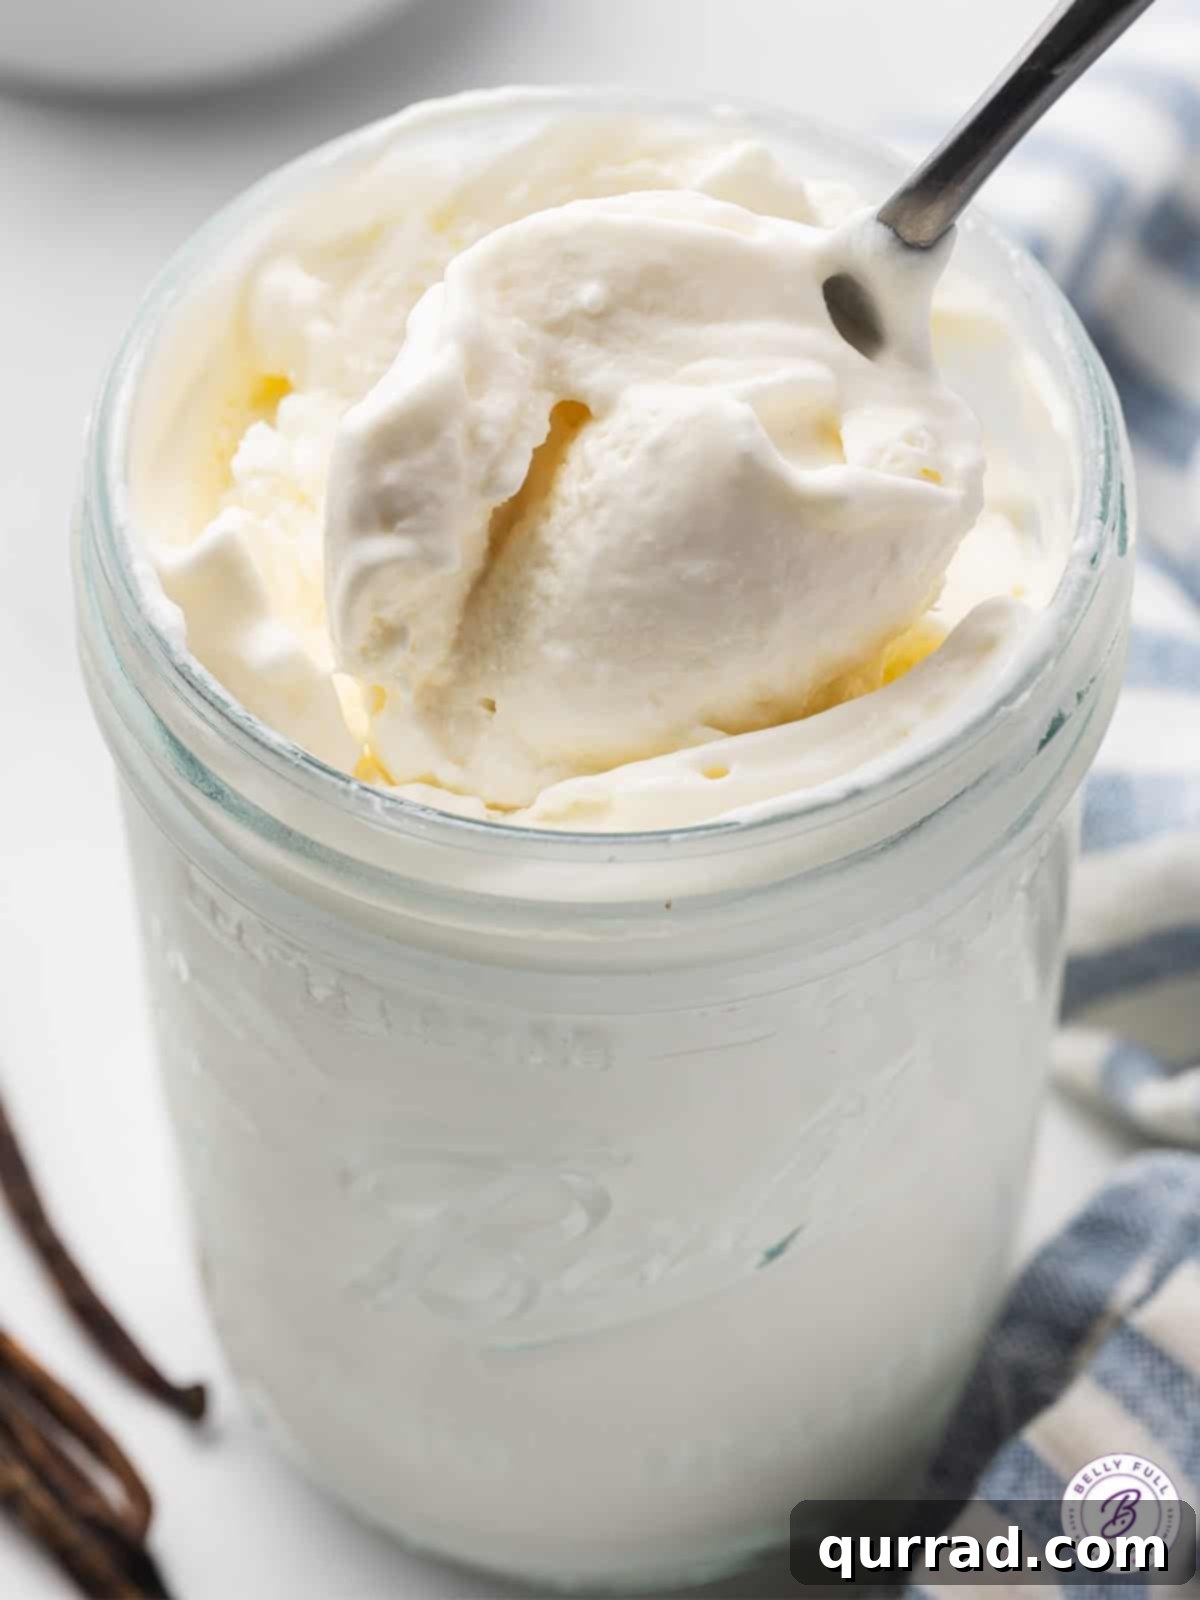
- Shake Vigorously for Creaminess: Now comes the fun part and your arm workout! Shake the sealed jar vigorously and continuously. The goal is to incorporate air into the cream mixture, causing it to double in volume and thicken to a consistency similar to brownie batter or a thick milkshake. This usually takes around 4 to 5 minutes of constant shaking. Do not skip this step, as sufficient aeration is what gives your ice cream its creamy texture and prevents it from turning icy. If you have energetic kids around, this is a fantastic task for them to help with!
- Freeze Until Soft-Serve Consistency: Once the mixture has reached the desired thickened consistency, transfer the sealed jar directly to the freezer. Freeze for approximately 2 to 3 hours. During this freezing period, it’s highly recommended to shake the jar every 30 minutes or so. This intermittent shaking helps to break up any potential ice crystals as they form, ensuring an even creamier, smoother final texture. If you plan to add mix-ins, this periodic shaking also prevents them from sinking entirely to the bottom. Your aim is a consistency similar to soft-serve ice cream, which is perfectly scoopable and enjoyable.
- Serve and Enjoy!: Once your ice cream has reached the perfect soft-serve texture, it’s ready to be devoured! You can enjoy it directly from the jar or scoop it into bowls or cones. Don’t forget to explore our flavor customization notes below to transform your basic vanilla into something extraordinary.
Unleash Your Creativity: Customizing with Different Ice Cream Flavors
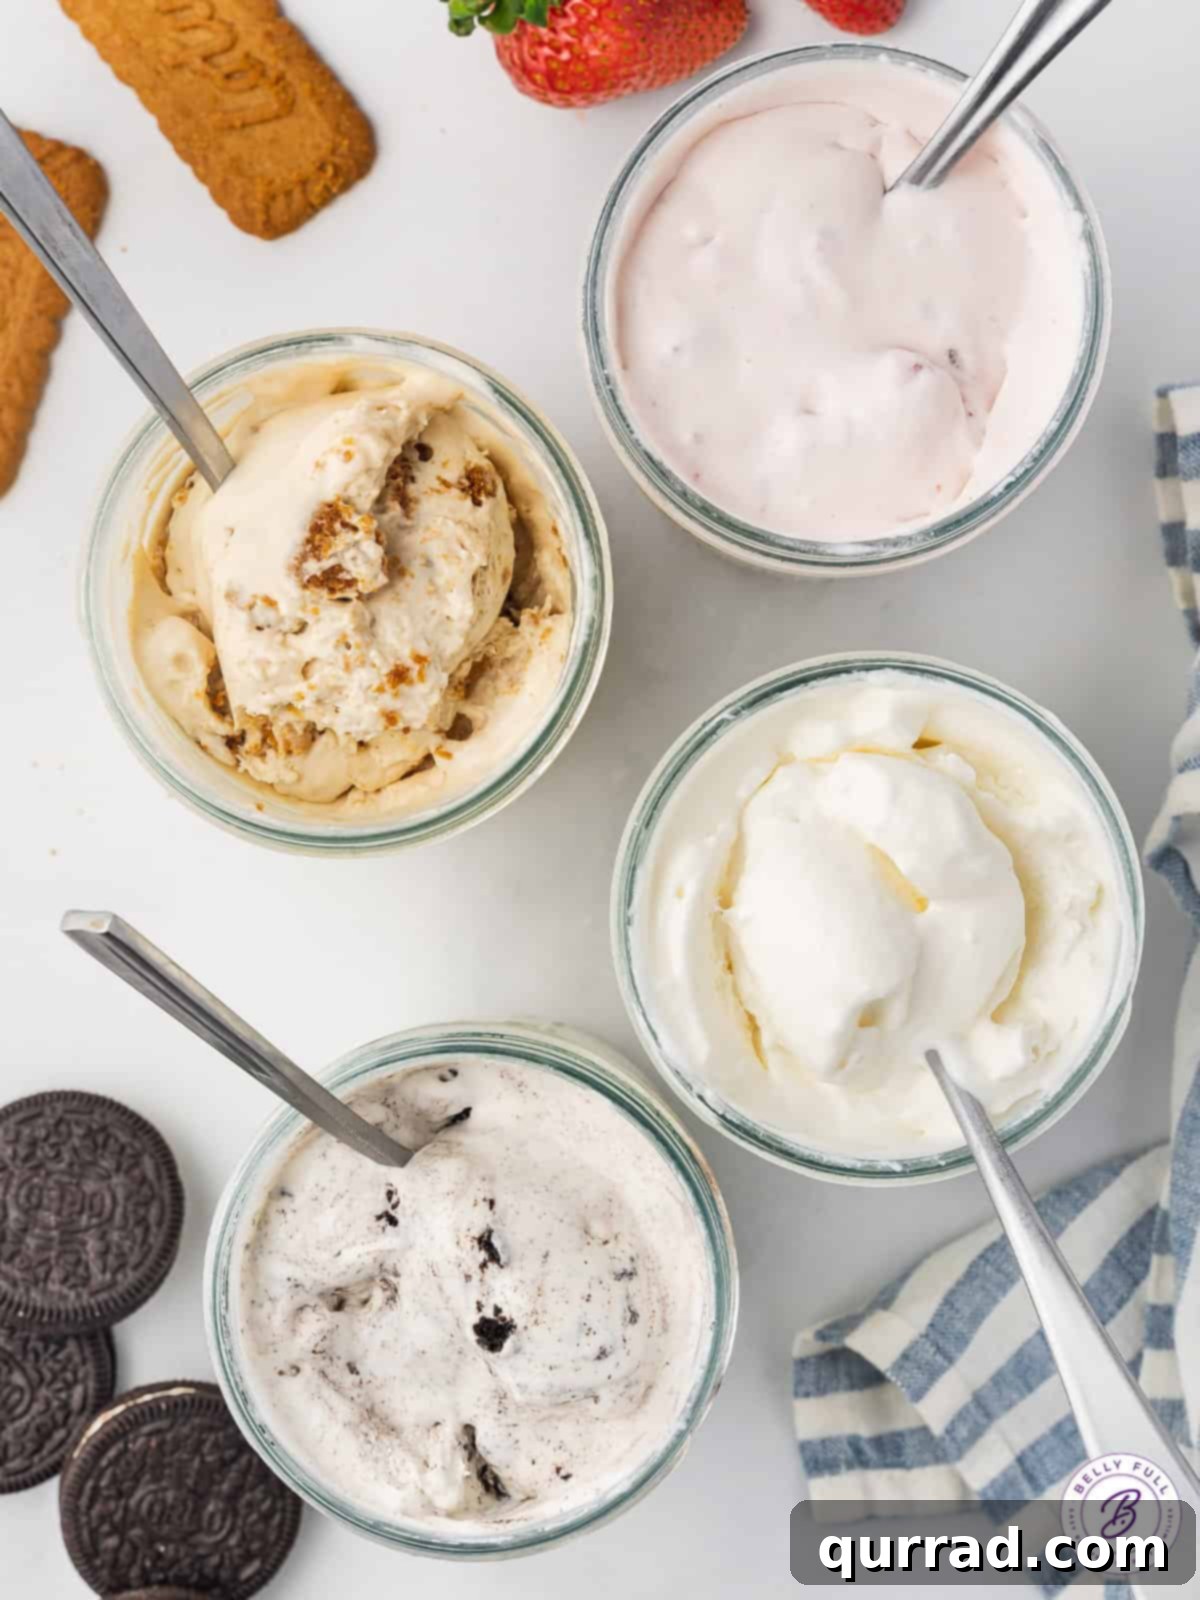
The beauty of mason jar ice cream lies in its incredible adaptability. The basic vanilla base is perfect on its own, but it also serves as an excellent foundation for a myriad of delicious flavor variations. Get creative and transform your simple cream into an artisanal dessert! Here are some popular and exciting ideas to get you started:
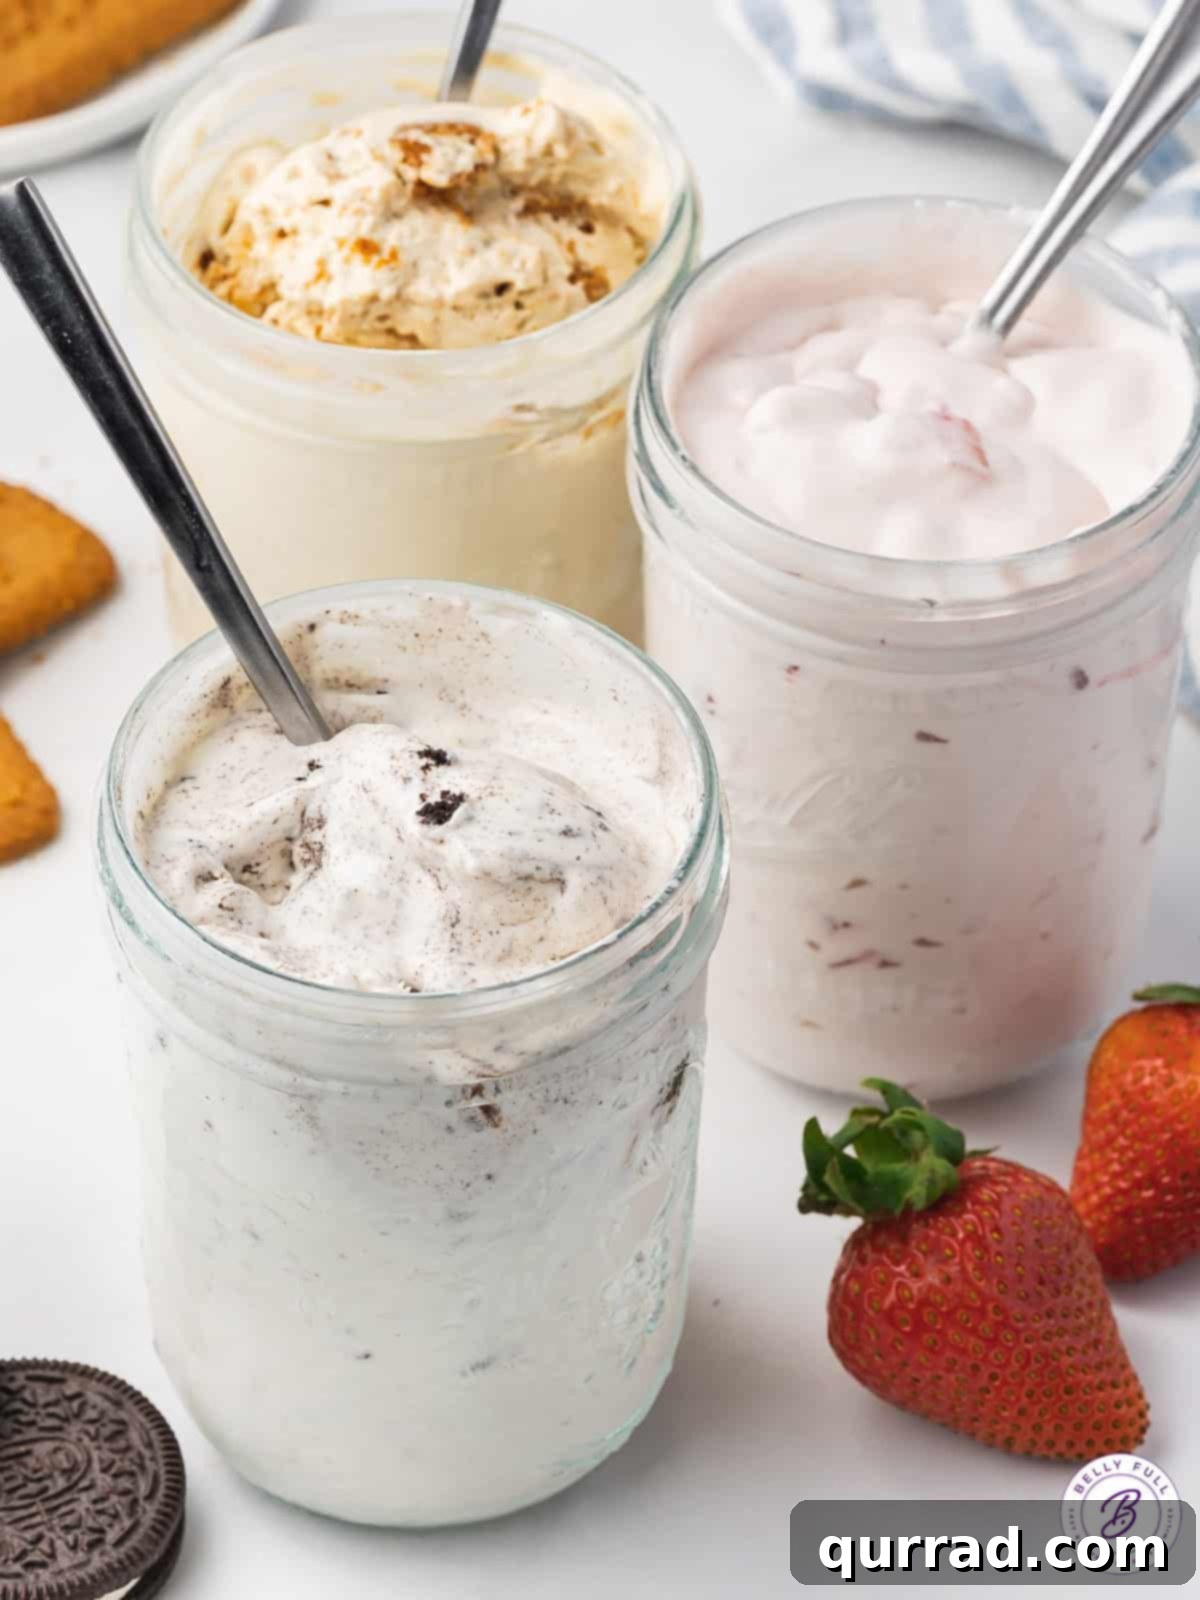
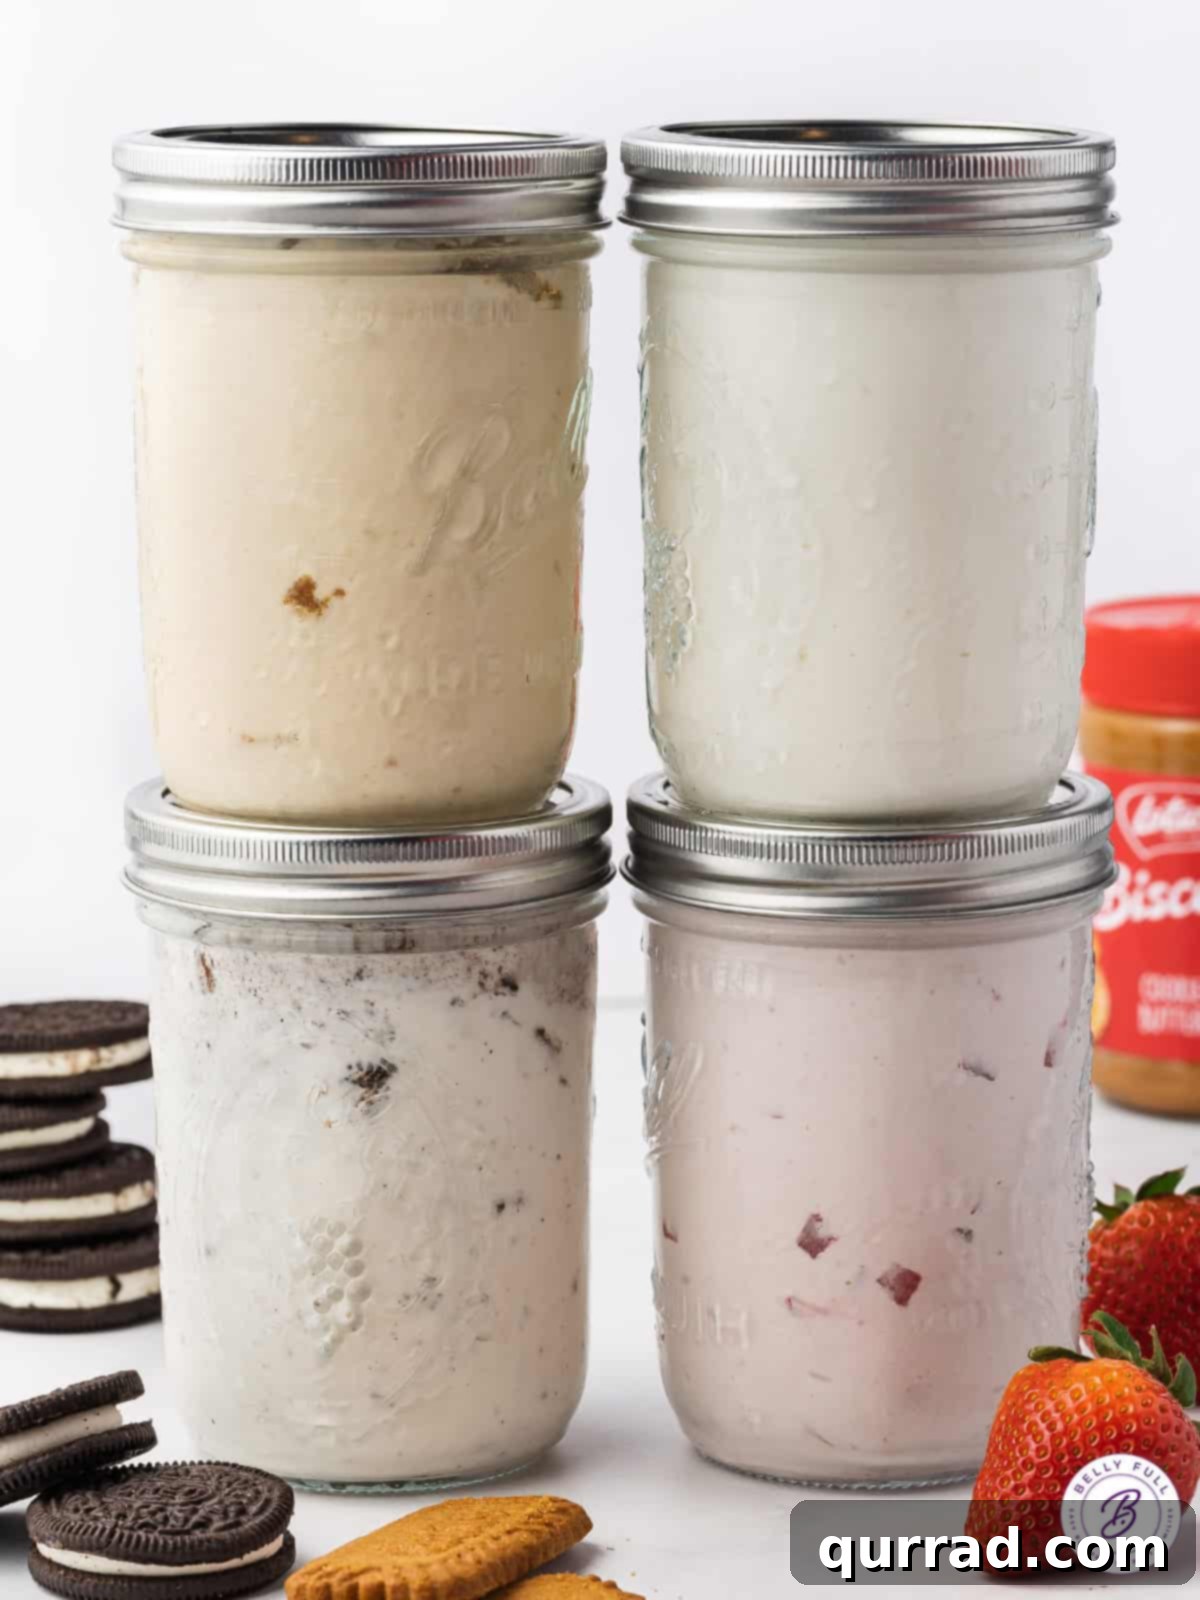
- Cookies & Cream Delight: For a classic crowd-pleaser, add about 1 to 1.5 tablespoons of softened whipped cream cheese to the mixture before shaking. After shaking, gently fold in 2-3 crushed Oreo cookies (or your favorite chocolate sandwich cookies). The cream cheese adds an extra layer of richness and helps with texture, while the cookies bring a delightful crunch.
- Biscoff Dream: If you’re a fan of those distinctive caramelized biscuits, this flavor is a must-try. Incorporate 1 tablespoon of Biscoff cookie butter spread into your mixture before shaking. Once thickened, stir in 2-3 crushed Biscoff cookies. The cookie butter melts into the ice cream, infusing it with its unique spice and sweetness, complemented by crunchy cookie pieces.
- Praline Perfection: Indulge in a sophisticated flavor profile by adding 1 tablespoon of rich caramel sauce to the cream before shaking. After the shaking step, fold in 1 tablespoon each of finely crushed toffee bits and finely chopped pecans. This combination offers a delightful interplay of buttery caramel, crunchy toffee, and earthy pecans.
- Fresh Strawberry Bliss: For a vibrant and fruity treat, add 1.5 tablespoons of good quality strawberry jam to your base mixture before shaking. After shaking, gently stir in about 2 large strawberries, finely diced. The jam provides an intense strawberry flavor throughout, while the fresh fruit pieces offer bursts of natural sweetness and texture.
- Chocolate Lover’s Dream: Stir in 1-2 tablespoons of cocoa powder with the initial ingredients for a chocolate base. After shaking, fold in chocolate chips, chocolate chunks, or a swirl of chocolate fudge sauce.
- Mint Chocolate Chip: Add a few drops of peppermint extract (start with 1/4 teaspoon and adjust to taste, extracts can be strong!) along with green food coloring (optional) before shaking. Stir in mini chocolate chips after shaking.
- Peanut Butter Swirl: After shaking, swirl in 1-2 tablespoons of creamy peanut butter or add chopped Reese’s Peanut Butter Cups.
- Lemon Zest Burst: Add 1-2 teaspoons of fresh lemon zest and a tablespoon of lemon juice (optional, for a tangier flavor) to the base before shaking.
Expert Tips for the Perfect Mason Jar Ice Cream
Achieving consistently creamy and delicious mason jar ice cream is easy, but a few key tips can elevate your results from good to absolutely fantastic. Keep these pointers in mind for the best possible homemade frozen treat:
- Prioritize Full-Fat Ingredients: For the best texture and proper consistency, always use full-fat heavy whipping cream and granulated sugar. Lower-fat alternatives or sugar substitutes can significantly alter the outcome, often leading to a less creamy, more icy product. The fat content in heavy cream is essential for incorporating and holding air, which is the secret to no-churn success.
- Finely Chop Your Mix-ins: If you’re adding solid mix-ins like cookies, candy, or nuts, ensure they are chopped or crumbled finely. Larger pieces can make the ice cream harder to scoop once frozen and may create an uneven texture. Stir them into the ice cream mixture *after* the vigorous shaking phase, just before freezing.
- Exercise Caution with Extracts: When experimenting with additional flavor extracts, such as almond, mint, or citrus, remember that they are often highly concentrated. Start with a very small amount (e.g., 1/4 teaspoon) and add more gradually to taste, if needed. Overdoing extracts can easily overpower your ice cream.
- Adjust Jar Size for Portions: While this recipe uses a 16-ounce wide-mouth mason jar, you can easily scale down the ingredients by half to use an 8-ounce jar for individual servings. Ensure the jar is freezer-safe and leave ample headspace for the mixture to expand slightly as it freezes.
- Monitor Freezing Time Closely: The ideal consistency for this ice cream is soft-serve. Aim to freeze for no more than 2-3 hours. Freezing for too long can result in a very hard, almost un-scoopable texture, and may encourage the formation of larger ice crystals. If it does become too hard, simply let it sit on the counter for 10-15 minutes to soften slightly before serving.
- Don’t Skip the Mid-Freeze Shake: The recommendation to shake the jar every 30 minutes during the first couple of hours of freezing is critical. This action helps to continually break up ice crystals, contributing to a smoother, creamier final product. It also redistributes mix-ins, preventing them from settling at the bottom.
- Ensure Cream is Super Cold: We cannot stress this enough – your heavy whipping cream must be as cold as possible directly from the refrigerator. Warm cream will not whip up properly, regardless of how vigorously you shake it.
Proper Storage and Enjoyment
Mason Jar Ice Cream is truly at its peak when enjoyed within a few hours of making it, offering the best taste, consistency, and overall quality. Its soft-serve-like texture is perfect right out of the freezer after the recommended chilling time.
However, if you find yourself with delightful leftovers, they can certainly be stored in the freezer for later enjoyment. For the absolute best quality, consume any remaining ice cream within a week. Beyond that timeframe, it will still be safe to eat, but you might notice a slight degradation in texture or flavor, potentially becoming harder or developing more ice crystals. To make it scoopable again after extended freezing, simply let the jar sit out on the counter for about 15 minutes to allow it to soften to the desired consistency.
More Refreshing Ice Cream & Frozen Treat Recipes:
- Ice Cream Sandwich Cake: An effortless dessert combining ice cream sandwiches and delicious toppings.
- Dole Whip: Recreate the famous theme park pineapple soft serve at home.
- Root Beer Float Granita: A refreshing and icy twist on a classic soda shop treat.
- Shirley Temple Ice Cream Float: A nostalgic and bubbly drink with a creamy ice cream addition.
- No-Churn Strawberry Ice Cream: Another simple, appliance-free recipe bursting with fresh strawberry flavor.
We hope you adore this wonderfully easy and utterly delicious Mason Jar Ice Cream recipe! Don’t forget to give it a review below and share your favorite flavor creations. Stay connected with us for more culinary inspiration by following Belly Full on TikTok, Facebook, Instagram, Pinterest, and YouTube!
★
★
★
★
Mason Jar Ice Cream
5
2
2
5
2
(8 ounces per serving)
Ingredients
- 1 cup cold heavy whipping cream
- 2 tablespoons granulated sugar
- 1 & 1/2 teaspoons vanilla extract
- hefty pinch of coarse salt
Instructions
-
Put all the ingredients (cold heavy whipping cream, granulated sugar, vanilla extract, and salt) into a 16 ounce wide-mouth freezer-safe Ball Mason Jar. Seal tightly with the lid.
-
Shake vigorously until the mixture has about doubled in volume and reaches the consistency of brownie batter or a thick milkshake (this usually takes around 4 to 5 minutes – it’s an arm workout, but crucial for creaminess!)
-
Transfer the sealed jar to the freezer and freeze until the consistency resembles soft-serve ice cream, typically 2 to 3 hours. For best results and to prevent ice crystals, shake the jar every 30 minutes or so. If using mix-ins, this also helps keep them evenly distributed.
-
Serve immediately and enjoy your homemade ice cream! (Refer to the Notes section for delicious flavor variations.)
Notes on Flavor Customization
Cookies & Cream – Include 1 & 1/2 tablespoons whipped cream cheese (softened) before shaking. After shaking, mash up 2-3 Oreo cookies and stir the pieces into the ice cream mixture before freezing.
Biscoff – Include 1 tablespoon Biscoff cookie butter spread before shaking. After shaking, mash up 2-3 Biscoff cookies and stir the pieces into the ice cream mixture before freezing.
Praline – Include 1 tablespoon caramel sauce before shaking. After shaking, stir in 1 tablespoon each crushed up toffee bits and finely chopped pecans into the ice cream mixture before freezing.
Nutrition Facts (per serving)
Calories: 459kcal
|
Carbohydrates: 16g
|
Protein: 3g
|
Fat: 43g
|
Saturated Fat: 27g
|
Polyunsaturated Fat: 2g
|
Monounsaturated Fat: 11g
|
Cholesterol: 134mg
|
Sodium: 33mg
|
Potassium: 118mg
|
Sugar: 16g
|
Vitamin A: 1749IU
|
Vitamin C: 1mg
|
Calcium: 79mg
|
Iron: 0.1mg
Nutritional information is an estimate and can vary based on the exact products you use and any changes made to the recipe. If these numbers are critical for your dietary needs, we recommend calculating them independently.
Made this delicious recipe? We’d love to hear from you!
Leave a rating and comment below to share your experience!