
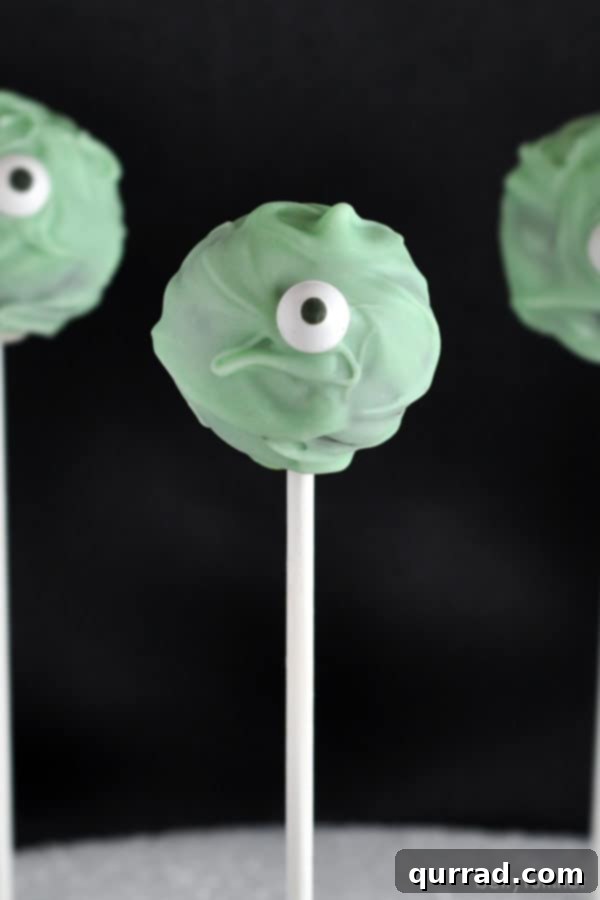
Spooktacular One-Eyed Monster Cake Pops: Your Ultimate Halloween Treat Guide
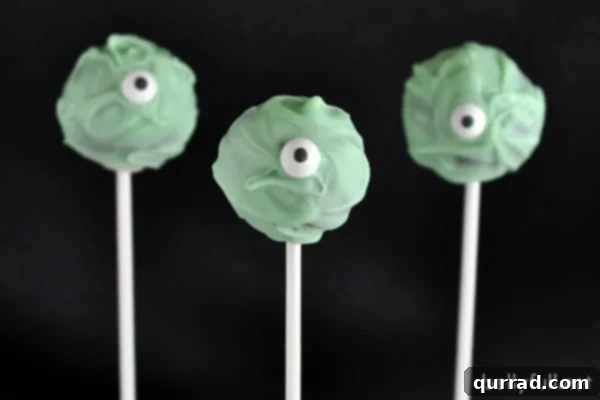
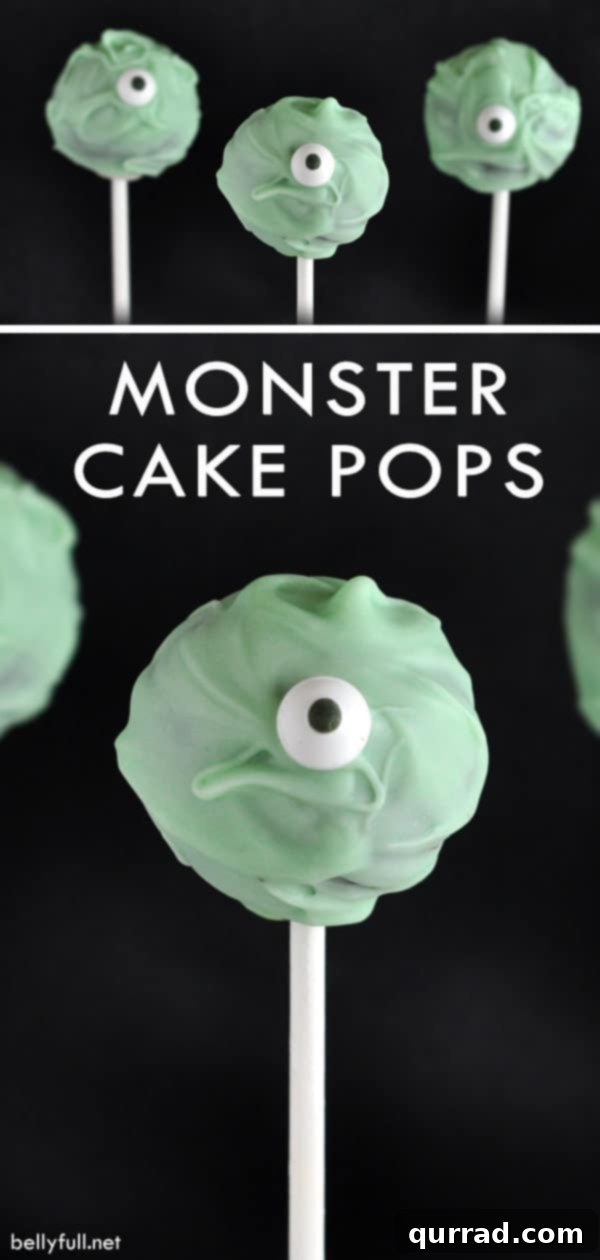
Get ready to conjure up some magic in your kitchen this Halloween with these incredibly adorable and delightfully easy One-Eyed Monster Cake Pops! Perfect for adding a touch of spooky fun to any monster-themed party, school event, or just a festive night at home, these bite-sized treats are guaranteed to be a monstrous hit. Imagine the smiles when guests discover these whimsical, vibrant green monsters staring back at them – they’re almost too cute to eat, but too delicious to resist!
While the mystique surrounding cake pops often makes them seem intimidating, let’s reveal the sweet truth: they are genuinely quite simple to make. The process isn’t complicated; it primarily requires patience and a bit of waiting. You’ll find yourself pausing as the cake bakes to golden perfection, then allowing it to cool completely before the fun begins. Next, the formed cake balls will need time to chill or freeze, ensuring they’re perfectly firm for dipping. This rhythm of preparation and waiting is what makes the final creation so rewarding – a truly homemade treat crafted with care.
If you’re looking for a project that yields impressive results and allows for creative expression, then dedicating some time to these Monster Cake Pops is an absolute must. In fact, any cake pops are a fantastic choice for home bakers. Even without little ones around, I’d still be whipping these up! They offer the ideal bite-sized indulgence, making portion control effortless and preventing over-indulgence – not that I ever struggle with that! *wink*
After years of perfecting the art of cake pop creation, I’ve gathered invaluable insights that I’m thrilled to share. Mastering a few key techniques can elevate your cake pops from good to absolutely spectacular. These essential tips will help you achieve that perfect texture, ensure smooth coating, and simplify the entire process, making your monster cake pop journey a delicious success.
Essential Tips for Perfect Cake Pops Every Time
Crafting the perfect cake pop involves more than just mixing ingredients; it’s about understanding the nuances of texture and technique. Here are my top three golden rules, along with some extra wisdom, to ensure your monster cake pops are always a triumph.
1. The Frosting Balance: Less is More
This is arguably the most crucial tip for achieving the ideal cake pop consistency. Many people make the mistake of using an entire container of frosting, believing it will bind the cake crumbs better. However, too much frosting results in a cake pop with a completely gooey, almost pudding-like interior that lacks the desirable “cake” texture. You want a *cake* pop, not a *gooey* pop. Start with a small amount, typically 3-4 generous spoonfuls for a standard box cake, and add more only if absolutely necessary. The goal is a mixture that holds together when rolled but still has a slightly crumbly, cake-like feel.
2. Hands-On Crumbling: Feel the Consistency
Resist the urge to use a food processor for crumbling your cake, especially when incorporating the frosting. Using your hands allows you to truly feel the texture of the cake crumbs and assess how much frosting is needed. It’s a tactile experience that no machine can replicate. As you mix, you’ll feel the cake transform from dry crumbs to a pliable dough. This direct contact helps you determine precisely when the mixture is moist enough to form a ball without becoming overly saturated, ensuring the perfect balance between cake and frosting.
3. Portion Perfection: Employ a Cookie Scoop
For uniform, professional-looking cake pops, a cookie scoop is your best friend. Using a tablespoon-sized scoop ensures that each cake pop is roughly the same size and weight. This consistency is vital not only for aesthetic appeal but also for even freezing and dipping. When all your cake balls are uniform, they will chill at the same rate and be easier to coat smoothly, leading to a much more satisfying final product.
4. The Power of Chilling: Firmness is Key
Once your cake balls are formed and the lollipop sticks are inserted, chilling them is non-negotiable. Placing the cookie sheet with your cake pops into the freezer for at least 30 minutes, or the refrigerator for an hour, will firm them up considerably. This step prevents the cake balls from falling apart when dipped into the melted candy coating and helps the coating set more quickly and smoothly. A well-chilled cake pop is far less prone to cracking or crumbling during the dipping process.
5. Mastering the Dip: Smooth and Even Coating
Achieving a flawless, smooth candy coating can be tricky, but a few tricks make all the difference. Ensure your candy melts are fully melted and smooth, but not too hot, as excessive heat can cause the cake to crumble or the coating to seize. If the melts are too thick, you can thin them with a little vegetable shortening or coconut oil. Dip each chilled cake pop quickly, swirling gently to ensure full coverage, then tap off any excess coating. Work efficiently, as the cold cake pop will cause the candy melts to set rapidly.
Unleash Your Inner Monster Chef: Flavor and Decoration Fun
I am absolutely smitten with these adorable one-eyed monster cake pops. Their playful charm makes them an instant favorite! For this batch, I opted for a rich chocolate cake base paired with a decadent coconut pecan frosting, a combination that truly sings. However, the beauty of cake pops lies in their incredible versatility. Don’t feel bound by my choices; let your imagination run wild!
Consider a vibrant red velvet cake with cream cheese frosting for a dramatic look, or a classic vanilla cake with strawberry buttercream for a sweeter profile. Lemon cake with lemon frosting can offer a zesty surprise. The possibilities for cake and frosting combinations are endless – simply choose whatever flavors float your boat and excite your taste buds!
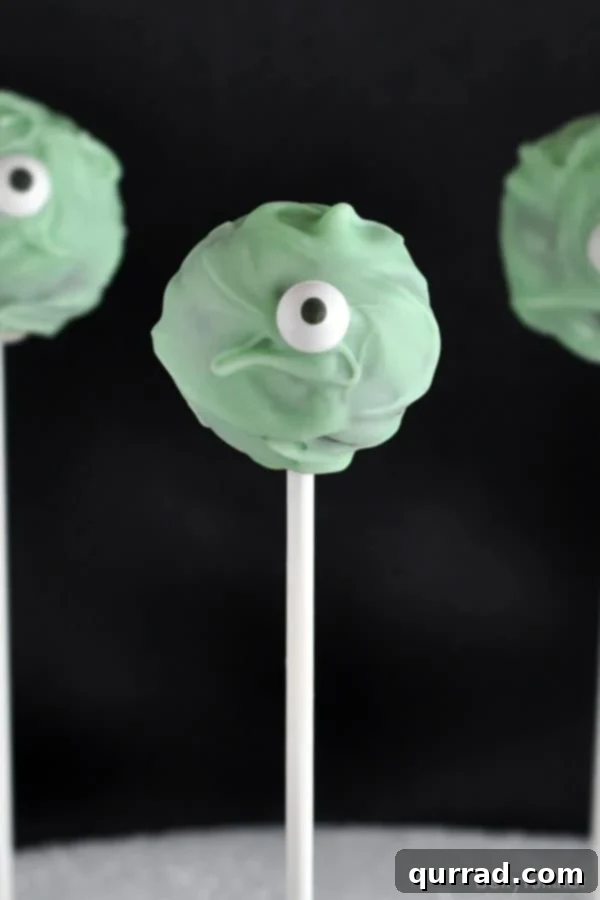
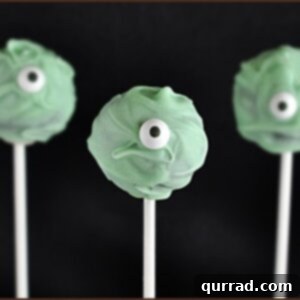
When it comes to decorating, these monster cake pops are where creativity truly shines. The green candy melts provide the perfect canvas for our friendly monsters, and the single candy eyeball gives them their distinct, quirky personality. You can experiment with different colored candy melts – purple, orange, or even black – to create a whole army of diverse monsters. A drizzle of contrasting colored candy melts, or a scattering of Halloween sprinkles while the coating is still wet, can add extra texture and flair. For more elaborate designs, edible markers can be used to draw mouths or scars once the coating has fully set. Let each monster be a unique expression of your Halloween spirit!
More Spine-Tingling Halloween Treat Ideas!
If you’re looking to expand your spooky dessert repertoire beyond these charming cake pops, here are a few other fantastic Halloween treats to inspire your holiday baking:
- Creepy & Realistic Halloween Bloodshot Eyeballs
- Ethereal & Delicious Ghost Cake
- Fun & Fruity Monster Fruit Dip with Apple Mouths
One-Eyed Monster Cake Pops
1 hour
1 hour
1 hour
3 hours
35
Pin
Ingredients
- 15 ounce box cake mix, (I used chocolate fudge)
- 3 large eggs
- 1/2 cup vegetable oil
- water
- 14 ounce container frosting, (I used coconut pecan) – you won’t need all of it!
- 24 ounces Green candy melts
- 35 Candy eyeballs, (I found these at Target in the baking aisle)
- Lollipop sticks, (I used 6 inch)
- Large piece of styrofoam block, (you can get this at Michael’s)
Instructions
-
Lightly coat a 9×13 baking dish with non-stick cooking spray to prevent sticking.
-
In a large bowl, prepare your cake batter according to the package directions (using the cake mix, eggs, vegetable oil, and water). Pour the batter evenly into the prepared baking dish and bake as instructed on the cake mix box. Once baked, allow the cake to cool completely in the pan before proceeding.
-
Once cooled, carefully slice the cake into 4 manageable sections and transfer them to a large mixing bowl.
-
Using your clean hands, gently crumble the cake until it resembles fine crumbs. Then, gradually add the frosting, a little bit at a time (I recommend starting with about 4 large spoonfuls). Continue to mix and knead with your hands until the cake is moist enough to hold a ball shape, yet still maintains a slightly crumbly texture. Be careful not to add too much frosting, as this will make your cake pops gooey.
-
Prepare a cookie sheet by lining it with parchment paper; this will prevent the cake balls from sticking.
-
Using a tablespoon-sized cookie scoop, portion out the cake mixture. Roll each portion tightly between your palms to form smooth, firm balls. Place the formed cake balls onto the parchment-lined cookie sheet.
-
In a small, microwave-safe bowl, melt approximately 1/4 cup of the green candy melts according to the package directions. Dip the tip of each lollipop stick into the melted candy, then gently insert the stick about 3/4 of the way into the center of each cake ball. This acts as a “glue” to secure the stick. Return the cake pops to the cookie sheet and repeat for all remaining cake balls.
-
Place the cookie sheet with the impaled cake pops into the freezer for at least 30 minutes. This chilling step is crucial to make the cake balls firm and prevent them from crumbling when dipped into the main candy coating.
-
Melt the remaining green candy melts in a larger bowl, following package instructions. Ensure the candy is smooth and fluid. Dip each chilled cake pop into the melted green candy, allowing any excess to drip off by gently tapping the stick. While the coating is still wet, carefully press one candy eyeball onto the front of each cake pop. For a playful monster effect, you can gently swirl the melted candy coating with your finger around the eye to create an uneven, textured look, focusing a bit more coating where it’s flattened.
-
Immediately after dipping and decorating, insert the lollipop sticks into a large piece of styrofoam block (this keeps them upright while setting). Place the entire styrofoam block with decorated cake pops into the refrigerator for about 10 minutes to allow the candy coating to fully set and dry completely. Once set, your charming One-Eyed Monster Cake Pops are ready to delight!
Notes
- For comprehensive tips on achieving perfect cake pops, please ensure you read the full article above, especially the “Essential Tips for Perfect Cake Pops Every Time” section.
- Feel free to customize your cake pops! I used chocolate cake and coconut pecan frosting for a rich flavor combination, but you can choose any cake mix and frosting that you enjoy most.
- To maintain freshness, store your One-Eyed Monster Cake Pops in a single layer within an airtight container. They will keep well in the refrigerator for up to 5 days, or even longer if properly stored.
Nutrition
Nutritional information provided is an automatic calculation and may vary based on the exact products you use and any modifications made to the recipe. If precise nutritional values are important to you, it is recommended to calculate them independently using your specific ingredients.
Did you make this? Leave a rating below!
Original concept inspired by Baked Perfection
Common Cake Pop Troubleshooting & FAQs
Even with the best tips, sometimes things don’t go exactly as planned. Here are answers to some common issues you might encounter when making cake pops:
Why are my cake pops falling off the stick?
This is a common frustration! It’s usually due to a few reasons:
- Insufficient Chilling: The cake balls weren’t cold enough. Make sure they are thoroughly chilled or frozen before dipping.
- Not Enough “Glue”: The initial dip of the stick into melted candy melts acts as an adhesive. Ensure you dip the stick deep enough and that the candy sets before dipping the whole pop.
- Too Much Frosting: If your cake mixture is too moist or gooey, it won’t hold firmly onto the stick. Refer back to Tip #1 for the right consistency.
- Hot Candy Melts: Dipping a cold cake pop into overly hot candy melts can cause the cake to soften and slip off. Ensure your candy melts are warm and fluid, but not scorching hot.
Why is my candy coating cracking?
Cracking is often a sign of a temperature shock or an uneven coating:
- Too Cold Cake Pop: If the cake pop is excessively cold (e.g., straight from a deep freeze), the warm coating can crack as it cools and contracts too quickly. Allow them to sit for a few minutes at room temperature if they are rock solid.
- Too Thick Coating: If your candy melts are too thick, they can be brittle when dry, leading to cracks. Thin your candy melts with a little vegetable shortening or coconut oil until they have a smooth, pourable consistency.
- Uneven Coating: An uneven or too-thin coating can also be more prone to cracking. Ensure you have a good, uniform layer.
My cake pop mixture is too sticky, what should I do?
If your mixture is too sticky, it likely means you’ve added too much frosting. You can try to remedy this by crumbling in a bit more plain, dry cake (if you have extra) to absorb some of the moisture. Alternatively, you can place the sticky mixture in the refrigerator for 15-30 minutes; chilling can make it easier to handle and roll.
How can I make my candy melts smoother for dipping?
Achieving a smooth, consistent candy coating is key for beautiful cake pops. If your candy melts are too thick, add a small amount of vegetable shortening (like Crisco) or coconut oil, about 1 teaspoon at a time, and stir until completely melted and smooth. Avoid adding water or milk, as this will cause the candy melts to seize and become unusable.
Can I make these ahead of time?
Absolutely! Cake pops are fantastic for making ahead. You can prepare the cake balls (before dipping) and store them in an airtight container in the refrigerator for up to a week, or freeze them for up to a month. Thaw frozen cake balls in the refrigerator before dipping. Once fully decorated, store them in an airtight container in the refrigerator for up to 5 days, making them a perfect party prep treat!
We hope these detailed instructions, helpful tips, and troubleshooting advice empower you to create the most enchanting and delicious One-Eyed Monster Cake Pops this Halloween season. Happy baking, and may your celebrations be filled with monstrously good fun!