
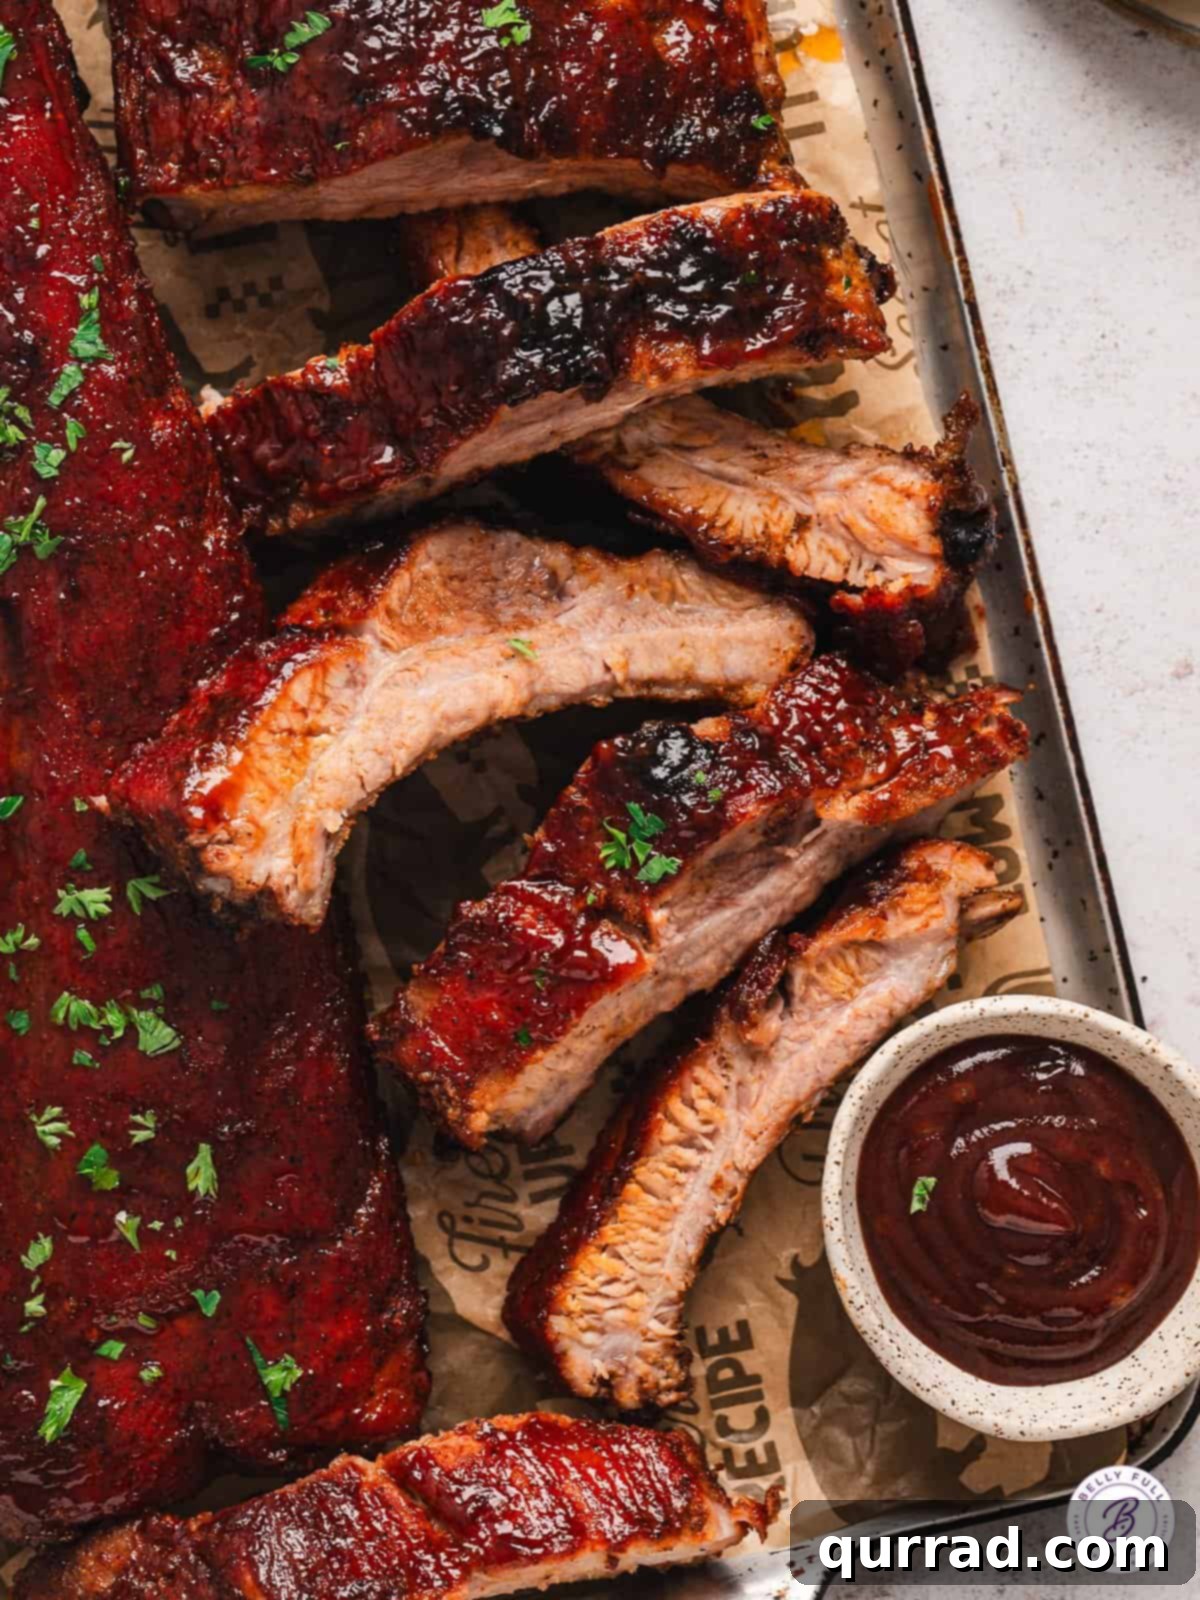
Craving succulent, fall-off-the-bone ribs but don’t own a grill, or perhaps the weather isn’t cooperating? This incredible Baked Baby Back Ribs recipe is your ultimate solution! Whether you’re a seasoned chef or a first-time rib maker, this foolproof, low and slow oven method promises irresistibly tender and juicy pork ribs that even die-hard grilling enthusiasts will rave about. Forget the hassle of outdoor cooking; achieve perfectly cooked ribs indoors, year-round, using your preferred dry rub and barbecue sauce. We’ll guide you through our favorite flavor combination for an unforgettable dining experience.
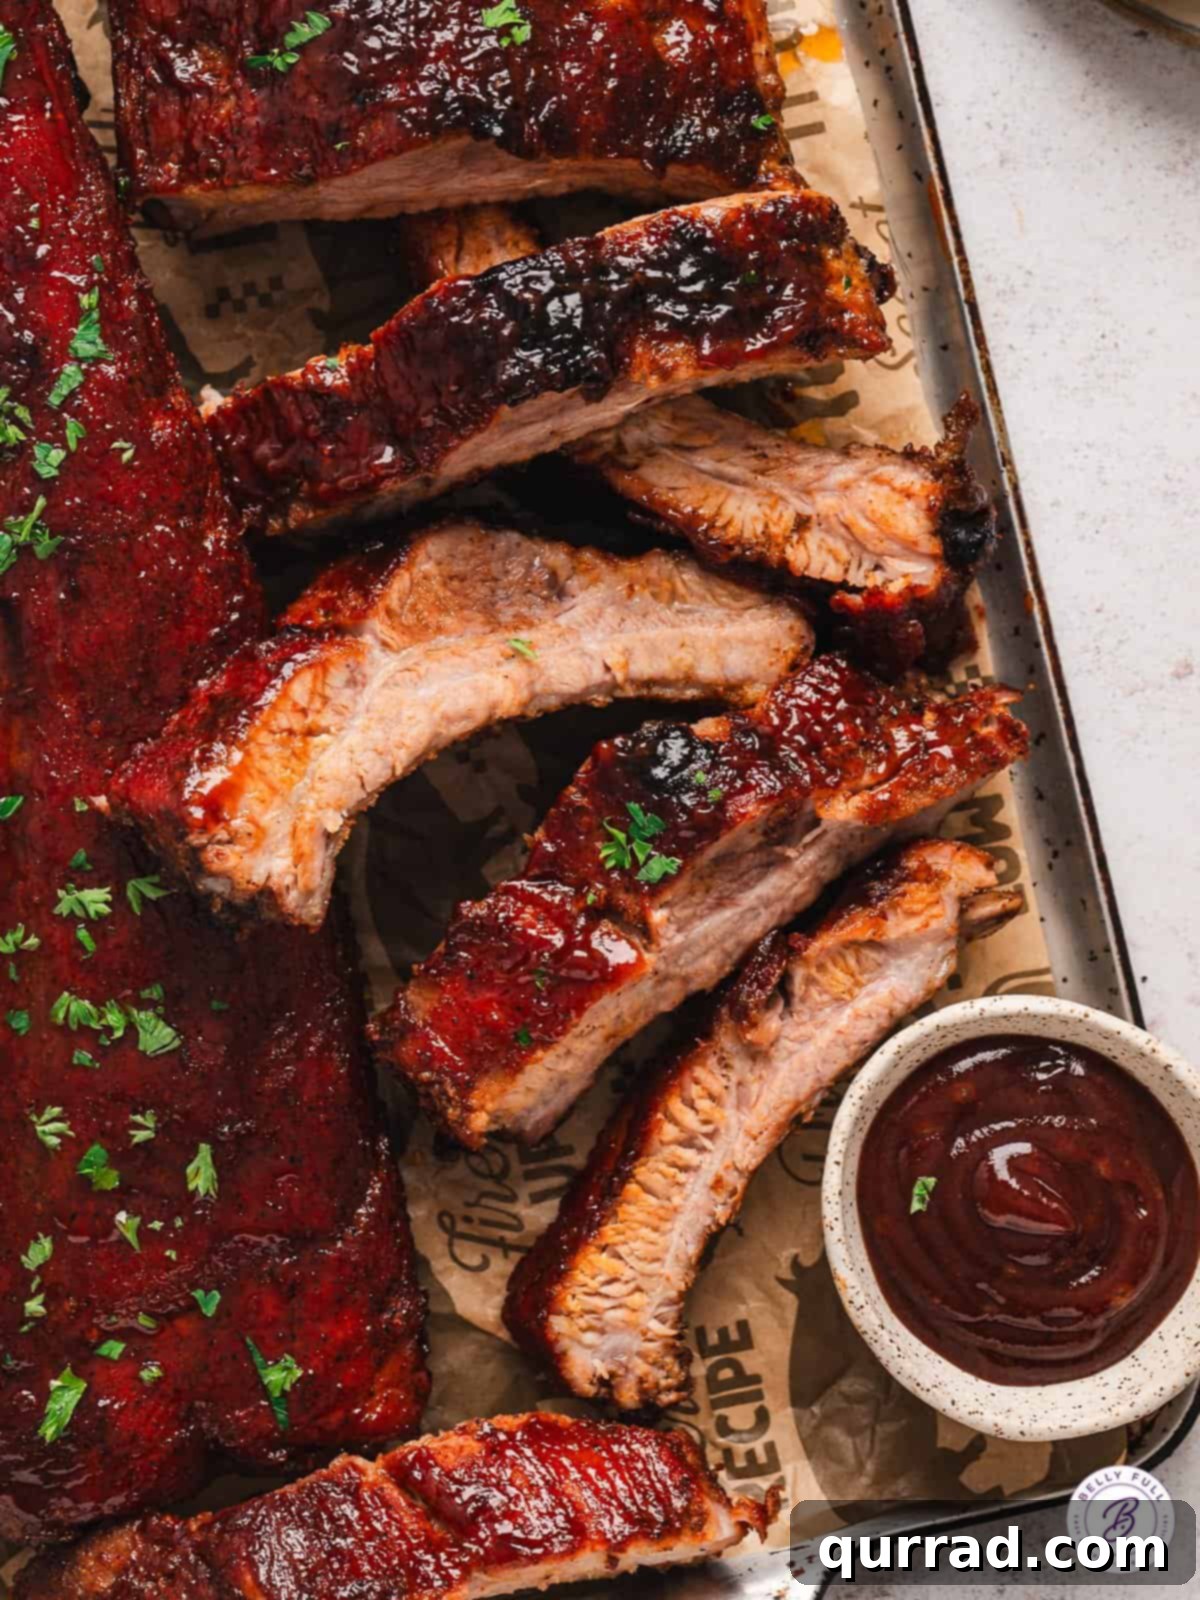
While there’s an undeniable charm to the smoky flavor of grilled ribs, battling extreme weather conditions, whether it’s scorching summer heat or freezing winter winds, can dampen the joy of outdoor cooking. That’s why I’ve dedicated myself to perfecting indoor alternatives for beloved barbecue classics. These oven baked baby back ribs, much like our popular Instant Pot Ribs, offer all the succulent tenderness and rich flavor you crave, without the meteorological challenges. In fact, they’re so consistently delicious, I often choose them regardless of the forecast. Perfectly seasoned, incredibly juicy, and effortlessly fall-off-the-bone – this recipe truly sets the standard for exceptional ribs.
Why Choose Oven Baked Ribs?
The beauty of preparing baby back ribs in the oven lies in its simplicity and consistency. This “low and slow” cooking method creates an environment where the meat gently cooks, allowing connective tissues to break down gradually. The result is unparalleled tenderness that makes the meat practically melt in your mouth. Unlike grilling, where flare-ups and uneven heat can be a concern, the oven provides a controlled and stable temperature, ensuring uniform cooking and a moist outcome every time. It’s also incredibly hands-off; once the ribs are seasoned and wrapped, the oven does most of the work, freeing you up to prepare side dishes or simply relax.
Moreover, oven baking makes delicious ribs accessible to everyone. No grill? No problem! Living in an apartment? You can still enjoy restaurant-quality barbecue. Craving ribs in December? Absolutely! This versatile method ensures that no matter your equipment or location, a plate of perfectly cooked, gloriously saucy ribs is always within reach. It’s the ultimate year-round solution for barbecue cravings, delivering fantastic results with minimal effort.
Essential Ingredients for Tender Oven Baked Ribs
Crafting the perfect rack of Baked Baby Back Ribs requires a blend of quality ingredients and aromatic spices. While the full, precise measurements are listed in the detailed recipe card at the bottom of this post, here’s a closer look at the key components that bring this dish to life:
- Baby Back Pork Ribs: The star of our recipe! We recommend using two racks of baby back pork ribs, each weighing between 2 to 2.5 pounds. Baby back ribs are known for their tenderness and lean meat, making them ideal for oven baking. When selecting ribs, look for racks with good meat coverage and minimal excess fat. They cook relatively quickly compared to spareribs and offer a delightful meat-to-bone ratio.
- Brown Sugar: This isn’t just for sweetness; brown sugar plays a crucial role in creating that desirable caramelized crust on your ribs. Its molasses content adds depth to the flavor profile, balancing the savory spices and helping the rub adhere beautifully to the meat as it bakes. You can use light or dark brown sugar, depending on your preference for a richer molasses note.
- Aromatic Spice Blend: Our signature dry rub is a symphony of flavors designed to enhance the natural taste of the pork. It includes:
- Coarse Salt & Black Pepper: The foundational seasonings, drawing out moisture and enhancing overall flavor.
- Garlic Powder & Onion Powder: These provide a savory, aromatic base that penetrates deep into the meat during the long cooking process.
- Smoked Paprika: A game-changer for oven-baked ribs! Smoked paprika infuses the ribs with that coveted smoky flavor typically achieved on a grill, without needing any outdoor equipment. It also adds a beautiful reddish hue to the crust.
- Cumin & Chili Powder: These spices contribute earthy, warm undertones and a mild, complex heat that complements pork wonderfully.
- Dry Mustard: Offers a subtle tang and helps to emulsify the flavors in the rub, adding a zesty kick that brightens the overall profile.
- Cayenne Pepper: For those who appreciate a bit of heat! A pinch of cayenne adds a gentle warmth, but you can adjust the amount to suit your spice preference.
This blend creates an earthy, savory, and slightly sweet rub with just the right amount of warmth. Feel free to experiment with your favorite spice combinations if you have a go-to rub.
- Barbecue Sauce: The finishing touch! We love using a sweet BBQ sauce, such as Sweet Baby Ray’s Honey BBQ, for its perfect balance of sweetness and tang that caramelizes beautifully onto the ribs. However, the choice of barbecue sauce is entirely personal. Whether you prefer a smoky, spicy, tangy, or Carolina-style mustard-based sauce, choose one that you genuinely enjoy. A high-quality sauce can elevate your ribs from great to extraordinary.
By understanding the role of each ingredient, you’re not just following a recipe; you’re mastering the art of creating truly exceptional oven-baked ribs.

Mastering Your Baked Baby Back Ribs: Expert Tips & Creative Variations
Achieving perfectly tender, juicy, and flavorful oven baked ribs is an art, but it’s an art that’s surprisingly easy to master with a few key tips and creative twists. Here’s how you can make your ribs truly outstanding:
- The Essential Membrane Removal: This step is often overlooked but crucial for truly fall-off-the-bone ribs. On the underside of each rack of ribs, you’ll find a thin, silvery membrane. If not removed, it creates a tough, chewy texture and prevents your delicious rub from fully penetrating the meat. To remove it, slide a thin knife or the handle of a spoon under the membrane at one end of the rack. Gently lift and loosen it, then grip it firmly with a paper towel or a disposable glove and pull it across the rack. It usually comes off in one satisfying piece. This ensures maximum tenderness and flavor absorption.
- Customize Your Dry Rub to Perfection: While our provided BBQ rib rub recipe is fantastic, don’t hesitate to use your favorite! Whether it’s a homemade concoction or a beloved store-bought blend, the key is to apply it generously. Different rubs offer unique flavor profiles—from smoky and robust to sweet and tangy. Experiment to find what best suits your palate for these easy baked ribs.
- Adjust the Heat Level to Your Liking: If you enjoy a bit of fiery kick, simply increase the amount of cayenne pepper in the dry rub. For an even bolder spice, consider incorporating a pinch of chipotle powder for a smoky heat, or choosing a spicier BBQ sauce instead of a sweet one for the final glaze. Alternatively, if you prefer milder flavors, you can reduce or omit the cayenne altogether.
- Choose Your Signature BBQ Sauce: Just like the spice rub, the barbecue sauce offers another layer for customization. We find that a sweet barbecue sauce beautifully complements the savory and slightly spicy notes of our dry rub, creating a well-rounded flavor profile. However, feel free to use your preferred homemade BBQ sauce or any commercial brand you love. Tangy, mustard-based, vinegary, or extra smoky – the choice is yours and will significantly influence the final taste of your homemade BBQ ribs.
- The Secret to Moisture: Seal the Foil Tightly: This is arguably the most critical step for achieving incredibly tender and juicy ribs in the oven. When wrapping the ribs in heavy-duty aluminum foil, ensure the packet is completely sealed around the edges. This creates a steamy environment inside, effectively braising the ribs in their own juices and preventing them from drying out. A tight seal guarantees that luscious, fall-off-the-bone texture everyone craves.
- Allow for a Crucial Resting Period: Once your ribs are baked to perfection and removed from the oven, resist the urge to immediately unwrap them. Let the foil-wrapped ribs rest for at least 15 minutes. This resting period allows the meat fibers to relax and reabsorb the juices, resulting in a more tender and flavorful product. It also gives the trapped steam time to cool slightly, making it safer to open the hot foil.
- Achieving the Perfect Glaze: The final baking stage at a higher temperature, with multiple layers of BBQ sauce, is essential for developing a sticky, caramelized, and intensely flavorful crust. Don’t rush this step! Brushing on thin layers and allowing them to bake and set ensures a rich, glossy finish that truly enhances the visual appeal and taste of your tender ribs.
- For an Extra Smoky Hint: If you miss that smoky flavor from grilling, you can add a small amount (1/2 to 1 teaspoon) of liquid smoke to your BBQ sauce or even lightly brush it onto the ribs before applying the dry rub. Be mindful, as a little goes a long way.
- Doneness Test: Ribs are done when the meat is incredibly tender and starts to pull away from the bone. You should be able to easily twist a bone from the rack. The internal temperature of pork ribs should reach 145°F (63°C), but for fall-off-the-bone tenderness, it will likely be much higher, around 190-205°F (88-96°C).
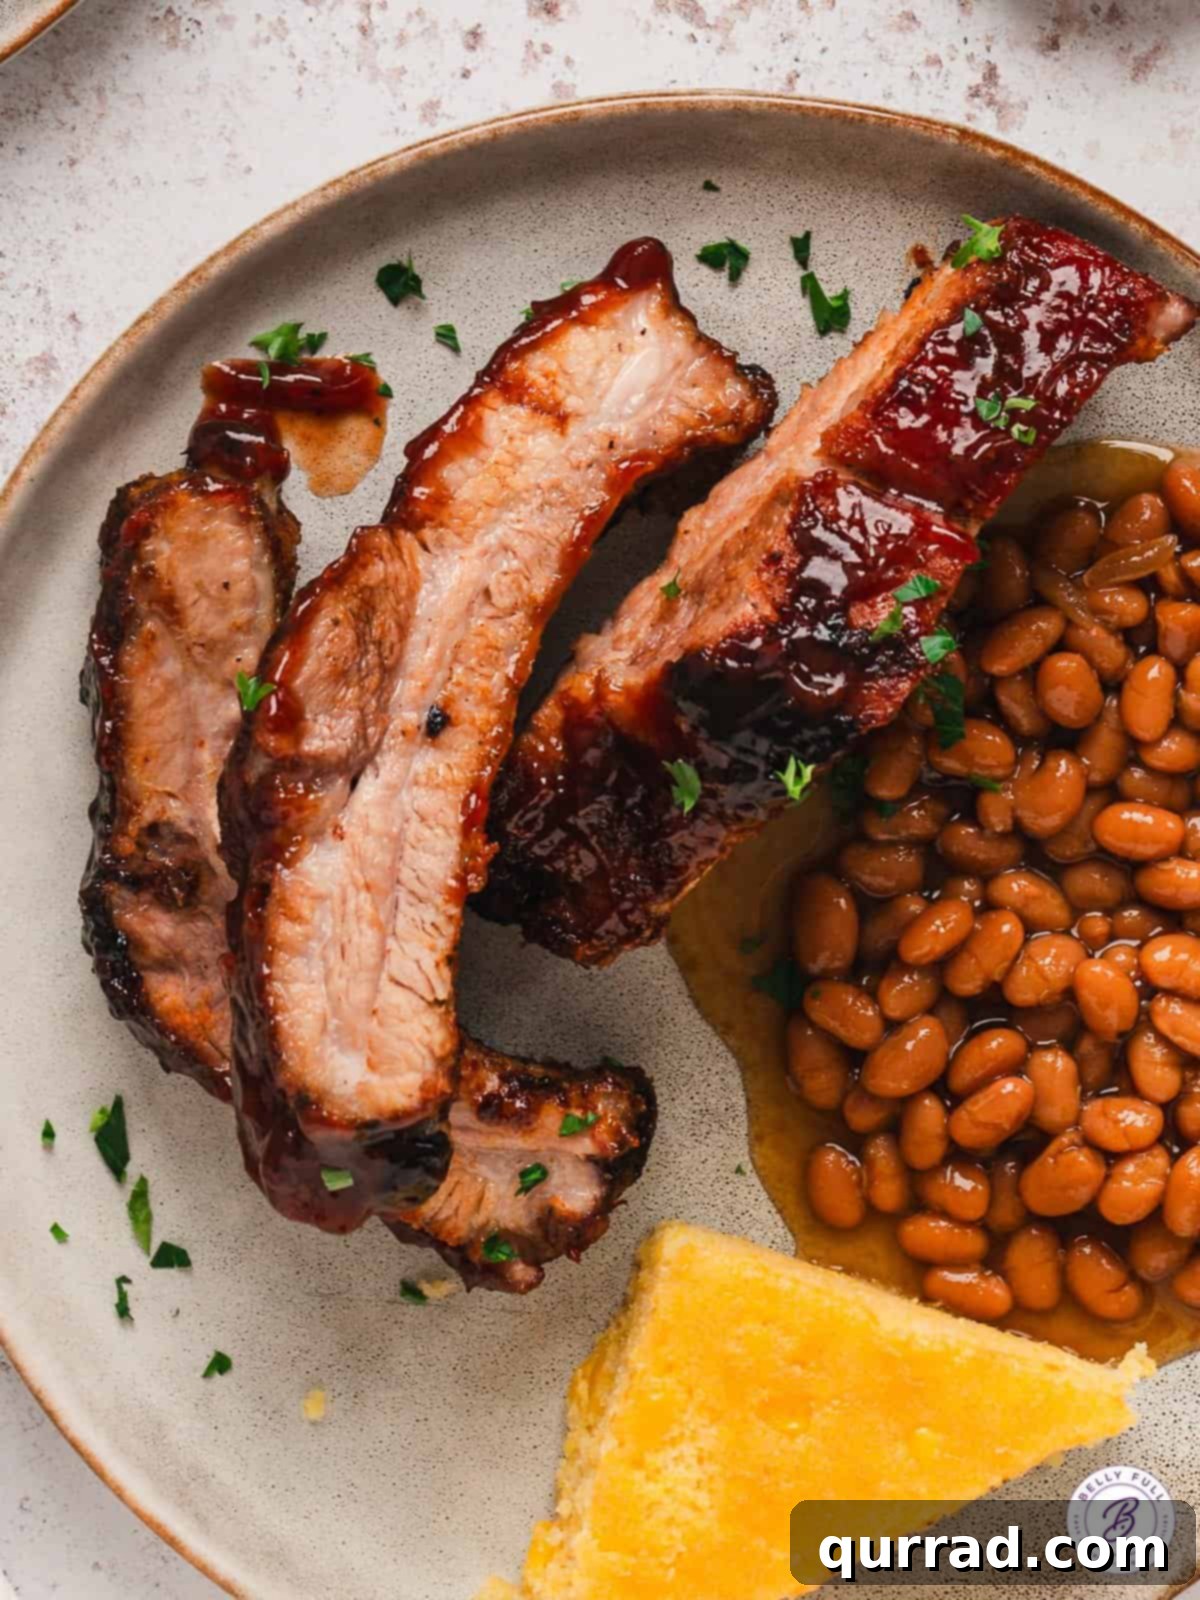
Perfect Pairings: What to Serve With Your Baked Ribs
These magnificent baked baby back ribs are a meal in themselves, but they truly shine when accompanied by classic barbecue side dishes. Here are some of our top recommendations to create a complete and satisfying feast:
- Creamy Macaroni and Cheese: A rich, cheesy mac and cheese is the ultimate comfort food pairing, offering a delightful contrast to the savory ribs. Its smooth texture and mild flavor perfectly complement the bold barbecue notes.
- Hearty Baked Beans: Our Oven Baked Beans, with their sweet and smoky flavor, are a non-negotiable side for any rib meal. They add another layer of traditional BBQ goodness.
- Classic Potato Salad: A creamy and tangy Potato Salad provides a refreshing counterpoint, cutting through the richness of the ribs.
- Crisp Coleslaw: The crunchy texture and bright, vinegary dressing of a KFC Coleslaw recipe clone or a simple homemade version offer a refreshing bite that cleanses the palate.
- Moist Cornbread: Whether you prefer sweet or savory, a warm slice of Easy Skillet Cornbread is perfect for soaking up any extra sauce and adding a touch of rustic charm to your plate.
- Fresh Green Salad: For a lighter touch, a simple green salad with a vinaigrette dressing can add freshness and balance to the meal.
- Additional BBQ Sauce: Always have extra barbecue sauce on the side! Some like their ribs extra saucy, and others enjoy dipping their sides. A small bowl of warm sauce allows everyone to customize their serving.
And remember, when you’re enjoying succulent, sticky ribs, extra napkins are not optional – they’re absolutely essential!
Proper Storage and Reheating for Baked Ribs
Ensuring your leftover baked baby back ribs stay as delicious as they were fresh requires proper storage and reheating techniques. Don’t let those delectable leftovers go to waste!
- Refrigeration: For short-term storage, allow the ribs to cool completely before transferring them to an airtight container. Stored properly in the refrigerator, they will remain fresh and flavorful for 3 to 4 days. You can store them as whole racks or cut into individual segments.
- Reheating Instructions:
- Oven Method (Recommended for best quality): Preheat your oven to 250°F (120°C). Place the ribs on a baking sheet, add a tablespoon or two of water or extra barbecue sauce to the pan, and loosely tent them with aluminum foil. This helps retain moisture. Reheat for 20-30 minutes, or until warmed through, basting with a bit more sauce halfway through if desired. This method prevents drying out and helps maintain texture.
- Microwave Method (Quick option): For just a few ribs, the microwave can be a convenient option. Place them on a microwave-safe plate and cover loosely with a damp paper towel. Heat in 30-second increments until warm. Be cautious not to overheat, as this can quickly dry out the meat and make it tough.
- Freezing: For longer storage, cooked ribs freeze exceptionally well. Wrap individual ribs or small portions tightly in heavy-duty aluminum foil, then place them in a freezer-safe plastic bag or an airtight container. They can be frozen for up to 2 months. To thaw, transfer them to the refrigerator overnight. Reheat using the oven method for the best results.
Common Questions About Baked Baby Back Ribs
- How long do baby back ribs take to cook in the oven?
Using the “low and slow” method at 250°F (120°C), baby back ribs typically take about 2 hours to become tender. After this, they undergo a glazing process at 350°F (175°C) for an additional 45 minutes to caramelize the sauce. The total active cooking time is around 2 hours and 45 minutes, plus resting.
- Do I need to remove the membrane from baby back ribs?
Yes, removing the membrane is highly recommended. It’s a thin, tough layer on the bone side of the ribs that, if left on, can prevent the rub from fully flavoring the meat and result in a chewier texture. It’s easy to remove and significantly improves the eating experience.
- What temperature should I bake baby back ribs at?
For maximum tenderness, we recommend baking them at a low temperature of 250°F (120°C) for the initial cooking phase. This allows the collagen to break down slowly. For the final glazing step, increase the temperature to 350°F (175°C) to get that beautiful, caramelized bark.
- Can I prepare the ribs ahead of time?
Absolutely! You can apply the dry rub to the ribs a day in advance and store them, tightly wrapped, in the refrigerator. This allows the flavors to penetrate deeper into the meat. You can also fully cook the ribs (up to the point of adding sauce), cool them, refrigerate, and then finish with the sauce and final bake closer to serving time.
- How do I know when my baked ribs are done?
The best indicator of doneness for fall-off-the-bone ribs is tenderness. The meat should easily pull away from the bone, and if you gently twist a bone, it should come away cleanly. While an internal temperature of 145°F (63°C) is safe for pork, for truly tender ribs, you’re aiming for closer to 190-205°F (88-96°C).
We truly hope you enjoy this delicious and easy recipe for Baked Baby Back Ribs! Don’t forget to leave a review and let us know how your ribs turned out. For more mouthwatering recipes and cooking inspiration, follow Belly Full on TikTok, Instagram, Facebook, Pinterest, and YouTube!
Baked Baby Back Ribs
Pin
Ingredients
- 2 racks baby back pork ribs, (2 to 2.5 pounds each)
- 1/4 cup brown sugar
- 2 & 1/2 teaspoons coarse salt
- 2 teaspoons black pepper
- 2 teaspoons garlic powder
- 2 teaspoons onion powder
- 2 teaspoons smoked paprika
- 2 teaspoons cumin
- 2 teaspoons chili powder
- 2 teaspoons dry mustard
- pinch of cayenne
- 1 cup sweet barbecue sauce
Instructions
-
Preheat oven to 250°F (120°C).
-
Remove membrane from the back of the rack of ribs, if intact: Place the rack meat side down on a cutting board or sheet pan, laying it horizontally in front of you. Starting about 2 bones in from the left end of the rack, run a long skinny knife under the membrane and slide the knife left toward the end of the rack. Now firmly grasp the piece of membrane you’ve lifted, and pull it to the right, stripping the membrane from the rest of the rack. (Grip it with a disposable latex glove or paper towel if you’re having trouble hanging onto it.)
-
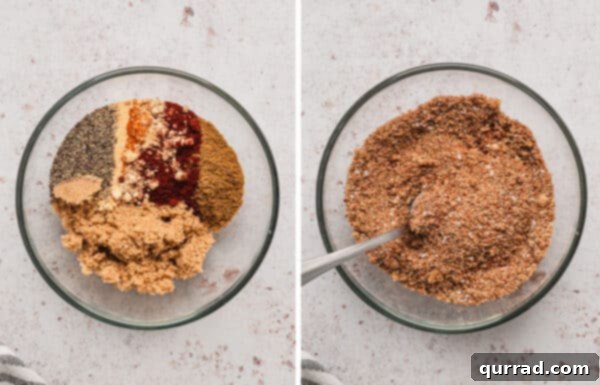
Make the dry rub by combining the brown sugar and all the seasonings in a small bowl.

-
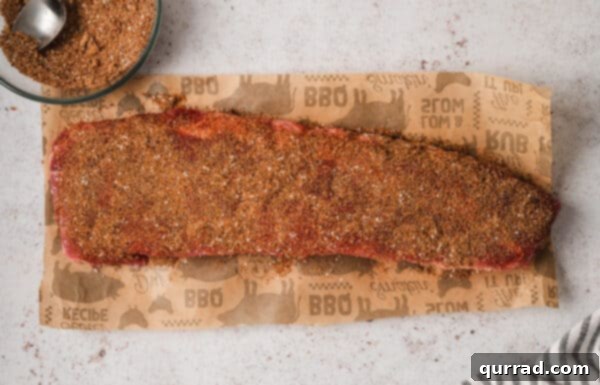
Rub both sides of the rib racks very generously with the mixture.
-
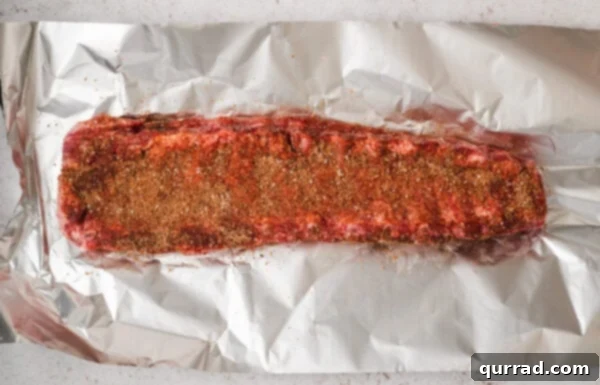
Place rib racks, meat-side down, on heavy-duty aluminum foil.
-
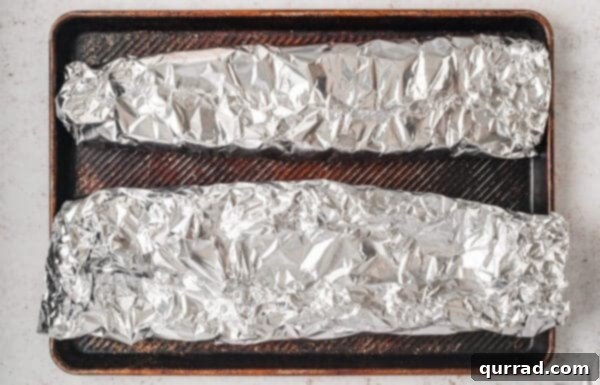
Fold foil around the rack to create a tight seal. Transfer to a sheet pan.
-
Bake in the preheated oven until tender and cooked through, about 2 hours. Remove and cool 15 minutes.
-
Increase oven temperature to 350°F (175°C).
-
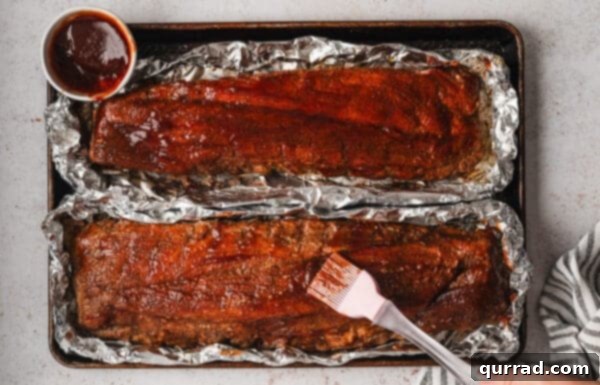
Open foil, drain and discard any accumulated juices and fat. Brush some BBQ sauce on all sides of the rack.
-
Turn the rack on the foil so the meat is now facing up.
-
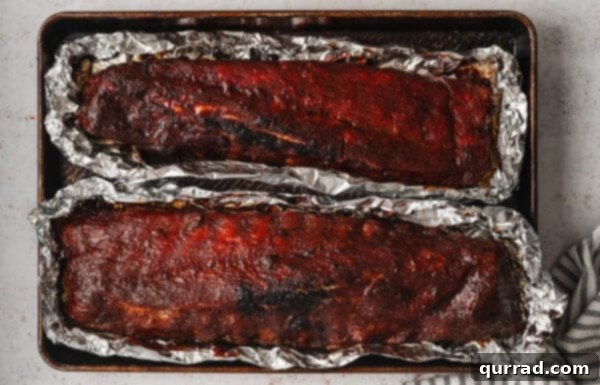
Return to the oven, leaving the foil open and bake for 15 minutes. Remove from the oven and brush another layer of BBQ sauce on the meat side only. Repeat baking and brushing with sauce 2 more times, for a total of 45 minutes baking time.
-
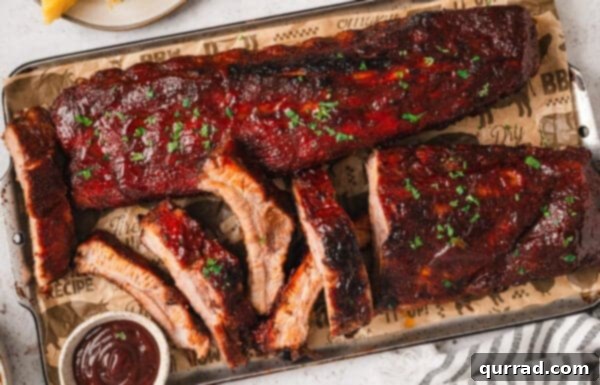
Cut rack into individual rib segments and serve with more BBQ sauce, if desired.
Nutrition
Nutritional information given is an automatic calculation and can vary based on the exact products you use and any changes you make to the recipe. If these numbers are very important to you, I would recommend calculating them yourself.