
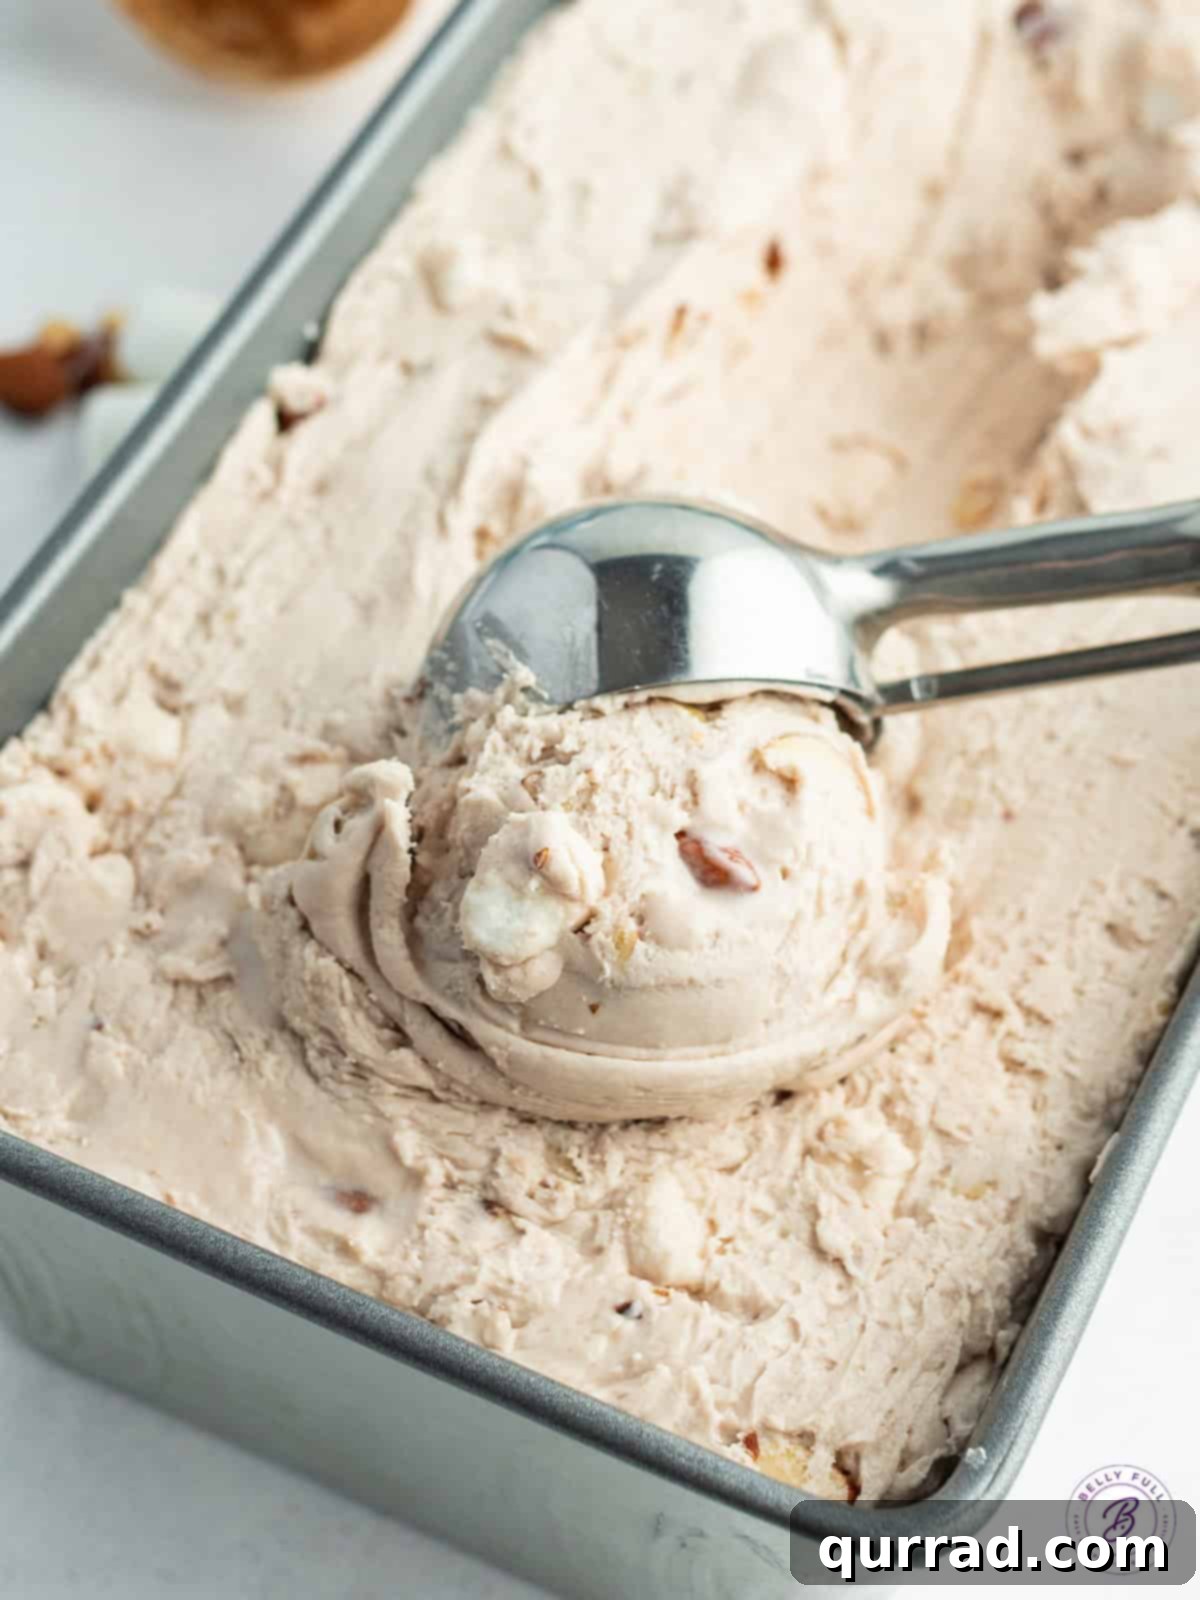
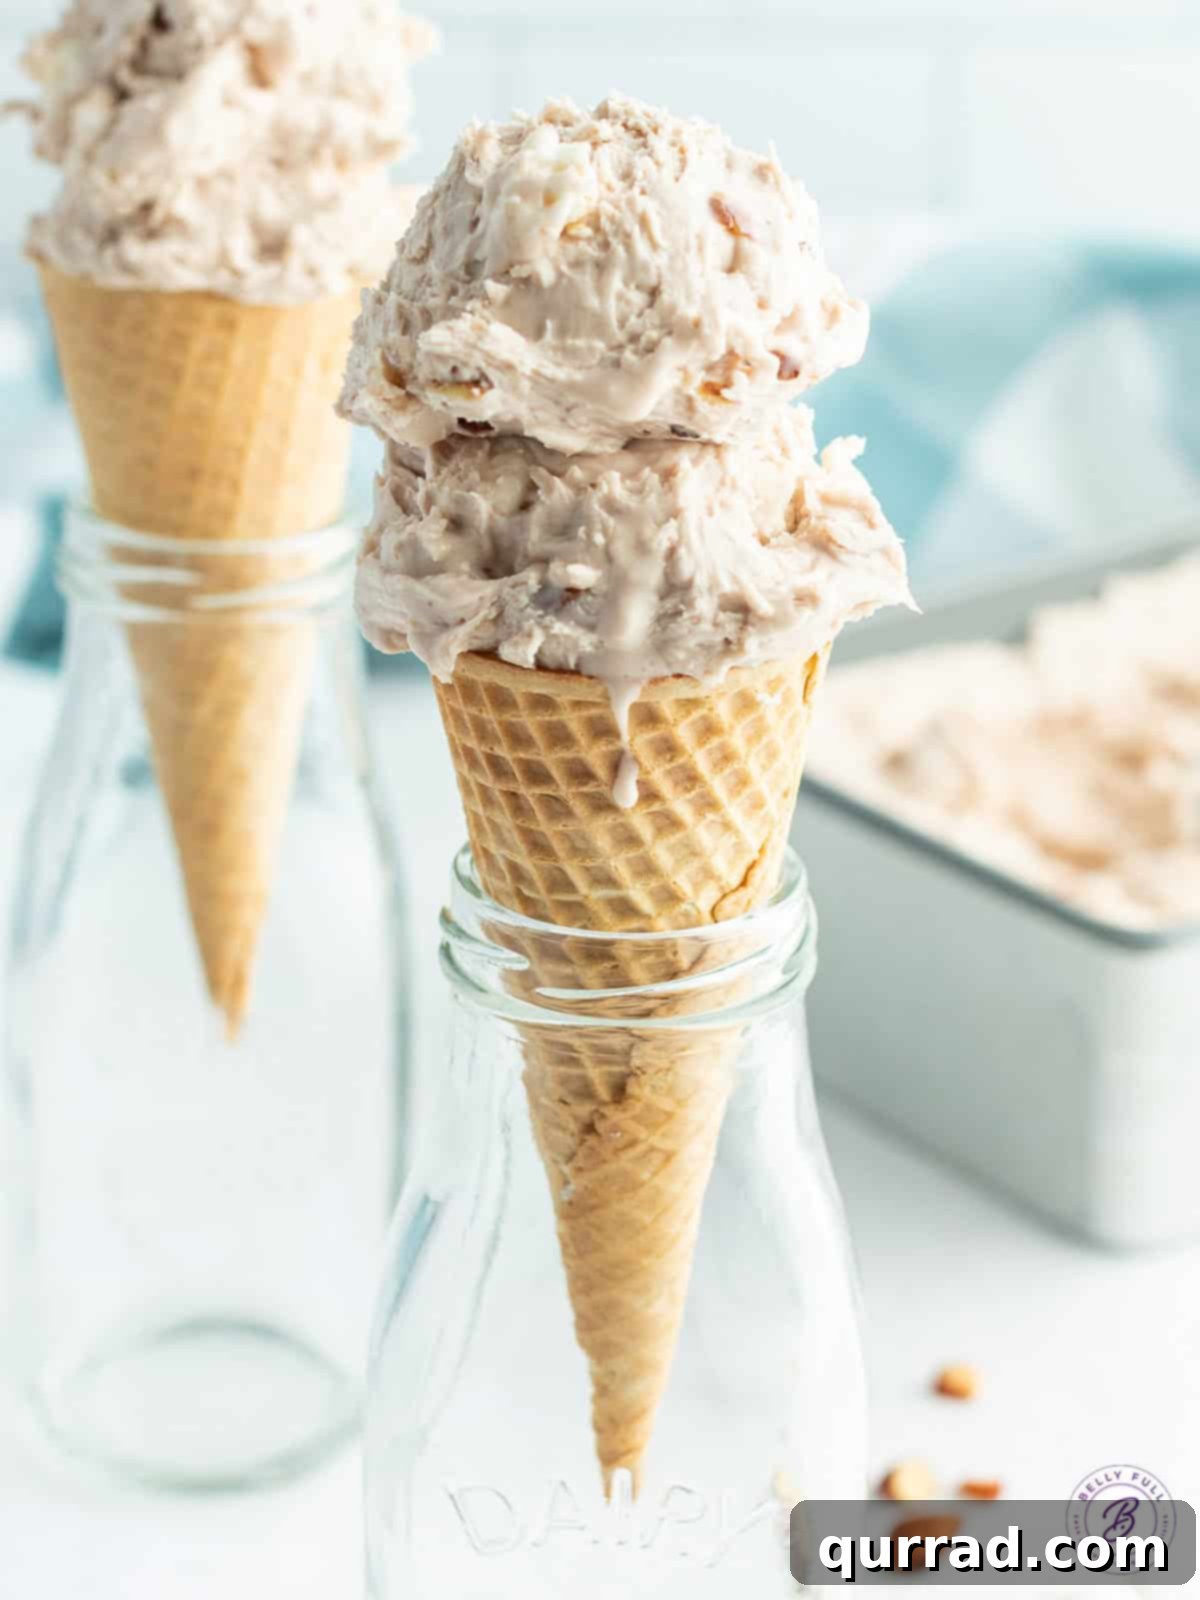
Indulge your sweet tooth with this incredible No-Churn Rocky Road Ice Cream recipe! Imagine rich, velvety chocolate ice cream, generously studded with fluffy marshmallows and crunchy, roasted almonds. The best part? You don’t need any fancy equipment like an ice cream maker. This easy-to-follow recipe brings the magic of homemade ice cream right into your kitchen, making it accessible for everyone to create a decadent dessert that tastes like it came from your favorite parlor.
If you’re a fan of fuss-free chocolate desserts, you’ll love this recipe. We’re also big enthusiasts of other no-bake chocolate delights, including our delightful no-bake cookies, the irresistible no-bake avalanche bars, and our surprisingly delicious no-bake Ritz Cracker Cookies. This Rocky Road variation fits perfectly into that collection, offering a creamy, dreamy experience without the hassle.
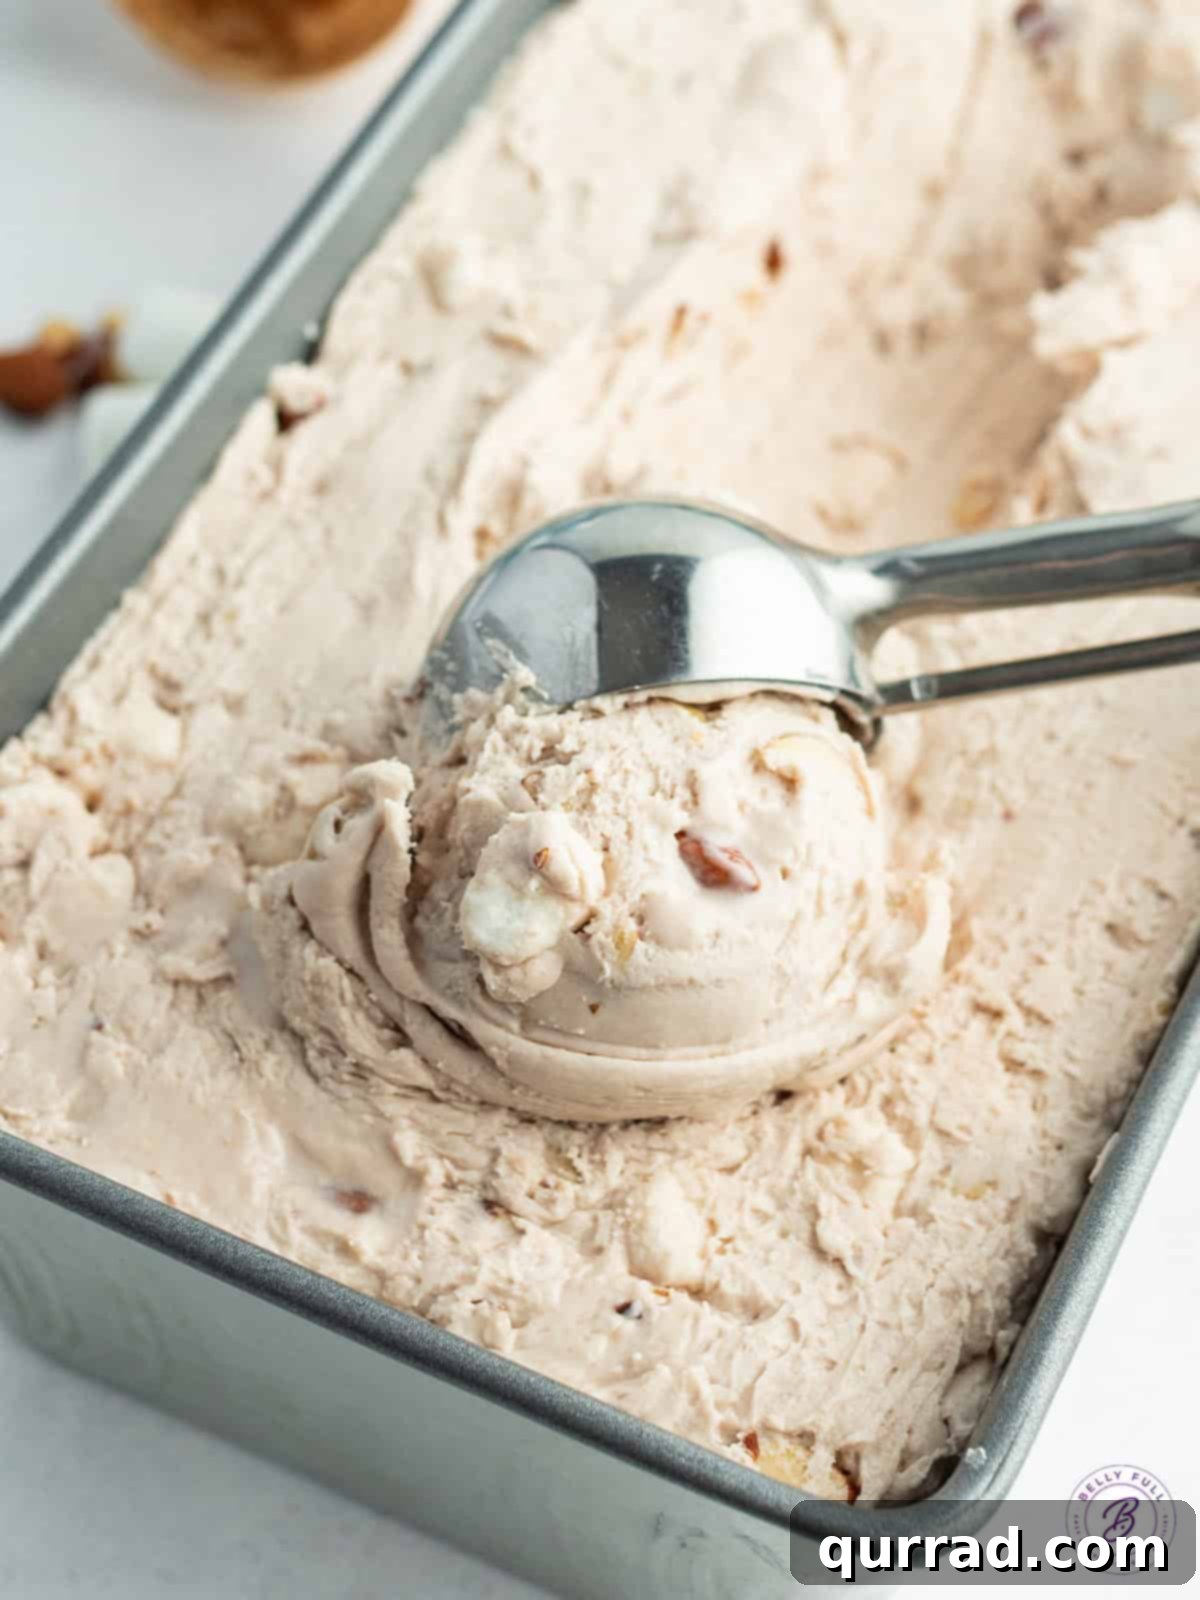
Effortless Rocky Road Ice Cream: A No-Churn Marvel
Prepare to fall in love with another fantastic no-churn ice cream flavor – the classic Rocky Road! For those unfamiliar, Rocky Road ice cream is a beloved chocolate-based frozen treat. While many modern twists and variations exist today, its traditional composition typically includes a luscious chocolate ice cream base, mixed with crunchy nuts and soft, pillowy marshmallows. It’s a texture and flavor combination that has captivated dessert lovers for generations, and now you can recreate it at home with astonishing ease.
My family and I have always been huge fans of the original Almond Breeze almond milk, and I decided to experiment by incorporating their chocolate variety into this ice cream recipe. The results were absolutely spectacular! Not only did it lend a wonderful depth of chocolate flavor to the ice cream, but we also found ourselves enjoying it as a delightful beverage. My daughter, a true connoisseur, even inquired if she could have some poured over her cereal the next morning. A brilliant idea, if you ask me!
Why Choose No-Churn Ice Cream?
Homemade ice cream often conjures images of complicated custard bases, tempering eggs, and the constant vigilance required to prevent curdling. Many traditional recipes demand an egg custard base that needs careful cooking and chilling, which can be quite finicky and time-consuming. However, the beauty of no-churn ice cream lies in its remarkable simplicity and foolproof method.
With no-churn recipes, you bypass all the complexities. There’s no need for an ice cream maker, no cooking involved, and certainly no finicky custards. All you really need are two core ingredients – heavy whipping cream and sweetened condensed milk – along with a hand mixer, a few mixing bowls, and a spatula. That’s it! In a matter of hours, you can create sumptuously creamy, luscious homemade ice cream. This method opens up a world of possibilities for customizing your frozen treats with various mix-ins and flavors, transforming a simple base into an endless array of delicious desserts.
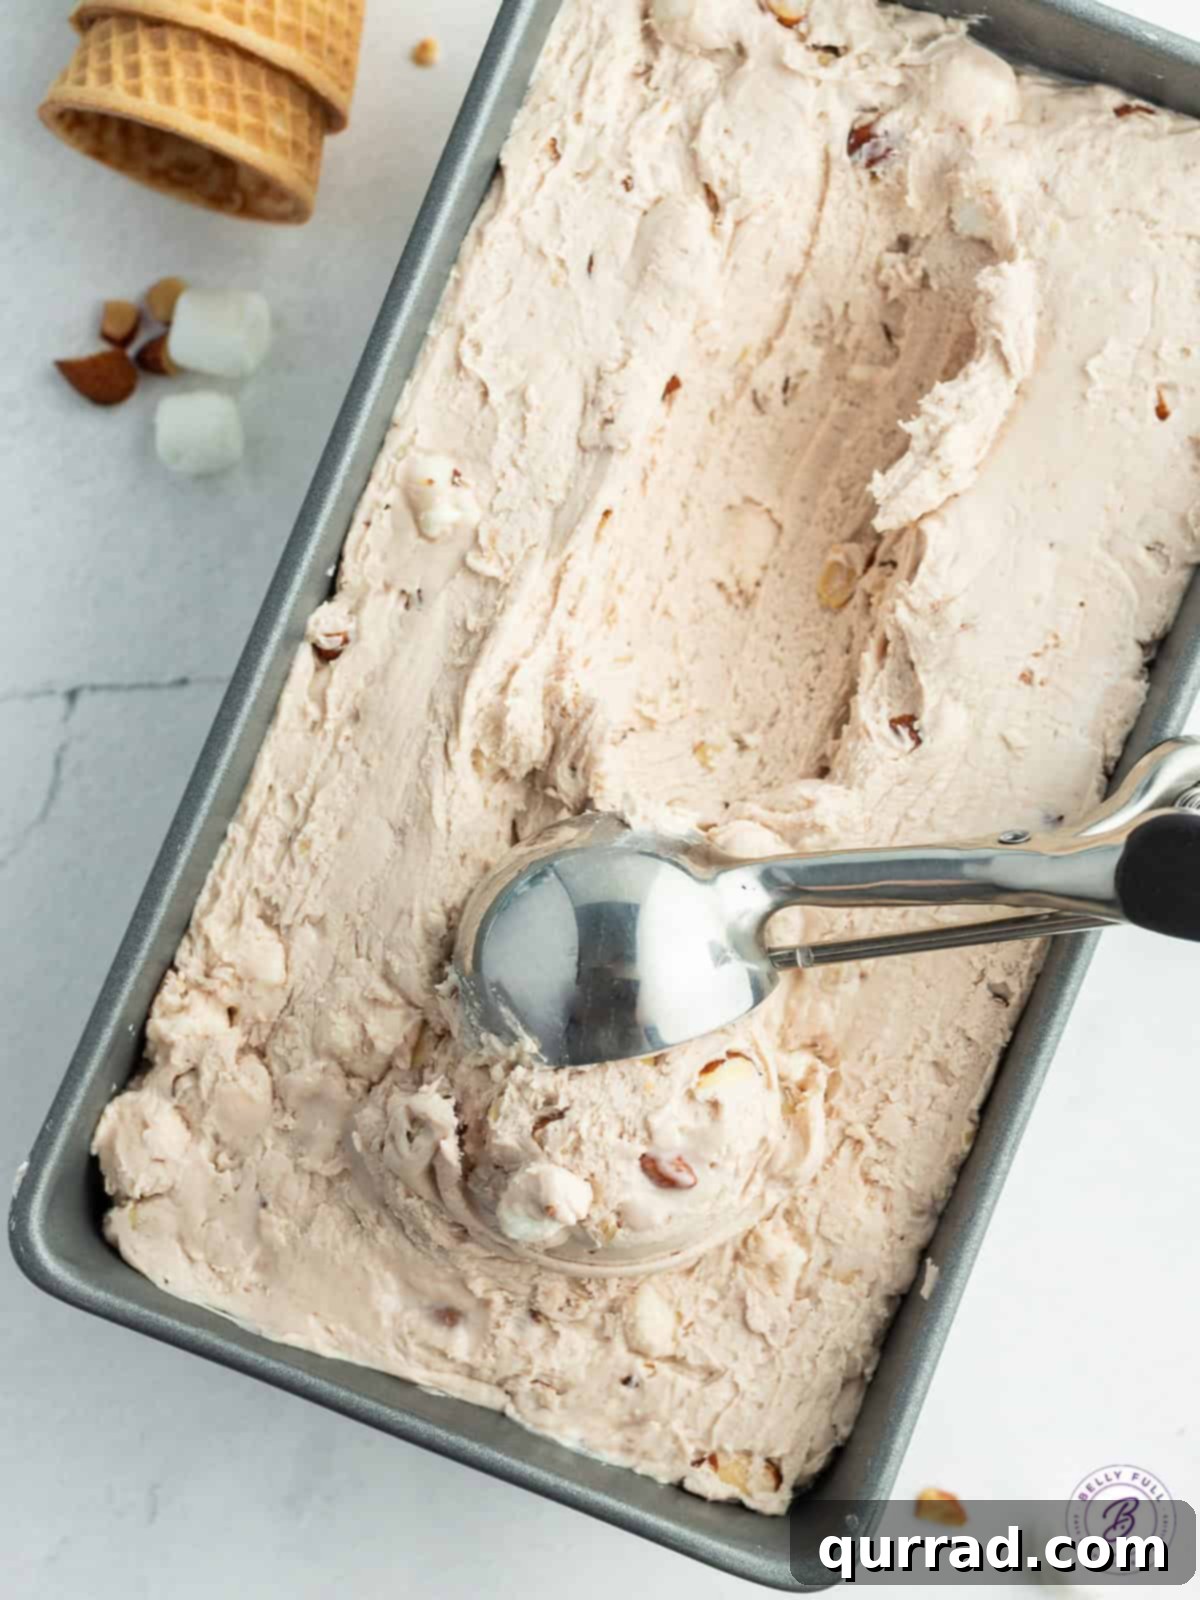
Does No-Churn Ice Cream Taste Like Traditional Ice Cream?
It’s important to set expectations: while absolutely delicious, no-churn ice cream does have a distinct taste profile compared to its churned, custard-based counterparts. The primary difference is its inherent sweetness. No-churn ice cream is notably sweeter than traditional ice cream due to the generous use of sweetened condensed milk, which is a foundational ingredient for both its texture and flavor. If you’re not particularly fond of the rich, milky sweetness that sweetened condensed milk brings, this particular style of ice cream might not be your favorite. However, for those who love that distinct flavor, it’s a dream come true!
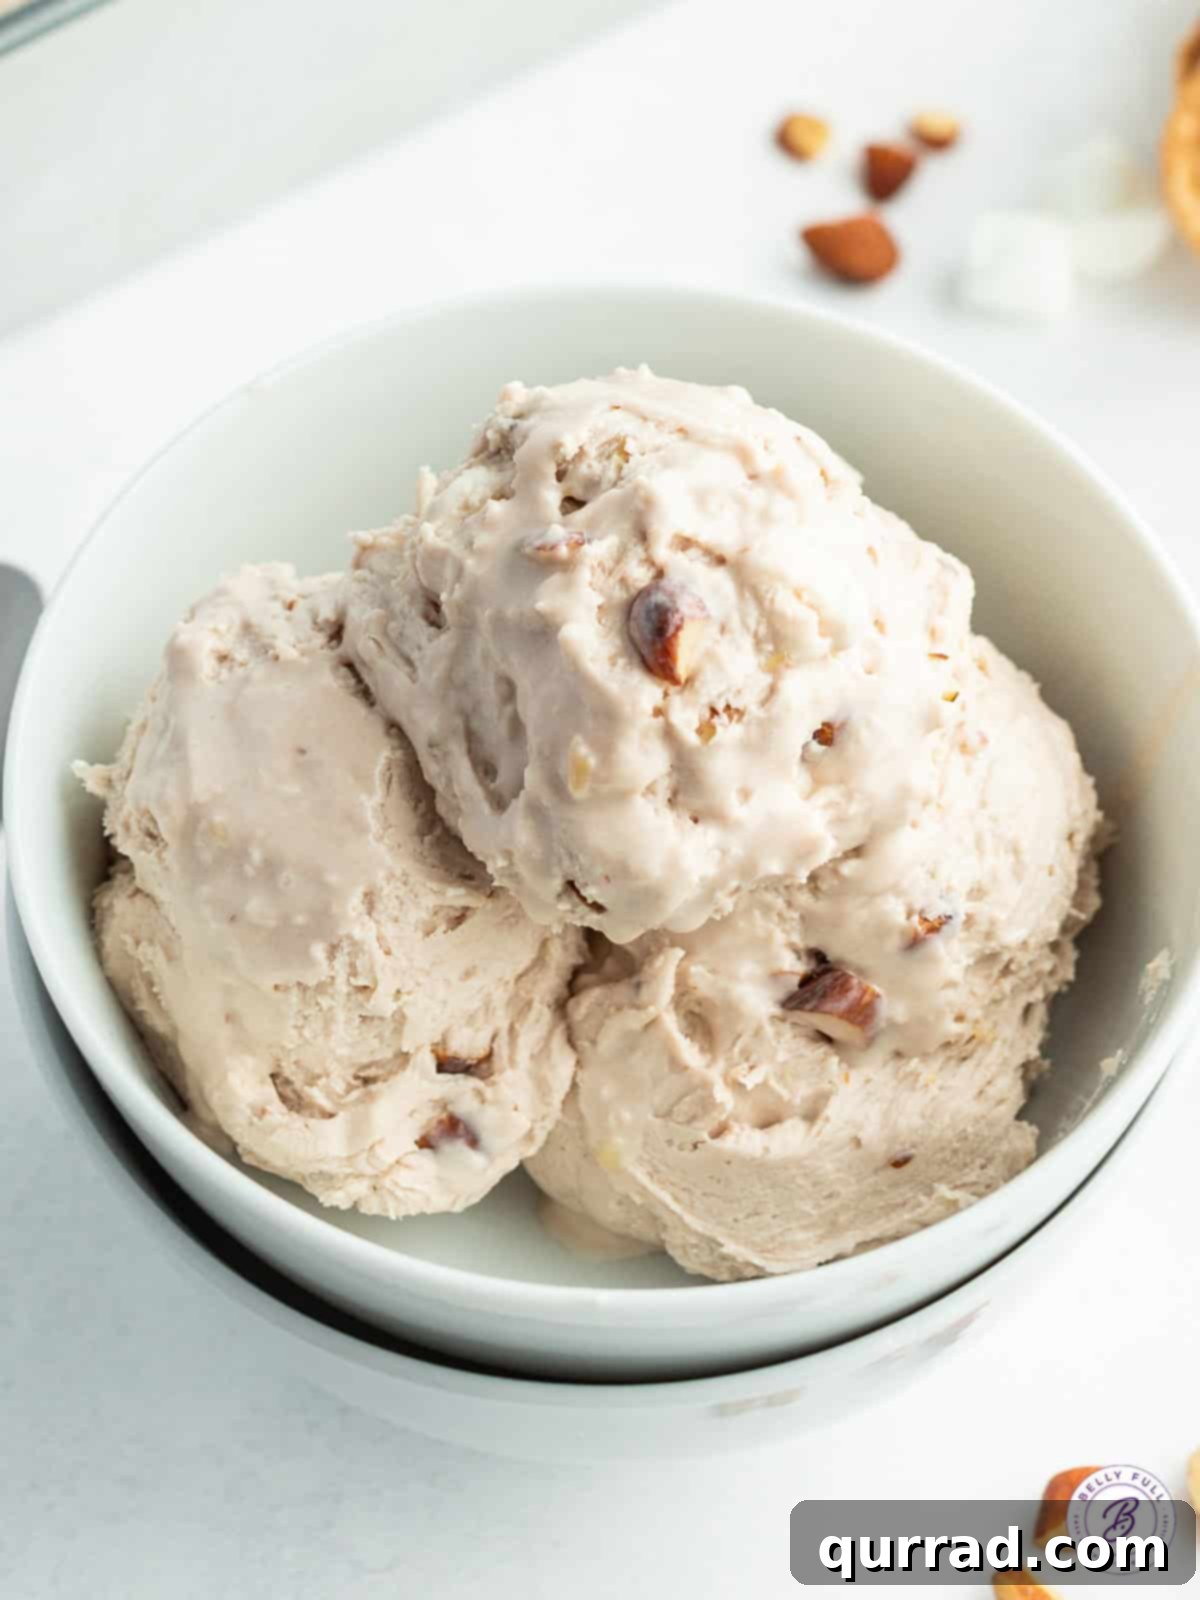
Essential Ingredients for Your Rocky Road Dream
The magic of no-churn ice cream truly comes down to two foundational components: rich heavy whipping cream and luscious sweetened condensed milk. These two ingredients form the perfect base, providing both the creamy texture and the necessary sweetness without any churning. But of course, to transform this base into the iconic Rocky Road flavor, we add a few more special touches.
- Sweetened Condensed Milk: This is the backbone of our no-churn recipe. It provides the bulk of the sweetness and prevents ice crystals from forming, contributing to that incredibly smooth and creamy texture. Its thick consistency also acts as a stabilizer.
- Heavy Whipping Cream: When whipped, heavy cream incorporates air, creating a light, airy, and voluminous base. This whipped cream is what gives the ice cream its characteristic light and fluffy, yet rich, mouthfeel.
- Chocolate Syrup: To infuse our base with a deep chocolate flavor, a good quality chocolate syrup is essential. This ensures an even distribution of chocolate throughout the mixture.
- Chocolate Almond Milk: While optional, using chocolate almond milk (like Almond Breeze) adds another layer of subtle chocolate flavor and a slight creaminess. You could substitute with regular milk or even more chocolate syrup for a more intense chocolate punch.
- Mini Marshmallows: These soft, chewy pockets are a non-negotiable part of Rocky Road. They add a delightful textural contrast and classic sweetness. Ensure they are mini-sized for even distribution.
- Roasted and Salted Almonds: The crunch and slightly savory note from roasted and salted almonds perfectly balance the sweetness of the ice cream and marshmallows. Finely chopping them ensures that every spoonful gets a bit of that satisfying crunch.
For precise measurements and detailed ingredient information, please refer to the comprehensive recipe card located further down this page.
Mastering the Art of No-Churn Rocky Road Ice Cream
Creating this delightful no-churn Rocky Road ice cream is surprisingly simple and incredibly rewarding. Here’s a detailed overview of the process, ensuring you achieve perfect results every time. Remember to scroll down to the recipe card for exact quantities and the full instructions.
- Prepare the Chocolate Base: In a generously sized mixing bowl, combine the sweetened condensed milk, your favorite chocolate syrup, and the chocolate almond milk. Whisk these ingredients together thoroughly until they are completely smooth and well-integrated. This mixture will form the rich, sweet chocolate foundation of your ice cream. Set this bowl aside for a moment.
- Whip the Cream to Perfection: In a separate, chilled medium-sized bowl, pour in the heavy whipping cream. Using an electric mixer (a hand mixer works perfectly), begin beating the cream on medium-high speed. Continue beating until stiff peaks form. This means that when you lift the beaters, the cream should hold its shape firmly, with peaks that stand upright without collapsing. This usually takes about 2-3 minutes, but keep an eye on it to avoid over-whipping.
- Gently Combine: With a rubber spatula, carefully and gently fold the whipped cream into your chocolate-condensed milk mixture. The key here is “gently.” You want to preserve as much of the air you whipped into the cream as possible, as this is what gives no-churn ice cream its light and airy texture. Continue folding until the two mixtures are just combined, with no streaks of white cream remaining. Do not overmix!
- Fold in the Signature Mix-ins: Now for the Rocky Road magic! Gently fold in the mini marshmallows and the finely chopped roasted and salted almonds. Ensure they are evenly distributed throughout the creamy chocolate base. The combination of soft marshmallows and crunchy almonds is what makes this flavor so irresistible.
- Freeze to Perfection: Transfer the entire mixture into a chilled 4 1/2 x 8 1/2-inch loaf pan or a similar freezer-safe container. Chilling the pan beforehand can help the ice cream freeze faster and more evenly. The mixture will appear somewhat loose at this stage, which is perfectly normal. Cover the pan tightly with its lid or several layers of plastic wrap to prevent ice crystals from forming and absorbing freezer odors. Place it in the freezer and allow it to freeze until it’s completely solid, which typically takes about 6 hours. For best results, allow it to freeze overnight.
- Serve and Savor: When you’re ready to enjoy your homemade Rocky Road ice cream, remove it from the freezer and let it stand at room temperature for 5-10 minutes. This brief softening period will make it much easier to scoop, ensuring you get perfect, creamy servings every time. Scoop away and prepare to be amazed by your creation!
Delightful Ice Cream Topping Ideas
While this Rocky Road Ice Cream is absolutely perfect on its own, a little extra something never hurt anyone! Elevate your dessert experience with these homemade toppings that are always a hit in my house:
- Homemade Caramel Sauce: A warm, buttery caramel drizzle takes chocolate ice cream to new heights.
- Rich Chocolate Sauce: For the ultimate chocolate lover, an extra layer of chocolatey goodness is always welcome.
- Fluffy Whipped Cream: A generous dollop of freshly made whipped cream adds a light and luxurious finish.
- Additional Nuts or Marshmallows: A sprinkle of extra chopped almonds or mini marshmallows adds texture and reinforces the Rocky Road theme.
- Cherries: For a classic sundae feel, a few maraschino or fresh cherries can add a pop of color and fruity tang.
Recipe Notes and Expert Tips for Perfection
To ensure your No-Churn Rocky Road Ice Cream turns out perfectly every time, keep these valuable tips in mind:
- Optimize Freezing: For faster and more efficient freezing, always use a metal loaf pan or container. Metal conducts cold much better than glass, helping your ice cream set quicker and achieve a smoother texture.
- Mind the Melt: No-churn ice cream, due to its unique composition (lack of egg yolks and lower fat compared to some traditional recipes), tends to melt a little quicker than typical custard-based ice creams. Serve it promptly after scooping and don’t let it sit out for too long.
- Ingredient Integrity is Key: It’s crucial to stick to full-fat ingredients for this recipe. Lower fat alternatives or sugar substitutes will not provide the necessary fat content or sugar solids required for the proper texture and creaminess of no-churn ice cream. They will result in an icy, less satisfying product, so avoid substitutions.
- Finely Chop Mix-ins: For the best texture and distribution, make sure your almonds (and any other solid mix-ins) are finely chopped. This prevents large chunks that can be difficult to scoop or chew, and ensures that every bite is perfectly balanced with flavors and textures.
- Chill Your Bowl: For optimal whipping results, chill your mixing bowl and whisk attachment for the heavy cream in the freezer for 10-15 minutes before you begin. This helps the cream whip up faster and achieve stiffer peaks, which is crucial for the ice cream’s airy texture.
- Don’t Overmix: When folding the whipped cream into the condensed milk mixture, be gentle and stop as soon as it’s combined. Overmixing can deflate the whipped cream, leading to a denser, less airy ice cream.
- Air-Tight Storage: Proper storage is essential to maintain the quality of your homemade ice cream and prevent freezer burn. Always use an airtight container, preferably one with a tight-fitting lid, or press plastic wrap directly onto the surface of the ice cream before sealing.
Proper Storage for Lasting Freshness
Once prepared, your delicious No-Churn Rocky Road Ice Cream can be stored in the freezer for up to 2 weeks. To prevent the formation of ice crystals and dreaded freezer burn, ensure the container is tightly sealed. For best results, place a piece of plastic wrap directly on the surface of the ice cream before securing the lid. This extra step creates a barrier against air, keeping your ice cream fresh and creamy for longer.
Explore More No-Churn Ice Cream Creations
The beauty of the no-churn method is its versatility! Once you’ve mastered this Rocky Road recipe, you’ll be eager to try other flavors. Here are some more fantastic no-churn ice cream recipes to inspire your next frozen dessert adventure:
- Decadent Toffee and Chocolate Bit Ice Cream
- Refreshing No-Churn Strawberry Ice Cream
- Exotic Chocolate Rum Raisin Ice Cream
I genuinely hope you cherish this delicious and incredibly easy No-Churn Rocky Road Ice Cream recipe. It’s a perfect treat for any occasion, offering rich flavors and delightful textures without the fuss. Don’t forget to leave a review below and share your experience! We love hearing from you. Also, be sure to follow Belly Full on TikTok, Facebook, Instagram, Pinterest, and YouTube for more mouth-watering recipes and culinary inspiration!
No Churn Rocky Road Ice Cream
Pin
Ingredients
- 3/4 cup sweetened condensed milk
- 1/2 cup chocolate sauce
- 1/4 cup Chocolate Almond milk
- 2 cups heavy whipping cream
- 3/4 cup mini marshmallows
- 3/4 cup finely chopped roasted and salted almonds
Instructions
-
Whisk together the condensed milk, chocolate syrup, and almond milk in a large bowl; set aside
-
In a medium bowl, beat whipping cream with an electric mixer until stiff peaks form, about 2-3 minutes.
-
With a rubber spatula, gently fold the whipped cream into the condensed milk mixture until combined.
-
Then gently fold in the marshmallows and chopped almonds.
-
Transfer to a (chilled) 4 1/2 x 8 1/2-inch loaf pan. (Mixture will be loose.) Cover tightly with lid or plastic wrap and freeze until firm, about 6 hours.
-
Let ice cream stand at room temperature for 5-10 minutes before serving.
Notes
It melts quickly. No churn ice cream melts a little quicker than typical custard based ice creams.
Avoid low fat ingredients and sugar substitutes. Lower fat or lower sugar alternatives won’t deliver proper results, so don’t try to substitute.
Mix-ins should be chopped finely. Chop up your mix-ins finely before adding them.
Storage. This ice cream can remain frozen for up to 2 weeks. Keep the container tightly sealed to avoid freezer burn.
Nutrition
Nutritional information given is an automatic calculation and can vary based on the exact products you use and any changes you make to the recipe. If these numbers are very important to you, I would recommend calculating them yourself.