
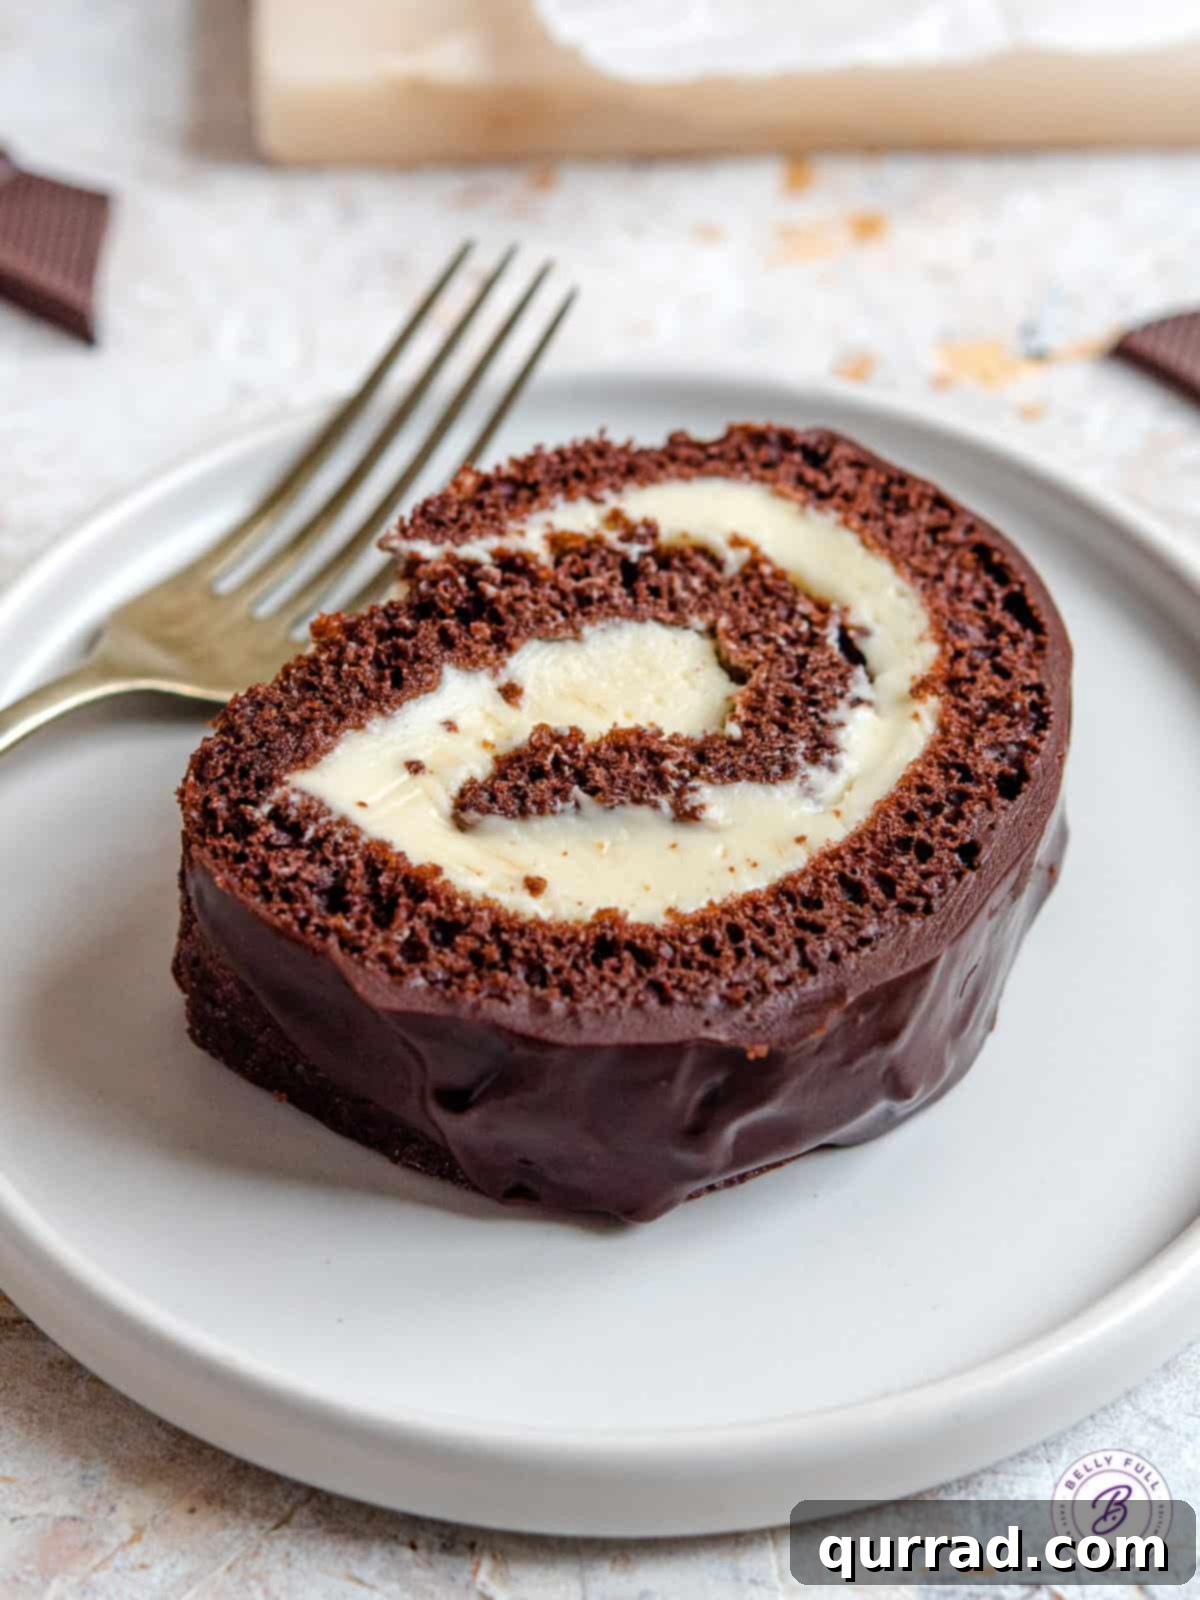
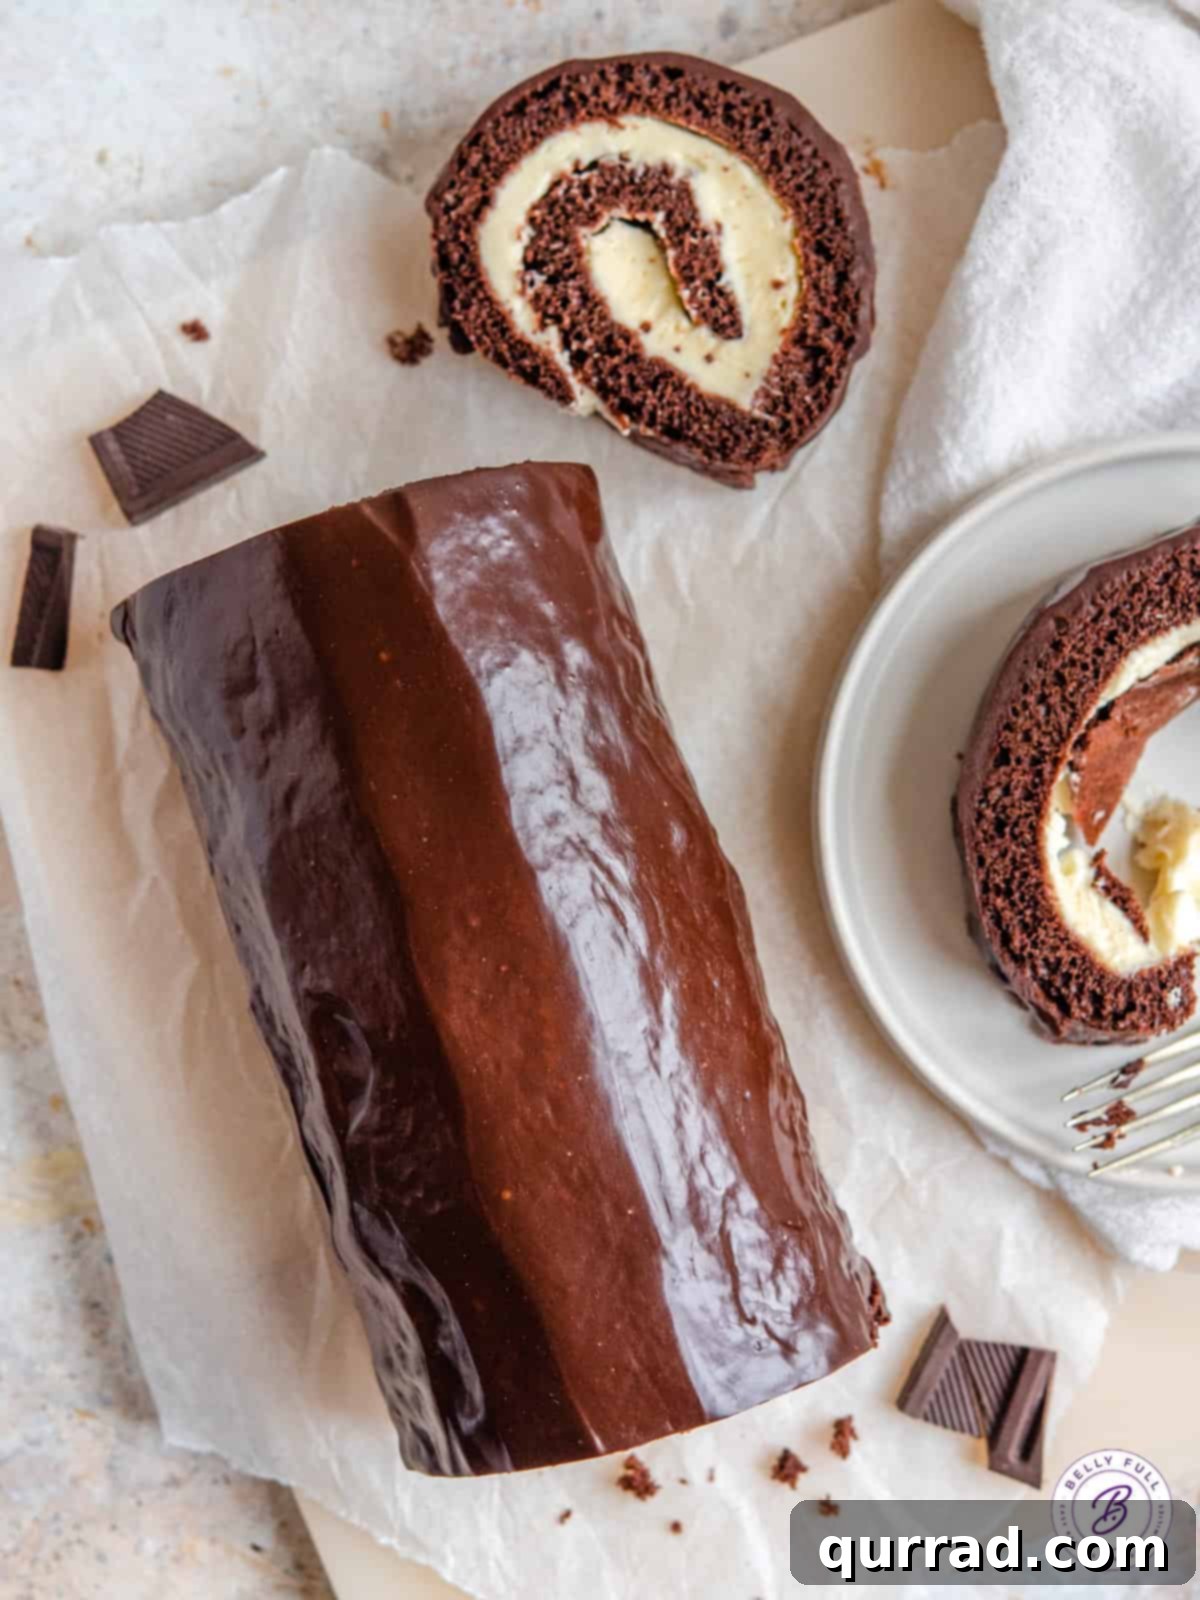
Indulge in the ultimate homemade treat with this easy Chocolate Swiss Roll cake. Featuring a delightfully light and airy sponge, a rich and creamy filling, and a luxurious, silky ganache coating, this dessert is guaranteed to be the undisputed star of any gathering or celebration. Prepare to impress your guests with this stunning and delicious creation!
5-STAR REVIEW: “Easy and turned out great!” – Patricia
The Irresistible Charm of a Homemade Chocolate Swiss Roll Cake
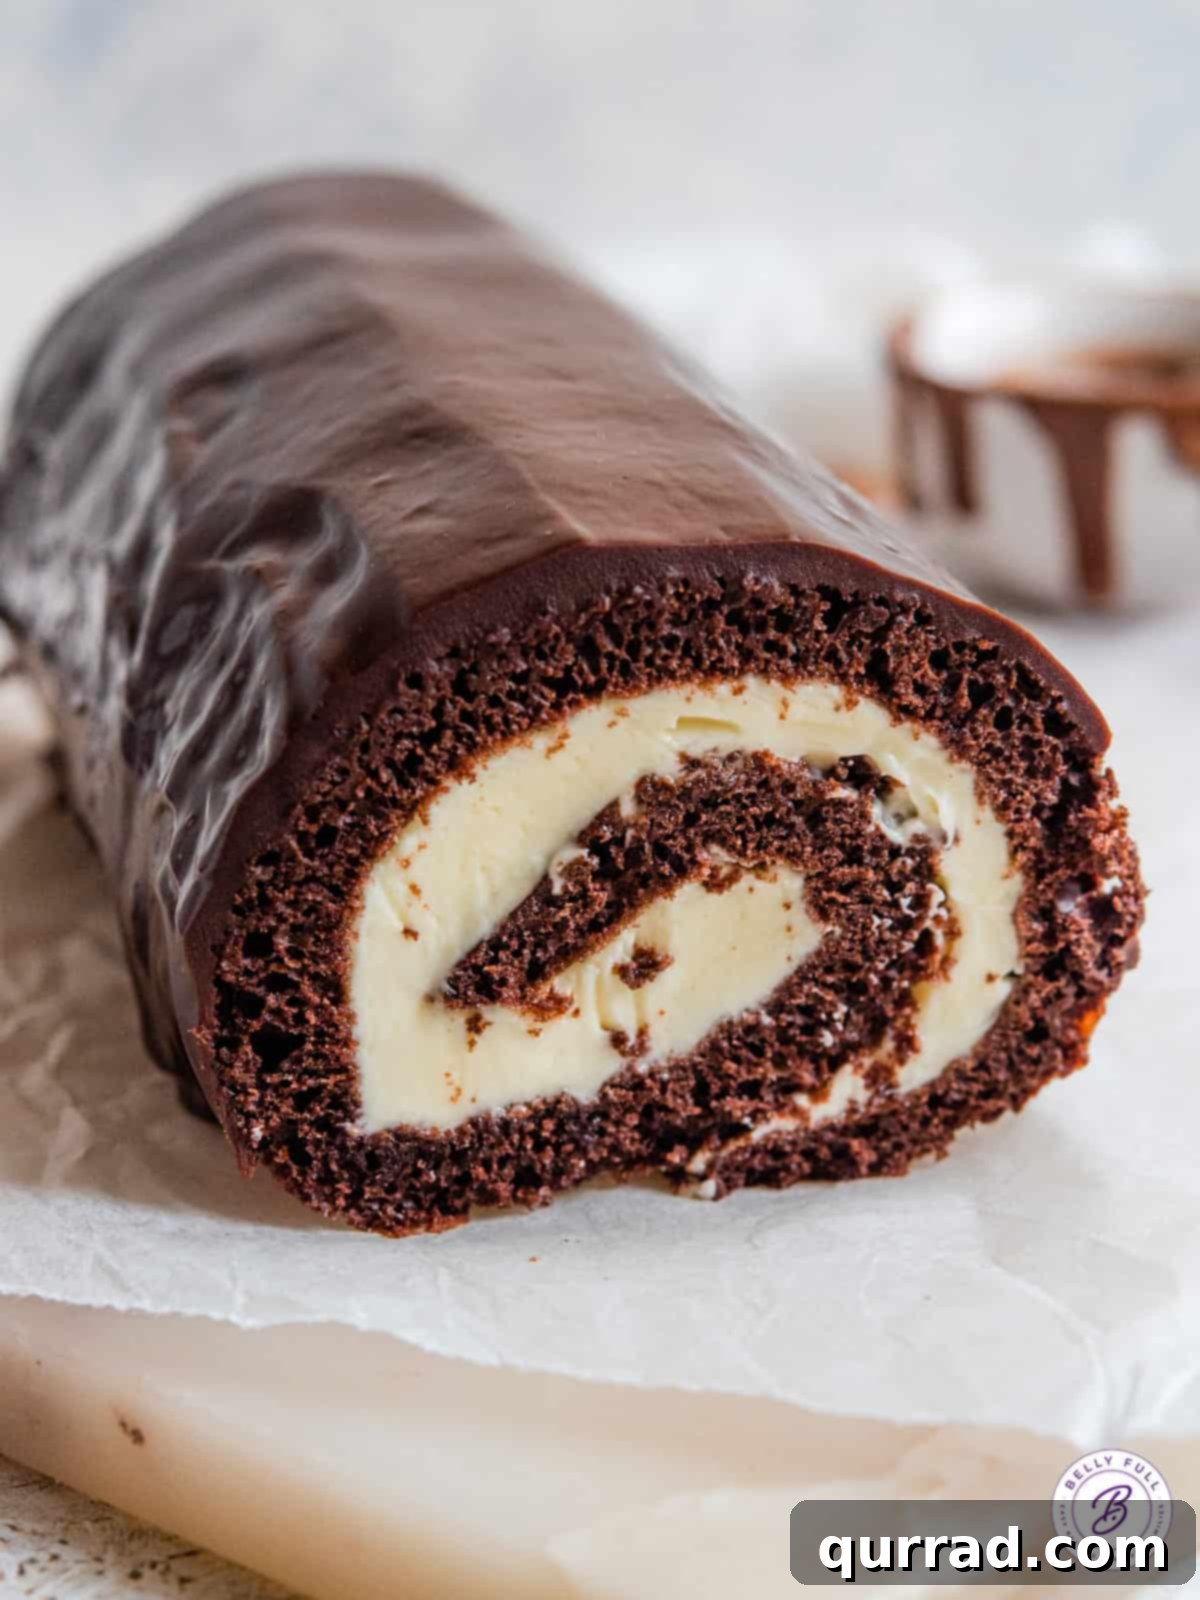
For many, including myself, childhood memories are often flavored with the simple joy of a Little Debbie Swiss Roll. That iconic combination of chocolate cake, creamy filling, and a fudgy coating was a pure delight. Imagine elevating that nostalgic pleasure to a grander scale: a giant, homemade Chocolate Swiss Roll that’s even more decadent and satisfying. This recipe brings you a moist, tender chocolate sponge rolled around a luscious cream cheese filling, all enveloped in a rich, glossy chocolate ganache. It’s a dessert that not only looks magnificent but promises a melt-in-your-mouth experience with every single bite.
Crafting a Swiss roll might seem intimidating at first glance, but with the right techniques and a touch of patience, it’s a surprisingly accessible baking project. The beauty of this cake lies in its harmonious blend of textures and flavors – the soft cake provides the perfect canvas for the sweet, tangy cream, while the ganache adds a layer of deep chocolate richness. It’s a showstopper that’s perfect for holidays, special occasions, or simply a luxurious weekend treat.
Expert Tips for Swiss Roll Success and Creative Flavor Variations
Achieving a perfect Chocolate Swiss Roll involves a few key steps and helpful tricks. Follow these tips to ensure your cake turns out beautifully, and feel free to get creative with the flavors!
- Choose the Right Pan for Optimal Results: For the ideal cake thickness and ease of rolling, a 15×10-inch jelly roll pan is highly recommended. These pans have specific dimensions that prevent the batter from spreading too thin, which can lead to a dry, crack-prone cake. While you might use a standard baking sheet, ensure it’s not larger than 15×12 inches. A larger pan will cause the cake to be too thin and difficult to roll without tearing. Lining the pan with parchment paper, with an extra inch or so overhang on the sides, is also crucial for easy transfer after baking.
- Master the Art of Cooling for a Crack-Free Roll: The most common concern when making a Swiss roll is cracking. To prevent this, roll the warm cake in a clean, lint-free tea towel immediately after removing it from the oven. This process “trains” the cake to hold its spiral shape as it cools. Allow the cake to cool completely to room temperature while rolled up, typically for at least 2 hours, on a wire rack. This gradual cooling prevents the cake from cracking when you later unroll it for filling and ensures your creamy filling won’t melt and ooze out when re-rolled.
- Unleash Your Creativity with Filling Alternatives: While a traditional cream cheese filling offers a delightful tang that balances the rich chocolate, the possibilities for customization are endless. Consider using a smooth vanilla buttercream for a classic flavor, a light and airy chocolate mousse for extra decadence, or fluffy marshmallow fluff for a nostalgic twist. For a lighter option, freshly whipped cream (stabilized with a touch of powdered sugar and vanilla) works wonderfully.
- Infuse More Flavor into Every Layer: Elevate your Swiss roll by adding extra flavor components. Sprinkle a pinch of cinnamon or a teaspoon of instant espresso powder into the cake batter to deepen the chocolate notes. For the filling, consider adding a tablespoon of strong brewed coffee, a swirl of your favorite fruit jam (raspberry or cherry would be fantastic), a few drops of peppermint extract for a festive touch, or even a splash of your favorite liqueur like Kahlúa, amaretto, or Chambord for an adult-friendly dessert.
- Vary the Topping for Different Occasions: While a silky chocolate ganache is truly luxurious, don’t hesitate to experiment with other toppings. A simple dusting of unsweetened cocoa powder or powdered sugar can create an elegant, understated finish. For the holidays, crushed peppermint candies or a sprinkle of festive sprinkles can instantly transform your Swiss roll into a celebratory treat. Chocolate shavings or toasted nuts also make excellent garnishes.
Chocolate Swiss Roll Cake: The Complete Recipe
Recipe Details
This recipe yields 8 delightful servings.
- Prep Time: 15 mins
- Cook Time: 11 mins
- Cool Time: 1 hr
- Total Time: 1 hr 26 mins
This easy Chocolate Swiss Roll Cake features a light sponge, creamy filling, and a silky ganache, making it a guaranteed crowd-pleaser!
Ingredients You’ll Need
For the Chocolate Cake
- ½ cup all-purpose flour
- ¼ cup unsweetened cocoa powder
- 1 tsp baking powder
- ½ tsp salt
- 4 large eggs
- ½ cup granulated sugar
- 2 tbsp melted butter
- 1 tsp vanilla extract
For the Cream Cheese Filling
- 8 oz. brick cream cheese, at room temperature
- 1 cup powdered sugar
- 4 tbsp unsalted butter, softened
- 1 tsp vanilla extract
For the Silky Ganache
- ⅔ cup dark or semi-sweet chocolate morsels
- 2 tbsp heavy whipping cream
- 4 tbsp powdered sugar
- 3-4 tbsp milk (as needed for consistency)
For Dusting the Tea Towel
- 2 tbsp powdered sugar
Step-by-Step Instructions
To Make The Chocolate Cake
- Preheat your oven to 350°F (175°C). Lightly grease a 15x10x1-inch jelly roll pan with nonstick cooking spray. Line the pan with parchment paper, ensuring there’s an extra 1-inch overhang on the short sides; this will make removing the cake easier.
- In a medium-sized bowl, whisk together the all-purpose flour, unsweetened cocoa powder, baking powder, and salt. Whisk until all dry ingredients are thoroughly combined and no lumps remain.
- In a separate, larger bowl, whisk the eggs and granulated sugar together vigorously until the mixture is light in color, combined, and visibly thickened. This aeration is key to a light sponge.
- Gently incorporate the melted butter and vanilla extract into the egg mixture, whisking just until they are fully combined. Be careful not to overmix.
- Using a rubber spatula, carefully fold the dry flour mixture into the wet ingredients. Mix until just combined, being mindful not to overwork the batter, as this can lead to a tough cake.
- Pour the batter evenly into the prepared jelly roll pan, spreading it to the edges. Bake for 11 minutes, or until the top of the cake springs back lightly when gently touched. Avoid overbaking, as this can make the cake dry and prone to cracking.
- While the cake is baking, lay a clean, unscented, lint-free tea towel on a flat work surface. Evenly sprinkle the 2 tablespoons of powdered sugar over the towel. This prevents the cake from sticking.
- As soon as the cake is out of the oven, gently invert it onto the prepared tea towel. Carefully and slowly peel off the parchment paper. While the cake is still hot, roll it up from one short end to the other, incorporating the tea towel inside the roll. Place the rolled cake, still wrapped in the towel, on a wire rack and allow it to cool completely to room temperature, which usually takes about 2 hours. This step “trains” the cake to hold its spiral shape, preventing cracks when you fill it.
While the Cake is Cooling, Make the Cream Cheese Filling
- In a mixing bowl, using an electric mixer, beat together the room temperature cream cheese, powdered sugar, softened unsalted butter, and vanilla extract until the mixture is smooth, creamy, and free of lumps. Adjust the consistency as needed: if the filling seems too thin, gradually add more powdered sugar a tablespoon at a time until it thickens. If it’s too thick, add half a teaspoon or two of milk until it reaches a medium, spreadable consistency. The goal is a filling that’s easy to spread but firm enough not to ooze out of the cake when rolled.
- Once the chocolate cake roll has cooled completely to room temperature (after approximately 2 hours), transfer it to a flat, clean surface. Carefully and gently unroll the cake until it lies mostly flat. It’s perfectly normal if the ends curl up slightly.
- Evenly spread the prepared cream cheese filling mixture over the entire surface of the cake, leaving a ¾-inch border clear on all sides. This border helps prevent the filling from squeezing out excessively when you re-roll.
- Carefully but firmly re-roll the cake from one short end to the other, ensuring a snug roll. Once rolled, tightly wrap the entire chocolate roll in plastic wrap. Refrigerate the cake for at least one hour. This chilling period is essential for allowing the filling to firm up, making the cake easier to slice and preventing the filling from shifting.
Make the Decadent Chocolate Ganache
- Place the dark or semi-sweet chocolate morsels and heavy whipping cream in a medium-sized, microwave-safe bowl. Microwave in 30-second intervals, stirring well after each interval, until the chocolate is fully melted and smooth. Whisk thoroughly until the mixture is well combined and glossy.
- Whisk in the powdered sugar until it is fully incorporated and the ganache is smooth. Gradually add milk, one tablespoon at a time, whisking continuously, until the ganache reaches a smooth, pourable consistency. It should be thick enough to coat the cake but fluid enough to drip evenly.
- Once the cake has chilled, remove it from the refrigerator and unwrap the plastic. For a clean, professional appearance, carefully trim a small slice off both ends of the cake. Place the cake on a wire rack with a cookie sheet positioned underneath to catch any excess ganache, ensuring a cleaner workspace.
- Pour the prepared chocolate ganache evenly over the top of the cake, allowing it to drip down the sides for full coverage. Let the ganache set at room temperature or in the refrigerator for a quicker set.
- Finally, transfer the stunning Chocolate Swiss Roll Cake to a serving plate, slice with a sharp knife, and enjoy this magnificent homemade dessert!
Visual Guide: How to Make A Chocolate Swiss Roll Step by Step
Baking a show-stopping Chocolate Swiss Roll is made easier with a visual walkthrough. Follow these step-by-step photos to guide you through each stage, from mixing the batter to the final ganache drizzle, ensuring a perfect result every time.
Step 1: Prepare the Chocolate Sponge. Begin by heating your oven to 350°F and preparing a 15x10x1-inch jelly roll pan. Lightly coat it with nonstick spray and line it with parchment paper, leaving a slight overhang for easy removal. This preparation is key to a smooth process.
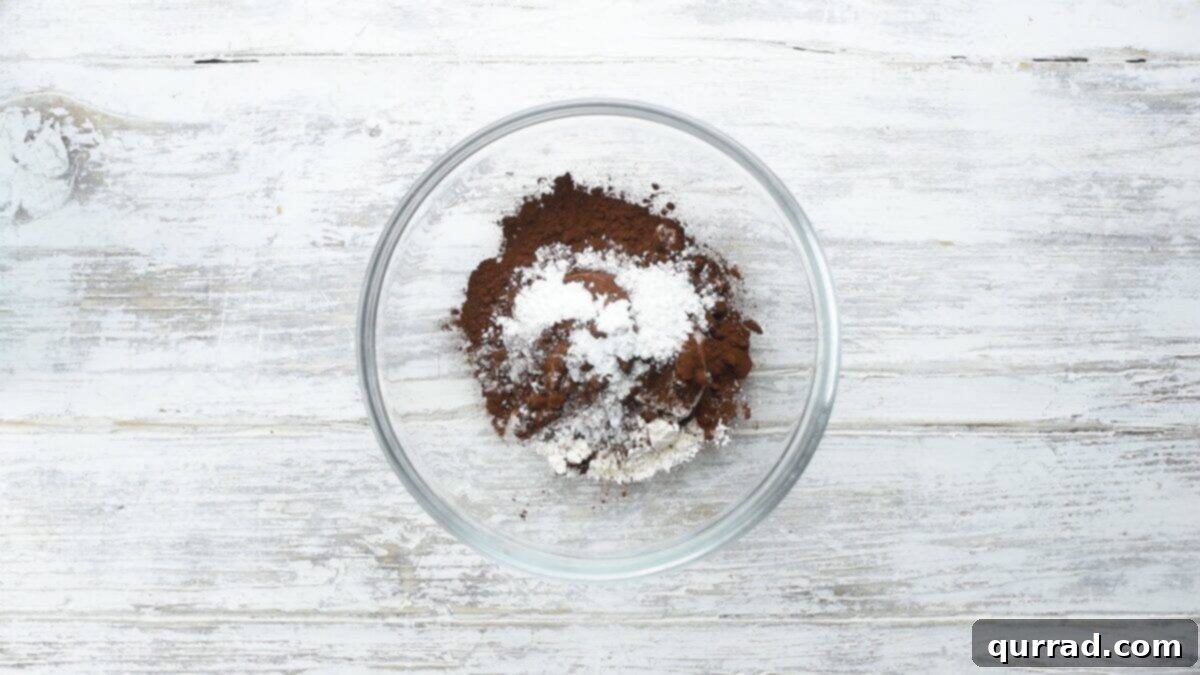
In a medium bowl, thoroughly whisk together ½ cup of all-purpose flour, ¼ cup of unsweetened cocoa powder, 1 teaspoon of baking powder, and ½ teaspoon of salt. Ensure there are no lumps for a smooth cake batter.
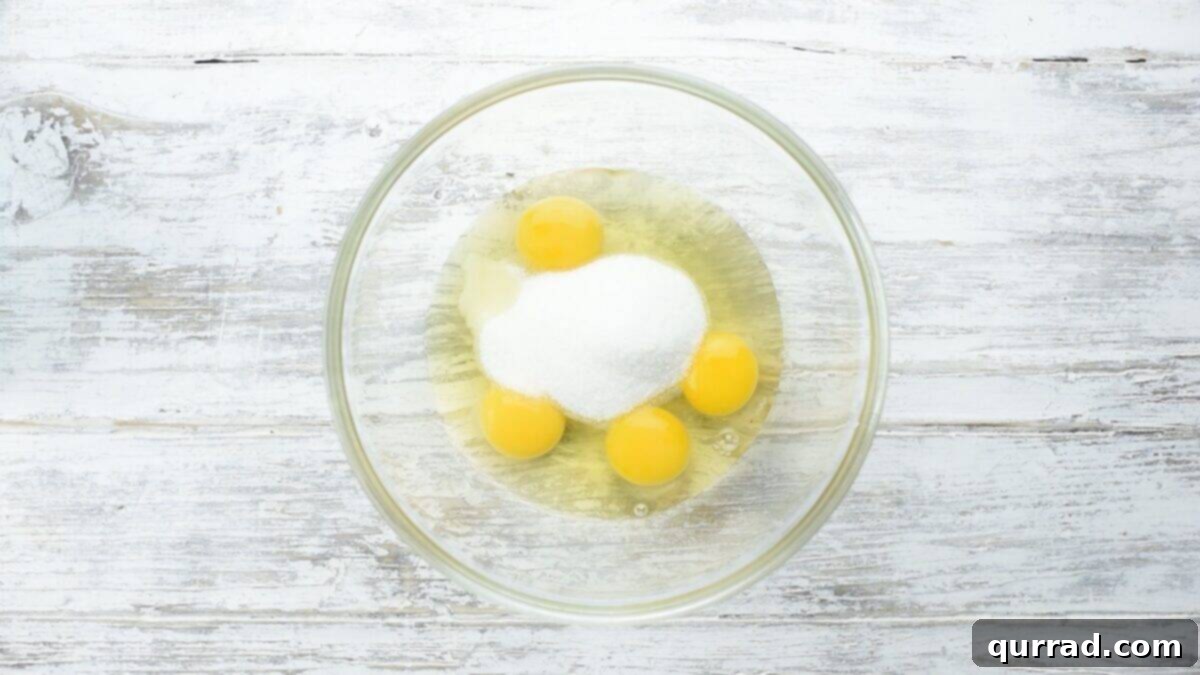
In a separate, larger bowl, whisk 4 large eggs with ½ cup of granulated sugar until the mixture becomes pale, thick, and well combined. This aeration helps create the light, airy texture characteristic of a Swiss roll sponge.

Add 2 tablespoons of melted butter and 1 teaspoon of vanilla extract to the egg and sugar mixture. Whisk gently until these ingredients are just incorporated, being careful not to deflate the aerated eggs.
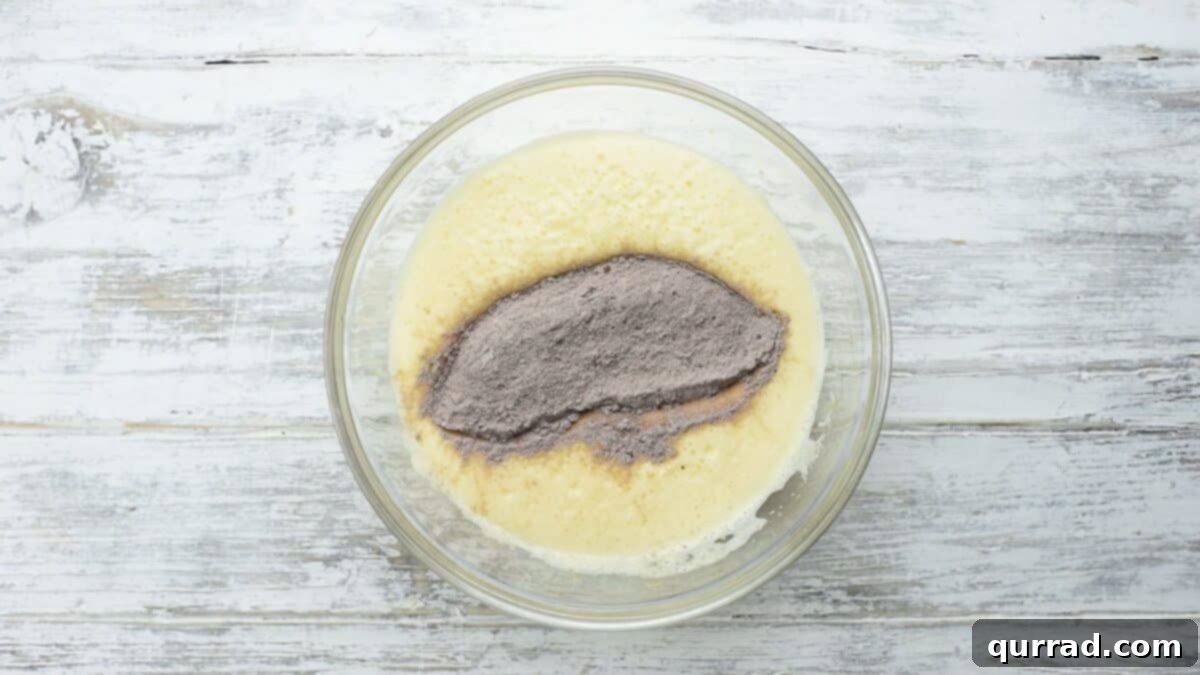
Using a rubber spatula, carefully fold the whisked flour mixture into the wet ingredients. Continue to fold just until no streaks of flour remain; overmixing can lead to a dense cake.
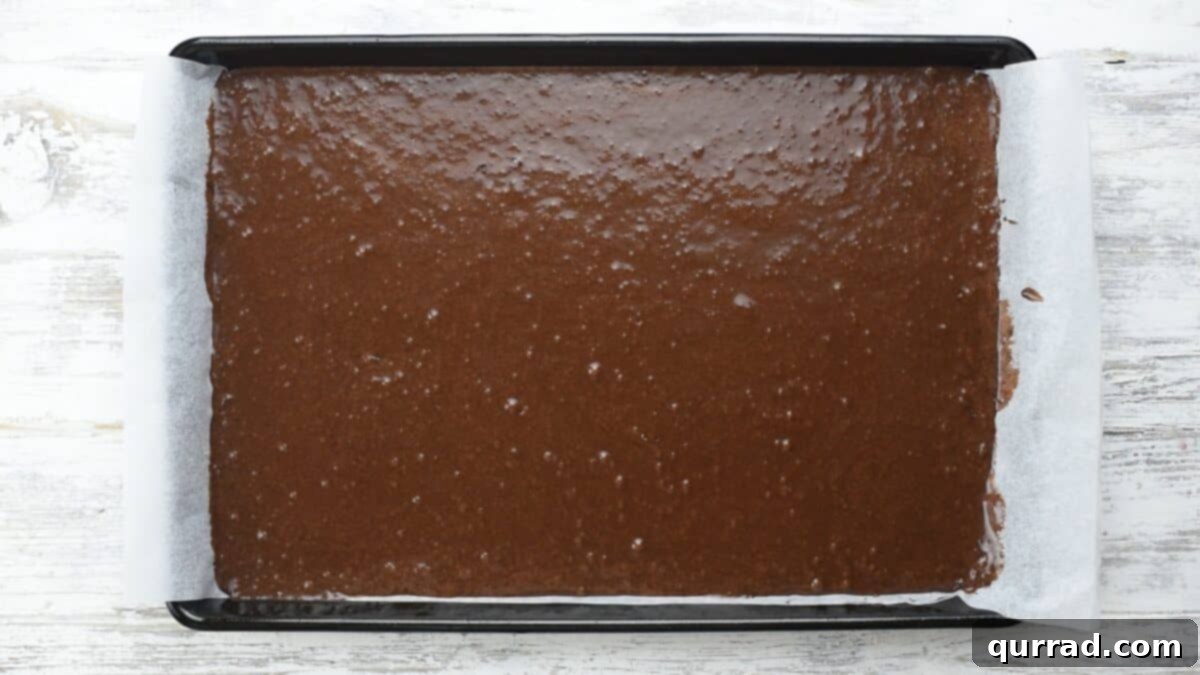
Spread the prepared cake batter evenly into the lined jelly roll pan, making sure it reaches all corners. Bake for exactly 11 minutes, or until the top of the cake springs back when lightly touched. Do not overbake, as this is crucial for a flexible sponge.
While the cake is baking, lay a clean, unscented, lint-free tea towel on a flat surface. Generously sprinkle 2 tablespoons of powdered sugar over the towel. This step is essential for preventing the warm cake from sticking to the towel.
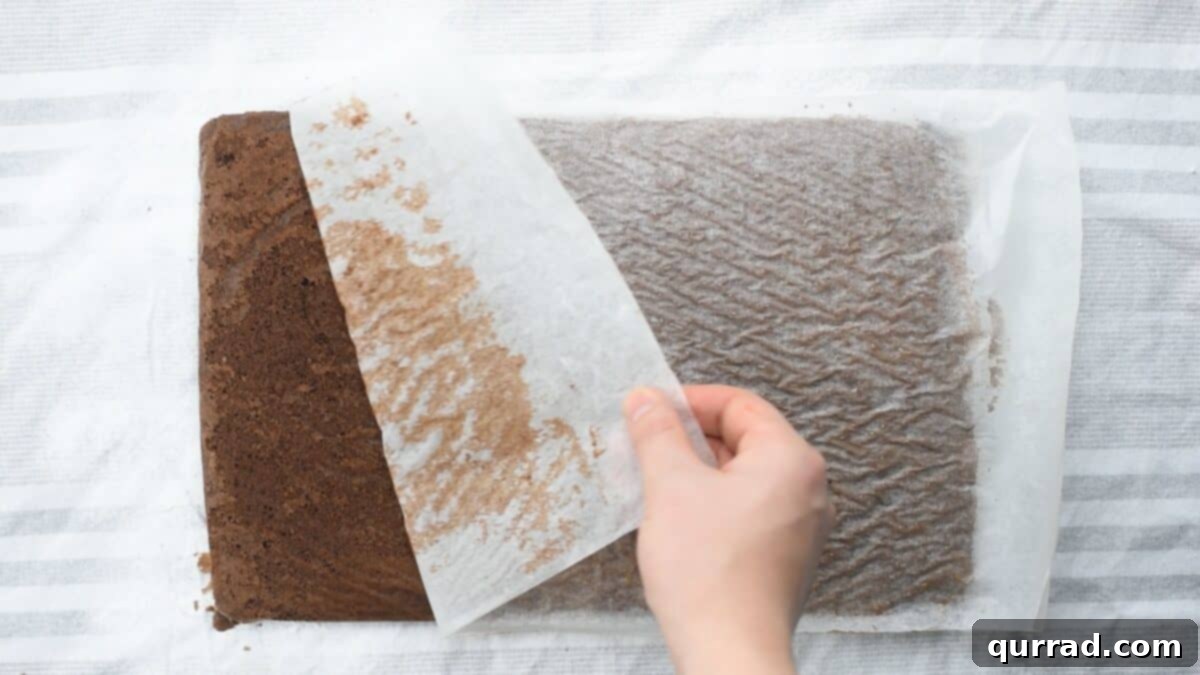
Immediately after baking, gently flip the hot cake onto the sugar-dusted tea towel. Carefully and slowly peel off the parchment paper from the back of the cake. Work quickly but gently to avoid tearing the delicate sponge.
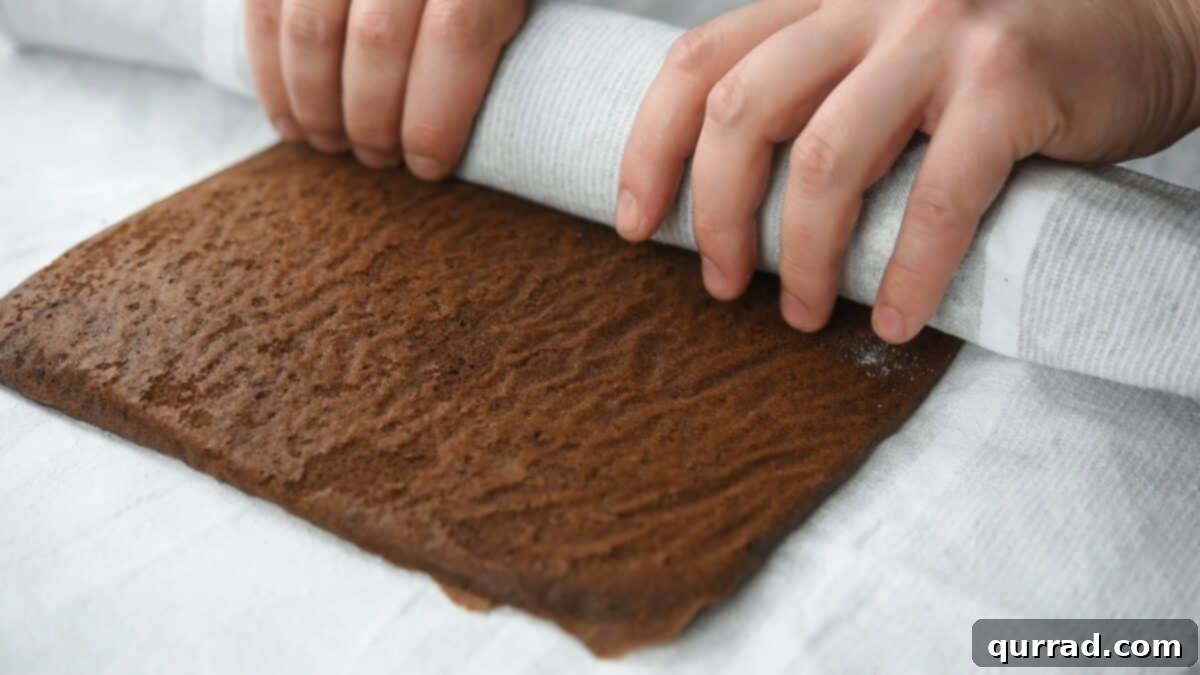
While the cake is still warm and pliable, carefully roll it up from one short end to the other with the tea towel inside. Place the rolled cake (still wrapped in the towel) on a wire rack and let it cool completely to room temperature, which will take about 2 hours. This process helps the cake retain its rolled shape without cracking.
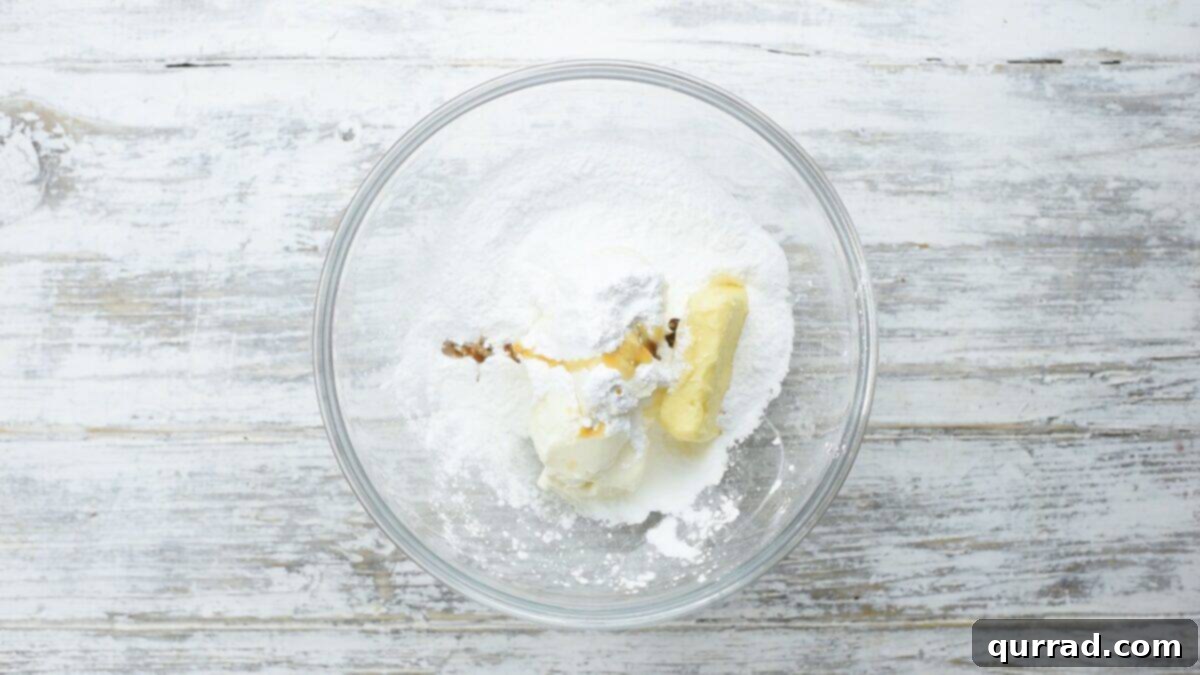
Step 2: Prepare the Creamy Filling. With an electric mixer, beat 8 oz. of room temperature cream cheese, 1 cup of powdered sugar, 4 tbsp of softened butter, and 1 tsp of vanilla extract in a mixing bowl until the mixture is completely smooth and creamy. Adjust the consistency if needed by adding more powdered sugar to thicken or a tiny bit of milk to thin, aiming for a medium, spreadable texture that won’t ooze out of the cake.
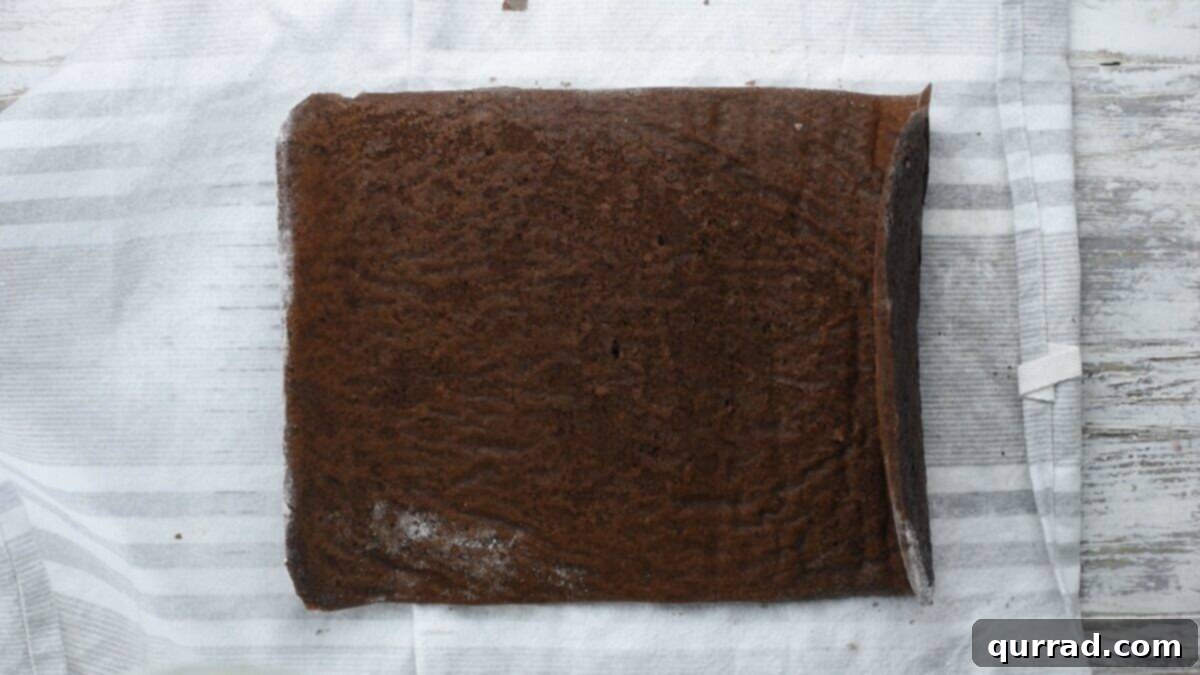
Step 3: Unroll and Fill the Cake. Once the cake roll has cooled completely, transfer it to a flat surface and gently unroll it. Don’t worry if the very ends curl up a little; this is normal and won’t affect the final roll.
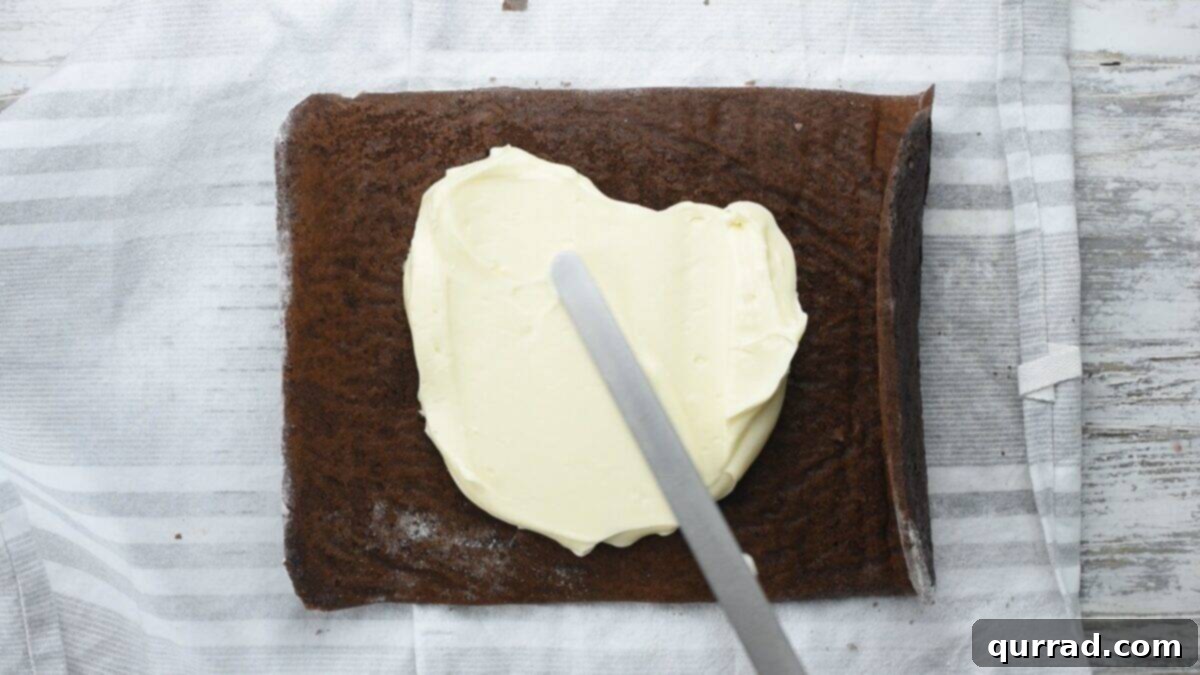
Evenly spread the cream cheese filling mixture over the entire surface of the cake, making sure to leave a clean ¾-inch border around all edges. This prevents the filling from squeezing out when you re-roll the cake.
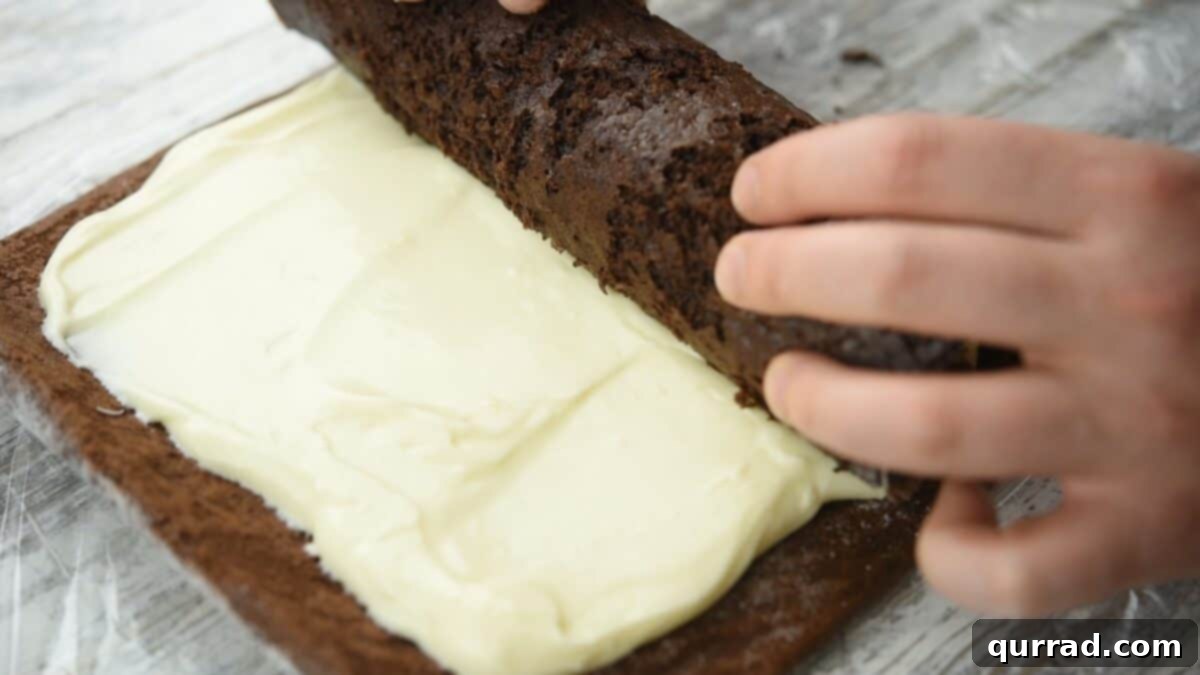
Carefully re-roll the cake, starting from the short end, ensuring a snug and even spiral. Tightly wrap the filled chocolate roll in plastic wrap and refrigerate for at least one hour. This chilling time allows the filling to firm up, making the cake easier to handle and slice.
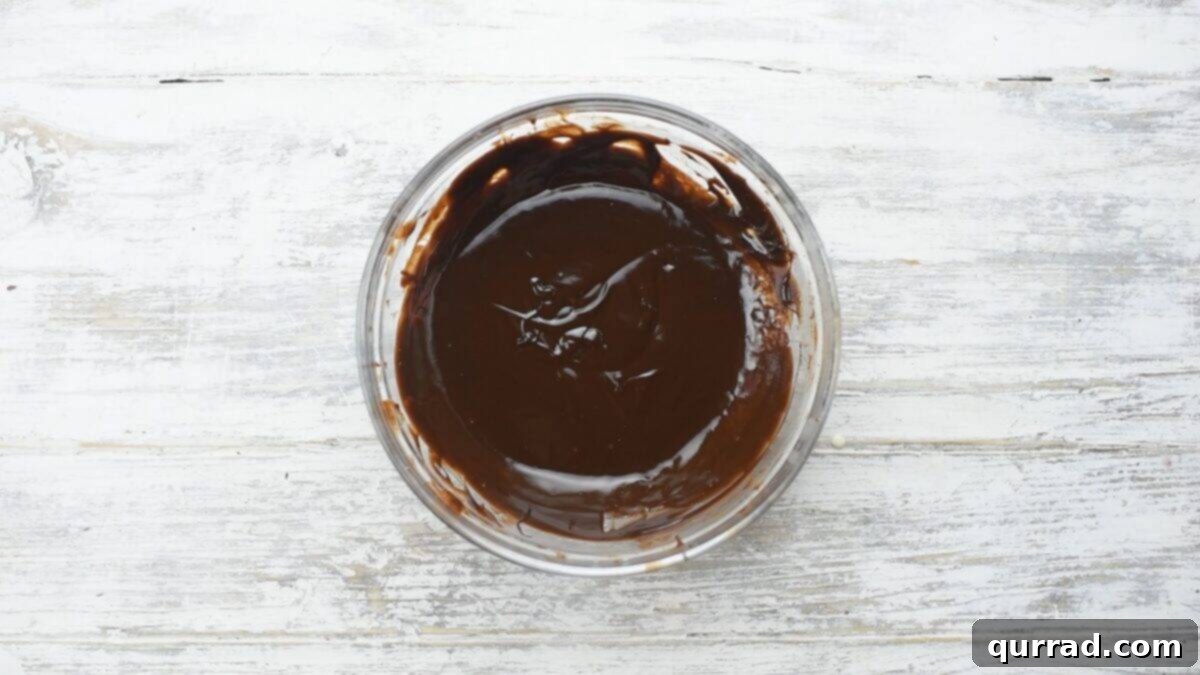
Step 4: Create the Silky Ganache. Place ⅔ cup of dark or semi-sweet chocolate morsels and 2 tablespoons of heavy whipping cream in a medium-sized microwave-safe bowl. Microwave in 30-second intervals, stirring after each, until the chocolate is fully melted and smooth. Whisk in 4 tablespoons of powdered sugar until combined. Gradually add 3-4 tablespoons of milk, one tablespoon at a time, until the ganache reaches a smooth, pourable consistency.
Step 5: Cool and Serve. Trim the ends of the chilled cake to create a neat, professional appearance. Transfer the cake to a cooling rack, placing a cookie sheet underneath to catch any drips from the ganache, ensuring a clean finish.
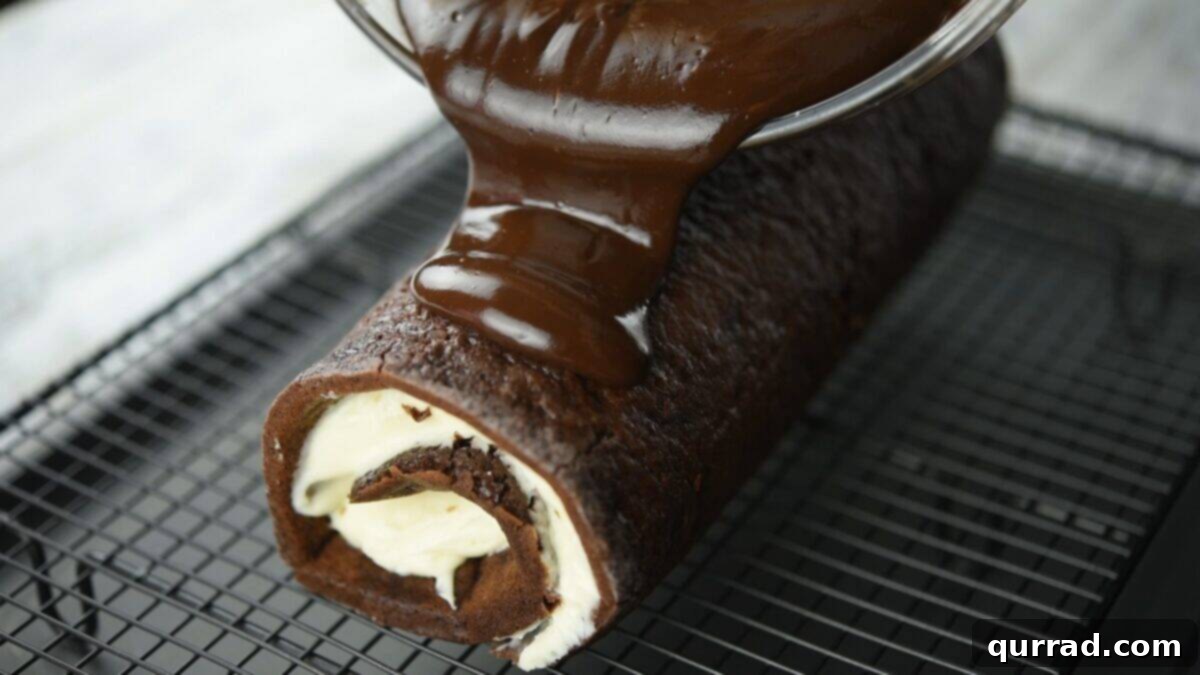
Pour the luscious chocolate ganache evenly over the top of the cake, allowing it to coat the sides beautifully. Let the ganache set at room temperature until firm, or for a quicker set, place it in the refrigerator for a short period.
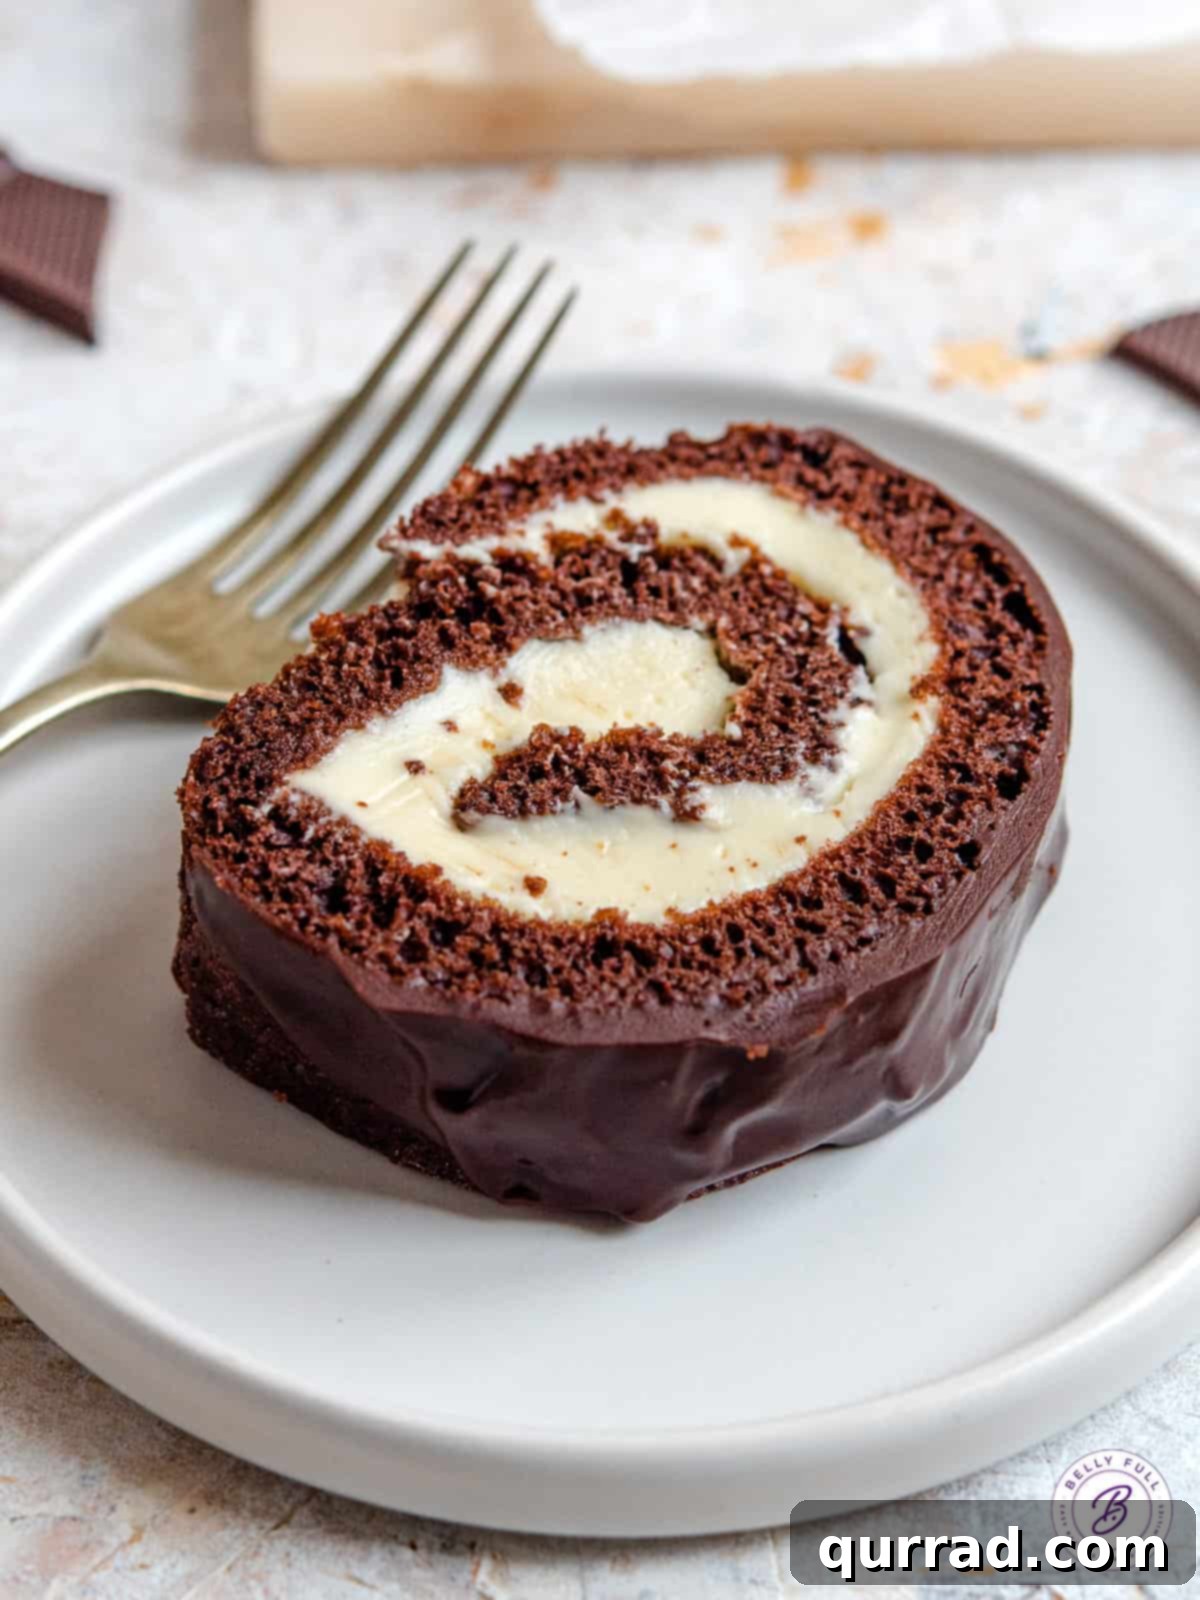
Transfer your perfectly crafted Chocolate Swiss Roll to a serving platter, slice it into elegant rounds, and enjoy this delightful masterpiece!
Perfect Pairings: What to Serve With Your Chocolate Swiss Roll
A Chocolate Swiss Roll is a complete dessert in itself, but a thoughtfully chosen accompaniment can elevate the experience even further. The richness of the chocolate and cream cheese filling pairs beautifully with a variety of flavors and textures.
For a refreshing contrast, serve slices with a vibrant fresh fruit salad. The natural sweetness and slight tartness of berries, kiwi, or citrus segments cut through the richness of the cake beautifully. A simple side of raspberry sauce adds a delightful tang and a burst of fruity flavor that complements chocolate exquisitely. If you’re aiming for an even more indulgent dessert, a warm drizzle of homemade caramel sauce adds a layer of buttery sweetness and sophisticated depth. Alternatively, a scoop of premium vanilla bean ice cream or a dollop of unsweetened whipped cream can provide a cool, creamy counterpoint. For coffee lovers, a sprinkle of espresso powder or a side of freshly brewed coffee can enhance the chocolate notes.
Storing Your Delicious Chocolate Swiss Roll for Lasting Freshness
Proper storage is essential to keep your Chocolate Swiss Roll tasting fresh and delicious for as long as possible. Due to its cream cheese filling, this cake requires refrigeration.
Once assembled and covered with ganache, the finished roll cake will maintain its quality for 2-3 days when stored in the refrigerator. To prevent it from drying out or absorbing other odors, ensure it is well-protected. You can achieve this by wrapping it tightly in plastic wrap, making sure to cover all exposed surfaces, or by transferring it to an airtight container. If you have any cut slices, pressing plastic wrap directly onto the cut surface will help maintain moisture.
For longer storage, this Chocolate Swiss Roll is an excellent candidate for freezing. Prepare the roll cake completely, but hold off on applying the ganache. Once the cake is filled and rolled, wrap it securely in several layers of plastic wrap, and then wrap it again in aluminum foil. This double-layer protection helps prevent freezer burn and preserves the cake’s texture and flavor for up to 2 months.
When you’re ready to enjoy your frozen Swiss roll, transfer it to the refrigerator and allow it to defrost slowly overnight. Once fully thawed, you can then prepare and coat it with the silky chocolate ganache just before serving. This method ensures that the ganache remains fresh and glossy, offering the best presentation and taste.
Frequently Asked Questions About Swiss Rolls
Why did my Swiss Roll crack when I unrolled it?
Cracking is a common issue, often due to overbaking the cake, which makes it dry and less pliable. Another key factor is not rolling the cake while it’s still warm; the heat helps “train” the sponge to hold its shape. Ensure your cake is baked just until it springs back when touched, and roll it immediately after removing it from the oven, wrapped in a tea towel, to allow it to cool in its curled form.
Can I make the Chocolate Swiss Roll ahead of time?
Absolutely! The Swiss roll is an excellent make-ahead dessert. You can bake the cake and prepare the filling a day or two in advance. Store the rolled, unfilled cake (still wrapped in the tea towel) at room temperature, and keep the filling refrigerated in an airtight container. Assemble and chill the cake with the filling, and then apply the ganache a few hours before serving. For longer storage, freeze the cake without the ganache as described in the storage section.
What is a jelly roll pan, and why is it important?
A jelly roll pan is a shallow, rectangular baking pan, typically measuring 15×10 inches with a 1-inch rim. Its specific dimensions are ideal for baking thin, even sheets of cake or cookie dough, which are crucial for rolling. Using a pan of this size ensures the cake is thin enough to be pliable for rolling without cracking, yet thick enough to hold its structure once filled.
How do I get a perfectly smooth chocolate ganache?
Achieving a smooth ganache involves a few steps. First, use good quality chocolate morsels or finely chopped chocolate. Heat the cream until it’s simmering, then pour it over the chocolate and let it sit for a few minutes to melt the chocolate before whisking. Whisk gently from the center outwards until completely smooth and glossy. If the ganache is too thick, add a tiny bit more warm milk or cream, one teaspoon at a time. If it appears grainy, gently warm it over a double boiler or in short microwave bursts, stirring constantly, until it becomes smooth again.
More Delectable Cake Recipes to Explore
- Butter Pecan Rum Cake
- Hummingbird Cake
- Sticky Toffee Pudding
- Pistachio Cake
- Shirley Temple Cake
Whether you’re a seasoned baker or trying a Swiss roll for the first time, this Chocolate Swiss Roll Cake recipe offers a delightful and rewarding experience. Its impressive appearance and unforgettable taste make it a perfect choice for any occasion, promising to be a highlight for everyone who tries a slice.