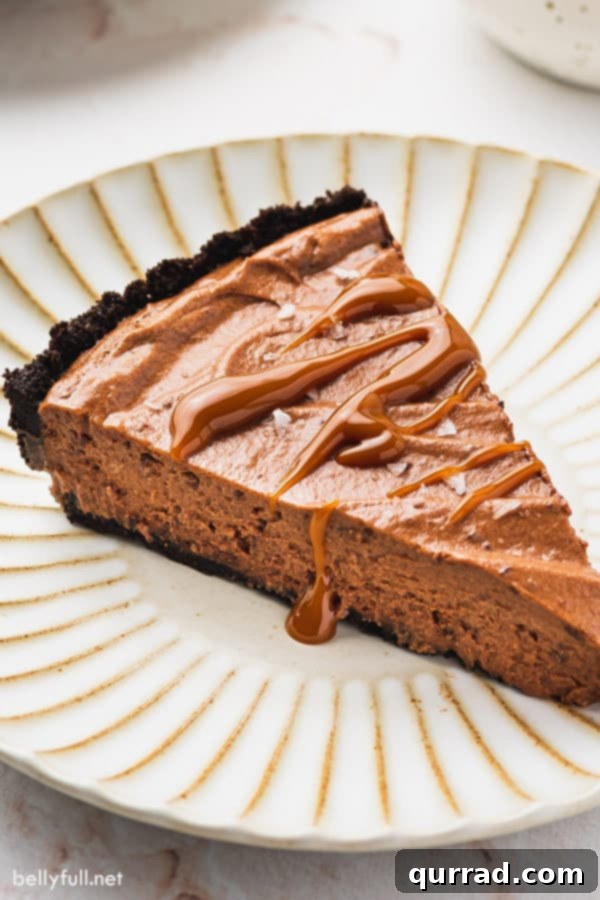
The Ultimate No-Bake Chocolate Mousse Pie: A Decadent Delight for Any Occasion
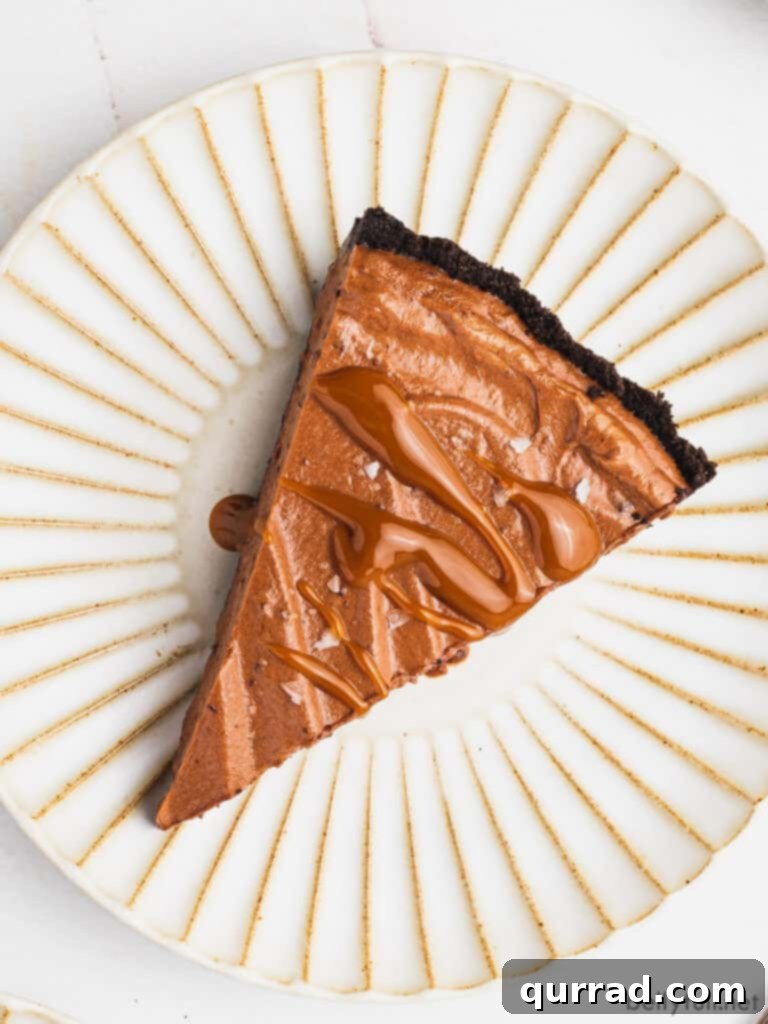
Indulge in pure bliss with this exquisite No-Bake Chocolate Mousse Pie. Crafted for simplicity and maximum flavor, this homemade dessert features a rich, buttery cookie crust embracing a cloud-like, silky chocolate filling. Each slice is elevated with a delicate sprinkle of flaky sea salt and a luscious drizzle of golden caramel, creating a symphony of sweet and savory notes that is truly sublime. Perfect for impressing guests or satisfying your deepest chocolate cravings, this pie promises a melt-in-your-mouth experience without ever needing to turn on your oven.
For those times you desire a lighter chocolate treat without the crust, our simple Chocolate Mousse recipe offers a wonderful, airy alternative, delivering pure chocolate satisfaction in every spoonful.
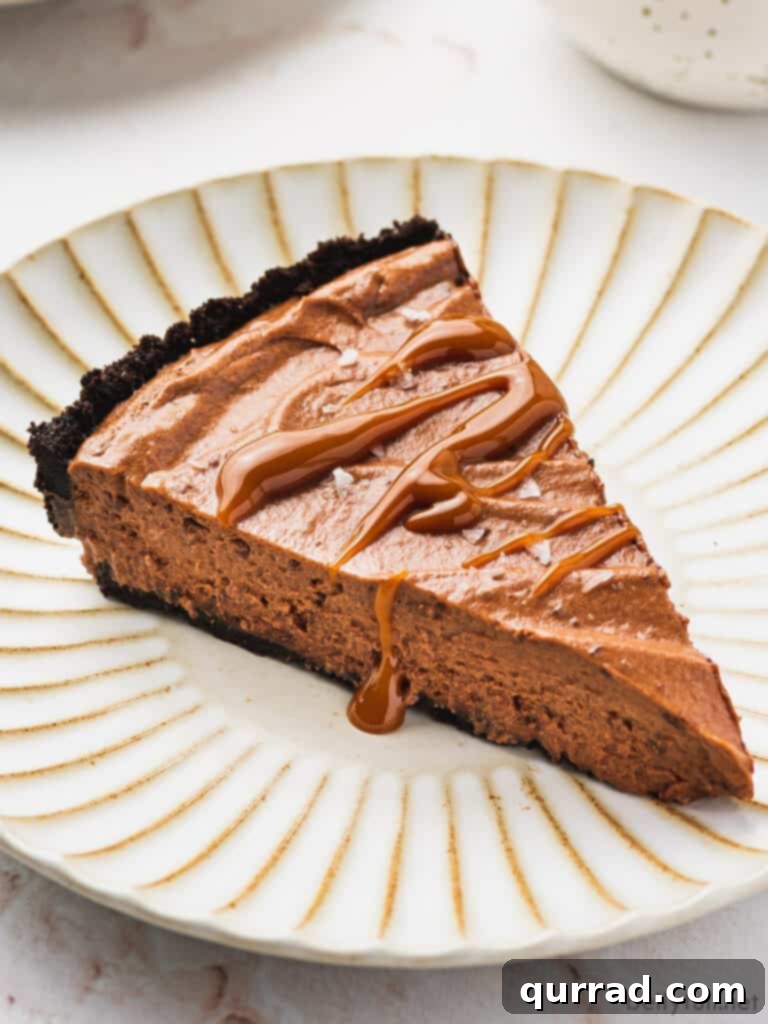
The magic behind many truly exceptional desserts lies in a surprising ingredient: salt. While it might seem counterintuitive to add salt to sweets, it’s a culinary secret rooted in science. Sodium ions possess a unique ability to suppress bitter flavor compounds, allowing sweet notes to shine brighter and taste even sweeter. This ingenious interaction also makes other flavors, like the deep richness of chocolate, more pronounced and complex. This delicate balance of sweet and salty creates a more nuanced and intensely satisfying flavor profile, transforming a simple dessert into an unforgettable experience. Gosh, we love science, and frankly, we adore pie even more when it’s perfected with such thoughtful details.
Experience Unforgettable Decadence with No-Bake Chocolate Mousse Pie
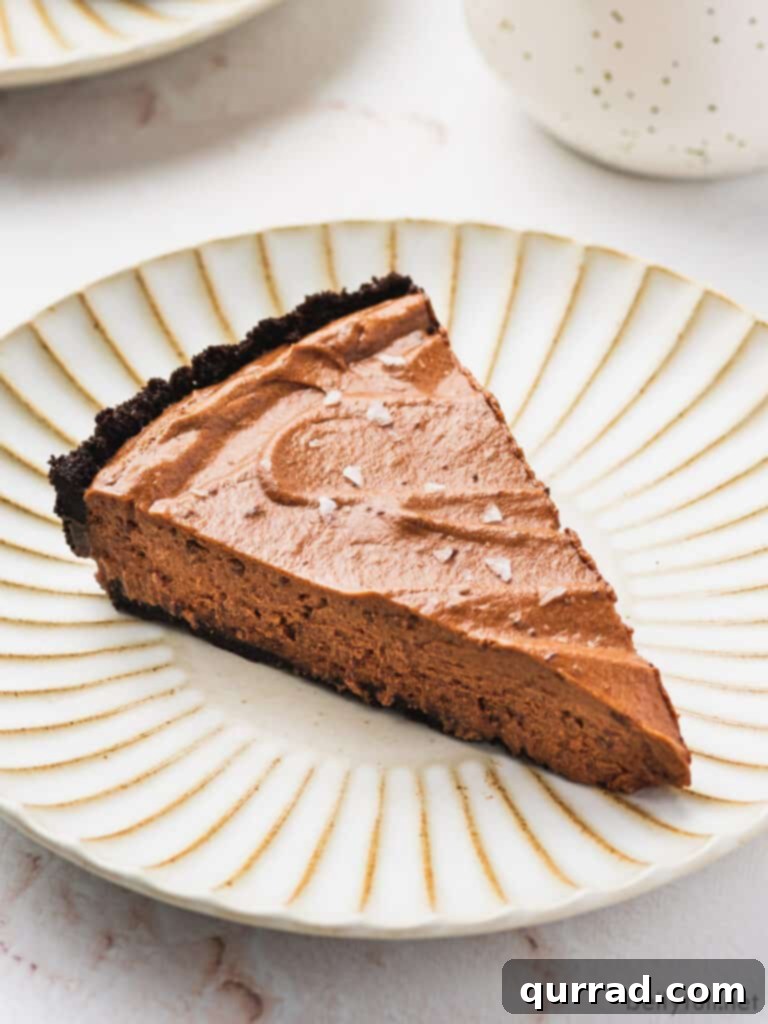
Imagine the perfect harmony of rich chocolate, velvety cream, sweet caramel, and a hint of flaky sea salt. This combination is nothing short of incredible. Unlike our beloved Easy Chocolate Pie, which is known for its thick, dense, and not-overly-sweet character, this No-Bake Chocolate Mousse Pie offers a distinctly different, yet equally enchanting, experience. Its filling is incredibly silky, light as a cloud, and designed to practically melt in your mouth, leaving behind a profound chocolate sensation. Nestled in a crisp, chocolate cookie crust and generously drizzled with rich caramel, this pie embodies pure decadence. It’s truly a chocolate lover’s dream, an exquisite dessert that looks sophisticated but is surprisingly simple to create, requiring no oven time at all.
This makes it an ideal choice for warm summer days when you prefer to keep your kitchen cool, or for any occasion where you want to serve an elegant dessert that guarantees “oohs and aahs” from your guests. Its striking appearance belies the ease of preparation, ensuring you spend less time baking and more time enjoying the admiration of those lucky enough to savor a slice.
Crafting Your Perfect Chocolate Mousse Pie: Essential Ingredients
Creating this masterpiece starts with selecting high-quality ingredients. Here’s what you’ll need to gather:
- Oreo Cookies: As self-proclaimed Oreo fanatics, we naturally gravitate towards an Oreo crust for its deep chocolate flavor and perfect texture. You’ll need about 15 whole cookies to create a substantial base. If Oreos aren’t your preference, an equal amount of chocolate graham crackers or similar chocolate wafer cookies will work wonderfully, providing a delightful alternative.
- Unsalted Butter: Since flaky sea salt is a crucial finishing touch that brightens all the flavors in this pie, we opt for unsalted butter in the crust. This allows us to precisely control the overall saltiness. If salted butter is all you have, you can use it, but be aware that the final result will naturally be saltier, which may not be everyone’s preference.
- High-Quality Chocolate Chips: The heart of your mousse lies in the chocolate. We recommend using semi-sweet or dark chocolate chips, or even a combination, depending on your desired level of sweetness and intensity. Investing in a high-quality brand like Ghirardelli will make a noticeable difference in the richness and smoothness of your filling.
- Cold Heavy Whipping Cream: This is the secret to achieving that signature airy, cloud-like texture in your mousse. When whipped and then gently folded with the melted chocolate, it transforms into a creamy, soft, and incredibly light filling that defines a perfect mousse pie. Ensure it’s very cold for optimal whipping.
- Powdered Sugar: A small amount of powdered sugar is beaten into the heavy whipping cream. This not only adds a touch of sweetness but also helps stabilize the whipped cream, ensuring your mousse holds its shape beautifully while maintaining its delicate flavor.
- Flaky Sea Salt: This ingredient is non-negotiable! Sprinkled lightly on top after the pie has chilled, flaky sea salt acts as a brilliant flavor enhancer. It provides a delightful textural contrast and an irresistible sweet-and-salty kick that truly “seals the deal” and takes each bite up several notches.
- Caramel Sauce (Optional, but Highly Recommended): To elevate an already indulgent slice to an absolutely heavenly level, drizzle a generous amount of our homemade caramel sauce (or store-bought Dulce de Leche) over your pie. This addition brings a warm, buttery sweetness that complements the chocolate perfectly, creating a truly unforgettable dessert experience.
Creative Variations to Customize Your Pie
While the classic Chocolate Mousse Pie is a showstopper on its own, here are some delightful variations to inspire your culinary creativity and tailor this dessert to your taste:
- The Crust Possibilities: As mentioned, we adore an Oreo crust, but don’t feel limited. You can use chocolate graham crackers for a slightly different flavor profile, or even classic graham crackers for a less intense chocolate base. For those who prefer a less sweet pie, consider using Oreos but scraping out the cream filling before crushing them. You can also experiment with other chocolate cookies like chocolate wafers for a unique twist.
- Infuse with Mint Flavor: For a refreshing take, incorporate mint into your pie. Use mint-flavored Oreos or crushed Thin Mint Girl Scout cookies for the crust. Alternatively, beat a tiny bit of high-quality mint extract (start with 1/4 teaspoon and add more to taste) into the chocolate mousse filling to achieve a subtle, cooling mint essence.
- Enhance with Espresso: Chocolate and coffee are a match made in heaven. Adding instant espresso powder deepens and enhances the chocolate flavor without making the pie taste distinctly like coffee. About 1/2 teaspoon beaten into the mousse filling will subtly intensify the chocolate notes, making it even more irresistible.
- Top with Homemade Whipped Cream: If the caramel sauce feels a bit too rich for your palate, or if you simply prefer a lighter topping, a dollop of fresh homemade whipped cream is a perfect choice. Its light, airy texture and delicate sweetness provide a beautiful contrast to the rich chocolate mousse, making each slice feel complete and elegant.
- Serve with Tangy Raspberry Sauce: For a burst of fruity brightness, consider serving each slice with a small puddle of vibrant raspberry sauce underneath. The tartness of the raspberries beautifully cuts through the richness of the chocolate, offering a delightful flavor contrast. Fresh berries, such as raspberries or strawberries, on the side or as a garnish further enhance this elegant presentation.
- Nutty Crunch: For added texture, consider mixing finely chopped toasted nuts (like pecans or walnuts) into your cookie crust or sprinkling them on top of the mousse before chilling.
- Orange Zest Brightness: A small amount of finely grated orange zest folded into the mousse can add a bright, citrusy note that pairs wonderfully with chocolate, reminiscent of classic chocolate orange confections.
How to Effortlessly Create Your Chocolate Mousse Pie
This chocolate mousse pie is not only impressive in taste and appearance but also remarkably simple to assemble. The process involves just a few key steps: combining cookie crumbs with melted butter for the crust, and then carefully folding cooled melted chocolate into a cloud of freshly whipped cream for the exquisite filling. The mousse is then poured into the prepared crust and chilled until firm, resulting in a dessert that’s both easy and incredibly elegant. While the full, detailed instructions are provided below, remember to refer back to this article for all the helpful tips and inspiring variations to make your pie truly exceptional.
Ingredients:
- 15 whole Oreo cookies
- 2 tablespoons unsalted butter, melted
- 3/4 cup (about 6 ounces) chocolate chips (semi-sweet, dark chocolate, or a combo)
- 1 cup cold heavy whipping cream
- 1 tablespoon powdered sugar
- Flaky sea salt, for sprinkling
- Caramel sauce (or Dulce de Leche), for serving (optional)
- Raspberry sauce, for serving (optional)
- Whipped cream, for serving (optional)
Instructions:
- Begin by preparing the crust. Place the whole Oreo cookies in a food processor and blend until they are finely ground into uniform crumbs.
- Add the two tablespoons of melted unsalted butter to the cookie crumbs in the food processor. Blend again until the butter is fully incorporated and the mixture is moist and cohesive, resembling wet sand.
- Transfer the moist crumb mixture into a 9-inch pie plate. Using the back of a spoon or your fingertips, firmly press the mixture onto the bottom and evenly up the sides of the pie plate. Aim for an even thickness, about 1/8 inch all around.
- Refrigerate the prepared cookie crust for at least one hour. This allows the butter to solidify and the crust to set, preventing it from crumbling when you add the filling.
- While the crust chills, prepare your chocolate mousse. In a medium-sized microwave-safe bowl, melt the chocolate chips. Heat them on medium power in 30-second intervals, stirring thoroughly after each interval, until the chocolate is completely melted and smooth, with no lumps remaining.
- It is crucial to allow the melted chocolate to cool fully to room temperature before proceeding. This step is vital to prevent the whipped cream from melting.
- In a separate medium bowl, using an electric mixer, whip the cold heavy whipping cream and powdered sugar together until stiff peaks form, typically around 1 minute. The cream should be light and airy.
- Gently fold (do not stir vigorously) the whipped cream mixture into the cooled melted chocolate. The goal is to maintain the airiness of the whipped cream, ensuring your mousse is light and fluffy. Continue folding until no streaks of white cream remain and the mixture is uniformly chocolate-colored.
- Pour the luscious chocolate mousse mixture into your prepared and chilled cookie crust, spreading it evenly with a spatula.
- Refrigerate the pie for at least 6 hours, or ideally overnight. This extended chilling time is essential for the mousse to set properly, resulting in that perfect, sliceable consistency.
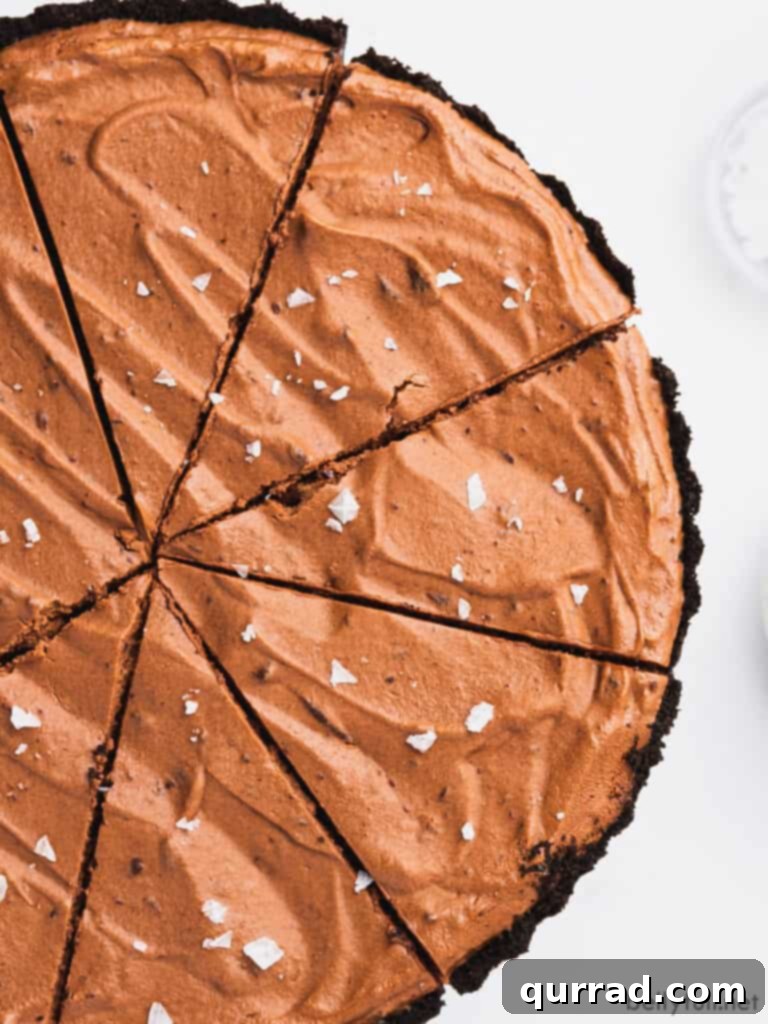
- Once thoroughly chilled, cut the pie into individual slices. For an elevated flavor and delightful crunch, sprinkle each slice with a little flaky sea salt. This step is optional but highly recommended as it truly enhances all the flavors.
- Serve your magnificent pie with a drizzle of caramel sauce for extra indulgence. Alternatively, you can create a small puddle of raspberry sauce beneath each slice for a tart contrast, or simply dollop with fresh whipped cream. All these optional additions are incredibly delicious!
- NOTE: This pie is inherently sweet. If you prefer a less sweet dessert, remove the cream filling from the Oreo cookies before crushing them (you may need to use a few more cookies to make up the volume). Another option is to substitute chocolate graham crackers for the Oreos.
Expert Tips for a Flawless Chocolate Mousse Pie
Achieving the perfect no-bake chocolate mousse pie is within reach with these helpful tips:
- Ensure Chocolate is Fully Melted: When melting your chocolate, take care to melt it completely and smoothly. Any unmelted chocolate pieces can lead to lumps in your mousse, affecting its silky texture. Low and slow in the microwave, stirring often, is key.
- Cool the Melted Chocolate Completely: This is perhaps the most critical tip. After melting, allow your chocolate to cool down to room temperature before you begin to fold in the whipped cream. If the chocolate is even slightly warm, it will cause the delicate whipped cream to melt and turn back into a liquid, preventing your mousse from setting properly once chilled. Patience here is a virtue.
- Fold, Don’t Stir: When combining the whipped cream mixture with the cooled melted chocolate, always use a gentle folding technique, rather than vigorous stirring. Folding helps to maintain the airiness and volume of the whipped cream, which is essential for creating a light, fluffy mousse. Stirring can deflate the cream, resulting in a denser, potentially runny mousse. Use a spatula to gently scoop from the bottom and fold over the top.
- Chill Your Bowl and Whisk: For even better results when whipping cream, place your mixing bowl and whisk (or electric mixer attachments) in the freezer for 10-15 minutes before you begin. The colder the equipment, the faster and firmer your heavy cream will whip, leading to a more stable mousse.
- Don’t Rush the Chill Time: Resist the temptation to cut into your pie too early. The minimum 6-hour chilling period (and ideally overnight) is crucial for the mousse to firm up and for all the flavors to meld beautifully. A properly chilled pie will slice cleanly and hold its shape.
- Use a Springform Pan for Easy Serving: While a standard pie plate works perfectly, a 9-inch springform pan can make serving even easier, especially if you want to showcase the pie’s sides. Simply release the sides of the pan before slicing.
- Clean Slices: For perfectly clean slices, dip your knife in hot water and wipe it clean between each cut. This helps prevent the mousse from sticking and creates a neat presentation.
Storing Leftovers and Making Ahead
One of the many advantages of this delectable chocolate mousse pie is its excellent make-ahead potential and storage capabilities. If you’re fortunate enough to have any slices leftover (a rare occurrence with this crowd-pleaser!), proper storage will keep it delicious for another day.
Refrigeration: Simply store any leftover pie in the refrigerator, ensuring it is tightly covered with plastic wrap or in an airtight container. This will help maintain its freshness and prevent it from absorbing any odors from other foods. The pie will keep well for up to 2 days in the fridge. Over time, the mousse filling may gradually loosen its texture slightly, but it will still be incredibly delicious.
Freezing: For longer storage, this pie freezes beautifully. To freeze, wrap the entire pie (or individual slices) tightly first in plastic wrap, then again in aluminum foil. Place it in the freezer, where it can be stored for up to 2 months. When you’re ready to enjoy a slice, simply thaw the frozen pie overnight in the refrigerator. Before serving, refresh any toppings like caramel sauce or whipped cream, as these are best added fresh.
Making Ahead: This pie is an ideal dessert to prepare in advance for parties or special gatherings. You can assemble the entire pie one to two days before your event and keep it thoroughly chilled in the refrigerator. This allows the flavors to fully develop and the mousse to achieve its optimal texture, leaving you with less to do on the day of your celebration.
Frequently Asked Questions (FAQs)
Q: Can I use a pre-made pie crust?
A: Absolutely! While the homemade Oreo crust is highly recommended for its flavor and texture, a store-bought chocolate cookie crust will work just as well and save you a step. Ensure it’s a 9-inch crust.
Q: Is this pie gluten-free?
A: As written, the recipe is not gluten-free due to the Oreo cookies. However, you can easily make it gluten-free by substituting gluten-free chocolate sandwich cookies or gluten-free graham crackers for the crust. Ensure all other ingredients are certified gluten-free.
Q: Can I use milk chocolate chips?
A: Yes, you can! Using milk chocolate chips will result in a sweeter, milder chocolate flavor. If you prefer a richer, less sweet pie, stick with semi-sweet or dark chocolate. A combination of milk and semi-sweet chocolate can also be a delicious compromise.
Q: How do I prevent my whipped cream from deflating?
A: The key is to start with very cold heavy whipping cream and a cold bowl/whisk. Whip the cream to stiff peaks, but be careful not to overbeat, as it can turn grainy. Most importantly, ensure your melted chocolate is completely cooled before gently folding it into the whipped cream.
Q: What if my mousse doesn’t set?
A: The most common reason for a mousse not setting is warm melted chocolate or over-stirring the whipped cream, causing it to deflate. Ensure the chocolate is fully cooled and use a gentle folding motion. Also, allow sufficient chilling time; it truly needs at least 6 hours, preferably overnight, in the refrigerator.
Q: Can I add alcohol to the mousse?
A: Yes, for an adult twist, you can add a tablespoon or two of a liqueur like Kahlua, Grand Marnier, or a raspberry liqueur to the cooled melted chocolate before folding in the whipped cream. This will add another layer of sophisticated flavor.
More Irresistible Pie Recipes to Try:
- Easy Chocolate Pie (a beloved classic, always a hit)
- No-Bake Key Lime Pie (tangy, refreshing, and incredibly simple)
- French Coconut Pie (the easiest pie you’ll ever make, packed with flavor)
- Award-Winning Peach Pie (a seasonal delight bursting with fresh fruit)
- No-Bake Jello Pie (a fun, retro, and super simple dessert)
We hope you adore this incredibly delicious and easy Chocolate Mousse Pie recipe! We’d love for you to try it and share your experience by leaving a review below. Don’t forget to connect with us and discover more amazing recipes by following Belly Full on Facebook, Instagram, Pinterest, and YouTube!