
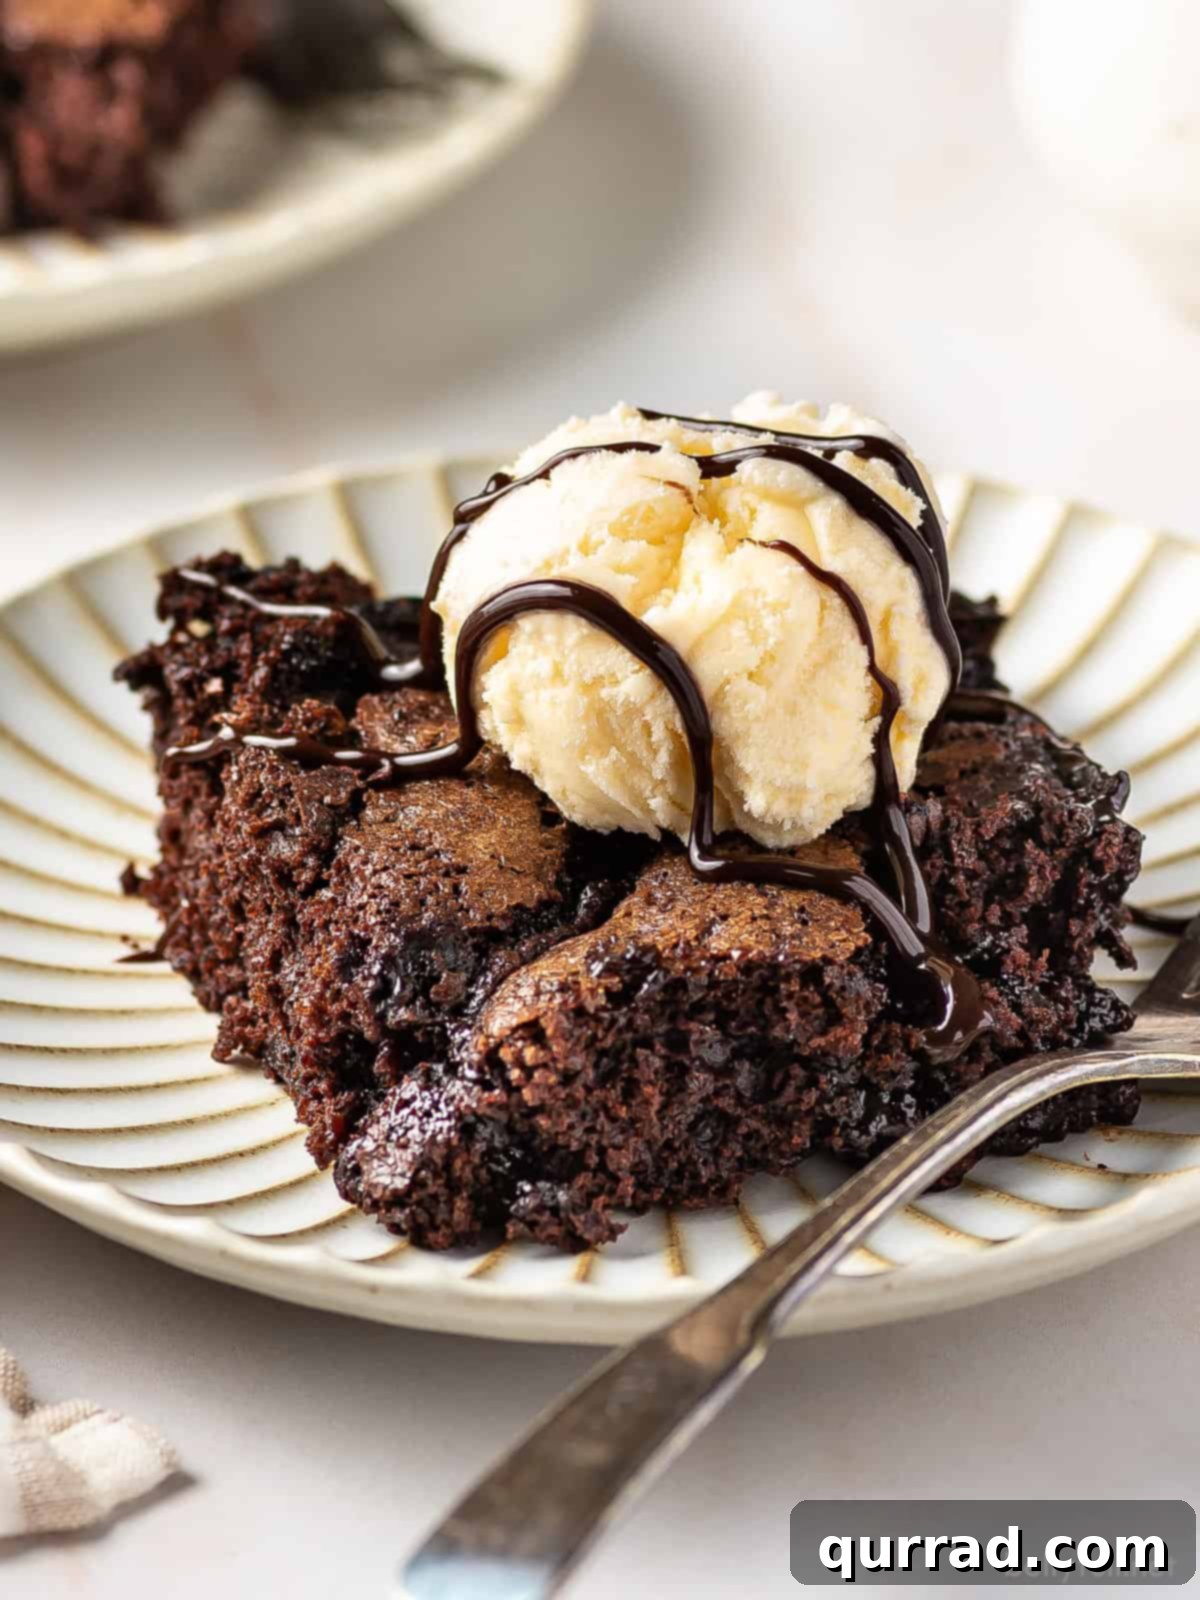
Forget the fuss of complicated desserts! This incredible Chocolate Cobbler offers all the decadence of a molten lava cake but with a fraction of the effort. Crafted from everyday pantry staples, this dessert boasts a rich, gooey chocolate base topped with a light, cake-like crust. It’s an irresistible treat, transforming into a luxurious fudge sauce as it bakes, making it the ultimate comfort food for any chocolate enthusiast. Serve it warm with a generous scoop of vanilla bean ice cream for an unforgettable dessert experience.
If you love the simplicity and warmth of a homemade cobbler, be sure to explore our other delightful recipes like the comforting Apple Cobbler and the bright, fruity Blueberry Cobbler.
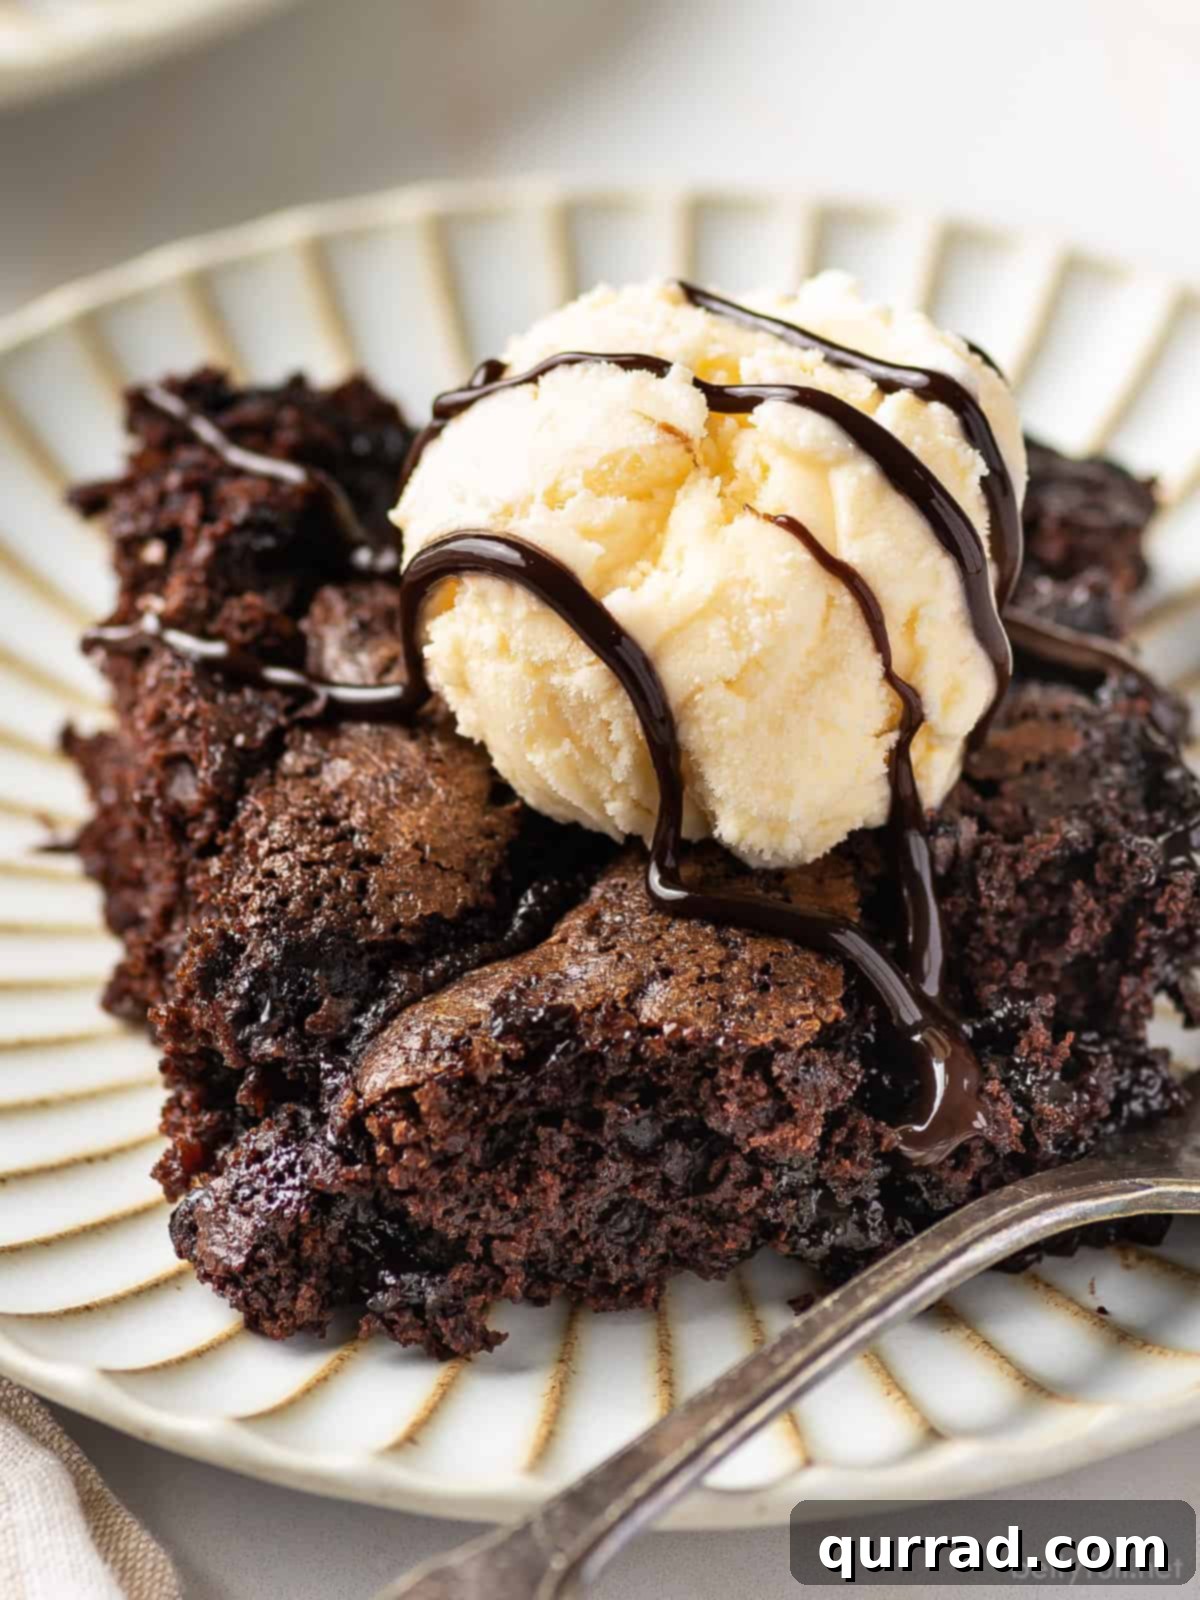
Indulge in the Ultimate Easy Chocolate Cobbler: A Decadent Dessert Revelation
Prepare yourselves, chocolate aficionados! This isn’t just another dessert; it’s a profound declaration of love for cocoa, delivered in the simplest, most satisfying form. Our Easy Chocolate Cobbler recipe brings together a harmonious blend of textures and intense chocolate flavor that rivals gourmet bakery creations. It’s rich, profoundly decadent, and astonishingly simple to prepare, making it a perfect last-minute indulgence or a show-stopping finish to any meal.
Unlike traditional fruit cobblers, which feature a fruit filling beneath a biscuit or cake topping, this chocolate cobbler shares its soul with a chocolate lava cake. It starts with a humble, yet perfectly tender, cake-like batter that’s crowned with a magical mixture of sugar and unsweetened cocoa powder. The genius lies in the addition of hot water poured over this topping before baking. As it cooks, the water transforms the sugar and cocoa into a luscious, molten chocolate sauce that settles beneath the rising cake layer. The result? A warm, gooey, fudge-like bottom with a delicate cake top – pure chocolate bliss in every spoonful. When served fresh from the oven, ideally with a dollop of vanilla ice cream, it becomes an utterly irresistible dessert that will satisfy even the most intense chocolate cravings.
Unlocking the Magic: Essential Ingredients for Your Chocolate Cobbler
One of the many charms of this chocolate cobbler is its reliance on everyday baking essentials. You won’t need to hunt for exotic ingredients; just simple, high-quality staples are all it takes to create this deeply satisfying dessert. The key to its intense flavor lies in the generous use of good quality unsweetened cocoa powder, which provides a deep, authentic chocolate taste without excessive sweetness. Below, we break down the components for both the tender cake batter and the transformative fudge topping, along with tips for best results.
For the Cake Batter: The Foundation of Flavor
- All-purpose flour: The structural backbone of our cobbler. Always measure flour using the spoon and level method (lightly spoon flour into your measuring cup, then level off with a straight edge) to prevent a dense cake from too much flour.
- Baking powder: This leavening agent is crucial for giving the cake layer its light and fluffy texture, ensuring it rises beautifully above the molten chocolate.
- Salt: A pinch of salt is vital for balancing the sweetness and enhancing the deep chocolate notes, bringing out the best in all the other ingredients.
- Granulated sugar: Provides the perfect level of sweetness to the cake layer, complementing the rich cocoa.
- Unsweetened cocoa powder: The star of the show for the batter! Use a good quality unsweetened cocoa powder for the best, most authentic chocolate flavor. This is what truly makes it a chocolate cobbler.
- Whole milk: Contributes to a tender crumb and adds moisture to the batter, resulting in a soft, delectable cake.
- Unsalted butter: Melted butter adds richness and a delightful buttery flavor. Using unsalted butter allows you to control the total salt content in the recipe.
- Vanilla extract: A classic flavor enhancer in chocolate desserts, vanilla extract deepens the overall aroma and taste profile.
For the Luscious Topping: The Molten Heart
- Brown sugar and Granulated sugar: A combination of both sugars creates a complex sweetness and contributes to the perfect texture of the fudgy sauce. Brown sugar adds a hint of caramel and extra moisture.
- Unsweetened cocoa powder: Just like in the batter, high-quality unsweetened cocoa powder is essential here. When combined with the hot water and sugars, it transforms into that irresistible molten chocolate sauce. Ensure it’s unsweetened to avoid an overly sweet result.
- Hot water: This simple ingredient is the magic catalyst! Poured over the sugar and cocoa mixture, it slowly seeps through during baking, creating the distinct rich, gooey chocolate sauce layer at the bottom. It should be very hot, almost at a boil, to initiate this transformation effectively.
Creative Recipe Variations to Elevate Your Chocolate Cobbler
While this Chocolate Cobbler is utterly perfect as is, it also serves as a fantastic canvas for creative customization. Whether you crave an even deeper chocolate experience, a hint of coffee, or a playful addition of fruit, these variations will help you tailor this dessert to your exact preferences. Experiment and make this recipe truly your own!
- Intensify the Chocolate Flavor: For a chocolate experience that truly sings, incorporate 1 teaspoon of espresso powder into your batter mixture along with the dry ingredients. Don’t worry, this won’t make your cobbler taste like coffee; instead, it acts as a secret weapon, greatly deepening and enriching the natural chocolate notes, making them more pronounced and luxurious.
- Innovative Liquid Swaps for the Topping: The hot water is crucial for the molten sauce, but you can play with flavor here! Instead of plain hot water, consider pouring hot cocoa over the flour mixture for an extra layer of chocolate richness. If you’re a coffee lover, try using half hot water and half freshly brewed hot coffee. The coffee will enhance the chocolate without overpowering it, similar to espresso powder.
- Add a Fruity Twist with Cherries: For a delightful pop of color and a classic flavor pairing, stir a handful of chopped maraschino cherries or pitted fresh/frozen cherries (toss frozen cherries in a bit of flour before adding) into the batter. This addition not only looks appealing, reminiscent of a chocolate sundae, but also introduces a lovely fruity tartness that cuts through the richness of the chocolate.
- Nutty Crunch: Sprinkle a quarter cup of chopped pecans or walnuts over the batter before adding the topping mixture for an added textural dimension and nutty flavor.
- Spice It Up: For an exotic twist, add a pinch of cinnamon or a tiny dash of cayenne pepper to the dry ingredients for a Mexican hot chocolate inspired cobbler.
Step-by-Step Guide: Crafting Your Decadent Chocolate Cobbler
This easy chocolate dessert is remarkably simple to bring together, requiring just a few straightforward steps. The most challenging part, truly, is the patient wait as it cools slightly before you dive into its molten, chocolatey depths! Follow these instructions carefully, and you’ll be rewarded with a spectacular treat.
- Prepare Your Baking Dish: Begin by preheating your oven to 350 degrees F (175 degrees C). Take an 8×8-inch square baking dish with adequately high sides and thoroughly coat it with nonstick cooking spray. This crucial step prevents sticking and makes serving much easier. For extra peace of mind and to catch any potential chocolate bubbles that might overflow (it can happen!), place your prepared baking dish on a rimmed baking sheet before it goes into the oven.
- Whip Up the Batter: In a medium-sized mixing bowl, combine all the dry ingredients for the batter: all-purpose flour (remember to spoon and level!), baking powder, salt, granulated sugar, and unsweetened cocoa powder. Whisk them together thoroughly until well combined. Next, pour in the wet ingredients: whole milk, melted unsalted butter, and vanilla extract. Stir everything together until a smooth, thick batter forms. Avoid overmixing; just mix until combined.
- Spread the Batter: Using a spatula, carefully spread the thick chocolate batter evenly into the bottom of your prepared baking dish. Aim for a consistent layer across the entire base of the pan.
- Create the Magical Topping: In a separate small bowl, combine the brown sugar, granulated sugar, and the remaining unsweetened cocoa powder. Mix these together until they form a uniform blend. Generously sprinkle this entire sugar and cocoa mixture evenly over the chocolate batter in the baking dish. It will seem like a lot, but trust the process – use all of it! Crucially, do NOT stir the sugar mixture into the batter after this step. This layering is essential for the cobbler’s unique structure.
- Add the Hot Water (Carefully!): Slowly and gently pour the very hot water (it should be almost boiling) over the entire surface of the sugar-cocoa topping. Take care not to disturb the layers underneath. The hot water will begin the process of creating the molten fudge layer. Again, do NOT stir after adding the water.
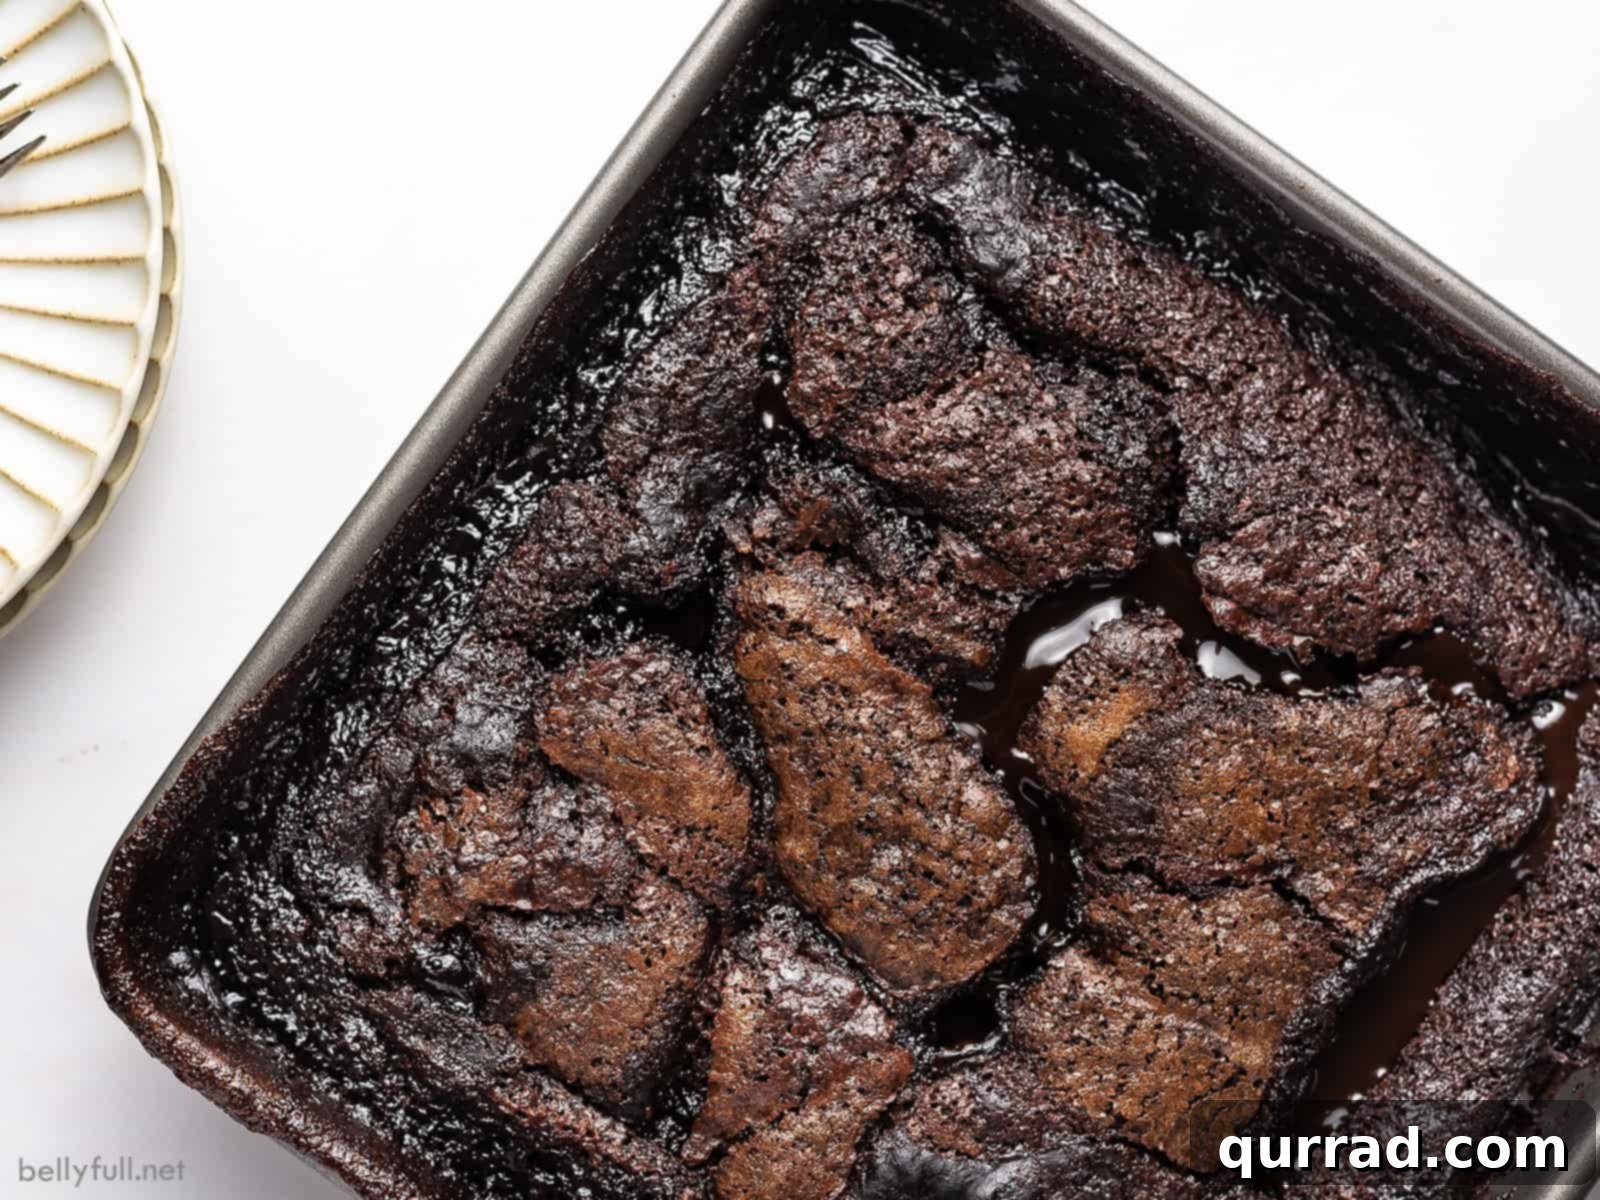
- Bake to Perfection: Carefully transfer the baking dish (still on the rimmed baking sheet) to your preheated oven. Bake for approximately 40 minutes. The cobbler is ready when the top cake layer appears mostly set, but the middle will still have a slight, delicate wiggle when gently shaken. This wiggle is a good sign that the rich, fudgy bottom is perfectly molten. The cake will rise beautifully to the top, leaving the hot fudge sauce to form underneath.
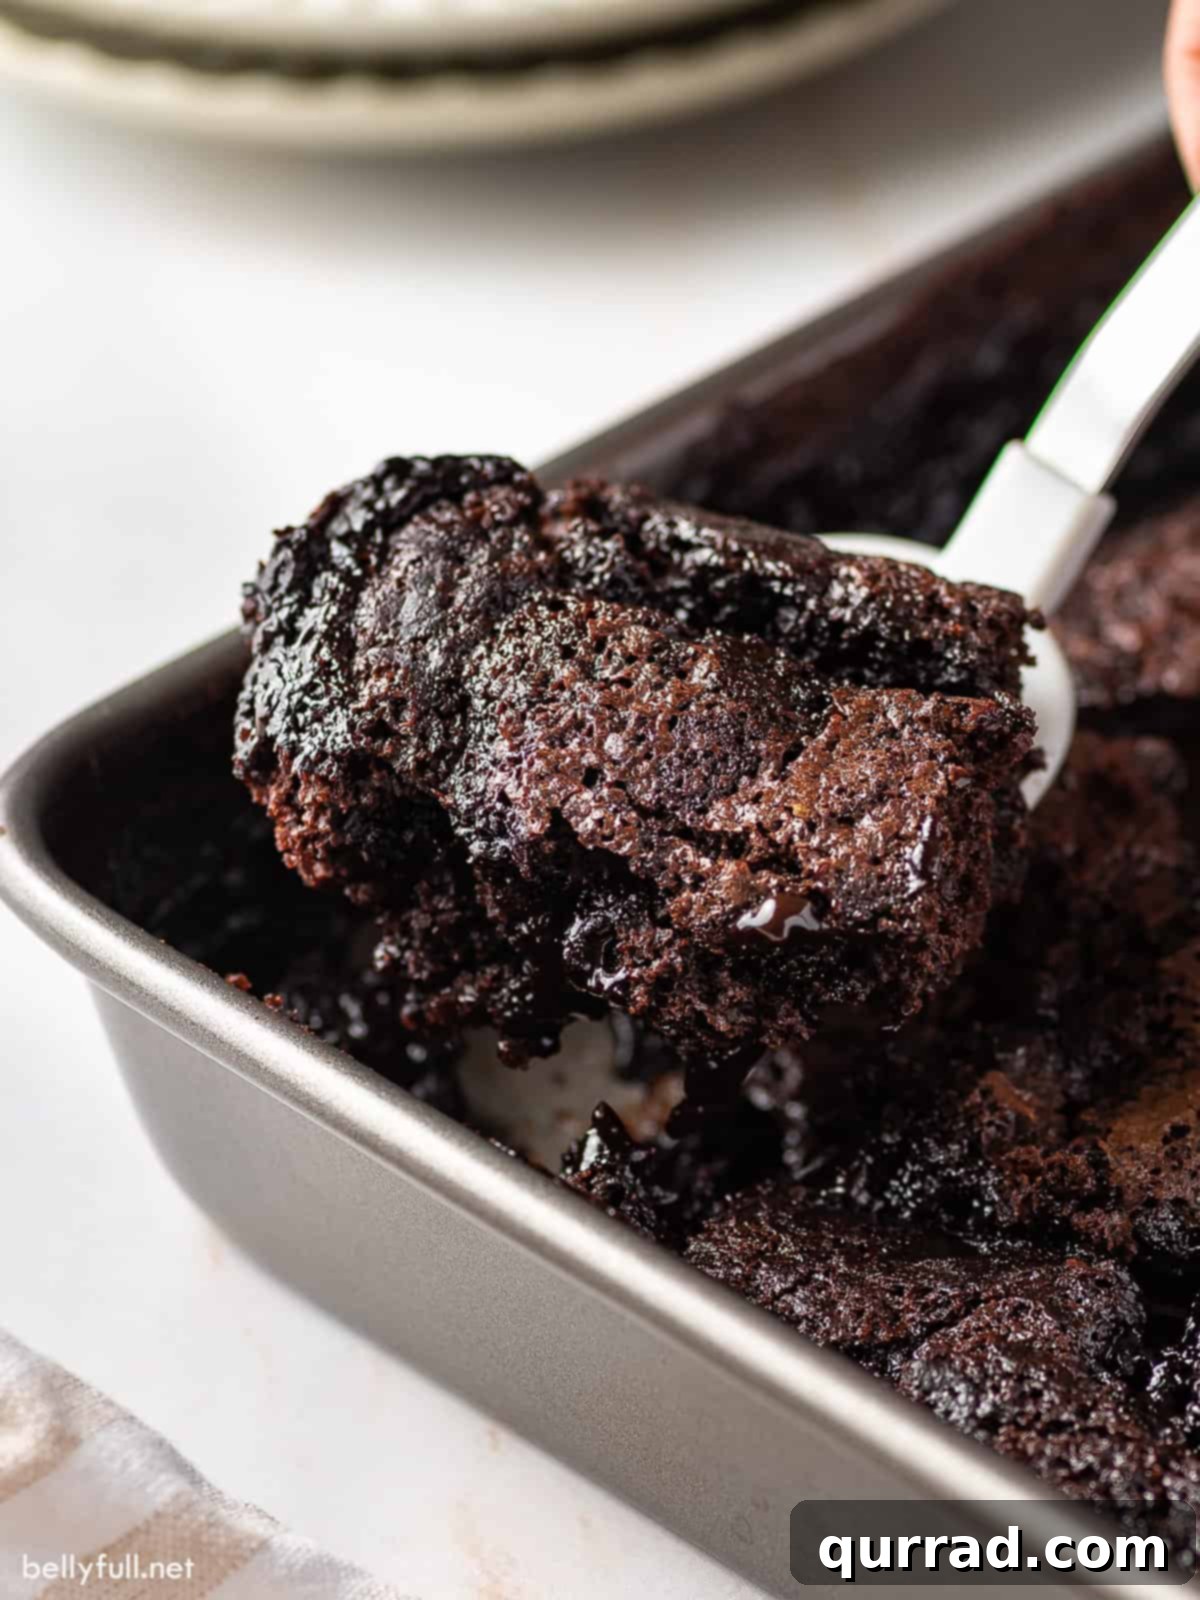
- The Essential Rest: Once baked, remove the dish from the oven. This next step is vital and often tempting to skip, but don’t! Let the cobbler rest undisturbed for 15 to 20 minutes before serving. This resting period allows the molten chocolate sauce at the bottom to cool slightly and thicken to its ideal gooey, fudgy consistency. If you dig in too soon, the sauce will be too watery.
- Serve and Enjoy: Once rested, scoop warm portions into individual bowls. Be sure to spoon some of that luscious chocolate sauce from the bottom of the pan over the top of each serving. It’s absolutely divine served with a scoop of creamy vanilla ice cream, or your favorite topping!
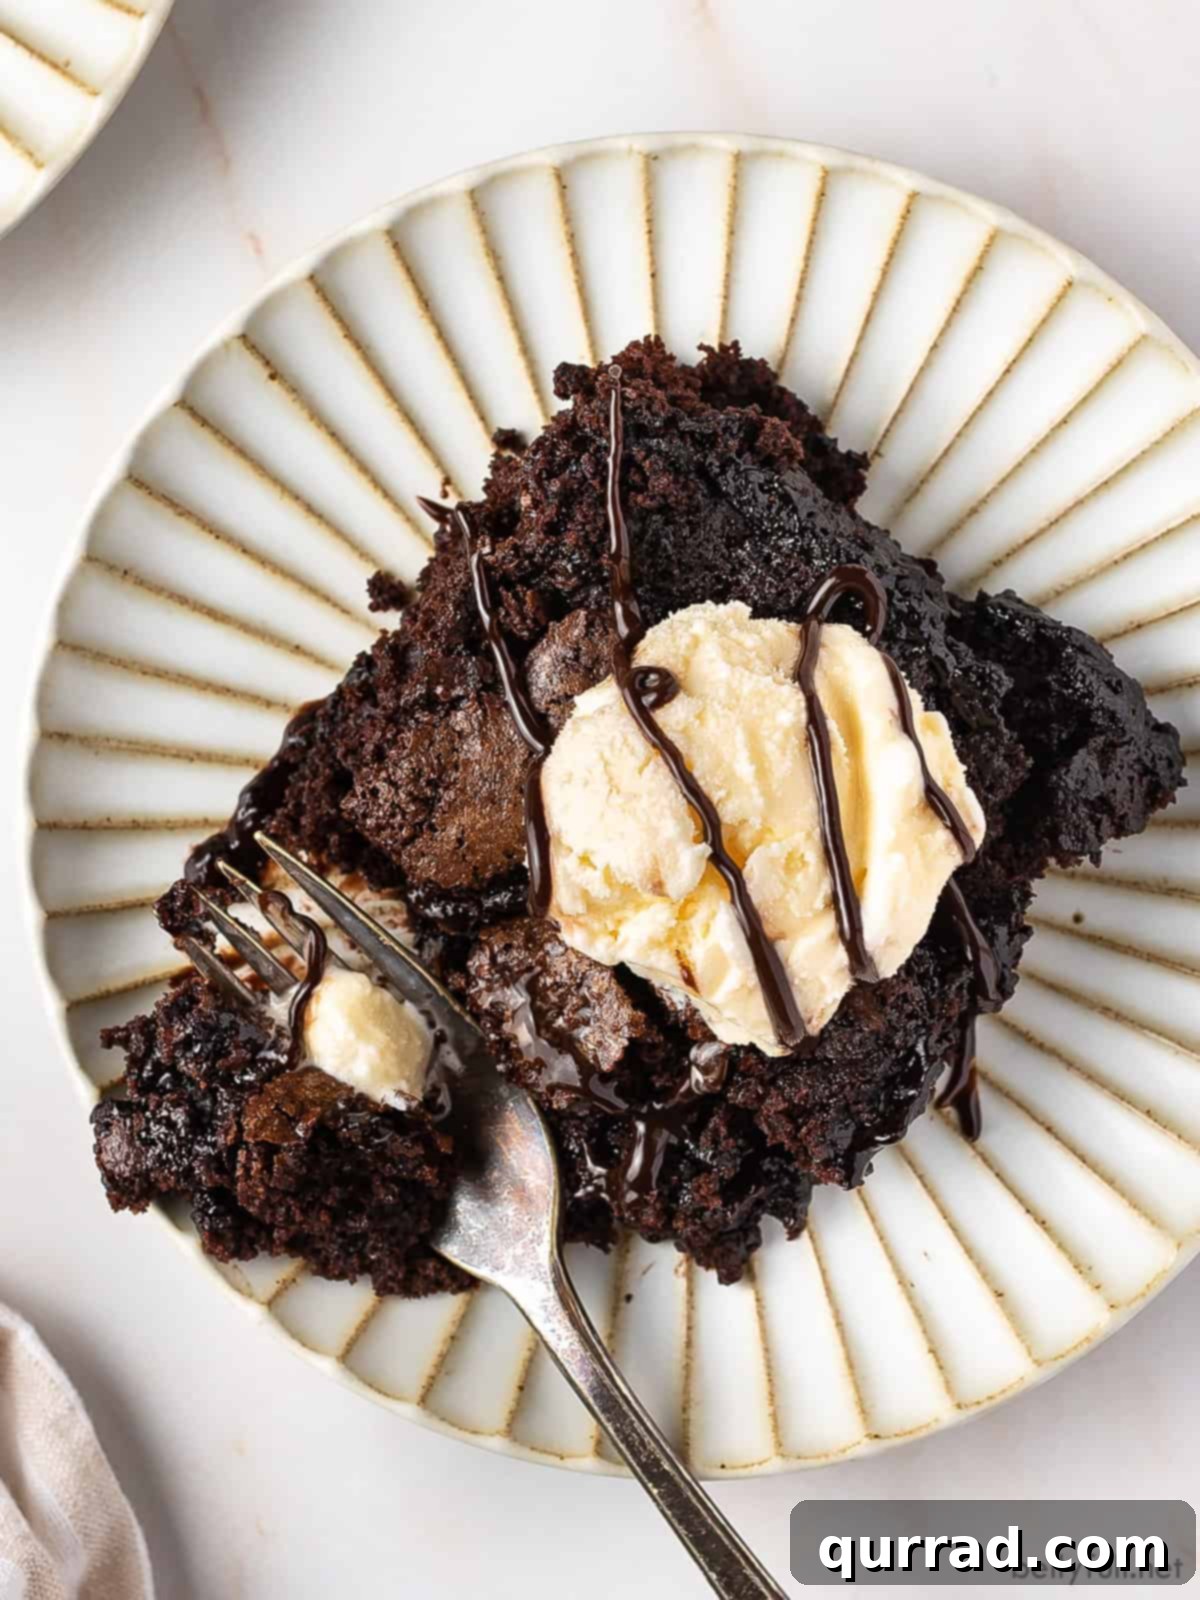
Expert Tips for Chocolate Cobbler Success
Achieving a perfectly baked, gloriously gooey chocolate cobbler is simple when you keep a few key pointers in mind. These tips will help ensure your dessert turns out flawless every single time, from the tender cake top to the rich, molten fudge bottom.
- Opt for Full-Fat Ingredients: For the best results and the most luscious texture, always use full-fat whole milk and unsalted butter. Reduced-fat alternatives can sometimes lead to an undesirable separation of ingredients and an oily texture in the chocolate sauce, compromising the richness and consistency of your cobbler.
- Resist the Urge to Stir the Layers: This is perhaps the most critical rule for chocolate cobbler. Once you have spread the batter, sprinkled the sugar-cocoa mixture, and carefully poured the hot water, do not stir any of the layers together. The magic of this dessert lies in its distinct layers transforming independently during baking to create the molten chocolate layer at the bottom and the cakey top. Stirring will prevent this beautiful separation and result in a uniform, dense cake instead of a gooey cobbler.
- Always Use a Rimmed Baking Sheet: It’s not uncommon for the chocolate sauce to bubble up and potentially over the edges of the baking dish as it bakes. To save yourself from a messy oven cleanup, always place your baking dish on a rimmed baking sheet before putting it into the oven. This simple step acts as a safety net.
- Avoid Over-baking: An over-baked chocolate cobbler will lose its signature gooey bottom. When the cobbler is done, the top cake layer will look set and fluffy, but the molten chocolate sauce underneath will still be quite fluid and have a slight jiggle. It should not be completely firm. Err on the side of slightly under-baked for a more molten center.
- Embrace the Resting Period: Just like a good steak needs to rest, so does your chocolate cobbler. Once removed from the oven, allow it to sit for at least 15-20 minutes. This resting time is essential for the molten chocolate sauce at the bottom to cool slightly and thicken into that rich, fudgy consistency we all crave. Skipping this step will result in a runny, watery sauce.
- Measure Ingredients Accurately: Baking is a science, and precise measurements are key. Especially for flour (spoon and level) and cocoa powder, using proper measuring techniques will ensure the right balance of texture and flavor.
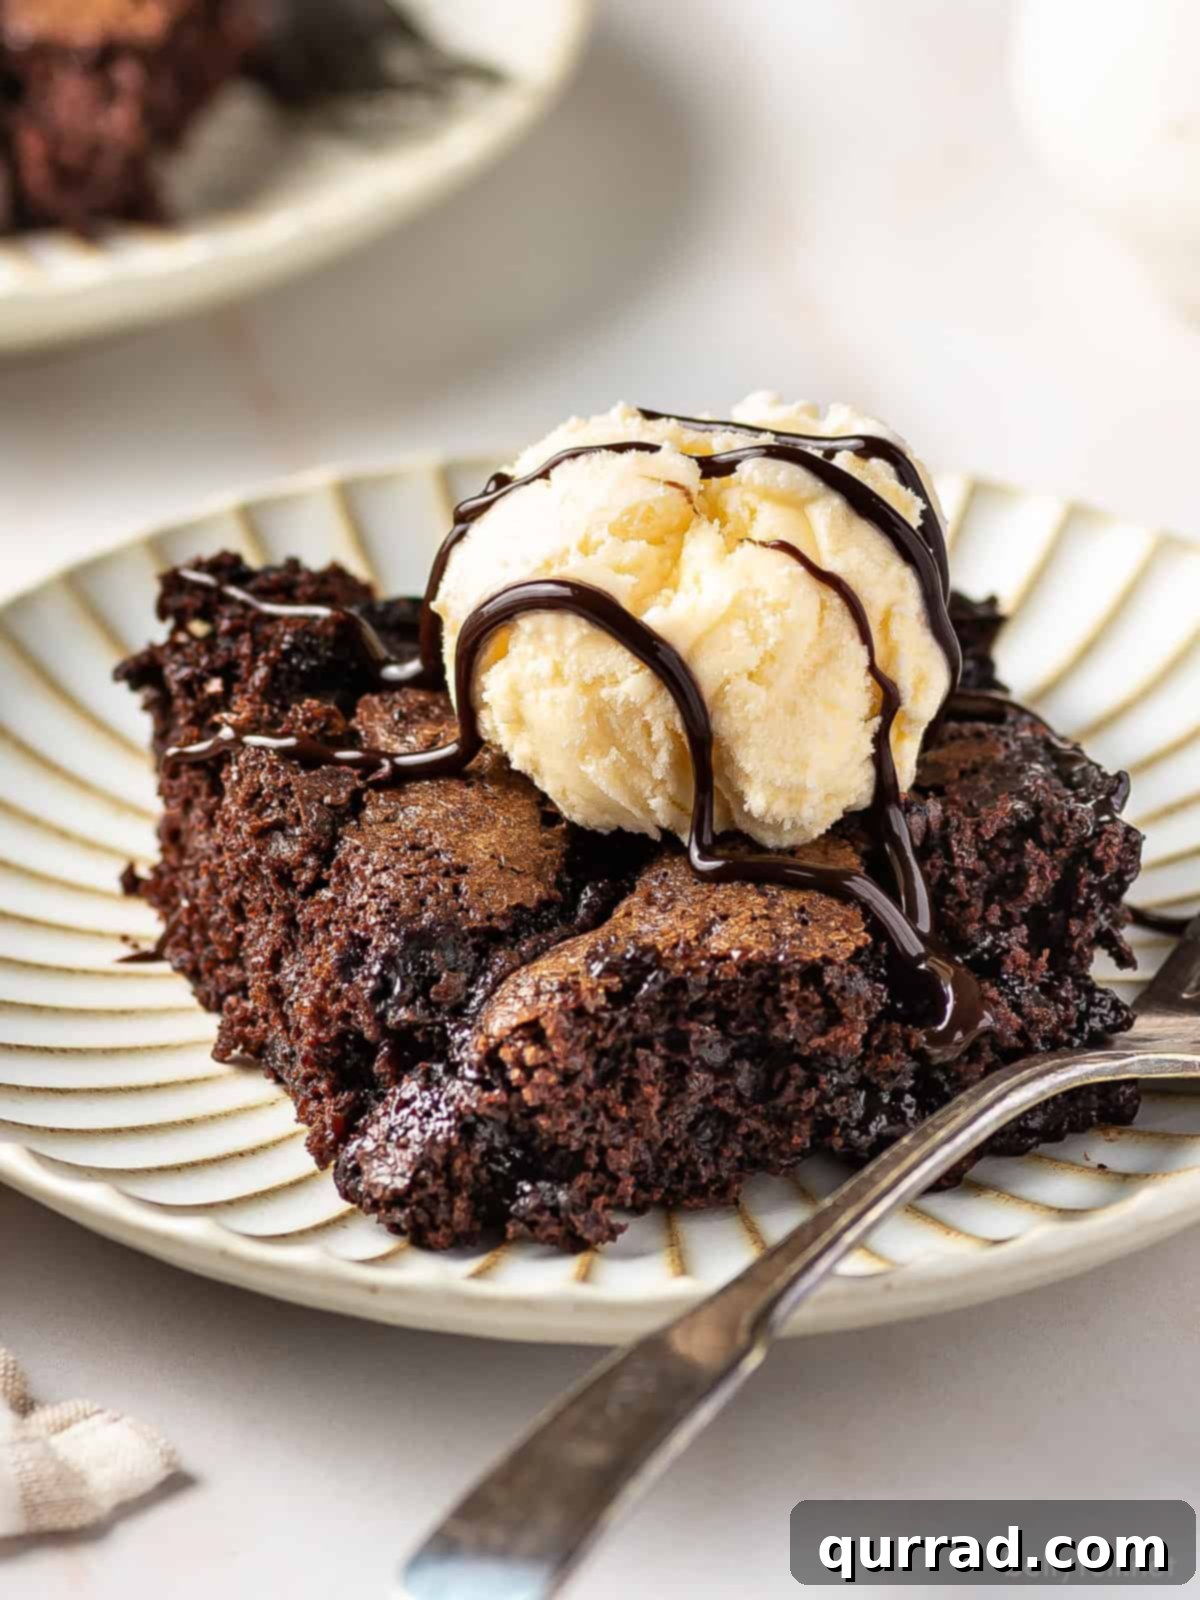
Serving Suggestions for Your Decadent Chocolate Cobbler
The true magic of this chocolate cobbler shines brightest when served warm, directly from the oven. The contrast between the warm, gooey chocolate sauce and a cool accompaniment is simply heavenly. Prepare to be delighted by its rich, molten perfection!
When serving this delightful dessert, I always recommend spooning a generous amount of the luscious chocolate sauce from the bottom of the pan directly over each portion. It’s part of the authentic cobbler experience! Our favorite way to enjoy it is with a creamy scoop of vanilla ice cream – the perfect cool counterpoint to the warm chocolate. If you’re feeling extra indulgent, chocolate ice cream can double down on the cocoa goodness, or a cloud of homemade whipped cream adds a light, airy touch. For a classic sundae appeal, don’t forget a bright red maraschino cherry or two on top, or even some fresh berries for a burst of freshness.
Storing and Reheating Your Chocolate Cobbler
While this chocolate cobbler is best enjoyed fresh and warm, leftovers are still a delightful treat! Proper storage will ensure you can savor its goodness for a few days.
Storage: Any leftover chocolate cobbler can be stored in the refrigerator for up to 3 days. You have two options: either tightly cover the entire baking dish with plastic wrap or aluminum foil, or transfer individual portions to an airtight container. Keeping it well-sealed will prevent it from drying out and absorbing other odors from the fridge.
Reheating: To bring your leftover cobbler back to its warm, gooey glory, I highly recommend reheating it. Individual portions can be popped into the microwave for about 30 seconds to 1 minute, or until warmed through and the chocolate sauce is once again molten. For a larger portion or the entire dish, you can gently warm it in an oven preheated to 300°F (150°C) for 10-15 minutes, or until heated through. Be careful not to overheat, as this can dry out the cake layer.
Frequently Asked Questions About Chocolate Cobbler
Curious about this delightful dessert? Here are some common questions and helpful answers to ensure your chocolate cobbler experience is a resounding success.
- Can I make chocolate cobbler ahead of time? While it’s best served warm and fresh, you can assemble the cobbler (without pouring the hot water) a few hours in advance and keep it covered in the refrigerator. Add the hot water just before baking. This helps streamline prep time for gatherings.
- What kind of cocoa powder should I use? For a classic rich chocolate flavor, unsweetened natural cocoa powder (like Hershey’s or Ghirardelli) is perfect. If you prefer a darker, less bitter chocolate, you could use Dutch-processed cocoa powder, but be aware it might slightly alter the leavening as it’s less acidic. Consistency is key!
- My cobbler didn’t form a distinct sauce layer. What happened? The most common reasons are stirring the layers after adding the sugar-cocoa topping or hot water, or not using hot enough water. Remember, resist the urge to stir! The hot water is crucial for activating the sugar and cocoa into a sauce during baking.
- Can I use a different size baking dish? An 8×8-inch square dish is recommended for this recipe. If you use a larger dish, the layers will be thinner, and baking time may need to be reduced. A smaller dish might lead to overflow, so if using a different size, ensure it has high sides and adjust baking time accordingly.
- Is chocolate cobbler freezer-friendly? While you can freeze baked chocolate cobbler (tightly wrapped for up to 1-2 months), the texture, especially the gooey sauce, might become slightly grainy upon thawing and reheating. It’s truly best enjoyed fresh or from the fridge.
- What if I don’t have whole milk? You can use 2% milk, but whole milk provides a richer texture and flavor to the cake base. Avoid skim milk if possible, as it can make the cake less tender.
Explore More Irresistible Chocolate Recipes:
If this Chocolate Cobbler has ignited your passion for all things cocoa, you’ll love these other fantastic chocolate-filled recipes:
- Chocolate Crinkle Cookies
- Chocolate Sugar Cookies
- Flourless Chocolate Cookies
- Easy Chocolate Pie
- Homemade Chocolate Frosting
- Homemade Chocolate Sauce
- Chocolate Pound Cake
- Chocolate Mayonnaise Cake
Chocolate Cobbler Recipe Card
This section provides the concise, printable version of our decadent chocolate cobbler recipe. Get ready to bake a truly unforgettable dessert!
Chocolate Cobbler
Prep Time: 5 mins
Cook Time: 40 mins
Total Time: 45 mins
Servings: 8 servings
Ingredients for the Batter:
- 1 cup all-purpose flour, spooned and leveled
- 2 teaspoons baking powder
- 1/2 teaspoon salt
- 1/2 cup granulated sugar
- 2 tablespoons unsweetened cocoa powder
- 1/2 cup whole milk
- 1/4 cup unsalted butter, melted
- 1 teaspoon vanilla extract
Ingredients for the Topping:
- 3/4 cup packed brown sugar
- 1/4 cup granulated sugar
- 1/4 cup unsweetened cocoa powder
- 1 1/2 cups very hot water (almost to a boil but not quite)
For Serving:
- Vanilla ice cream (or chocolate ice cream, whipped cream, or fresh berries)
Instructions:
- Preheat your oven to 350°F (175°C). Lightly grease an 8×8-inch square baking dish with nonstick cooking spray. Place the dish on a rimmed baking sheet to catch any potential overflow.
- Make the batter: In a medium mixing bowl, whisk together the flour, baking powder, salt, granulated sugar, and 2 tablespoons of cocoa powder. Stir in the milk, melted butter, and vanilla extract until the mixture is just combined and smooth. The batter will be thick.
- Evenly spread the chocolate batter into the prepared baking dish using a spatula.
- Make the topping: In a separate small bowl, combine the brown sugar, 1/4 cup granulated sugar, and 1/4 cup cocoa powder. Sprinkle this entire mixture evenly over the batter in the baking dish. Do NOT stir.
- Slowly and carefully pour the very hot water over the entire topping layer. Try not to disturb the sugar layer underneath. Again, do NOT stir.
- Transfer the baking dish (on its rimmed baking sheet) to the preheated oven. Bake for approximately 40 minutes, or until the top cake layer is mostly set with a slight wiggle in the center. The cake will rise, and the hot fudge sauce will form beautifully underneath.
- Remove the cobbler from the oven and let it rest for about 15-20 minutes. This resting period is crucial for the molten chocolate sauce to cool and thicken to its perfect gooey consistency.
- Serve warm portions in bowls, spooning extra chocolate sauce from the bottom of the pan over the top. Enjoy with a scoop of vanilla ice cream or your favorite accompaniment!
Notes:
- Intensify the chocolate flavor: For an even richer chocolate taste, add 1 teaspoon of espresso powder to the batter mixture along with the dry ingredients. It won’t make it taste like coffee, but it will deepen the chocolate notes significantly.
- Switch out the water: Instead of plain hot water, try pouring hot cocoa for extra chocolate flavor, or use half hot water and half hot brewed coffee for a subtle coffee undertone.
- Add cherries: Stir a few chopped maraschino cherries into the batter for a fun, colorful addition and a classic chocolate-cherry flavor.
Nutrition Information (per serving):
Calories: 279 kcal | Carbohydrates: 54g | Protein: 3g | Fat: 7g | Saturated Fat: 4g | Polyunsaturated Fat: 1g | Monounsaturated Fat: 2g | Trans Fat: 1g | Cholesterol: 17mg | Sodium: 15mg | Potassium: 231mg | Fiber: 2g | Sugar: 40g | Vitamin A: 202IU | Calcium: 89mg | Iron: 2mg
Nutritional information provided is an estimated calculation and can vary based on the exact products and brands used, as well as any changes made to the recipe. If precise nutritional values are important to you, it is recommended to calculate them independently.
We hope you adore this deliciously simple recipe! Don’t forget to connect with Belly Full on TikTok, Facebook, Instagram, Pinterest, and YouTube for more delightful recipes and inspiration!