
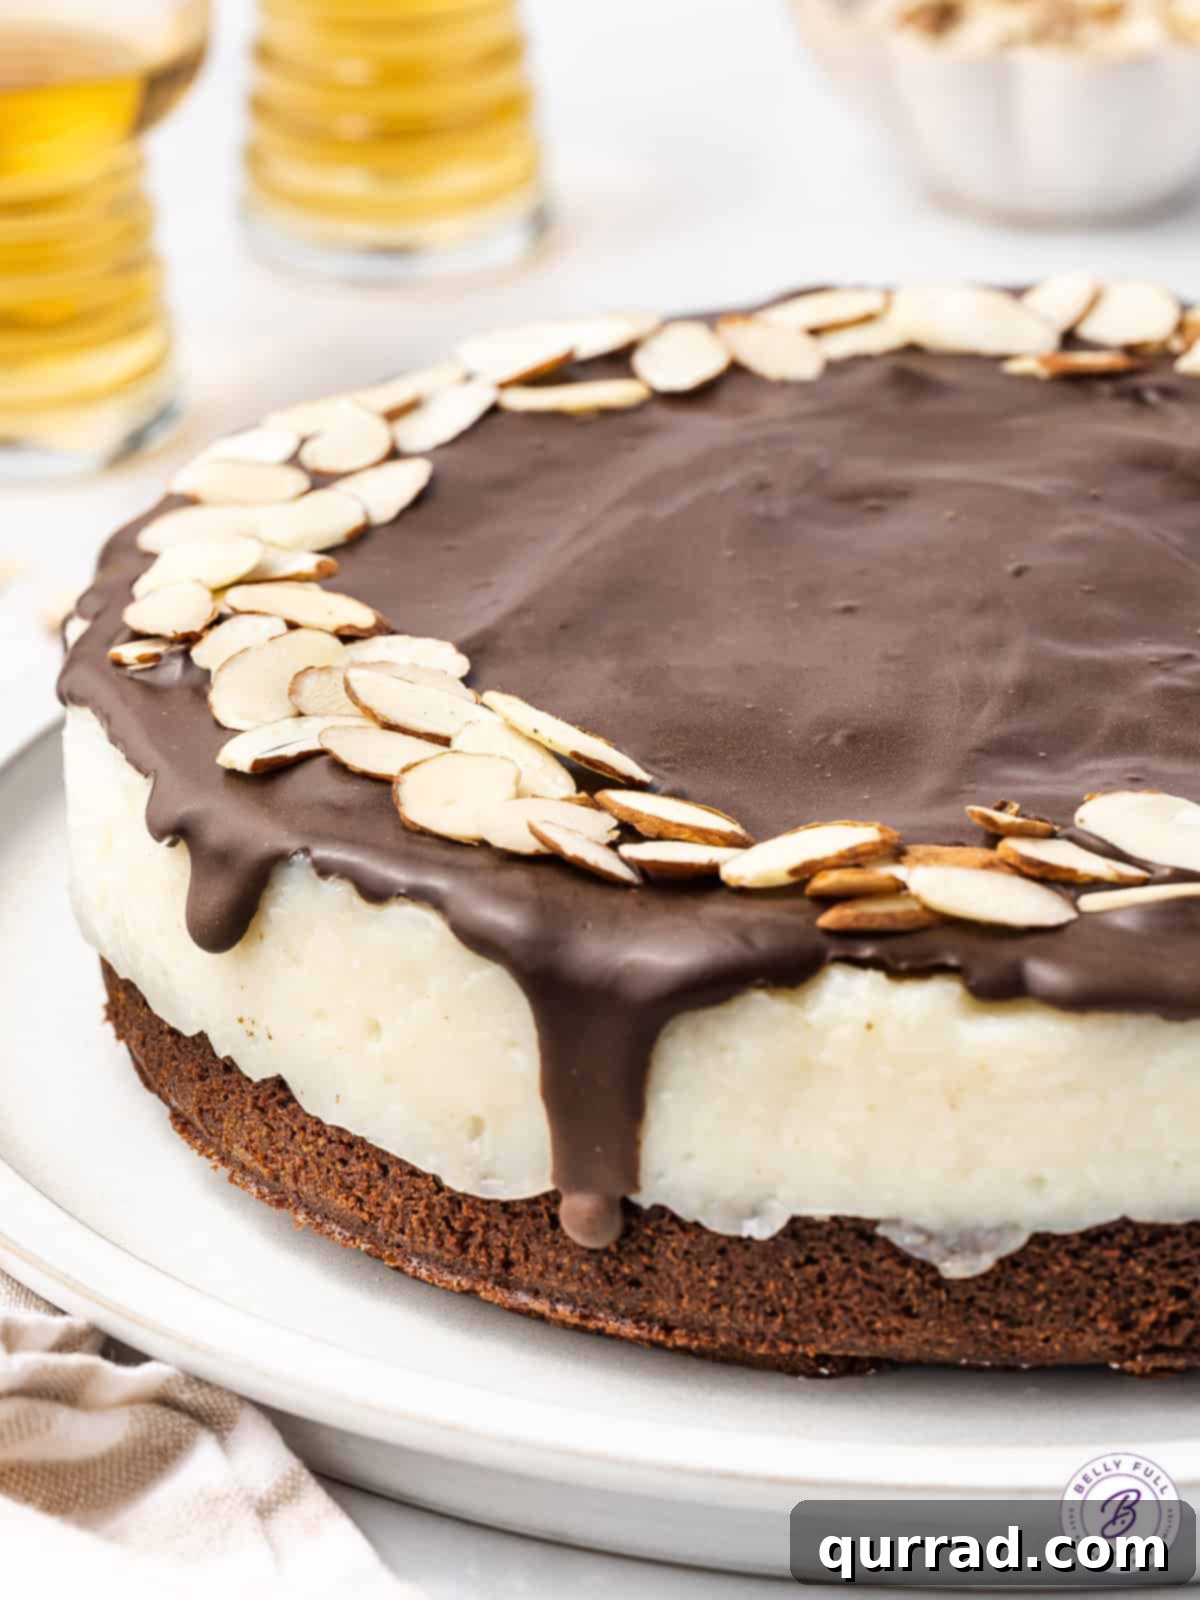
Prepare to be captivated by the sheer indulgence of this **Almond Joy Cake**! If you’re a devoted fan of the iconic Almond Joy candy bar, you’re in for a truly special treat. This recipe takes all those beloved classic flavors – rich chocolate, sweet coconut, and crunchy almonds – and transforms them into an absolutely irresistible dessert. Imagine a moist, fudgy brownie base, generously topped with a creamy, dreamy coconut filling, all enrobed in a luscious dark chocolate topping and adorned with toasted almonds. It’s a show-stopping dessert that promises decadence in every single bite, surprisingly simple to prepare, making it perfect for any occasion.
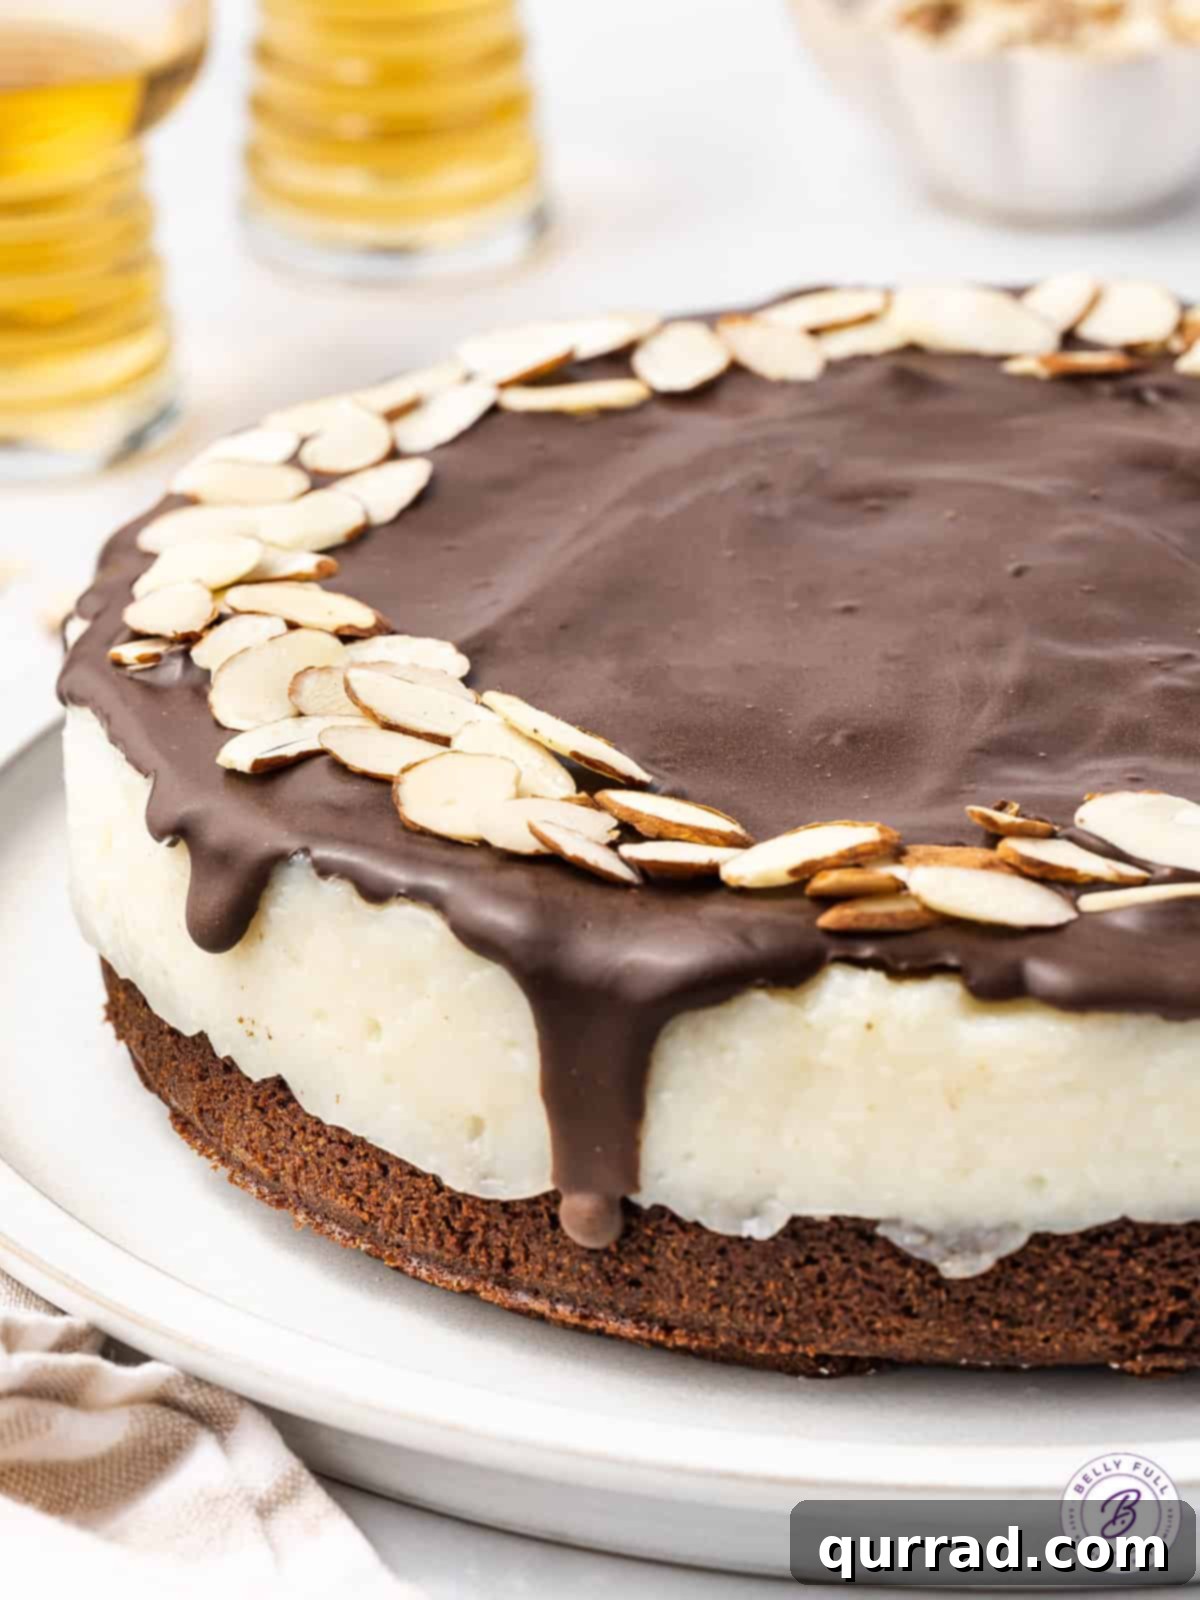
Discover the Magic of This Rich & Decadent Almond Joy Cake
For those of us who can’t get enough of the sweet symphony that is an Almond Joy, this cake is more than just a dessert; it’s a culinary celebration. It’s no secret that I adore finding new ways to incorporate these incredible flavors into various treats, from refreshing Almond Joy yogurt parfaits to energizing Almond Joy breakfast smoothies. But this **epic Almond Joy dessert cake** truly stands out as a masterpiece.
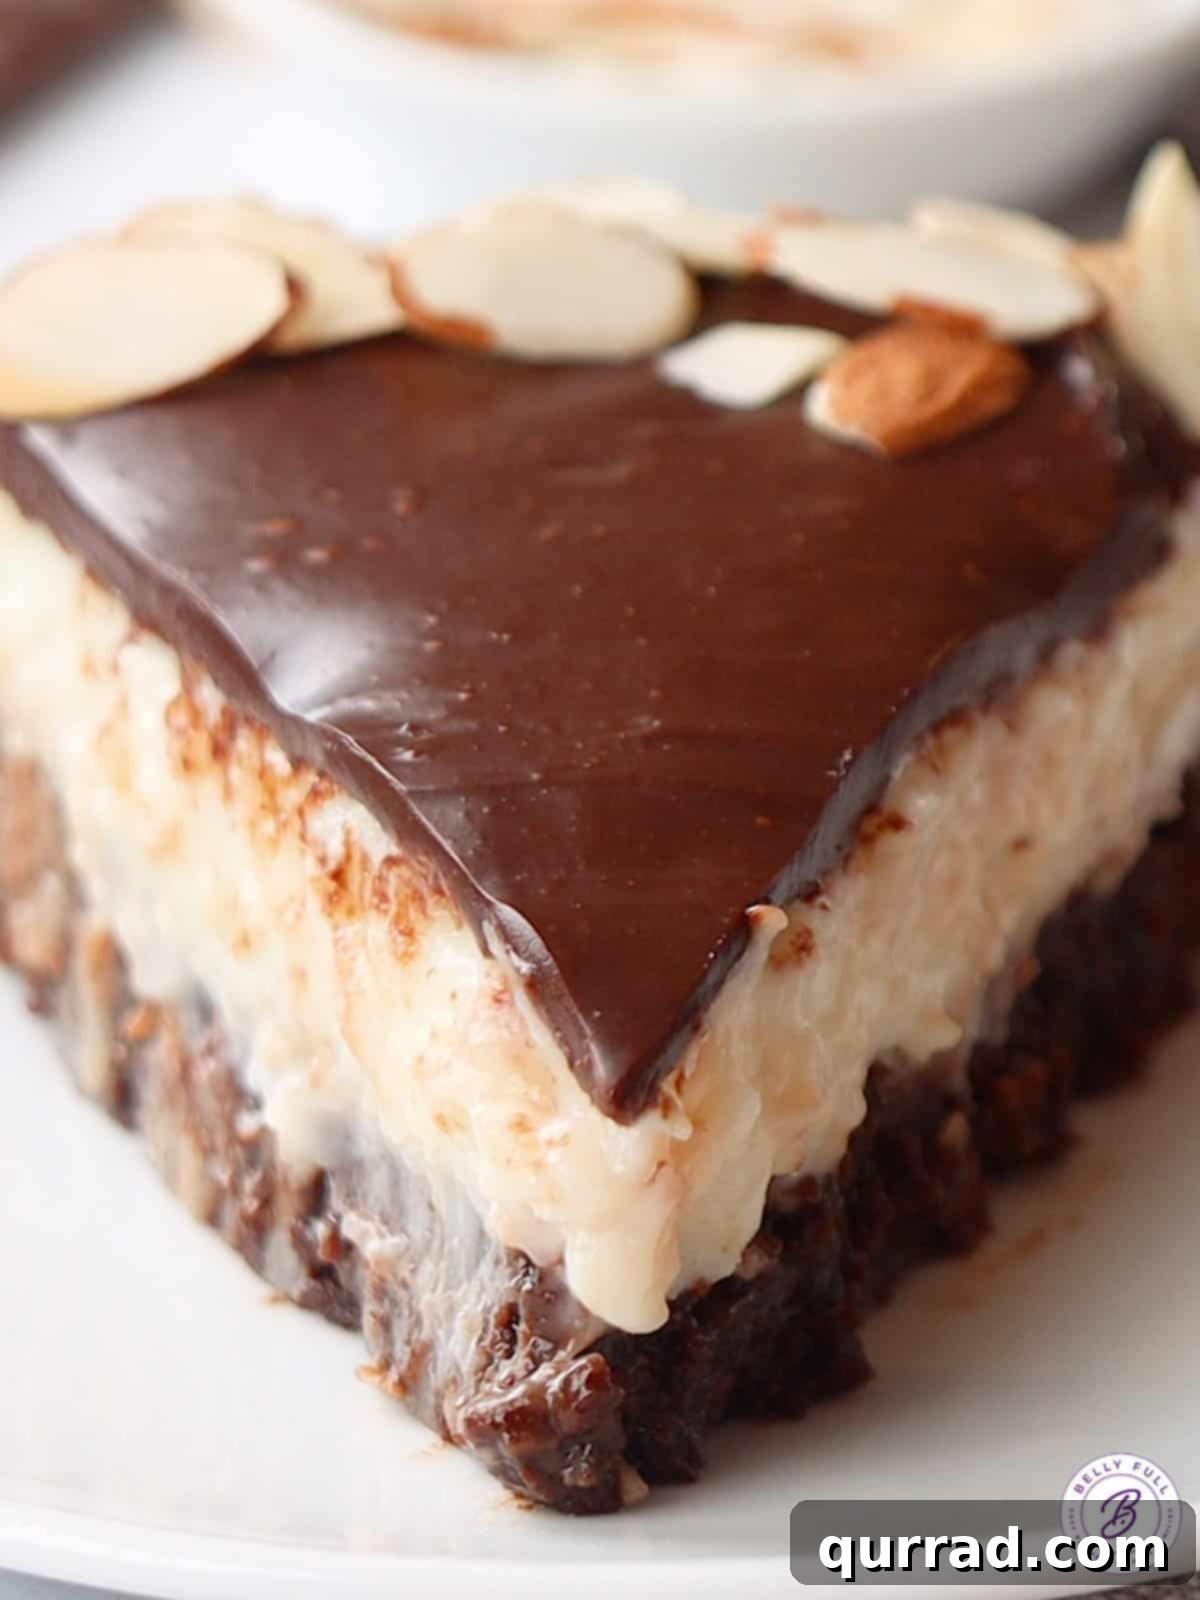
This magnificent cake masterfully features all the iconic elements: the deep, satisfying taste of chocolate, the tropical sweetness of coconut, and the subtle, nutty crunch of almonds. Each component plays a crucial role in creating a balanced and harmonious flavor profile. We begin with a wonderfully chewy, rich brownie layer that forms the perfect foundation. This is then generously crowned with a creamy, melt-in-your-mouth coconut filling that evokes the center of the classic candy bar. The grand finale is a glossy blanket of melted dark chocolate, studded with crisp almonds, adding both visual appeal and an irresistible textural contrast. This isn’t just a cake; it’s a luxurious experience.
Beyond its incredible taste, what makes this **chocolate coconut almond cake** truly special is its accessibility. Despite its sophisticated appearance and gourmet flavor, the steps are straightforward, ensuring that even novice bakers can achieve a stunning and delicious result. It’s the ideal dessert for potlucks, family gatherings, or simply a weekend treat when you crave something extraordinary.
Almond Joy Cake Recipe
Pin Recipe
Print Recipe
This **Almond Joy Cake** is a spectacular homage to the classic candy bar, boasting a rich brownie base, a velvety coconut filling, and a glossy dark chocolate topping. It’s a guaranteed crowd-pleaser that’s as delightful to look at as it is to eat. See below for step-by-step images and detailed instructions.
Ingredients
FOR THE BROWNIE LAYER
- 1 box (18.3 oz.) brownie mix, any brand (plus ingredients called for on box for “fudgy” brownies, usually oil and eggs)
- 2/3 cup vegetable oil (adjust according to brownie mix instructions if different)
- 3 tbsp whole milk (or water, as per brownie mix instructions)
- 2 large eggs (ensure fresh eggs for best results)
FOR THE COCONUT LAYER
- 2 tbsp unsalted butter (high quality butter enhances flavor)
- 2 cups sweetened finely shredded coconut flakes (ensure fresh, moist flakes)
- ¾ cup granulated sugar (white sugar for a clean sweet flavor)
- 3 tbsp almond flour (adds a subtle almond note and helps with texture)
- 2¼ cup whole milk (full-fat milk for richness and creaminess)
- 3 tbsp cornstarch (essential for thickening the coconut filling)
FOR THE TOPPING
- 6 oz. dark chocolate, chopped (use good quality dark chocolate, 60-70% cacao is ideal for balance)
- 1½ tsp coconut oil (helps create a smooth, shiny ganache that sets well)
- 1/3 – 1/2 cup sliced almonds (lightly toasted for enhanced flavor and crunch, optional)
Instructions
-
Prepare the Pan: Begin by preheating your oven to 350°F (175°C). This ensures the oven is at the correct temperature for even baking. Lightly coat a 9-inch springform pan with a nonstick cooking spray or butter and flour. A springform pan makes it much easier to release the cake once it’s chilled and ready to serve.
-
Bake the Brownie Layer: In a medium mixing bowl, combine the brownie mix, vegetable oil, whole milk, and large eggs. Stir until just combined; be careful not to overmix, as this can lead to a tougher brownie. Pour the batter evenly into your prepared 9-inch springform pan. Bake for 22 to 25 minutes, or until a wooden skewer inserted into the center comes out with moist crumbs but no wet batter. It’s crucial not to overbake, as you want a fudgy, chewy brownie base. Set aside to cool completely to room temperature on a wire rack.
-
Make the Coconut Layer: While the brownies are cooling, prepare the luscious coconut filling. In a medium saucepan, melt the unsalted butter over medium heat. Once melted, add the sweetened finely shredded coconut flakes, granulated sugar, almond flour, whole milk, and cornstarch. Stir continuously with a whisk or wooden spoon. Bring the mixture to a gentle boil, then reduce the heat to low and continue to cook, stirring constantly, until the mixture thickens significantly and becomes bubbly, typically about 5-7 minutes. It should be very creamy and able to hold its shape. Remove from heat and let it cool completely to room temperature.
-
Assemble the Layers: Once both the brownie base and the coconut mixture have cooled completely to room temperature, carefully spread the thick coconut filling evenly over the top of the cooled brownie layer in the springform pan. Use an offset spatula or the back of a spoon to create a smooth, uniform layer.
-
Chill for Setting: Transfer the assembled cake to the refrigerator. Allow it to chill for at least one hour, or until the coconut layer has firmly set. This chilling step is essential for the layers to meld together and for the cake to hold its shape when sliced.
-
Prepare the Chocolate Topping: In a heatproof bowl set over a saucepan of simmering water (a double boiler) or in a microwave-safe bowl (heating in 30-second intervals, stirring in between), melt the chopped dark chocolate and coconut oil together. Stir frequently until the mixture is completely smooth and glossy. The coconut oil helps to create a beautiful, pourable consistency and adds a lovely shine to the finished ganache.
-
Garnish and Set: Carefully pour the melted chocolate mixture over the chilled coconut layer, spreading it evenly to cover the entire top of the cake. Before the chocolate has a chance to fully harden, generously sprinkle the sliced almonds around the top perimeter of the cake. If desired, you can gently press them into the chocolate to ensure they adhere. Return the cake to the refrigerator for another 30 minutes to an hour, or until the chocolate topping is fully set.
-
Slice and Serve: Once the chocolate has set, carefully remove the springform pan sides. Slice the cake with a warm, sharp knife (run under hot water and wipe dry between cuts for clean slices). This **homemade Almond Joy Cake** is best served at room temperature, allowing the flavors and textures to fully shine. Enjoy your delectable creation!
Recipe Video Guide
For a visual guide on how to create this incredible Almond Joy Cake, watch our step-by-step video! It provides helpful tips and shows each stage of the process, making your baking experience even smoother.
Click to watch the Almond Joy Cake tutorial!
Nutrition Information
Per Serving (approximate for 1 of 12 servings):
- Calories: 486 kcal
- Carbohydrates: 65 g
- Protein: 7 g
- Fat: 22 g
- Saturated Fat: 11 g
- Polyunsaturated Fat: 1 g
- Monounsaturated Fat: 7 g
- Trans Fat: 0.1 g
- Cholesterol: 42 mg
- Sodium: 201 mg
- Potassium: 261 mg
- Fiber: 4 g
- Sugar: 45 g
- Vitamin A: 189 IU
- Calcium: 90 mg
- Iron: 3 mg
Nutritional information provided is an automatic calculation and may vary based on the specific brands and products used, as well as any modifications made to the recipe. If precise nutritional values are critical, we recommend calculating them independently using your exact ingredients.
Don’t Miss Out on More Delicious Recipes!
Want to keep this recipe handy and receive new culinary inspirations every week? Sign up for our newsletter to get this **Almond Joy Cake** recipe directly in your inbox, along with other exclusive treats and baking tips!
(Note: The original “Save this recipe!” form was removed to comply with the “remove Javascript codes” instruction. This section now serves as a static call to action.)
Did you make this fantastic Almond Joy Cake? We’d love to hear from you! Please consider leaving a rating and a comment below to share your experience and help other bakers.
Pro Tips for Making Your Almond Joy Cake Perfect
Achieving the perfect **homemade Almond Joy Cake** is all about understanding each layer and how they contribute to the final masterpiece. Here are some detailed step-by-step tips to guide you:
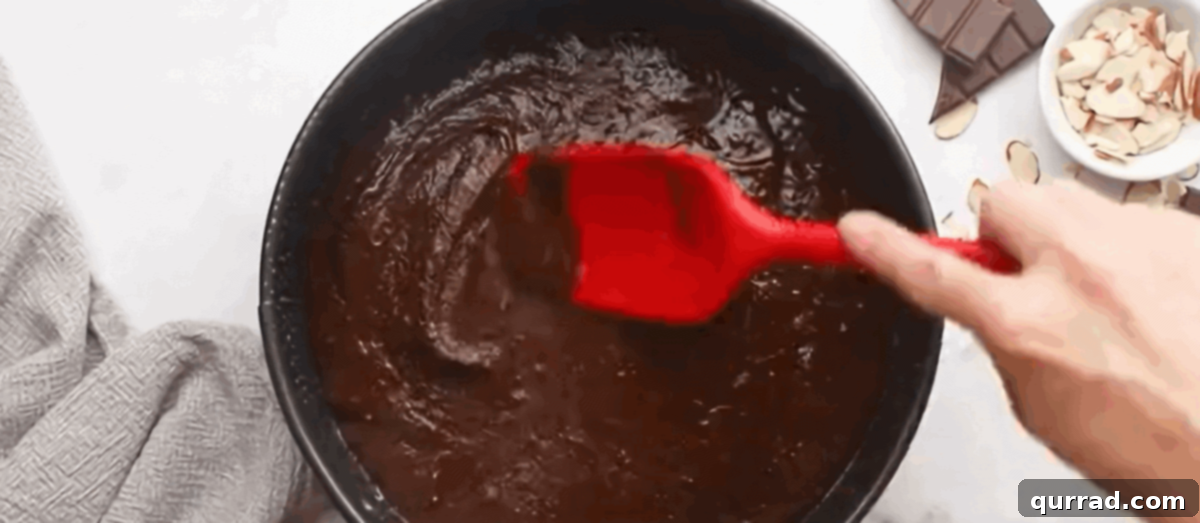
Crafting the Fudgy Brownie Layer: Start with a good quality brownie mix for convenience, or your favorite scratch brownie recipe. When combining your brownie ingredients (brownie mix, vegetable oil, whole milk, and large eggs), stir just until the ingredients are moistened. Overmixing can develop the gluten in the flour, leading to a tougher, less fudgy brownie. The goal is a rich, dense base that complements the lighter coconut filling. Bake at 350°F (175°C) for precisely 22 to 25 minutes. Keep an eye on it; a slight wobble in the center is desirable for a fudgy brownie, and a toothpick should come out with moist crumbs, not liquid batter.
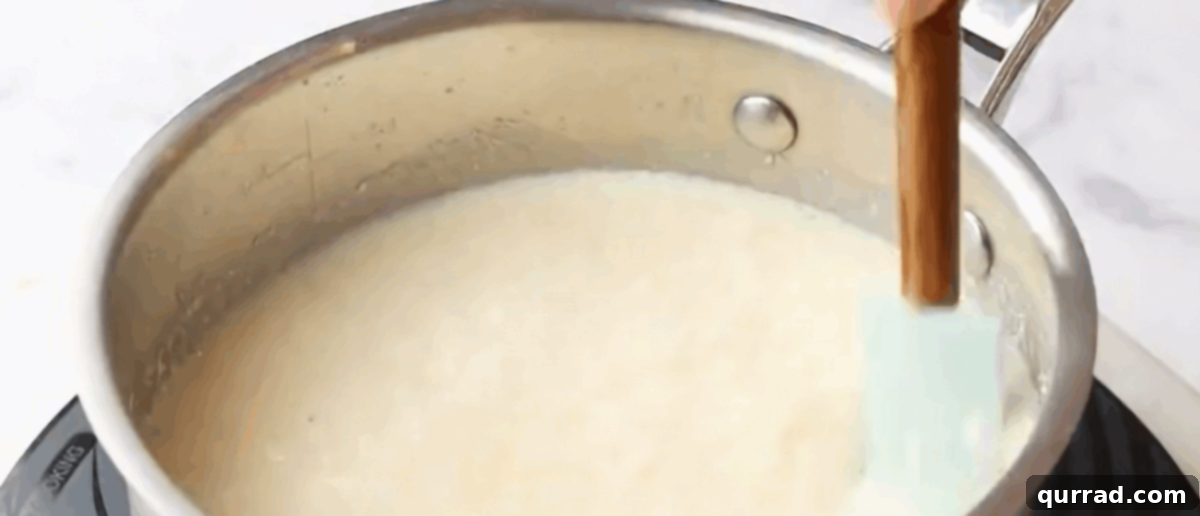
Creating the Creamy Coconut Filling: This layer is the heart of the “Almond Joy” experience. Melt 2 tablespoons of unsalted butter in a saucepan over medium heat, then incorporate the sweetened finely shredded coconut flakes, granulated sugar, almond flour, whole milk, and cornstarch. The key here is constant stirring. As the mixture heats, the cornstarch will activate and thicken the milk, while the sugar dissolves. Continue stirring until it achieves a thick, bubbly consistency that pulls away from the sides of the pan slightly. This ensures a stable, creamy layer that won’t run. The almond flour not only adds a subtle nutty depth but also aids in the texture. Let it cool completely before spreading.
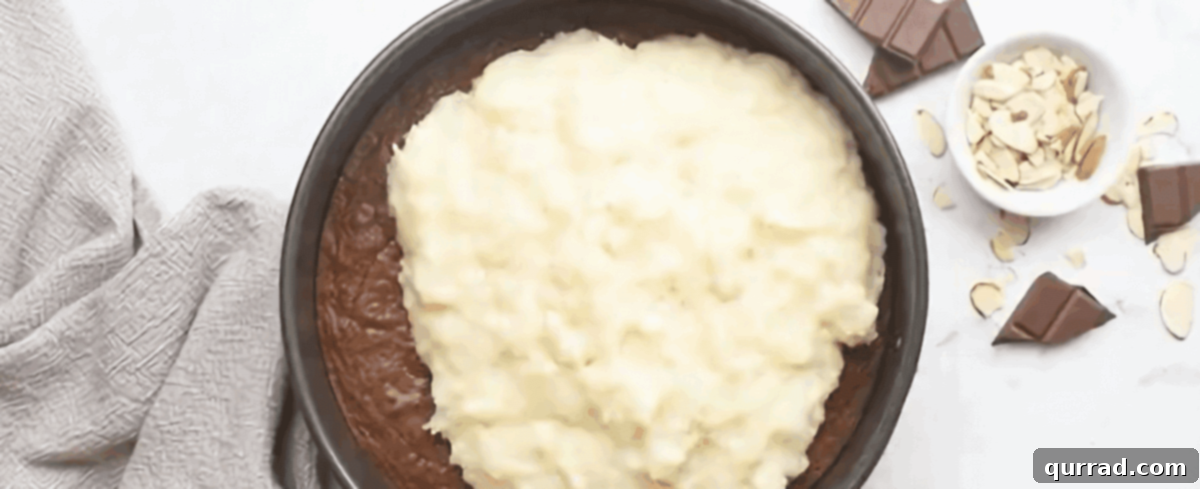
The All-Important Chill Time: Patience is a virtue, especially with layered desserts! After both your brownies and coconut mixture have cooled to room temperature, gently pour and spread the coconut filling over the brownies. Now, the critical step: chill the cake in the refrigerator for at least an hour. This extended chilling period allows the coconut layer to firm up and fully set, ensuring clean, beautiful layers when you slice the cake. Don’t rush this step!
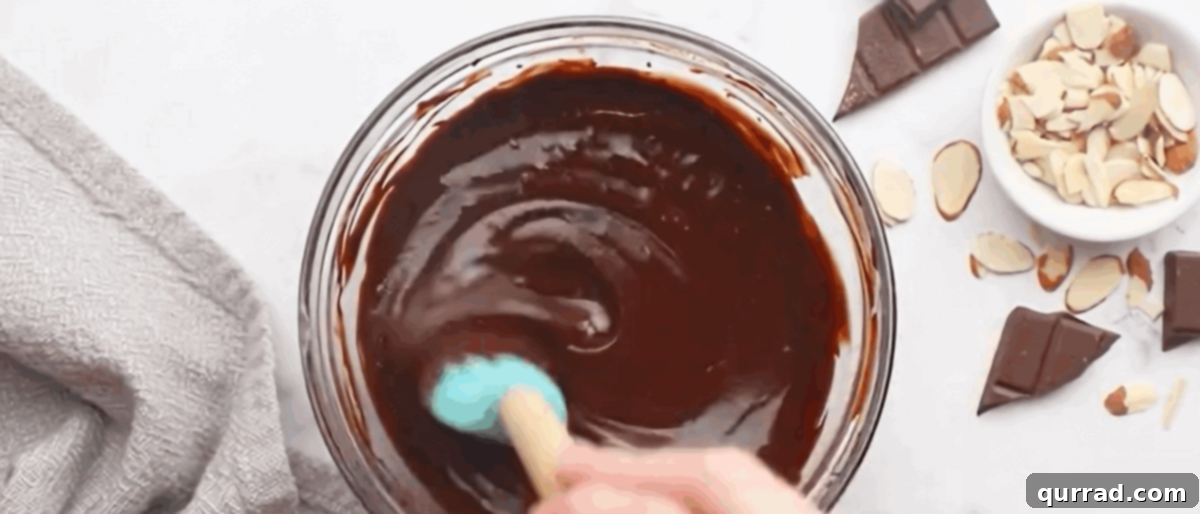
Mastering the Chocolate Topping: The dark chocolate topping provides that signature Almond Joy snap. For the best results, use good quality dark chocolate (around 60-70% cacao) for a rich, not-too-sweet flavor. Melt 6 ounces of chopped dark chocolate with 1½ teaspoons of coconut oil. The coconut oil is a secret weapon here; it helps the chocolate melt smoothly, creates a beautiful glossy finish, and ensures the topping sets with a satisfying, manageable snap rather than becoming brittle. You can use a double boiler for gentle, even melting, or microwave in short bursts, stirring well between each to prevent scorching.
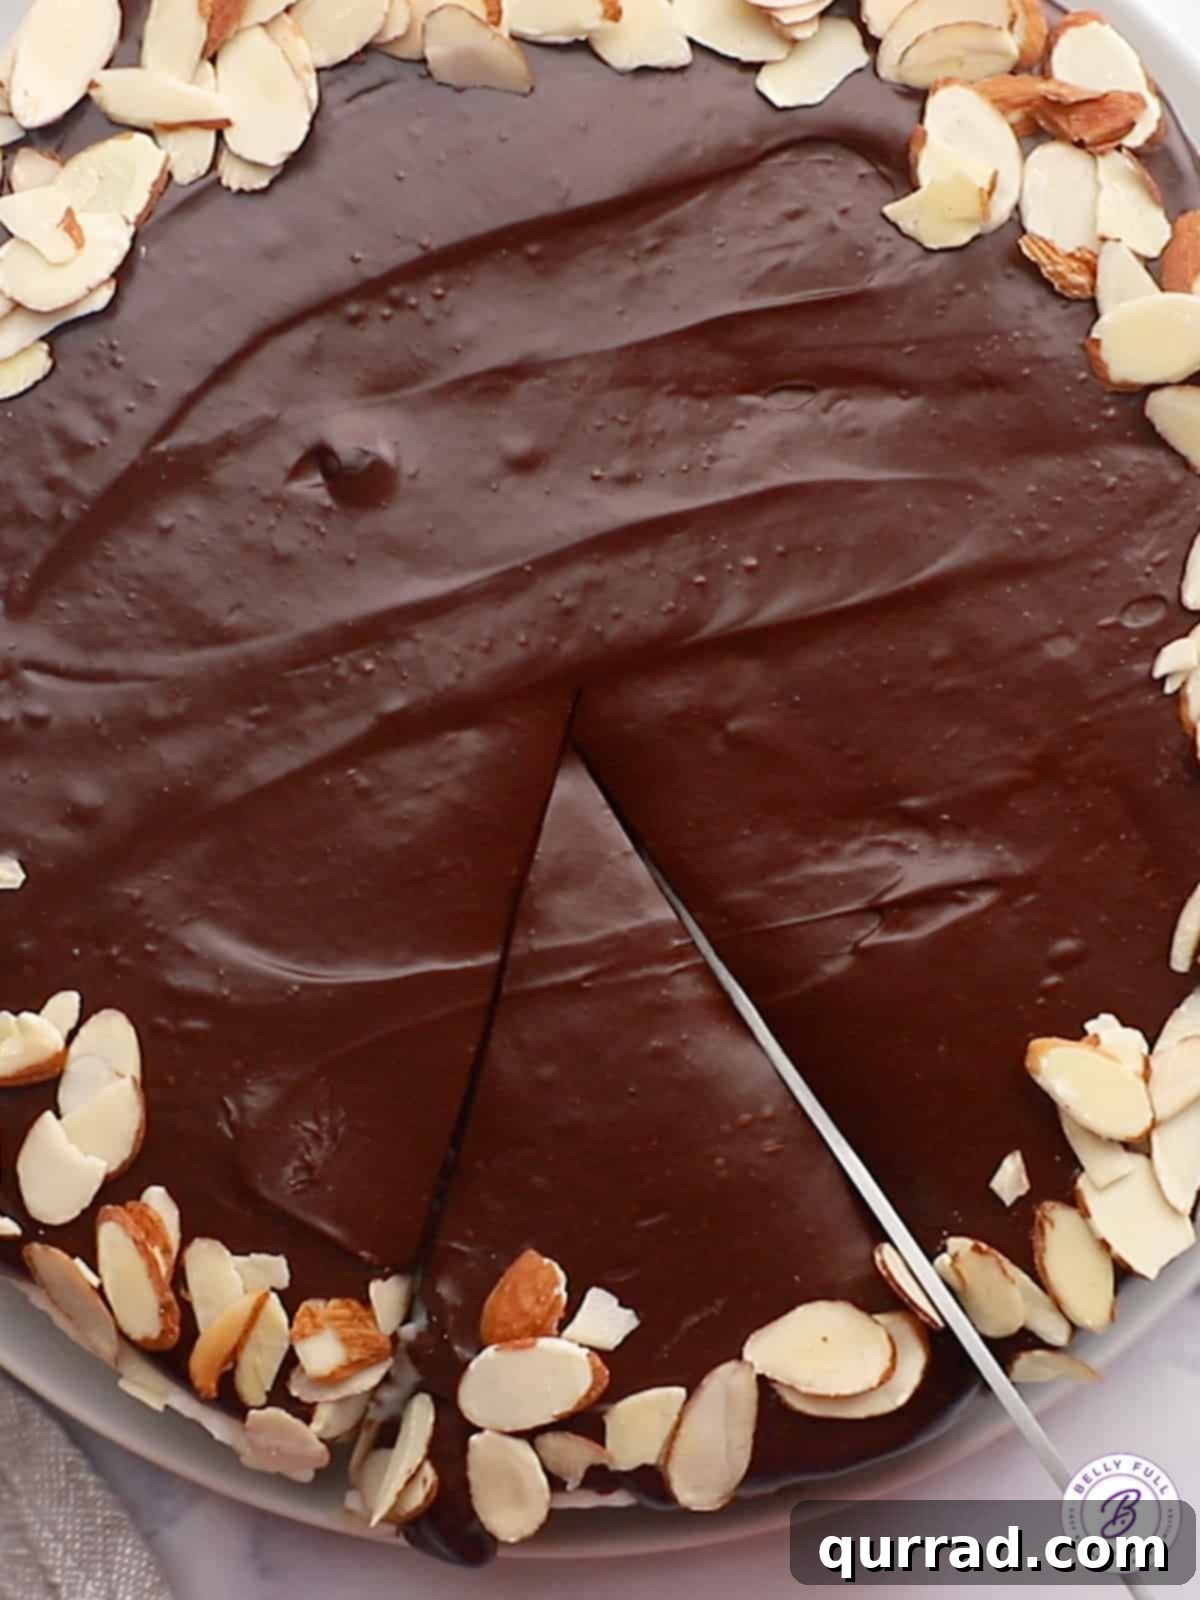
The Final Flourish and Garnish: Once the chocolate topping is perfectly smooth, pour it over the chilled cake. Work quickly but carefully to spread it evenly. Immediately after, sprinkle your 1/3 to 1/2 cup of sliced almonds around the top perimeter. You can gently press them into the wet chocolate to ensure they adhere. Toasted almonds add an extra layer of flavor and crunch, so consider a quick toast in a dry pan before sprinkling. Allow the chocolate to set completely in the refrigerator before slicing. This will ensure clean cuts and a beautiful presentation. When ready to serve, release the springform pan and prepare to impress!
How to Store Your Almond Joy Cake for Lasting Freshness
Proper storage is key to enjoying your **homemade Almond Joy Cake** for as long as possible. Due to its creamy coconut layer and chocolate topping, this cake is best stored in the refrigerator. Tightly wrap the cake in plastic cling film or place it in an airtight container. This will protect it from drying out and absorbing other odors from the fridge. When stored correctly, this delicious dessert will maintain its freshness and decadent flavor for approximately 4 to 5 days. For the best flavor and texture experience, we recommend allowing the cake to come closer to room temperature for about 15-30 minutes before slicing and serving. This allows the chocolate and coconut layers to soften slightly, enhancing their creamy indulgence.
Can you freeze Almond Joy Cake? While some cakes freeze well, we generally do not recommend freezing this particular Almond Joy Cake. The delicate texture of the coconut filling, especially, can become somewhat watery or grainy after thawing, compromising the overall quality and enjoyment of the dessert. For optimal results, it’s best to enjoy this cake fresh within its refrigerated shelf life.
Elevate Your Almond Joy Cake Experience: Serving Suggestions
This **Almond Joy dessert** is a rich and satisfying treat on its own, but a few thoughtful additions can truly elevate the experience. As mentioned, the cake is always best served at room temperature. Allowing it to sit out for a little while before serving softens the chocolate topping and the coconut layer, bringing out their inherent creaminess and flavor nuances. Trying to cut it directly from the fridge might result in harder, less yielding layers, which can be difficult to slice neatly.
While the cake is incredibly decadent on its own, for those who love an extra touch of indulgence, consider a dollop of freshly made whipped cream. The lightness of the cream provides a beautiful contrast to the cake’s richness. Alternatively, a small scoop of vanilla bean ice cream or even a complementary flavor like strawberry ice cream (for a hint of fruity brightness) would work wonderfully, creating an even more elaborate dessert presentation.
For a complete dessert experience, pair your slice of Almond Joy Cake with a hot cup of coffee, a rich espresso, or a glass of cold milk. The bitterness of coffee cuts through the sweetness beautifully, while milk enhances the classic candy bar feel. This versatile **chocolate coconut almond cake** is guaranteed to be a hit, no matter how you choose to serve it!
Explore More Almond Joy-Inspired Recipes
Can’t get enough of that delightful chocolate, coconut, and almond combination? We’ve got you covered! If you loved this **Almond Joy Cake**, you’ll surely enjoy these other creative recipes that capture the essence of your favorite candy bar:
- Decadent Chocolate Almond Truffles: Bite-sized delights that pack all the flavor.
- No-Bake Almond Joy Energy Bites: A healthier, quick, and easy snack.
- Almond Joy Stuffed Dates: A naturally sweet treat with a candy bar twist.
Indulge in Your Ultimate Chocolate Coconut Almond Dream
This **Decadent Homemade Almond Joy Cake** is more than just a recipe; it’s an invitation to create something truly special in your kitchen. From the very first bite of its fudgy brownie base, through the creamy, sweet coconut filling, and culminating in the satisfying snap of dark chocolate and crunchy almonds, this cake delivers an unforgettable experience. It’s a perfect blend of nostalgic flavors and sophisticated presentation, making it suitable for both casual family desserts and elegant entertaining.
We encourage you to try this **easy Almond Joy Cake recipe** and discover the joy of bringing this classic candy bar to life in cake form. Share it with loved ones, savor it with a cup of coffee, or simply treat yourself to a slice of pure happiness. Happy baking, and enjoy your delightful journey into the world of chocolate, coconut, and almond!