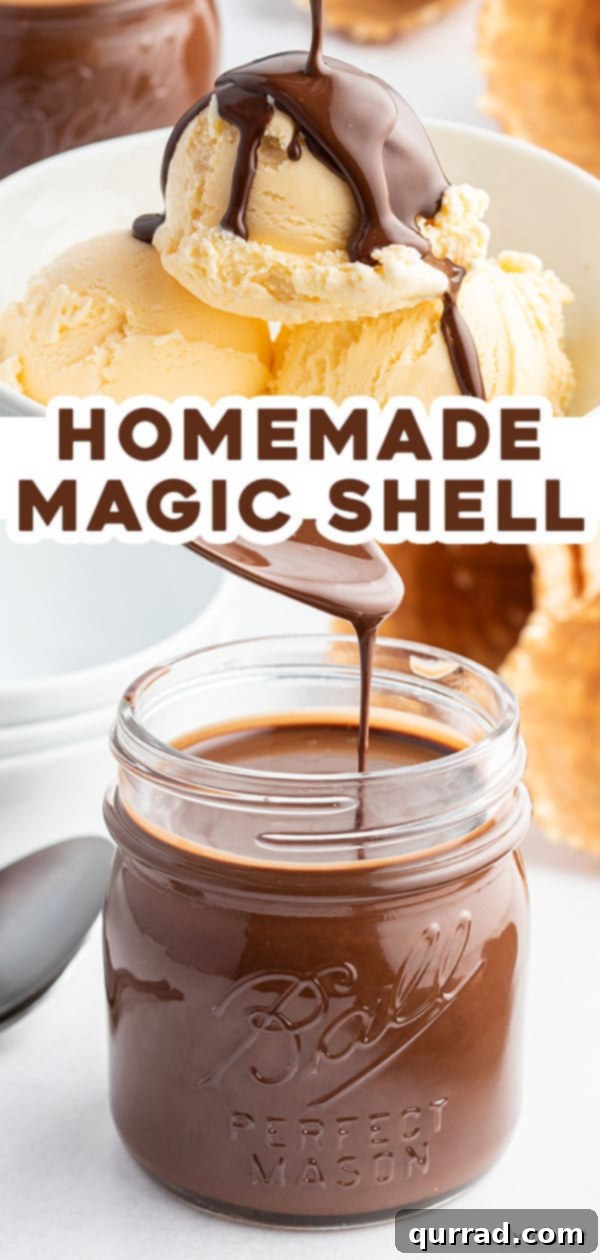
Welcome to the simplest, most enchanting dessert creation you’ll ever master! This super easy recipe for Homemade Magic Shell requires only two ingredients, transforming ordinary ice cream into an extraordinary treat. It’s the quintessential topping that delivers that satisfying crackle every time, making it the perfect finishing touch for your favorite scoops. Forget store-bought versions; once you experience the joy of making your own, you’ll never look back.
Craving more chocolatey delights? Be sure to explore our other beloved chocolate recipes, including our decadent Swiss Roll Cake, the airy delight of Chocolate Mousse, and these wonderfully rich Flourless Chocolate Cookies!

Recalling cherished childhood memories, the moment I first encountered Magic Shell stands out vividly. Introduced sometime in the vibrant 1980s, it felt like pure culinary magic to my young self – the coolest and yummiest chocolate treat imaginable! That delightful nostalgia floods back every single time I whip up this incredibly simple Homemade Magic Shell recipe. It’s more than just a topping; it’s a gateway to those carefree days, reminding us that sometimes, the simplest pleasures are the most profound. This DIY chocolate shell brings that iconic, crispy chocolate coating right to your kitchen, offering a customizable and additive-free alternative to the commercial product. Prepare to feel like a kid again, marveling at the instant transformation from liquid chocolate to a crunchy, delectable shell.
Unveiling the Magic: What is Magic Shell?
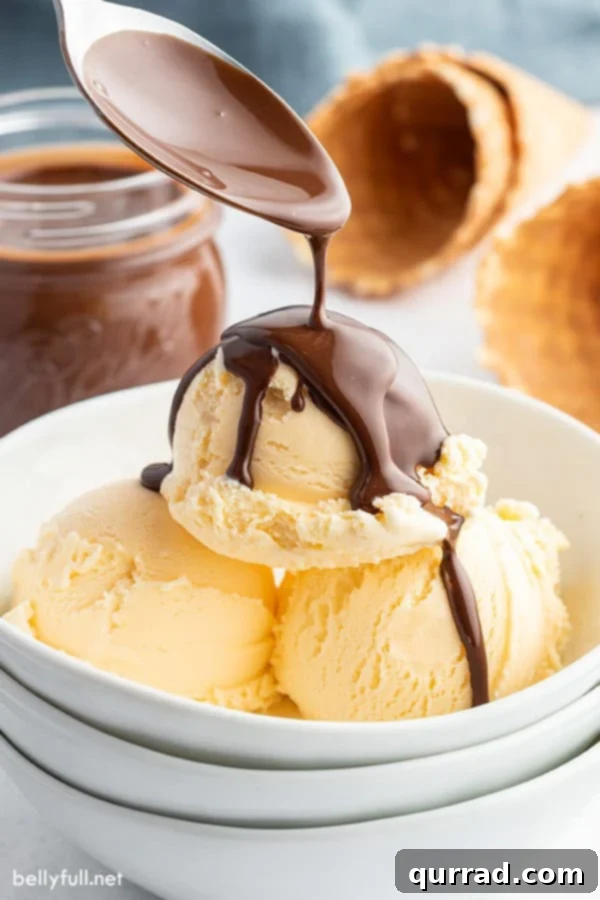
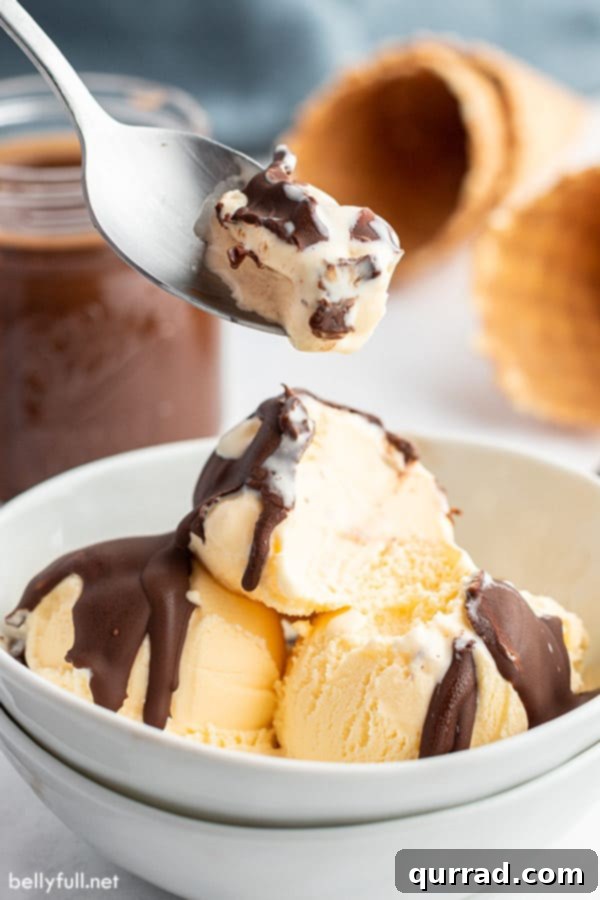
For those unfamiliar with the sheer delight of Magic Shell, you are truly in for an exciting discovery! Imagine pouring a smooth, liquid chocolate syrup over a scoop of frosty, cold ice cream. Within mere seconds, this magical elixir solidifies, creating a firm, shiny chocolate coating that satisfyingly “cracks” when gently tapped with a spoon. This unique, crunchy texture offers an incredibly fun and delicious experience that elevates any bowl of ice cream from good to utterly fantastic. The joy of breaking through that crisp chocolate layer to reach the creamy ice cream beneath is unparalleled.
Typically, the store-bought version of this chocolate ice cream topping can be found alongside other dessert condiments like jams, honey, nut butters, and caramel sauces. However, crafting your own homemade Magic Shell from scratch is remarkably easy, often proving to be a more rewarding and cost-effective endeavor. You need only two fundamental ingredients, a microwave-safe bowl, and the convenience of your microwave. Beyond its simple preparation, homemade Magic Shell boasts excellent storage capabilities; it can be kept in a sealed container at room temperature for weeks, ready to be reheated briefly whenever an ice cream craving strikes. This accessibility and simplicity make it an ideal go-to recipe for quick dessert enhancements and spontaneous sweet indulgence.

The Science Behind the Snap: How Does Magic Shell Work?
The true genius, the secret ingredient, and the scientific marvel behind Magic Shell’s incredible hardening effect is none other than coconut oil. This delightful topping is essentially a simple yet brilliant combination of melted chocolate and coconut oil. When these two ingredients are combined and then poured over a very cold surface, such as a scoop of ice cream, the coconut oil’s unique properties cause the mixture to rapidly solidify into a crisp, thin, and often shiny chocolate shell. Initially, it may gleam with a glossy finish, which then subtly dulls as it fully sets, but the delightful textural effect remains incredibly satisfying.
Let’s delve deeper into the fascinating science at play. Coconut oil is distinguished by its high concentration of saturated fat. Unlike many other fats that remain liquid at room temperature, coconut oil is typically solid when kept at cooler temperatures but readily melts into a liquid state when heated. When you melt chocolate chips and coconut oil together, they form a smooth, flowing, and somewhat gooey consistency, akin to a loose hot fudge. However, the moment this warm mixture comes into contact with the intensely cold ice cream, a rapid thermal transfer occurs. The extreme cold of the ice cream quickly drops the temperature of the coconut oil, causing its saturated fats to almost instantly re-solidify. This swift change in state is what creates that distinct, brittle “shell.” The fat content in the mixture is crucial; it forms a protective, flavorful layer that breaks apart into scrumptious, crunchy pieces with a satisfying snap when you crack into it with a spoon. This unique physical property makes homemade Magic Shell an irresistible and engaging dessert topping.
Essential Tips for a Perfect Homemade Magic Shell
Even the most straightforward recipes can benefit from a few expert tips to ensure flawless results every time. Follow these guidelines to create the perfect DIY Magic Shell that’s consistently smooth, shiny, and ready to snap:
- Ensure Your Equipment is Perfectly Dry: This step is absolutely critical. Any trace of water or moisture in your mixing bowl or on your utensils can cause the chocolate to “seize up.” Seizing is a process where chocolate suddenly transforms from a smooth, molten state into a thick, gritty, and unworkable paste. To prevent this culinary mishap, meticulously ensure that your bowl is completely clean and thoroughly dry before you add your chocolate chips and coconut oil.
- Melt the Mixture in Short Intervals: Patience is key when melting chocolate. Instead of continuous heating, which can lead to burning or separation, opt for short, controlled bursts in the microwave. Start with an initial 30-second interval, then remove and stir vigorously. Continue microwaving in 15-second increments, stirring well after each one. This method allows the chocolate to melt evenly from the residual heat and prevents it from scorching, ensuring a silky-smooth consistency.
- Allow Adequate Cooling Time Before Use: Once melted, your chocolate-coconut oil mixture will be quite warm. Pouring it directly onto cold ice cream immediately after microwaving will inevitably cause your ice cream to melt into a puddle, defeating the purpose of a hardening shell. It’s crucial to let the mixture cool uncovered for approximately 15-20 minutes. To ensure even cooling and prevent a skin from forming, stir the mixture gently every 5 minutes until it is barely warm to the touch. This slight cooling period is essential for the Magic Shell to harden correctly upon contact with the ice cream, providing that perfect, firm snap.
Recipe Notes and Creative Variations
Beyond the core recipe, there are several ways to customize your Homemade Magic Shell to suit your preferences and dietary needs:
- Choosing Your Coconut Oil: This recipe primarily utilizes refined coconut oil, which is processed to have a neutral flavor and aroma. This ensures your Magic Shell tastes purely of chocolate. If you prefer a subtle tropical twist, virgin coconut oil can be used, but be aware that it will impart a more distinct coconut aroma and taste to your finished product. Both types will perform identically in terms of hardening.
- Experiment with Chocolate Types: Don’t limit yourself to just one kind of chocolate! The beauty of this recipe lies in its adaptability. Feel free to use different types of chocolate chips to create a variety of flavors. Semi-sweet chocolate provides a classic, balanced taste, while milk chocolate offers a sweeter, creamier profile. For a richer, more intense flavor, dark chocolate chips work wonderfully. You can even mix and match for a custom blend!
- Beyond Ice Cream: Versatile Uses: While an undisputed champion over ice cream, Magic Shell isn’t exclusively for frozen desserts. Get creative! Try drizzling it over frozen fruit, such as bananas, strawberries, or pineapple chunks, for a delightful and healthy-ish treat. It also works beautifully on frozen yogurt, popsicles, or even as a coating for homemade candy bars.
- Add Flavor Enhancers: For an extra layer of flavor, consider stirring in a tiny amount of extract after the chocolate is melted and cooled slightly (before it hardens). A few drops of vanilla extract enhance the chocolate flavor, while peppermint extract can create a festive mint-chocolate shell. Orange zest or a pinch of chili powder can also add exciting dimensions.
Storing Your Homemade Magic Shell Recipe
One of the many conveniences of homemade Magic Shell is its simple and effective storage. For optimal quality and readiness, Magic Shell should always be stored in an airtight container at room temperature. It is crucial not to refrigerate it, as the cold will cause it to solidify prematurely and become too hard to easily reheat and pour. When stored correctly at room temperature, your Magic Shell will remain fresh and perfectly usable for up to 1 month. Should it solidify over time (which it naturally will at cooler room temperatures), simply briefly reheat it in the microwave in short bursts, stirring frequently, until it returns to its smooth, liquid consistency. This makes it an incredibly convenient topping to have on hand for whenever an ice cream craving strikes.
Beyond the Shell: Other Delightful Ice Cream Toppings
While Magic Shell holds a special place, no dessert spread is complete without a variety of homemade toppings. In my household, these delicious additions are always a staple, ready to elevate any sweet treat:
- Homemade Caramel Sauce: Rich, buttery, and incredibly versatile, a classic caramel sauce adds a luxurious touch to ice cream, apple pie, or just about anything.
- Decadent Chocolate Sauce: A smooth, pourable chocolate sauce is a perennial favorite, perfect for hot fudge sundaes or simply drizzling over fruit.
- Light and Fluffy Whipped Cream: Freshly whipped cream is a simple yet elegant topping that complements almost any dessert, adding a delightful lightness.
Creative Applications for Your Homemade Magic Shell
The beauty of Homemade Magic Shell lies in its versatility. While it’s a phenomenal partner for any ice cream, its instant hardening capability makes it fantastic for a wide array of other uses. You can enjoy this delightful chocolate coating on virtually any flavor of ice cream, creating an irresistible crunchy layer. It’s also remarkably tasty drizzled over various frozen fruits for a healthier indulgence. Here are some of our favorite ways to enjoy this incredible chocolate shell:
- Strawberry Ice Cream: The sweet tang of strawberry pairs beautifully with a crisp chocolate coating.
- Rum Raisin Ice Cream: The sophisticated flavors of rum and raisin get an exciting textural contrast from the chocolate shell.
- Rocky Road Ice Cream: Enhance the already delightful mix of chocolate, marshmallows, and nuts with an extra layer of crunchy chocolate.
- Chocolate and Toffee Ice Cream: A Magic Shell provides another dimension of chocolatey goodness and a satisfying crunch alongside the toffee bits.
- **Frozen Banana Slices:** Dip banana slices into the Magic Shell for an instant chocolate-covered treat that sets in seconds.
- **Fruit Skewers:** Drizzle over chilled fruit skewers for an impressive and fun dessert.
- **Popsicles:** Coat homemade or store-bought popsicles for an extra layer of chocolatey delight.
- **Donut Glaze (for chilled donuts):** If your donuts are cold, a thin layer can harden for a unique finish.
This simple, two-ingredient wonder brings a touch of magic to any dessert, proving that sometimes, the most delightful treats are also the easiest to make. The combination of rich chocolate and the satisfying snap of a perfectly hardened shell is a culinary experience that truly transcends generations.
Homemade Magic Shell
5
20
25
5 (3 tablespoons per serving, about 1 cup total)
Ingredients
- 1 cup chocolate chips, (semi-sweet, milk, or dark chocolate all work)
- 2 tablespoons refined coconut oil
Instructions
-
Stir together chocolate chips and coconut oil in a medium microwave-safe bowl. Place in microwave and cook on high for 30 seconds. Remove and stir. Continue microwaving and stirring in 15 second intervals until all of the chocolate is melted and smooth.
-
Remove from the microwave and let it cool uncovered (stirring every 5 minutes so it cools evenly), until the chocolate is barely warm – about 20 minutes.
-
Pour over ice cream. Let sit for 30 seconds to harden and then enjoy!
Notes
Nutrition
Carbohydrates: 25g |
Protein: 2g |
Fat: 14g |
Saturated Fat: 10g |
Cholesterol: 5mg |
Sodium: 24mg |
Fiber: 1g |
Sugar: 23g |
Vitamin A: 81IU |
Vitamin C: 1mg |
Calcium: 42mg |
Iron: 1mg
Nutritional information given is an automatic calculation and can vary based on the exact products you use and any changes you make to the recipe. If these numbers are very important to you, I would recommend calculating them yourself.