
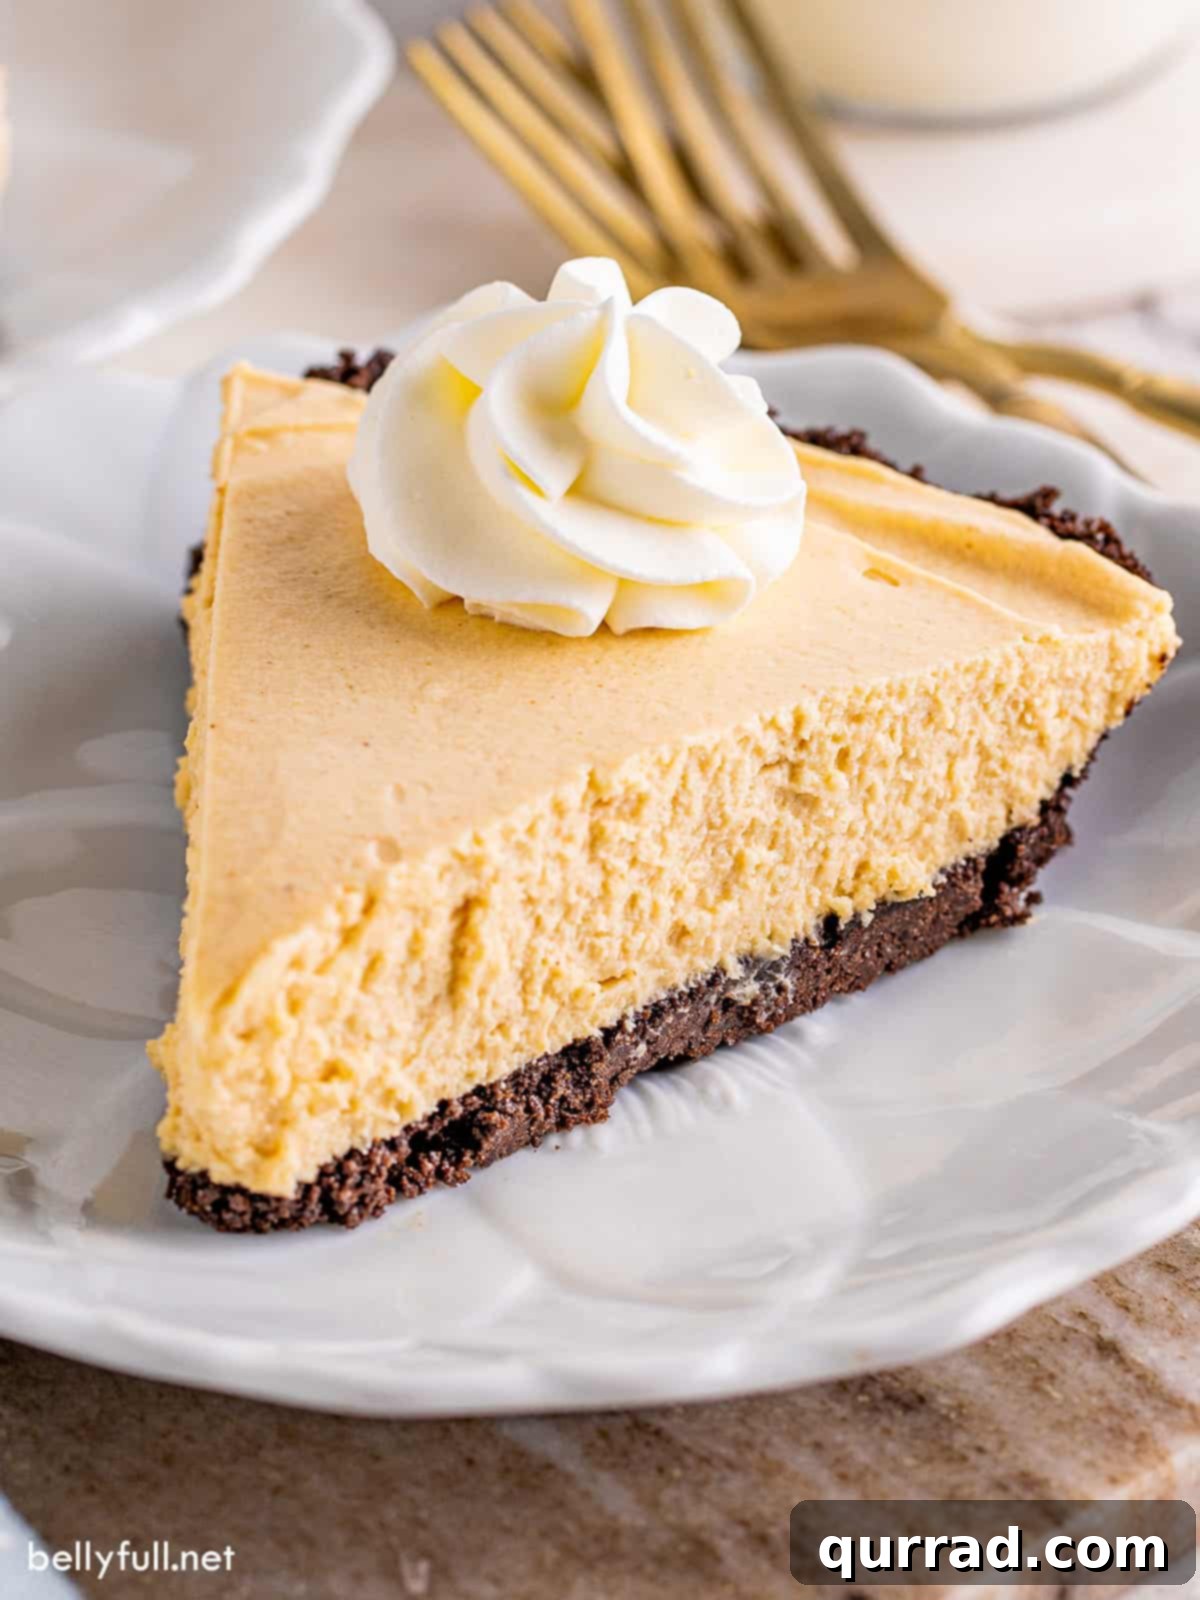
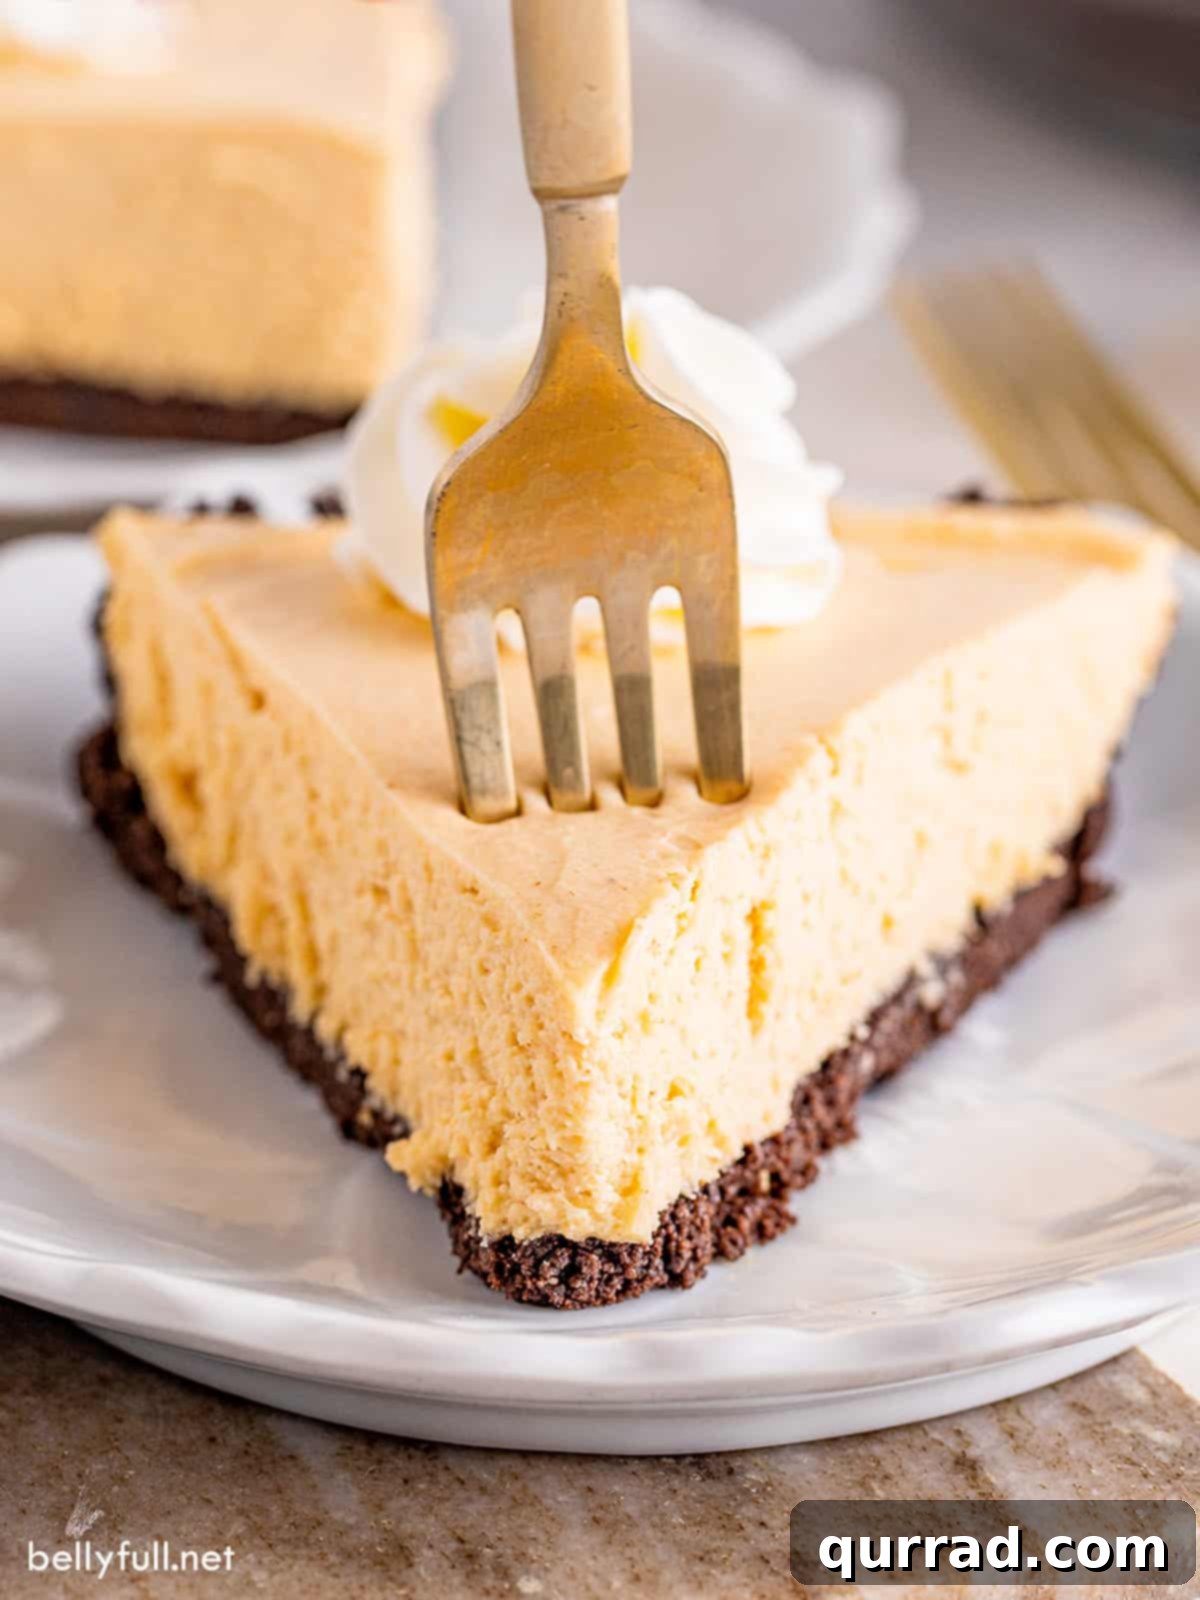
Welcome to the world of effortless desserts! This No Bake Peanut Butter Pie is an absolute dream for anyone who loves the classic combination of chocolate and peanut butter. Featuring a rich, crunchy Oreo crust and an incredibly light, creamy, and irresistibly fluffy peanut butter filling, it’s a dessert that consistently steals the show. Not only is it a guaranteed hit at any gathering, but its no-bake nature makes it the perfect stress-free treat, especially during scorching summer months when the last thing you want is to turn on your oven. Prepare to fall in love with its simplicity and decadent flavor profile!
For more delightful peanut butter creations, be sure to explore our easy peanut butter cookies and classic peanut brittle.
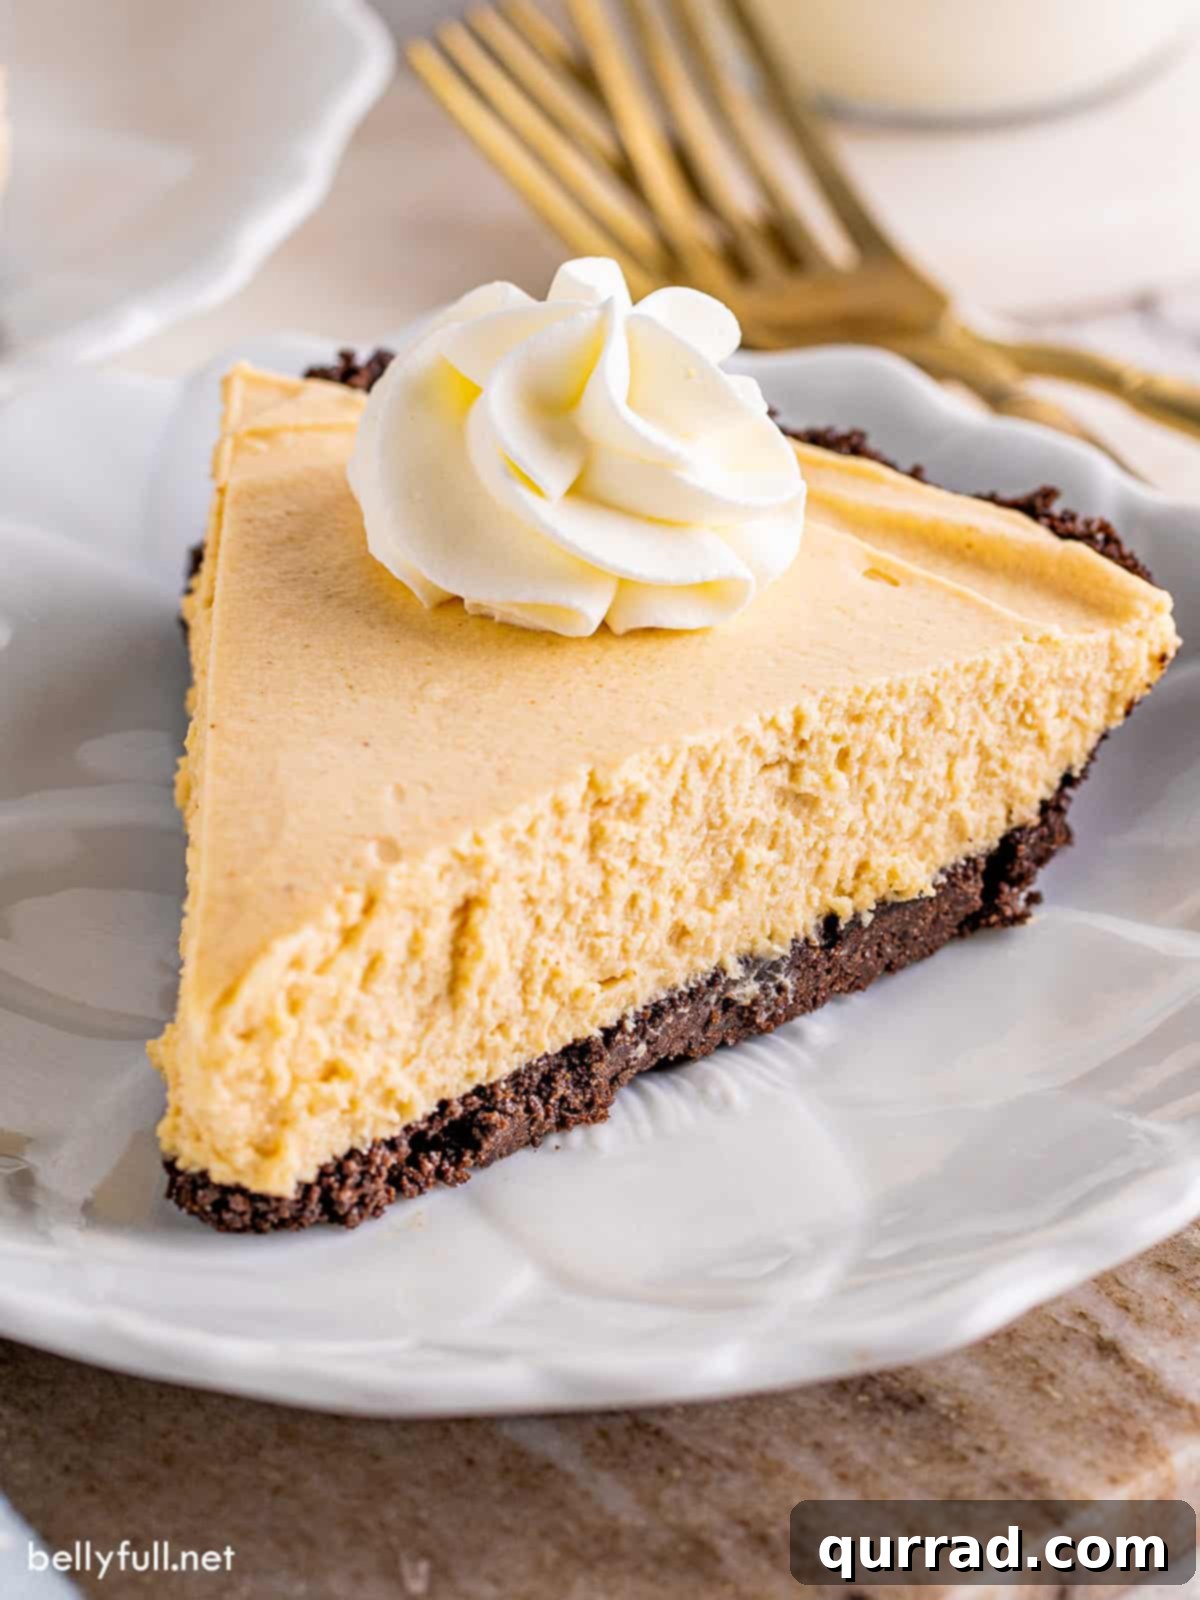
The Ultimate No-Bake Peanut Butter Pie: A Classic Crowd-Pleaser
There are some recipes that instantly transport you back to cherished childhood memories, and for me, this easy peanut butter pie is undoubtedly one of them. I vividly recall enjoying its creamy indulgence at countless family dinners, festive holiday gatherings, and laid-back summer barbecues. Its appeal isn’t just nostalgia; it’s genuinely one of the most beloved desserts for good reason.
The magic of this no-bake sensation lies in its remarkable simplicity. With a mere two ingredients for its robust chocolate Oreo crust and just five for the velvety-smooth, rich filling, it defies expectations by delivering gourmet taste with minimal effort. What sets this particular recipe apart is its perfectly balanced sweetness. We rely primarily on powdered sugar for the filling, ensuring that the pie is sweet enough to satisfy your cravings without being cloyingly so. The result is a harmonious blend that perfectly marries the deep chocolate notes of the Oreo crust with the creamy, nutty goodness of the peanut butter filling, creating an irresistible treat for any chocolate-peanut butter enthusiast.
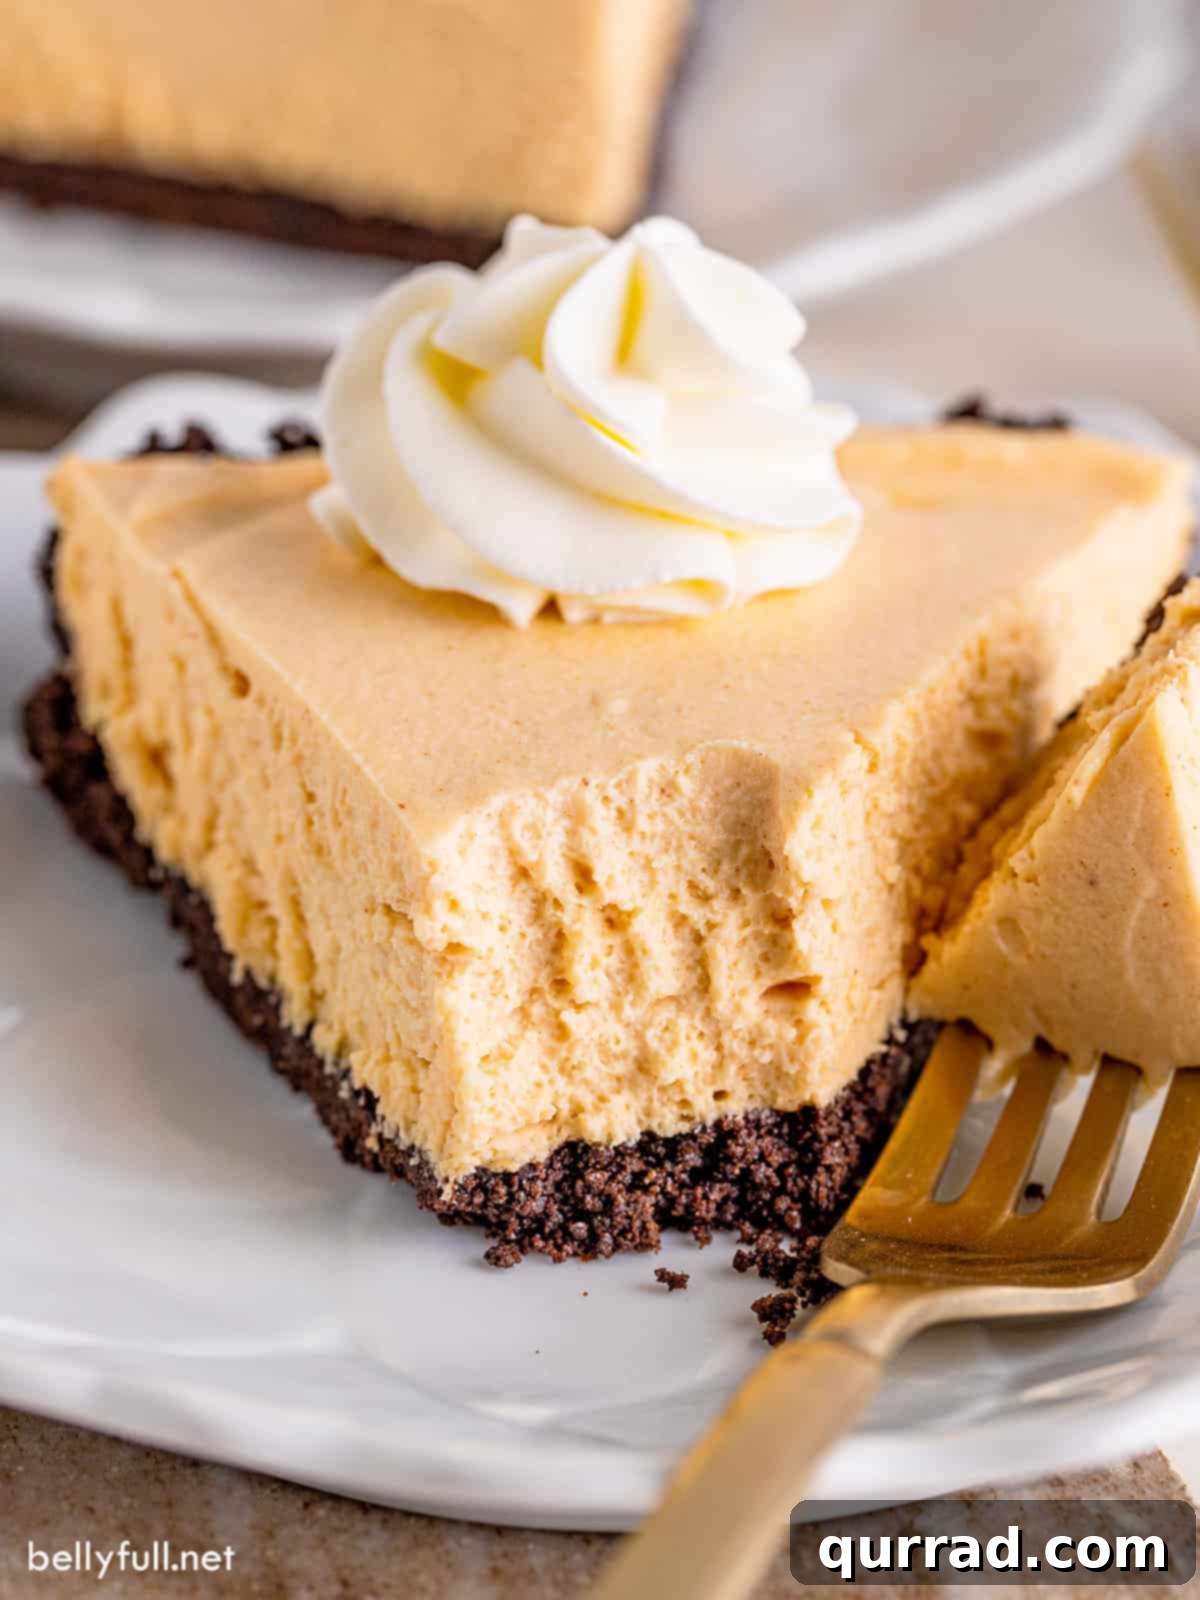
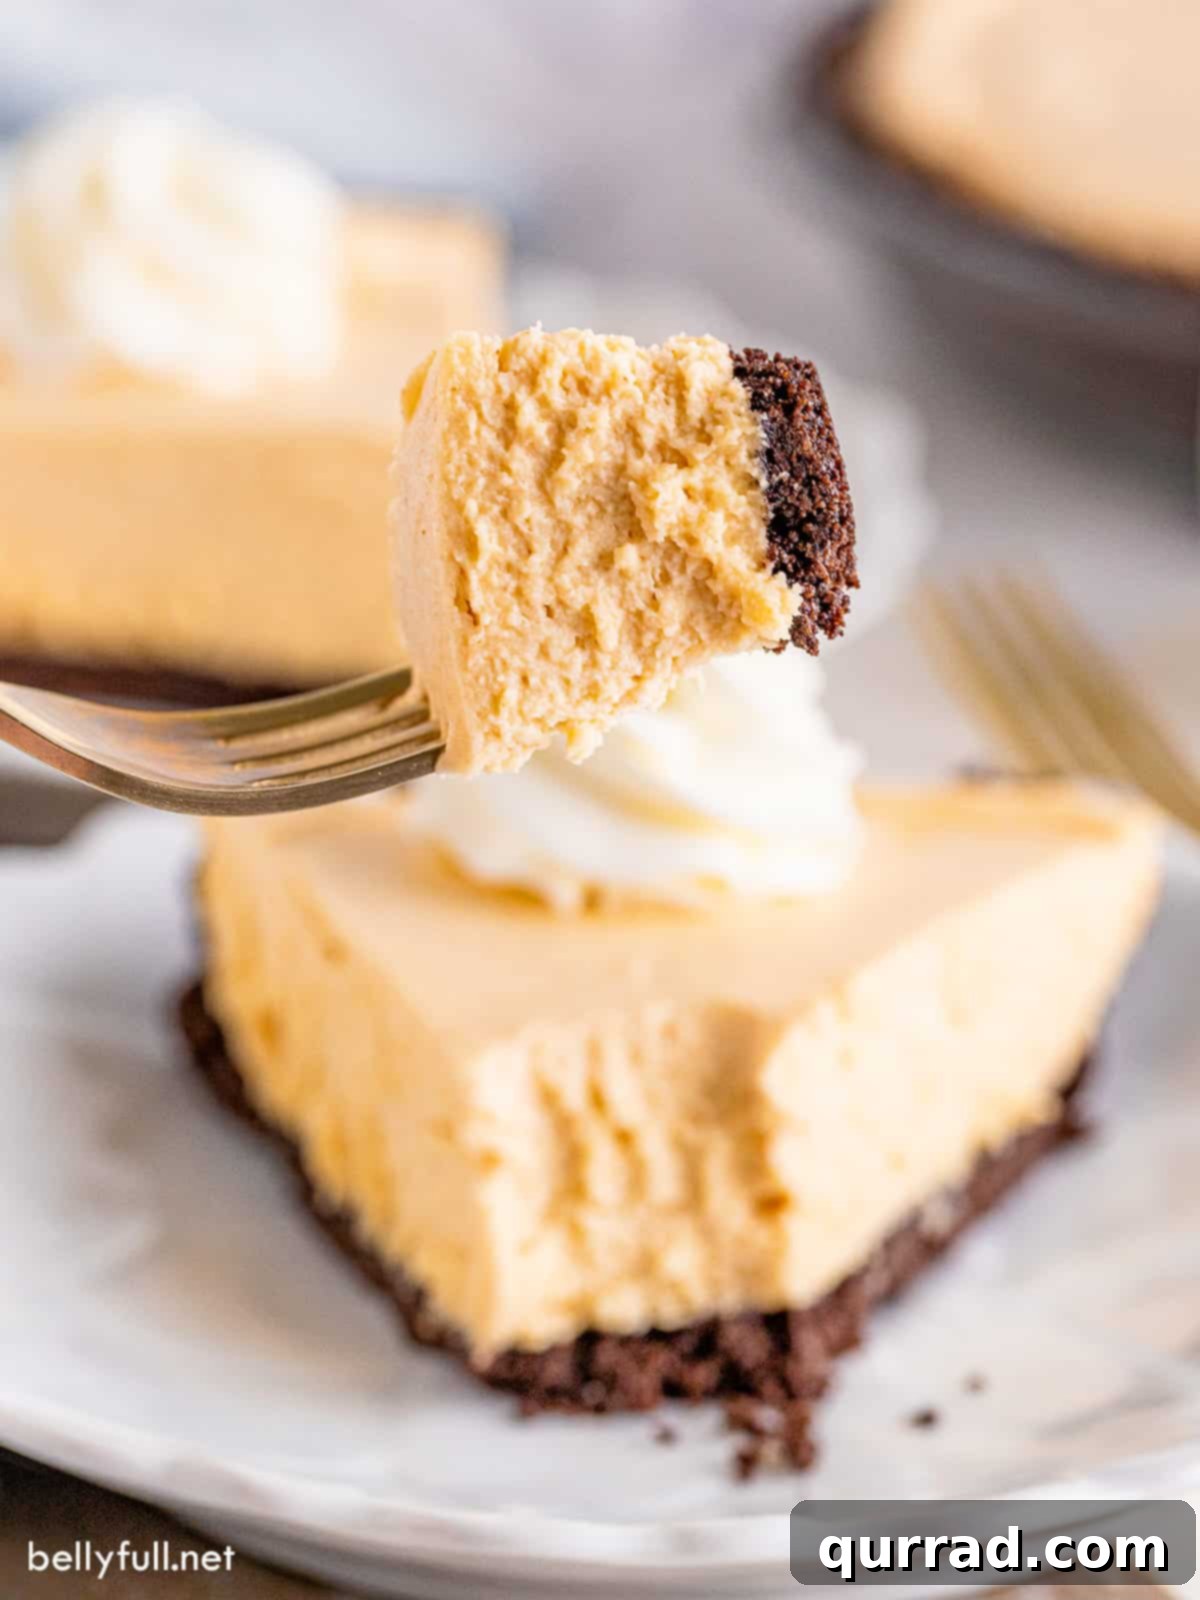
This dessert isn’t just easy to make; it’s a revelation in flavor and texture. The crunch of the chocolate cookie base provides a delightful contrast to the light and airy, yet deeply satisfying, peanut butter mousse-like filling. It’s a testament to how simple ingredients can come together to create something truly extraordinary. Whether you’re a seasoned baker or a complete novice, this recipe empowers you to create a show-stopping dessert that will impress everyone, all without ever switching on your oven. It’s the ultimate solution for effortless entertaining and a guaranteed smile-inducer.
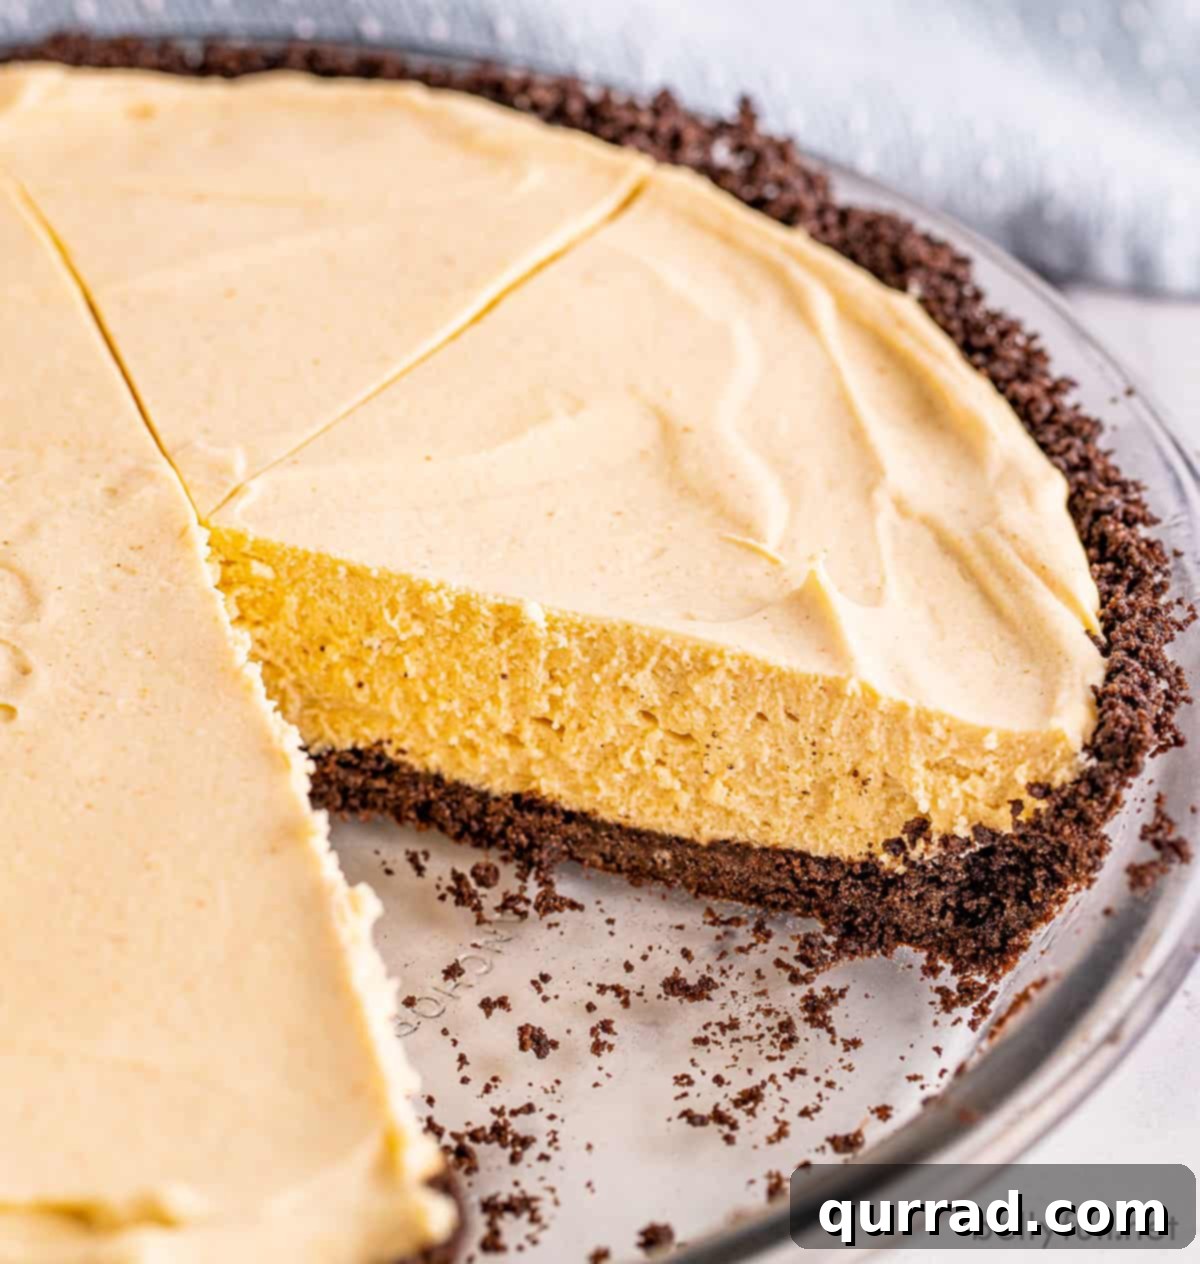
Why You’ll Love This Easy Peanut Butter Pie
Beyond its nostalgic appeal and incredible flavor, there are countless reasons why this no-bake peanut butter pie deserves a permanent spot in your recipe collection. It’s designed for convenience without sacrificing an ounce of taste, making it an ideal choice for busy schedules and relaxed entertaining.
- No Baking Required: This is arguably the biggest selling point! Keep your kitchen cool, especially during warm weather, and save energy by skipping the oven altogether. It’s the ultimate summer dessert solution.
- Minimal Prep Time: You’ll be amazed at how quickly this decadent dessert comes together. With just about 15-20 minutes of hands-on preparation, you can have it assembled and chilling in no time, leaving you more time to enjoy your day.
- Irresistible Flavor Combination: The pairing of rich chocolate from the Oreo crust with the sweet and savory depth of peanut butter creates a universally loved taste sensation that appeals to almost everyone.
- Perfect for Any Occasion: While fantastic for summer picnics and BBQs, this pie is equally at home on a holiday dessert table, a casual weeknight treat, or a special celebration. Its elegant appearance belies its simple preparation.
- Make-Ahead Magic: This pie requires significant chill time, making it an outstanding make-ahead dessert. Prepare it the day before your event, and it will be perfectly set and ready to serve when you need it, reducing last-minute stress.
- Simple, Accessible Ingredients: You won’t need any fancy or hard-to-find components. The ingredient list is short, sweet, and composed of pantry staples or items readily available at any grocery store.
- Crowd-Pleaser Guaranteed: Peanut butter lovers, chocolate fanatics, and dessert enthusiasts alike will all rave about this pie. It’s a dessert that sparks joy and always elicits requests for the recipe.
Essential Ingredients for a Perfect Peanut Butter Pie
Crafting this delightful no-bake pie requires just a handful of straightforward ingredients. Each component plays a vital role in achieving the perfect texture and flavor, from the crunchy crust to the creamy, dreamy filling. Pay attention to these details for the best results!
- Oreo Cookies (for the Crust): The star of our crust! Using whole Oreos (creme filling included) eliminates the need for extra sugar and delivers a rich, chocolatey foundation that perfectly complements the peanut butter filling. The chocolate-peanut butter synergy here is unmatched. You could experiment with other chocolate cookies or even graham crackers, but Oreos provide that classic, beloved flavor.
- Salted Butter (for the Crust): Melted butter is crucial for binding the cookie crumbs together, ensuring your crust is firm and holds its shape without being too dry or too greasy. Salted butter adds a subtle counterpoint to the sweetness of the cookies and filling.
- Heavy Whipping Cream (for the Filling): This is what gives our peanut butter filling its incredibly light, airy, and fluffy texture. When whipped to stiff peaks, it provides the necessary volume and stability, transforming the filling from dense to delightfully cloud-like. Ensure it’s very cold for optimal whipping.
- Cream Cheese (for the Filling): Essential for both flavor and structure. Cream cheese adds a wonderful tangy richness that balances the sweetness of the other ingredients and helps stabilize the filling, preventing it from becoming too loose. Remember to soften it to room temperature before using, as this is key for a smooth, lump-free filling.
- Powdered Sugar (for the Filling): Also known as confectioners’ sugar, this fine sugar is preferred over granulated sugar for fillings because it dissolves instantly, resulting in a perfectly smooth, silky texture without any grittiness. It sweetens the pie subtly, ensuring it’s not overly sweet but just right.
- Creamy Peanut Butter (for the Filling): The heart of the pie! Any creamy peanut butter brand you prefer (like Jif or Skippy) will work wonderfully. However, be mindful that natural peanut butters, while delicious, often have a slightly grittier texture and can sometimes separate, potentially affecting the overall smoothness of the filling. For the creamiest pie, a traditional, shelf-stable creamy peanut butter is recommended.
- Vanilla Extract (for the Filling): A touch of pure vanilla extract enhances all the other flavors, adding a warm, aromatic depth that truly elevates the pie. Don’t skip this essential flavor booster!
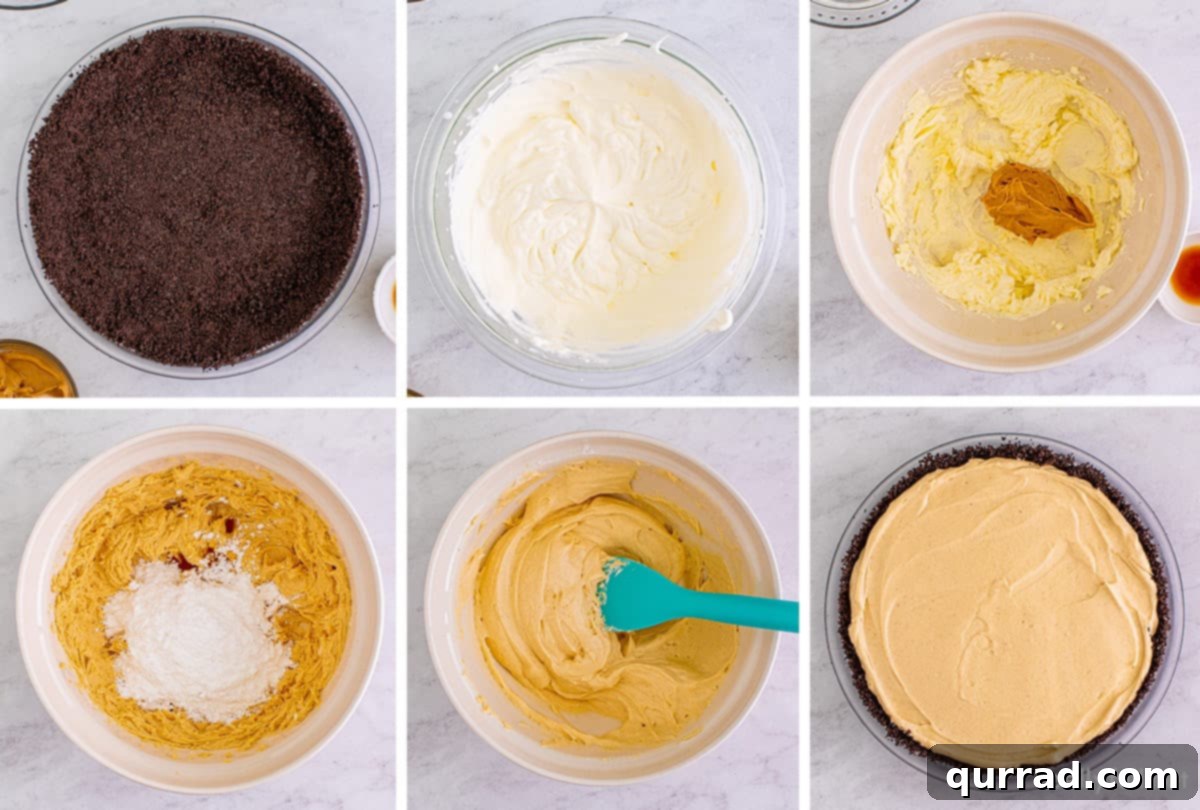
Step-by-Step: Crafting Your No-Bake Peanut Butter Pie
Creating this irresistible no-bake dessert is incredibly straightforward and takes minimal hands-on time – typically just about 15-20 minutes, plus crucial chilling time. Follow these simple steps to bring this sweet dream to life.
Making the Oreo Crust
- Prepare the Cookies: Start by placing the whole Oreo cookies (including the creme filling) into a food processor. Pulse until the cookies are finely ground into even crumbs. Consistency is key here; you want fine crumbs, not large chunks, for a uniform crust. If you don’t have a food processor, you can place the cookies in a large zip-top bag and crush them with a rolling pin.
- Add the Butter: With the food processor running on low or pulsing, slowly stream in the melted salted butter. Continue to process until the crumbs are thoroughly moistened and resemble wet sand. The butter will help bind the crumbs together.
- Form the Crust: Transfer the buttery cookie crumbs into a 9-inch pie plate. Using the bottom of a flat measuring cup or your knuckles, firmly press the crumbs evenly into the bottom and slightly up the sides of the pie plate. It’s important to compact the crust well to prevent it from crumbling when sliced.
- Chill the Crust: Place the pie plate with the formed crust into the freezer for at least 30 minutes. This step helps the butter solidify and the crust to firm up, creating a sturdy base for your filling.
Preparing the Creamy Peanut Butter Filling
- Whip the Heavy Cream: In a large, very cold mixing bowl, pour the heavy whipping cream. Using an electric mixer (stand mixer with a whisk attachment or a hand mixer), whip the cream on medium-high speed until stiff peaks form. Stiff peaks mean that when you lift the beaters, the cream stands up straight without drooping. Be careful not to over-whip, as it can turn into butter. Set the whipped cream aside.
- Beat the Cream Cheese: In a separate large bowl, place the softened cream cheese. Whip it with an electric hand mixer until it is completely smooth and creamy, with no lumps. This is crucial for a silky filling.
- Add Powdered Sugar: Gradually add the powdered sugar to the cream cheese, mixing on low speed until fully incorporated and the mixture is smooth and light.
- Combine Peanut Butter and Vanilla: Stir in the creamy peanut butter and vanilla extract into the cream cheese mixture until well combined and smooth.
- Fold in Whipped Cream: Gently, yet thoroughly, fold the reserved whipped cream into the peanut butter mixture using a spatula. Use a light hand to preserve the airiness of the whipped cream, ensuring the filling remains light and fluffy. Continue folding until no white streaks of whipped cream remain, and the mixture is uniformly blended.
Assembling and Chilling Your Pie
- Fill the Crust: Remove the chilled Oreo crust from the freezer. Pour the prepared peanut butter filling evenly over the crust. Use a spatula to gently smooth out the top of the filling, creating an even surface.
- The Crucial Chill: Cover the pie plate tightly with plastic wrap. Place it in the refrigerator for a minimum of 5 hours to allow the filling to set completely. For the absolute best results and a perfectly firm, sliceable pie, chilling it overnight is highly recommended.
- Serve and Enjoy: Once thoroughly chilled and set, remove the plastic wrap. Slice the pie into individual servings and garnish with your favorite toppings just before serving.
Achieving Peanut Butter Pie Perfection: Expert Tips and Tricks
While this no-bake peanut butter pie recipe is incredibly simple, a few expert tips can elevate your dessert from great to absolutely phenomenal. Paying attention to these small details will ensure a flawless, delicious pie every time.
- Soften Your Cream Cheese: This cannot be stressed enough! Cold cream cheese will result in a lumpy filling. Ensure your cream cheese is at room temperature and soft before you begin mixing. This allows it to whip up smoothly and incorporate seamlessly with the other ingredients, creating that velvety texture we’re aiming for.
- Keep Whipping Cream Cold: Conversely, heavy whipping cream performs best when it’s very cold. For even better results, chill your mixing bowl and whisk attachment in the freezer for 10-15 minutes before whipping the cream. This helps the cream whip up faster and achieve stiffer, more stable peaks.
- Pack the Crust Tightly: When pressing the Oreo crumbs into the pie plate, use firm, even pressure. A flat-bottomed measuring cup is an excellent tool for this, or you can use your fingers. A well-packed crust will hold its shape beautifully when sliced and prevent crumbling.
- Gentle Folding for Fluffy Filling: When incorporating the whipped cream into the peanut butter mixture, use a gentle folding technique. Over-mixing will deflate the whipped cream, resulting in a denser, less airy filling. Use a spatula to scoop from the bottom and fold over, turning the bowl as you go, until just combined.
- The Importance of Chill Time: Patience is a virtue, especially with no-bake desserts. The minimum 5-hour chill time is essential for the pie to set properly. If you cut into it too soon, the filling might be too soft. For the best, firmest slices, an overnight chill is truly ideal, making this a fantastic make-ahead option.
- Easy Slicing Trick: Worried about the crust sticking to the pie dish or difficulty getting clean slices? Here’s a brilliant trick: just before slicing, dip the bottom of your pie plate into hot water for about 5 to 10 seconds. The warmth will slightly loosen the crust from the pan, making it much easier to slice and serve perfectly intact pieces without any sticking. Clean your knife between slices with hot water for even neater cuts.
Customizing Your Peanut Butter Pie: Variations & Add-ins
While this no-bake peanut butter pie is spectacular on its own, it’s also a fantastic canvas for creativity! Feel free to experiment with these variations and add-ins to make it uniquely yours.
- Crust Variations:
- Graham Cracker Crust: For a more traditional pie crust flavor, substitute crushed graham crackers for the Oreos. You might need to add a tablespoon or two of sugar to the crumbs before mixing with butter.
- Nilla Wafer or Shortbread Crust: These offer a buttery, vanilla-flavored base that pairs wonderfully with peanut butter.
- Pretzel Crust: For a delightful sweet and salty contrast, crush pretzels and mix them with melted butter and a touch of sugar.
- Filling Enhancements:
- Chocolate Chips: Fold in mini chocolate chips or chopped chocolate bars into the peanut butter filling for an extra layer of chocolatey goodness and textural intrigue.
- Candy Pieces: Crush up your favorite peanut butter candy bars (like Reese’s Peanut Butter Cups) and fold them into the filling, or sprinkle them on top.
- Marshmallow Fluff: For an even lighter and sweeter filling, fold in a few spoonfuls of marshmallow fluff along with the whipped cream.
- Espresso Powder: A pinch of instant espresso powder (about 1/2 teaspoon) can deepen the chocolate and peanut butter flavors without making the pie taste like coffee.
- Topping Extravaganza: The possibilities for topping this pie are endless and can truly elevate its presentation and taste.
- Chocolate Ganache or Sauce: Drizzle homemade chocolate ganache or your favorite chocolate sauce over the top just before serving.
- Caramel Drizzle: A luscious caramel sauce adds a rich, buttery sweetness that complements the peanut butter beautifully.
- Chopped Nuts: Sprinkle chopped roasted peanuts, pecans, or walnuts for added crunch and nutty flavor.
- Sprinkles: A festive shower of sprinkles is perfect for birthdays or celebrations.
- Cocoa Powder: A light dusting of cocoa powder offers a sophisticated touch and enhances the chocolate notes.
- Peanut Butter Drizzle: Melt a bit of extra peanut butter and drizzle it decoratively over the top.
Serving Suggestions and Presentation
Once your No Bake Peanut Butter Pie has achieved its perfect set, it’s time to prepare it for serving. Remember, this pie is best enjoyed chilled, so keep it refrigerated until the very last moment to maintain its delightful consistency.
While the pie is undeniably delicious on its own, adding a few thoughtful garnishes can truly elevate the experience and make it a showstopper. If you plan to serve the entire pie at once, you can decorate the whole surface. However, if you anticipate having leftovers, it’s often best to add toppings to individual slices just before serving to keep the main pie pristine and fresh in the fridge.
Here are some serving and presentation ideas to inspire you:
- Classic Whipped Cream: A generous dollop of homemade whipped cream is a timeless and perfect pairing. You can pipe it elegantly with a star tip or simply spoon it on for a rustic look.
- Chocolate Drizzles: A zigzag of warm chocolate sauce or melted chocolate over each slice adds a rich visual and flavor punch.
- Caramel Swirls: For a decadent twist, add a drizzle of caramel sauce alongside or instead of the chocolate.
- Peanut Butter Chips or Crumbles: Sprinkle some mini peanut butter chips or finely crumbled peanut butter cookies over the whipped cream for extra texture and flavor.
- Chocolate Shavings or Curls: Use a vegetable peeler on a block of chocolate to create elegant shavings or curls as a garnish.
- Chopped Peanuts: A sprinkle of finely chopped roasted peanuts adds a lovely crunch and emphasizes the peanut butter flavor.
- Fresh Berries: Believe it or not, a few fresh raspberries or sliced strawberries can offer a bright, tart counterpoint that cuts through the richness beautifully.
For an extra touch of sophistication, consider dusting the top of the pie or individual slices with a light layer of cocoa powder or powdered sugar before adding other toppings. Serve each slice on a pretty plate, perhaps with a small side of coffee or a glass of cold milk, and watch your guests delight in this creamy, dreamy dessert!
Watch: How to Make Peanut Butter Pie
For a visual guide to making this delightful dessert, watch our step-by-step video tutorial. It covers all the essential techniques, from crushing the Oreos to achieving that perfectly fluffy filling, ensuring your No Bake Peanut Butter Pie turns out flawlessly every time!
Proper Storage: Keeping Your Pie Fresh
One of the many benefits of this no-bake pie is how well it stores, making it an excellent choice for meal prep or enjoying leftovers throughout the week. Proper storage is key to maintaining its delicious texture and flavor.
- How to Store Leftovers: Any leftover No Bake Peanut Butter Pie should be kept in the refrigerator. To prevent it from absorbing odors or drying out, cover the pie plate tightly with plastic wrap or transfer individual slices to an airtight container. Stored correctly, the pie will remain fresh and delicious for up to 4 days. The filling will soften if left out at room temperature for too long, so always return it to the fridge promptly after serving.
- Can I Freeze This?: Absolutely! This pie freezes beautifully, allowing you to enjoy a slice whenever a craving strikes.
- To Freeze: Allow the pie to set completely in the fridge overnight. Once firm, wrap the entire pie (in its plate) tightly with several layers of plastic wrap, followed by a layer of aluminum foil. This double-layer protection is crucial to prevent freezer burn.
- Duration: It can be frozen for up to 3 months.
- To Thaw: When you’re ready to enjoy, transfer the frozen pie to the refrigerator and let it thaw overnight. Avoid thawing at room temperature, as this can affect the texture of the filling. Once thawed, it’s ready to slice and serve!
More Irresistible No-Bake Desserts to Try
If you’ve fallen in love with the ease and deliciousness of this No Bake Peanut Butter Pie, you’ll be thrilled to discover a whole world of other fantastic no-bake treats. These desserts are perfect for keeping your kitchen cool and your sweet tooth satisfied with minimal effort.
- Tiramisu Trifle
- Key Lime Cheesecake Parfaits
- Chocolate Lasagna
- Banana Cream Lush
- Ice Cream Sandwich Cake
We hope you truly adore this delightful and easy recipe for No Bake Peanut Butter Pie! Your feedback is invaluable, so please be sure to give it a review below if you’ve made it. Also, don’t forget to follow Belly Full on TikTok, Facebook, Instagram, Pinterest, and YouTube for more delicious recipes and culinary inspiration!
No Bake Peanut Butter Pie
20
5
5 20
6 slices
Pin
Ingredients
For the Crust
- 24 whole Oreos
- 4 tablespoons salted butter, melted
For the Filling
- 1 cup heavy whipping cream
- 8 ounces cream cheese, softened
- 1 cup powdered sugar
- 1/2 cup creamy peanut butter
- 1 1/2 teaspoons vanilla extract
Instructions
-
Place the Oreos in a food processor and process until they are fine crumbs. Stream in the butter while pulsing. Press this into the bottom of a 9-inch pie plate. Make sure to really pack in the crumbs (I like to use the bottom of a flat measuring cup to do this.)
-
Place the pie plate into the freezer for 30 minutes.
-
Pour the heavy cream in a large bowl and using an electric mixer, whip to stiff peaks. Set aside.
-
Place the cream cheese into a large bowl and whip with an electric hand mixer until smooth. Add the powdered sugar a little at a time until mixed in. Add the peanut butter and vanilla, mix to combine.
-
Gently fold in the whipped cream until there are no streaks left.
-
Pour the peanut butter mixture into the crust and smooth out the top. Cover with plastic wrap and place in the fridge for a minimum of 5 hours until set, ideally overnight.
-
Slice and serve with your favorite toppings.
Video
A video tutorial for making this No Bake Peanut Butter Pie can be found at the link provided above in the main article body.
Nutrition
Nutritional information given is an automatic calculation and can vary based on the exact products you use and any changes you make to the recipe. If these numbers are very important to you, I would recommend calculating them yourself.