
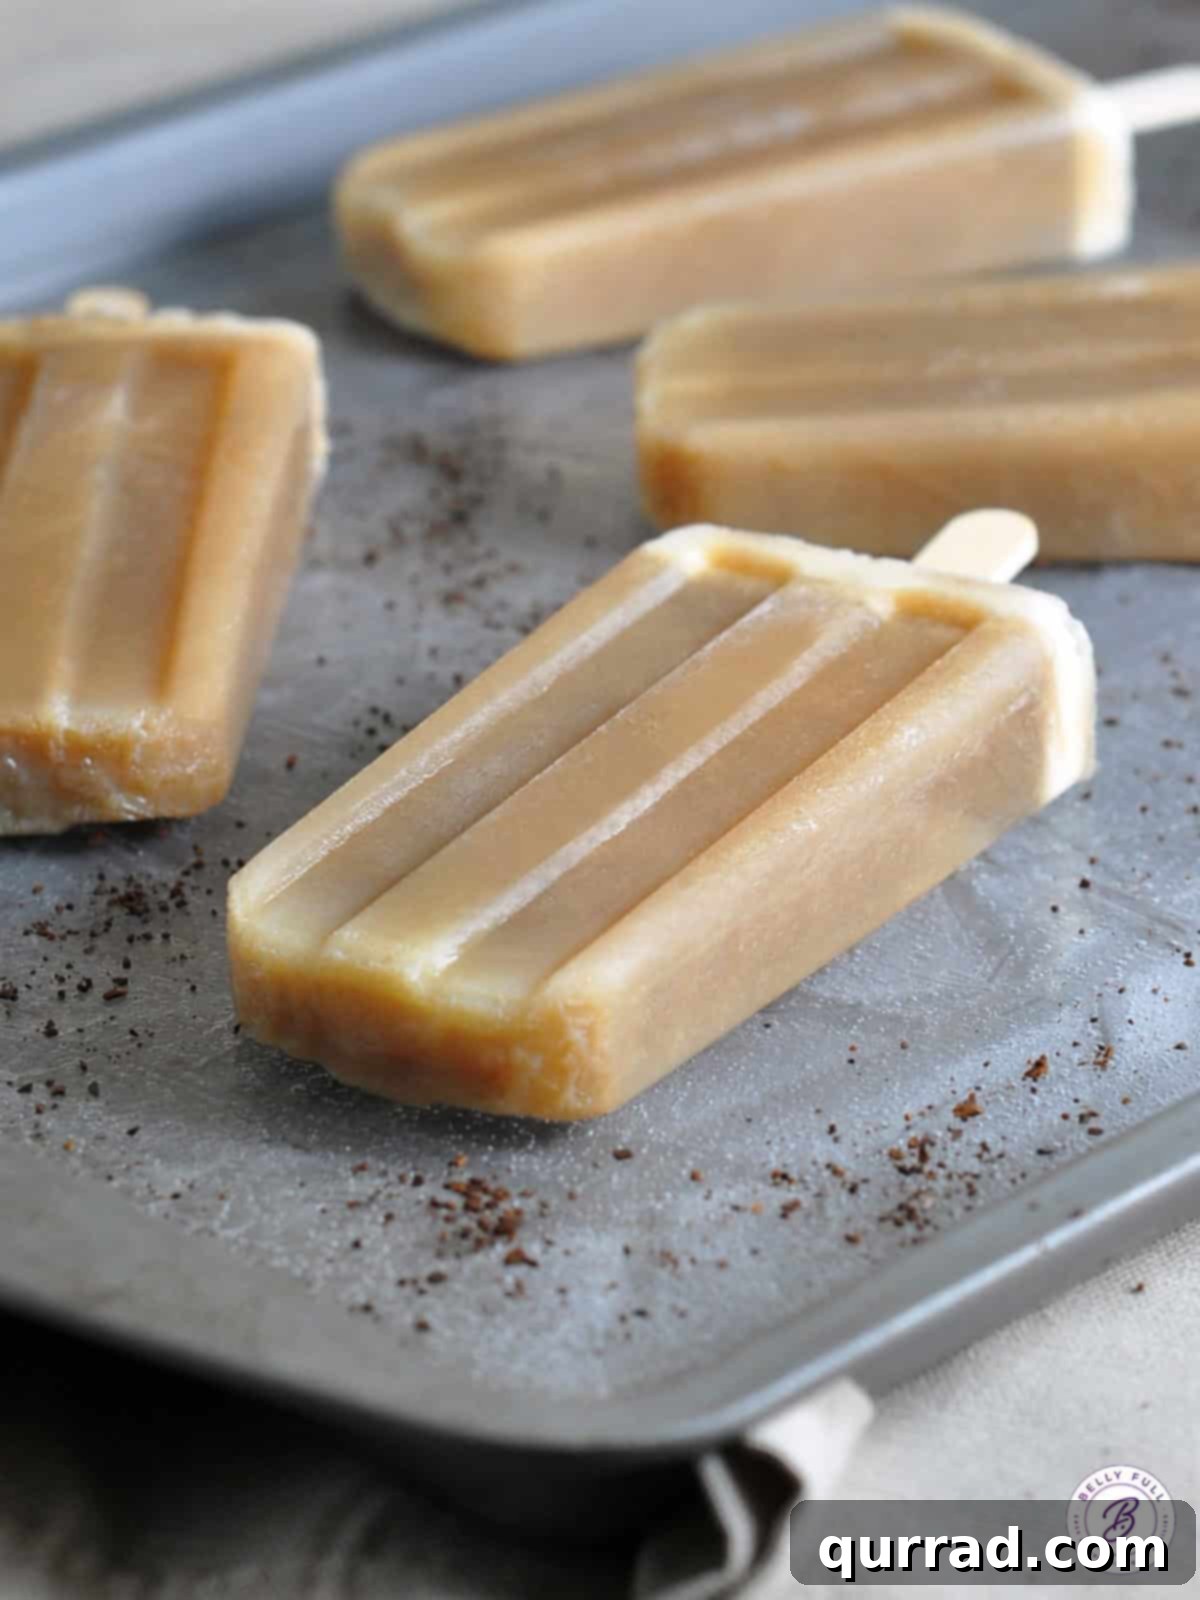
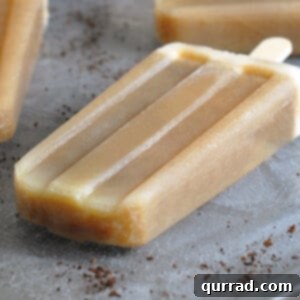
Transforming a classic American soda fountain favorite into a delightful frozen treat, these Root Beer Float Popsicles are the ultimate portable indulgence for any hot day. Imagine the nostalgic taste of creamy vanilla ice cream swirled with bubbly root beer, now perfectly encapsulated in a convenient, mess-free popsicle. This simple yet ingenious recipe brings back cherished memories while offering a refreshing escape from the summer heat.
Beyond these sensational popsicles, the beloved root beer float flavor can be enjoyed in various forms. For more easy root beer treats, be sure to explore our root beer float granita, a wonderfully icy and refreshing dessert, and our delightful root beer float cupcakes, perfect for parties and gatherings.
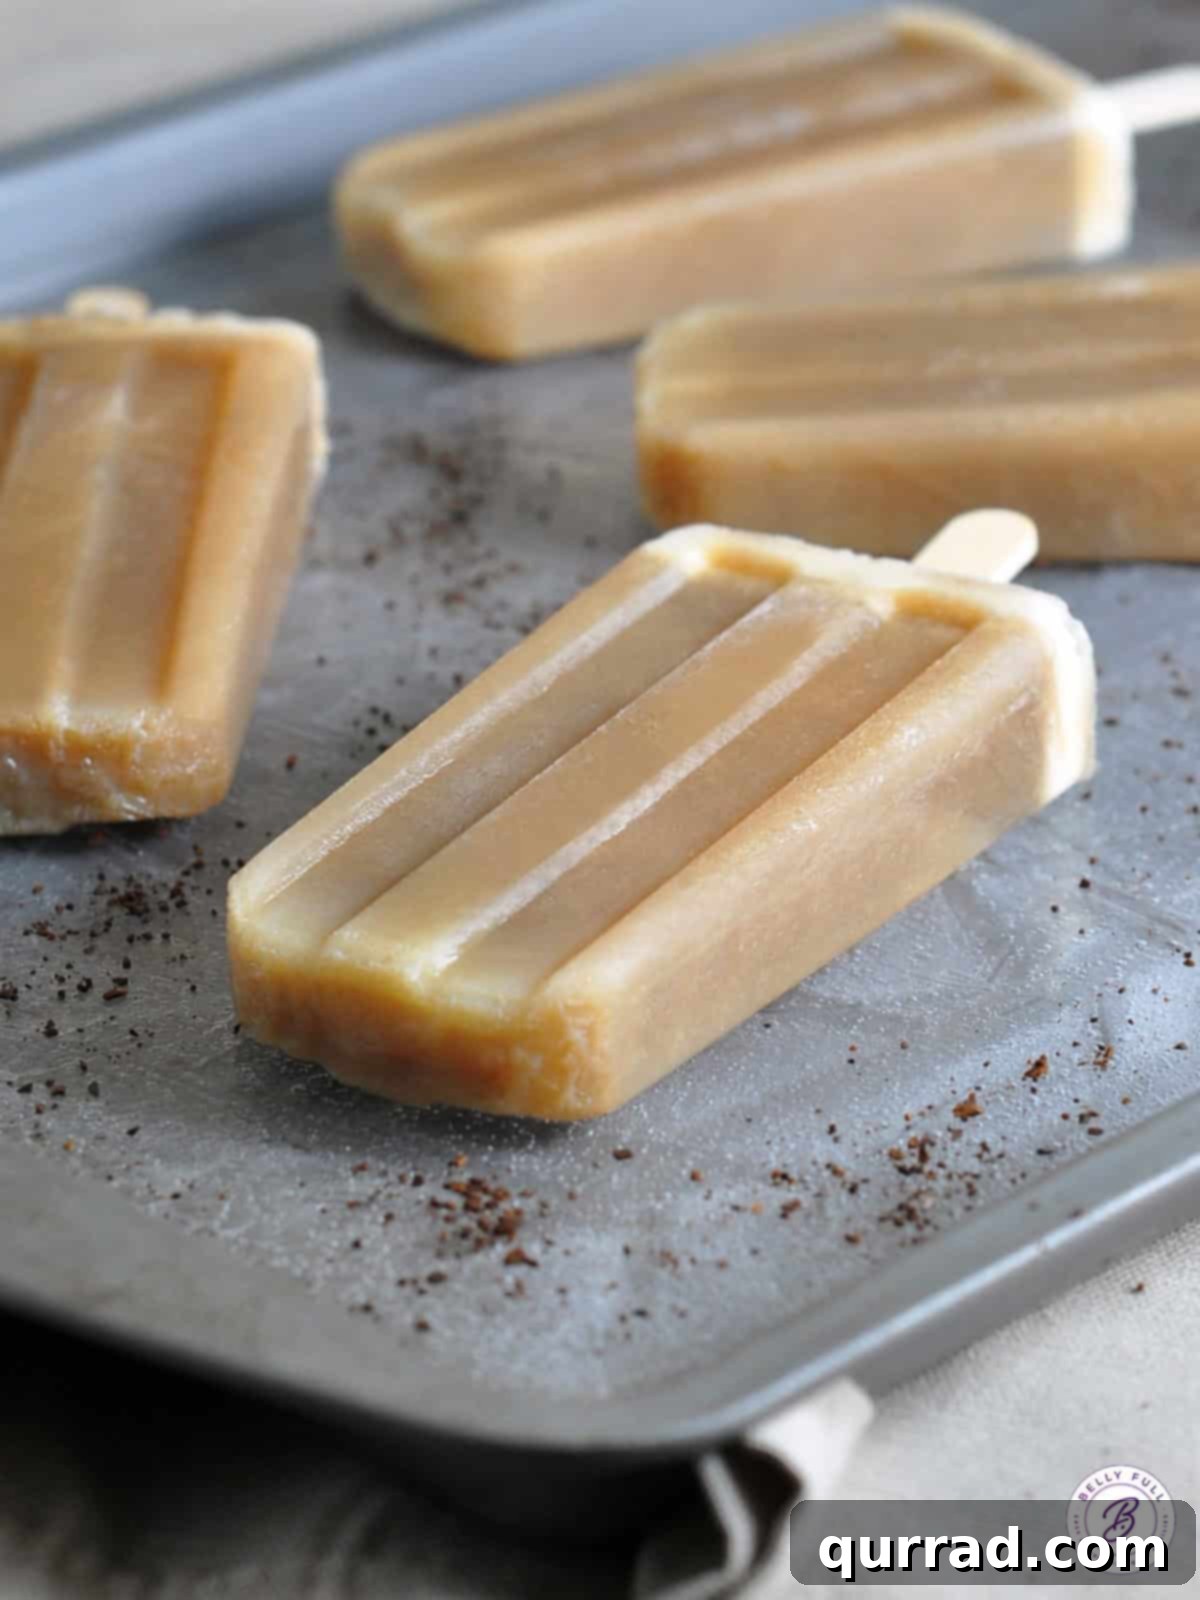
Unlocking Summer Bliss: The Magic of Homemade Root Beer Float Popsicles
There’s something uniquely American about a root beer float. That fizzy, sweet, slightly spicy kick of root beer meeting the cool, creamy embrace of vanilla ice cream creates a symphony of flavors and textures that evokes pure joy. For many, it’s a taste of childhood, a simple pleasure that never fades. I vividly recall a memorable gift from my friend, Michele: a curated collection of 12 distinct root beers, each with its own character and charm. From the moment I sampled the first bottle, I was captivated by the diverse nuances of this classic beverage. It solidified root beer as my absolute favorite soda, even if I usually reserve it for special occasions or, more often, for incorporating into delectable recipes.
And what better way to celebrate this iconic flavor than by turning it into a convenient, handheld frozen treat? That’s where these homemade Root Beer Float Popsicles come in. They capture all the bubbly, creamy goodness of a traditional float but offer the added benefit of being perfectly portable and much less messy – ideal for backyard BBQs, poolside relaxation, or simply enjoying on the go. It’s an easy, two-ingredient wonder that promises to become a staple in your summer dessert rotation.
The Simple Ingredients You’ll Need
One of the most appealing aspects of this recipe is its incredible simplicity. You truly only need two core ingredients to create these irresistible popsicles. The magic lies in the quality of these components and a little preparation.
- Root Beer: The star of the show! While any root beer will technically work, a high-quality brand can make a noticeable difference in the final flavor profile. Look for root beers with complex notes of sarsaparilla, vanilla, and wintergreen for the most authentic and satisfying taste.
- Vanilla Ice Cream: The creamy counterpart. Opt for a good quality vanilla ice cream with a rich, full flavor. French vanilla or even vanilla bean ice cream can elevate these popsicles to an even higher level of deliciousness. The creaminess of the ice cream is crucial for achieving that signature float texture when frozen alongside the root beer.
That’s it! Just these two simple ingredients are all you need to whip up a batch of these extraordinary summer treats. No complicated syrups, no obscure additives – just pure, unadulterated root beer float bliss.
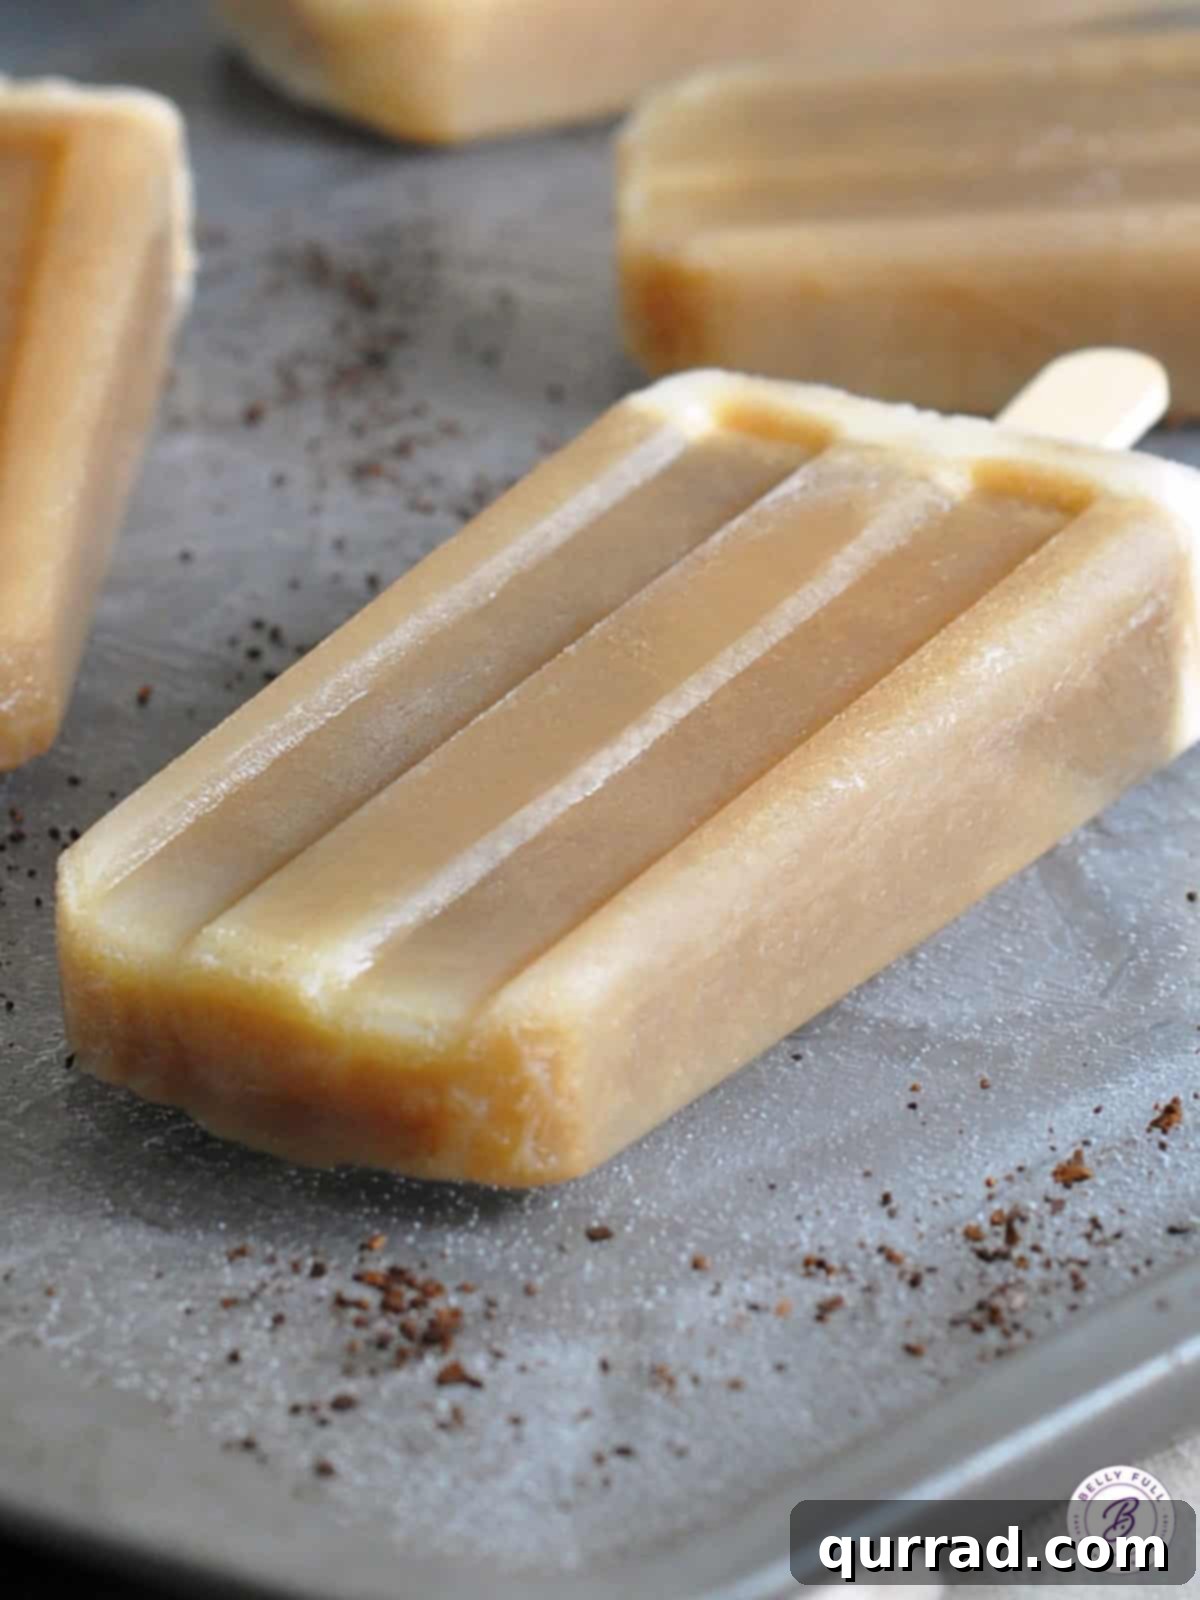
Crafting Your Own Root Beer Float Popsicles: A Step-by-Step Guide
Making homemade popsicles might sound daunting if you’ve never tried it, but it’s remarkably straightforward and incredibly rewarding. The process is quick, and the results are consistently delicious. Follow these detailed steps to create your perfect batch of Root Beer Float Popsicles:
- Prepare Your Root Beer (Crucial First Step): This is perhaps the most important tip for success. You need cold, *flat* root beer. The carbonation in fresh root beer will cause excessive bubbling and prevent the popsicles from setting correctly, resulting in a less desirable texture. To achieve flat root beer, simply open a bottle or can and place it in the refrigerator at least 24 hours before you plan to make the popsicles. This allows the carbonation to naturally dissipate, ensuring a smooth pour and a beautifully cohesive popsicle.
- Add Ice Cream to Molds: Working relatively quickly to prevent the ice cream from melting too much, spoon or place small chunks of vanilla ice cream into each popsicle mold. Fill them about two-thirds of the way full. Aim for an even distribution of ice cream in each mold, gently pressing it down to avoid large air pockets, which can lead to ice crystal formation. The amount will depend on your mold size; for standard 1/3 cup molds, adjust accordingly.
- Slowly Pour in Root Beer: With the ice cream in place, slowly and carefully pour the prepared flat root beer into a corner of each mold. Fill the molds nearly to the top, leaving a small amount of headspace to allow for expansion as they freeze. Pouring slowly helps the root beer seep around the ice cream without creating too many new bubbles, even with flat soda.
- Initial Freeze and Stick Insertion: Place the filled molds into the freezer for approximately 1 hour. This initial freezing time allows the mixture to firm up slightly, but not completely solidify. After 1 hour, carefully insert the popsicle sticks into the center of each mold. The partially frozen mixture will hold the sticks upright, ensuring they are perfectly centered for easy enjoyment later.
- Continue Freezing: Once the sticks are in place, return the molds to the freezer and continue freezing for at least 5 more hours, or ideally overnight, until the popsicles are completely solid. The total freezing time can vary depending on your freezer’s temperature and the size of your molds.
- Effortless Removal and Enjoyment: To easily remove your frozen Root Beer Float Popsicles from their molds, run the outsides of the molds under warm tap water for a few seconds. This gentle warmth will loosen the edges, allowing you to carefully pull the sticks and release the popsicles without breaking them. Serve immediately and savor every creamy, root-beer-infused bite!
Tips for Popsicle Perfection
While the recipe itself is simple, a few extra tips can help ensure your Root Beer Float Popsicles turn out perfectly every time:
- Embrace Flat Root Beer: We can’t stress this enough! Carbonation is the enemy of smooth, well-formed popsicles. If you don’t allow your root beer to go flat, you’ll end up with a porous, icy, and somewhat crumbly texture rather than the creamy, solid treat you desire. Planning ahead by opening a bottle a day before is key.
- Understanding Your Popsicle Molds: This recipe was developed using standard bar-shaped molds, each typically holding around 1/3 cup. If you’re using different types of molds—perhaps smaller or larger ones, or molds with unique shapes—you might need to adjust the quantities of root beer and ice cream accordingly. Thicker or wider molds may also require a longer freezing time. Knowing your equipment will lead to better results.
- Optimal Ice Cream Consistency: For easier scooping and better integration with the root beer, allow your vanilla ice cream to soften slightly at room temperature for about 5-10 minutes before placing it into the molds. It should be pliable but not melted.
- Layering for Visual Appeal (Optional): For a more distinct two-tone look, you can try partially freezing the ice cream layer first (about 1-2 hours) before adding the root beer. Then, insert the sticks and freeze completely. This creates beautiful, defined layers.
- Preventing Freezer Burn: Once the popsicles are completely frozen and removed from their molds, individually wrap each one in plastic wrap or parchment paper. This helps prevent freezer burn and keeps them tasting fresh.
- Consider Your Root Beer Choice: Experiment with different brands of root beer. Some are sweeter, some have a stronger sarsaparilla flavor, and others are creamier. Finding your favorite will significantly enhance your popsicle experience.
Make Ahead and Storage for Extended Enjoyment
One of the many benefits of making homemade popsicles is the ability to prepare them in advance, ensuring you always have a refreshing treat on hand. These Root Beer Float Popsicles are perfect for making ahead, whether for a spontaneous snack or a planned summer gathering.
You can keep your freshly made popsicles in their molds for a few days, especially if you anticipate enjoying them regularly as a quick summer treat. However, for longer-term storage, it’s best to remove them from the molds. Once fully frozen and removed, individually wrap each popsicle tightly in plastic wrap or parchment paper. This crucial step helps prevent freezer burn and keeps them from sticking together.
After wrapping, transfer the popsicles to reusable plastic freezer bags or an airtight plastic container. If you’re stacking multiple layers of popsicles in a container, be sure to place a piece of parchment paper between each layer to prevent them from freezing together. Stored properly in an airtight container or bag, these delicious Root Beer Float Popsicles will stay fresh and flavorful in the freezer for up to a few weeks. This makes them an ideal make-ahead dessert for busy weeks or unexpected cravings.
Beyond Root Beer: More Homemade Popsicles To Try
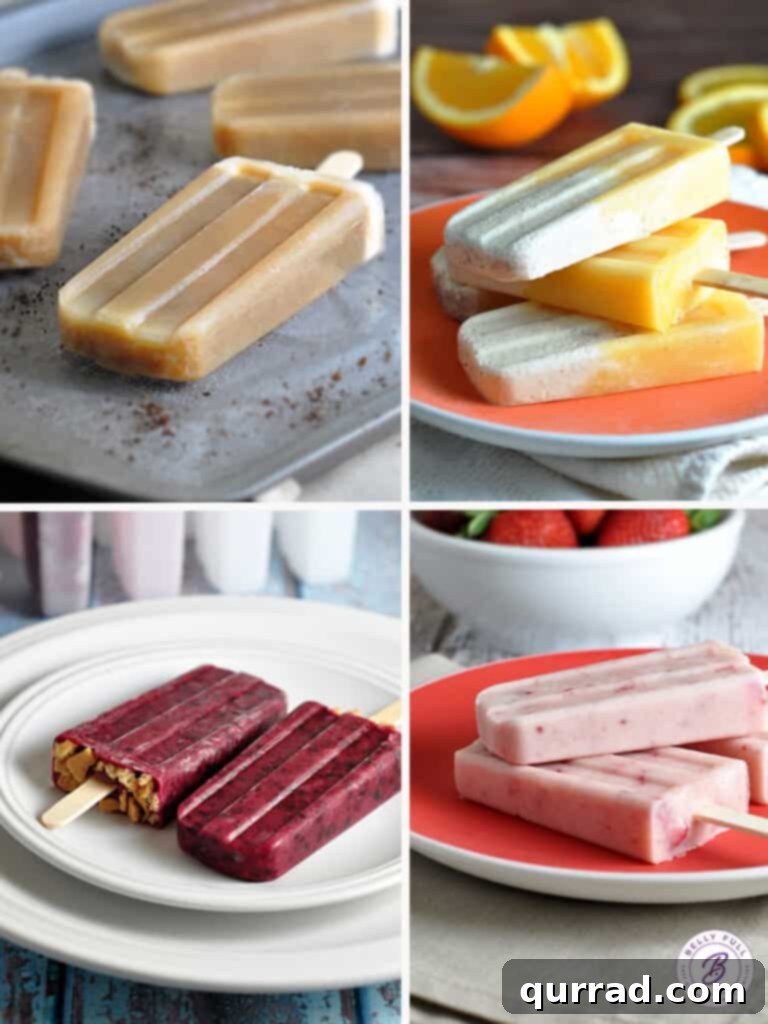
The world of homemade popsicles is vast and exciting! Once you master the simple technique of making these Root Beer Float Popsicles, you’ll be inspired to try a variety of other flavor combinations. Popsicles are a fantastic way to experiment with different fruits, creams, and even spices to create unique frozen delights. Here are some other fantastic homemade popsicle recipes to inspire your culinary adventures and keep you cool all summer long:
- Mexican Chocolate Pops: Rich, creamy, and with a delightful hint of spice, these popsicles offer a sophisticated twist on a classic flavor.
- Orange Creamsicles: A beloved nostalgic treat, these vibrant orange and vanilla swirls are pure sunshine on a stick.
- Blackberry Cheesecake Pops: Indulge in the decadent flavors of cheesecake combined with sweet and tart blackberries in a refreshing frozen form.
- Strawberry Jam Pops: Simple, fruity, and creamy, these popsicles are a fantastic way to use up leftover jam and yogurt for a healthy-ish treat.
Each of these recipes offers a different flavor experience, proving that homemade popsicles are a versatile and endlessly customizable dessert. Don’t hesitate to get creative and experiment with your favorite combinations!
We truly hope you enjoy making and tasting this simple yet incredibly delicious Root Beer Float Popsicle recipe. If you try it, please consider leaving a review below to share your experience! We love hearing from you. Don’t forget to follow Belly Full on your favorite social media platforms for more recipe inspiration, cooking tips, and behind-the-scenes fun. Find us on TikTok, Facebook, Instagram, Pinterest, and YouTube!
★
★
★
★
Root Beer Float Popsicles
10 mins
6 hrs
6 hrs 10 mins
8 popsicles
Pin
Ingredients
- 1 & 1/2 cups cold, flat root beer
- 2 cups vanilla ice cream
Instructions
-
Place chunks of ice cream in each popsicle mold, working quickly before it melts.
-
Slowly pour the root beer into a corner of each mold, filling to the top.
-
Freeze for 1 hour, place sticks in the molds, and continue to freeze for at least 5 hours.
-
To remove pops, run hot water over the outsides of the molds for a few seconds, then gently pull the sticks.
Notes
Filling the popsicle molds. This popsicle recipe was created using a standard bar-shaped mold, each holding about 1/3 cup. If you are using a different mold, you might need to adjust the ingredients.
Nutrition
Carbohydrates: 12g |
Protein: 1g |
Fat: 3g |
Saturated Fat: 2g |
Cholesterol: 14mg |
Sodium: 32mg |
Potassium: 65mg |
Sugar: 11g |
Vitamin A: 140IU |
Vitamin C: 0.2mg |
Calcium: 44mg
Nutritional information given is an automatic calculation and can vary based on the exact products you use and any changes you make to the recipe. If these numbers are very important to you, I would recommend calculating them yourself.