
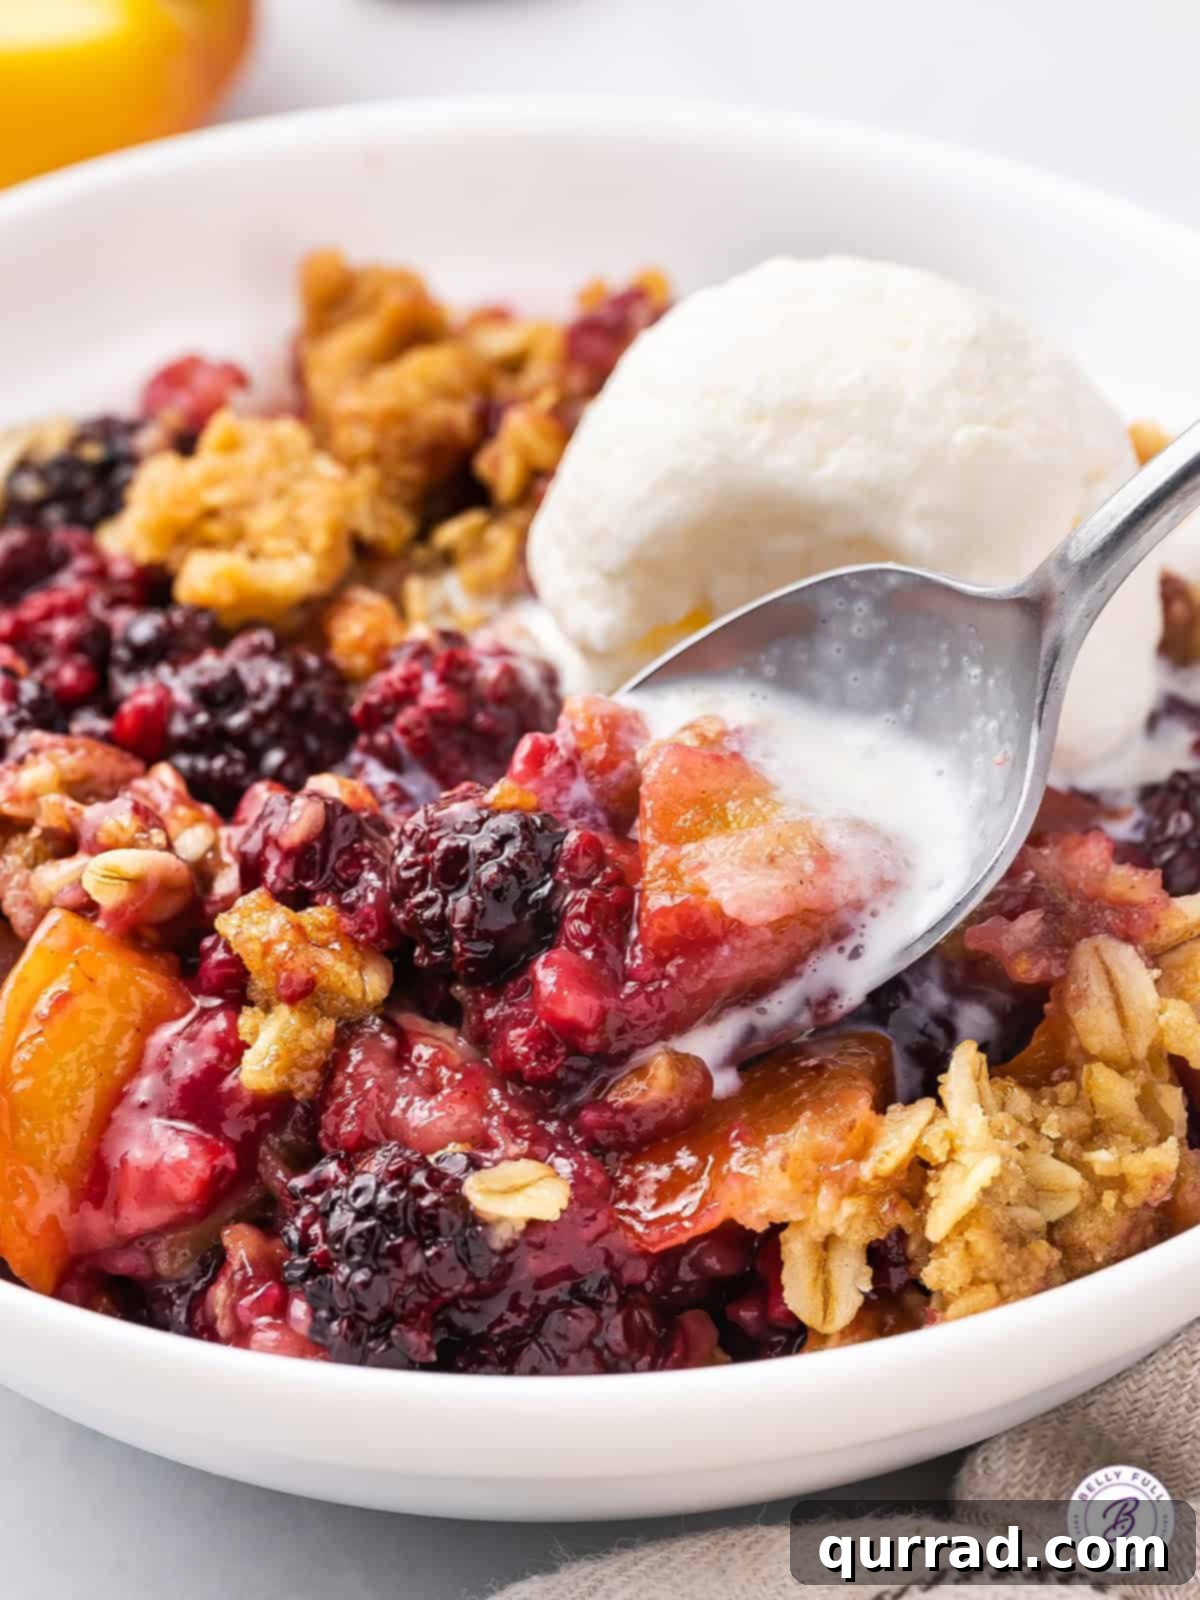
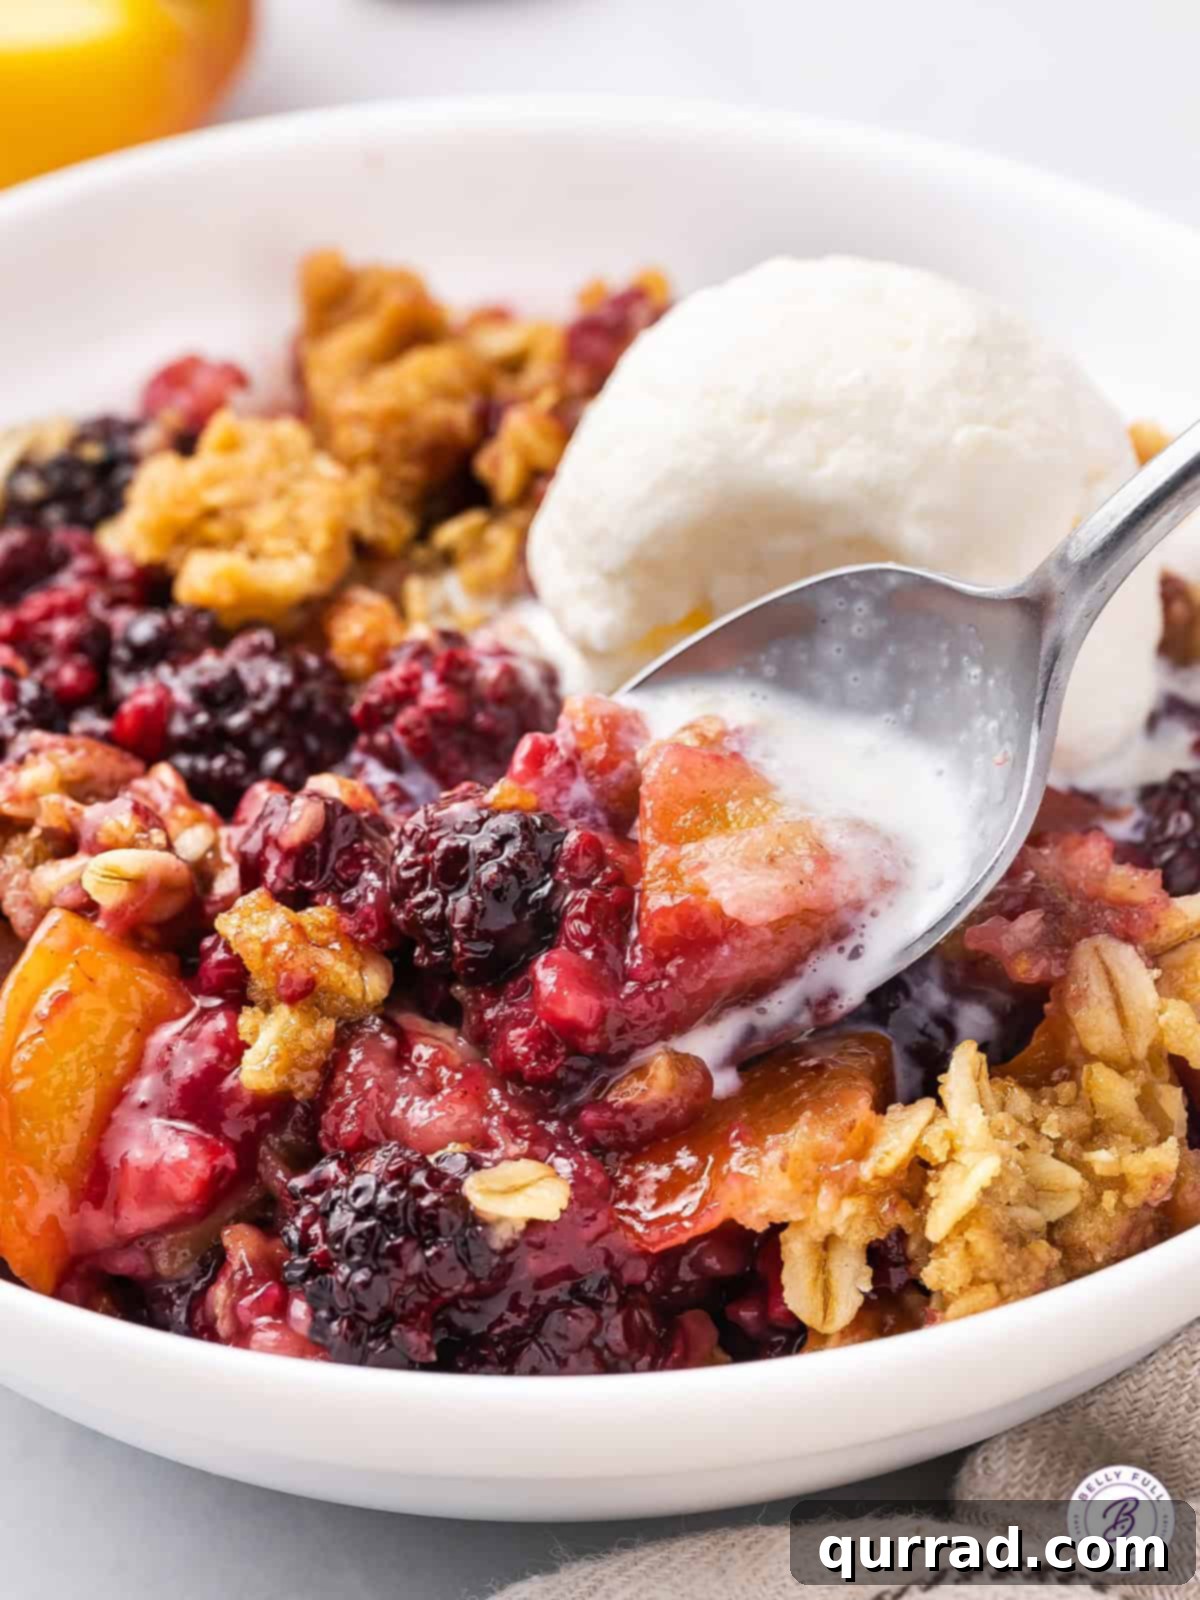
Welcome to the ultimate summer dessert experience with this delightful Blackberry-Peach Crisp! Imagine sinking your spoon into a warm, bubbling medley of sweet, juicy peaches and tart, plump blackberries, all crowned with a golden, buttery oat topping. This simple yet sophisticated dessert perfectly captures the essence of peak season produce, making it an absolute must-try for any summer gathering or a cozy night in. Served warm with a generous scoop of vanilla ice cream melting into its fruity depths, it transforms a humble crisp into an extraordinary culinary delight that will leave everyone craving another spoonful. It’s not just a dessert; it’s a celebration of summer’s bounty, designed to be both incredibly easy to prepare and utterly irresistible.
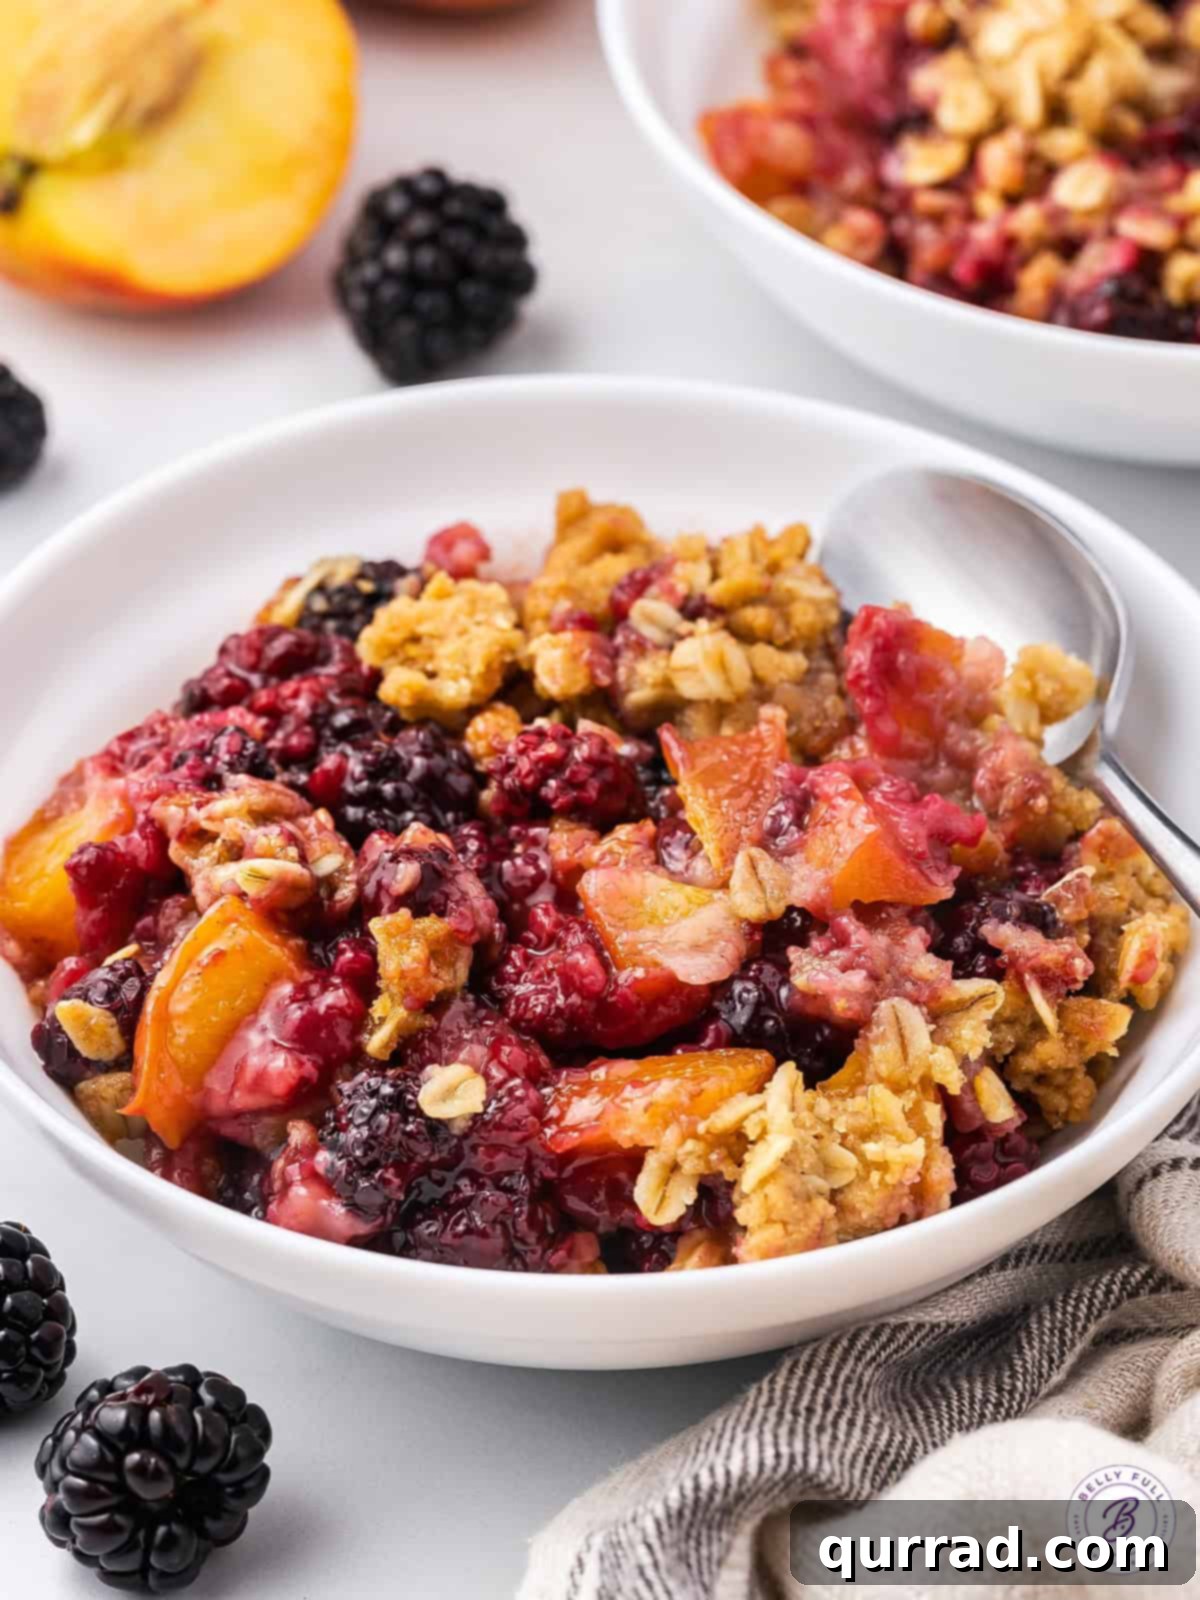
Effortless Elegance: The Easy Blackberry-Peach Crisp Recipe
If you’re searching for a fabulous summer dessert that demands minimal effort but delivers maximum flavor, look no further than this Blackberry-Peach Crisp. It’s the ideal solution for those moments when you crave a homemade treat without spending hours in the kitchen. Unlike more complex pies or tarts, a crisp offers a rustic charm that’s inherently inviting and forgiving. This recipe streamlines the process, allowing you to quickly combine fresh, vibrant fruits with a few pantry staples, then generously sprinkle with a simple, crunchy oat topping. Forget fiddly pie crusts or delicate drop biscuits; this oat crisp topping is designed for ease and provides that satisfying texture contrast we all love. In just about 30 minutes in the oven, you’ll be greeted with the intoxicating aroma of baking fruit and cinnamon, a prelude to the heavenly experience that awaits with every single bite. Its simplicity makes it a perfect dessert for beginner bakers and seasoned pros alike.
The beauty of a fruit crisp lies in its approachable nature. It doesn’t require precise pastry skills or intricate decorating. The magic happens as the fruits soften and release their sweet, tangy juices, which then meld with the flour and sugar to create a rich, thick filling. Simultaneously, the oat topping bakes to a golden perfection, offering a delightful chewiness and a satisfying crunch. This harmonious blend of textures and flavors is what makes the blackberry-peach crisp a perennial favorite. It’s a dessert that feels both comforting and celebratory, reflecting the abundance of summer produce. Whether it’s a casual weeknight dinner or a special backyard barbecue, this crisp is guaranteed to be a crowd-pleaser, proving that sometimes, the simplest recipes yield the most divine results.
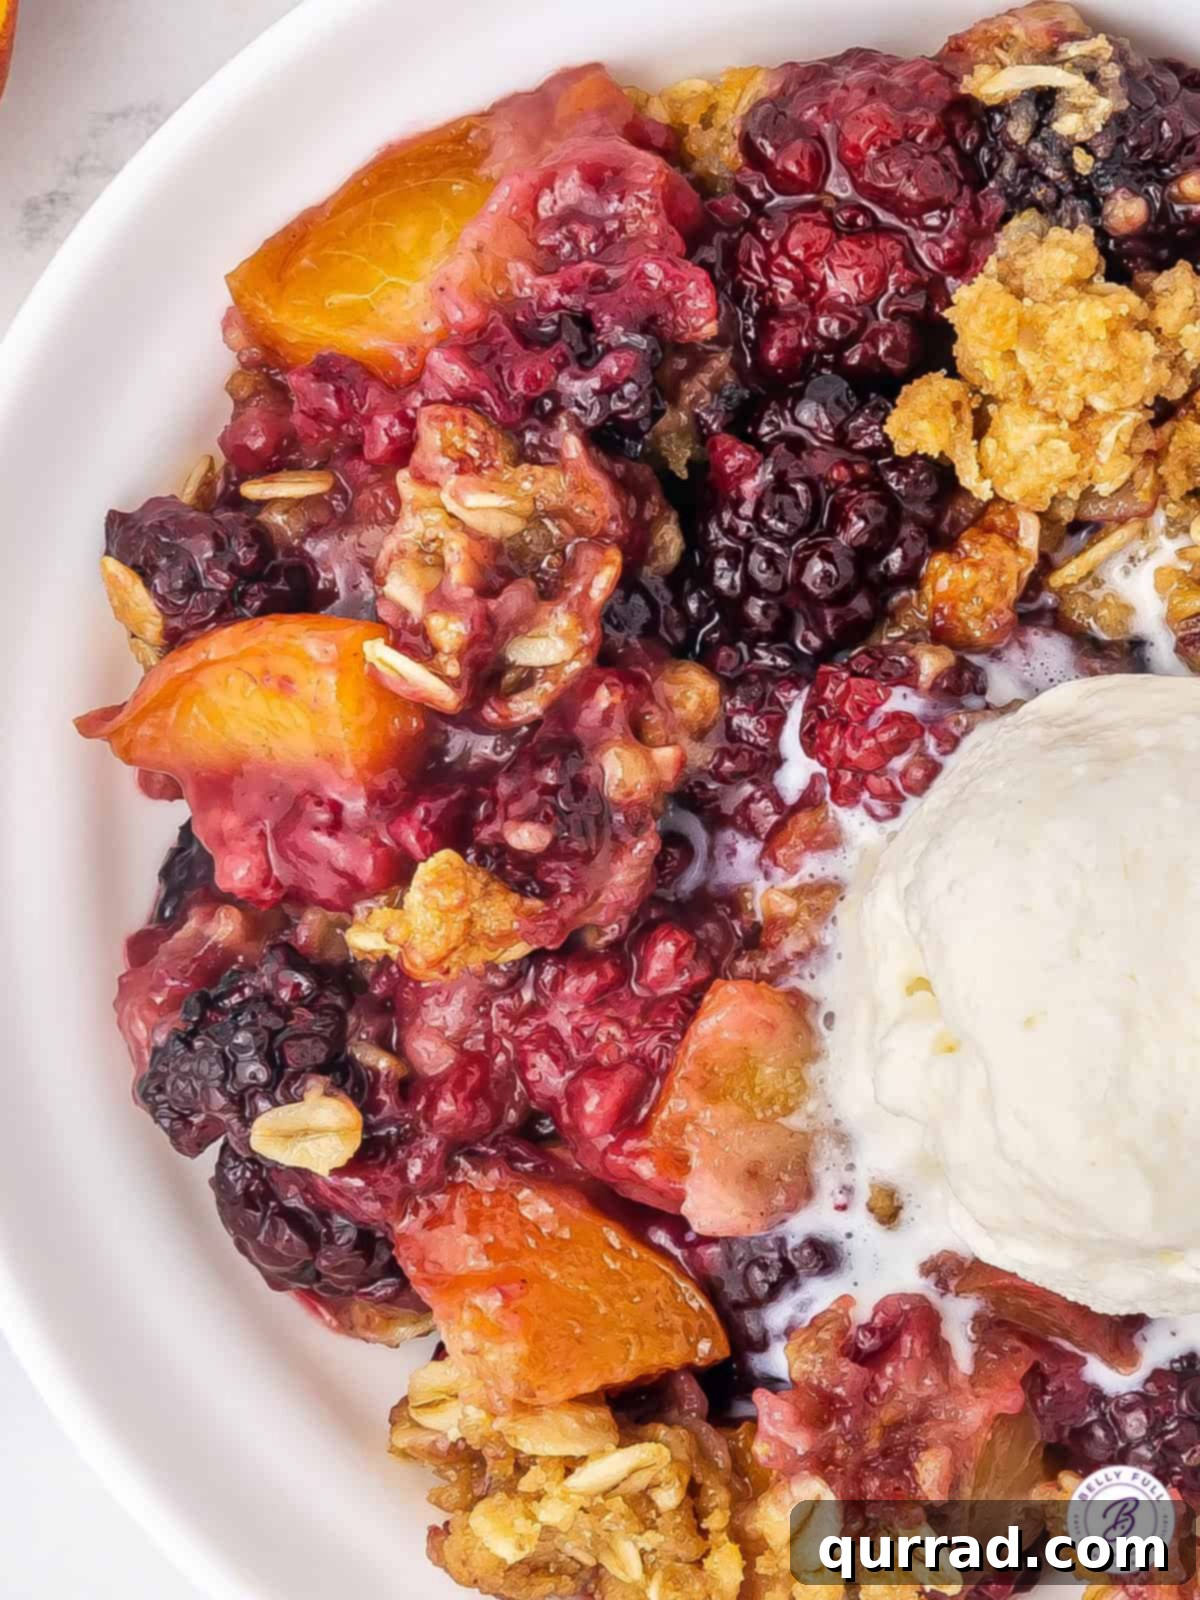
The Core Components: Essential Ingredients for a Divine Crisp
Crafting the perfect Blackberry-Peach Crisp begins with selecting the right ingredients. Each component plays a vital role in achieving that ideal balance of sweet, tart, and crunchy. Here’s a detailed look at what you’ll need to bring this incredible dessert to life:
- Blackberries: These jewel-toned berries are crucial for providing a burst of tartness that beautifully cuts through the sweetness of the peaches. Choose plump, firm, and deep-colored blackberries for the best flavor and texture. Fresh, in-season blackberries will offer an unparalleled taste, but frozen blackberries can also be used as a convenient alternative, especially outside of summer.
- Peaches: The other star of our crisp, fresh ripe peaches lend a succulent sweetness and soft texture. Look for peaches that yield slightly to gentle pressure and have a fragrant aroma. While peeling is optional, as the skin softens considerably during baking, some prefer to remove it for a smoother texture. Core and slice your peaches into pieces roughly the same size as your blackberries to ensure even cooking and a cohesive fruit filling.
- All-Purpose Flour: Flour serves a dual purpose in this recipe. In the fruit filling, it acts as a thickening agent, ensuring the fruit juices transform into a luscious, syrupy consistency rather than a watery mess. In the crisp topping, it provides structure and helps create that desirable crumbly texture when combined with oats, sugar, and butter.
- Granulated Sugar: Essential for sweetening both the fruit filling and the oat topping. The amount can be adjusted based on the natural sweetness of your fruit and your personal preference. If your peaches are exceptionally ripe and sweet, you might opt to reduce the sugar slightly. It helps to enhance the natural flavors of the fruit and contributes to the crisp’s overall deliciousness.
- Vanilla Extract: A splash of vanilla adds a warm, aromatic depth that complements the fruity flavors. It’s a subtle but important enhancer that brings out the best in both the peaches and blackberries, adding a layer of sophistication to the dessert.
- Ground Cinnamon: This classic spice infuses the crisp with a comforting, homey aroma and a warm, inviting flavor. Cinnamon pairs wonderfully with both peaches and blackberries, creating a familiar and beloved taste profile that evokes warmth and nostalgia. It’s an essential spice for any fruit crisp.
- Salt: A pinch of salt is crucial for balancing the sweetness and enhancing all the other flavors in the crisp. It prevents the dessert from tasting one-dimensional and brings out the subtle complexities of the fruit and spices. Don’t skip this seemingly small but mighty ingredient!
- Crisp Topping Ingredients:
- Rolled Oats (Old-Fashioned): The cornerstone of our crisp topping! Old-fashioned rolled oats provide the perfect chewy texture and rustic charm. Avoid instant or quick oats, as they will result in a mushy, less desirable topping.
- Brown Sugar: Adds a rich, caramel-like sweetness and moisture to the topping, contributing to its golden-brown color and slightly chewy consistency. Its molasses notes pair beautifully with the fruits and cinnamon.
- Cold Cubed Butter: Cold butter is key to achieving a truly crumbly, tender, and irresistible topping. When cut into small cubes and worked into the dry ingredients, it creates pockets of butter that release steam during baking, resulting in a light, flaky, and crispy texture.
- For Serving (Optional, but highly recommended!): While delicious on its own, this dessert truly shines when served warm with a scoop of creamy vanilla ice cream. The cold ice cream melting into the hot fruit and crisp topping creates an incredible contrast in temperature and texture that is simply heavenly. Other serving options include a dollop of fresh whipped cream or a drizzle of crème fraîche.
Gathering these ingredients ensures you have everything on hand to create a truly memorable Blackberry-Peach Crisp that celebrates the best of summer flavors.
Mastering the Bake: How to Make Blackberry-Peach Crisp
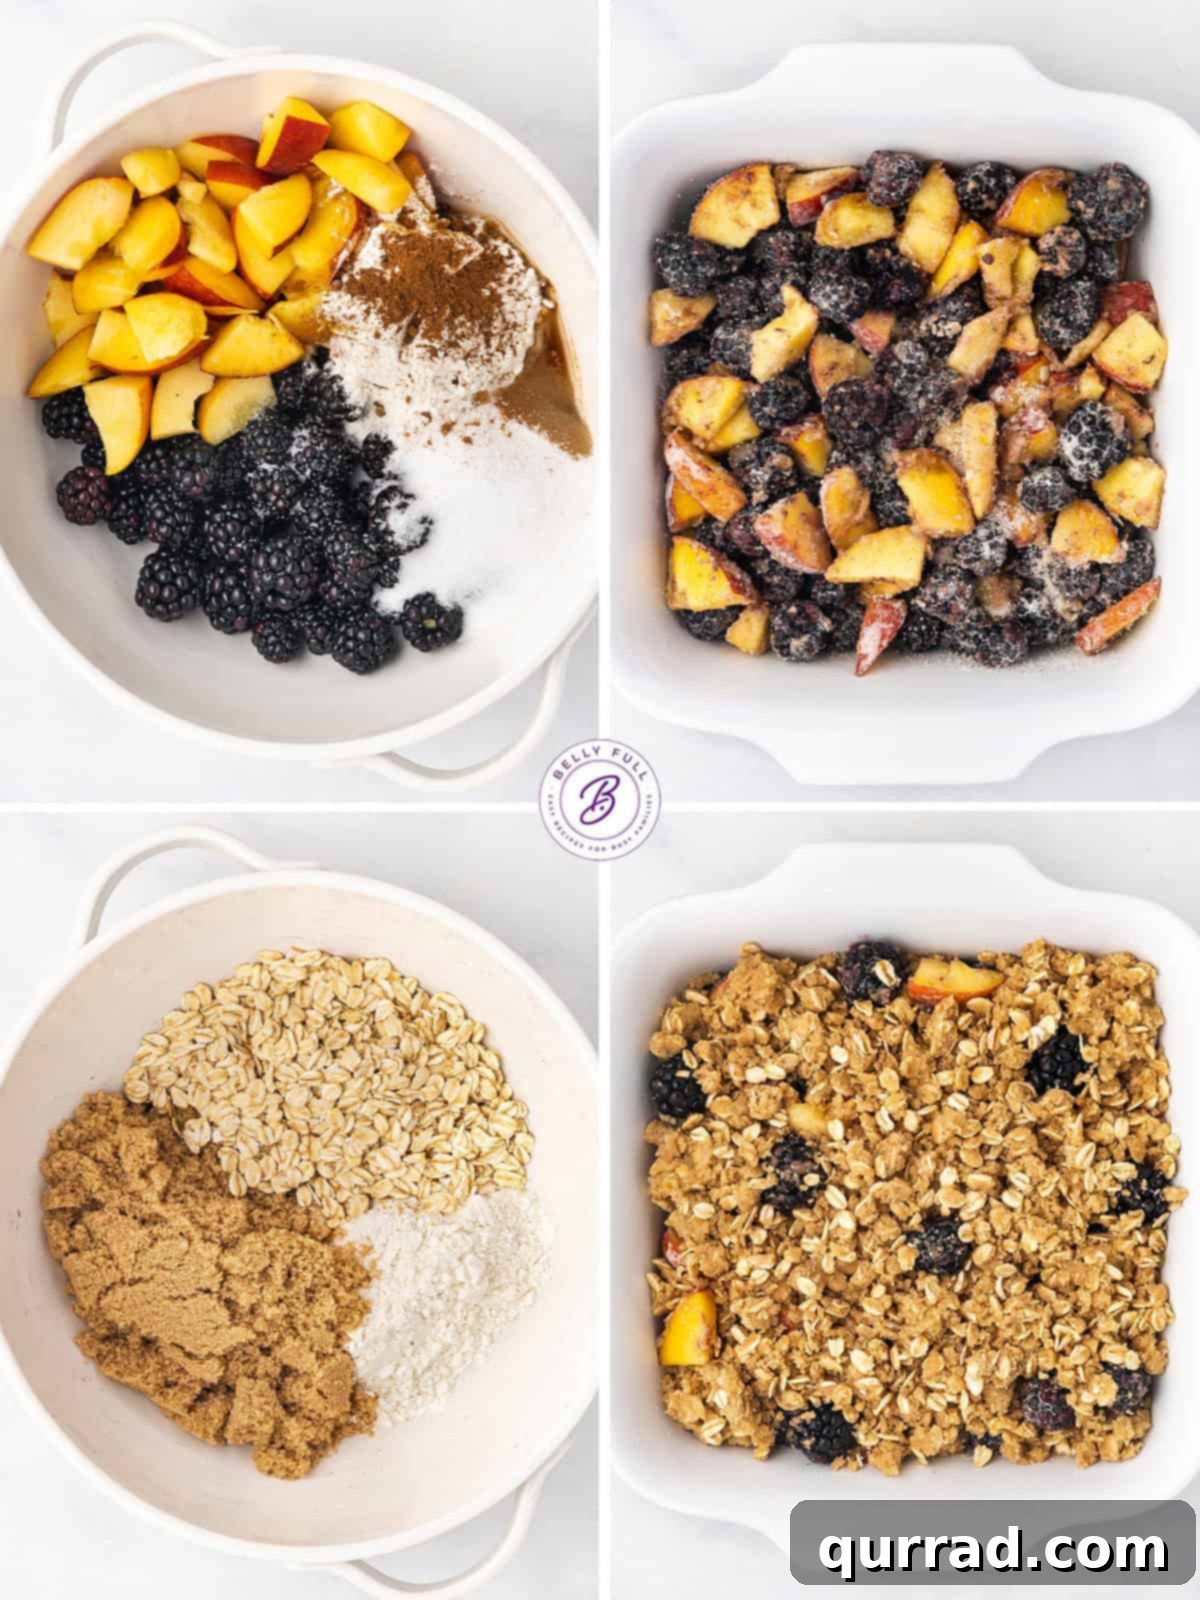
Creating this Blackberry-Peach Crisp is wonderfully straightforward, following a simple “mix, dump, and bake” philosophy. Even if you’re new to baking, you’ll find this recipe incredibly approachable. Here’s a step-by-step guide to ensure your crisp turns out perfectly every time:
- Prepare Your Baking Environment: Begin by preheating your oven to 350°F (175°C). This ensures the oven is at the correct temperature for even baking from the moment your crisp goes in. Lightly grease an 8 or 9-inch square baking dish with nonstick cooking spray or butter. This prevents the fruit from sticking and makes for easier serving and cleanup.
- Craft the Luscious Fruit Filling: In a large mixing bowl, gently combine the fresh blackberries and sliced peaches. Add ¼ cup of all-purpose flour, ¼ cup of granulated sugar (adjust to your fruit’s sweetness), two teaspoons of vanilla extract, ½ teaspoon of ground cinnamon, and ¼ teaspoon of coarse salt. Toss all these ingredients together carefully until the fruit is evenly coated. The flour will help thicken the fruit juices as they bake, while the sugar, vanilla, and cinnamon infuse the fruits with delightful flavor. Transfer this colorful fruit mixture into your prepared baking dish, spreading it out evenly. Set it aside while you prepare the topping.
- Create the Perfect Crumbly Topping: Using the same mixing bowl (to save on dishes!), combine the remaining ½ cup of all-purpose flour, ¾ cup of brown sugar, and ½ cup of old-fashioned rolled oats. Now, for the butter: add ⅓ cup of cold butter, cut into small cubes. Using your fingertips, a pastry blender, or two knives, cut the butter into the dry ingredients until the mixture resembles coarse crumbs with some pea-sized pieces of butter still visible. The key here is to work quickly so the butter remains cold, which is essential for a truly crispy topping. Evenly sprinkle this crumbly oat mixture over the fruit in the baking dish, covering the fruit completely.
- Bake to Golden Perfection: Carefully transfer your baking dish to the preheated oven. Bake for approximately 35 minutes, or until the fruit is tender, the juices are thick and bubbling enticingly around the edges of the dish, and the oat topping is beautifully golden brown and crispy. Keep an eye on the topping; if it starts to brown too quickly before the fruit is cooked through, you can loosely tent the dish with aluminum foil for the last 10-15 minutes of baking. This protects the topping while allowing the fruit to finish cooking.
- Cool and Serve with Joy: Once baked, remove the crisp from the oven. While it might be tempting to dive in immediately, allow it to cool for about 10 to 15 minutes before serving. This cooling time allows the fruit filling to set further and prevents scorching your tongue. The crisp will still be wonderfully warm. Serve generous portions with a scoop of cold vanilla ice cream, which will melt slightly into the warm fruit, creating an irresistible blend of temperatures and textures. Enjoy every spoonful of this homemade delight!
Elevate Your Crisp: Expert Tips and Creative Variations
While this Blackberry-Peach Crisp recipe is fantastic as is, a few tips and creative variations can help you tailor it to your taste and ensure stellar results every time. Unlock the full potential of your homemade crisp with these insights:
- The Importance of Old-Fashioned Oats: This is a non-negotiable tip for the perfect crisp topping! Always use old-fashioned rolled oats. Instant or quick oats are thinner and more processed, meaning they absorb liquid too quickly and will result in a soggy, unappealing topping rather than the desired chewy and crunchy texture.
- Uniform Fruit Size for Even Cooking: To ensure that both the peaches and blackberries cook thoroughly and evenly, try to cut your peaches into pieces that are roughly the same size as the blackberries. This consistency will prevent some fruit from being undercooked while others are perfectly tender.
- Experiment with Different Berries: The beauty of a fruit crisp lies in its versatility. If you’re out of blackberries or simply want to try something new, feel free to swap them out. Raspberries will add a similar tartness, blueberries offer a sweeter, softer bite, and sliced strawberries provide a lovely aroma and texture. Keep in mind that different fruits have varying moisture content and cooking times, so you might need to adjust your baking duration slightly.
- Year-Round Enjoyment with Frozen Fruit: Don’t let seasonality limit your crisp cravings! When fresh fruits are not in season or readily available, frozen fruit makes an excellent substitute. There’s no need to thaw them before mixing; simply toss the frozen fruit with the other filling ingredients. You will, however, need to increase the baking time by about 10-20 minutes, as the frozen fruit will release more liquid and take longer to heat through.
- Add a Nutty Crunch: For an extra layer of texture and flavor, consider incorporating some chopped nuts into your crisp topping. Pecans or walnuts are excellent choices, providing a delightful crunch and a rich, earthy note that complements the sweet fruit and oats. Add about ½ cup of chopped nuts to your topping mixture.
- Prevent Over-Browning with Aluminum Foil: A common issue with crisps is the topping browning too quickly before the fruit filling is adequately cooked. If you notice your topping getting too dark, simply loosely cover the baking dish with aluminum foil. This acts as a shield, protecting the topping from further browning while allowing the fruit inside to finish baking to tender perfection.
- Spice it Up: Beyond cinnamon, consider adding a pinch of nutmeg or cardamom to your fruit filling for a more complex flavor profile. These spices pair beautifully with both peaches and blackberries and can add an exotic touch to your traditional crisp.
- A Touch of Citrus: A squeeze of fresh lemon juice in the fruit filling can brighten the flavors and enhance the natural tartness of the blackberries. It also helps to prevent the fruit from browning excessively during preparation.
- Make it Gluten-Free: For those with dietary restrictions, this crisp can easily be made gluten-free. Simply substitute the all-purpose flour in both the filling and topping with a good quality gluten-free all-purpose flour blend (one that contains xanthan gum works best). Ensure your rolled oats are certified gluten-free as well, as oats can sometimes be cross-contaminated.
- Vegan Adaptation: To make this crisp vegan-friendly, replace the dairy butter in the topping with a high-quality, plant-based butter alternative. Most plant-based butters will perform similarly to dairy butter in crisp toppings.
With these tips and variations, you’re empowered to customize and perfect your Blackberry-Peach Crisp, making it a truly personal and consistently delicious treat.
Video: Blackberry Peach Crisp Dessert
While words and pictures can guide you, sometimes seeing the process in action makes all the difference. For a visual demonstration of how to perfectly prepare this delicious Blackberry-Peach Crisp, watch our step-by-step video guide. It brings the recipe to life, offering helpful visual cues for mixing the fruit, creating the ideal crumbly topping, and knowing exactly when your crisp is baked to perfection. From prep to plate, follow along to ensure your homemade crisp is a show-stopping success!
Smart Storage Solutions for Your Crisp
A fresh-baked crisp is best enjoyed warm, but leftovers are certainly a treat! Knowing how to properly store and reheat your Blackberry-Peach Crisp ensures its deliciousness can be savored for longer:
- Refrigerator Storage: Allow any leftover crisp to cool completely to room temperature before storing. Transfer it to an airtight container, or if keeping it in the baking dish, cover it tightly with plastic wrap or aluminum foil. Stored in the refrigerator, your crisp will remain fresh and delicious for up to 4 days. Reheating individual portions is easy and brings back that comforting warmth.
- Freezer Storage for Future Cravings: This crisp freezes beautifully, offering a convenient dessert option for busy days. You can freeze it either before or after baking.
- Freezing Unbaked Crisp: Assemble the crisp completely in a freezer-safe baking dish. Cover it tightly with a layer of plastic wrap, then an additional layer of aluminum foil to prevent freezer burn. Label with the date. It will keep for up to 3 months. When ready to bake, you can either bake it directly from frozen (adding about 20-30 minutes to the baking time) or thaw it overnight in the refrigerator before baking as directed.
- Freezing Baked Crisp: Allow the baked crisp to cool completely. Wrap the entire dish (or individual portions) in plastic wrap and then foil. Freeze for up to 3 months. To reheat, you can bake it from frozen (covered with foil initially to prevent excessive browning) at 350°F (175°C) until warmed through, or thaw in the fridge and then reheat.
- Reheating Instructions:
- Microwave: For individual servings, place a portion of the crisp in a microwave-safe bowl. Heat on high for 30-60 seconds, or until warmed through. This method is quick but may soften the topping slightly.
- Oven: To restore a crispy topping and warm the fruit evenly, preheat your oven to 300°F (150°C). Place the crisp (covered with foil if heating a whole dish) in the oven for 15-25 minutes, or until heated through. Remove the foil for the last few minutes if you want to re-crisp the topping.
More Fruitful Delights: Explore Our Favorite Blackberry and Peach Recipes
If you’ve fallen in love with the combination of sweet fruit and comforting baked goods, you’ll be thrilled to discover more recipes featuring luscious blackberries and juicy peaches. These are perfect for expanding your repertoire of summer-inspired desserts or enjoying these fruits in new and exciting ways:
- Blueberry Cobbler
- Blackberry Cake
- Peach Pie
- Peach Dumplings
- Peach Dump Cake
Blackberry-Peach Crisp Recipe Card
Here’s a printable version of the recipe for your convenience, detailing all the ingredients and step-by-step instructions for making this irresistible Blackberry-Peach Crisp. Enjoy the process of creating this simple yet heavenly dessert!
Ingredients
Fruit Filling
- 2 cups fresh blackberries
- 2 medium fresh ripe peaches, cored, and sliced into pieces (about the size of the blackberries)
- 1/4 cup all-purpose flour
- 1/4 cup granulated sugar
- 2 teaspoons vanilla extract
- 1/2 teaspoon ground cinnamon
- 1/4 teaspoon coarse salt
Crumble Topping
- 1/2 cup all-purpose flour
- 3/4 cup brown sugar (packed)
- 1/2 cup old-fashioned rolled oats
- 1/3 cup cold butter, cut into small cubes
For Serving (optional)
- Vanilla ice cream, whipped cream, or crème fraîche
Instructions
- Preheat your oven to 350°F (175°C). Lightly grease an 8 or 9-inch square baking dish with nonstick cooking spray or butter.
- In a large mixing bowl, combine the blackberries, peaches, 1/4 cup flour, granulated sugar, vanilla extract, cinnamon, and salt. Toss gently until the fruit is evenly coated. Transfer this fruit mixture to the prepared baking dish and spread evenly.
- For the topping, in the same bowl, combine the remaining 1/2 cup flour, brown sugar, and rolled oats. Add the cold butter cubes. Using your fingertips or a pastry blender, cut the butter into the dry ingredients until the mixture resembles coarse crumbs. Sprinkle this topping evenly over the fruit mixture in the baking dish.
- Bake for approximately 35 minutes, or until the fruit is tender and bubbling around the edges, and the topping is golden brown and crispy. If the topping starts to brown too quickly, loosely tent the dish with aluminum foil for the remaining bake time.
- Remove from the oven and let cool for 10 to 15 minutes before serving. This allows the fruit filling to set and prevents it from being too hot.
- Serve warm with a generous scoop of vanilla ice cream, whipped cream, or crème fraîche, and enjoy every bite!
Nutrition Information (per serving, approx.)
Calories: 267kcal |
Carbohydrates: 46g |
Protein: 3g |
Fat: 8g |
Saturated Fat: 5g |
Polyunsaturated Fat: 1g |
Monounsaturated Fat: 2g |
Trans Fat: 0.3g |
Cholesterol: 20mg |
Sodium: 145mg |
Potassium: 167mg |
Fiber: 3g |
Sugar: 31g |
Vitamin A: 436IU |
Vitamin C: 9mg |
Calcium: 37mg |
Iron: 1mg
Nutritional information provided is an automatic calculation and can vary based on the exact products you use and any changes you make to the recipe. If these numbers are critically important to you, we recommend calculating them yourself using your preferred nutrition calculator.
Thank you for trying this delicious and easy recipe! We hope you love it as much as we do. For more culinary inspiration, don’t forget to follow us on TikTok, Facebook, Instagram, Pinterest, and YouTube! Your support helps us bring more delightful recipes to your table.