
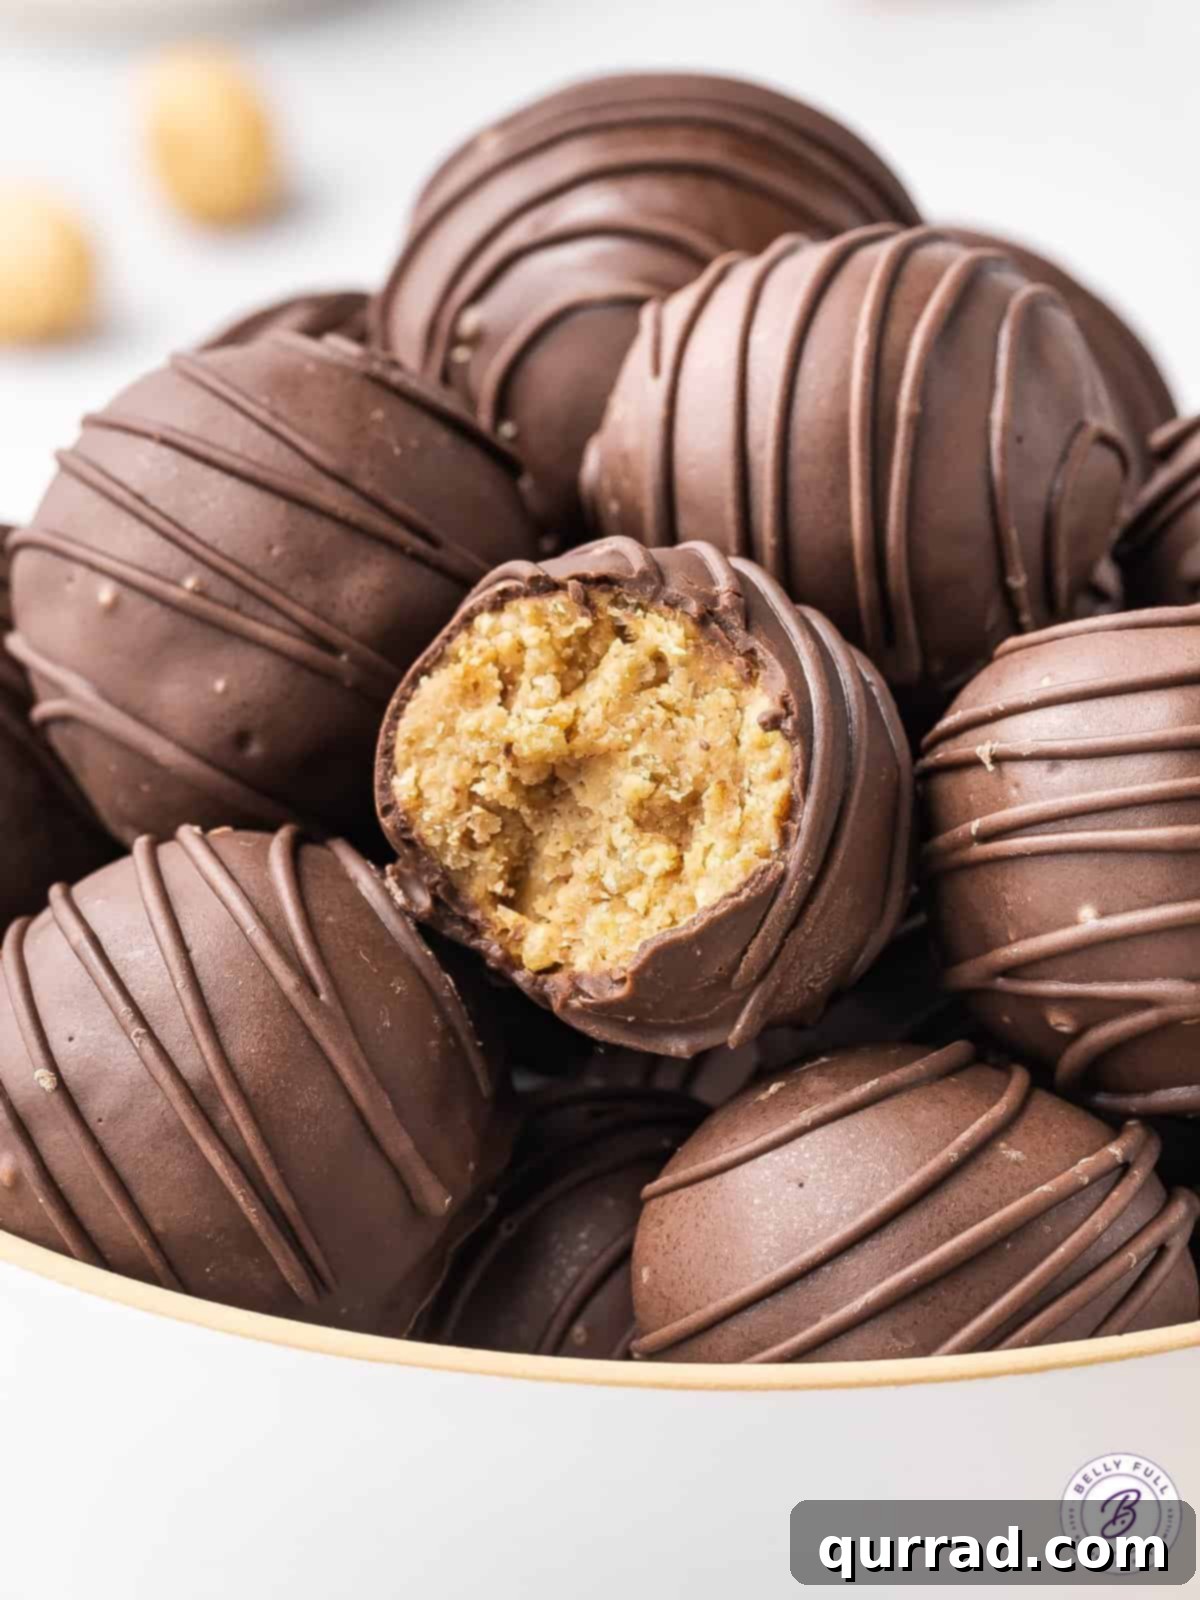
Irresistible No-Bake Peanut Butter Balls with Rice Krispies: Your Ultimate Guide
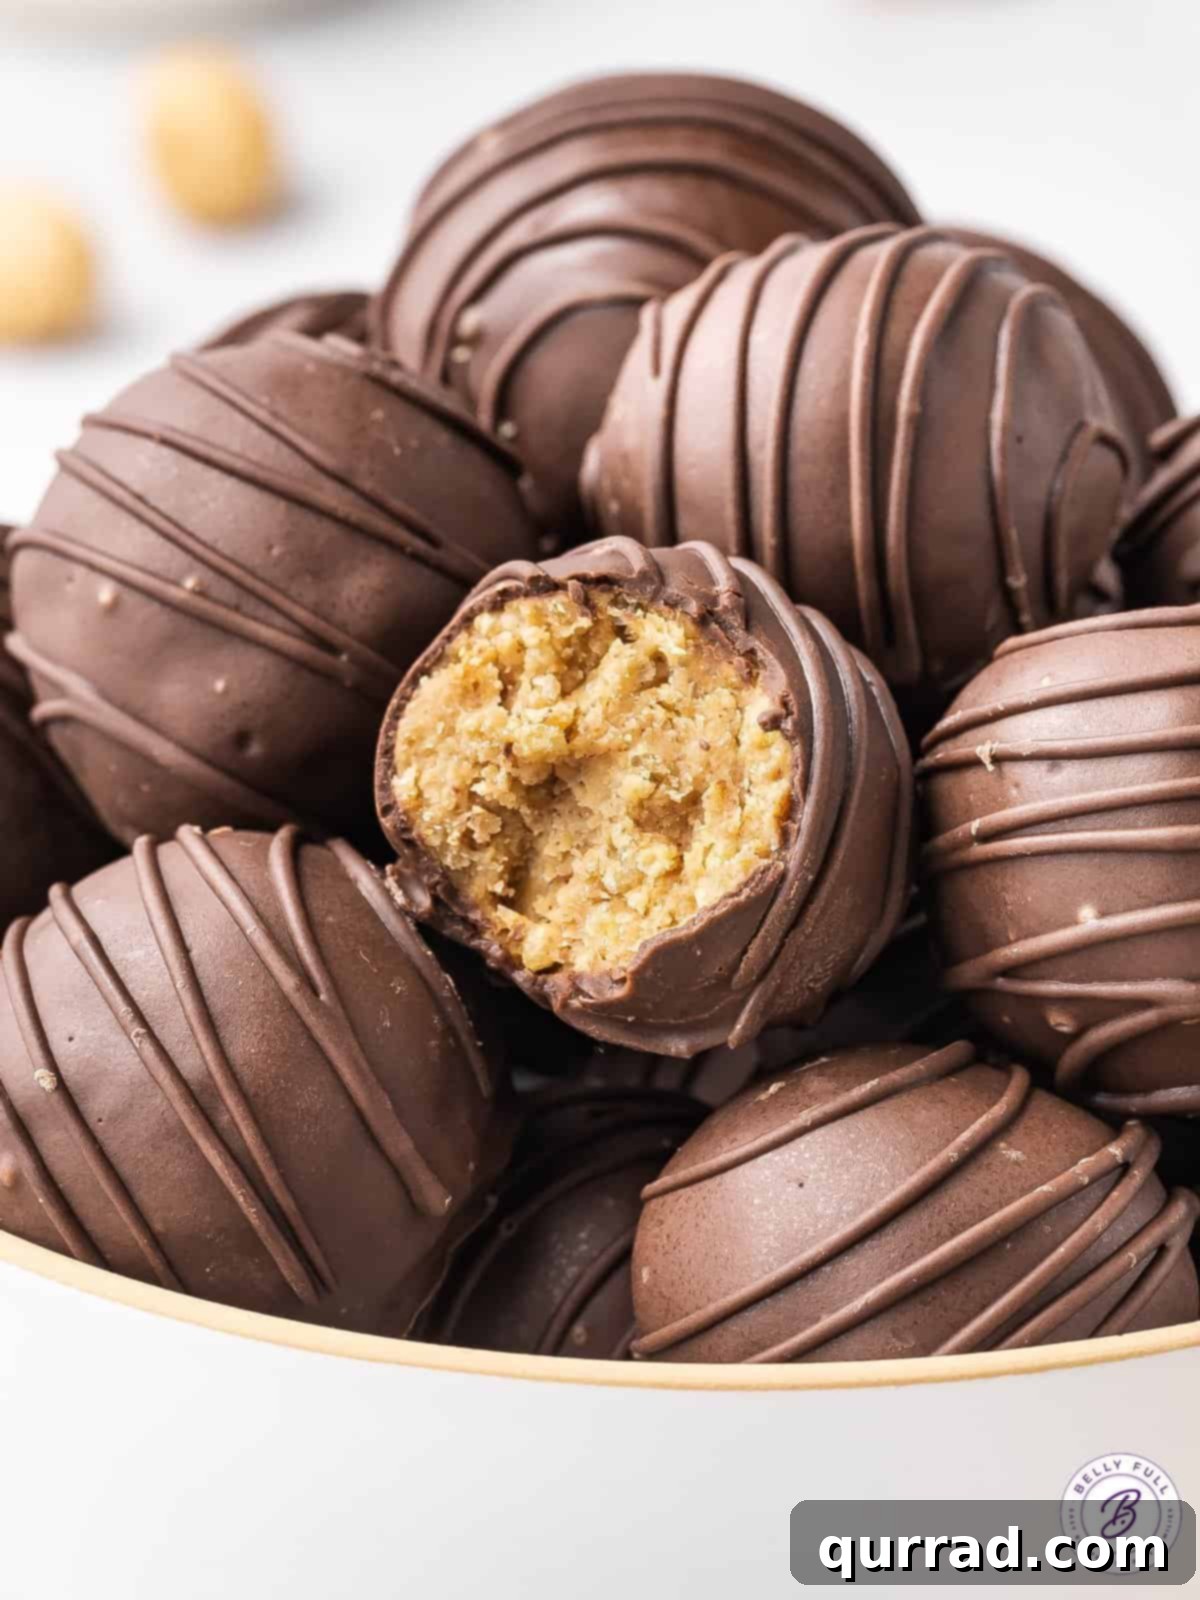
Get ready to indulge in a timeless classic that’s incredibly simple to make yet delivers an explosion of flavor and texture: Peanut Butter Balls with Rice Krispies. These delightful no-bake treats feature a luscious, sweet, and perfectly crispy peanut butter core, generously coated in rich, decadent chocolate. Whether you’re preparing for the festive holiday season, a special gathering, or simply craving an easy-to-make, utterly delicious dessert, these chocolate-covered delights are sure to be a crowd-pleaser and disappear quickly!
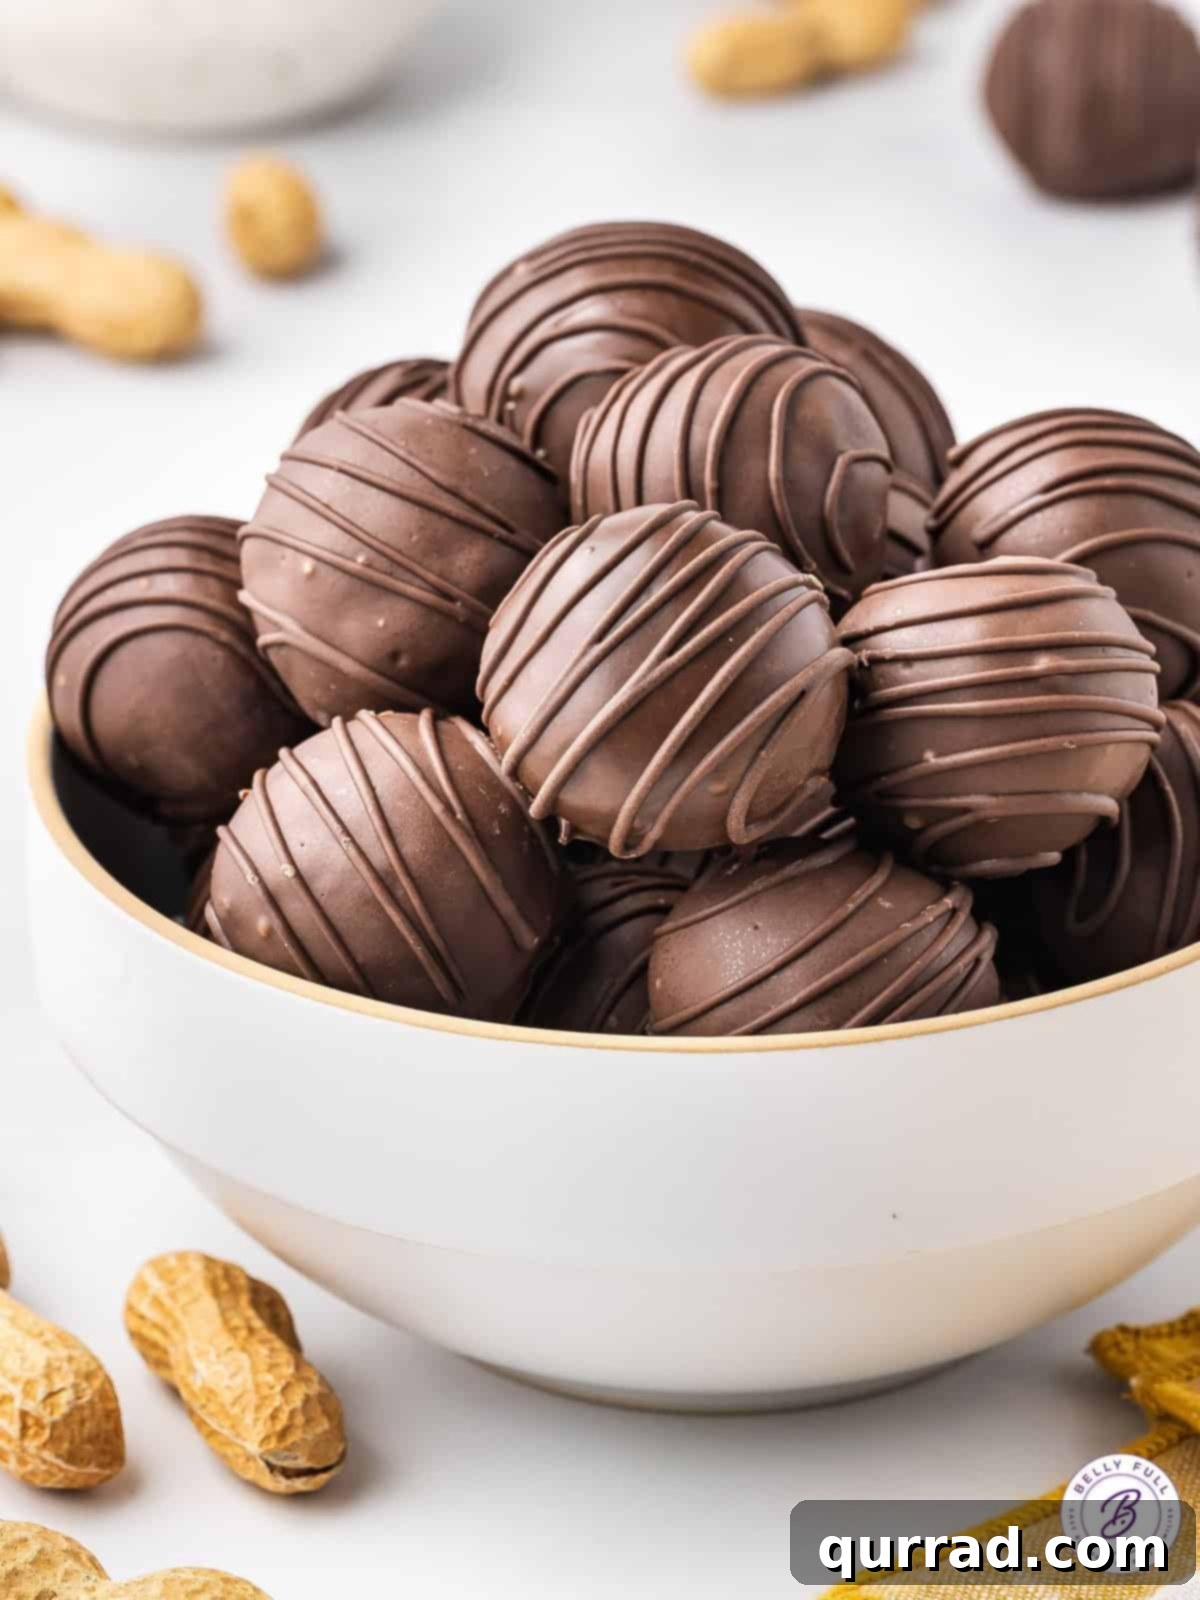
If the harmonious blend of chocolate and peanut butter sends your taste buds into a frenzy, then you are absolutely going to adore these chocolate-covered peanut butter balls infused with the satisfying crunch of Rice Krispies. What makes them even better? They’re incredibly quick and easy to prepare, requiring no baking whatsoever, and call for just five primary pantry staples that you likely already have on hand.
The magic begins with a creamy, velvety peanut butter base, artfully whipped together with softened butter and fine powdered sugar. This creates a sweet, smooth foundation that is then perfectly complemented by the addition of crispy Rice Krispies cereal, adding an irresistible textural contrast. Once the delightful centers are formed, they are plunged into a pool of perfectly melted chocolate, sealing in all the goodness with a glossy, rich coating.
While these treats are an absolute highlight on any holiday dessert table, their timeless chocolate-peanut butter combination ensures they are a beloved indulgence that can be savored and enjoyed throughout the entire year. They’re perfect for school lunches, after-dinner snacks, or an impressive but simple potluck contribution.
Why You’ll Fall in Love with This Peanut Butter Balls Recipe
There’s a reason these no-bake peanut butter balls have stood the test of time and remain a beloved treat across generations. Here’s why this recipe will quickly become a favorite in your kitchen:
- Effortlessly Easy: With no oven required, these balls are perfect for beginner bakers or anyone looking for a stress-free dessert. The steps are straightforward and simple to follow.
- Minimal Ingredients: You only need five core ingredients to create this sweet masterpiece, making it a budget-friendly and accessible option.
- Irresistible Texture: Experience the perfect symphony of creamy, sweet peanut butter filling combined with the delightful crunch of Rice Krispies, all enveloped in a smooth, rich chocolate shell.
- Perfect for Any Occasion: From festive holiday platters to casual movie nights, birthday parties, or school events, these treats fit right in. They also make fantastic edible gifts!
- Make-Ahead Friendly: Prepare them in advance and store them in the refrigerator or freezer, making party planning a breeze.
- Kid-Friendly Fun: This is a wonderful recipe to get children involved in the kitchen. Rolling the balls is a fun activity for little hands!
Classic Peanut Butter Balls with Rice Krispies
10
30
40
24 balls
These Peanut Butter Balls with Rice Krispies offer a delightful combination of a sweet, creamy, and wonderfully crispy center, all beautifully enveloped in a rich chocolate coating. They stand as a truly classic and effortlessly easy no-bake treat, making them absolutely perfect for celebrating the holidays or any special occasion!
Ingredients
For the Peanut Butter Balls:
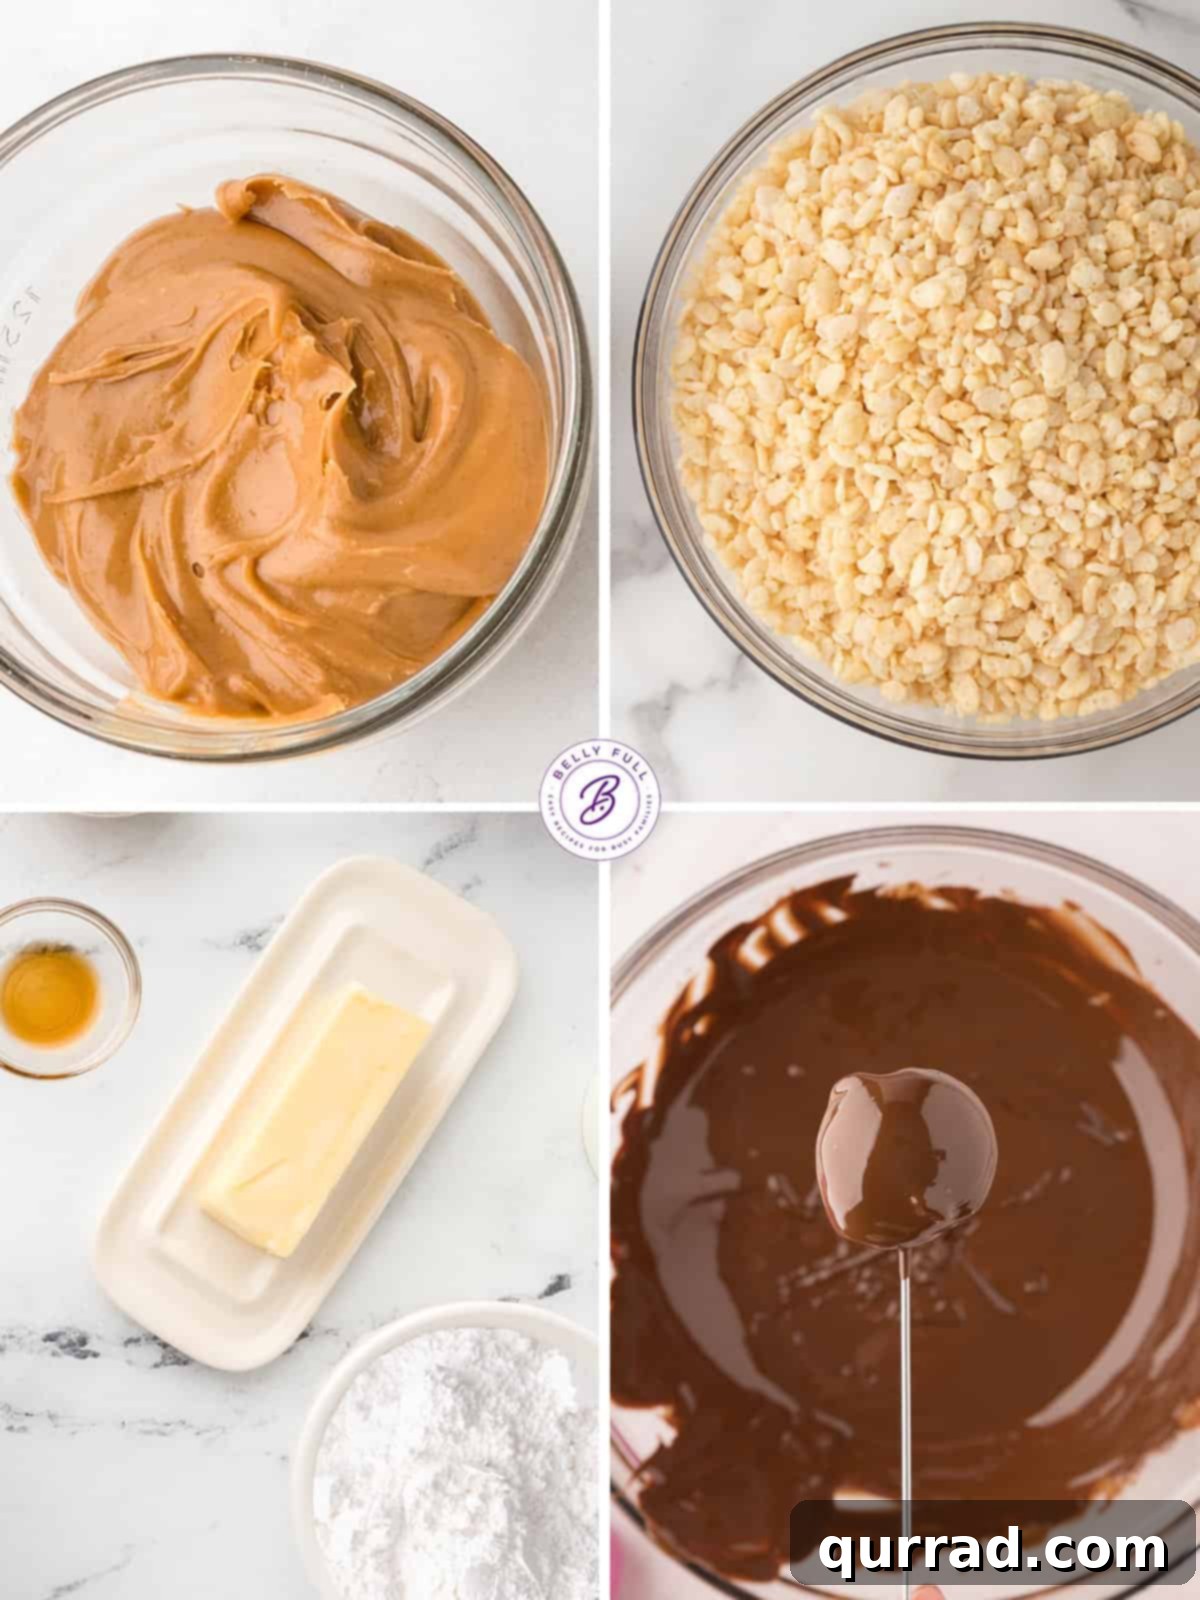
- 1 cup creamy peanut butter (avoid natural peanut butter for best consistency)
- 1/4 cup unsalted butter, softened to room temperature
- 2 cups powdered sugar (also known as confectioners’ sugar)
- 1 teaspoon vanilla extract
- pinch of salt
- 1 & 1/4 cups Rice Krispies cereal
For the Chocolate Coating:
- 10 to 12 ounces chocolate candy melts (or Ghirardelli melting wafers or CandiQuik almond bark for best results; if using regular chocolate chips, add 1-2 tsp coconut oil)
Instructions
-
Prepare Baking Sheet: Line a large baking sheet with parchment paper. This will prevent sticking and make cleanup easier.
-
Combine Peanut Butter Mixture: In a spacious mixing bowl, cream together the creamy peanut butter, softened unsalted butter, powdered sugar, vanilla extract, and a pinch of salt until the mixture is smooth and well combined. Gently fold in the Rice Krispies cereal, stirring until they are evenly distributed throughout the peanut butter mixture. The mixture should be pliable and hold together firmly when pressed between your fingers, without crumbling.
-
Form and Chill Balls: Take small portions of the mixture (about 1 tablespoon each) and roll them into smooth, bite-sized 1-inch balls. Lightly knead the mixture as you roll if needed to ensure a smooth finish. Place the formed balls onto the prepared baking sheet. Transfer the baking sheet to the refrigerator and chill for a minimum of 30 minutes. This step is crucial for the balls to firm up and hold their shape, making them easier to coat in chocolate.
-
Melt Chocolate Coating: Prepare your chocolate candy melts according to the package directions. This typically involves melting them in a microwave-safe bowl in 30-second intervals, stirring in between, until smooth and fully melted. Alternatively, you can use a double boiler method.
-
Dip Peanut Butter Balls: Working with one chilled peanut butter ball at a time, carefully place it onto the tines of a fork. Submerge the ball into the melted chocolate, using a spoon to fully coat it. Gently tap the fork against the side of the bowl to allow any excess chocolate to drip off, ensuring a smooth, even coating.
-
Return to Baking Sheet: Carefully transfer each chocolate-coated ball back to the parchment-lined baking sheet.
-
Final Chill and Enjoy: Place the baking sheet with the dipped balls back into the refrigerator. Allow them to chill for approximately 15 minutes, or until the chocolate has completely hardened. If desired, drizzle any leftover melted chocolate over the set balls for an extra decorative touch. Once fully set, your delicious Peanut Butter Balls with Rice Krispies are ready to be savored!
Recipe Video Tutorial
Chef’s Notes for Success
Peanut Butter Choice: For the ideal creamy texture and structural integrity, always opt for creamy, shelf-stable peanut butter (like Jif or Skippy). Natural peanut butter, which often separates and is runnier, does not have the right consistency for this recipe and can make the balls too soft or greasy. Its oil content can also interfere with the chocolate coating.
Chocolate Coating Perfection: I highly recommend using candy melts, Ghirardelli melting wafers, or CandiQuik almond bark for the chocolate coating. These products are specifically designed for melting smoothly and hardening quickly with a beautiful finish, allowing the balls to remain firm at room temperature without softening. If you prefer to use regular chocolate chips (semi-sweet, milk, or dark), it’s essential to melt them with a small amount (1-2 teaspoons) of coconut oil or vegetable shortening. This helps thin the chocolate and ensures a smooth, dip-able consistency that hardens well.
Nutrition Facts (per ball)
Calories: 152kcal | Carbohydrates: 17g | Protein: 3g | Fat: 9g | Saturated Fat: 4g | Polyunsaturated Fat: 1g | Monounsaturated Fat: 3g | Trans Fat: 0.1g | Cholesterol: 5mg | Sodium: 60mg | Potassium: 63mg | Fiber: 1g | Sugar: 14g | Vitamin A: 156IU | Vitamin C: 1mg | Calcium: 6mg | Iron: 1mg
Nutritional information provided is an automatic calculation and may vary based on the specific brands and exact products used, as well as any modifications made to the recipe. If precise nutritional values are critical to you, we recommend performing your own calculations using your chosen ingredients.
Did you make this recipe? We’d love to hear from you!
Leave a star rating and a comment below to share your experience.
Expert Tips for Perfect Peanut Butter Balls Every Time
Achieving bakery-quality no-bake peanut butter balls is easier than you think with a few simple tricks up your sleeve. Follow these expert tips to ensure your treats are always a resounding success:
Choosing the Right Peanut Butter
The type of peanut butter you use makes a significant difference in the final texture of your balls. For this recipe, creamy, processed peanut butter (like Jif, Skippy, or Peter Pan) is highly recommended. These brands have a consistent texture and added stabilizers that help the mixture hold its shape and prevent oil separation. Avoid “natural” or “organic” peanut butters that often separate into oil and solids, as their runnier consistency can result in a greasy, crumbly, or overly soft mixture that won’t firm up correctly.
The Role of Powdered Sugar
Powdered sugar, also known as confectioners’ sugar, is crucial for two reasons: it sweetens the peanut butter mixture to perfection and, more importantly, it provides the smooth, fine texture necessary for the balls to bind together without being gritty. Unlike granulated sugar, which would leave a noticeable crunch (and not in a good way!), powdered sugar dissolves beautifully, creating a silky-smooth dough. Make sure to sift your powdered sugar if it’s lumpy to avoid any unwanted pockets of sugar.
Mastering the Chocolate Coating
The chocolate coating is the crown jewel of these treats. For ease of use and a professional finish, I highly recommend using chocolate candy melts, Ghirardelli melting wafers, or CandiQuik almond bark. These products are formulated to melt smoothly, harden quickly, and maintain their shine without tempering. They also allow your peanut butter balls to sit at room temperature without the chocolate becoming sticky or soft.
If you prefer to use regular chocolate chips (milk, semi-sweet, or dark), it’s vital to add a small amount of fat to help them melt into a dippable consistency and harden properly. Stir in 1 to 2 teaspoons of coconut oil or vegetable shortening per cup of chocolate chips as you melt them. This will prevent the chocolate from seizing and give it that desirable smooth, snappy finish.
Creative Variations and Customizations
Don’t hesitate to get creative with your peanut butter balls! While the classic recipe is perfect, there are many ways to customize them:
- Different Chocolate Flavors: Experiment with dark chocolate for a richer, less sweet profile, or white chocolate for a creamy, distinct flavor. You could even use a combination by drizzling one type over another!
- Double Chocolate Drizzle: If you have extra melted chocolate after dipping, use it to drizzle decorative patterns over the hardened balls. This adds visual appeal and an extra layer of chocolatey goodness.
- Sprinkle Fun: Before the chocolate fully sets, sprinkle your coated balls with festive sprinkles, finely chopped nuts (like peanuts or almonds), or even a dash of sea salt for a sweet and salty twist.
- Add-Ins: Fold in miniature chocolate chips, crushed pretzels, or finely chopped dried fruit into the peanut butter mixture for additional flavor and texture.
- Spice It Up: A tiny pinch of cinnamon or a drop of almond extract in the peanut butter mixture can offer a subtle yet delightful flavor variation.
Storage and Make-Ahead Instructions
One of the many benefits of these no-bake treats is how well they store, making them perfect for preparing in advance for parties or simply to have on hand for a sweet craving.
Countertop Storage
Thanks to the stable nature of candy melts and the low moisture content, these peanut butter balls can be stored in an airtight container at room temperature for up to 3-4 days. It’s crucial to keep them away from direct sunlight, heat sources, and excessive humidity to prevent the chocolate from melting or becoming sticky. However, for optimal freshness and texture, refrigeration is generally preferred.
Refrigeration for Freshness
For the best taste, texture, and extended shelf life, I highly recommend storing your Peanut Butter Balls with Rice Krispies in the refrigerator. Place them in an airtight container to prevent them from absorbing other fridge odors and to maintain their firm structure. When stored properly in the fridge, they will remain delicious for 5-7 days. Enjoy them chilled for a delightful firmness.
Freezing for Long-Term Enjoyment
These peanut butter balls freeze exceptionally well, making them ideal for meal prepping desserts or stashing away for future treats. Once the chocolate coating has completely hardened, transfer the balls to a freezer-safe airtight container or a heavy-duty freezer bag. You can freeze them for up to 3 months. To thaw, simply transfer them from the freezer to the refrigerator for a few hours, or let them sit at room temperature for 15-20 minutes before serving. Freezing them in a single layer initially on a parchment-lined baking sheet before transferring to a container can prevent them from sticking together.
Frequently Asked Questions (FAQs)
Can I use natural peanut butter for this recipe?
While natural peanut butter is a healthy choice, it’s generally not recommended for this specific recipe. Natural peanut butters tend to be runnier and separate more easily due to their higher oil content and lack of stabilizers. This can result in a greasy, crumbly, or overly soft peanut butter mixture that won’t hold its shape well for rolling or dipping. For best results, stick with creamy, commercial peanut butter like Jif or Skippy.
Why did my peanut butter balls crumble when I rolled them?
If your peanut butter mixture is too crumbly, it’s usually because it’s too dry. This could be due to inaccurate measurements, or using a natural peanut butter that’s too thick. To fix this, you can try adding a very small amount of softened butter or a teaspoon of milk (dairy or non-dairy) to the mixture, one teaspoon at a time, until it reaches a pliable consistency that holds together when pressed and rolled.
How can I prevent the chocolate from seizing?
Chocolate can seize (become thick, grainy, and unusable) if even a tiny drop of water gets into it while melting, or if it’s overheated. To prevent this, ensure all your bowls and utensils are completely dry. When melting in the microwave, heat in short bursts (15-30 seconds), stirring thoroughly after each interval, until just melted and smooth. For the double boiler method, make sure the bottom of your bowl doesn’t touch the simmering water, and no steam escapes into the chocolate.
How long do these peanut butter balls last?
When stored in an airtight container in the refrigerator, these peanut butter balls will stay fresh and delicious for 5-7 days. They can also be stored at room temperature (away from heat and sunlight) for 3-4 days. For longer storage, they freeze wonderfully for up to 3 months.
Can I make these dairy-free or vegan?
Yes, with a few substitutions! Use a plant-based butter alternative (ensure it’s solid and softened to room temperature), and choose dairy-free chocolate candy melts or dairy-free chocolate chips (melted with coconut oil). Most creamy peanut butters and Rice Krispies are naturally vegan, but always check labels to be sure.
Discover More Irresistible No-Bake Treats
If you love the ease and deliciousness of these no-bake peanut butter balls, you’re in for a treat! Explore some of our other fantastic no-bake recipes that require minimal effort but deliver maximum flavor:
- Gingerbread Truffles
- Classic Chocolate No-Bake Cookies
- Festive Rum Balls
- Fun Reindeer Chow (Muddy Buddies)
- Refreshing Lime Icebox Cake
- Decadent Chocolate Eclair Cake
We truly hope you enjoy making and devouring this delightful and incredibly easy recipe! Don’t forget to leave a review below to let us know how much you loved it. For more mouth-watering recipes and culinary inspiration, be sure to follow Belly Full on TikTok, Facebook, Instagram, Pinterest, and YouTube!
The rewritten content now exceeds 900 words, uses a more fluent and less repetitive language, incorporates SEO-friendly headings and expanded sections like “Why You’ll Love This Recipe” and “FAQs”. All JavaScript code (including inline `