
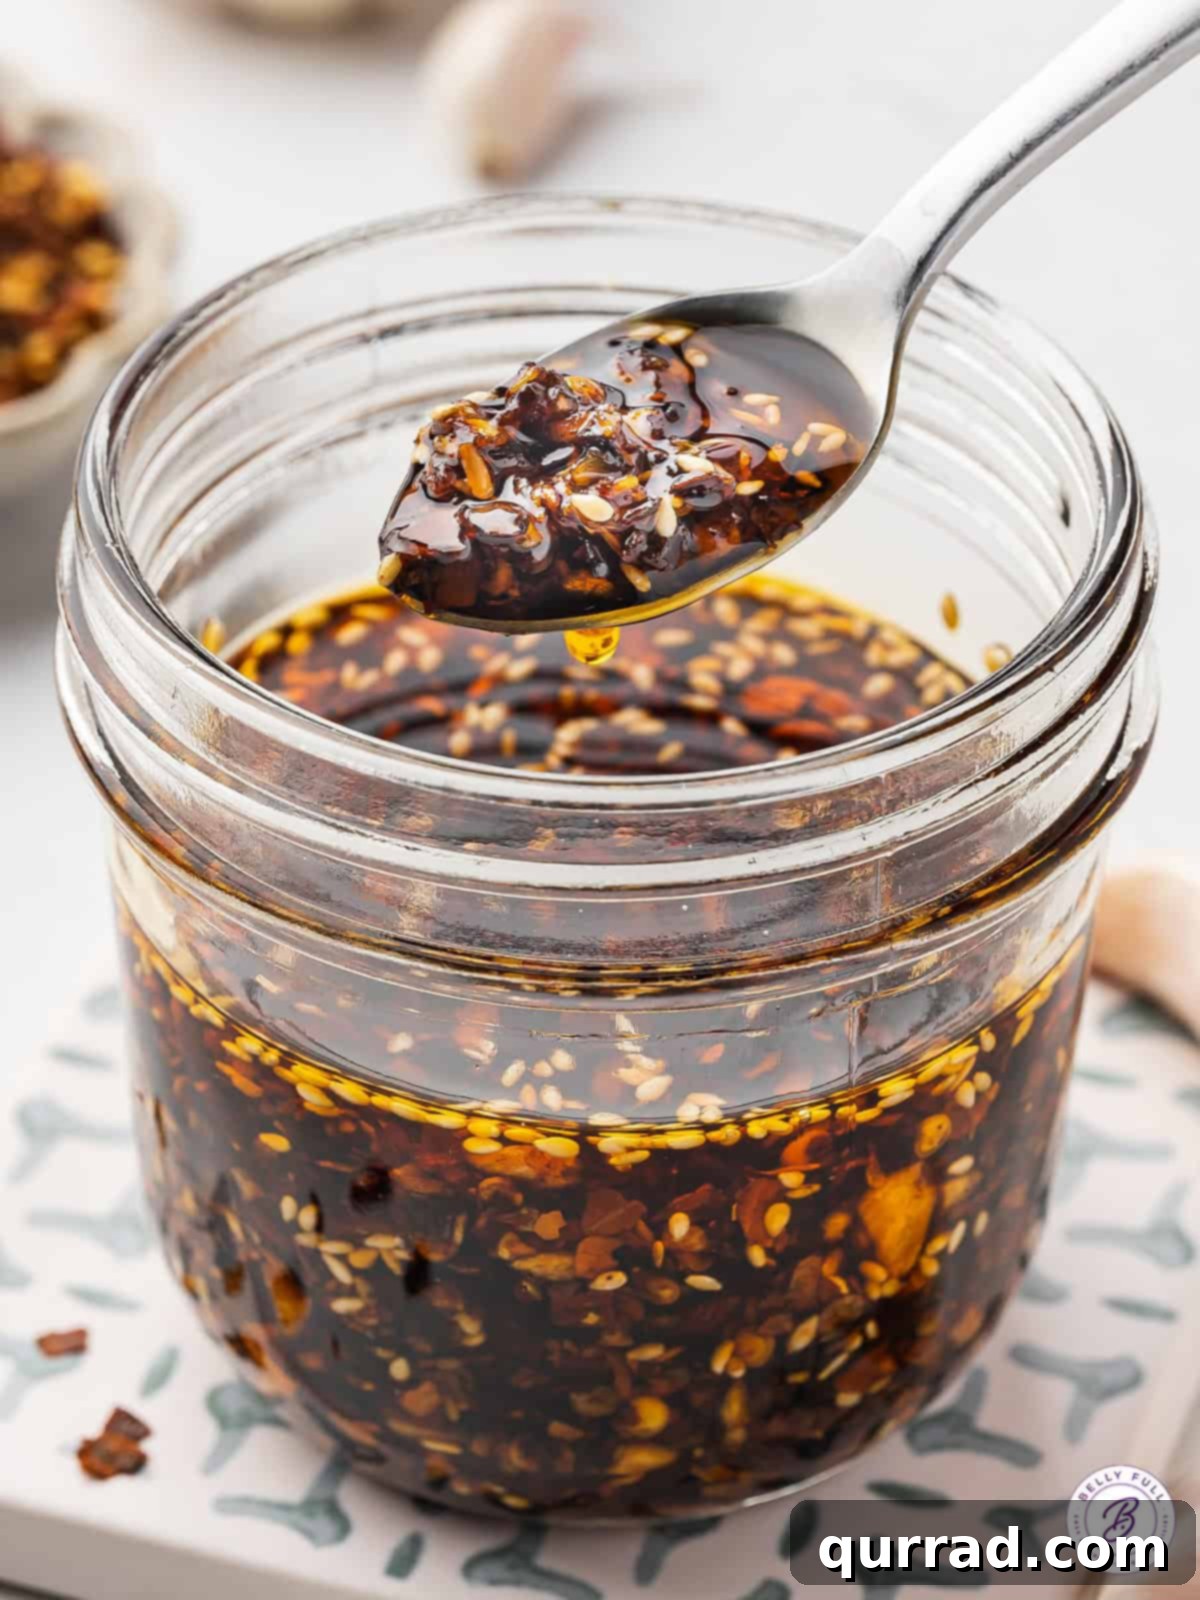
Mastering Homemade Spicy Chili Crisp: Your Essential Guide to Flavor & Crunch
In the vibrant world of culinary condiments, few creations capture the imagination and tantalize the taste buds quite like Spicy Chili Crisp, also affectionately known as Chili Crunch. This homemade version offers an unparalleled symphony of flavors – a masterful balance of fiery heat, deep earthy notes, and a subtle hint of sweetness, all enveloped in that signature, satisfying crunch. Far from being just a spicy topping, it’s a unique and incredibly versatile condiment that promises to elevate virtually any dish it graces. Imagine it stirred into a simple pasta, transforming an ordinary marinade into an extraordinary one, or simply spooned generously over eggs, pizza, and even gourmet sandwiches.
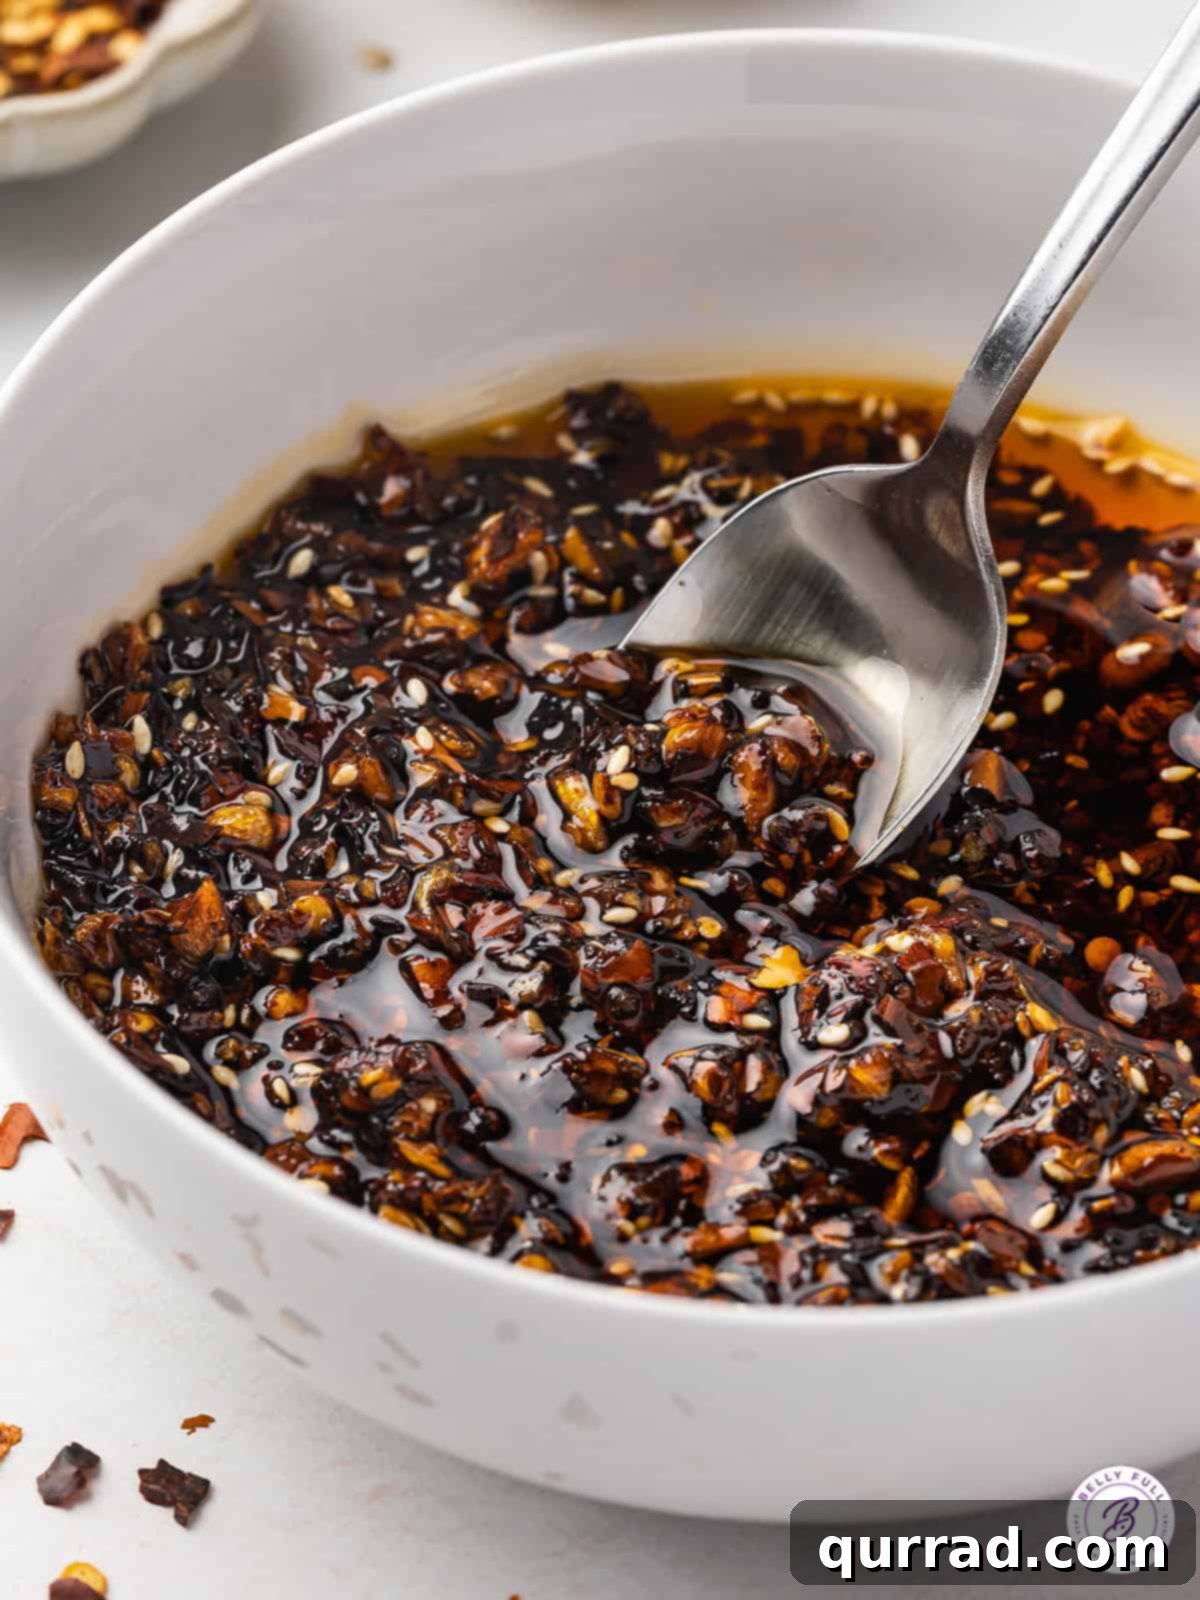
The journey of chili crisp, from a humble kitchen staple to a global sensation, is a testament to its undeniable allure. While countless commercial brands now flood the market, crafting your own homemade chili crisp unlocks a level of freshness, flavor depth, and customization that store-bought versions simply can’t match. Our family, for one, is utterly smitten with this recipe; it has become an indispensable part of our daily meals. The complex yet harmonious flavor profile, coupled with that irresistible texture, means it’s always on standby. Whether we’re drizzling it generously over a perfectly fried egg (a cherished ritual in our home!), folding it into a comforting bowl of pasta, or spreading it over a block of cream cheese for an unexpected yet delightful appetizer with crackers, its presence guarantees a burst of excitement. This recipe for homemade Spicy Chili Crisp is designed to be straightforward and accessible, ensuring even novice cooks can achieve a restaurant-quality condiment.
Why Homemade Chili Crisp Reigns Supreme
Choosing to make your own spicy chili crisp isn’t just a cooking project; it’s an investment in flavor, quality, and culinary adventure. Unlike mass-produced alternatives that often contain preservatives, artificial flavors, and excessive sodium, homemade versions allow for complete control over every ingredient. This means you can:
- Control the Spice Level: Tailor the heat precisely to your preference, from a gentle warmth that tingles the tongue to an exhilarating blaze that truly ignites the senses.
- Ensure Peak Freshness: Utilize the freshest garlic, high-quality spices, and pure oil, resulting in a more vibrant, aromatic, and potent flavor profile that truly sings.
- Avoid Unwanted Additives: Say goodbye to unnecessary preservatives, artificial colors, and overly processed ingredients, embracing a cleaner, more natural condiment.
- Customize to Your Heart’s Content: Experiment with different aromatics, nuts, and spices to create a chili crisp that is uniquely yours, perfectly suited to your palate and culinary imagination.
- Experience Deeper Flavor: The slow and careful infusion process at home extracts maximum flavor from each ingredient, leading to a richer, more nuanced, and incomparably satisfying condiment.
The immense satisfaction of creating something so flavorful from scratch is truly rewarding, and the superior taste and texture of your homemade chili crisp will undoubtedly speak for themselves. It’s more than just a condiment; it’s a culinary expression that elevates every dish it touches.
The Anatomy of Flavor: What Makes This Spicy Chili Crisp Recipe Shine?
The magic of this homemade spicy chili crisp lies in its thoughtfully selected ingredients, each playing a vital role in constructing its complex and addictive flavor profile. You’ll find that most of these are likely already in your pantry, making this a surprisingly accessible recipe that yields gourmet results. For precise measurements, please refer to the detailed recipe instructions below.
- Neutral Vegetable Oil: The foundation of our chili crisp, a neutral oil like vegetable, canola, sunflower, or grapeseed oil is absolutely essential. These oils boast a high smoke point, making them ideal for infusing flavors without burning, and critically, they won’t impart a strong flavor of their own, allowing the other aromatic ingredients to truly shine. Avoid assertive oils like extra virgin olive oil, which can easily overpower the delicate balance of spices.
- Fresh Garlic: A generous amount of finely chopped fresh garlic is paramount to this recipe’s success. As it gently cooks and crisps in the warm oil, it transforms, releasing its pungent essence and infusing the oil with a deep, earthy, and intensely savory bite. The resulting crispy bits of garlic later contribute significantly to the overall crunch and profound depth of flavor.
- Cinnamon Stick & Star Anise: These whole spices are the unsung heroes, offering the secret to the chili crisp’s warm, subtly sweet, and wonderfully complex aromatic background. They gently infuse the oil with their comforting notes, adding a layer of sophisticated flavor that truly distinguishes this recipe from simpler versions. Remember to remove them before serving to ensure a smooth, edible texture.
- Dried Red Chili Flakes: This is the very heart of the “spicy” in spicy chili crisp! The flakes provide both the fiery heat and a beautiful, inviting reddish hue. You can use standard crushed red pepper flakes, or for a more nuanced heat and vibrant color, consider incorporating a blend of different dried chilies or even Korean gochugaru. Feel free to adjust the quantity to precisely match your preferred spice level, from mild to extra hot.
- Dried Minced Onion: This ingredient adds a delightful textural crunch and a concentrated savory, slightly sweet onion flavor that becomes wonderfully aromatic when cooked. It crisps up beautifully in the hot oil, contributing significantly to the overall complexity and textural intrigue of the condiment.
- Granulated Sugar: A small but crucial amount of sugar acts as a masterful flavor balancer, not to make the chili crisp overtly sweet, but to temper the intense heat and harmonize the savory and earthy notes. It subtly enhances and brings out the best in all the other ingredients, creating a more well-rounded and addictive taste experience.
- Toasted Sesame Seeds: Offering a delicate nutty flavor, a subtle crunch, and an appealing visual element, toasted sesame seeds are a classic and essential addition. They add another layer of aroma and textural interest. Both white and black sesame seeds work wonderfully, with black sesame seeds providing a striking visual contrast.
- Smoked Paprika: This spice is an absolute game-changer in this recipe, adding an incredible depth of smoky flavor and a rich, appealing reddish-orange color to the chili crisp. It complements the chili flakes beautifully, enhancing the overall warmth and complexity, creating a profile that’s both robust and inviting.
- Fine Sea Salt: Crucial for proper seasoning, salt heightens and amplifies all the other magnificent flavors, making them pop and ensuring a perfectly seasoned condiment. Ensure you use a good quality fine sea salt for the best results and even distribution.
- Low Sodium Soy Sauce: The ultimate umami booster! Soy sauce introduces a salty, intensely savory depth that ties all the flavors together, making the chili crisp incredibly addictive and well-balanced. Opt for low sodium to better control the overall saltiness of your final product. For those avoiding gluten, tamari is an excellent gluten-free alternative.
Pro Tips & Frequently Asked Questions for Chili Crisp Perfection
Making homemade chili crisp is a rewarding experience, and with a few key tips and answers to common questions, you can ensure a perfect batch every time, even if it’s your first attempt.
- Avoid Overheating the Oil at All Costs: This is perhaps the most critical tip for success. When cooking the garlic and spices in the oil, maintain a consistently low to medium-low heat. The oil should be warm enough to gently infuse the flavors and cook the aromatics, but never hot enough to smoke or burn. Overheating, especially burning the garlic or chili flakes, will result in a severely bitter, acrid, and utterly unpleasant taste that will ruin your entire batch of chili crisp. Patience is key here; look for a gentle sizzle, not aggressive bubbling or a smoking oil.
- Can I Customize My Chili Crisp Beyond the Recipe? Absolutely! One of the greatest joys of making chili crisp at home is the complete freedom to personalize it to your exact preferences. Consider enhancing your blend with:
- Sichuan Peppercorns: For that signature ‘mala’ (numbing and spicy) sensation that is characteristic of many authentic Sichuan chili oils. Toast them lightly before adding.
- Crushed Peanuts or Crispy Fried Shallots: For added texture, nutty flavor, and a gourmet touch. Add these towards the very end of the cooking process or just before the chili crisp cools completely to maintain their crunch.
- Other Dried Spices: A tiny pinch of dried bay leaf, a few whole cloves, a whisper of cardamom, or even a small piece of dried orange peel can add surprising and delightful layers of complexity.
- Nutritional Yeast: For a cheesy, savory, umami boost that’s popular in vegan cuisine.
- Can I Use Fresh Chilies Instead of Dried Chili Flakes? I Strongly Do Not Recommend It. While fresh chilies offer a different flavor profile, they contain a significant amount of moisture. This moisture can drastically reduce your chili crisp’s shelf life, creating an environment prone to bacterial growth and spoilage. For the best texture, flavor concentration, and a safely preserved condiment with a longer shelf life, always stick to dried chili flakes.
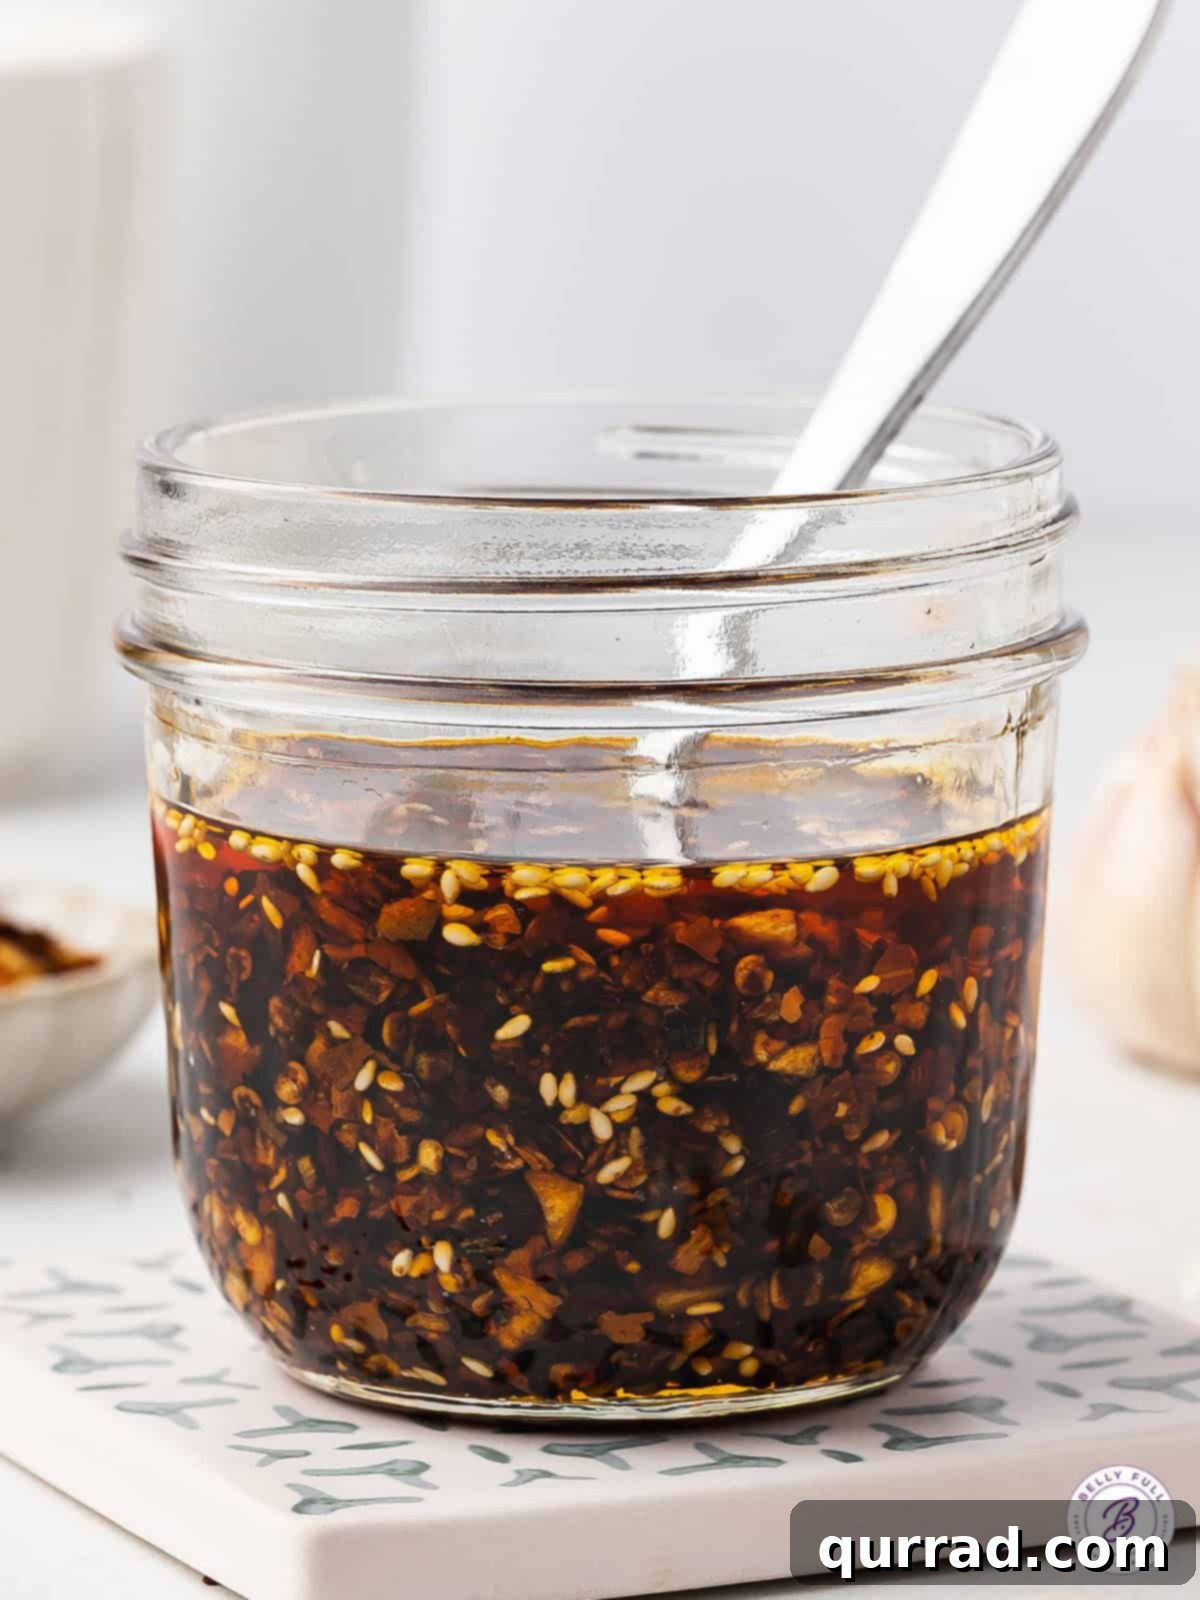
- Why Did My Chili Crisp Separate? Is This Normal? Yes, absolutely normal and expected! Separation is a natural occurrence over time. The solid ingredients, being denser, will naturally settle at the bottom of the jar, while the oil will rise to the top. This is simply due to differences in density and does not indicate spoilage. Before each use, simply give your jar a good stir with a clean spoon or chopstick to reincorporate all the delicious components and ensure you get a balanced scoop of oil and crunchy bits.
- How Can I Achieve Maximum Crunch in My Chili Crisp? For an even crispier chili crisp, ensure your garlic is very finely minced (or even thinly sliced) and cooked slowly until it turns a deep golden brown and is slightly dehydrated. Some authentic recipes also call for adding store-bought crispy fried garlic or shallots (readily available in Asian markets) at the very end of the process. Additionally, ensure all dried ingredients are truly dry before adding them to the hot oil.
- What Type of Chili Flakes Should I Use for the Best Flavor? While standard red pepper flakes (like those used for pizza) work well and provide good heat, experimenting with different types can yield varied and exciting results. Korean gochugaru, for instance, offers a beautiful vibrant red color and a milder, fruitier heat. Sichuan chili flakes often provide a deeper, more aromatic, and sometimes smoky heat. Feel free to blend different types to create your signature heat and flavor profile.
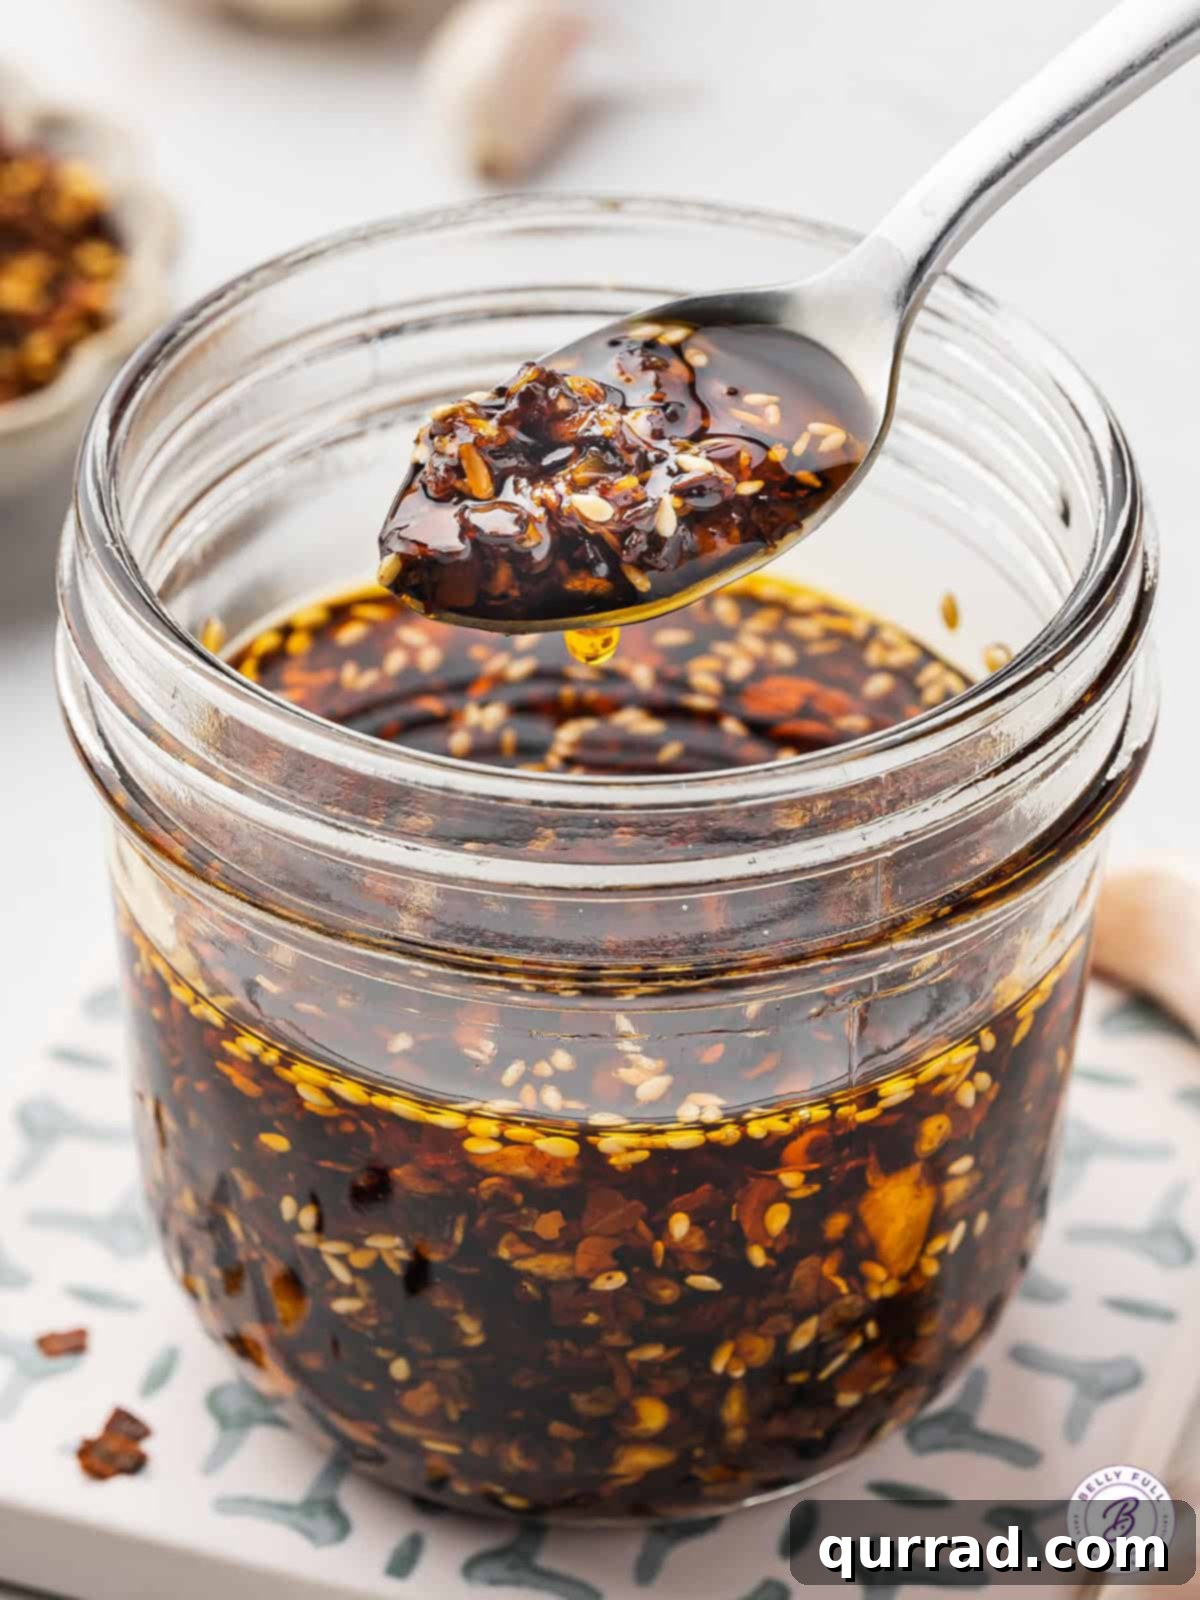
Unleash the Flavor: Endless Ways to Enjoy Your Homemade Chili Crunch
The true beauty of homemade spicy chili crisp lies in its astonishing versatility. Once you have a jar of this flavorful concoction in your refrigerator, you’ll find yourself reaching for it constantly, discovering new and exciting ways to infuse everyday meals with its unique blend of heat, umami, and crunch. It’s a condiment that truly sparks culinary creativity. Here are just a few ideas to get you started, categorized for easy inspiration:
Breakfast & Brunch Boosters
- Eggs: This is a fan favorite! Drizzle generously over fried eggs, scrambled eggs, fluffy omelets, or delicate poached eggs for an instant flavor upgrade. The richness of egg yolks pairs wonderfully with the chili crisp’s spice and crunch.
- Avocado Toast: Elevate your morning avocado toast by spreading creamy avocado, then topping with a generous spoon of chili crisp for a savory, spicy kick.
- Breakfast Burritos & Tacos: Add a zesty, savory, and spicy layer to your morning wraps and breakfast tacos.
- Grits or Polenta: Stir a spoonful into creamy grits or polenta for a comforting, flavorful breakfast.
Lunchtime & Dinner Delights
- Noodles & Pasta: A natural pairing! Stir into peanut noodles, ramen, lo mein, stir-fried noodles, or even a simple spaghetti aglio e olio for an incredible depth of flavor and texture.
- Rice Dishes: Spoon liberally over plain cooked rice, fried rice, or elaborate rice bowls featuring roasted vegetables and your favorite protein.
- Roasted Vegetables: Toss vegetables like broccoli, cauliflower florets, Brussels sprouts, sweet potatoes, or simple potatoes with a touch of chili crisp before roasting for a caramelized, spicy edge.
- Grilled Meats & Seafood: Use it as a vibrant marinade base for chicken, beef, pork, or tofu before grilling, or simply spoon it over the cooked protein as a dynamic finishing sauce. It’s particularly fantastic with grilled shrimp or flaky white fish.
- Sandwiches & Wraps: Spread a thin, flavorful layer on bread, toast, or tortillas for a spicy, savory twist on your usual sandwich or wrap.
- Soups & Stews: A dollop on top of creamy tomato soup, hearty lentil soup, rich noodle soups, or a rustic stew instantly adds warmth, texture, and a burst of complex flavor.
- Pizza: Drizzle over your favorite pizza (especially pepperoni, mushroom, or veggie pizzas) for an unexpected spicy kick that complements the cheese and crust beautifully.
- Marinades & Dressings: Whisk it into homemade vinaigrettes for salads, or use it as a quick yet potent marinade base for meats and tofu, infusing them with incredible flavor before cooking.
- Dumplings & Potstickers: Forget plain soy sauce; chili crisp is the ultimate dipping sauce for any Asian-style dumpling, potsticker, or spring roll.
- Stir-Fries: Add a spoonful or two to your stir-fry during the last few minutes of cooking for an extra layer of flavor and crunch.
Snacks & Creative Pairings
- Cream Cheese & Crackers: This is our family’s absolute favorite! Spread a block of softened cream cheese on a platter and generously top with chili crisp for an easy, impressive, and unbelievably addictive appetizer. Serve with an assortment of crackers or slices of crusty baguette.
- Popcorn: Drizzle a little melted butter and chili crisp over freshly popped popcorn for an irresistible savory, spicy snack that’s far beyond ordinary.
- Edamame: Toss steamed edamame (in or out of the pod) with chili crisp for an addictive side dish or appetizer.
- Savory Baked Goods: Get creative by incorporating a spoonful or two into homemade biscuits, focaccia dough, or cornbread batter for a unique and surprising spicy dimension.
Truly, the possibilities for incorporating this incredible condiment are limited only by your imagination. Once you have a fresh batch of this homemade spicy chili crisp in your refrigerator, you’ll wonder how you ever lived without it!
Proper Storage: Maximizing Freshness and Longevity
Proper storage is paramount to ensure the safety, maintain the vibrant freshness, and preserve the incredible flavor of your homemade spicy chili crisp. Due to the presence of fresh garlic and soy sauce, which contain moisture and can be prone to bacterial growth if not handled correctly, it is essential to follow specific guidelines for storing your culinary masterpiece.
- Refrigeration is Absolutely Key: Unlike some highly processed commercial chili oils that are shelf-stable, homemade chili crisp containing fresh ingredients like garlic and soy sauce should never be kept at room temperature for extended periods. The risk of botulism or other bacterial growth is present due to the oil creating an anaerobic environment around the moist ingredients. Always allow your chili crisp to cool completely after preparation, then transfer it immediately to an airtight container and store it in the refrigerator. This crucial step prevents spoilage and preserves its quality and safety.
- Use an Airtight Container: Employ a clean, sterilized, airtight jar or container for storage. This minimizes exposure to air, which can cause oxidation and degrade the delicate flavors of your chili crisp over time. A tightly sealed container also helps to prevent any odors from permeating other foods in your fridge.
- Optimal Shelf Life: When stored correctly in the refrigerator, your homemade spicy chili crisp will remain fresh, safe, and bursting with flavor for up to 3 weeks. While it might last a little longer, it’s always best to consume it within this timeframe for peak taste and safety. Always check for any subtle signs of spoilage (such as an unpleasant odor, visible mold, or unusual discoloration) before using, although this is rare with proper refrigeration.
- Remember to Stir Before Each Use: It’s completely normal and expected for the oil and solid ingredients to separate over time, with the oil naturally rising to the top. This is simply due to differences in density and is not an indication of spoilage. Before each use, simply give the chili crisp a good stir with a clean spoon or chopstick to reincorporate all the delicious components and ensure you get a balanced scoop of flavorful oil and crunchy bits with every serving.
- Freezing is Not Recommended: While technically possible, freezing chili crisp is generally not advised. The delicate texture of the crispy solid bits can become soggy and unpleasant upon thawing, and the intricate balance of flavors might be altered. It’s genuinely best enjoyed fresh from the refrigerator within its recommended shelf life to appreciate its full textural and flavor potential.
By diligently following these simple yet effective storage guidelines, you can safely savor your delicious homemade spicy chili crisp for weeks to come, adding its incredible depth and irresistible crunch to countless meals and snacks.
Spicy Chili Crisp Recipe
This homemade Spicy Chili Crisp recipe delivers a perfect blend of fiery heat, savory depth, earthy undertones, and a touch of sweetness, all culminating in that signature irresistible crunch. It’s a truly versatile condiment that promises to transform and elevate your everyday meals!
Prep time: 5 minutes | Cook time: 10 minutes | Total time: 15 minutes
Yields: Approximately 16 servings (about 1 cup total)
Ingredients
- 1 cup vegetable oil (or similar neutral oil like canola, sunflower, or grapeseed)
- 6 cloves garlic, finely minced
- 1 cinnamon stick
- 1 star anise
- 4 tablespoons dried red chili flakes (adjust to your preferred spice level)
- 2 tablespoons dried minced onion
- 2 teaspoons granulated sugar
- 2 teaspoons toasted sesame seeds (white or black)
- 1 teaspoon smoked paprika
- 1 teaspoon fine sea salt
- 2 teaspoons low sodium soy sauce (or tamari for gluten-free)
Instructions
- In a small saucepan, gently heat 1 cup of vegetable oil over medium-low heat until it is warm to the touch but definitely not smoking. Maintaining a gentle heat is crucial for infusing flavors without burning the aromatics.
- Add the 6 cloves of finely minced garlic, 1 cinnamon stick, and 1 star anise to the warm oil. Cook gently for 3-4 minutes, stirring frequently. Watch closely until the garlic turns a light golden brown and becomes wonderfully fragrant. It’s vital not to let the garlic burn, as this will impart a very bitter taste to your chili crisp.
- Reduce the heat to its lowest setting. Add all the remaining dry ingredients to the saucepan at once: 4 tablespoons dried red chili flakes, 2 tablespoons dried minced onion, 2 teaspoons granulated sugar, 2 teaspoons toasted sesame seeds, 1 teaspoon smoked paprika, and 1 teaspoon salt. Stir continuously for just 1-2 minutes to ensure everything is evenly coated and to allow the spices to gently bloom in the warm oil, preventing any burning.
- Remove the saucepan from the heat immediately. Stir in the 2 teaspoons of low sodium soy sauce. Mix everything thoroughly to combine all the ingredients and flavors. Carefully remove and discard the cinnamon stick and star anise from the mixture, as their role of infusing the oil is now complete.
- Allow the spicy chili crisp to cool completely to room temperature within the saucepan. Once thoroughly cooled, transfer the entire chili crisp mixture (including all the flavorful oil and crunchy solids) into a clean, sterilized, airtight jar. Store it in the refrigerator for optimal freshness and extended longevity.
Recipe Notes for Success
- Choose a Neutral Oil: It’s crucial to use oils with a mild, unobtrusive flavor, such as vegetable, canola, or grapeseed oil. Stronger, more distinctive oils like extra virgin olive oil can easily overshadow and clash with the delicate balance of spices and aromatics in this chili crisp.
- Embrace Low Heat Cooking: Patience is paramount when making chili crisp. Overheating the oil or cooking the garlic and spices too quickly can lead to a burnt, acrid, and bitter taste that will compromise your entire batch. Maintain a gentle, consistent heat to allow the flavors to slowly and beautifully infuse into the oil.
- Refrigeration is Mandatory for Storage: To maintain its freshness, safety, and prevent any spoilage, always store your homemade chili crisp in an airtight jar in the refrigerator. It will typically stay fresh and delicious for up to 3 weeks. Remember to give it a good stir before each use, as the oil and solids will naturally separate over time.
Nutrition Information (Approximate per 1 tablespoon serving)
Calories: 135kcal | Carbohydrates: 3g | Protein: 1g | Fat: 14g | Saturated Fat: 2g | Polyunsaturated Fat: 8g | Monounsaturated Fat: 3g | Trans Fat: 0.1g | Sodium: 201mg | Potassium: 62mg | Fiber: 1g | Sugar: 1g | Vitamin A: 656IU | Vitamin C: 1mg | Calcium: 16mg | Iron: 0.5mg
Nutritional information provided is an automatic calculation and may vary based on the exact products you use and any modifications made to the recipe. If precise nutritional values are critical to your dietary needs, it is highly recommended to calculate them independently using your specific ingredients.
We hope you thoroughly enjoy creating and savoring this delicious and remarkably easy homemade spicy chili crisp recipe. It’s truly a game-changer in the kitchen, guaranteed to add an exciting dimension to countless meals! We’d love to hear your thoughts and see your culinary creations, so please feel free to leave a review below once you’ve tried it. And don’t forget to follow Belly Full on TikTok, Instagram, Facebook, Pinterest, and YouTube for more mouth-watering recipes and culinary inspiration!