
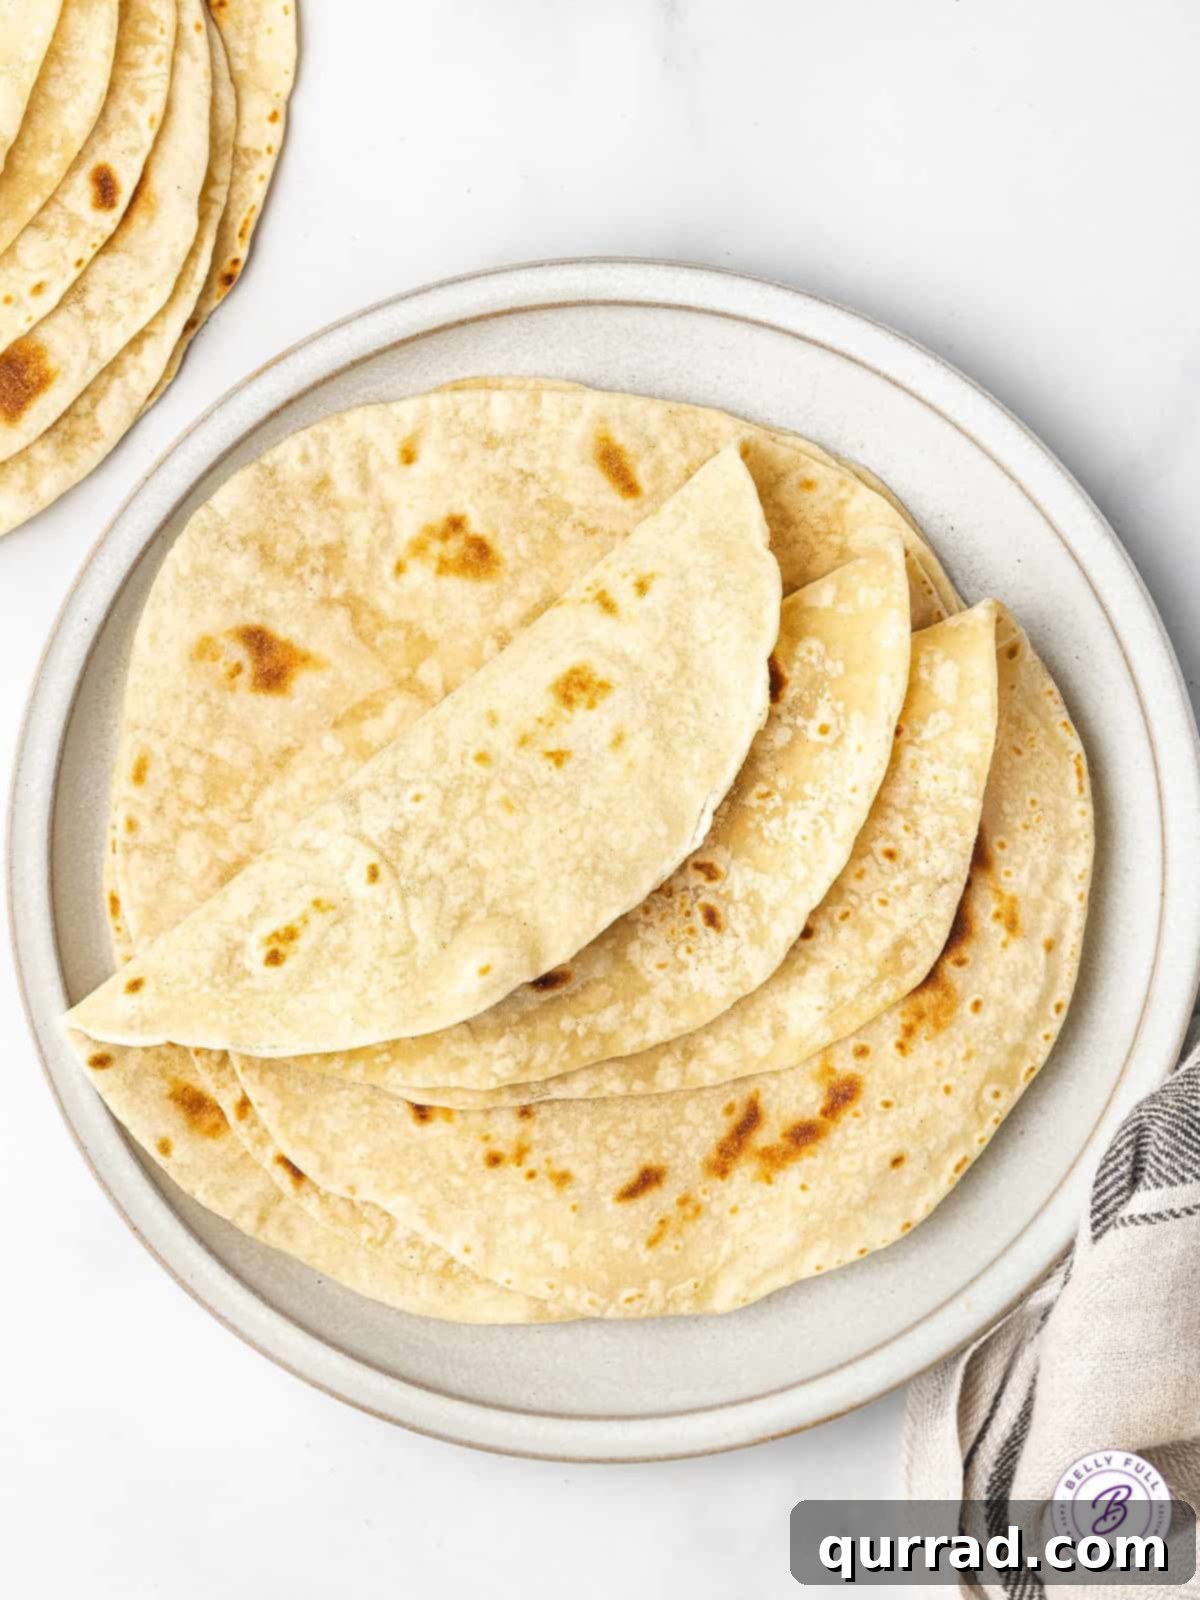
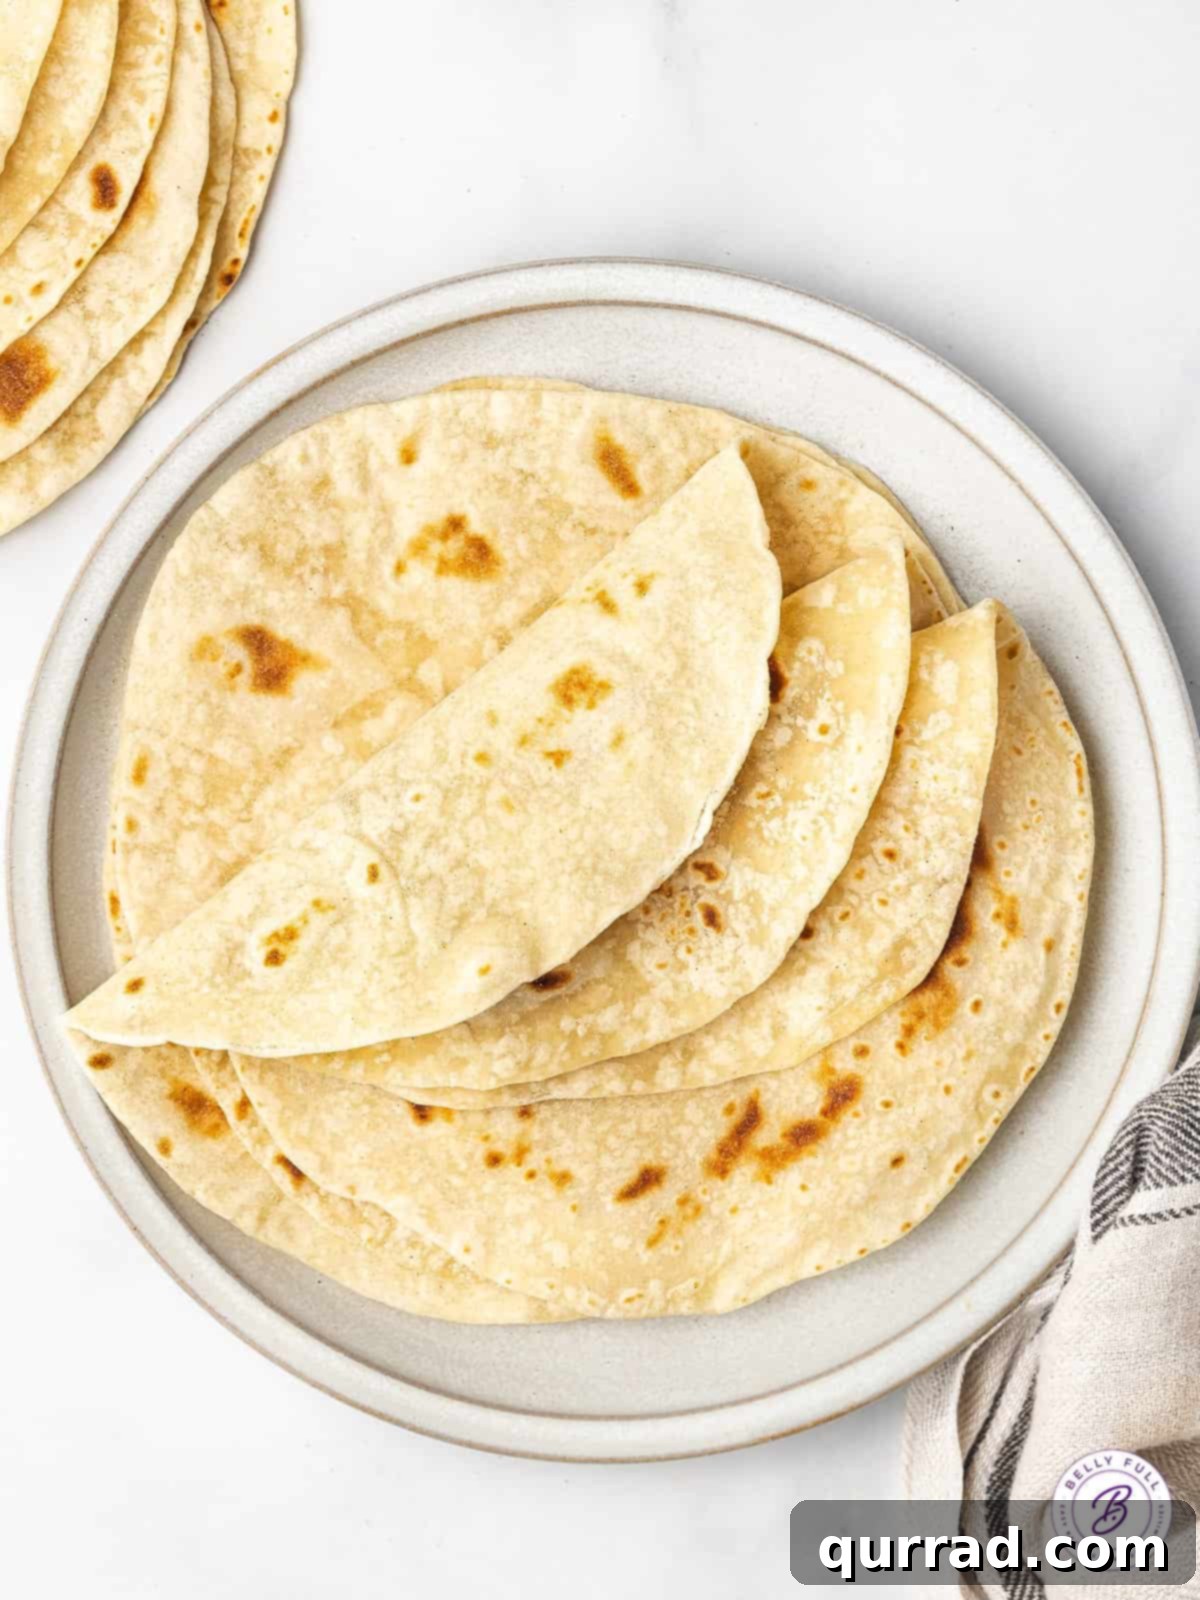
There’s an undeniable magic to warm, freshly made tortillas. The kind that are soft, pliable, and bursting with authentic flavor, far superior to anything you’ll find pre-packaged on grocery store shelves. This guide will walk you through creating the most incredible homemade flour tortillas using just four essential ingredients and without the need for specialized equipment. Prepare to transform your weeknight meals and elevate your favorite Mexican dishes with these light, airy, and utterly delicious tortillas.
Mastering the Art of Easy Homemade Flour Tortillas
In countless kitchens worldwide, Mexican and Tex-Mex cuisine holds a special place, and our home is no exception. Dishes like zesty walking tacos, hearty breakfast burritos, and savory ground beef enchiladas are staples at our dinner table. While corn tortillas have their unique charm, there’s a specific satisfaction that only a perfectly crafted flour tortilla can deliver.
Once you experience the soft texture and fresh taste of homemade flour tortillas, you’ll likely never return to store-bought varieties. This recipe simplifies the process, making it accessible even for novice bakers. The dough comes together quickly and only requires a short resting period of about 20 minutes. Forget the need for a tortilla press, often essential for corn tortillas; these flour tortillas are effortlessly rolled out by hand. While mastering the technique might take a little practice—as factors like your stove type, pan material, and even altitude can influence the outcome—the journey is incredibly rewarding.
Why Choose Homemade Flour Tortillas?
- Unmatched Freshness and Flavor: Store-bought tortillas often contain preservatives and lack the vibrant, fresh taste of a tortilla made from scratch. Homemade versions have a subtle, nutty flavor that beautifully complements any filling.
- Superior Texture: Achieve a remarkably soft, light, and airy texture that’s both pliable and robust, perfect for holding generous fillings without tearing.
- Simple, Wholesome Ingredients: With just flour, water, fat, and a touch of leavening, you control exactly what goes into your food. No mysterious additives or artificial flavors.
- Economical: Making tortillas at home is significantly cheaper than consistently buying them, especially if you enjoy them frequently.
- Therapeutic Process: The act of mixing, kneading, and rolling the dough can be incredibly satisfying and a wonderful way to connect with your food.
Essential Tips for Perfect Flour Tortillas
- Achieving Ultra-Thin Dough: The secret to light, puffy tortillas lies in rolling the dough incredibly thin—almost translucent. If your dough springs back while rolling, it hasn’t rested enough. Cover it with the damp towel and let it rest for another 15-20 minutes. This allows the gluten to relax, making it much easier to roll out.
- Mastering Heat Regulation: This is perhaps the most crucial element for perfectly cooked tortillas.
- Too Hot: If your pan is excessively hot, the tortilla will develop dark, scorched spots before it has a chance to cook through or puff up. The ideal heat allows for gentle browning and bubbling.
- Not Hot Enough: Conversely, if your pan isn’t hot enough (e.g., after 30-40 seconds, your tortilla remains flat with no bubbles), it won’t cook efficiently or develop those characteristic pockets of air. Adjust the heat gradually and observe the first few tortillas to find the sweet spot for your stove and pan.
- Fat Substitutions: While lard is traditionally preferred for its neutral flavor, its ability to create a very airy texture, and ease of rolling, there are viable alternatives.
- Vegetable Shortening: Brands like Crisco work wonderfully as a direct substitute, yielding very similar results.
- Softened Butter: Using softened butter will impart a slightly richer flavor. Ensure it’s unsalted if you’re concerned about salt levels, or adjust the added salt in the recipe.
- Vegetable Oil: For a vegan option, some recipes use vegetable oil, though it can change the texture slightly, making the tortillas a bit less soft. If using oil, you might need slightly less water.
- Customizing Tortilla Size: This recipe is designed for 14, 6 to 7-inch tortillas, perfect for standard tacos or small burritos. However, you can easily adjust the size to suit your needs. For larger tortillas (9 to 10 inches), simply pinch off bigger balls of dough. The rolling technique and cooking method remain the same; just be mindful that larger tortillas might require a slightly longer cook time per side.
- Storing Rolled Dough: If you’re preparing for a crowd, you can roll out all your tortillas in advance, stacking them between parchment paper squares to prevent sticking, and then cooking them when ready. This helps streamline the process.
Flour Tortillas
15 mins
15 mins
20 mins
50 mins
14 tortillas
These Homemade Flour Tortillas are crafted with just 4 simple ingredients and require no special tools. Light, fluffy, and incredibly versatile, they are a significant upgrade from any store-bought alternative and are absolutely perfect for all your favorite Mexican dishes.
See below the recipe card for step-by-step images.
Ingredients
- 3 cups all-purpose flour, spooned and leveled
- 1 tsp salt
- ½ tsp baking powder
- ¼ cup lard (or vegetable shortening)
- 1 cup very hot water, or as needed
Instructions
- In a large mixing bowl, thoroughly whisk together the flour, salt, and baking powder. Add in the lard (or chosen shortening) and, using your fingertips, work it into the flour mixture until it resembles fine, coarse crumbs.
- While continuously mixing with your hands, gradually pour in the very hot water, a small amount at a time. Be cautious as the water will be hot. Drizzle in a bit, mix, then add more water as needed until a sticky dough ball forms and begins to pull away cleanly from the sides of the bowl.
- Transfer the dough to a very lightly floured, clean work surface. Knead the dough vigorously for approximately 5 minutes until it becomes soft, smooth, elastic, and no longer sticky to the touch. To test for readiness, gently press the dough with a finger; if it springs back, it’s perfectly kneaded.
- Divide the dough into 14 uniform pieces, each roughly the size of a golf ball. Roll each piece into a smooth ball, gently pressing and tucking the edges until it’s perfectly round. Place the formed dough balls onto a baking sheet. Once all 14 balls are prepared, cover them with a lightly damp, warm kitchen towel and allow them to rest for 20 to 30 minutes. This resting period is crucial for relaxing the gluten, making the dough easier to roll.
- On a very lightly floured surface, take one dough ball, dust it sparingly with flour, and press it flat with your fingers. Using a rolling pin, begin to roll out a circular shape from the center outwards, being careful not to roll over the very edges initially. Roll the dough once, then rotate it 45 degrees, roll again, and repeat this process until it’s about halfway rolled out, striving to maintain a round shape. As the dough expands, flip it over and continue rolling until you achieve a super thin, approximately 6-7-inch circle. The dough should appear almost translucent.
- Preheat a comal, nonstick skillet, or griddle over medium-high heat until it is very hot. Just before you begin cooking the first tortilla, reduce the heat to medium. Ensure your cooking surface is wide enough to accommodate the entire tortilla without crowding.
- Carefully place a rolled tortilla onto the hot skillet. Cook for 20 to 30 seconds, or until small bubbles begin to appear on the surface and you notice light brown spots or blistering on the underside. Flip the tortilla and cook for another 20 to 30 seconds, until the bottom is slightly golden. Flip it one last time—this is often when you’ll observe large, satisfying bubbles forming—and cook for a final 10 seconds.
- As each tortilla finishes cooking, stack them immediately on a plate. To keep them warm and soft, cover the stack with a dry kitchen towel, place them in a tortilla warmer, or transfer them to a baking sheet in a 175°F (80°C) oven. Continue this process with the remaining dough balls.
- Once all the tortillas have cooled completely to room temperature, transfer them to a resealable Ziploc bag or an airtight container to prevent them from drying out and to maintain their freshness.
Video
Nutrition
Calories: 98 kcal |
Carbohydrates: 21 g |
Protein: 3 g |
Fat: 0.3 g |
Saturated Fat: 0.04 g |
Polyunsaturated Fat: 0.1 g |
Monounsaturated Fat: 0.02 g |
Sodium: 1 mg |
Potassium: 44 mg |
Fiber: 1 g |
Sugar: 0.1 g |
Vitamin A: 32 IU |
Vitamin C: 0.2 mg |
Calcium: 12 mg |
Iron: 1 mg
Nutritional information is an automatic calculation and may vary based on the exact products used and any modifications to the recipe. For precise nutritional values, it is recommended to calculate them independently.
Did you make this? Leave a rating below!
Step-by-Step Visual Guide: Crafting Your Own Flour Tortillas
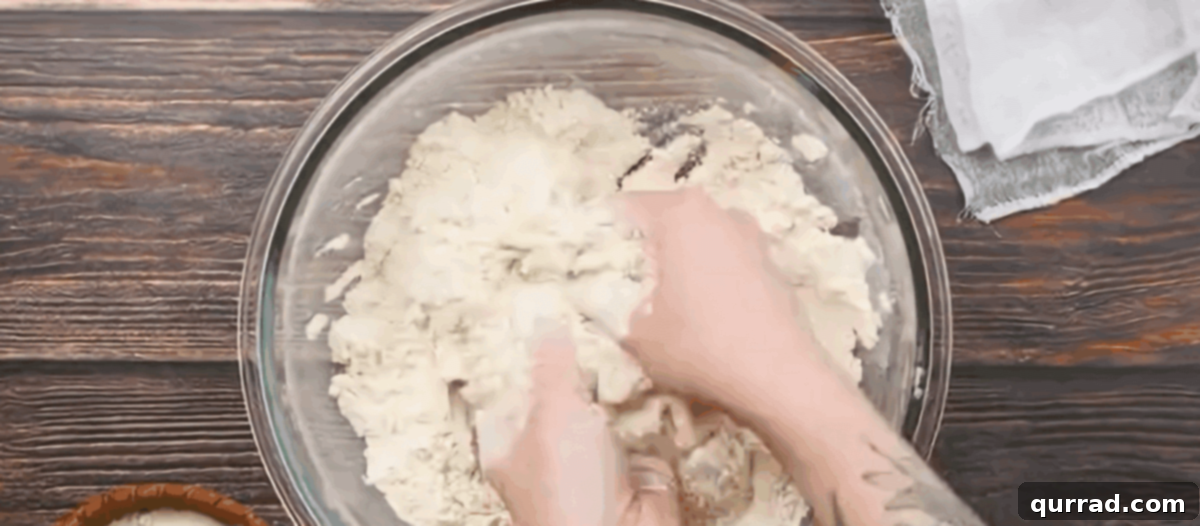
Step 1: Prepare the Dough Base. In a spacious mixing bowl, meticulously whisk together 3 cups of all-purpose flour, 1 teaspoon of salt, and ½ teaspoon of baking powder until well combined. Incorporate the ¼ cup of lard (or chosen shortening) into the dry ingredients. Using your hands, work the fat into the flour mixture until it achieves a crumbly texture, resembling fine breadcrumbs.
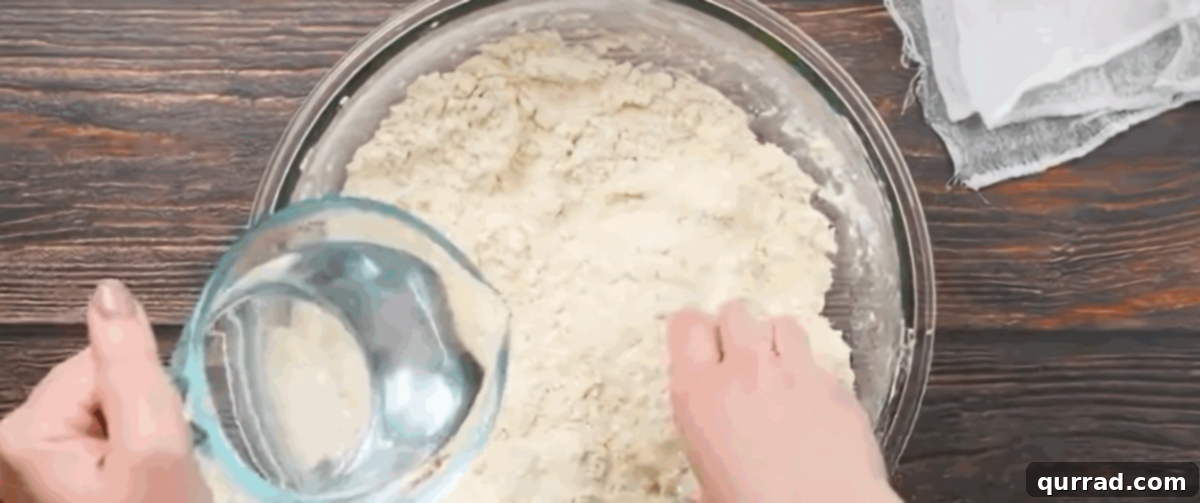
Step 2: Hydrate the Dough. Begin to slowly pour in 1 cup of very hot water, adding just a little at a time while mixing with your hands. Be cautious as the water will be hot. Continue to drizzle in water and mix until a cohesive, sticky dough ball forms. The dough should start to pull away cleanly from the edges of the bowl.
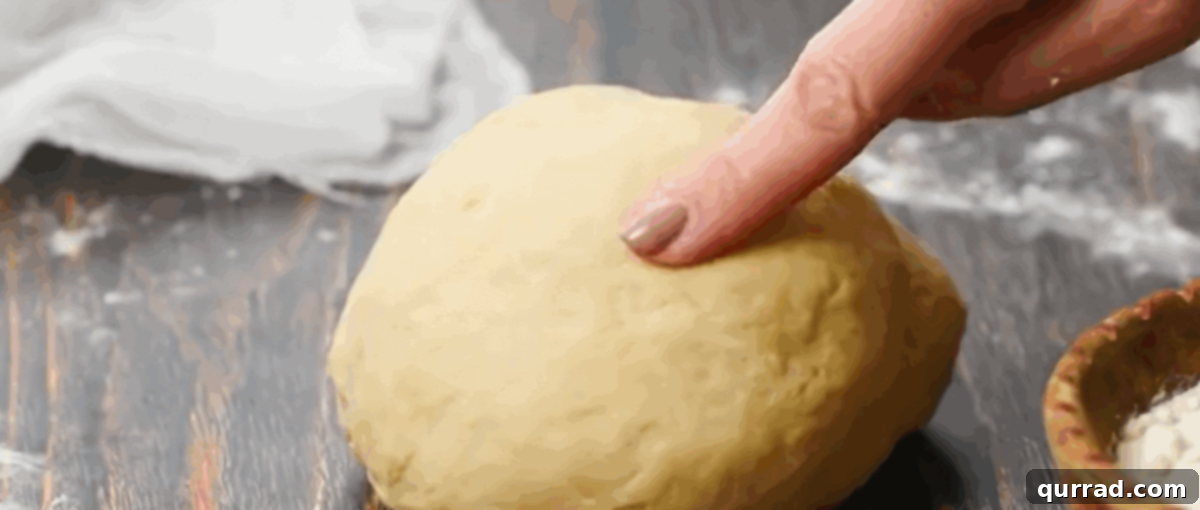
Step 3: Knead and Test. Transfer the sticky dough to a very lightly floured, clean work surface. Knead the dough consistently for about 5 minutes. The goal is a dough that feels soft, elastic, smooth, and is no longer sticky. A quick test for readiness: gently press the dough with your finger; if it readily bounces back, your dough is perfectly kneaded and ready for its rest.
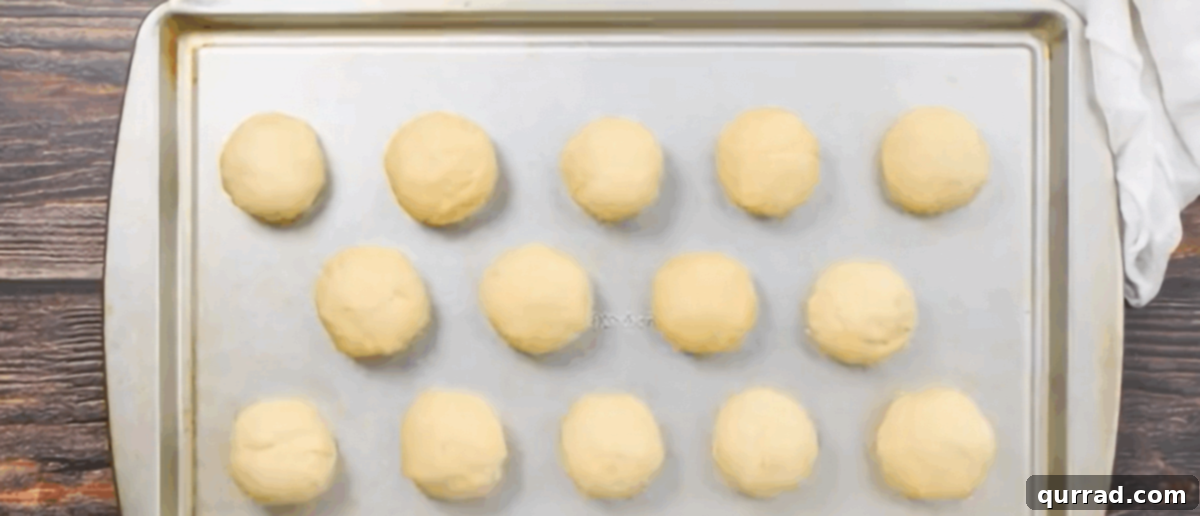
Step 4: Portion and Rest. Pinch off 14 uniform pieces of dough, each roughly the size of a golf ball. Roll each piece into a smooth ball, gently tucking the edges underneath to create a perfect sphere. Place these dough balls onto a baking sheet. Crucially, cover the dough balls with a lightly damp, warm kitchen towel. Allow them to rest undisturbed for 20 to 30 minutes. This resting period is essential for the gluten to relax, making the dough much easier to roll out.
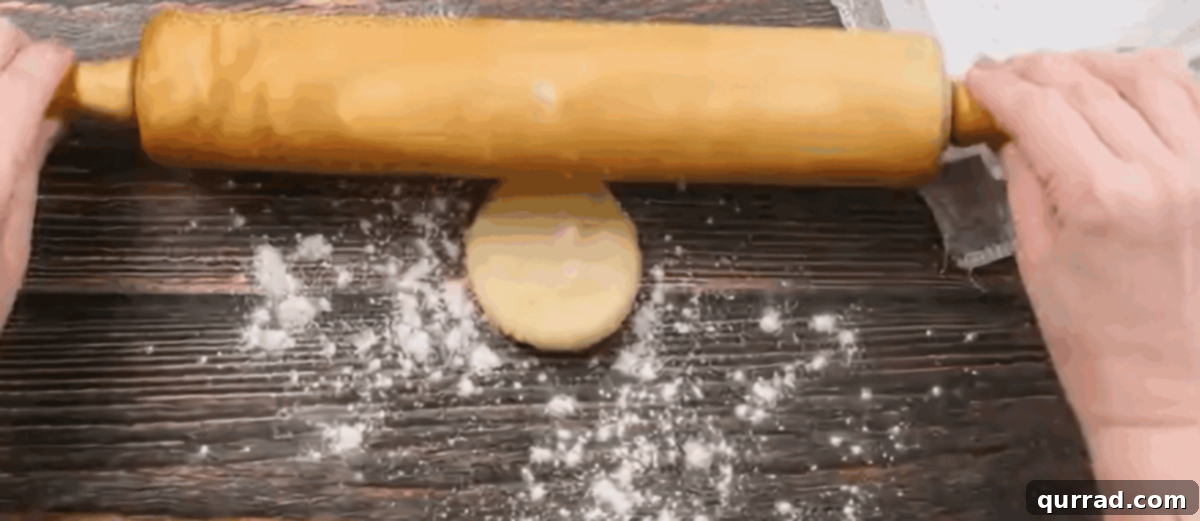
Step 5: Roll Them Out Thin. On a very lightly floured surface, take one dough ball. Dust it gently with a little more flour and press it flat with your fingers. Using a rolling pin, begin to roll out a perfect circle. Start from the center and roll outwards, but avoid letting the rolling pin go right to the very edge in the initial passes. Roll the dough once, then rotate it approximately 45 degrees, roll again, and repeat this technique. Continue until the dough is about halfway rolled out, constantly striving to maintain its round shape. As it expands, flip the dough over and continue rolling until you achieve a super thin 6-7-inch circle. The dough should be almost transparent; the thinner, the better for that signature light texture.
Step 6: Preheat Your Pan. Place a comal, a nonstick skillet, or a griddle over medium-high heat. Allow it to get very hot. Once heated, lower the temperature slightly to a steady medium heat before you begin cooking your first tortilla. Ensure your chosen pan is wide enough to accommodate the entire tortilla laying flat without overlapping.
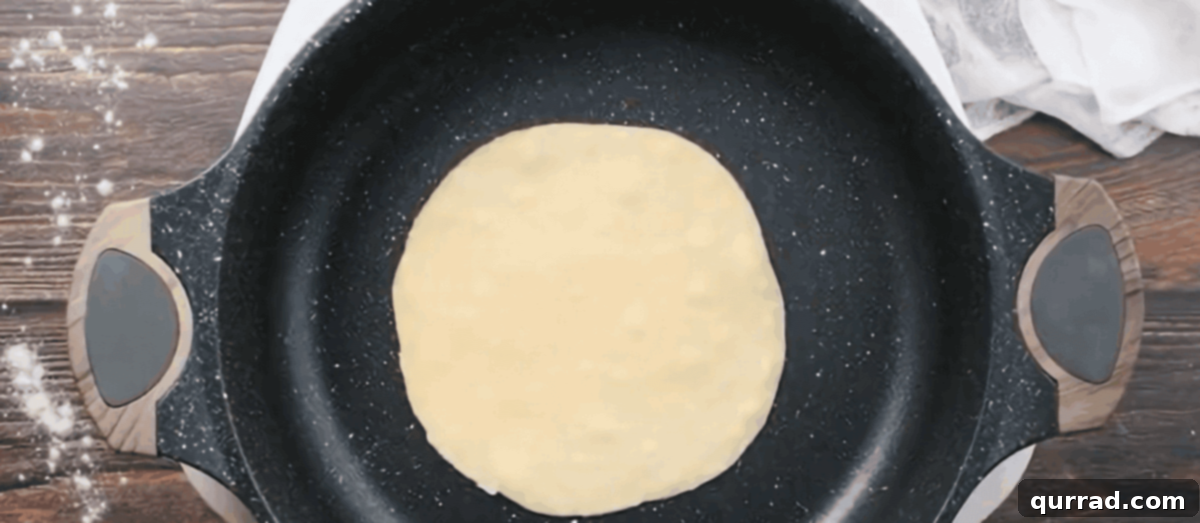
Step 7: Cook to Perfection. Gently place a rolled tortilla onto the hot skillet. Cook for approximately 20 to 30 seconds, or until you observe small bubbles forming on the surface and subtle light brown spots or blistering appearing on the underside. Flip the tortilla and cook for an additional 20 to 30 seconds. For the final stage, flip it one last time—this is typically when you’ll see impressive large bubbles inflate—and cook for just another 10 seconds. This quick cooking ensures a soft interior and slightly crisp exterior. Repeat this process with all the remaining tortillas.
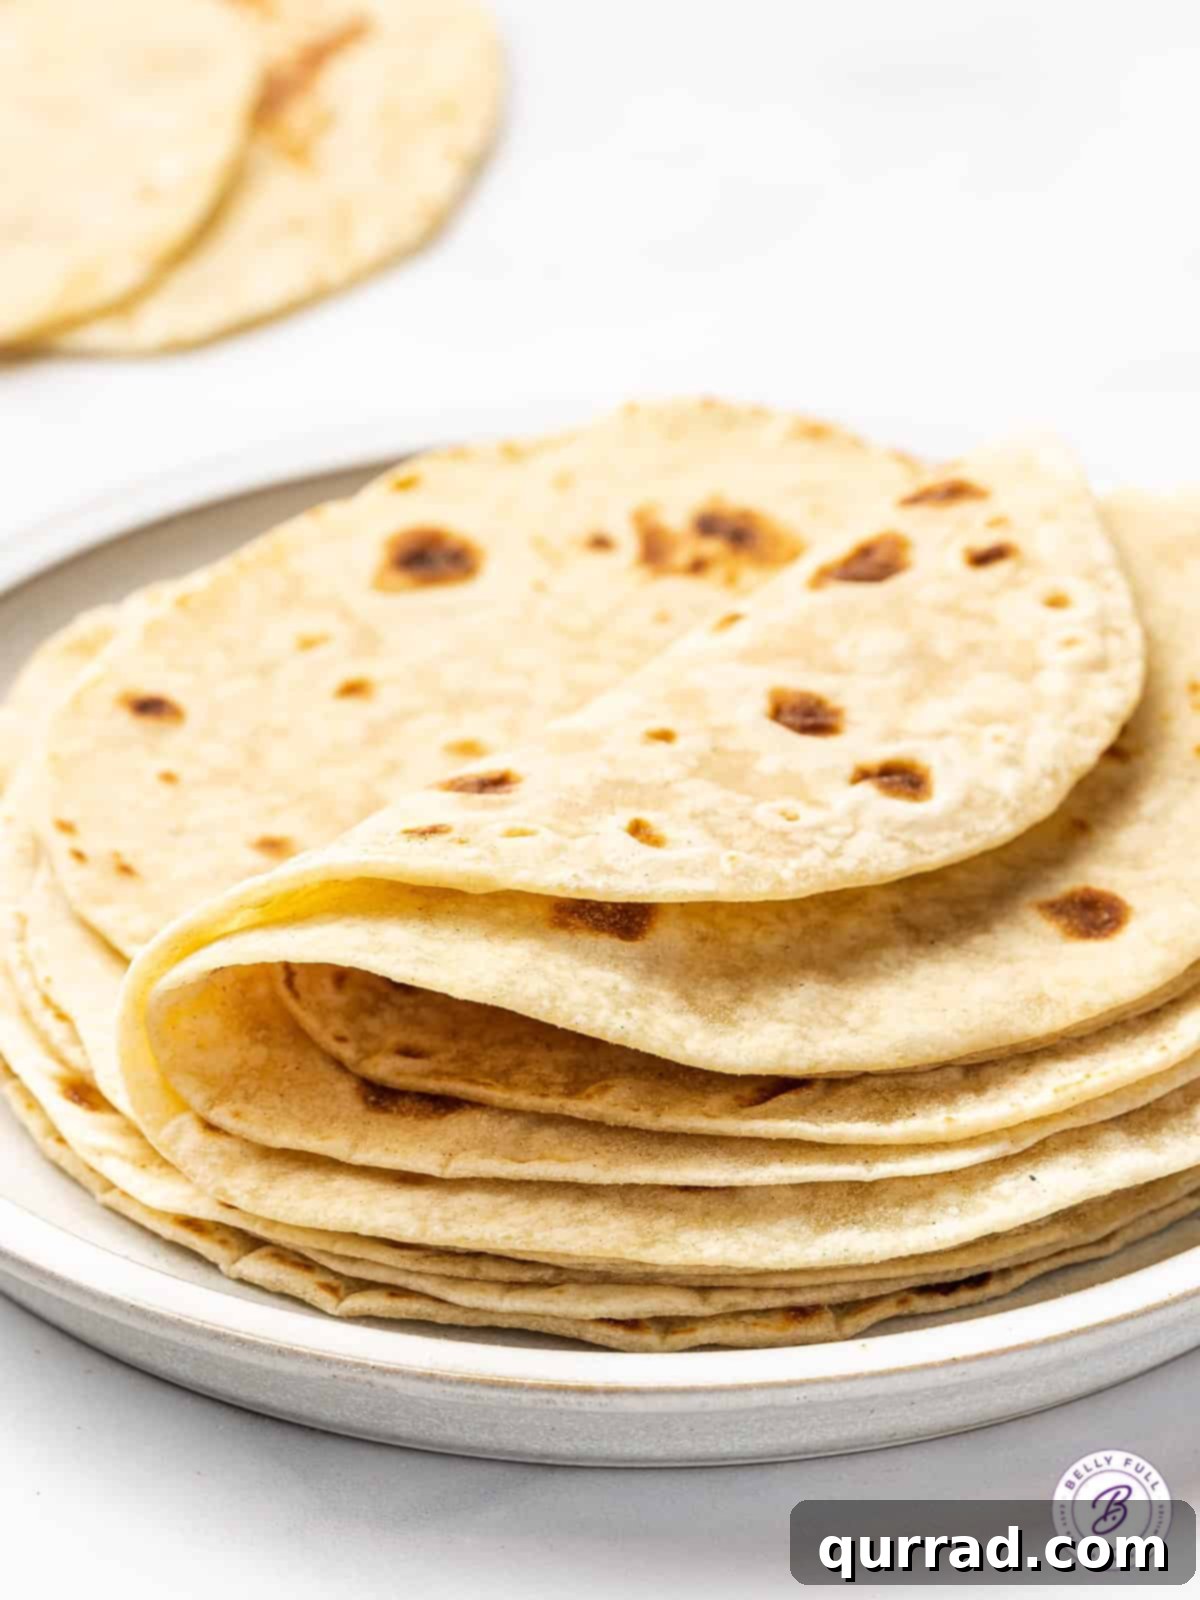
Step 8: Keep Them Warm. As each tortilla is cooked, immediately stack them on a plate. To maintain their warmth and softness, cover the stack with a clean, dry kitchen towel. Alternatively, you can use a dedicated tortilla warmer or place them on a baking sheet in a very low oven, around 175°F (80°C), until all tortillas are cooked and ready to serve.
Step 9: Cool and Store Properly. Once all your homemade flour tortillas have fully cooled to room temperature, transfer them to a resealable Ziploc bag or an airtight container. This crucial step prevents them from drying out, ensuring they remain soft and pliable for later use.
Storing Your Homemade Flour Tortillas
Proper storage is key to extending the freshness and soft texture of your homemade flour tortillas. Whether you plan to enjoy them in a few days or save them for longer, here’s how to do it effectively:
- Countertop Storage (Short Term): For immediate use within 2-3 days, store your cooled tortillas in an airtight container or a heavy-duty resealable plastic bag. Keep them at room temperature on your kitchen countertop. Ensure as much air as possible is squeezed out of the bag to prevent them from drying out.
- Refrigerator Storage (Medium Term): If you won’t be using them within the first few days, you can extend their shelf life by storing them in the refrigerator for up to a week. Place them in an airtight container or Ziploc bag. When ready to use, gently warm them in a dry skillet, microwave, or wrapped in foil in the oven to restore their softness.
- Freezing (Long Term): Flour tortillas freeze exceptionally well, making them perfect for meal prep.
- Allow the freshly cooked tortillas to cool completely to room temperature.
- To prevent sticking, stack them with small squares of parchment paper between each tortilla.
- Place the stack into a freezer-safe Ziploc bag or airtight container, ensuring to remove as much air as possible before sealing.
- Freeze for up to 3 months.
- To thaw, you can either place them in the refrigerator overnight or separate the frozen tortillas (they usually come apart easily with parchment in between) and gently warm them directly from frozen.
- Reheating Frozen Tortillas: You can reheat frozen tortillas directly in a dry skillet over medium heat for about 30 seconds per side, or microwave them in stacks of 3-4 for 15-20 seconds, covered with a damp paper towel, until soft and warm.
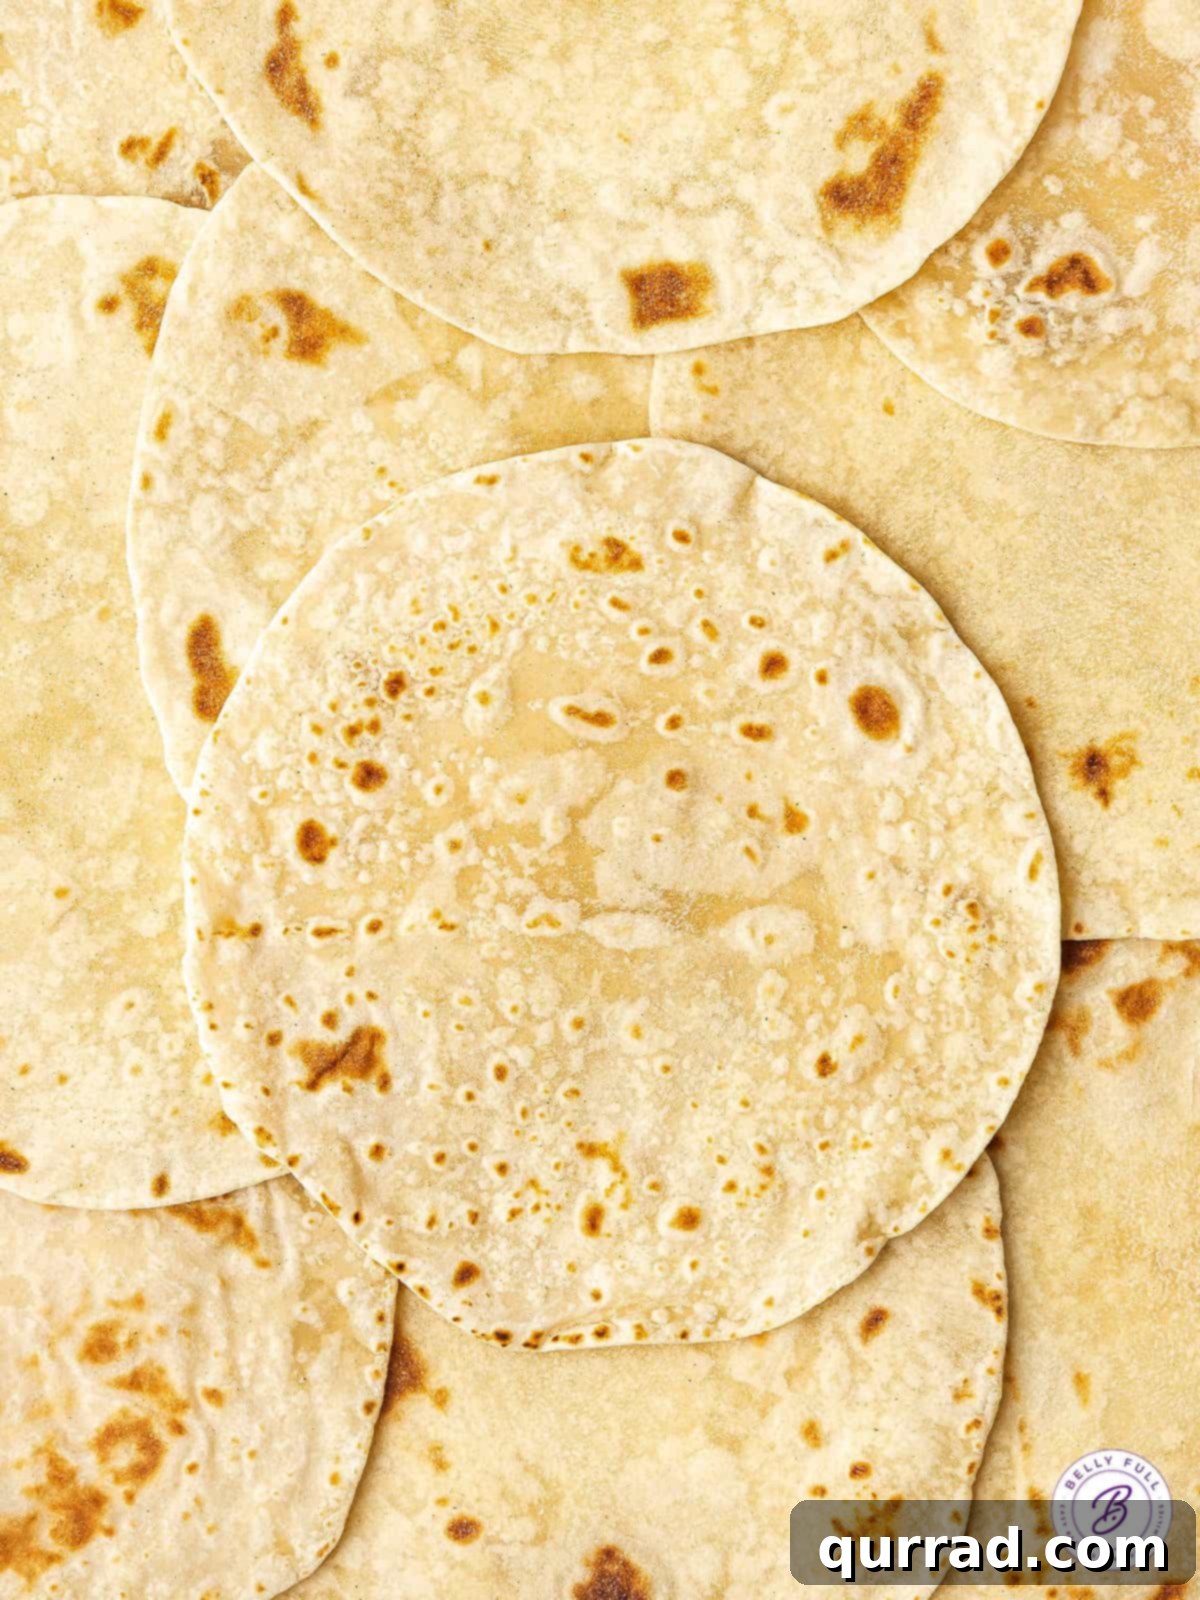
Creative Ways to Enjoy Your Homemade Flour Tortillas
While a warm, buttery homemade flour tortilla is a delight on its own, they truly shine as the foundation for countless delicious meals. Their versatility makes them a staple in any kitchen. Here are just a few ideas to get you started:
- Classic Tacos and Burritos: The ultimate choice for soft tacos, loaded burritos, and savory chimichangas. Fill them with your favorite proteins, beans, rice, and fresh toppings.
- Enchiladas: Perfect for creating comforting and flavorful chicken enchiladas or beef enchiladas, baked to bubbly perfection under a rich sauce.
- Quesadillas: Simple yet satisfying, fill them with cheese, beans, vegetables, or leftover cooked meat, then grill until golden and gooey.
- Mexican Pizza: Use them as a crispy base for a fun Mexican pizza, topped with seasoned ground beef, cheese, and all your favorite taco fixings.
- Taquitos: Roll them up tightly with a savory filling, then bake or fry for crispy baked chicken taquitos.
- Fajitas: Serve alongside sizzling chicken, beef, or vegetable fajitas for a build-your-own dinner experience.
- Wraps and Pinwheels: A great alternative to bread for lunch wraps, filled with deli meat, cheese, and veggies. Or make colorful pinwheels for appetizers.
- Breakfast: Transform them into breakfast burritos, breakfast tacos, or even savory crepes.
- Chips: Cut into triangles, bake or fry them until crisp, and serve with salsa, guacamole, or queso for fresh tortilla chips.
Explore More Delicious Mexican Recipes
If you’re a fan of the vibrant flavors of Mexican cuisine, you’ll love these other popular dishes that pair perfectly with homemade tortillas or offer a taste of authentic zest:
- Huevos Rancheros: A hearty and flavorful Mexican breakfast dish featuring fried eggs served on tortillas with salsa.
- Mexican Street Corn Salad (Esquites): A refreshing and tangy salad showcasing the sweet and smoky flavors of roasted corn.
- Chile Rellenos: Poblano peppers stuffed with cheese (or meat), battered, and fried, often served with a rich sauce.
- Pico de Gallo: A fresh and chunky salsa made with ripe tomatoes, onions, cilantro, and jalapeños, perfect for dipping or as a topping.
Embrace the joy of cooking from scratch and elevate your culinary creations with these simple yet profoundly delicious homemade flour tortillas!