
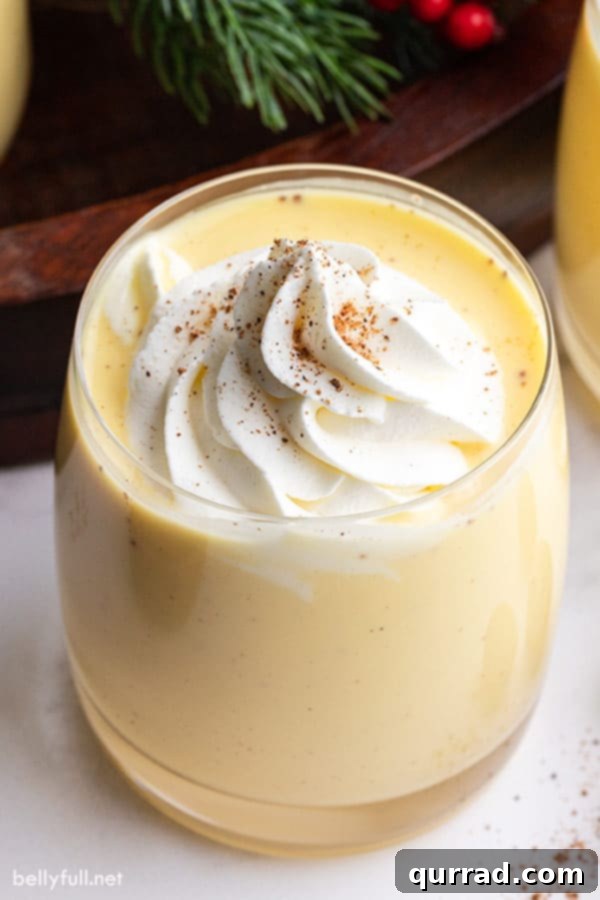
There’s a special kind of magic that fills the air when the holiday season approaches. For many, this magic is perfectly encapsulated in a rich, creamy glass of **Homemade Eggnog**. Forget the store-bought versions; there’s truly nothing quite like crafting your own batch of this festive delight from scratch. This exceptional recipe creates the most decadent eggnog cocktail, expertly spiked with rum and boasting a luxuriously thick, creamy texture achieved by tempering the egg yolks. Crowned with a generous dollop of homemade whipped cream and a sprinkle of fresh nutmeg, it transforms any gathering into a truly special occasion.
Beyond being a sensational stand-alone drink, a batch of this delightful homemade eggnog offers versatility. Should you find yourself with any delicious leftovers, don’t let a single drop go to waste! You can effortlessly transform it into other holiday treats like light and fluffy eggnog muffins topped with a sweet streusel, or wonderfully chewy eggnog cookies, extending the festive flavors long after the last sip.
Crafting the Perfect Holiday Cheer: An Easy Homemade Eggnog Recipe
The sudden appearance of eggnog in grocery store aisles is often one of the first delightful harbingers that the holiday season is truly upon us. While there’s certainly a convenience to store-bought varieties, once you experience the superior flavor and velvety texture of homemade eggnog, you’ll understand why it’s worth the small effort. This recipe stands head and shoulders above its commercial counterparts, offering a depth of flavor and a richness that simply can’t be matched.
Our homemade eggnog recipe delivers a thick, wonderfully creamy consistency, infused with a subtle yet captivating warmth from classic holiday spices. It’s a tradition I eagerly anticipate making every year. While this specific recipe includes alcohol, it’s remarkably simple to adapt for a kid-friendly, non-alcoholic version, ensuring everyone can partake in the festive indulgence. Whether you’re hosting a grand holiday party, seeking a sophisticated dessert drink for a cozy evening, or just want to treat yourself to a taste of festive luxury, this versatile beverage is always a perfect choice. The process is straightforward, requiring a little patience for chilling, but the reward is an unparalleled holiday drink that will impress family and friends alike.
Understanding Eggnog: History, Ingredients, and Why Homemade Shines
Eggnog, originally known as “milk punch,” is a beloved, thick, and creamy beverage traditionally enjoyed during the holiday season. Its roots trace back to medieval Britain, where it was often a drink of the aristocracy, made with expensive ingredients like milk, eggs, and sherry or brandy. Over time, as it traveled to the American colonies, rum became a popular addition, and it evolved into the festive drink we recognize today. The name “eggnog” itself is thought to derive from “egg-and-grog,” with grog being a term for a drink made with rum.
At its core, traditional eggnog is crafted from a harmonious blend of eggs (either yolks alone or a combination of whipped whites and yolks), rich cream, and wholesome milk. These dairy components provide its characteristic smooth and velvety base. The drink is then elegantly seasoned with warm, aromatic spices such as vanilla and nutmeg, creating its signature festive aroma and taste. Many eggnog recipes, including this one, also incorporate a spirit, with rum being a classic and highly favored choice.
While you’ll undoubtedly find numerous brands of eggnog lining supermarket shelves as the holidays approach, there’s a significant difference in quality and flavor when compared to a homemade version. Commercial eggnogs often rely on thickeners and artificial flavors, lacking the authentic richness and fresh zest of a handcrafted batch. Our recipe proudly incorporates egg yolks, which are fundamental to achieving that distinctive, deeply rich flavor and sumptuously thick consistency that defines truly great eggnog. Crucially, we employ a tempering technique with the hot liquid, a method similar to how we prepare other creamy desserts like Tapioca Pudding and Rice Pudding. This tempering process gently cooks the egg yolks, ensuring safety while simultaneously preventing them from scrambling and creating an incredibly smooth, luxurious texture.
This particular recipe focuses solely on using egg yolks, which contribute immensely to the eggnog’s richness and color. However, don’t discard those leftover egg whites! They are a fantastic ingredient for an array of other delicious recipes, turning what might be considered waste into another culinary opportunity. For instance, you can use them to bake a light and airy Angel Food Cake, whip up delicate Meringue Cookies, craft elegant individual Pavlovas, or create delightful Coconut Macaroons. Utilizing the whites ensures nothing goes to waste and expands your baking repertoire.
The Simple Ingredients You’ll Need for Homemade Eggnog
One of the most appealing aspects of this homemade eggnog recipe is its simplicity. If you’ve ever wondered what goes into creating this iconic holiday drink, you’ll be pleasantly surprised to find that it requires just a handful of common ingredients, plus a few optional garnishes. The magic truly happens when these basic components come together, transforming into a rich and flavorful beverage. Here’s what you’ll need to gather:
- Egg Yolks: This recipe specifically calls for large egg yolks, which are essential for giving the eggnog its signature rich flavor and creamy, custard-like texture. (Remember, don’t toss those egg whites! Refer to the notes section for creative ways to use them in other delicious recipes.)
- Granulated Sugar: Provides the perfect amount of sweetness, balancing the richness of the dairy and eggs while enhancing the overall holiday flavor profile.
- Heavy Whipping Cream: A non-negotiable ingredient for achieving that luxurious, thick, and velvety consistency. It contributes significantly to the decadent mouthfeel of the eggnog.
- Whole Milk: Best for eggnog due to its fat content, which adds to the creaminess and flavor. While 2% milk could be used in a pinch, we strongly advise against skim milk or non-dairy alternatives, as they will significantly alter the texture and taste, making the eggnog much thinner and less rich.
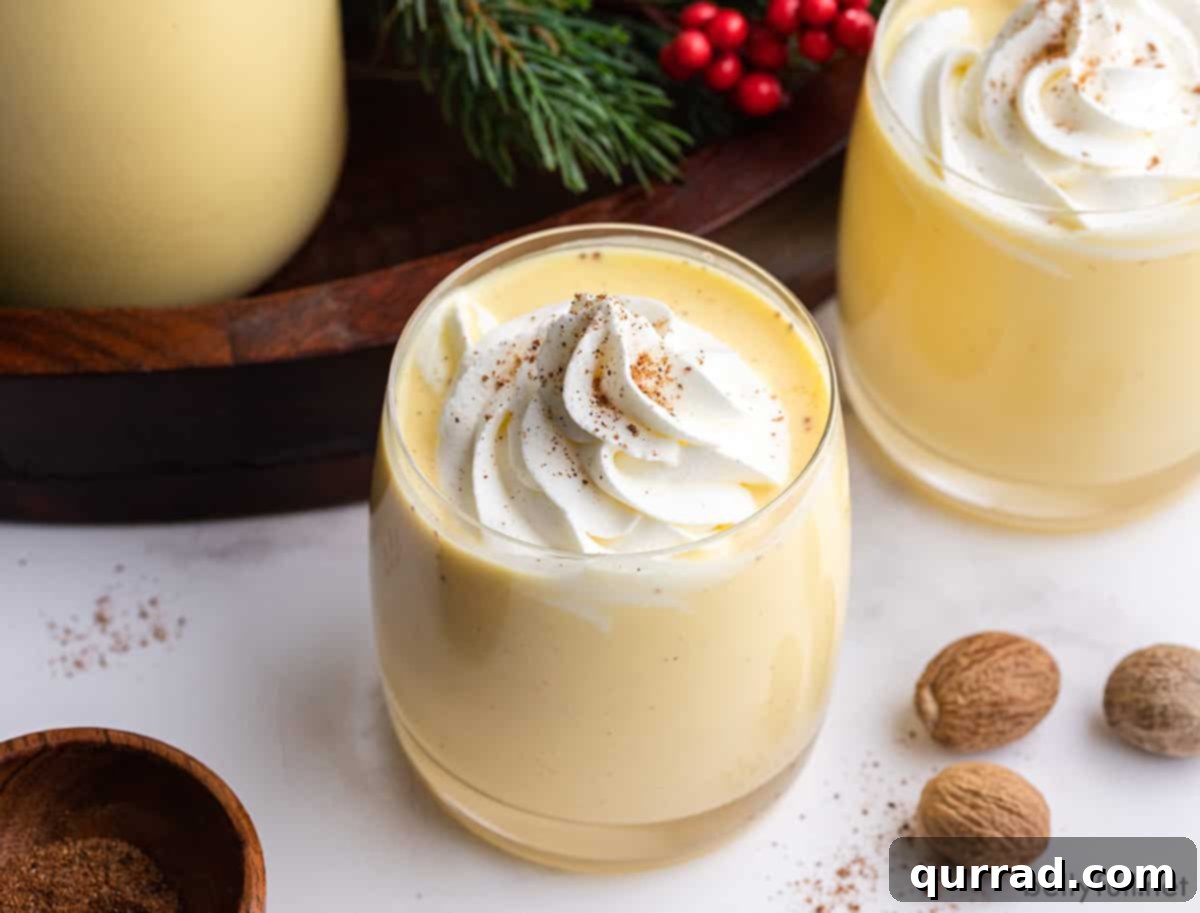
- Ground Nutmeg: This classic spice is indispensable, infusing the drink with its characteristic warm, aromatic, and slightly sweet holiday flavor. A little extra can also be grated fresh over the top as a beautiful and fragrant garnish.
- Salt: Just a tiny pinch of salt might seem insignificant, but it plays a crucial role in heightening and balancing all the other flavors, making them pop and preventing the eggnog from tasting flat.
- Rum: Our preferred liquor for spiking this eggnog, as its sweet, warm notes complement the other ingredients beautifully. However, if rum isn’t your preference, quality brandy or bourbon are also excellent choices, each adding its own unique depth to the cocktail.
- Vanilla Extract: A touch of pure vanilla extract enhances the overall sweetness and complexity, adding a layer of classic warmth that ties all the flavors together.
- Whipped Cream (for serving): An optional but highly recommended garnish, adding an extra layer of decadence and visual appeal when serving.
- Additional Ground Nutmeg (for garnish): A light dusting of freshly grated nutmeg over the whipped cream is the perfect finishing touch, adding both aroma and a touch of elegance.
How to Master Homemade Eggnog: A Step-by-Step Guide
Creating your own homemade eggnog might sound intimidating, but it’s surprisingly easy and rewarding. The key is to follow the steps carefully, particularly the tempering process, and allow ample time for chilling. The chilling phase is crucial for the flavors to meld and for the eggnog to achieve its ideal thick consistency. Here’s how to make this delightful holiday drink:
- Prepare the Eggs and Sugar: In a medium-sized heatproof bowl, combine the egg yolks and granulated sugar. Whisk these together vigorously until the mixture becomes pale yellow, light, and wonderfully creamy. This aeration is important for the final texture.
- Create the Cream Base: In a medium saucepan, pour in the heavy whipping cream, whole milk, ground nutmeg, and the pinch of salt. Place the saucepan over medium-high heat. Stir the mixture frequently as it heats, until it begins to steam gently and reaches a bare simmer. It’s crucial not to let the mixture come to a rolling boil, as this can affect the texture of the eggnog and the tempering process.
- Master the Tempering Process: This is the most critical step to ensure a smooth, delicious eggnog without scrambled eggs. Carefully take a large spoonful of the hot milk mixture and slowly drizzle it into your whisked egg yolk and sugar mixture, whisking continuously and vigorously. The goal is to gradually raise the temperature of the egg yolks without cooking them too quickly. Repeat this process, adding a large spoonful of the hot milk mixture at a time, whisking well after each addition. Continue until you’ve incorporated about half to two-thirds of the hot milk into the egg mixture.
- Combine and Thicken: Once the egg mixture has been adequately warmed, pour it slowly back into the saucepan containing the remaining hot milk mixture on the stove. Continue to whisk constantly over medium heat for several minutes. You’ll notice the mixture will begin to thicken slightly, coating the back of a spoon. If you have a candy thermometer, aim for approximately 160°F (71°C) – this ensures the eggs are safely cooked without overcooking. Remember, it will continue to thicken significantly as it cools.
- Cool Down: Remove the saucepan from the heat immediately. Allow the eggnog mixture to cool for about 20 minutes, stirring gently every 5 minutes. This helps prevent a skin from forming on top and aids in even cooling.
- Incorporate the Alcohol and Vanilla: Once the mixture has cooled sufficiently (it should still be warm but not hot), stir in your chosen alcohol (rum, brandy, or bourbon) and the vanilla extract. Adding these later preserves their delicate flavors.
- Chill Thoroughly: Pour the prepared eggnog into a pitcher or an airtight container. Cover it tightly with plastic wrap or a lid. Transfer it to the refrigerator and chill for a minimum of 3 hours. For the best flavor and thickest consistency, chilling it overnight is highly recommended. The flavors will deepen and meld beautifully, and the texture will become wonderfully rich.
- Serve with Elegance: When ready to serve, give the eggnog a good stir. Pour it into individual glasses, top generously with freshly whipped cream, and finish with a dusting of freshly grated nutmeg. Enjoy your homemade holiday masterpiece!
Essential Tips and Frequently Asked Questions for Perfect Eggnog
To ensure your homemade eggnog turns out perfectly every time, keep these expert tips and common questions in mind. From choosing the right spirits to customizing consistency, these insights will help you craft the best holiday drink.
- What kind of alcohol is best for eggnog? The beauty of eggnog lies in its versatility. While rum (especially dark or spiced rum) is a popular and classic choice that lends a warm, sweet depth, brandy and bourbon are also excellent contenders. Brandy adds a fruity, often slightly sweet complexity, while bourbon contributes a smoky, vanilla, and caramel richness. You can even experiment with a blend of spirits for a more nuanced flavor profile.
- Can I make this eggnog without alcohol? Absolutely! For a delightful non-alcoholic, kid-friendly version, simply omit the rum (or other spirits) from the recipe. All other ingredients and steps remain precisely the same, ensuring a rich and creamy beverage that everyone can enjoy during the festive season.
- How do I adjust the consistency of my eggnog? Homemade eggnog tends to thicken considerably as it chills, creating a luxurious, almost custard-like texture. If you prefer a thinner, completely smooth consistency, after it has chilled, you can blend the entire mixture in a blender with 1 or 2 tablespoons of additional whole milk until it reaches your desired pourable consistency. Add milk gradually to avoid making it too thin.
- The critical step: Don’t add hot milk too quickly to the eggs. This is perhaps the most important tip to avoid ending up with bits of cooked egg in your eggnog. The tempering process is designed to slowly bring the egg yolks up to temperature. Always add the hot milk mixture to the egg yolks in small increments (spoonfuls) while whisking vigorously and continuously. This gradual heating prevents the eggs from scrambling, ensuring a perfectly smooth and creamy result. Patience here is key!
- Why is chilling time so important? Chilling your eggnog for at least 3 hours (or ideally overnight) is crucial for two main reasons. Firstly, it allows all the beautiful flavors from the spices, dairy, and spirits to fully meld and deepen, resulting in a more harmonious and complex taste. Secondly, the mixture thickens significantly as it cools, achieving that desirable rich, velvety texture that makes homemade eggnog so delightful.
- Can I make eggnog ahead of time? Yes, you can! In fact, making it a day in advance often allows the flavors to develop even further, making it taste even better. However, it’s best consumed within 3 days. See the storage section for more details.
- What if my eggnog tastes too sweet or not sweet enough? The sweetness in eggnog is a matter of personal preference. For a less sweet version, you can slightly reduce the granulated sugar (e.g., to 1/3 cup), especially if you know your guests prefer less sugary drinks. If you find it’s not sweet enough after chilling, you can always stir in a little more sugar (or maple syrup/honey) until dissolved.
Serving Suggestions for Your Decadent Eggnog
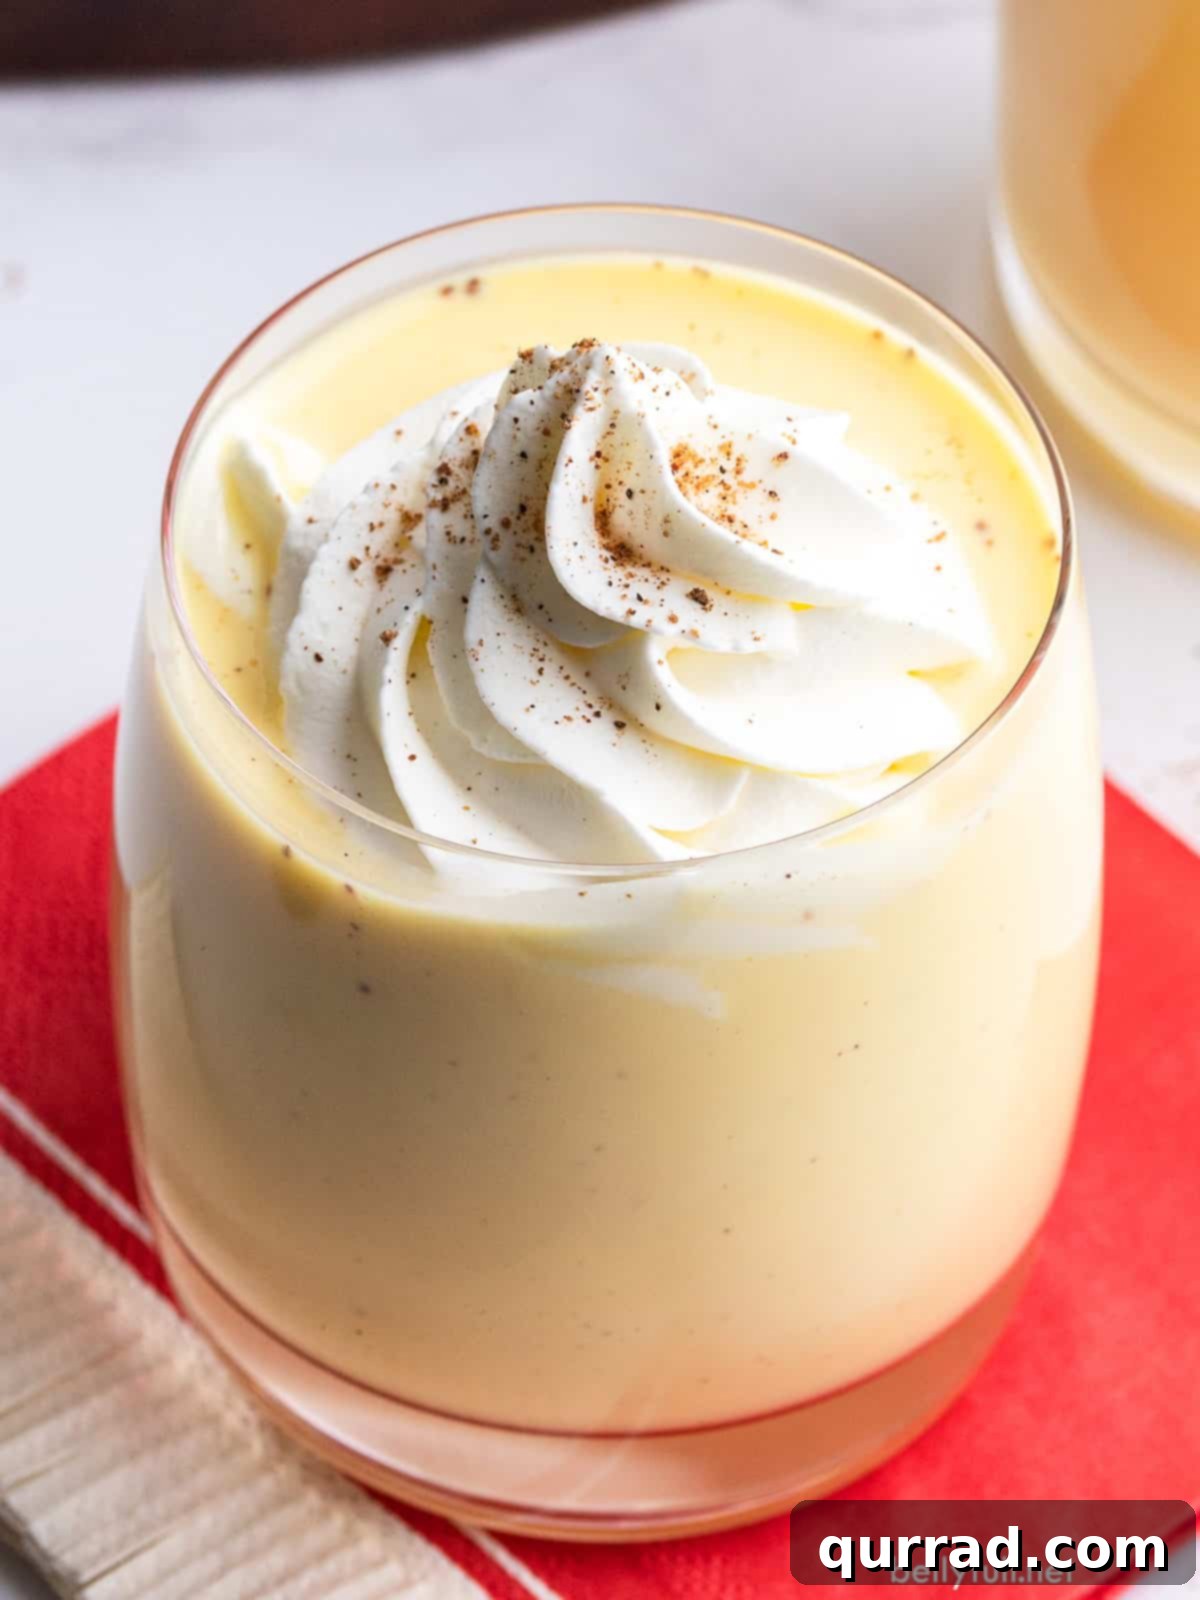
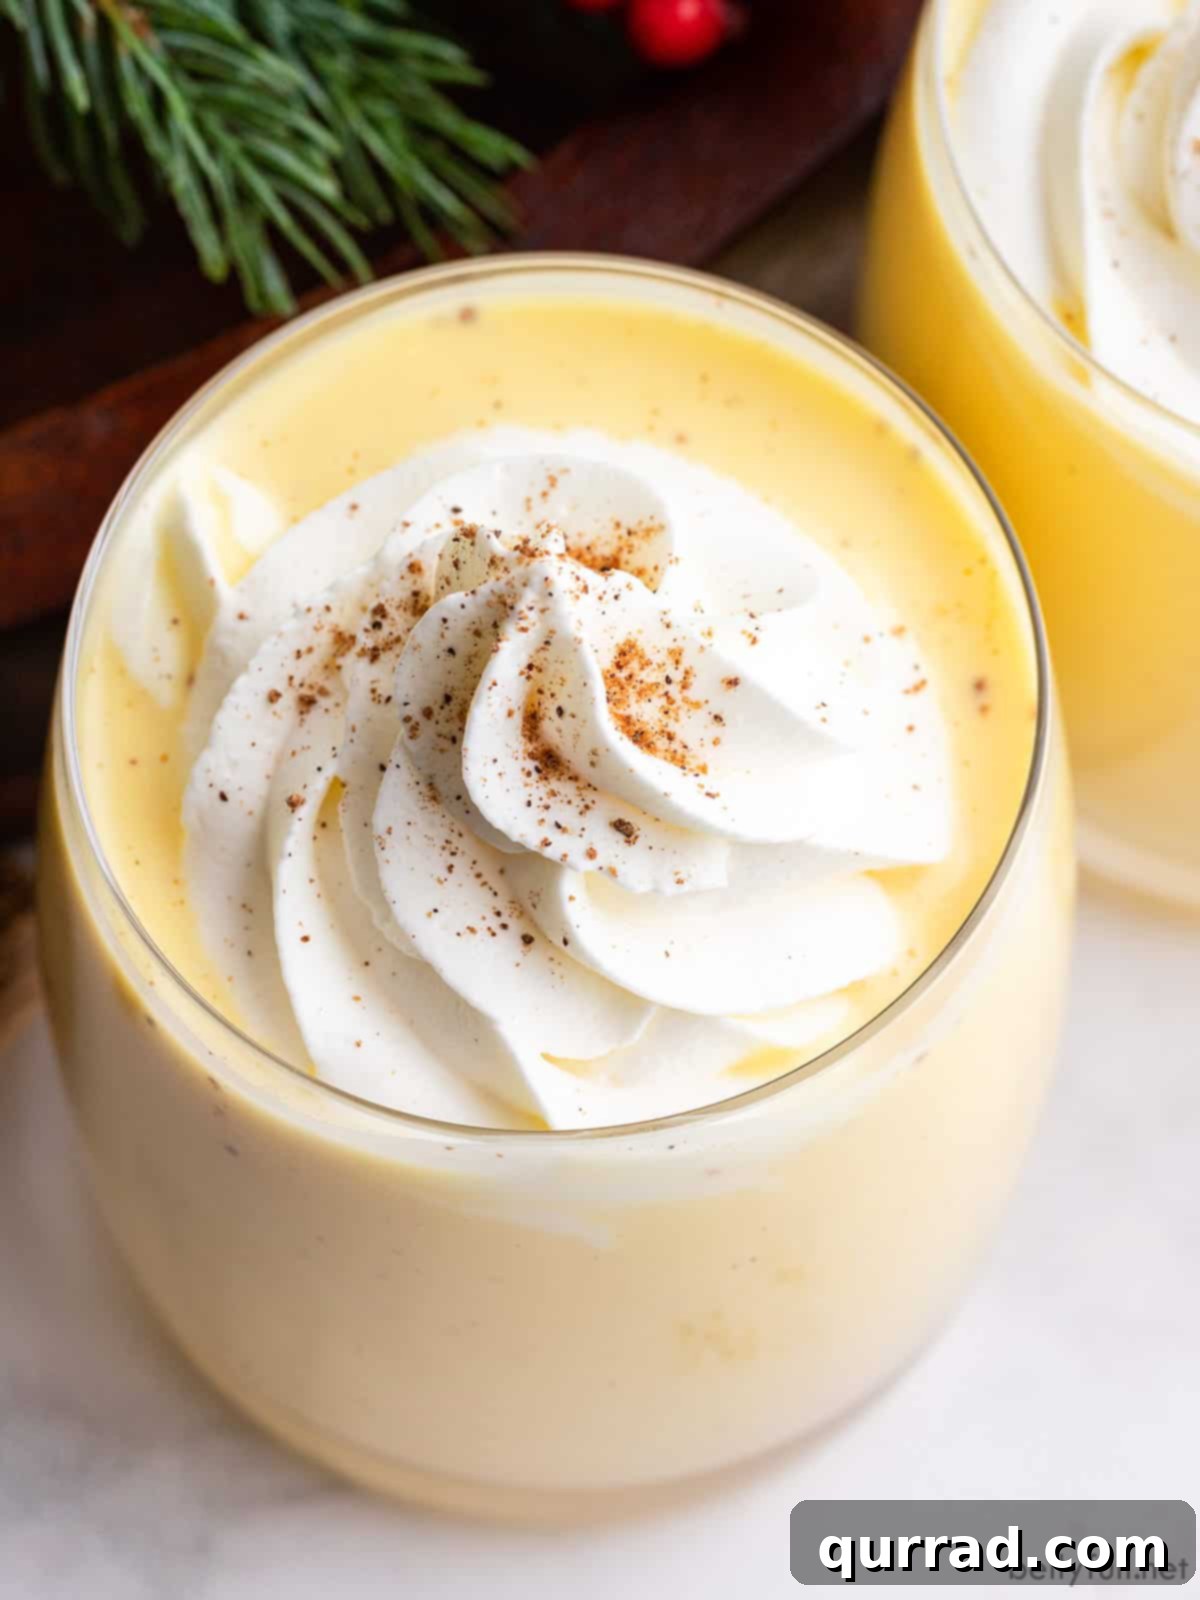
The presentation of your homemade eggnog can elevate the entire experience. I love to serve my eggnog cocktail with a beautiful swirl of homemade whipped cream, piped elegantly on top for a truly luxurious touch. A generous dash of freshly grated nutmeg is the perfect aromatic finish, adding both visual appeal and an irresistible fragrance. This creates a truly decadent holiday cocktail, ideally enjoyed as a sophisticated after-dinner treat or a special evening indulgence.
If you’re serving it at a larger holiday party, you might consider thinning the eggnog out slightly with an extra tablespoon or two of milk to make it more pourable from a pitcher, ensuring easy self-service for guests. Offer a bowl of extra grated nutmeg and perhaps some cinnamon sticks for guests to garnish their own drinks. For an even more festive touch, consider serving it in clear, elegant glasses that showcase its creamy texture. You could also rim the glasses with a cinnamon-sugar mixture for an added sweet crunch. Pair it with light holiday cookies or a fruit tart to complement its richness.
Storing and Savoring Leftover Eggnog
Proper storage is key to enjoying your homemade eggnog for as long as possible. While it’s tempting to make a large batch, keep its shelf life in mind.
- How long does homemade eggnog last? Homemade eggnog, whether it contains alcohol or not, should be stored covered in a pitcher or airtight container in the refrigerator and consumed within 3 days. While it can last this long, it is truly at its peak flavor and texture on the day it’s made or the very next day. For the freshest and most enjoyable experience, I generally recommend making it no more than 24 hours in advance of when you plan to serve it.
- Creative uses for leftover eggnog. If you find yourself with a surplus of delicious eggnog that you can’t possibly drink within the 3-day window, don’t despair! Its rich flavor makes it a fantastic ingredient in various baked goods and desserts. You can use leftover eggnog to bake delightful eggnog muffins, whip up batches of festive eggnog cookies, or even incorporate it into a moist eggnog bread or French toast batter for a holiday breakfast treat. You can also freeze it in an airtight container for up to a month, though the texture might change slightly upon thawing, making it best suited for baking rather than drinking directly.
More Holiday Drink Recipes to Explore
The holiday season is a perfect time to experiment with a variety of festive beverages. If you loved this homemade eggnog, be sure to explore these other delicious drink recipes perfect for entertaining or simply enjoying by the fire:
- Mulled Wine
- Cranberry Moscow Mule
- Hot Buttered Rum
- Brandy Alexander Milkshake
- Apple Pie Moonshine
- Jack Frost Winter Cocktail
Homemade Eggnog
Rich and creamy, this Homemade Eggnog is spiked with rum to make the most delicious eggnog cocktail. It’s made with tempered egg yolks for a thick, creamy texture and served topped with whipped cream for a decadent holiday drink.
Ingredients
- 6 large egg yolks
- 1/2 cup granulated sugar
- 1 cup heavy whipping cream
- 2 cups whole milk
- 1/2 teaspoon ground nutmeg
- pinch of salt
- 3 tablespoons rum (or brandy or bourbon)
- 1/4 teaspoon vanilla extract
- whipped cream, for serving
- ground nutmeg, for garnish
Instructions
- In a medium bowl, whisk together the egg yolks and sugar until the mixture is light and creamy.
- In a saucepan over medium-high heat, combine the cream, milk, nutmeg, and salt. Stir frequently until the mixture begins to steam and reaches a bare simmer. Do not allow it to boil.
- Temper the eggs: Add one large spoonful of the hot milk mixture to the egg mixture, whisking vigorously and continuously. Repeat this step, adding a spoonful at a time, until about half to two-thirds of the hot milk has been incorporated.
- Once most of the hot milk has been added to the tempered egg mixture, pour the entire mixture back into the saucepan on the stove.
- Whisk constantly for a few minutes, until the mixture slightly thickens to coat the back of a spoon (or reaches approximately 160°F / 71°C on a thermometer). It will continue to thicken further as it cools.
- Remove the saucepan from the heat and allow the eggnog mixture to cool for 20 minutes, stirring every 5 minutes to prevent a skin from forming.
- Stir in the alcohol (rum, brandy, or bourbon) and the vanilla extract.
- Pour the eggnog into a pitcher or an appropriate container and cover it tightly with plastic wrap.
- Refrigerate until thoroughly chilled, for a minimum of 3 hours. For optimal flavor and thickness, chilling overnight is recommended. (If a thinner, perfectly smooth consistency is preferred after chilling, you can blend the mixture with 1 to 2 tablespoons of milk until smooth.)
- Serve your homemade eggnog garnished with piped whipped cream and a dash of freshly grated nutmeg.
NOTES: For a non-alcoholic, kid-friendly version, simply omit the alcohol – all other steps remain the same. This recipe uses only egg yolks; for ideas on how to use the leftover egg whites, please see the “Notes” section below. For more tips and frequently asked questions, refer to the main article content.
Notes
Use the egg whites: This recipe primarily utilizes egg yolks for richness. However, don’t discard the egg whites! They can be repurposed to create delightful desserts such as Angel Food Cake, delicate Meringue Cookies, elegant Pavlova, and delicious Coconut Macaroons.
Storing eggnog: For the best flavor and texture, homemade eggnog is ideally consumed on the day it’s made or the following day. When stored covered in a pitcher in the refrigerator, it will keep for up to 3 days.
Ways to use leftover eggnog: If you find yourself with more eggnog than you can enjoy as a drink within the recommended 3 days, it’s excellent for baking! Use leftover eggnog to make festive eggnog muffins, delicious eggnog cookies, or even an indulgent eggnog bread for a holiday twist.
Nutrition Information (per serving)
Calories: 331kcal | Carbohydrates: 23g | Protein: 6g | Fat: 22g | Saturated Fat: 13g | Polyunsaturated Fat: 1g | Monounsaturated Fat: 7g | Cholesterol: 249mg | Sodium: 59mg | Potassium: 161mg | Fiber: 1g | Sugar: 21g | Vitamin A: 977IU | Vitamin C: 1mg | Calcium: 143mg | Iron: 1mg
Nutritional information provided is an automatic calculation and may vary based on the specific products used and any modifications made to the recipe. If precise nutritional values are important to you, it is recommended to calculate them yourself using your exact ingredients.